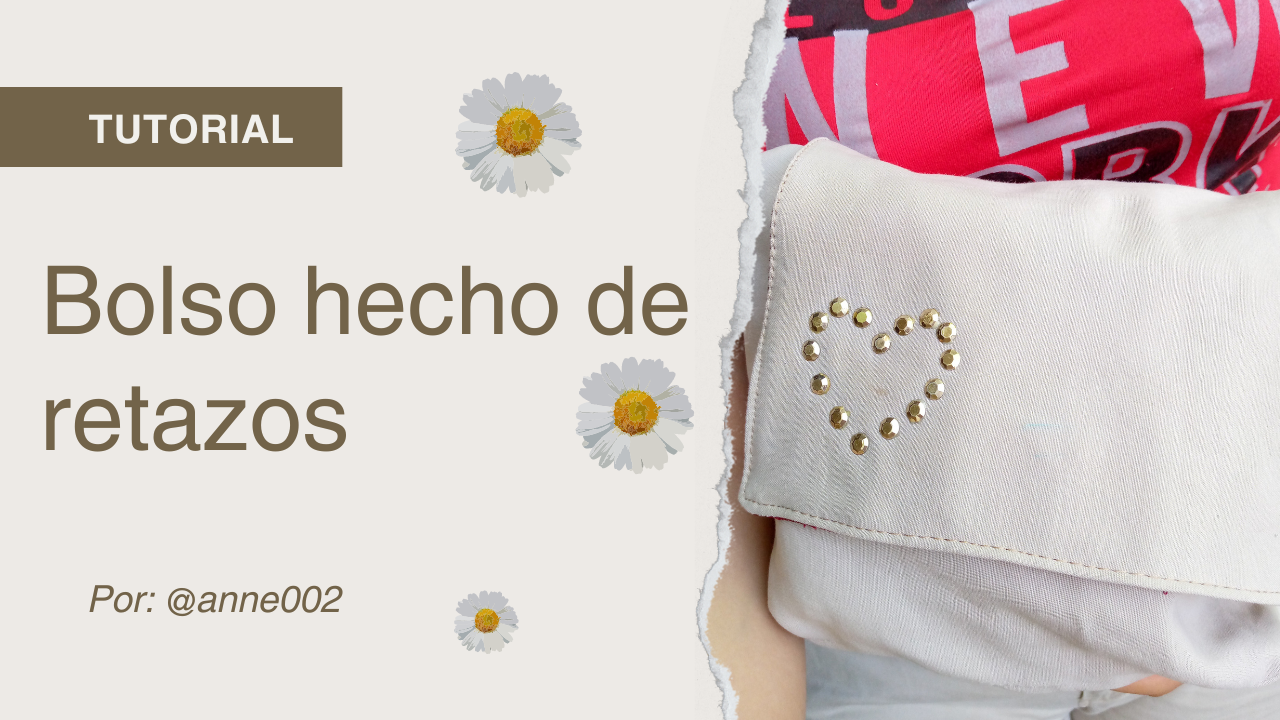
Hello beautiful and appreciated community of @hivediy I hope you are having a brilliant day, well here in my city the sun is very bright and it is very hot... It is a pleasure for me to always share with you what I do and appreciate your most beautiful jobs I always learn a lot from you and I am grateful for the support you give me with all my heart, thank you...✨🥰
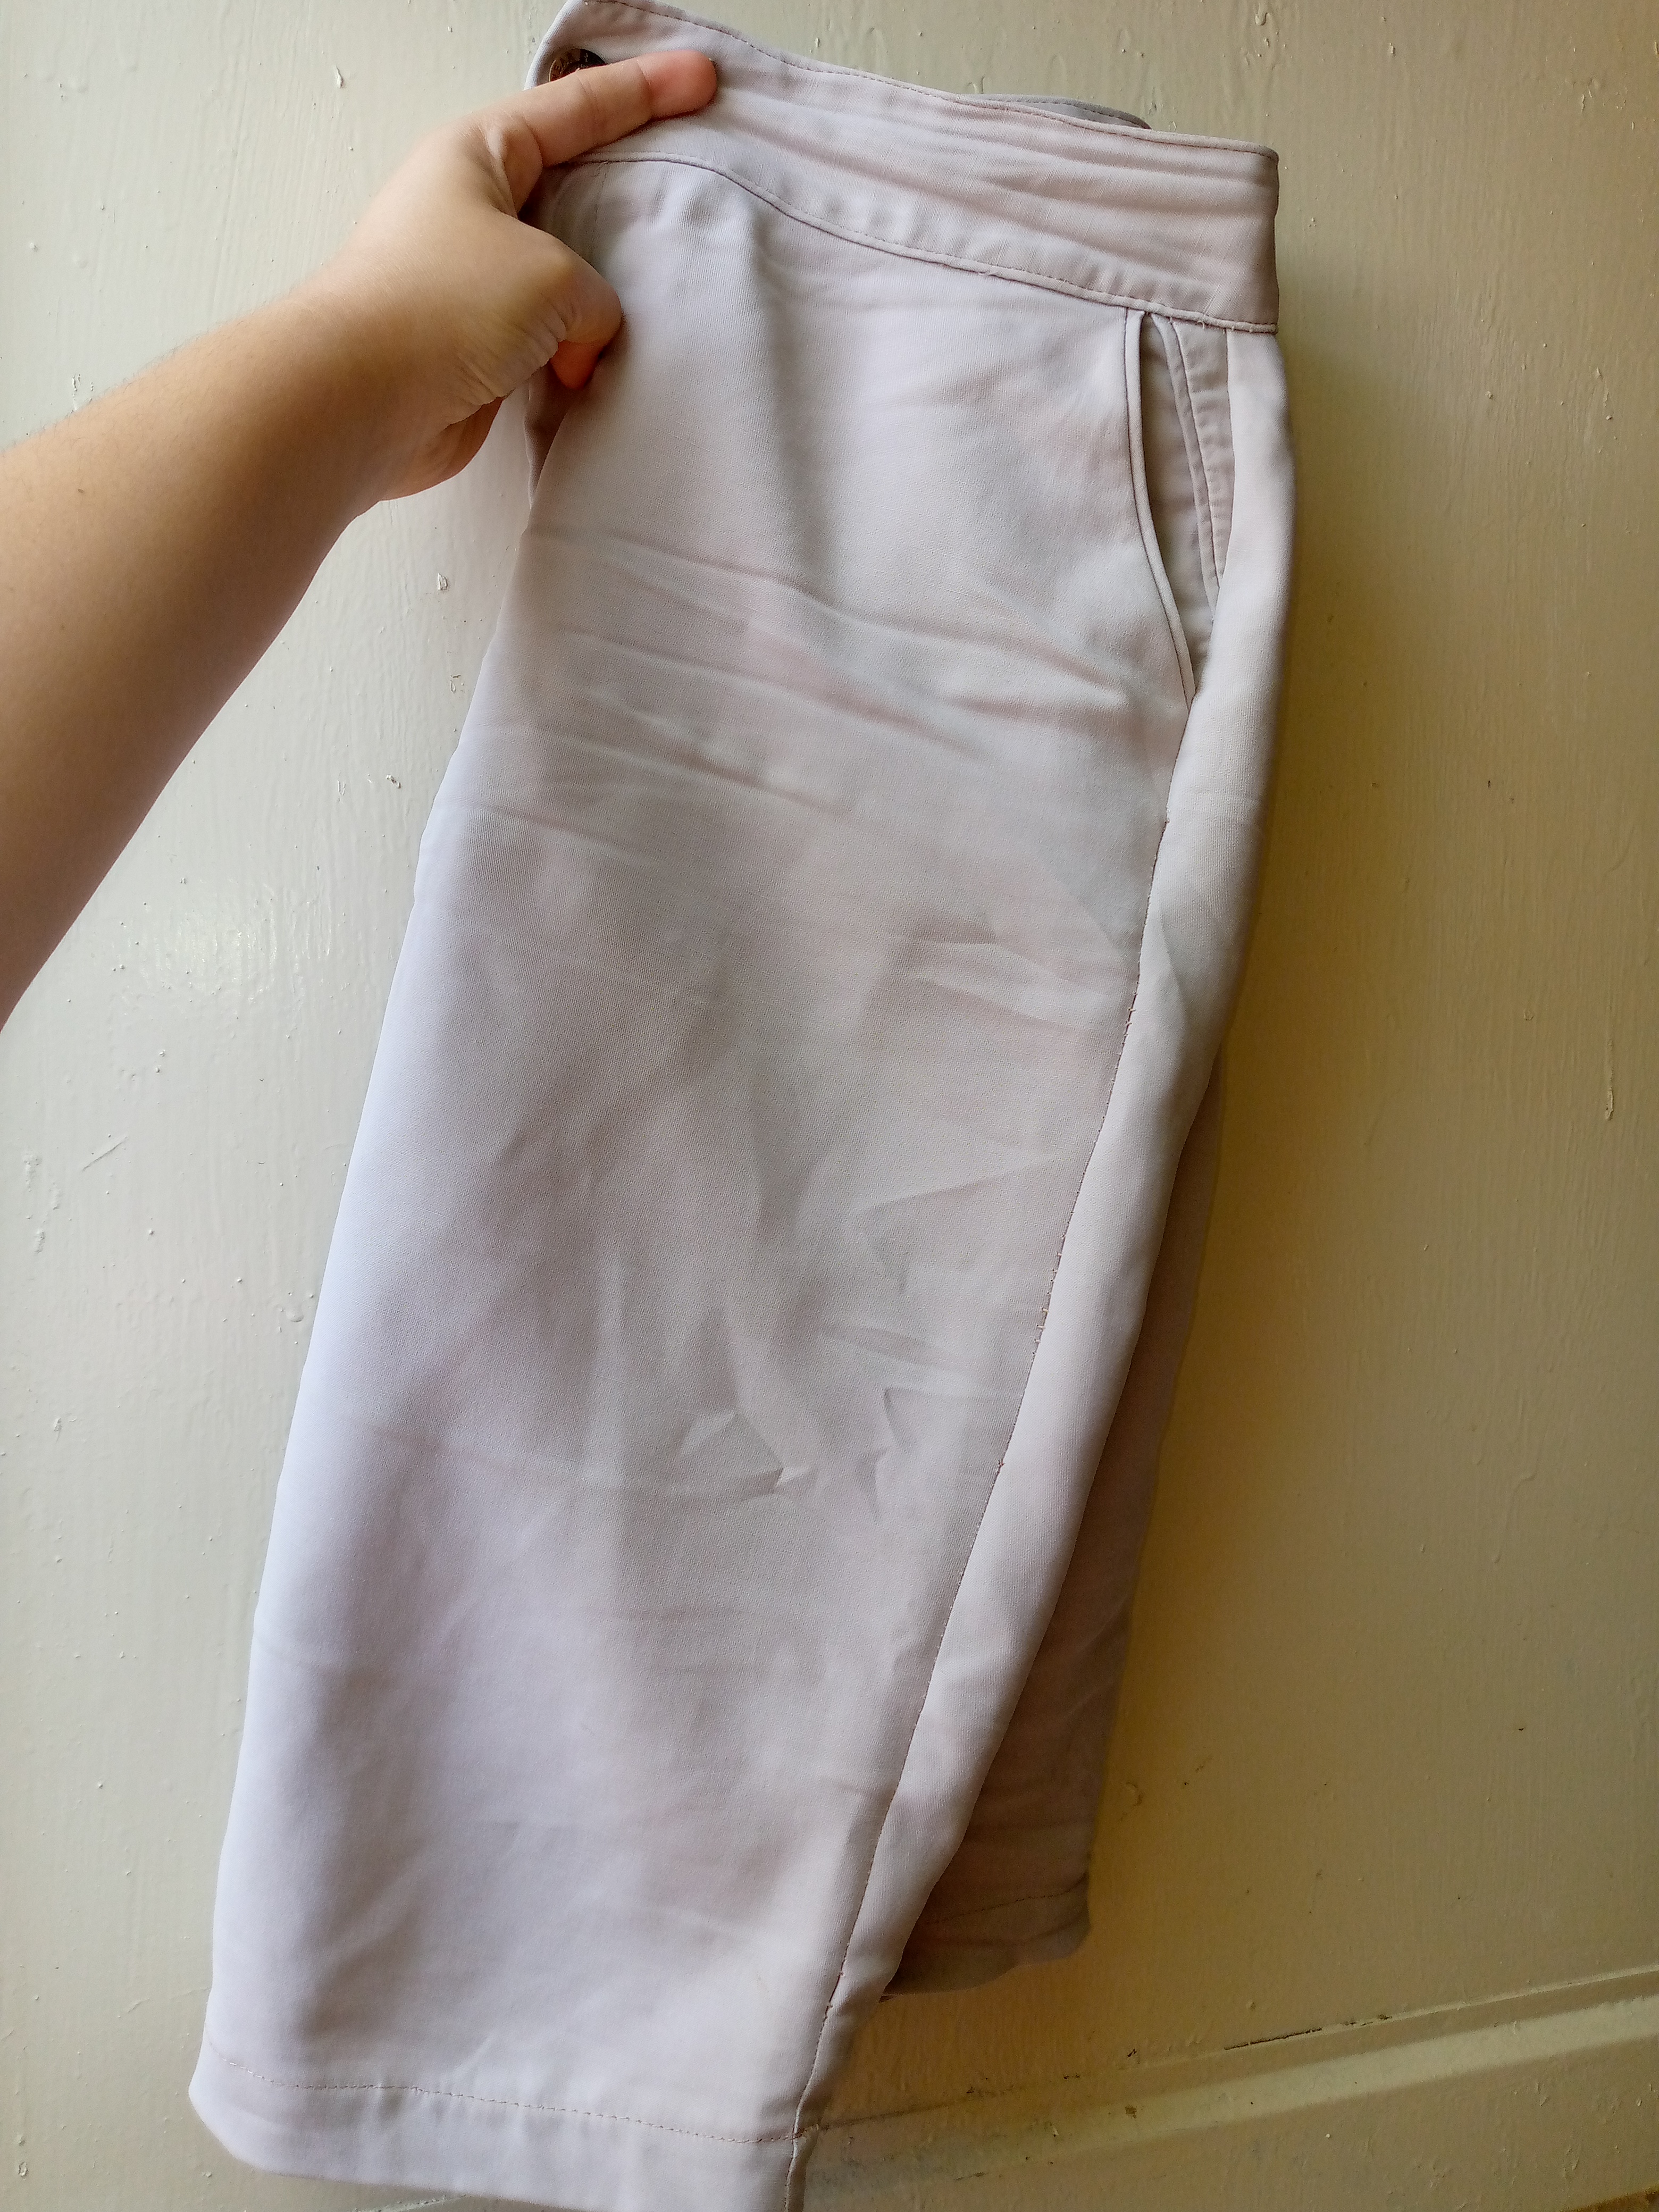
Yesterday afternoon I was sewing a pair of pants that I owned that I transformed into a nice pair of shorts. They were a little too big so I took them apart and had them done again. It's funny that I had the two bottom pieces of the pants left over and I wanted to take advantage of the opportunity. opportunity to recycle that fabric and make a cute beige summer bag.
I wanted to share this work with you today so let's go into it step by step.
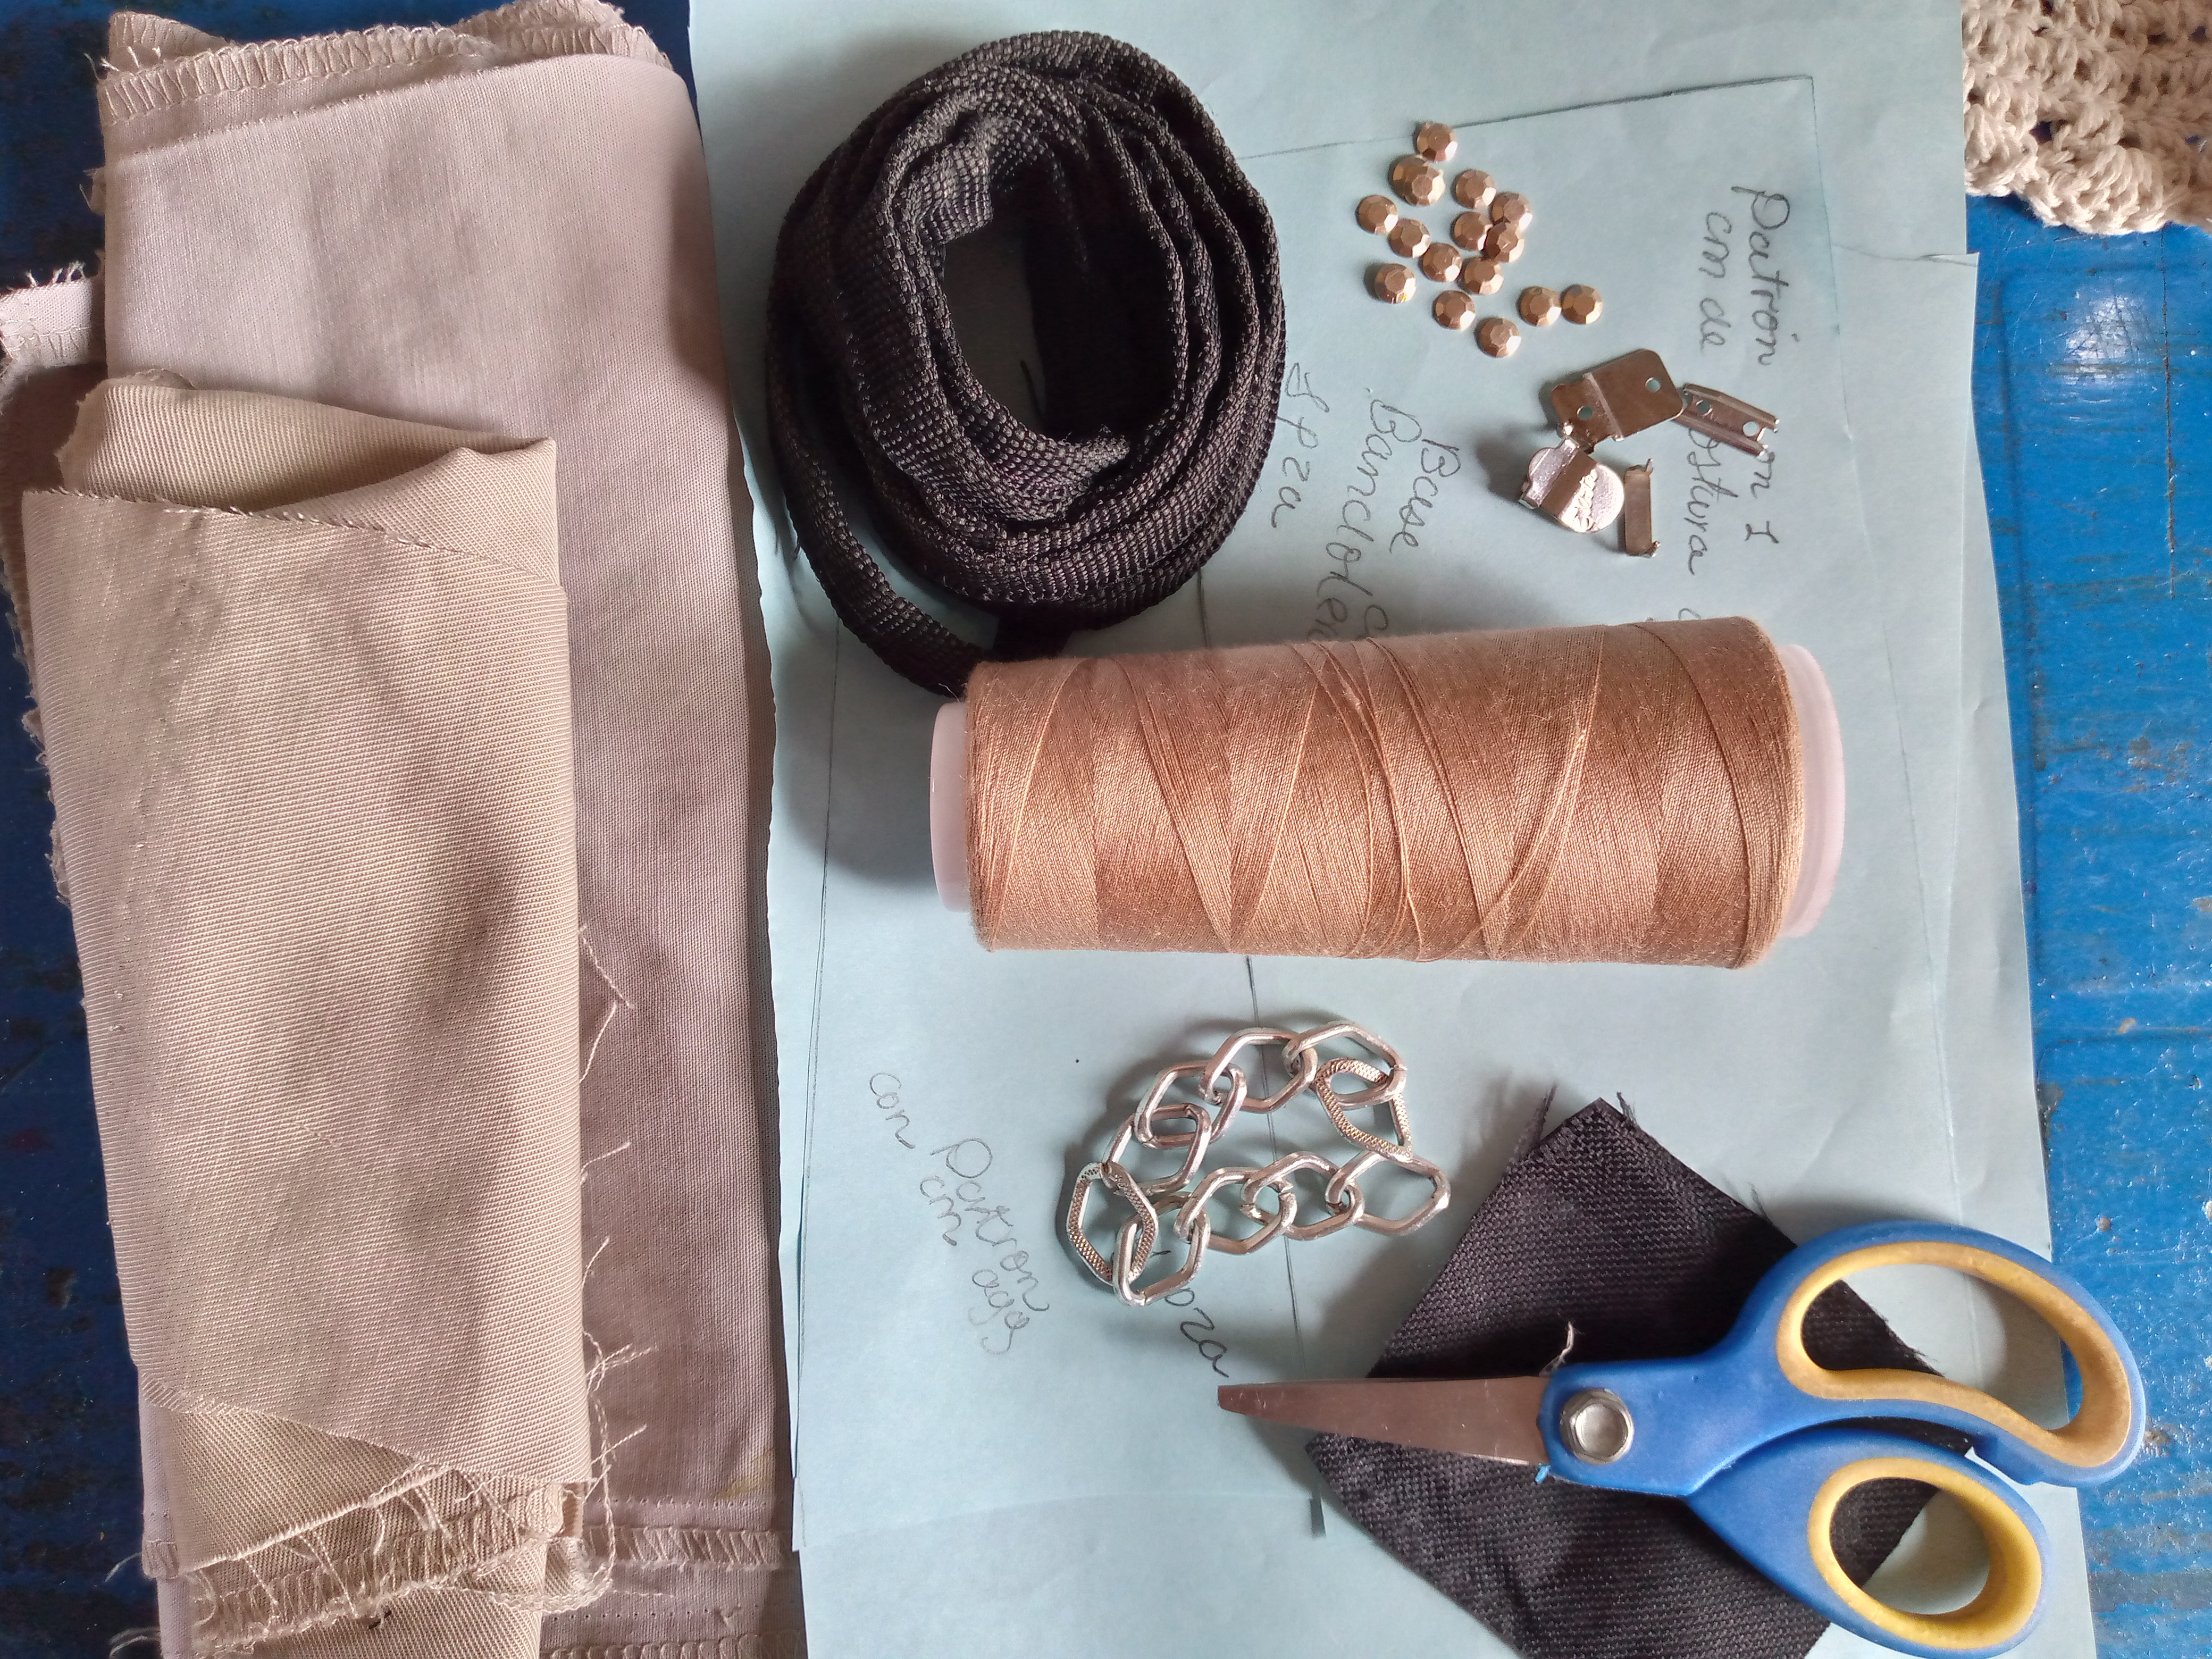
🌼Materiales que usé :🌼
Materials i used :
- Retazos de tela , también para el forro
- Cuerda para bolsos
- Detalles de cadena
- Piedritas con pegamento incluído
- Máquina de coser
- Hilo
- Tijeras
- Patrones
- Sujetadores
- Trozo de tela gruesa negra
- Cierre de costura
- Scraps of fabric, also for the lining
- Bag rope
- Chain details
- Pebbles with glue included
- Sewing machine
- Thread
- Scissors
- Patterns
- Bras
- Piece of thick black fabric
- Seam closure
🌼(Pasos a seguir.)🌼
(Steps to follow)
Paso 01
Step 01
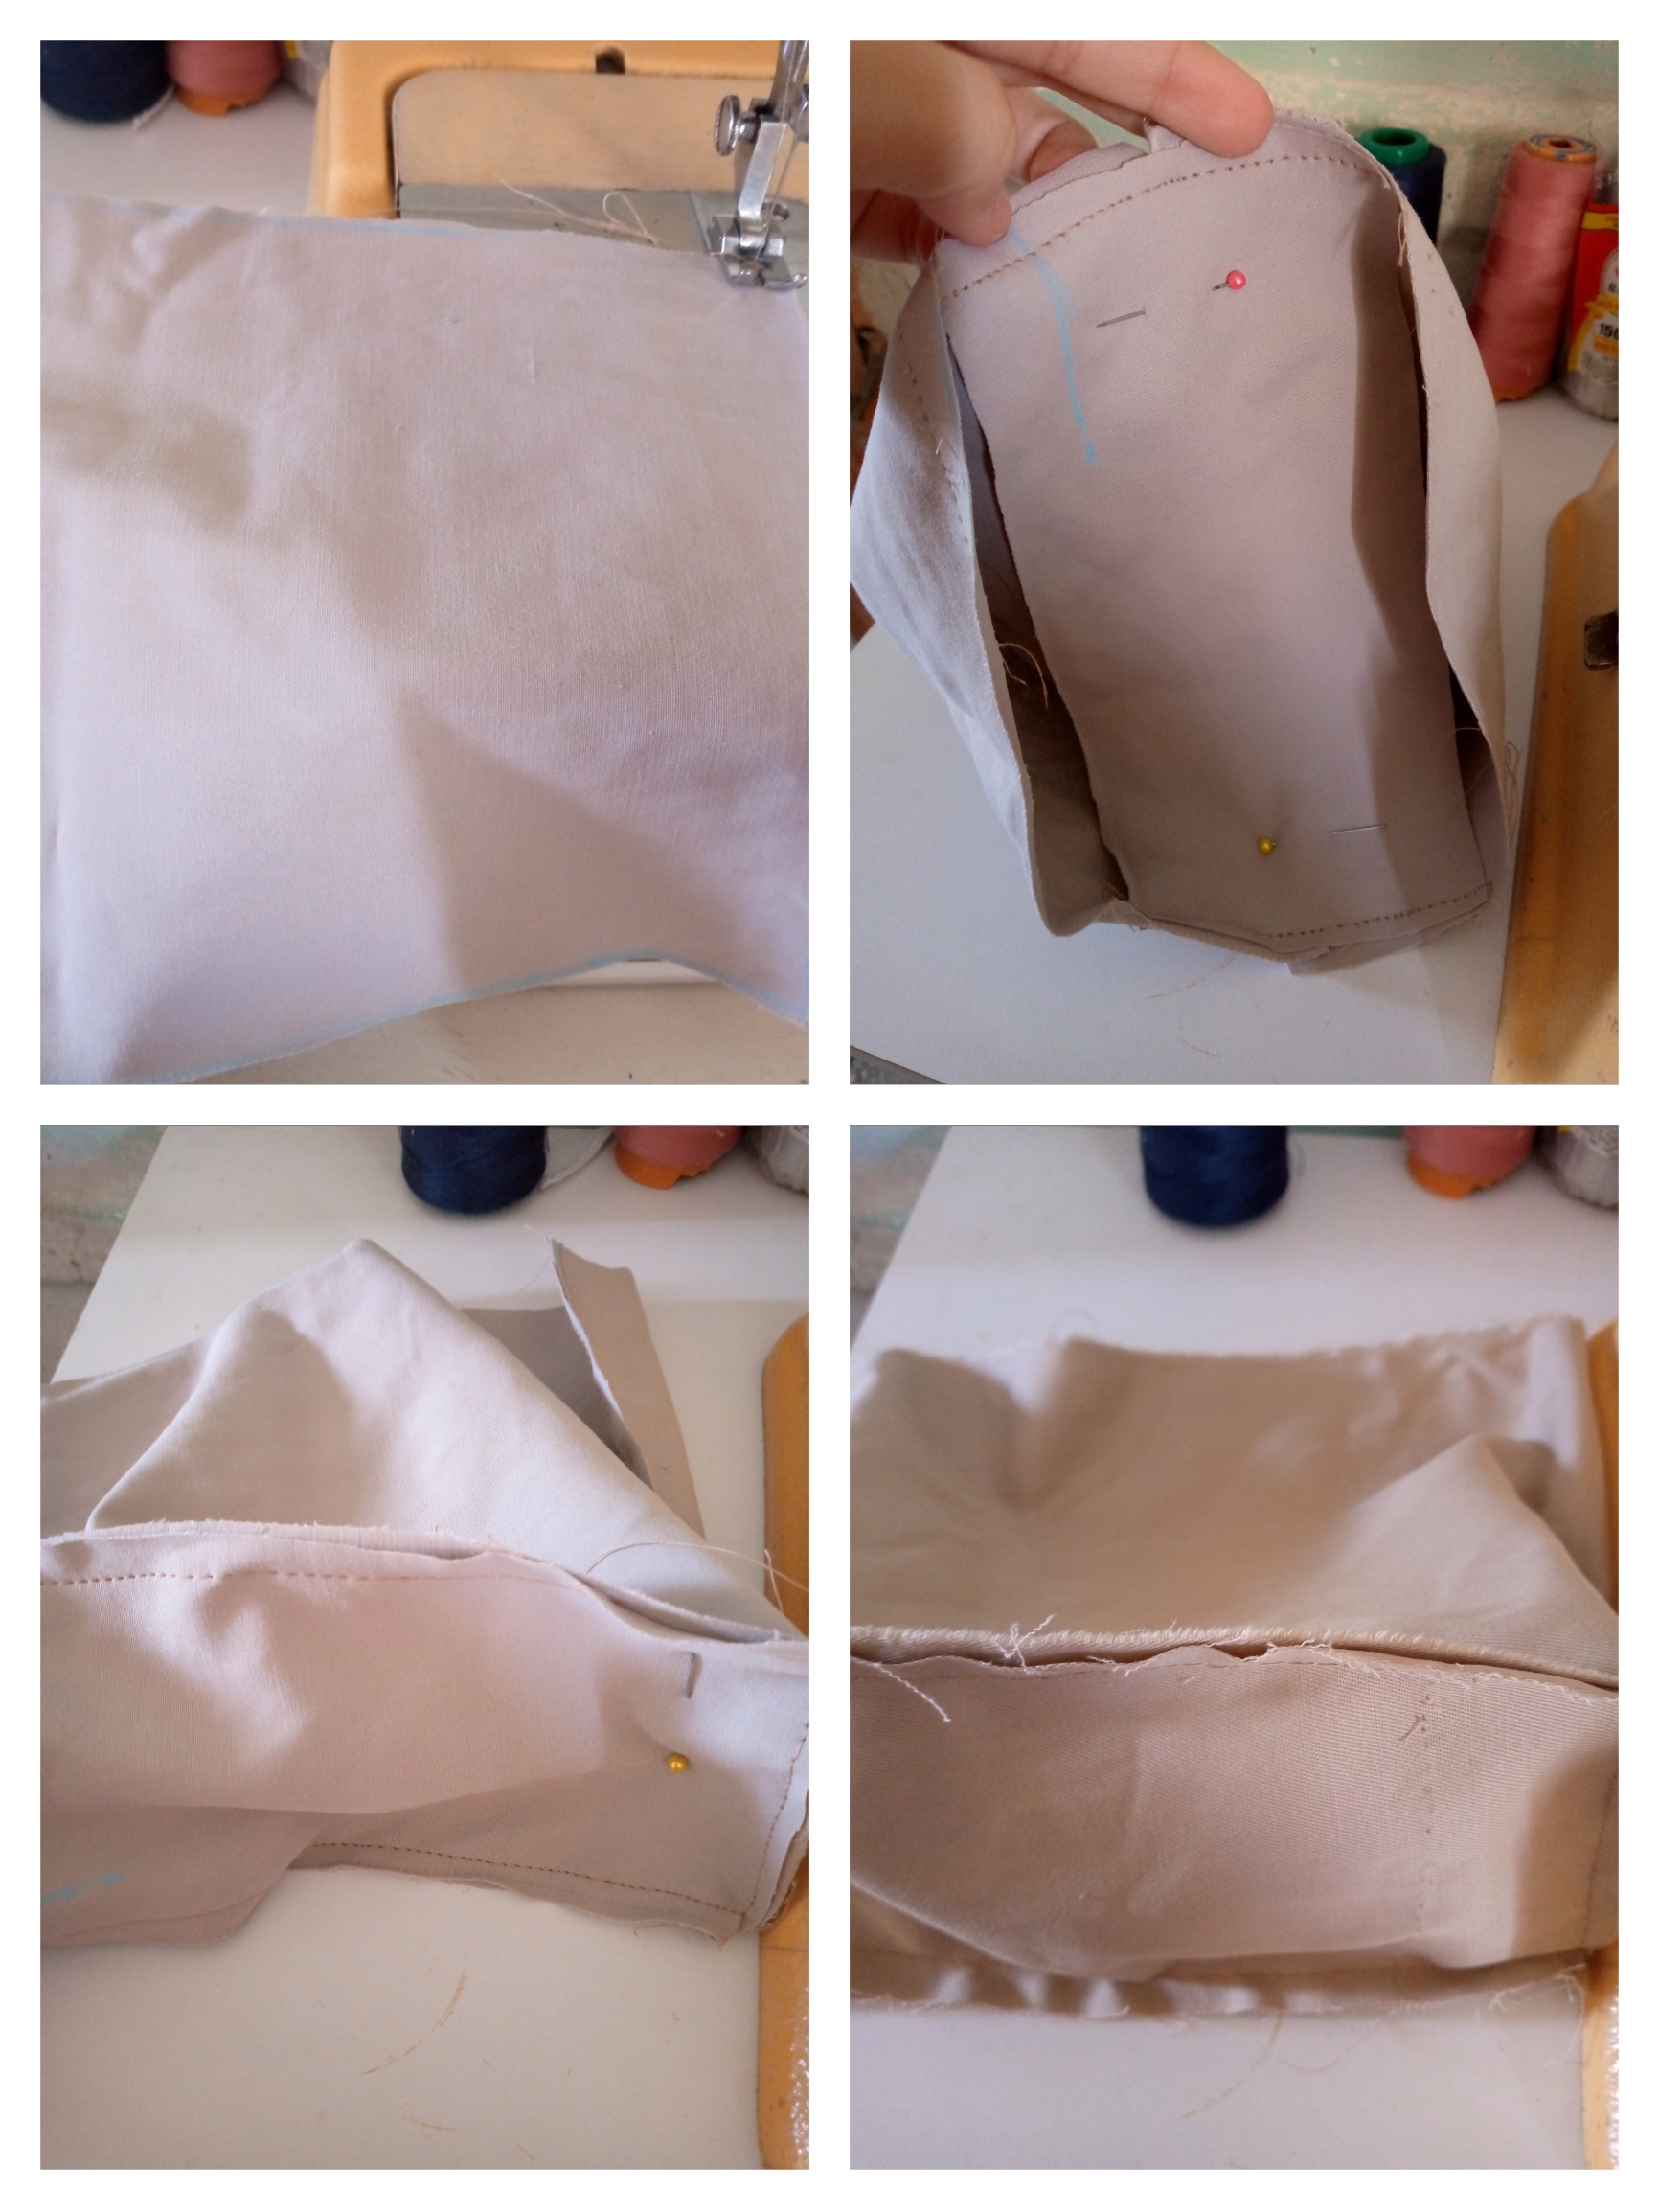
To begin, we are going to cut the pieces of the bag with the following measurements a square of 18 5 cm x 28 cm, a square of 20 cm x 16 cm and a rectangle of 20 5 cm x 9 5 cm these are the measurements used for the pattern that we will mark on our fabric we also cut the closure piece, which are two strips with the following measurements 5 cm wide x 23 cm long.
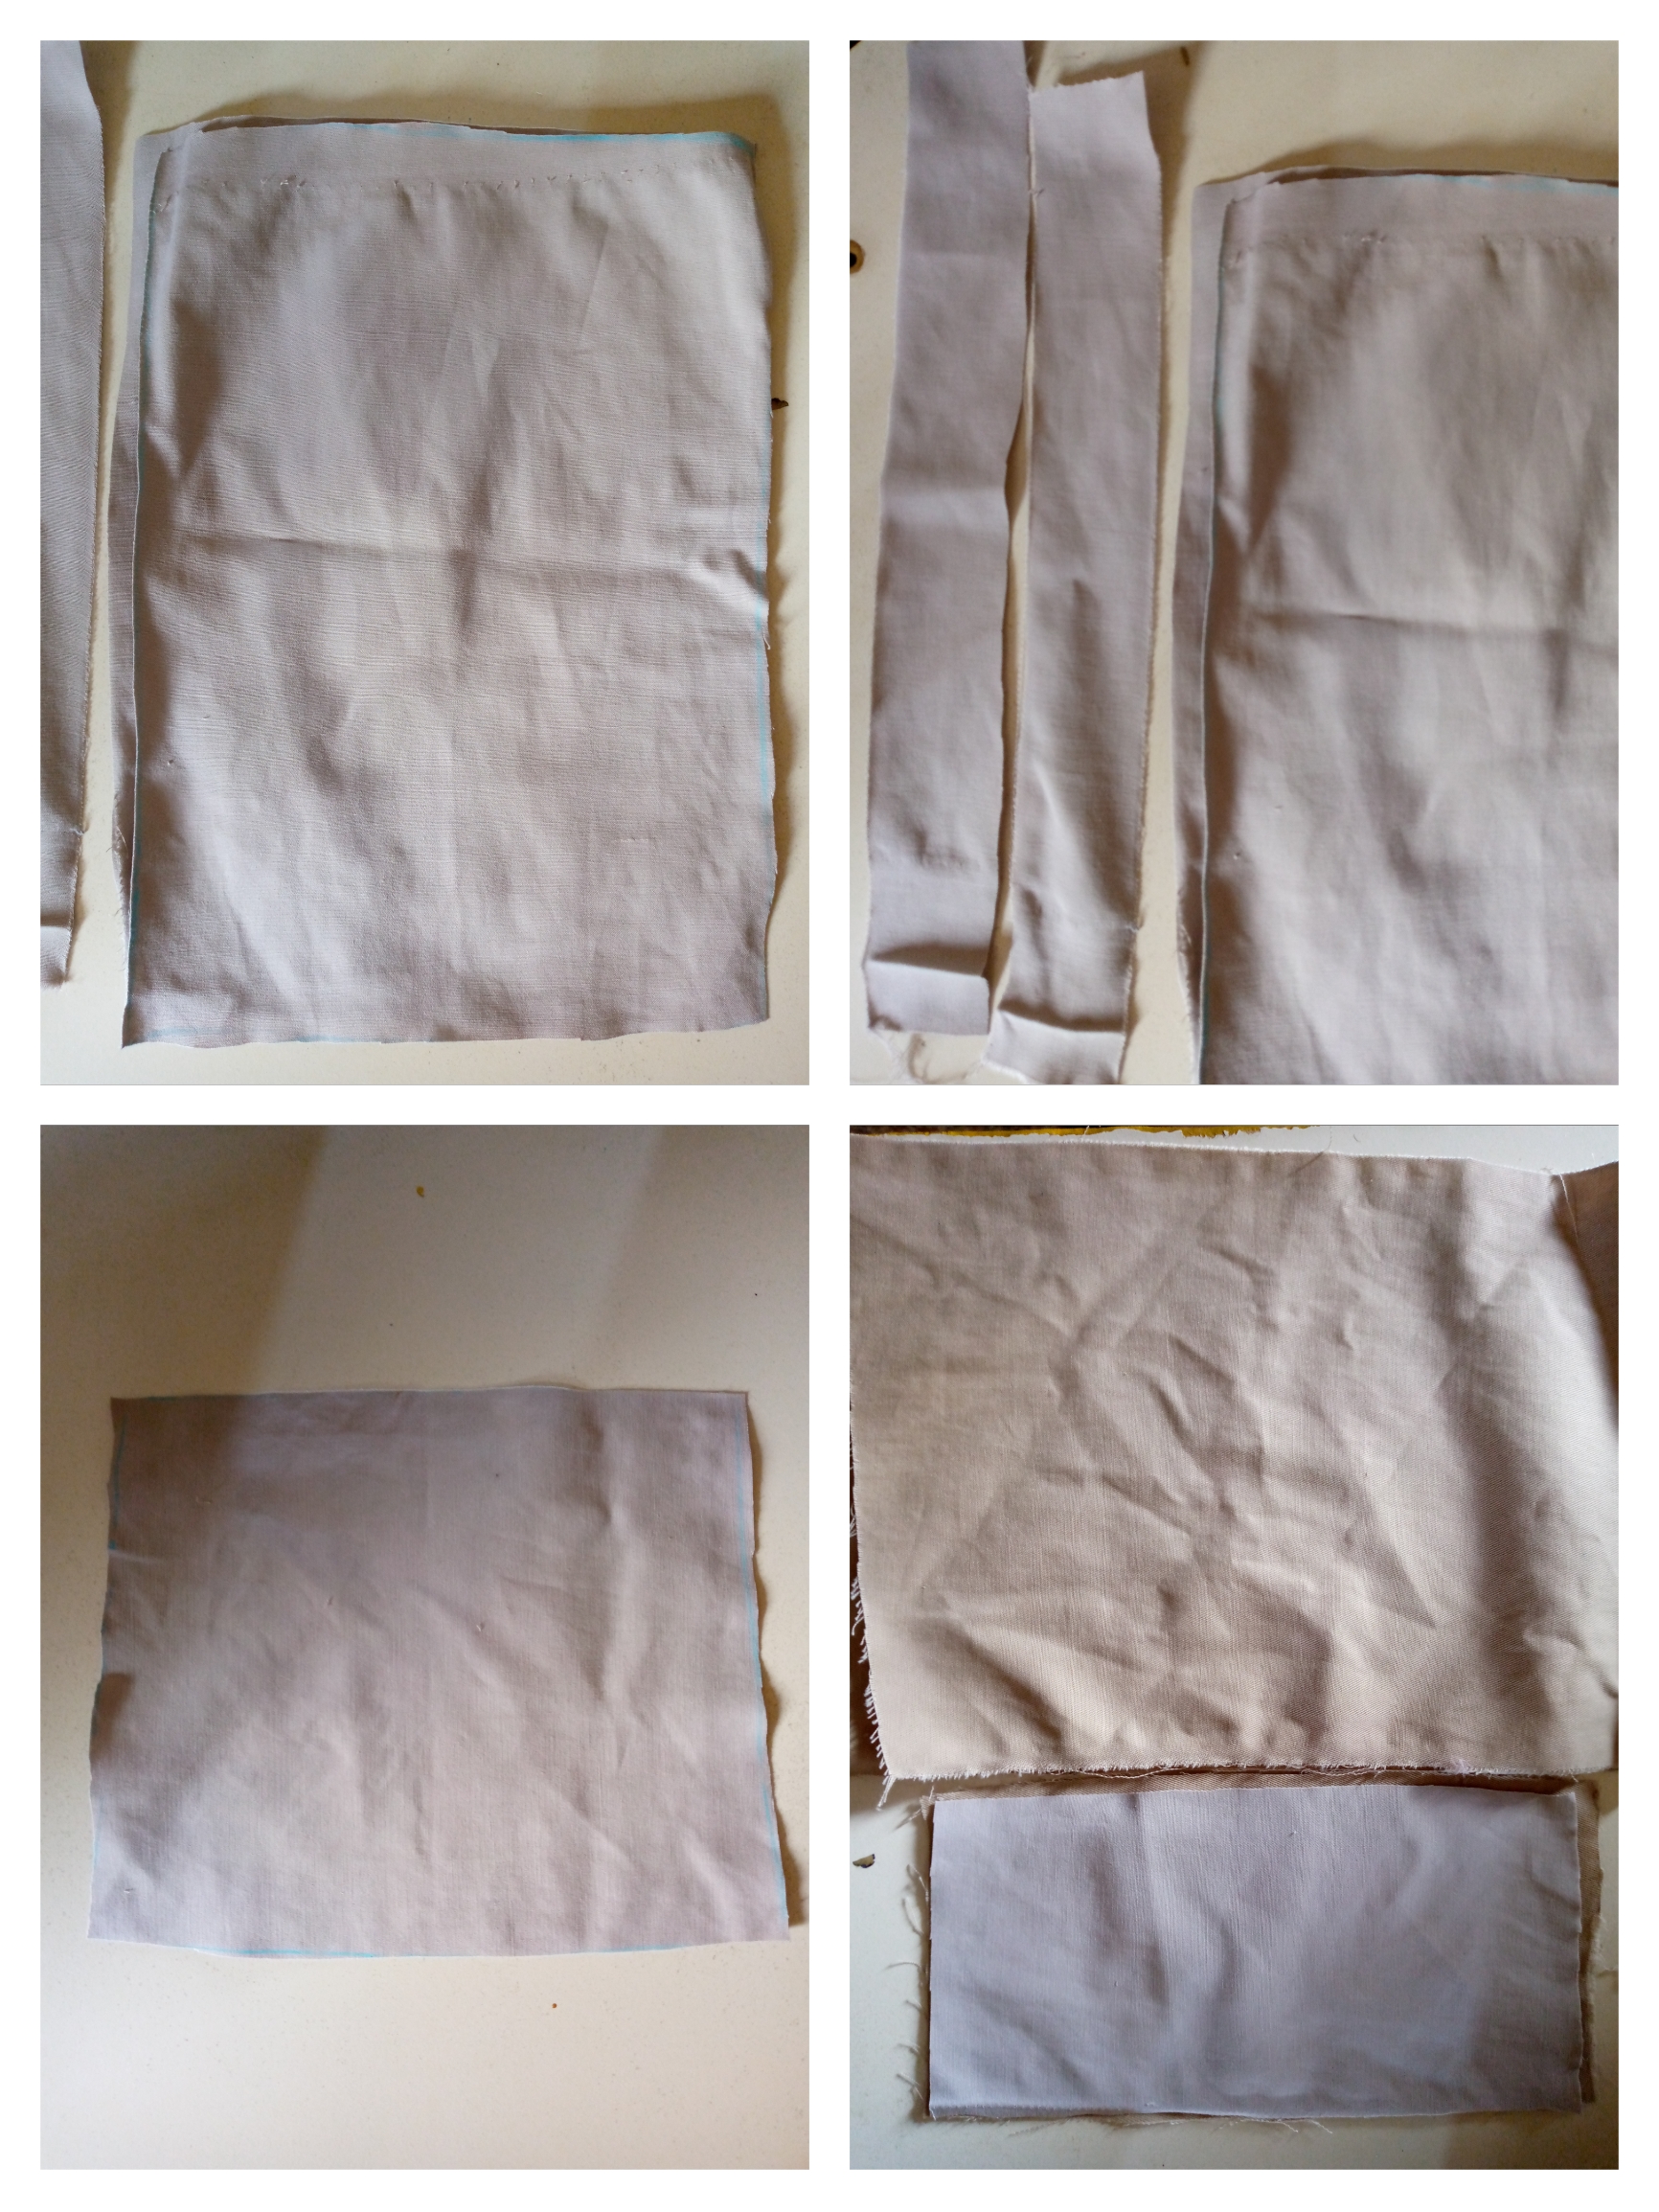
Paso 02
Step 02
We proceed to sew our pieces in the same fabrics as in the lining fabric, which is the same fabric that I used for the pants but in a different tone of beige.We are going to sew the square to the rectangle along the entire edge, forming a kind of bag.
Paso 03
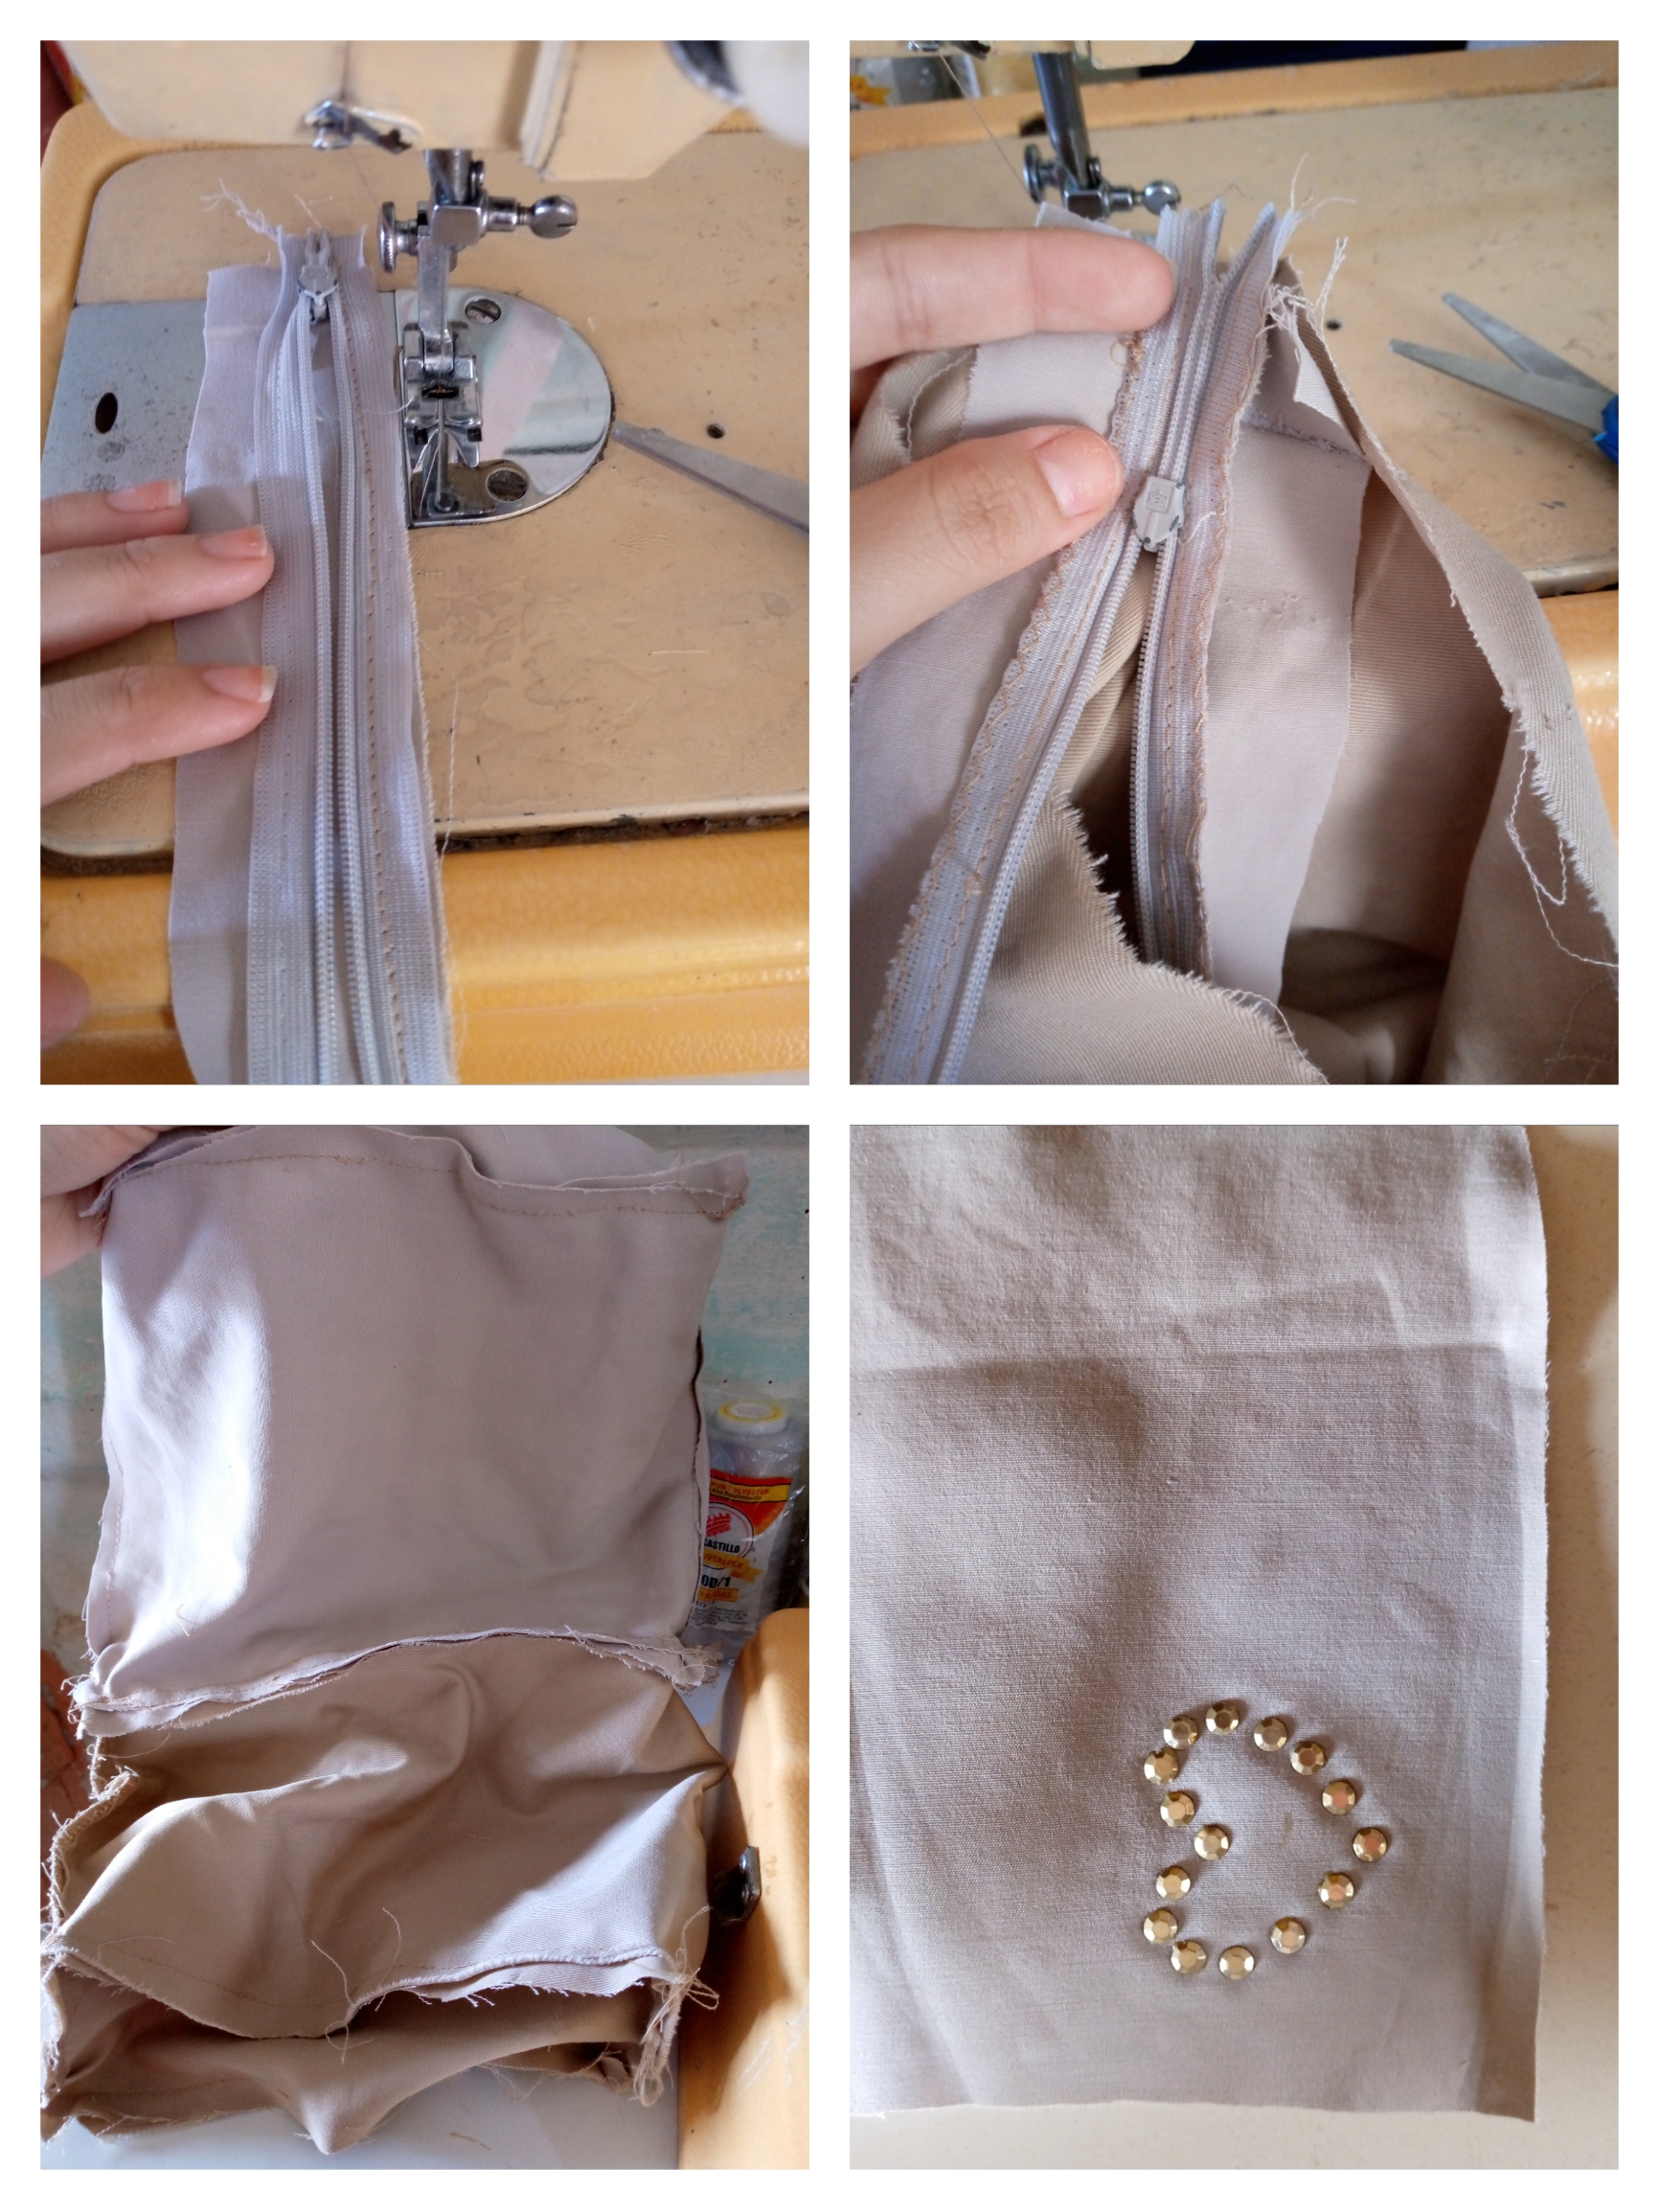
Step 03
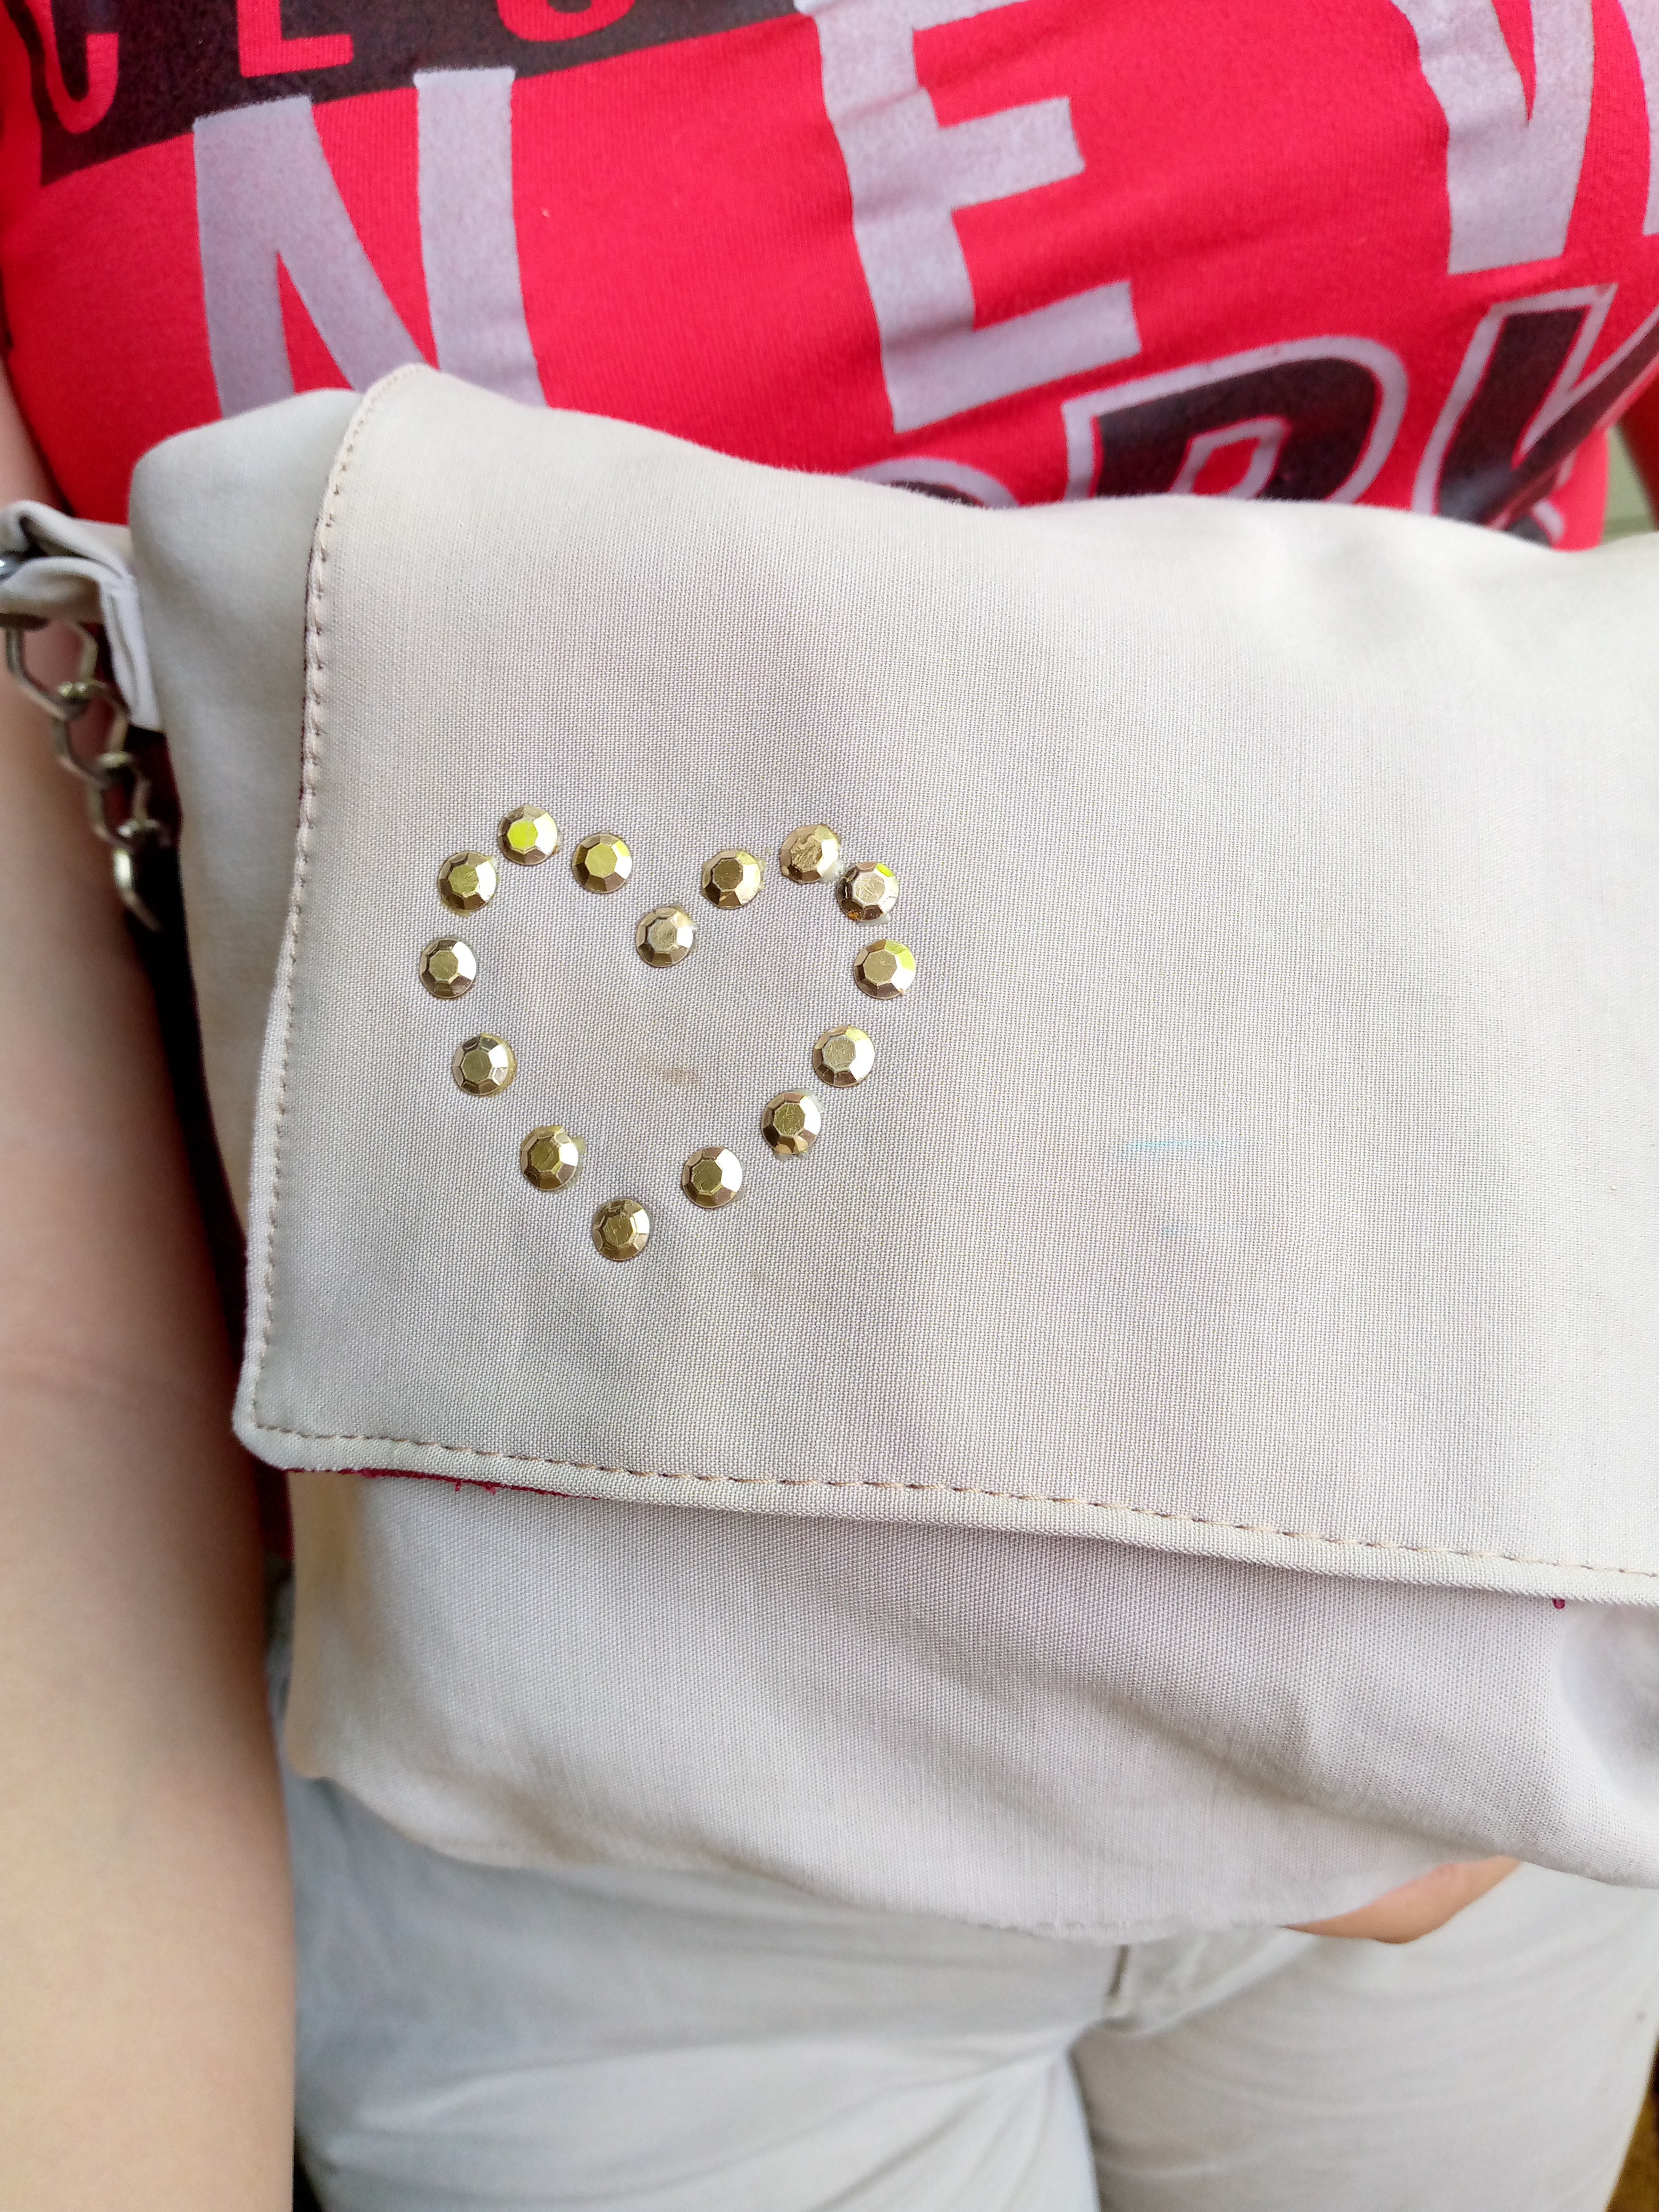
For the next step we are going to sew the closure piece, once this is done we proceed to join the pieces of the bag to the back, the lining and the outside, before sewing the lid of the bag we are going to glue our decorative stones using our iron, These rhinestones are glued to the fabric with the heat of the iron. I made a very pretty heart-shaped design.
Paso 04
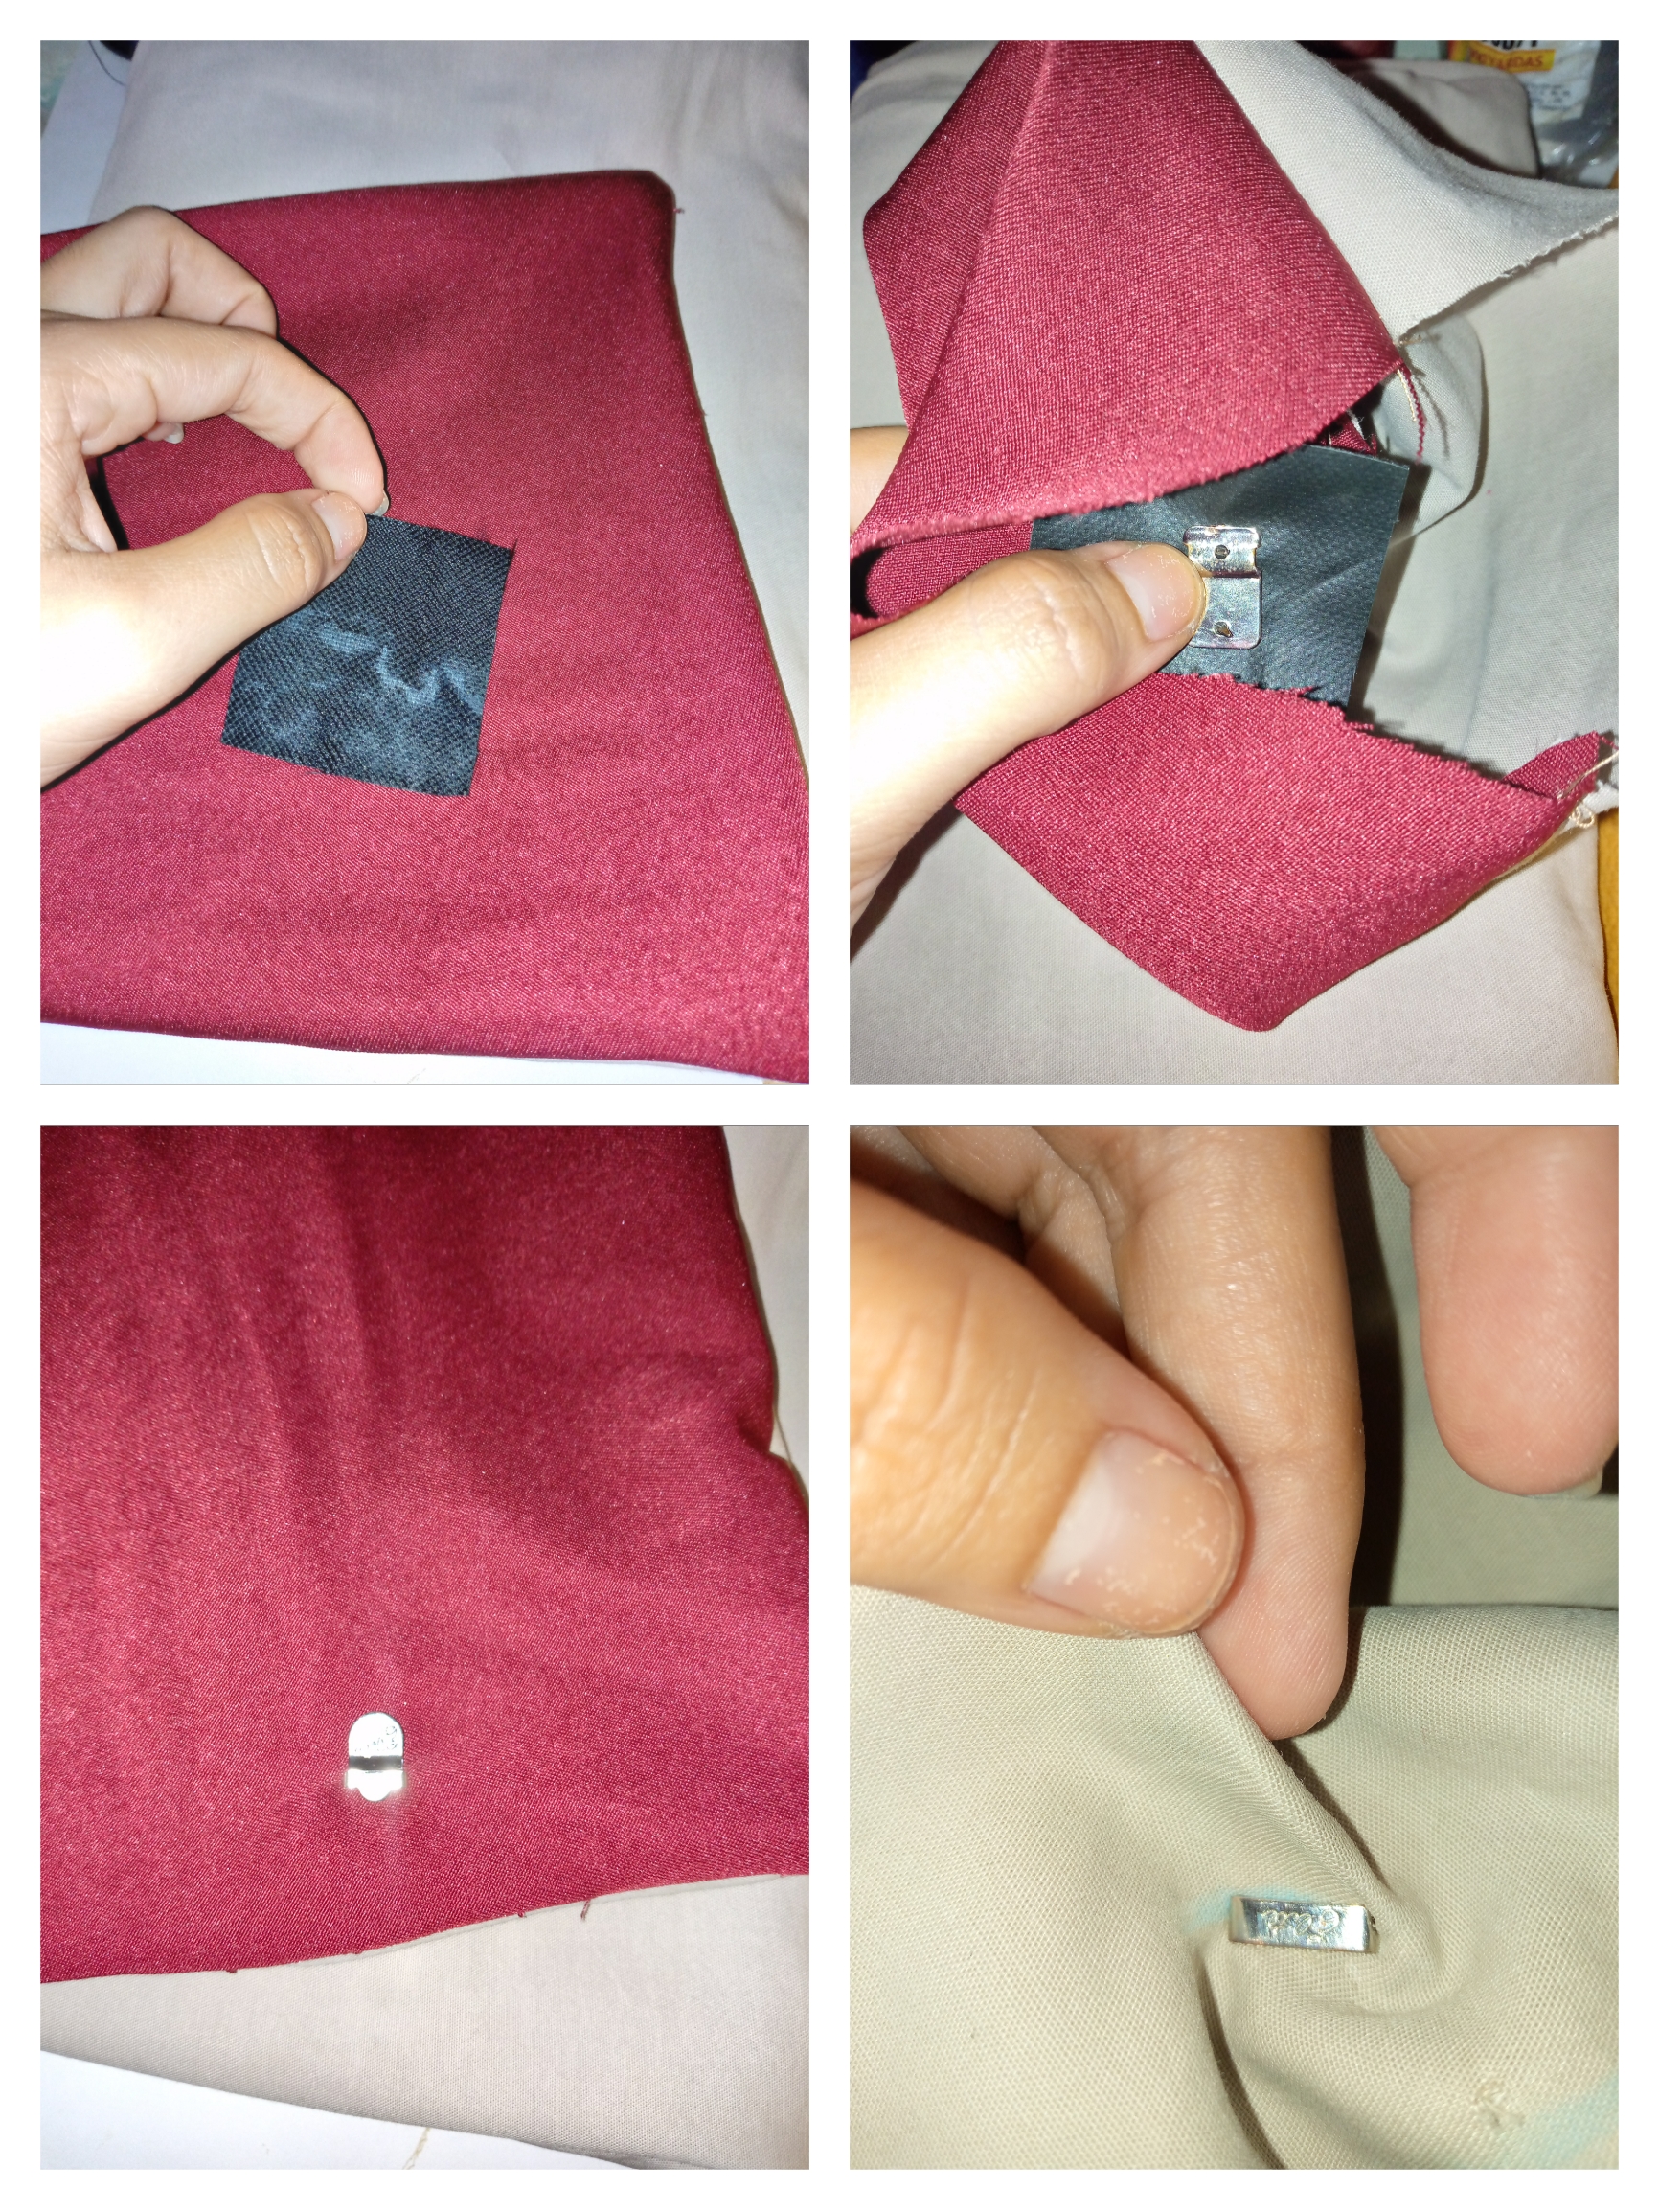
Step 04
Once we have our heart design on the lid of the bag, we are going to sew it around it, leaving only one part unsewn to be able to turn it over. We go on to buy our fasteners in the middle of the lid and the piece of the bag to reinforce it, we use that piece of fabric. something thick on the inside and press the fasteners so they will be well attached to the fabrics on the inside, that way they are ready.
Paso 05
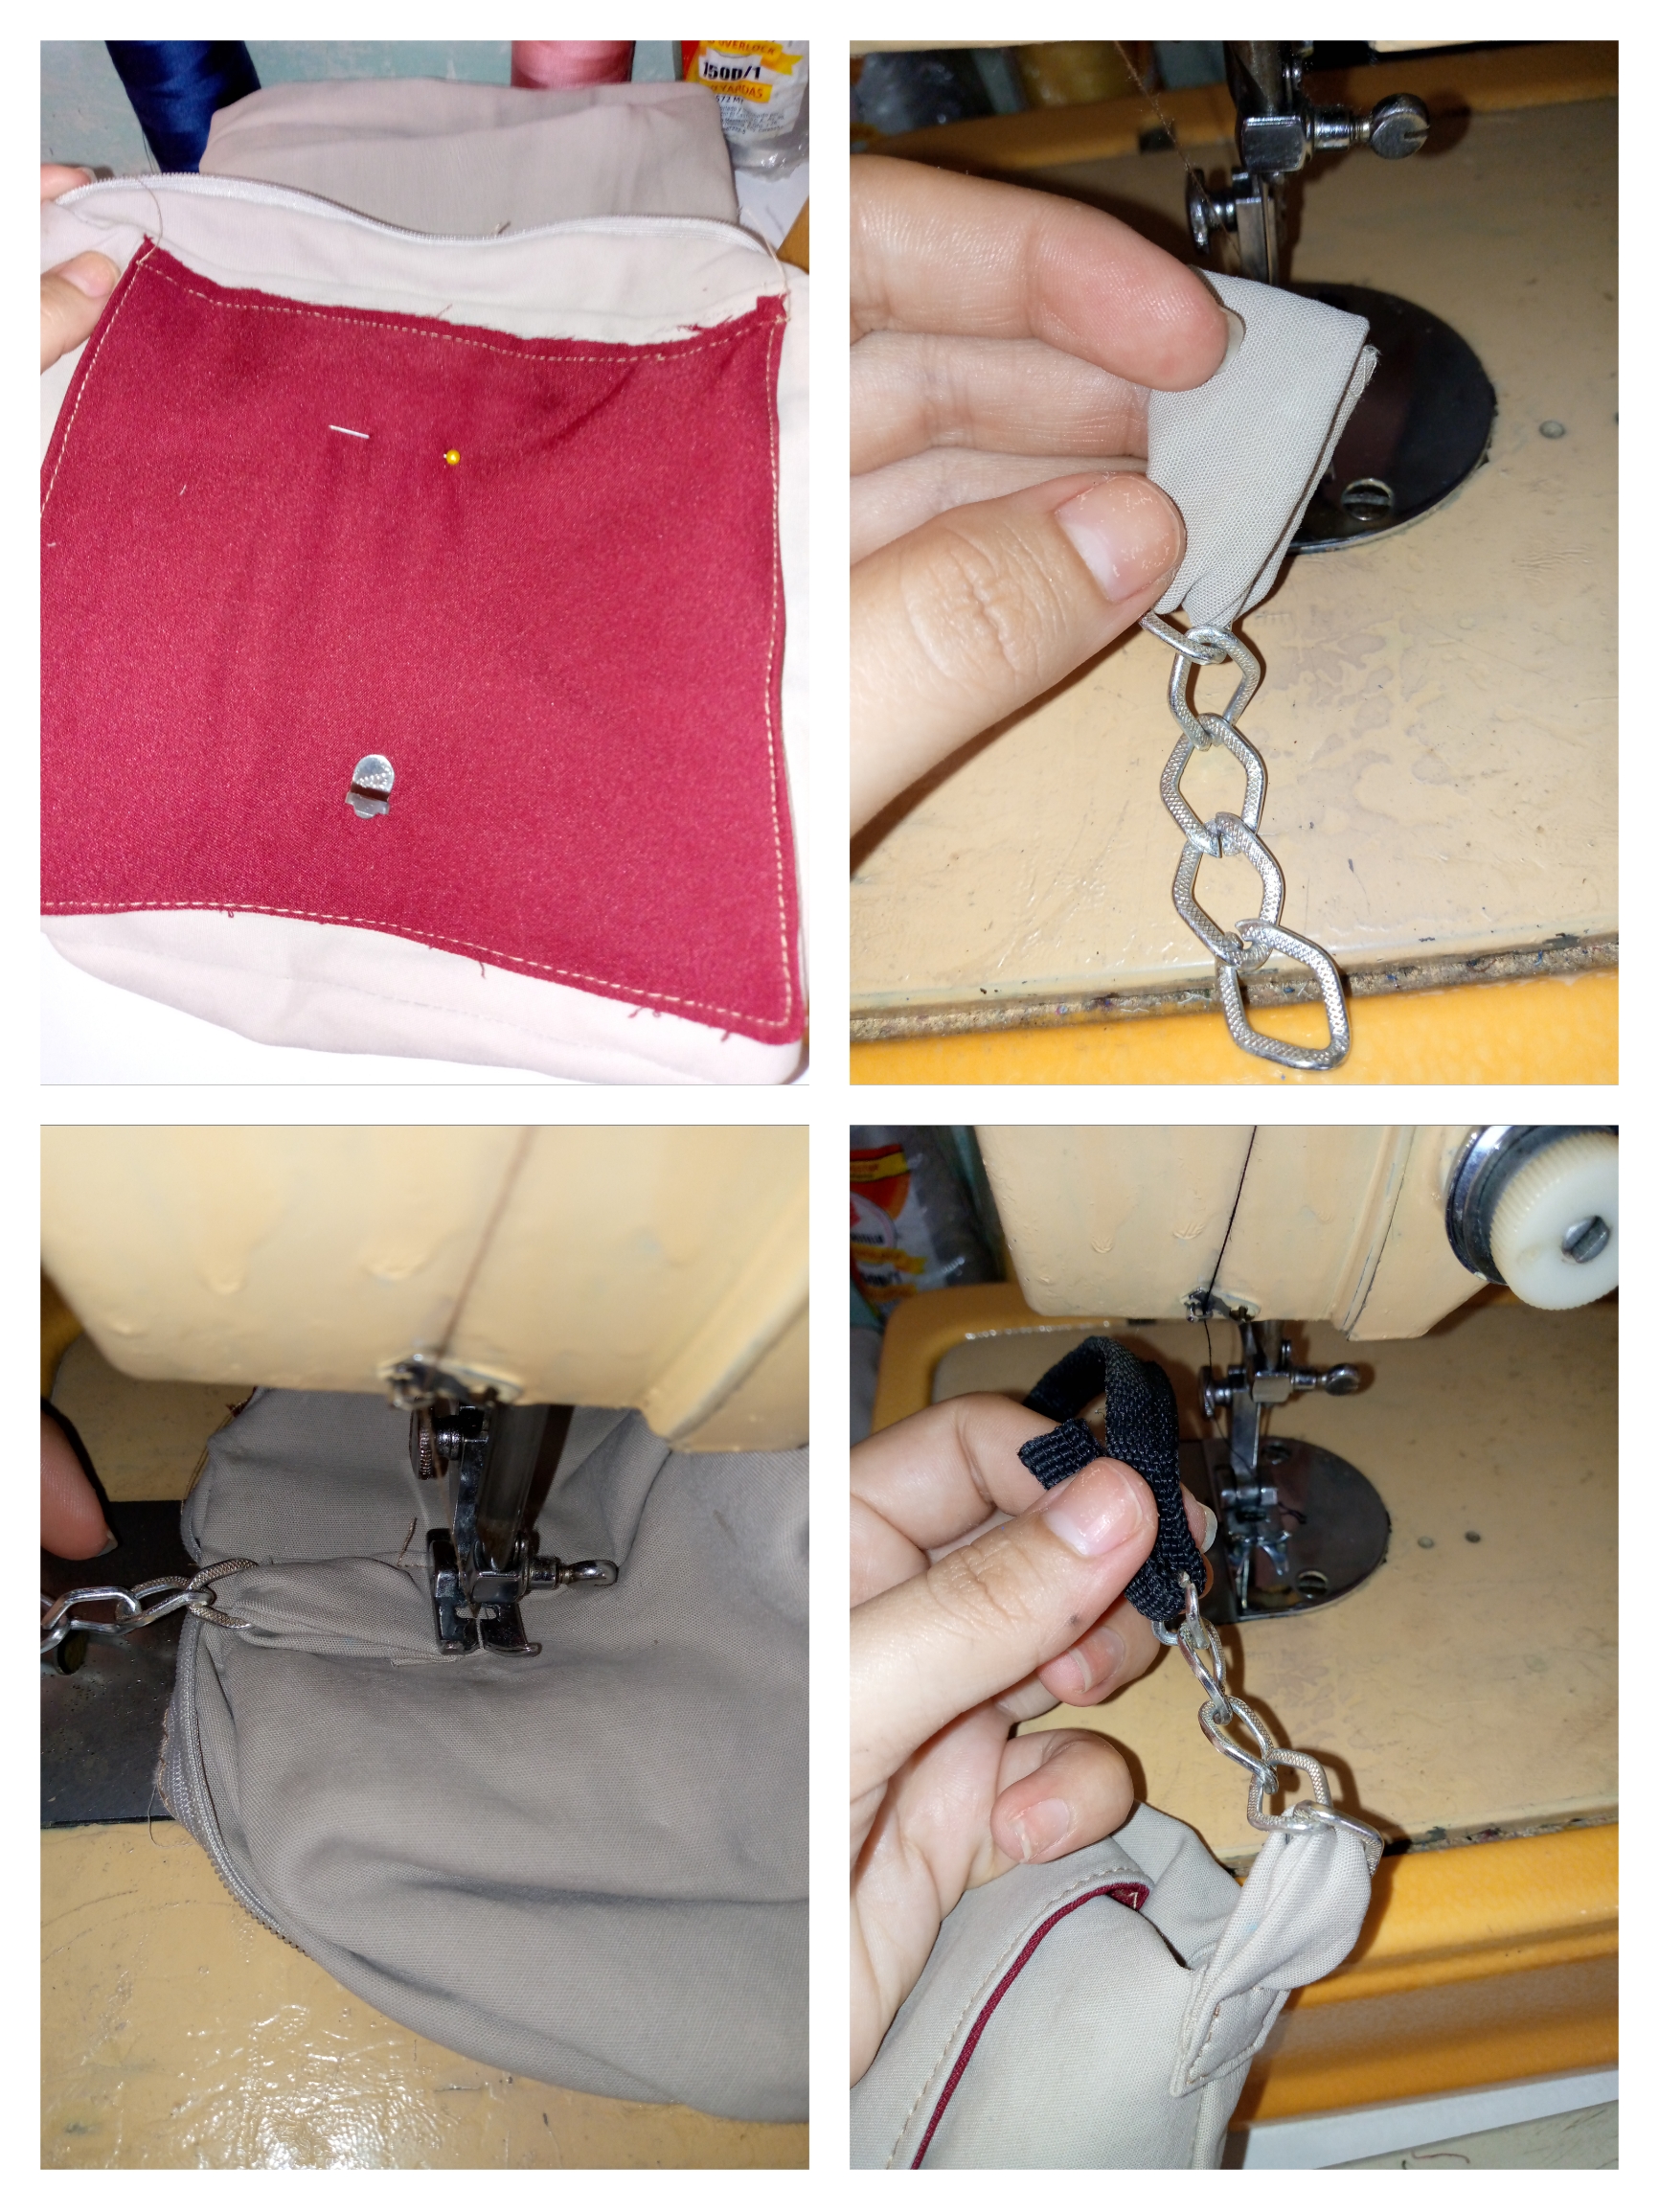
Step 05
As a final step we proceed to sew the lid of the bag on the lower side, then we sew small strips that will hold the chains on the sides of the bag. Then to finish we sew the black rope adjusting it to the length we want of our bag, we seal well and that's it, and it is finished. .
🌼Resultado🌼
Resultado
I loved the result of my summer bag, useful for going out shopping and carrying my cell phone, it looks small but when you start putting things in it it seems like it is bigger than it is and more spacious, I hope you liked the result as much as to me and don't forget to leave your beautiful and beautiful comments that I appreciate so much, see you in another next blog, goodbye friends, have a beautiful week.
.jpg)
Excelente alternativa para aprovechar el material al maximo!
Gracias bella así es :)
Congratulations @anne002! You have completed the following achievement on the Hive blockchain And have been rewarded with New badge(s)
Your next target is to reach 100 comments.
Your next target is to reach 4750 upvotes.
You can view your badges on your board and compare yourself to others in the Ranking
If you no longer want to receive notifications, reply to this comment with the word
STOPThat is an amazing work. The bag looks super
Hello, thank you for the support, I really appreciate your most sincere and beautiful comments, how good you liked it🥰✨✨