Hej there fellow Hiveans
I thought I share my first attempt of the reconstruction.
A quick look in the history of this garment:
So I am starting my series of reproductions with the underwear. From 1914 to 1916 there were some changes, to simplify the production and to save material. While the infantry had their underpants made in 1914 out of four bigger pieces and some small ones, the cavalry had their underpants made out of 2 bigger pieces and some small ones. The reason was basically to avoid the seam in the middle so it was possible to ride longer distances without getting any painfull chafe marks. Because it took less time to produce the pants out of fewer parts, this model was simplified, that means fewer buttons and pockets were used and the model became the unified underpants for all arms.
In Order to be able to reconstruct this as accurate as possible, of course I first need some sources to check and if I am lucky enough even an original, that I can examine just to look at the parts, which are not described in the sources.
My first source is "Das Buch der Wäsche" or translated "Book of washables" which shows a rich amount of different clothes and linens which was published around 1900.

In the book there is to find a usable pattern, that I can use. That pattern is to see here in this picture.

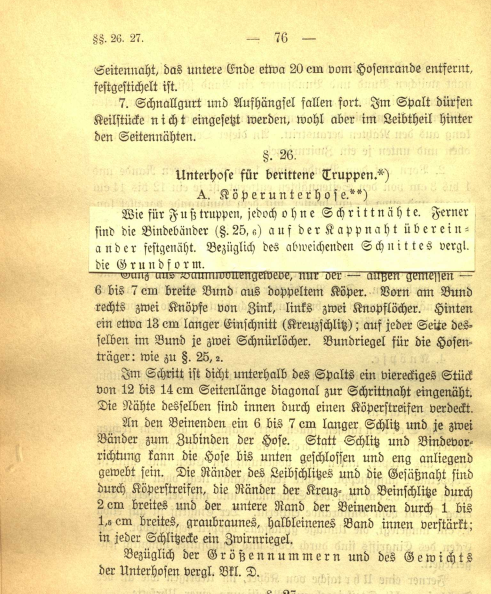
My second source is the "Bekleidungsordung" or translated "Order of clothing", published by the prussian army in 1903, where are to find some detail descriptions of the underpants for the cavalry.
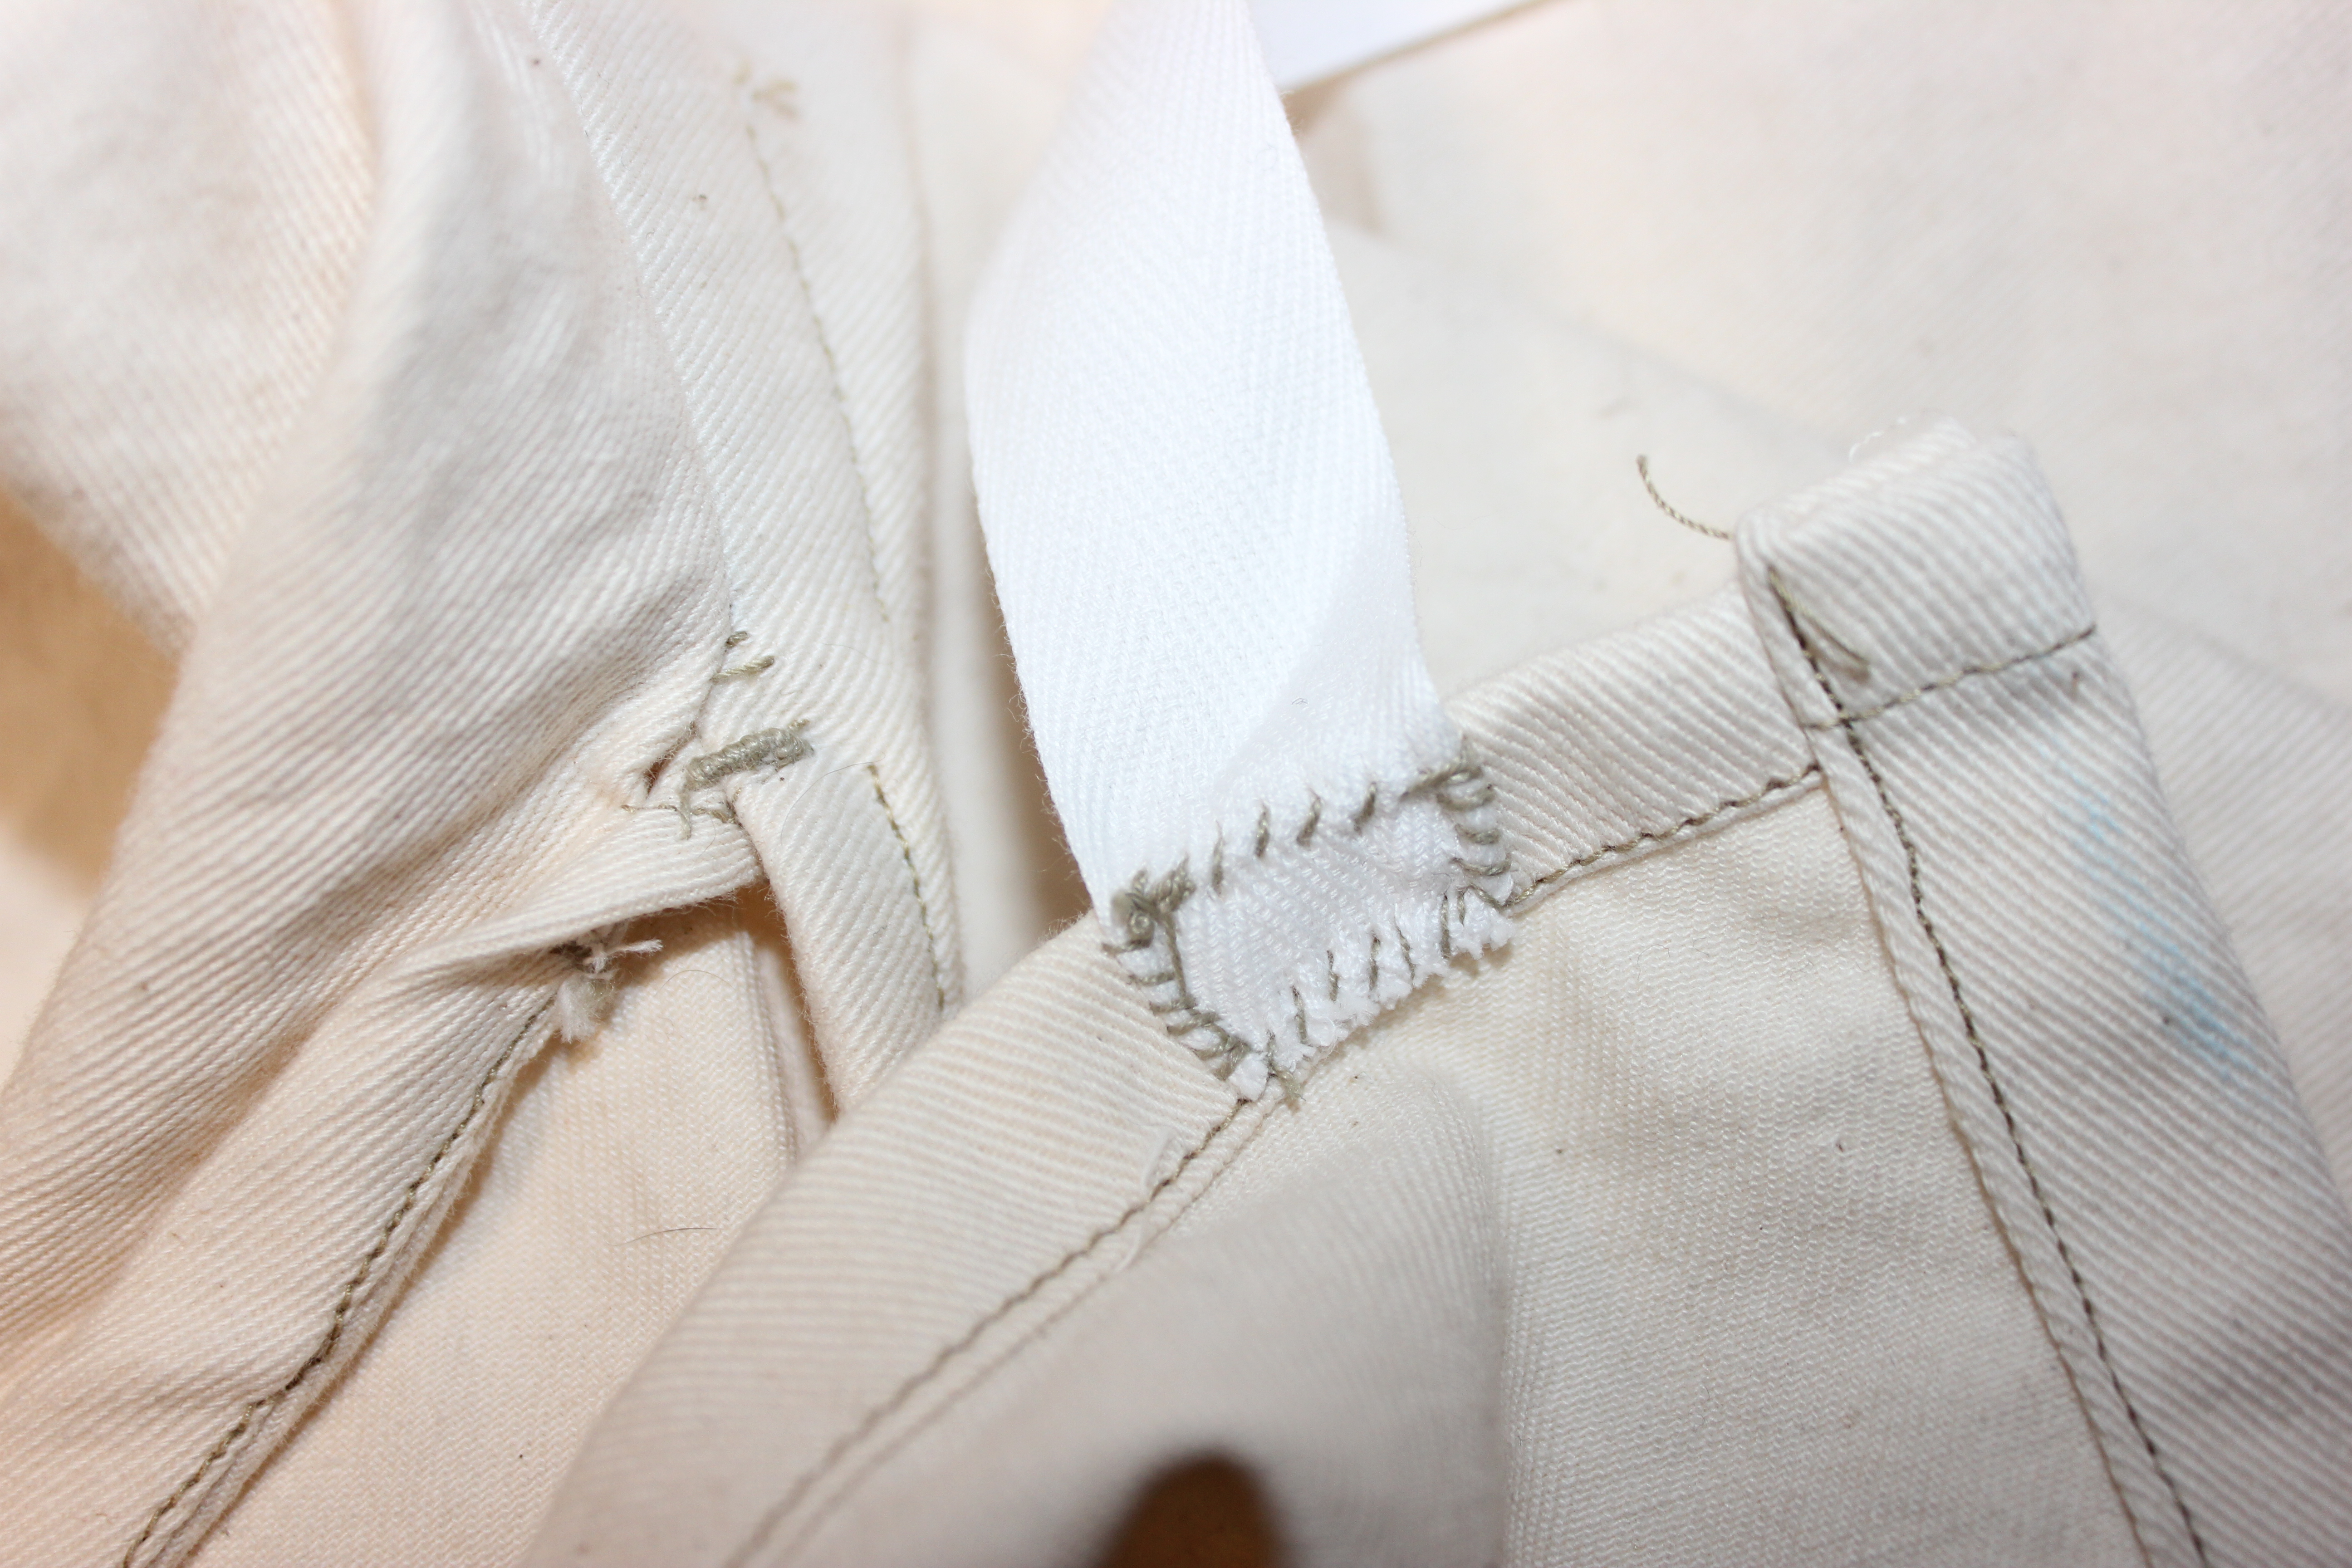
Further I was lucky enough to find an unworn original, that I was able to examine. So I was able to get the propper fabric in the right quality and a look to all the small details, that were made by the former tailors. These tailors had knowledge, what is not to find in the sources but to see on the object.

So I started to search the right fabric and found it.


After getting the right fabric it was time to make some measurements and draw the pattern on the fabric with tailor's chalk.

Then I cut out the pattern and put it together with pins and tested the fitting for the first time.

After adjusting where it was too wide and cutting these parts off, It was time to sew the parts together. For this I used my old sewing maching from 1913, that I got during the summer and repaired it in order to have it working again.

Because these old machines just have limited functions in comparison to modern ones there still were some parts I had to sew by hand. Additionally some of the old sewing techniques require action by hand. In the last step there was adding the last bands and details.

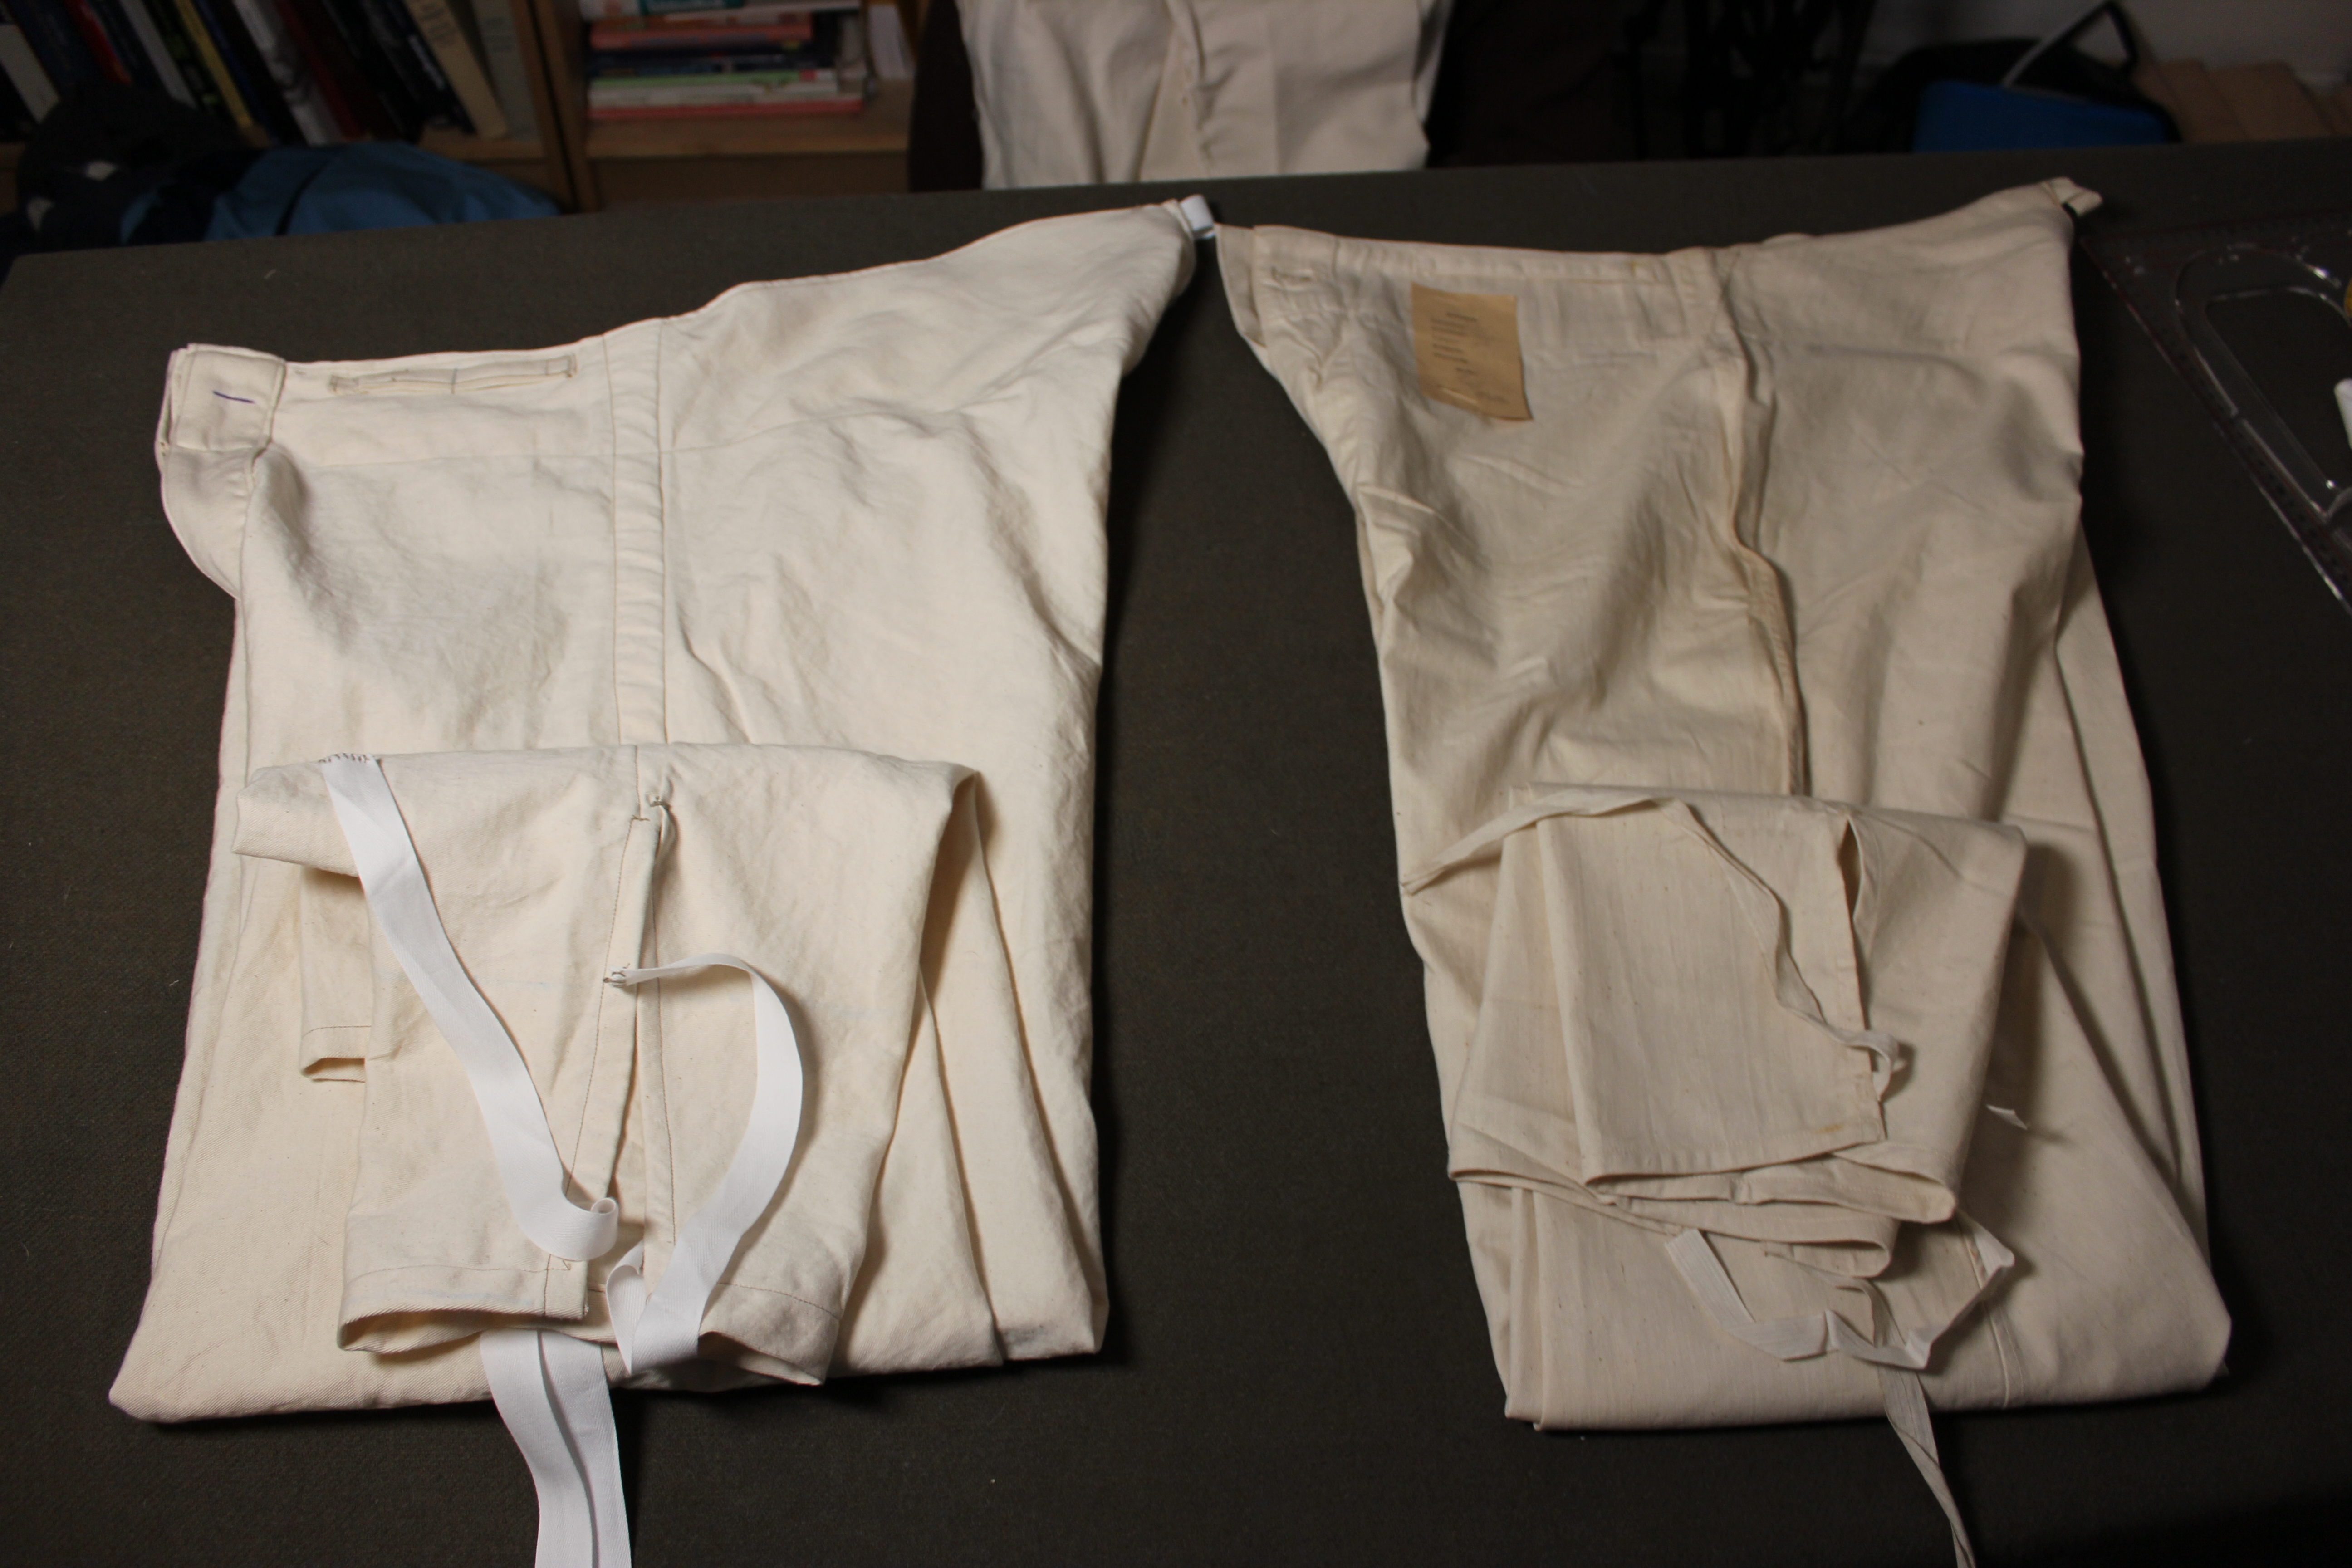
The result turned out ok, but I am not satisfied with it yet. But for my first try I think it is fine and the next one will be better, for now I have gained some experince with that garment. On the right you can see the original, on the left is my reproduction.


Thank you all for reading, I hope you enjoyed it. Feel free to ask, if you have questions. I'll gladly answer. :) If you want to know who I am, please feel free to read my introduction post here.
Have a good day everyone and until next time.
Very nice sewing work @aprussianhussar .. And great to see how you are aiming to be as accurate as possible in creating a correct historical reconstruction 👍
Definitely a sewing machine that matches this project 🙂