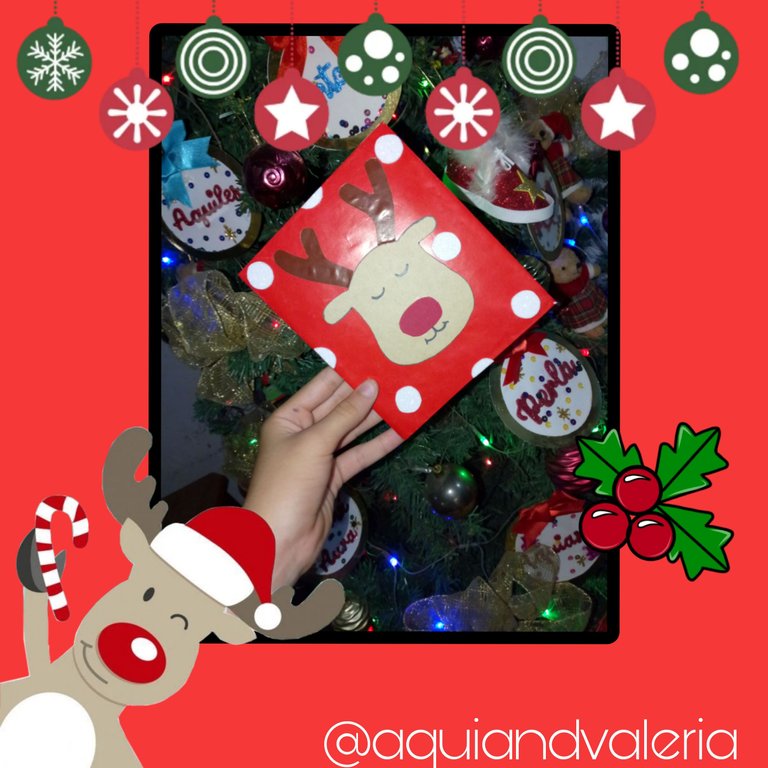
Hola amigos de Hive DIY, el día de hoy les traigo un tutorial para hacer una linda tarjeta de navidad, está es una increíble manualidad para realizar con niños y niñas, en este caso yo la hice para mi proyecto escolar. Sin más que decir, vamos a comenzar.
Hello friends of Hive DIY, today I bring you a tutorial to make a cute Christmas card, this is an amazing craft to make with children, in this case I made it for my school project. Without further ado, let's get started.
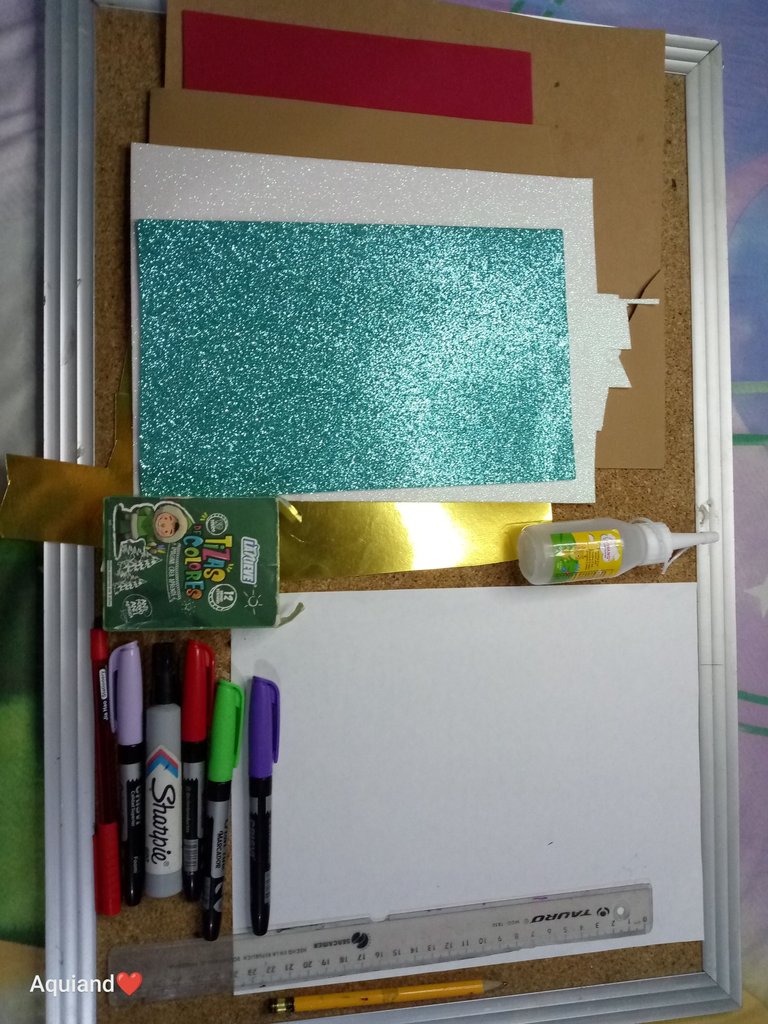
• Foami de colores navideños, en este caso rojo y blanco.
• Silicón.
• Regla.
• Marcadores (negro muy necesario).
• Lápiz.
• 1 hoja blanca.
• Cartulina marrón.
• Papel lustrillo rojo.
- Foami in Christmas colors, in this case red and white.
- Silicone.
- Ruler.
- Markers (black very necessary).
- Pencil.
- 1 white sheet.
- Brown cardboard.
- Lustrill paper
or red.

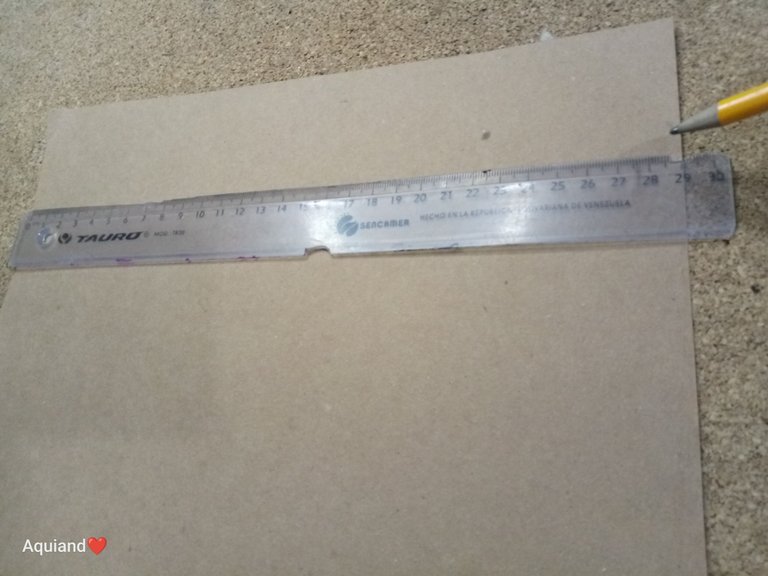
1- Cortamos una pieza de 29x16 cm de cartulina marrón.
1- Cut a 29x16 cm piece of brown cardboard.
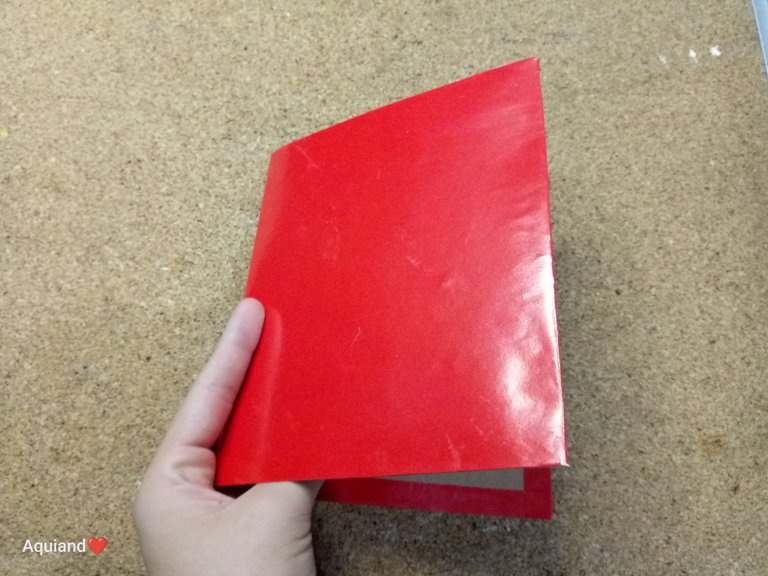
2- Forramos con papel lustrillo rojo.
2- Line with red luster paper.
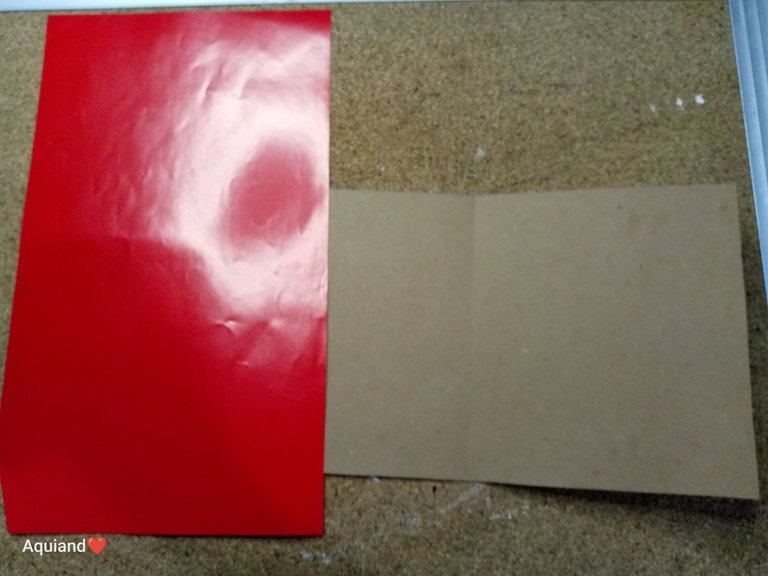
Nos va a quedar algo así.
We will be left with something like this.
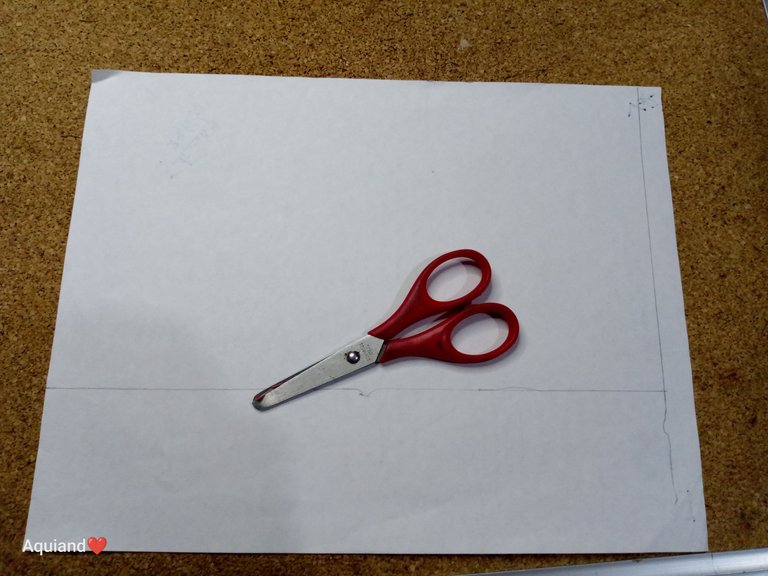
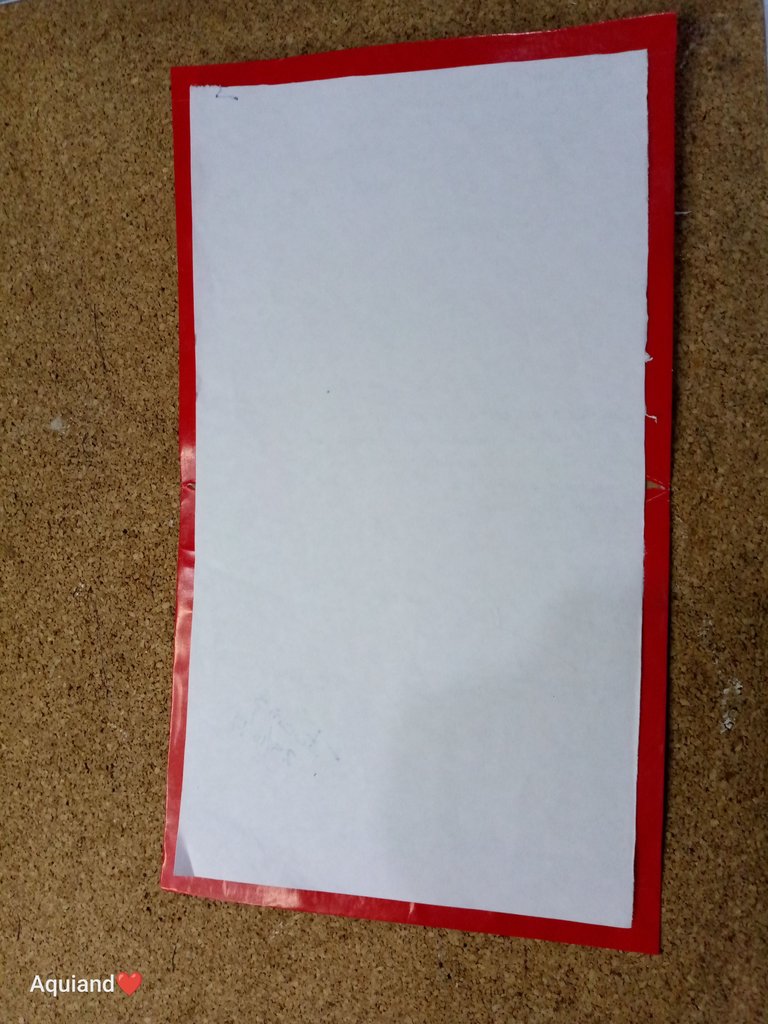
3- Cortamos una hoja de 27x14 cm.
3- We cut a sheet of 27x14 cm.
4- Pegamos en la parte de adentro de nuestra tarjeta.
4- We glue on the inside of our card.
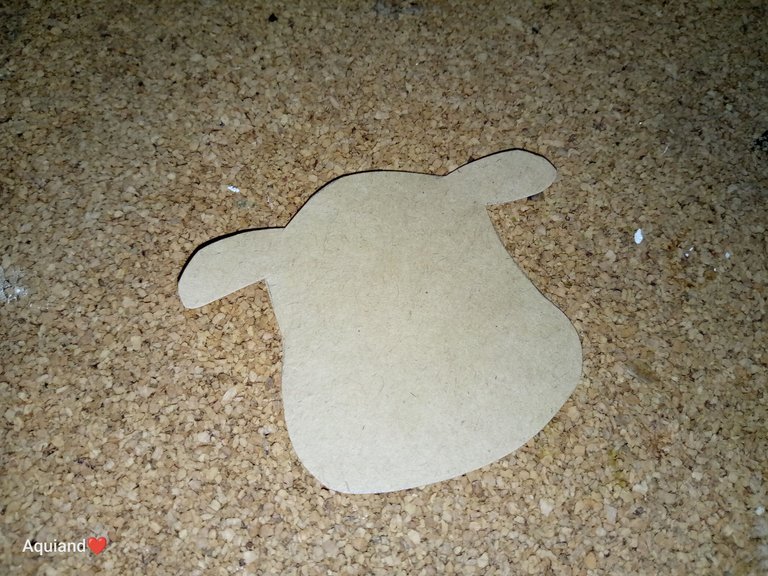
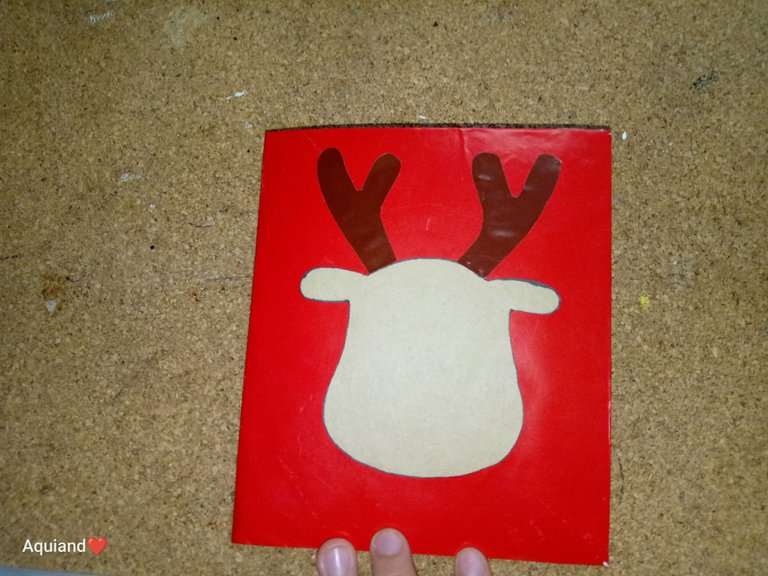
5- Ahora recortamos la silueta de un reno en cartulina marrón, esto será la decoración de la portada.
5- Now we cut out the silhouette of a reindeer in brown cardboard, this will be the decoration of the cover.
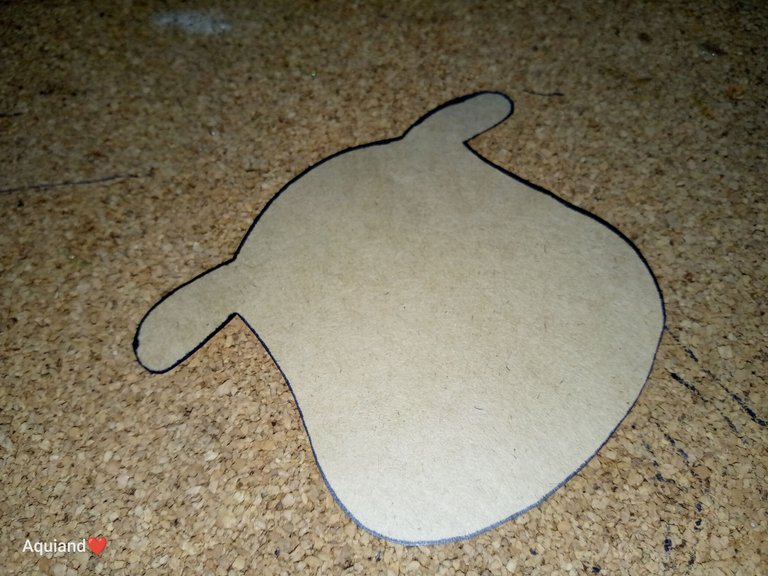
6- Marcamos las orillas del reno con marcador negro.
6- Mark the edges of the reindeer with black marker.
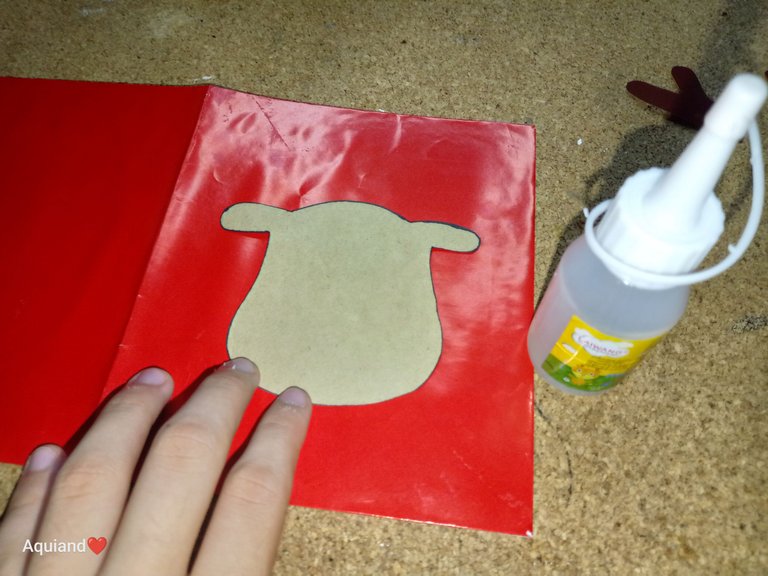
7- Y pegamos a la tarjeta.
7- And we glue to the card.
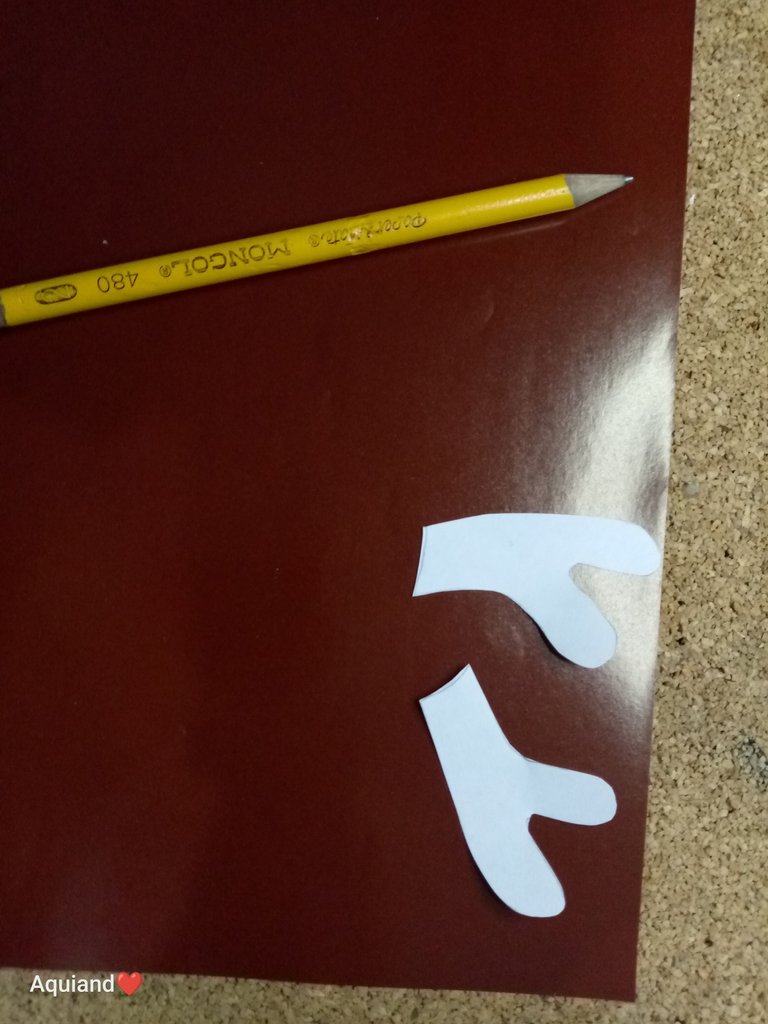
8- Sacamos los cachitos del reno en papel lustrillo marrón.
8- We remove the reindeer pieces in brown glossy paper.
9- Y pegamos a la tarjeta.
9- And we glue to the card.
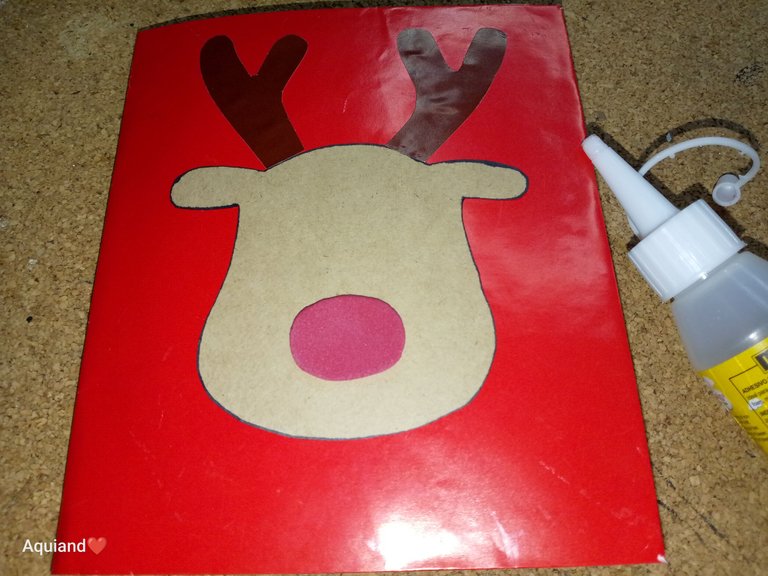
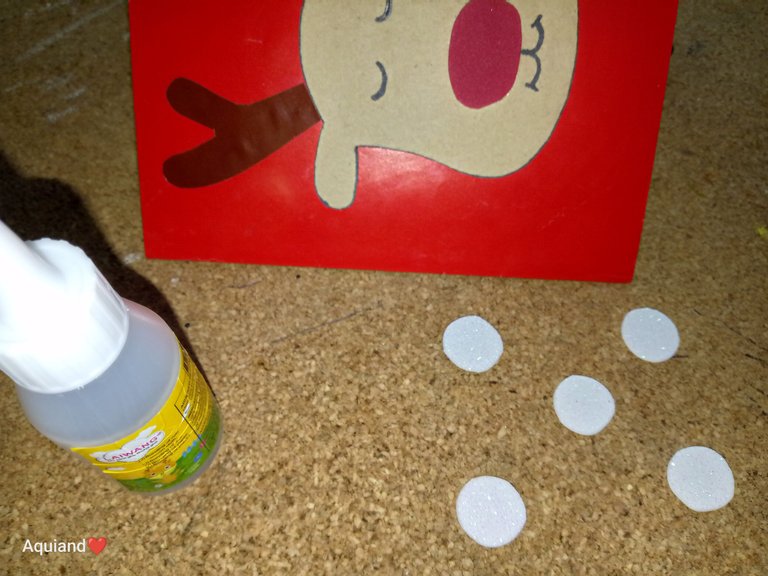
10- Ahora sacamos la nariz de nuestro reno en foami rojo. También puede ser escarchado. Y pegamos.
10- Now we make the nose of our reindeer in red foami. It can also be frosted. And glue.
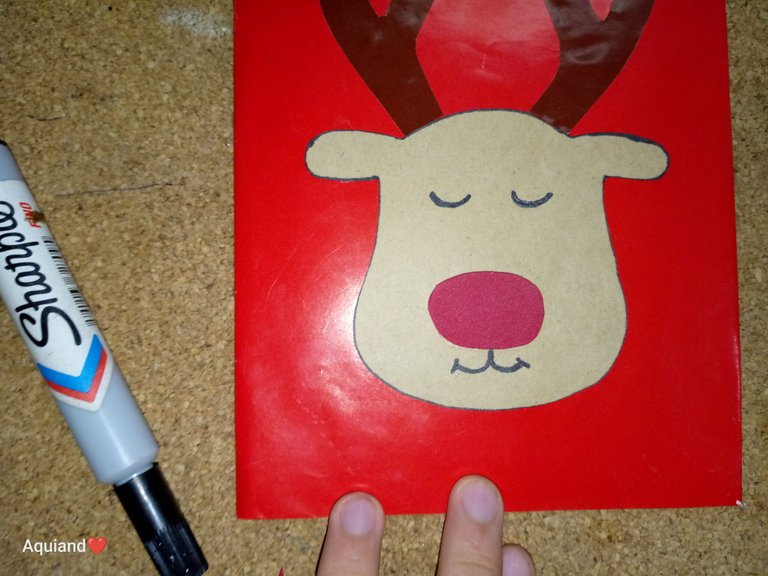
11- Con marcador negro hacemos la carita.
11- With black marker we make the face.
12- Ahora recortamos círculos en foami blanco escarchado.
12- Now we cut out circles in white frosted foami.
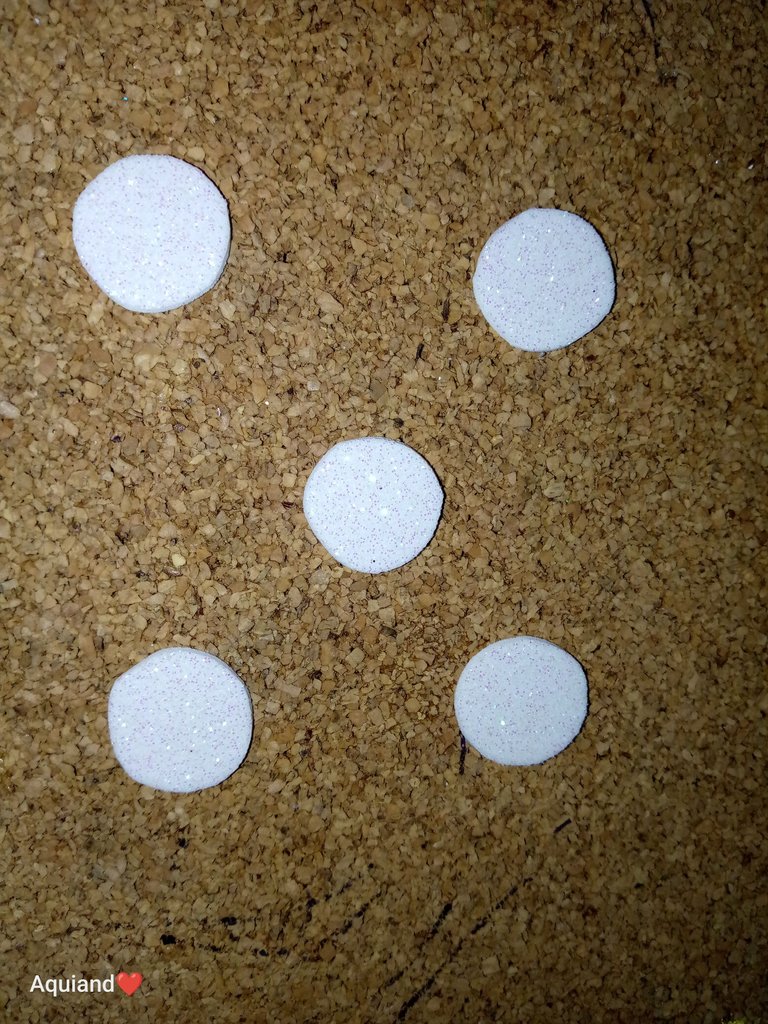
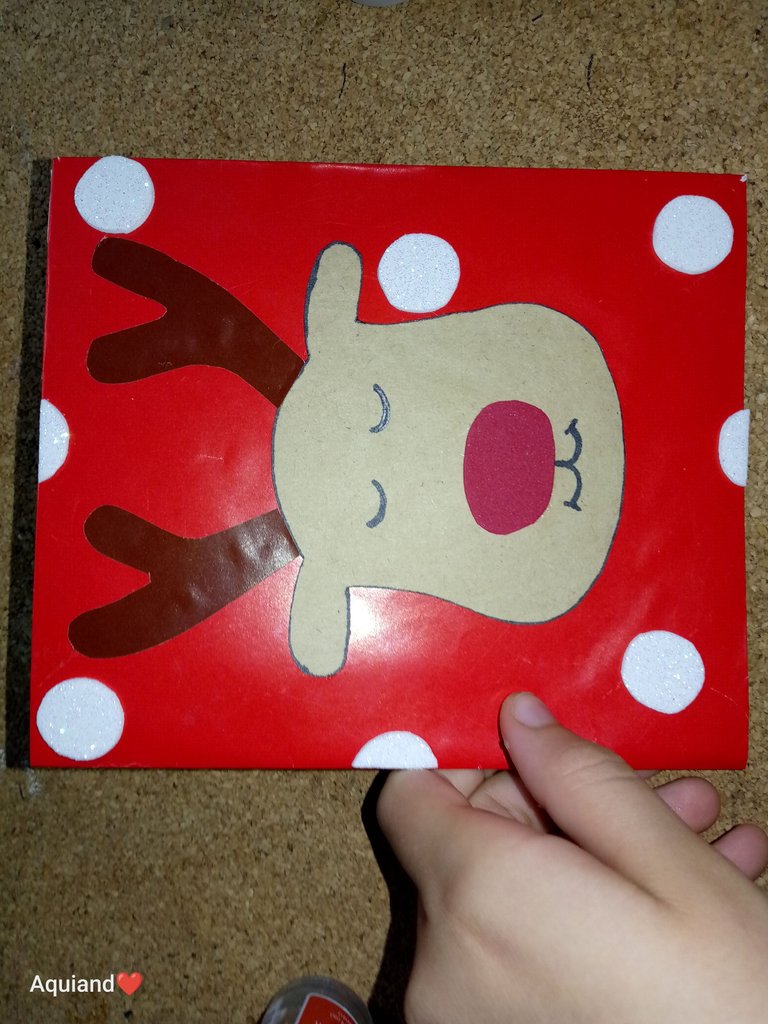
13- Y pegamos.
13- And paste.
Así nos va a quedar la tarjeta.
This is what the card will look like.
Y listo, ya nuestra tarjeta está lista, le puedes colocar lo que prefieras en la parte de adentro, y si quieres también puedes decorar la parte de atrás, no olviden dejar sus opiniones en los comentarios, me despido, nos vemos en el próximo post amigos. Gracias por ver y leer.
And ready, our card is ready, you can place whatever you prefer on the inside, and if you want you can also decorate the back, do not forget to leave your opinions in the comments, I say goodbye, see you in the next post friends. Thanks for watching and reading.
- El texto es completamente de mi autoría
- The text is entirely by me
- Traducción realizada con DeepL Traslate
- Translation using DeepL Traslate
- Cámara: Tecno Spark GO 2023
- Camera: Tecno Spark GO 2023
- El texto es completamente de mi autoría
- The text is entirely by me
- Traducción realizada con DeepL Traslate
- Translation using DeepL Traslate
- Cámara: Tecno Spark GO 2023
- Camera: Tecno Spark GO 2023
- Traducción realizada con DeepL Traslate
- Translation using DeepL Traslate
- Cámara: Tecno Spark GO 2023
- Camera: Tecno Spark GO 2023
- Cámara: Tecno Spark GO 2023
- Camera: Tecno Spark GO 2023

!DIY
!discovery 30
This post was shared and voted inside the discord by the curators team of discovery-it
Join our Community and follow our Curation Trail
Discovery-it is also a Witness, vote for us here
Delegate to us for passive income. Check our 80% fee-back Program
You can query your personal balance by
!DIYSTATSThat is a truly nice card. Anyone would be grateful to have it.
Vaya q está hermosa esa tarjeta @aquiandvaleria ... exitos!!
Congratulations @aquiandvaleria! You have completed the following achievement on the Hive blockchain And have been rewarded with New badge(s)
Your next target is to reach 4500 upvotes.
You can view your badges on your board and compare yourself to others in the Ranking
If you no longer want to receive notifications, reply to this comment with the word
STOPCheck out our last posts: