Hello friends from all over the hive community! I hope you are well ✌
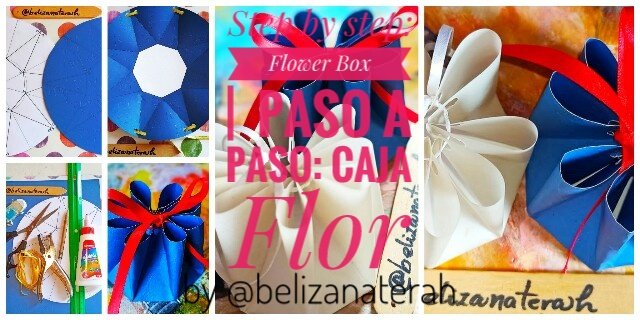
Today I want to show you a beautiful box that I made, it is super delicate and different. It is a bit difficult because it requires patience, but it is worth trying; the result is very nice.
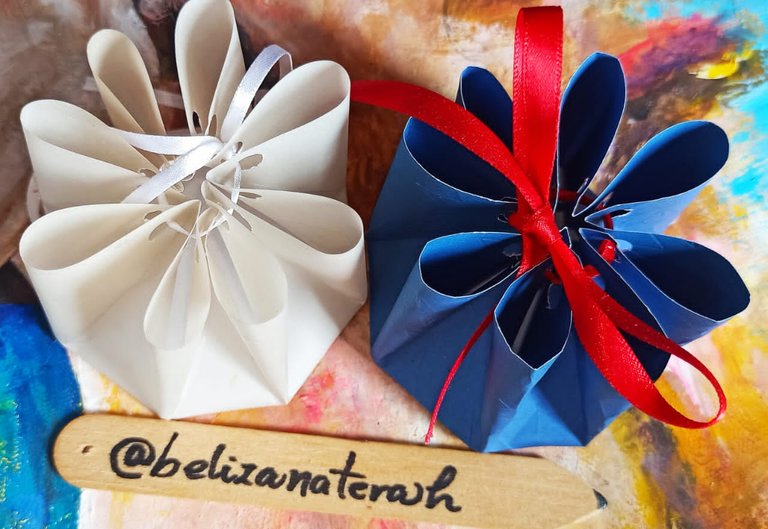
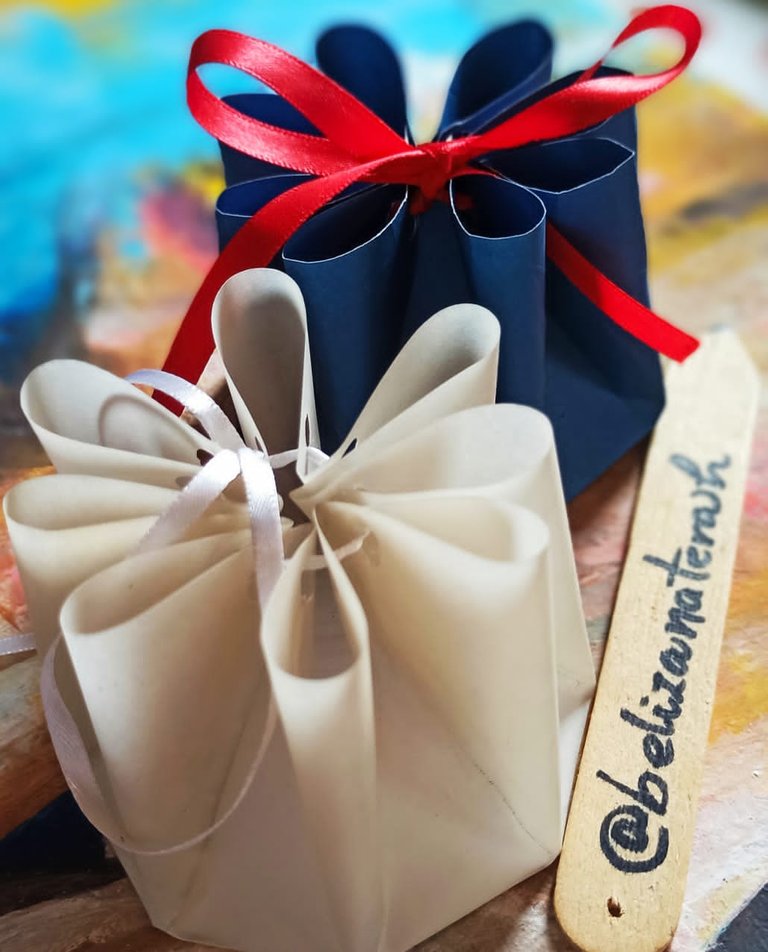
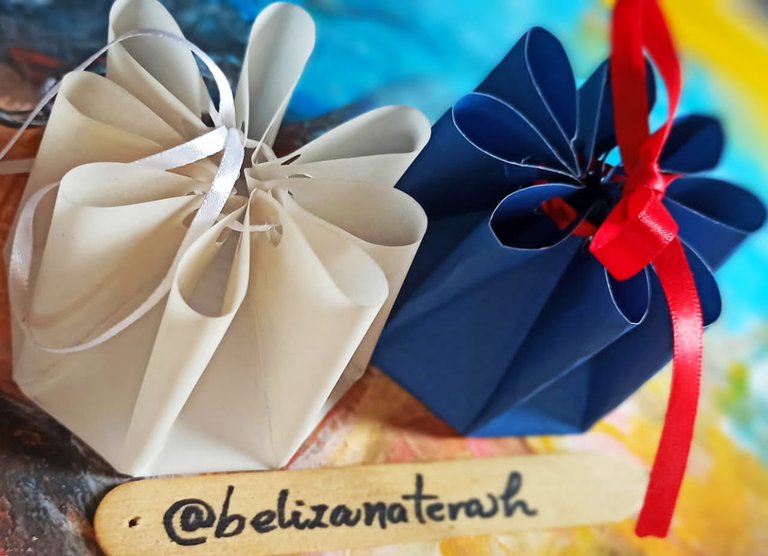
This box is used to give small gifts and can be combined and made in many colors.
To begin with, I made the mold, starting from an 8-pointed star polygon. The circumference is 20 cm in diameter as I show it here 👇
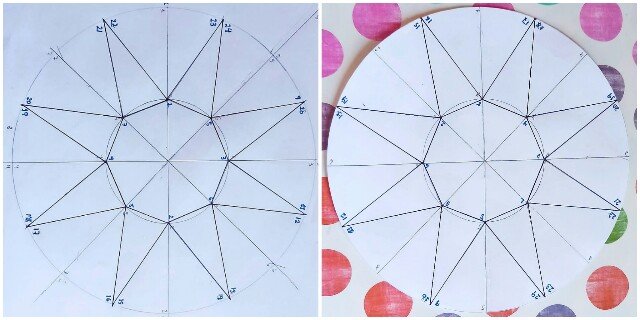
📝 Note: Do not take into account the numbers, I made them to guide me.
For this craft I used the following.
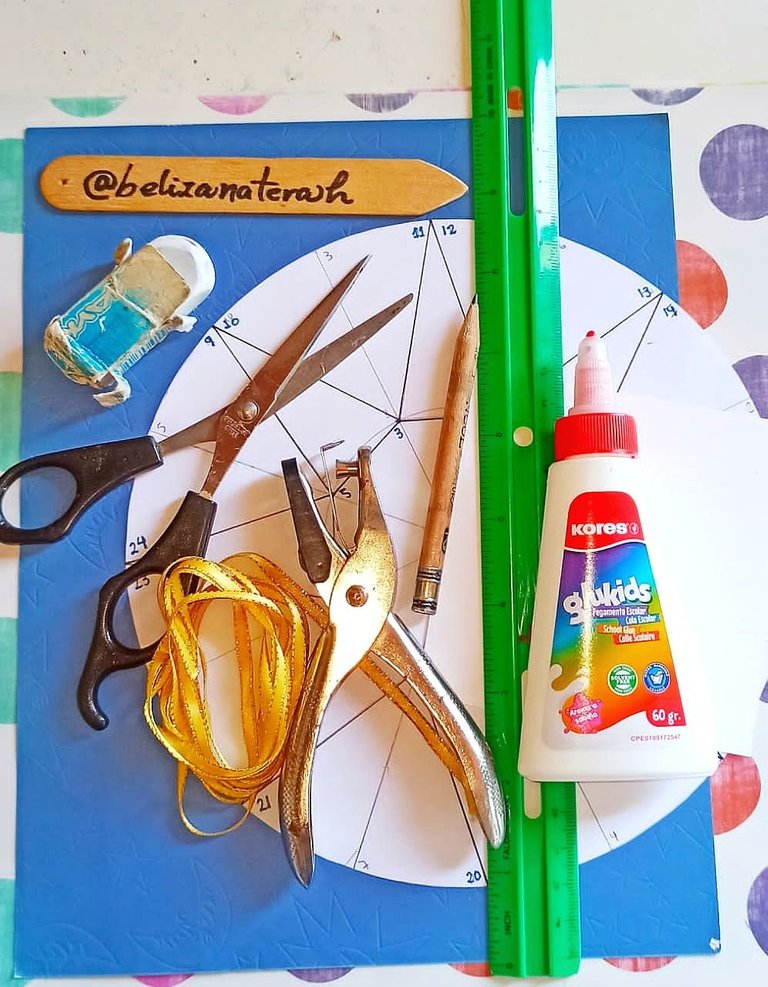
📍Materials:
💮 Mold
💮 Thin Patterned Cardstock
💮 A 10 cm cardboard square
💮 White glue
💮 Scissor
💮 Red Ribbon
💮 Wood bender
💮 Ruler
💮 Punch pliers
📍 Steps:
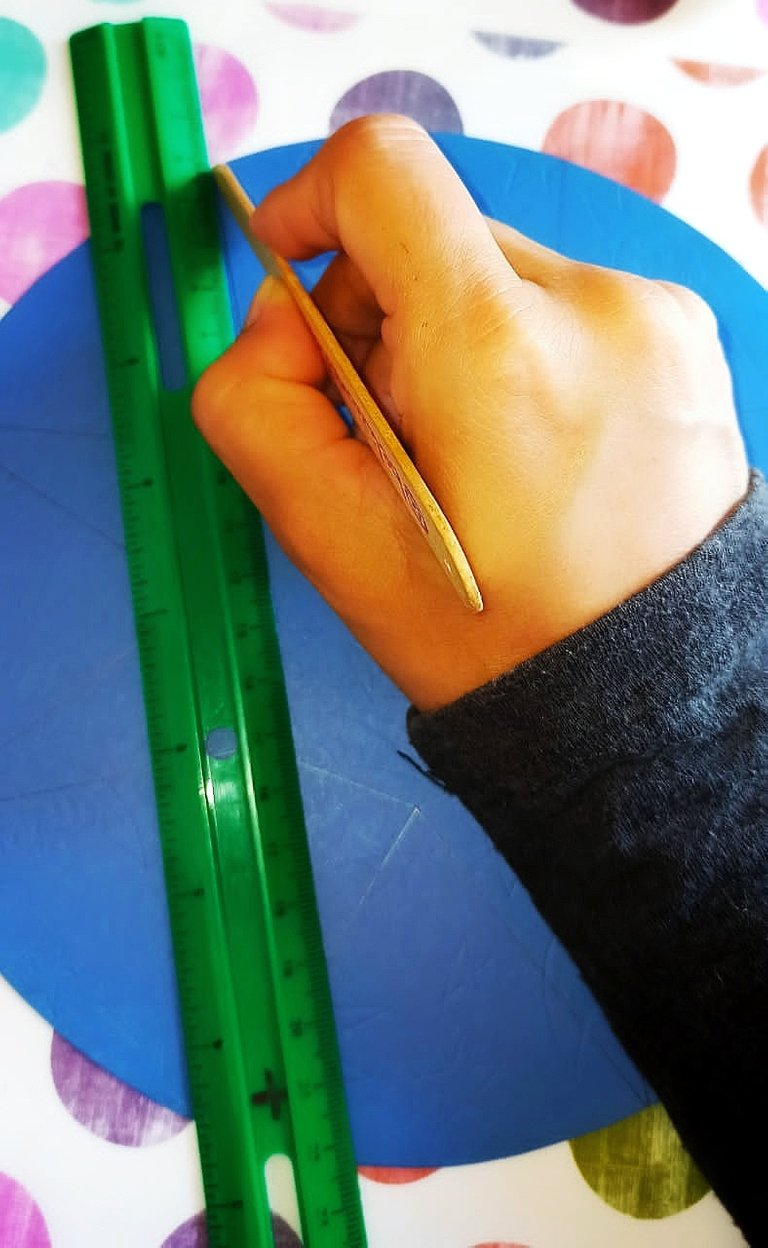
1- First I marked the outline of the circle on the stamped cardboard, holding it with a clamp so that it would not roll, and I marked each point of the star on it, to mark the internal lines of the mold I helped myself with the tip of the compass, marking each point to later join them and form the star polygon. And I cut out the mold.
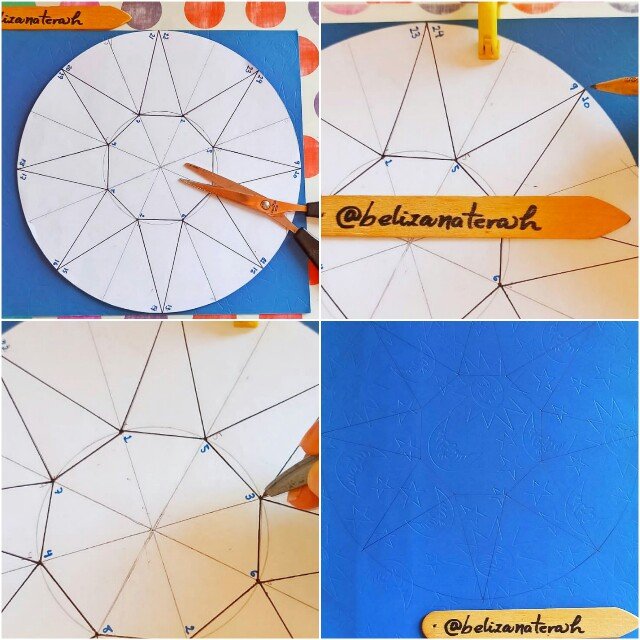
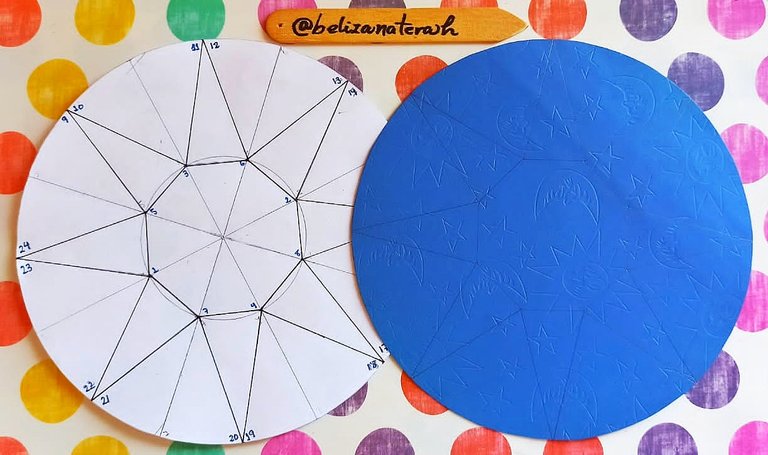
2- With the help of a ruler and the wood bender, go over all the lines of the mold, making sure to mark them well, this will be very helpful when starting to assemble the box.
3- In the 10 cm cardboard square I marked the base of the mold, that is, the octagon that is formed, this to reinforce the base of the box. And I pasted it with white glue, just like in the image 👇
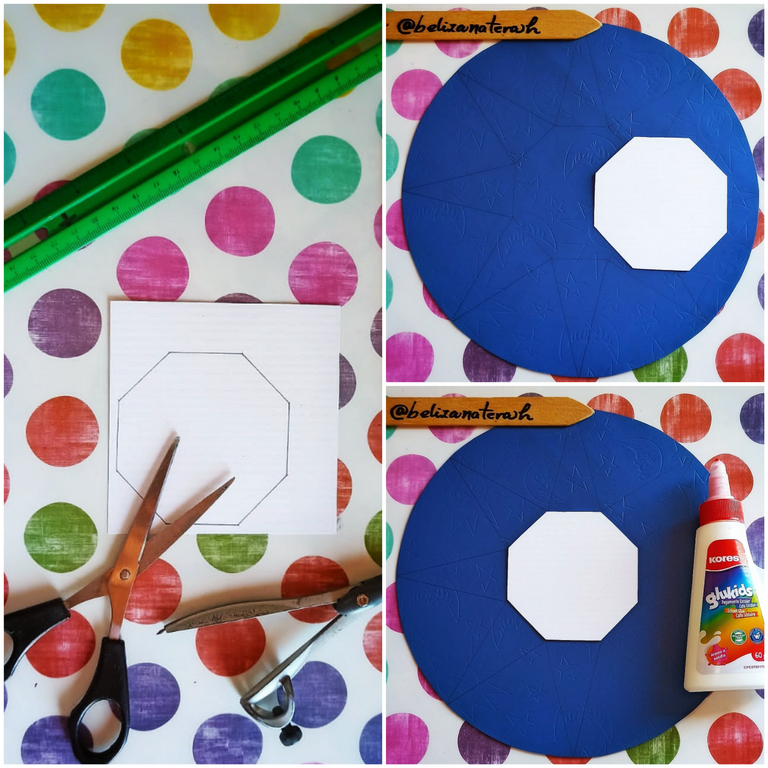
📝 Note: I mark the points with the point of the compass and then join them with a ruler and pencil.
4- With the punch pliers I opened holes on each side of the points of the star. Being very careful not to do it too close to the edge and break the cardboard. And then I enebrated the tape.
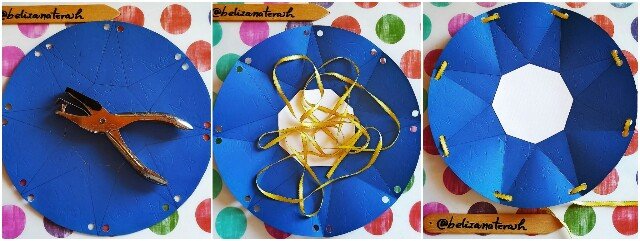
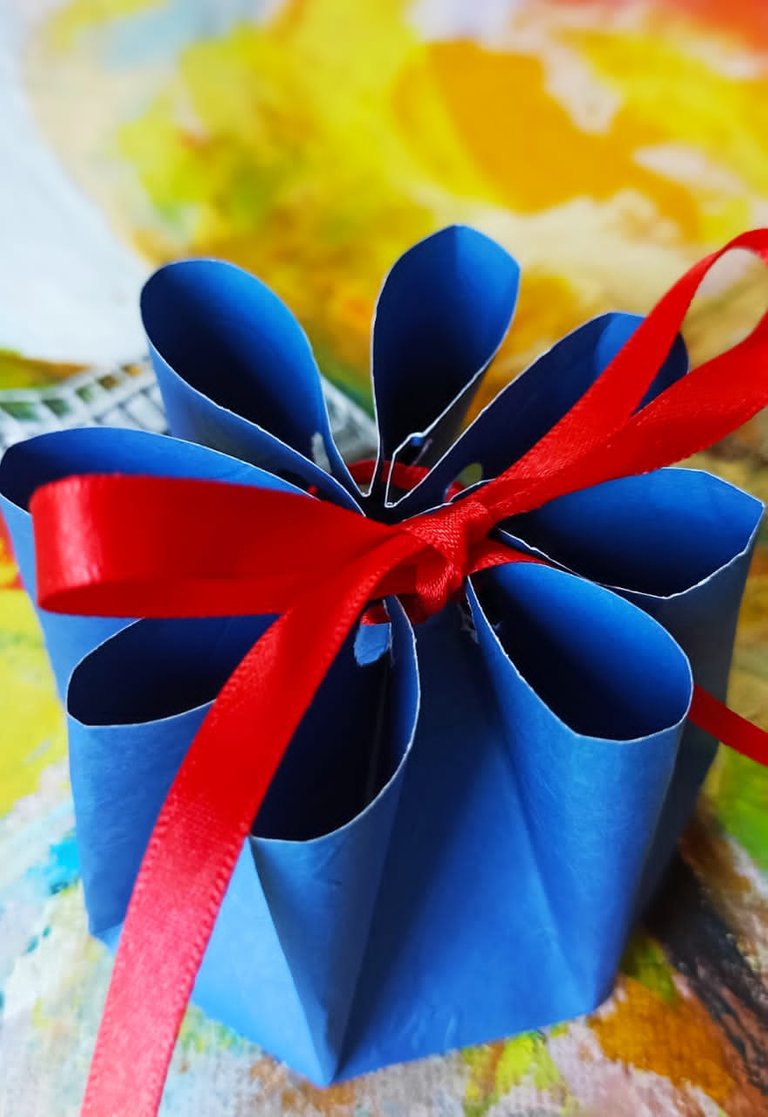
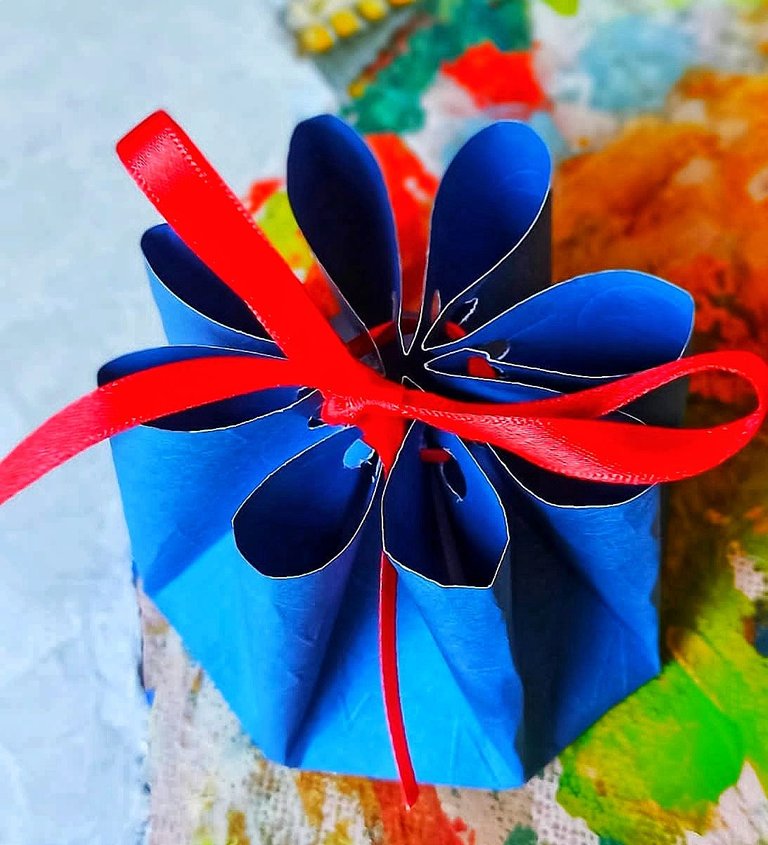
5- To finish I began to fold the sides and start to shape the box. At this point you have to be very careful and have a lot of patience because you have to gradually bend and shape the flower. Once finished I tied the ribbon and finished shaping the box.

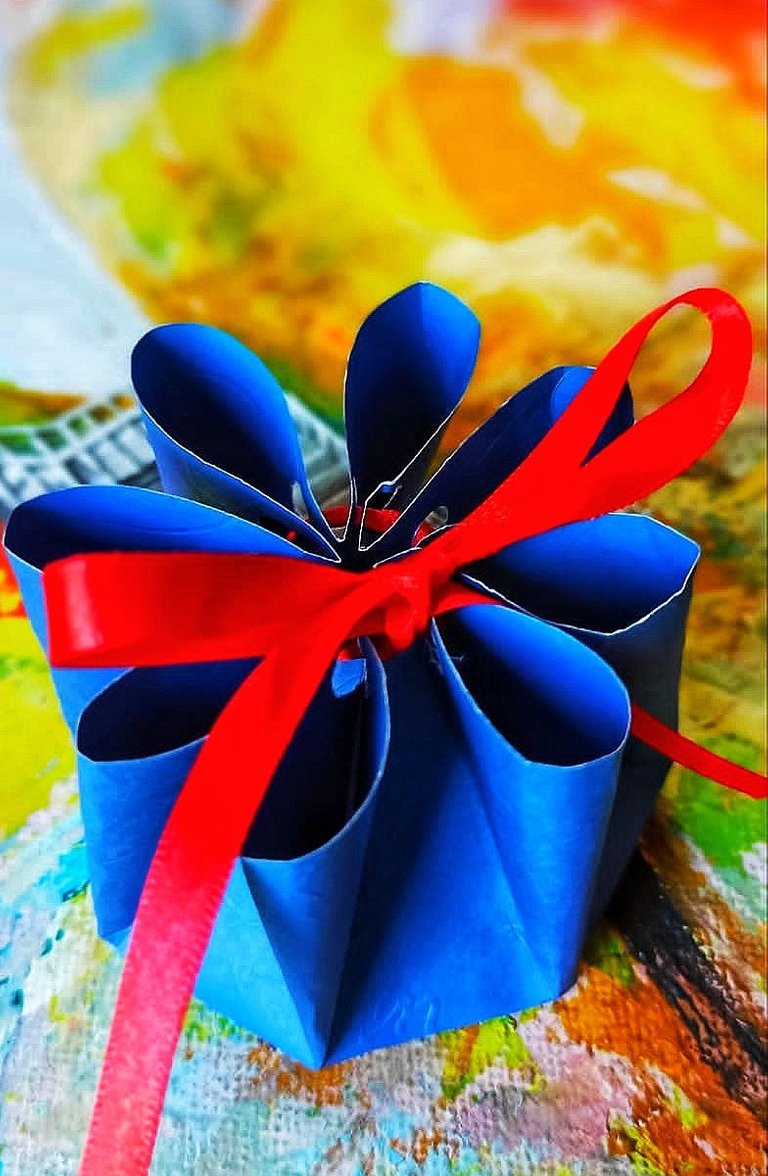
And so this beautiful and delicate flower box was left, a nice package to give on any occasion. In the end I changed the yellow tape for the red one, I liked that combination better 😁
📍 Recommendation: You have to use thin cardboard and you can even use bond paper because it's easier to fold.
Thanks for reading me! Until a new post 😊
¡Hola amigos de toda la comunidad hive! Espero se encuentren bien ✌
Hoy quiero mostrarles una cajita hermosa que hice, es súper delicada y diferente. Tiene un poco de dificultad porque requiere de paciencia pero, vale la pena intentarlo; el resultado es muy lindo.
Esta cajita sirve para dar regalos pequeños y se puede combinar y hacerla de muchos colores.
Para empezar realicé el molde, partiendo de un polígono estrellado de 8 puntas. La circunferencia es de 20 cm de diámetros tal y como lo muestro aquí 👇
📝 Nota: No tomen en cuenta los números, los hice para guiarme.
Para esta manualidad utilicé lo siguiente.
📍Materiales:
💮 Molde
💮 Cartulina estampada delgada
💮 Un cuadrado de cartulina de 10 cm
💮 Pega blanca
💮 Tijera
💮 Cinta roja
💮 Dobladera de madera
💮 Regla
💮 Pinza sacabocado
📍 Pasos:
1- Primero marqué el contorno del círculo en la cartulina estampada, sujetándolo con una pinza para que no se rodara, y marqué en el cada punta de la estrella, para marcar las líneas internas del molde me ayudé con la punta del compás, marcando cada punto para luego unirlos y formar el polígono estrellado. Y luego recorte el molde.
2- Con ayuda de una regla y la dobladera de madera repase todas las líneas del molde, asegurándome de marcarlas bien, esto será de mucha ayuda a la hora de empezar a armar la caja.
3- En el cuadrado de cartulina de 10 cm marqué la base del molde, es decir, el octágono que se forma, esto para reforzar la base de la cajita. Y lo pegué con pega blanca, así como en la imágen 👇
📝 Nota: Marque los puntos con la punta del compás y luego los uní con una regla y lápiz.
4- Con la pinza sacabocado abrí huecos a cada lado de las puntas de la estrella. Teniendo muchísimo cuidado de no hacerlo muy al borde y que se rompa la cartulina. Y luego enebré la cinta.
5- Para finalizar comencé a doblar los lados y empezar a dar forma a la caja. En este punto hay que ser muy cuidadosos y tener mucha paciencia porque hay que ir poco a poco doblando y dándole forma a la flor. Una vez terminada amarré la cinta y termine de dar forma a la cajita.
Y así quedó esta hermosa y delicada caja flor, un lindo empaque para regalar en cualquier ocasión. Al final cambié la cinta amarilla por la roja, me gustó más esa combinación 😁
📍 Recomendación: Hay que usar cartulinas delgadas e incluso se puede usar papel bond porque es más fácil a la hora de doblar.
¡Gracias por leerme! Hasta una nueva publicación 😊
Hermosas cajas! Excelentes para dar un detalle pequeño 😊🎁 me encanta!!!🤩
¡Gracias! 😊
Congratulations @belizanaterah! You have completed the following achievement on the Hive blockchain and have been rewarded with new badge(s):
Your next target is to reach 4500 upvotes.
You can view your badges on your board and compare yourself to others in the Ranking
If you no longer want to receive notifications, reply to this comment with the word
STOPCheck out the last post from @hivebuzz:
Support the HiveBuzz project. Vote for our proposal!
Thank you for sharing this amazing post on HIVE!
Your content got selected by our fellow curator @rezoanulvibes & you just received a little thank you via an upvote from our non-profit curation initiative!
You will be featured in one of our recurring curation compilations and on our pinterest boards! Both are aiming to offer you a stage to widen your audience within and outside of the DIY scene of hive.
Join the official DIYHub community on HIVE and show us more of your amazing work and feel free to connect with us and other DIYers via our discord server: https://discord.gg/mY5uCfQ !
If you want to support our goal to motivate other DIY/art/music/homesteading/... creators just delegate to us and earn 100% of your curation rewards!
Stay creative & hive on!