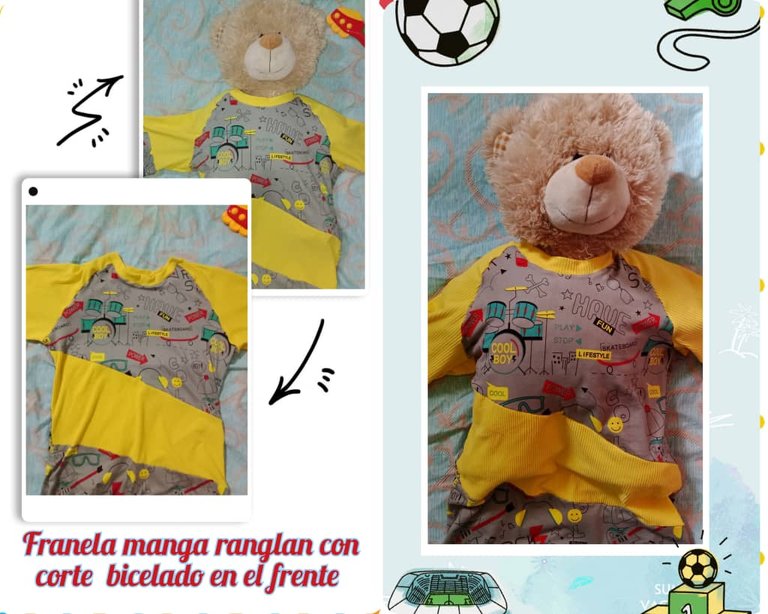
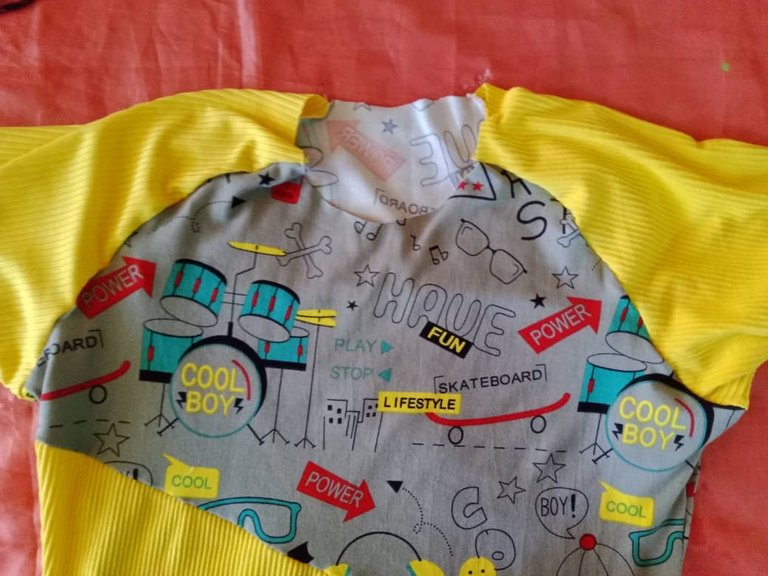
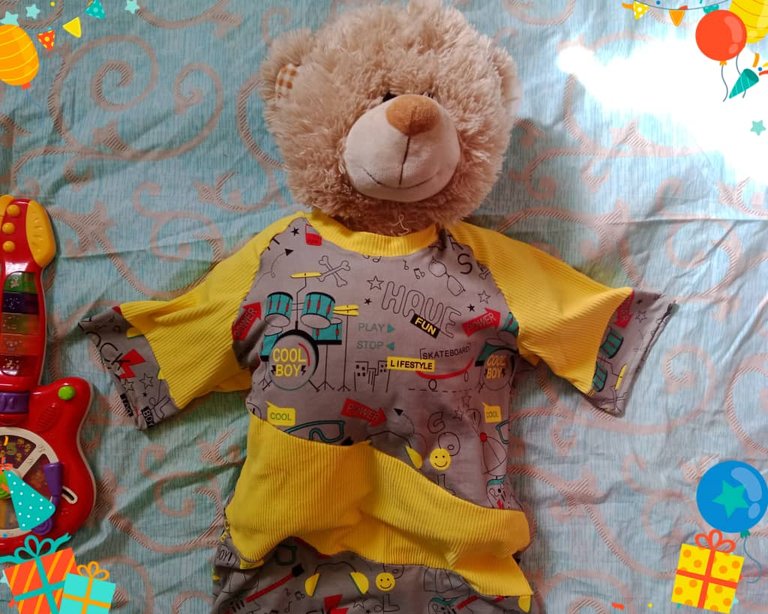
Greetings creative friends, I wish you a happy day, the month of January is advancing very fast, a short time ago the new year began and already more than fifteen days of the new month have passed and the holy week season is approaching, where the temperature rises so it requires cool and comfortable clothes to help fight the heat; this time I share the elaboration of a raglan sleeve flannel for my son with bicelated cut in the front; in its elaboration I used micro peach fabric 180 for the back and front, this fabric is soft, comfortable and fresh, ideal for the summer season (drought), the sleeves I made them with yellow rib to take advantage of the leftover scraps of a previous project.
Saludos amigos creativos, les deseo un feliz día, el mes de enero avanza muy rápido, hace poco tiempo inició el nuevo año y ya han transcurrido más de quince días del nuevo mes y se acerca la temporada de semana santa, donde la temperatura aumenta por lo cual se requiere ropa fresca y cómoda que ayude a combatir el calor; en esta ocasión comparto la elaboración de una franela manga ranglan para mi hijo con corte bicelado en el frente; en su elaboración usé tela micro durazno 180 para la parte trasera y delantera, esta tela es suave, cómoda y fresca, ideal para la temporada de verano (sequía), las mangas las hice con rib amarillo, para aprovechar los retazos sobrantes de un proyecto anterior.

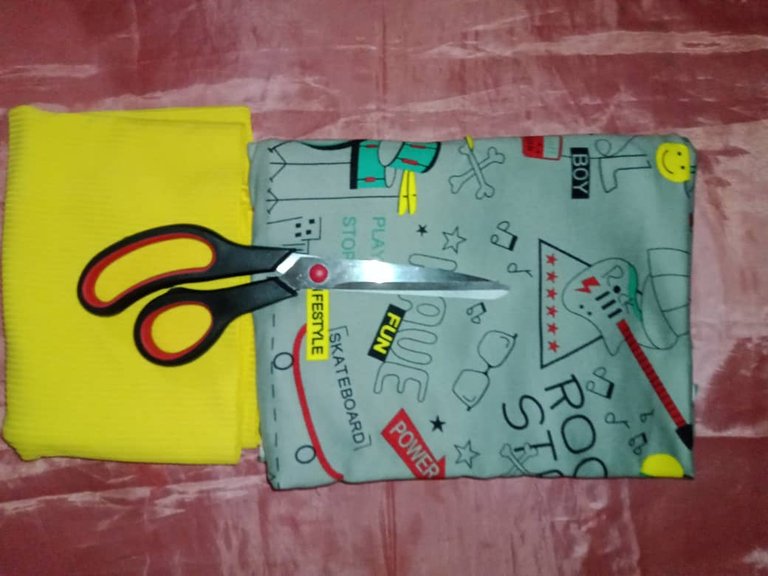
Materials used:
Micro peach fabric 180
Rib fabric (scraps)
Scissors
Pins
Mold
Sewing machine
Thread
Materiales usados:
Tela micro durazno 180
Tela rib (retazos)
Tijera
Alfileres
Molde
Máquina de coser
Hilo
PROCEDURE
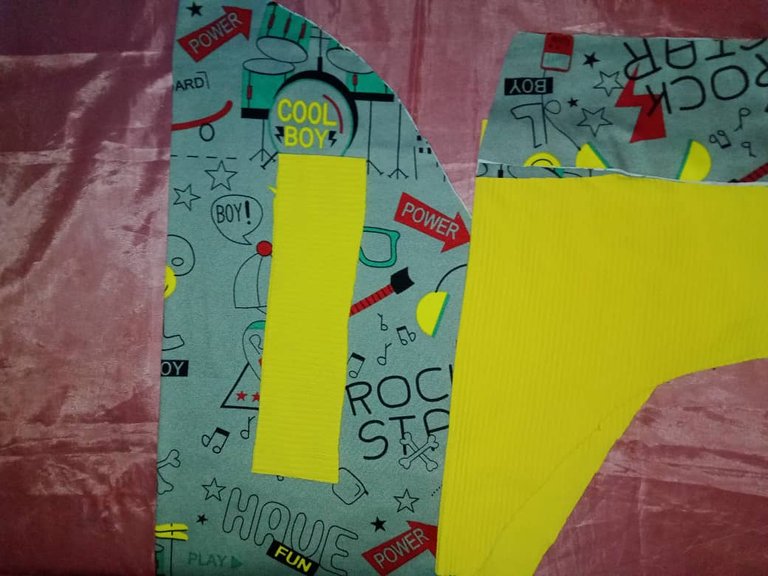
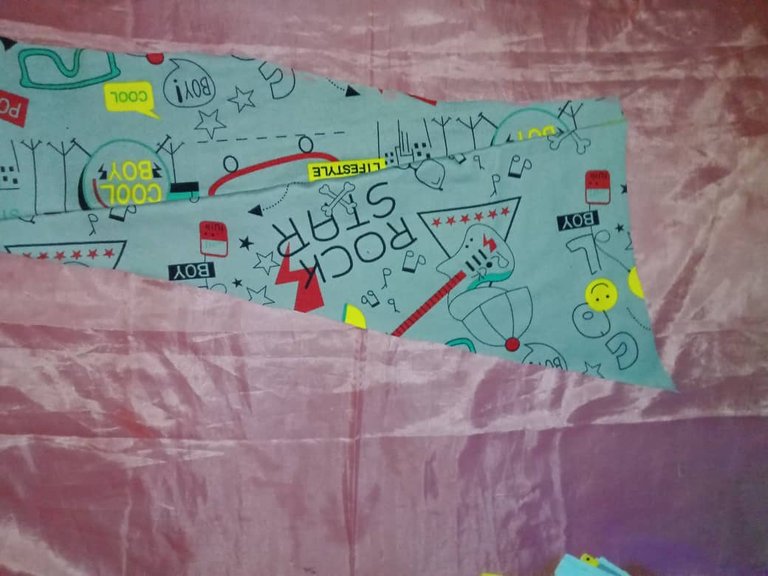
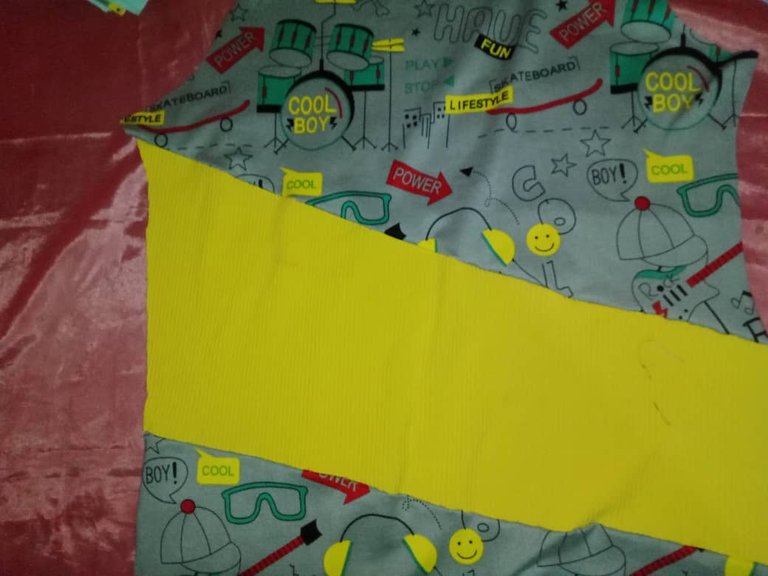
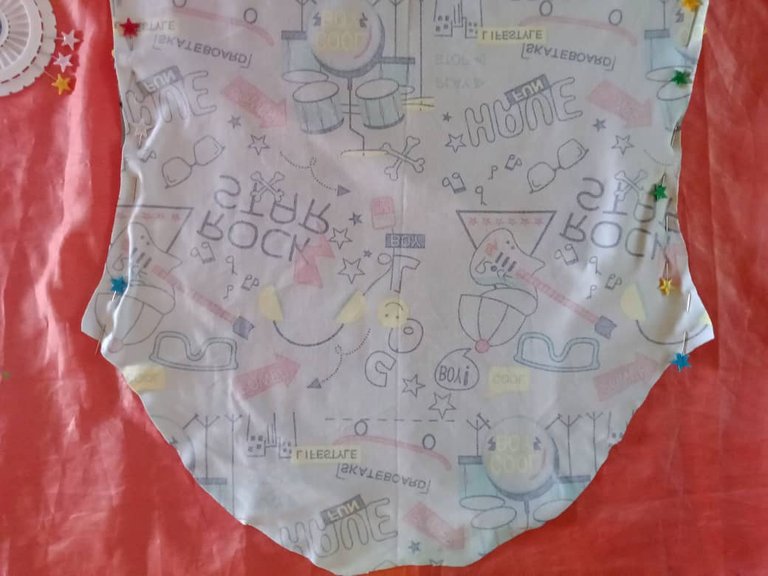
The process of making the ranglan sleeve flannel is simple; the important thing is that the sleeve peaks coincide in the back and front to shape the neck, the first step is to mark and cut the pieces, in the front I made a bicelated cut then I used it as a mold and cut the strip in yellow rib fabric, I also added a strip of micro peach at the end of the sleeves to make a different model.
PROCEDIMIENTO
El proceso de elaboración de la franela manga ranglan es sencillo; lo importante es que los picos de las mangas coincidan en la parte trasera y delantera para dar forma al cuello, el prime paso es marcar y cortar las piezas, en la parte delantera hice un corte bicelado luego lo usé como molde y corté la franja en tela rib amarilla, además agregué una franja de micro durazno al final de la mangas para hacer un modelo diferente.
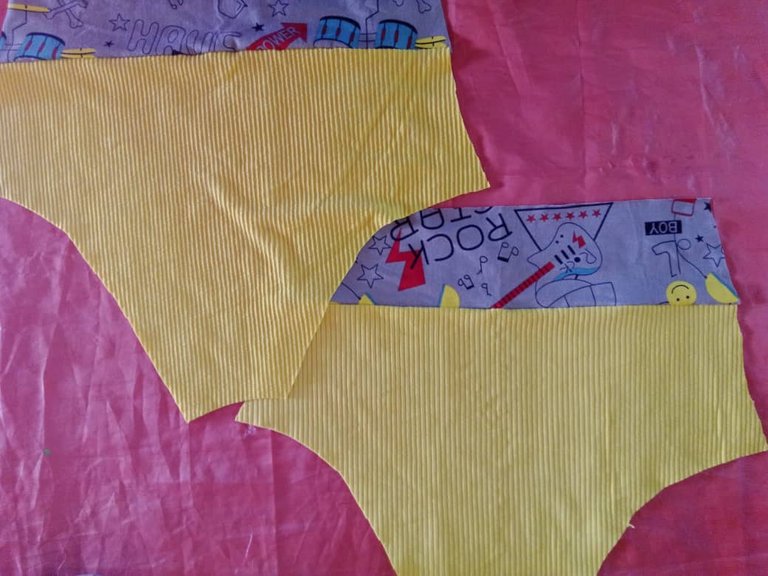
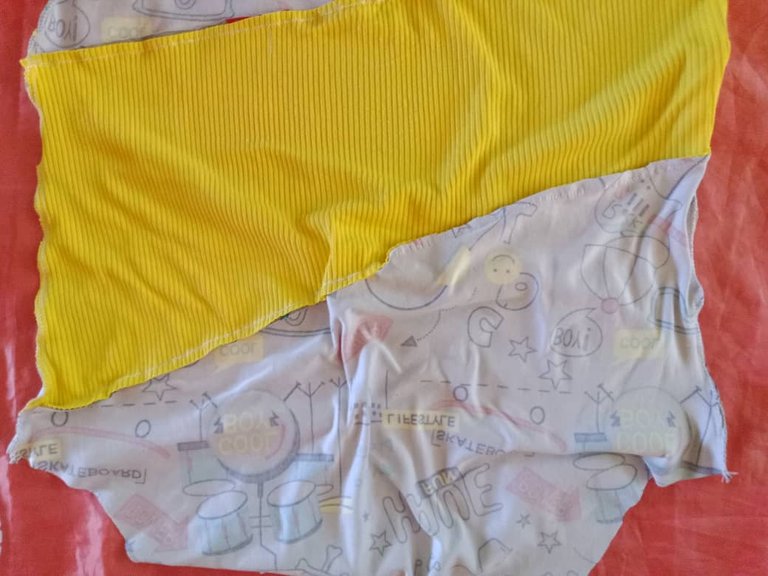
The second step was to close the sides of the flannel facing the back and front, sewing with stitch, in the same way the sleeves are closed, matching the strip of micro peach fabric on the back and front; to sew more comfortably I pinned the pieces with pins.
El segundo paso fue cerrar los laterales de la franela enfrentando la parte trasera y delantera, se cose con puntada, de igual forma se cierran las mangas , haciendo coincidir la franja de tela micro durazno en el trasero y delantero; para coser más cómodo sujeté las piezas con alfileres.
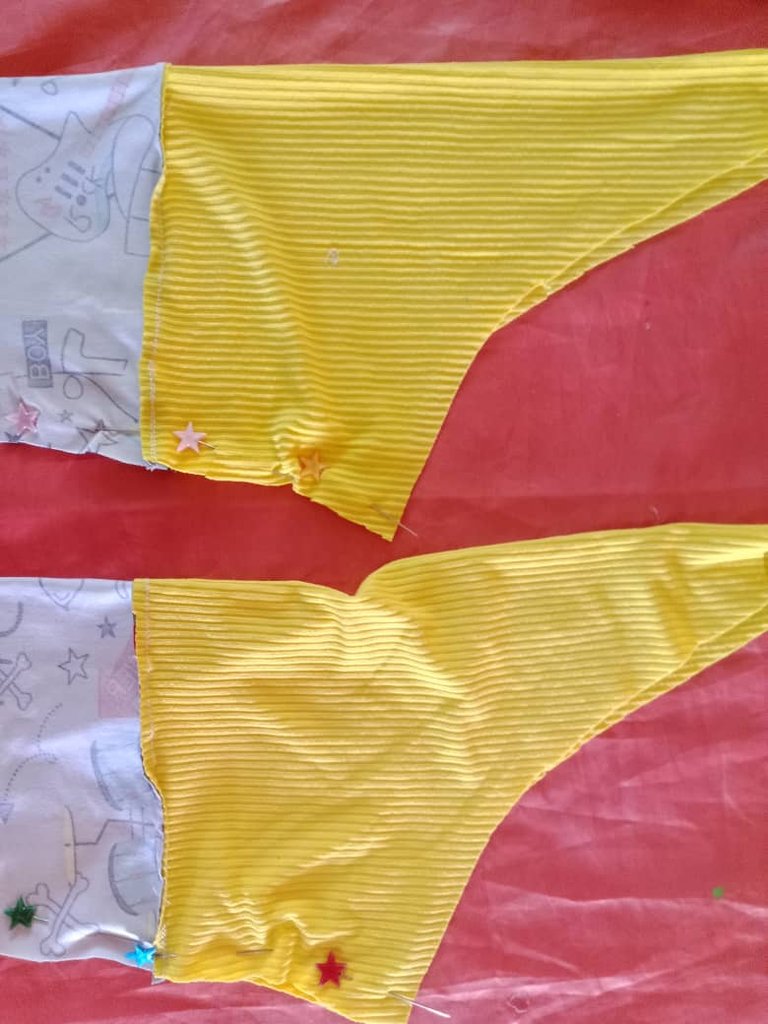

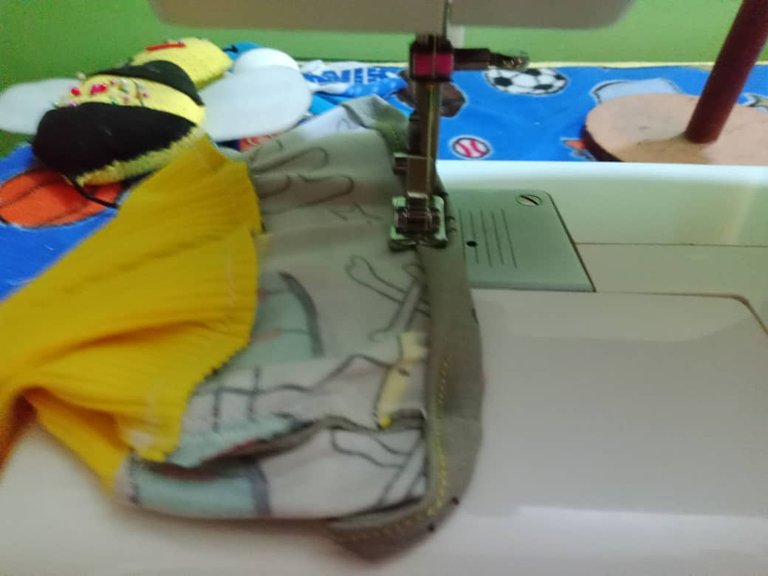
Then I glued the sleeves with a straight stitch, facing the right sides and matching the sleeve ends with the back and front of the flannel, to secure the seam I zig zagged the seam.
Seguidamente pegué la mangas con puntada recta, enfrentando los derechos y haciendo coincidir los picos de las mangas con el trasero y delantero de la franela, para asegurar la costura pasé zig zag.
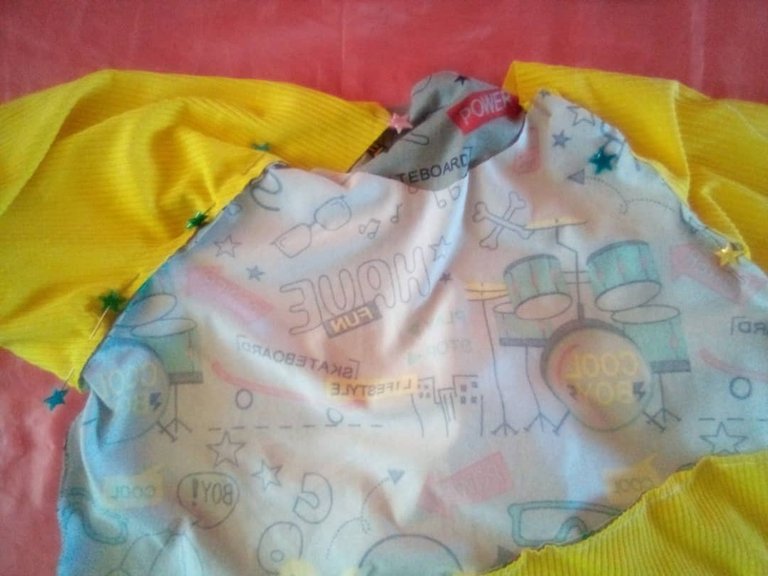
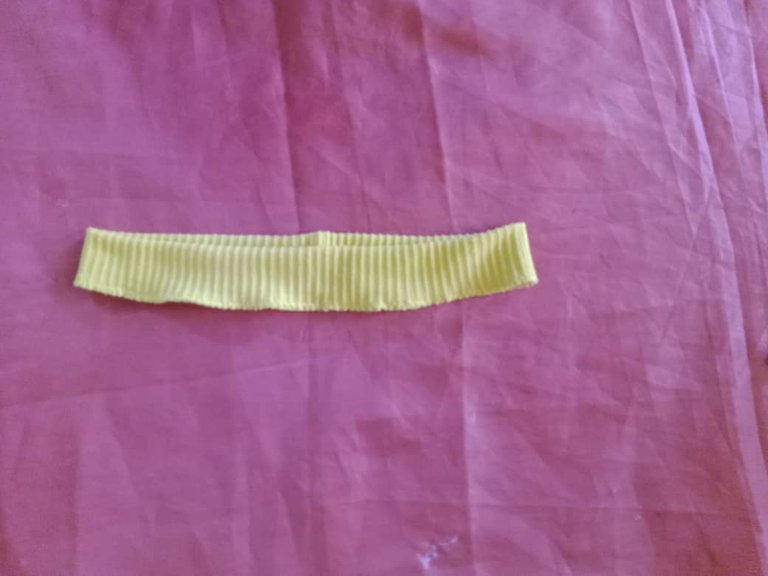
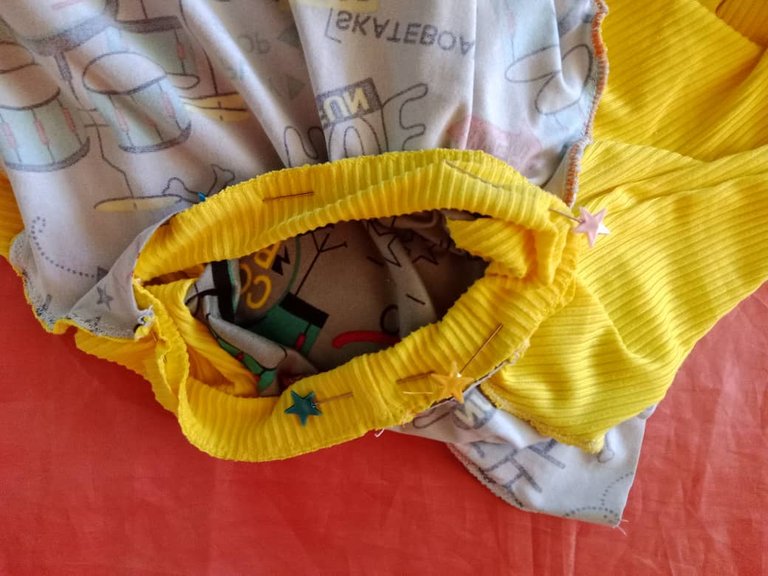
I then sewed the neck bias binding the ends together, turned, zig zag stitched the edges and pinned the flannel collar divided into four parts so that the bias stretches equally all around, the rib fabric has enough elongation and can be stretched one centimeter in each quadrant, glued the collar together I reworked for a better finish.
Luego cosí el sesgo del cuello uniendo los extremos, volteé, pasé puntada de zig zag por los bordes y con alfileres sujeté al cuello de la franela dividido en cuatro partes para que el sesgo estiré en igual medida por todo el contorno,la tela rib tiene suficiente elongación y se puede estirar un centímetro en cada cuadrante, pegado el cuello repisé para un mejor acabado.
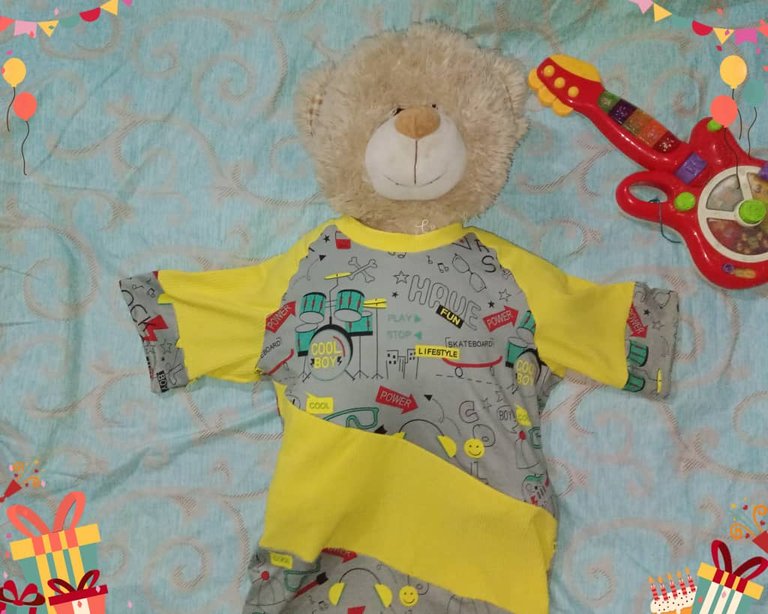
The last step is to sew a hem on the sleeves of approximately one centimeter, in the same way the hem is sewn and in a few simple steps the flannel is finished.
El último paso es coser un dobladillo en las mangas de aproximadamente un centímetro, de la misma forma se cose el ruedo y en pocos y sencillos pasos está terminada la franela.
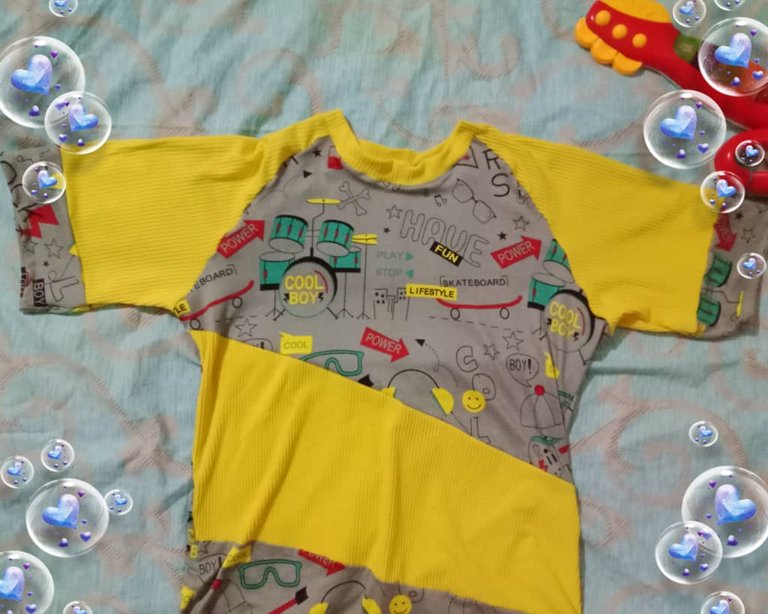
Sewing this flannel was easy and I had no difficulty, I liked the result, it is the second time I make modifications to the mold, the yellow stripe looks very good and gives a youthful and fresh style to the fabric.
Coser esta franela fue sencillo y no tuve dificultad, me gustó el resultado, es la segunda vez que hago modificaciones al molde, la franja amarilla se ve muy bien y lada un estilo juvenil y fresco a la franela.

Blessings!

¡Bendiciones!

Translated with https://www.deepl.com/translator
          All images are my own, captured by a Síragon LC-3000 camera.

   Todas las imágenes son de mi autoría, capturadas por una cámara Síragon LC-3000.
Ropita fresca para pasar el calor, lo máximo. Saludos @belkyscabrera.
Nada como ropita fresca para el calor y sol abrasador, en la ciudad donde vivo el calor es fuerte y hay que prepararse con tiempo je, je.
Feliz noche!
Your son's clothe looks really cool. Would be comfortable for the hot seasons too.
Greetings @diyhub team, thank you very much for the support; this fabric is comfortable and soft, initially I used it for baby clothes, currently I make clothes for adults and kids, my number one customer who is my son, he is happy to use this fabric.
Success and blessings!
Muchas gracias @hive-130560.
Saludos!
I wish I sew this type for my kid brother but actually am still a learner in sewing
Nice
Hi @harhess, I wish you the best in the world of sewing, you will progressively advance and in the near future you will be able to make clothes for your brother, practicing with scraps of fabric is an option to learn the techniques, although flannels are really simple projects.
Greetings!
thanks for the word of encouragement @belkyscabrera
I will learn and follow more of your creative post dear friend