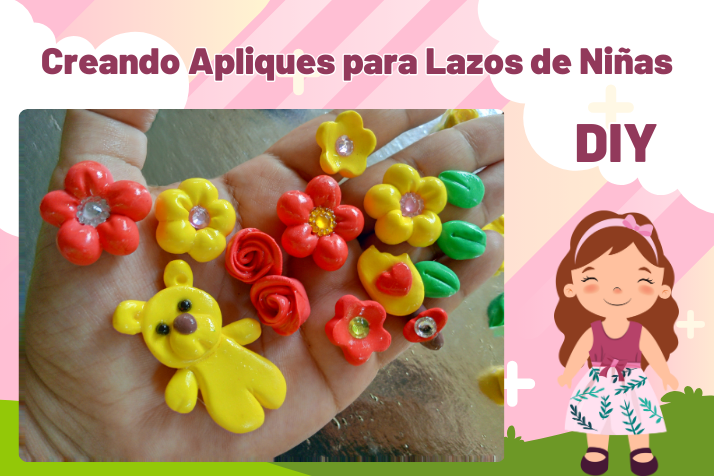
Hoy estuve por la tarde acompañada de mi amiga Carmen, y aprovechando una buena taza de café y las conversaciones, aproveché de realizar mientras tanto una idea que tenía pensando hace ya varios días. Hace poco compré Foami Moldeable, y estaba pensando en aprender a realizar ciertos detalles o apliques que comunmente se usan para los accesorios infantiles, como lazos, ganchetas, diademas y más. Esta fue mi primera vez bajo esa idea, la improvisación fue algo clave, además de la paciencia. Por ello hoy quiero compartir con ustedes el proceso de creación de los mismos y además de algunos pensamientos.
Happy day, blessed Friday to all.
Today I was accompanied by my friend Carmen in the afternoon, and taking advantage of a good cup of coffee and conversations, I took the opportunity to carry out an idea that I had been thinking about for several days. I recently bought Moldable Foami, and I was thinking about learning how to make certain details or appliqués that are commonly used for children's accessories, such as bows, hooks, headbands and more. This was my first time under that idea, improvisation was key, in addition to patience. That is why today I want to share with you the process of creating them and also some thoughts.
Realizar yo misma los diversos apliques posibles para los lazos nace desde el contexto de que vivo en un pueblo, adquirir ciertos materiales o cosas se torna a veces complicado. Ya que hay que comprarlas en la ciudad o quizás por Mercado Libre e igualmente retirar la paquetería en la ciudad. Aprender a realizarlos yo misma me dará la libertad de hacer la cantidad, color y modelo que desee. Claro, pero debo sumarle a esto tiempo práctica, sin embargo me gusta mucho invertir tiempo aprendiendo cosas nuevas. Para el material base he elegido Foami Moldeable,me parece mucho mejor que la Porcelana Fría casera, debido a que ya viene lista de usar, el endurecimiento o secado es super rápido debido al clima y los colores son totalmente ideales para mezclar. Además de ello, es mucho más economico que si lo compro ya hechos, sin duda el factor tiempo abarca, pero al final siempre es bueno aprender algo que te gusta.
Making the various possible appliqués for the bows myself arises from the context that I live in a town, acquiring certain materials or things sometimes becomes complicated. Since you have to buy them in the city or perhaps through Mercado Libre and also pick up the package in the city. Learning to make them myself will give me the freedom to make the quantity, color and model I want. Of course, but I must add practice time to this, however I really like to invest time learning new things. For the base material I have chosen Moldable Foami, I think it is much better than homemade Cold Porcelain, because it is already ready to use, the hardening or drying is super fast due to the climate and the colors are totally ideal for mixing. In addition to this, it is much cheaper than if I bought it ready-made, without a doubt the time factor includes, but in the end it is always good to learn something that you like.
🌸🌸🌸🌸🌸🌸
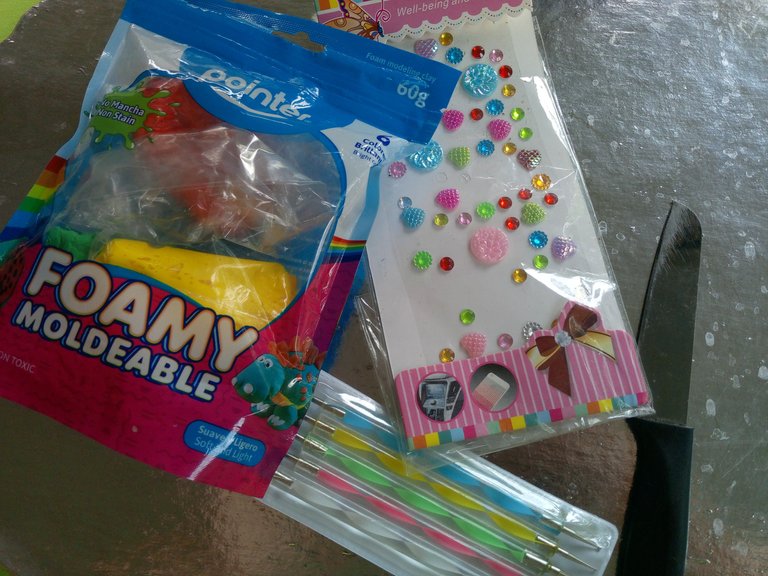
Materiales
- Foami Moldeable.
- Esmalte o brillo.
- Bolillos, tijera, cuchillo fino.
- Apliques decorativos de colores.
Materials
- Moldable Foami.
- Enamel or glitter.
- Bolillos, scissors, fine knife.
- Colorful decorative appliqués.
🌸🌸🌸🌸🌸🌸
Proceso de Creación / Creation Process
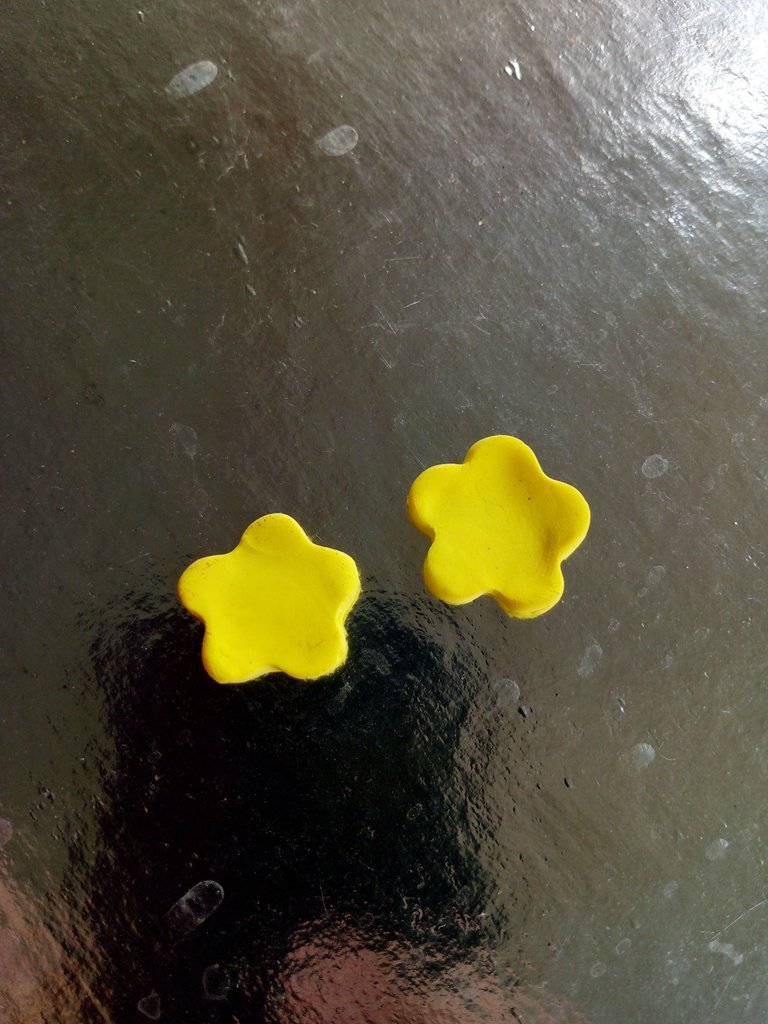
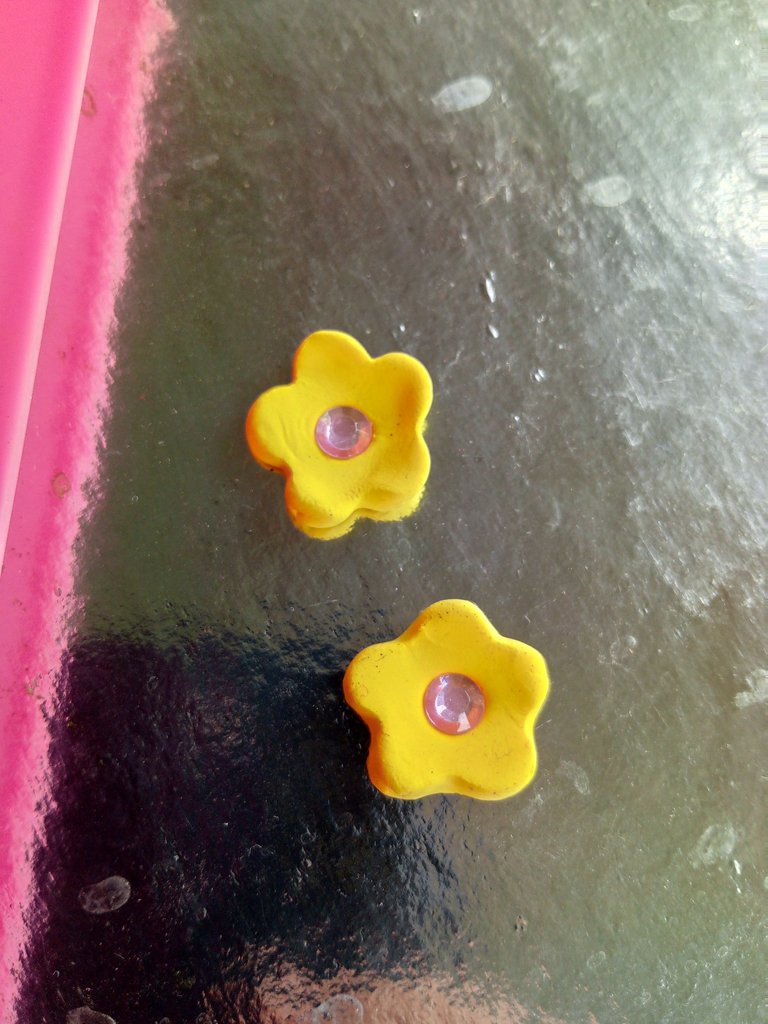
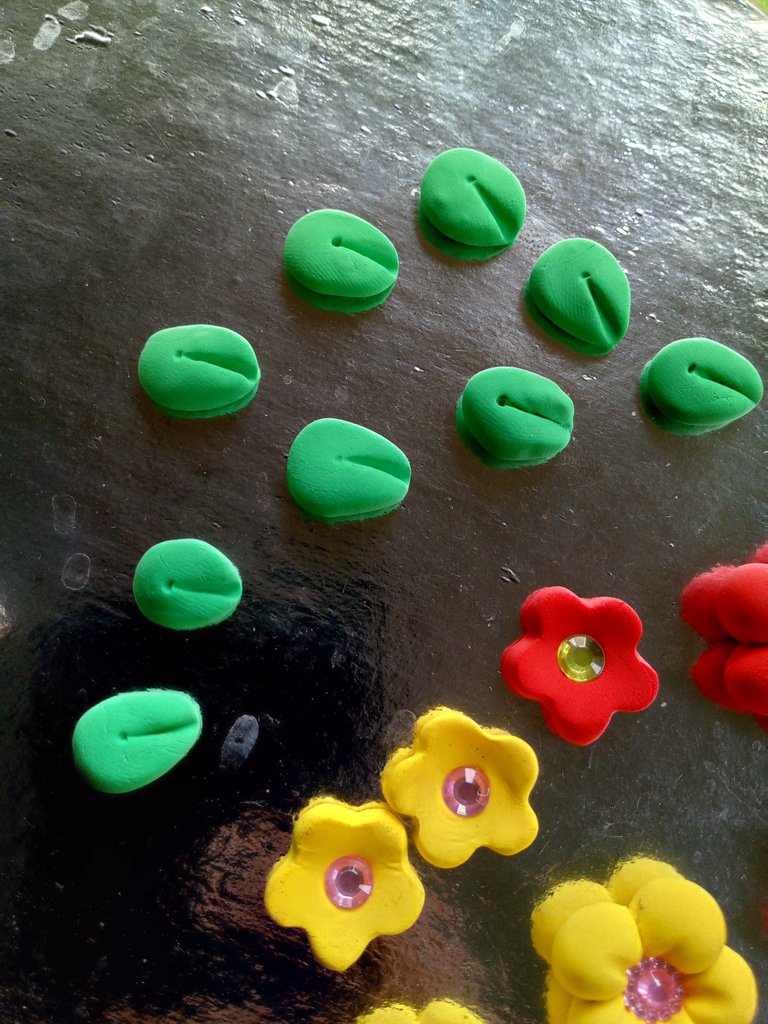
Para trabajar el foami moldeable debemos tomar porciones que usaremos y el restante guardarle hermeticamente o en una bolsa plástica, para evitar que se endurezca. Para realizar las flores, inicialmente usé como prueba un pequeño molde que tenía de silicon para chocolate, allí hice las flores sencillas. En el centro de coloque un detalle brillante.
To work with the moldable foam we must take portions that we will use and store the rest airtight or in a plastic bag, to prevent it from hardening. To make the flowers, initially I used a small silicone mold that I had for chocolate as a test, there I made the simple flowers. In the center place a shiny detail.
 |  |
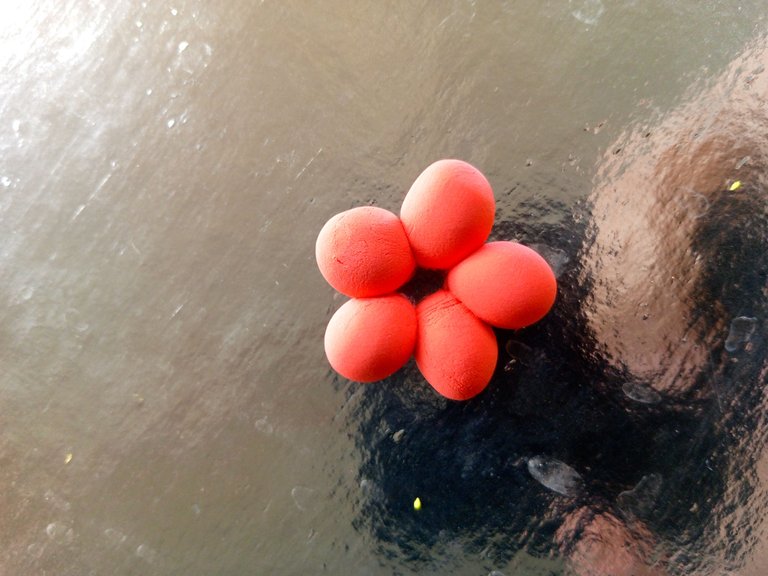
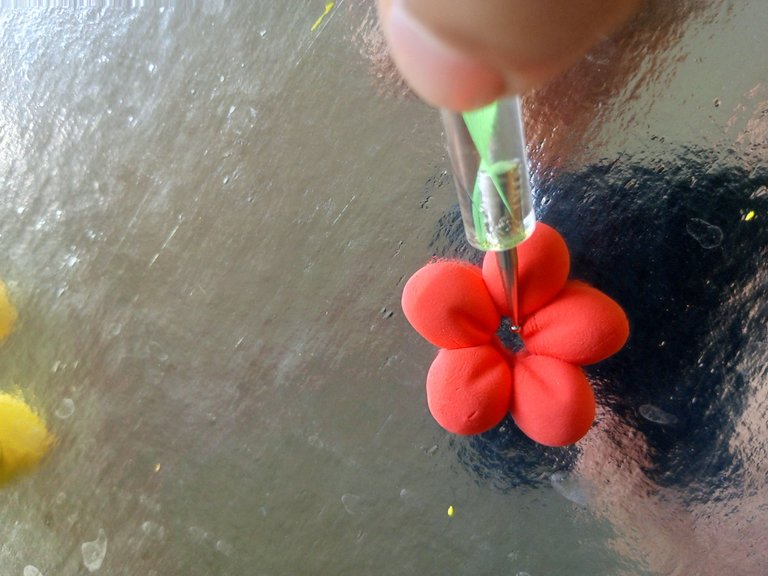
Para el siguiente modelo de flor, tomé porciones de foami y formé bolitas. Son 5 bolitas por cada flor. He unido, después con la punta fina del bolillo he marcado el centro. De manera seguida, le coloque un detalle brillante en el centro.
For the next flower model, I took portions of foami and formed balls. There are 5 balls for each flower. I joined, then with the fine tip of the bobbin I marked the center. Next, place a shiny detail in the center.
 |  |
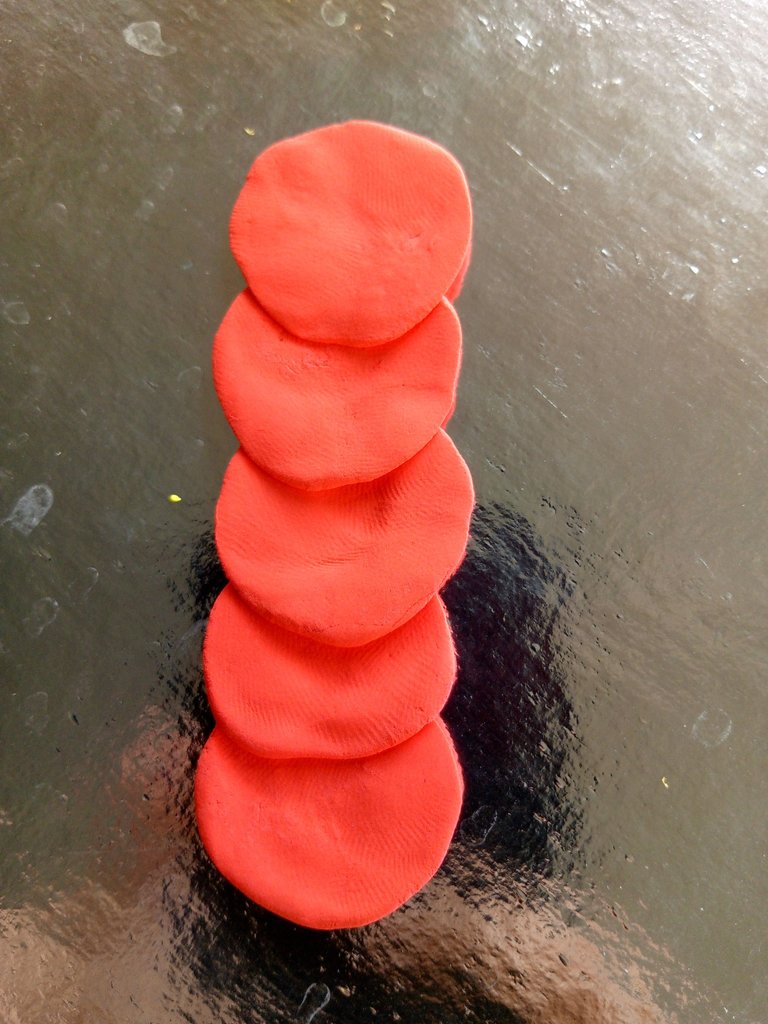
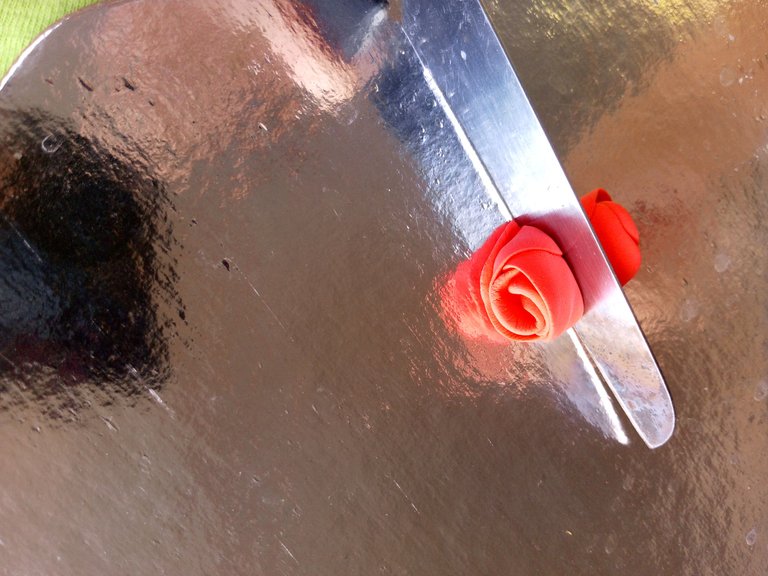
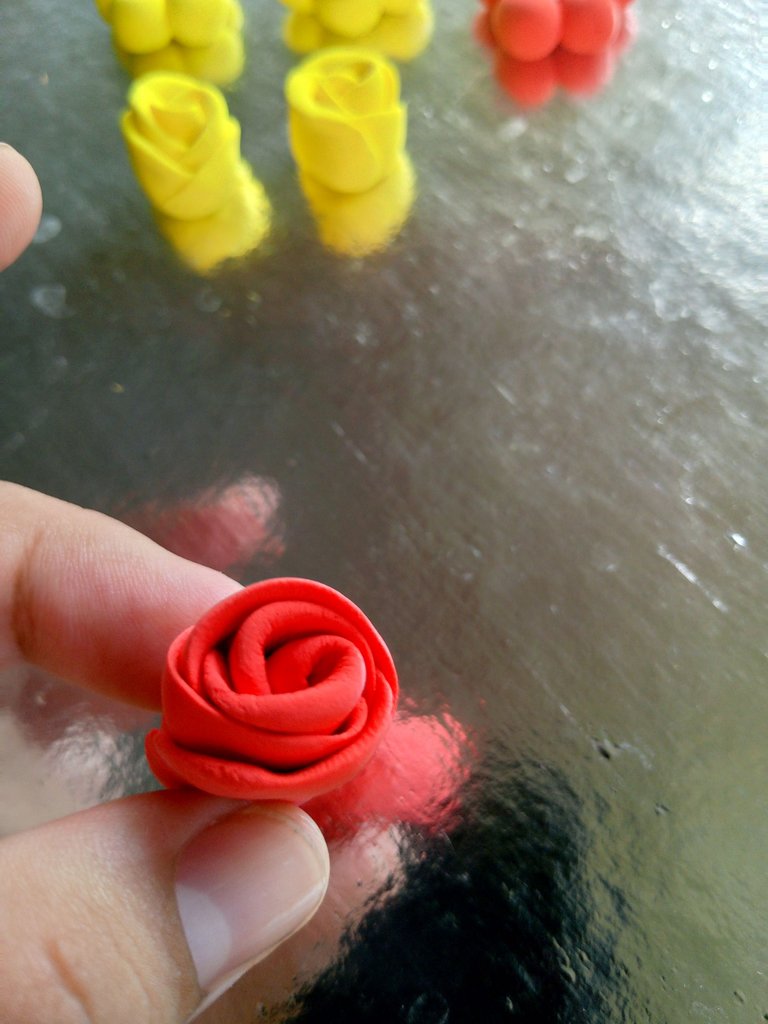
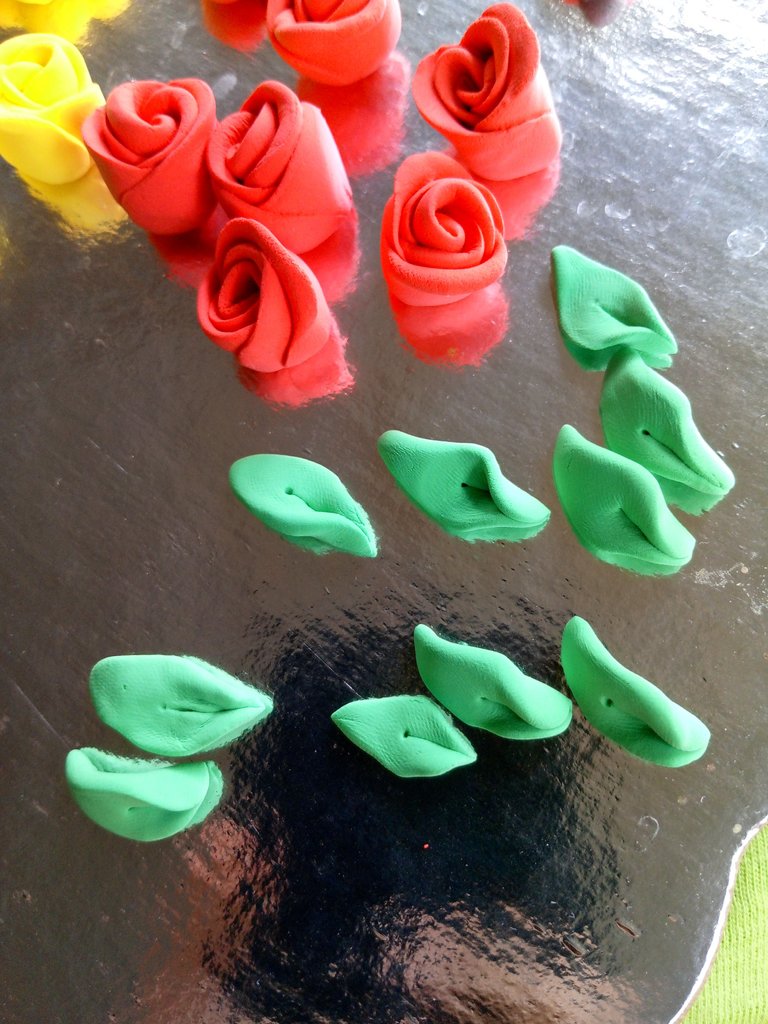
Para las rosas, he usado la siguiente técnica. Donde he tomado bolitas de foami, aplanado hasta formar un circulo de cada una. Después estos los colocó juntos por una dirección uno sobre otro. He usado 5, pero si desean que la rosa sea más ancha, pueden usar más circulos. Por uno de los extremos empezamos a enrrollar. Cortamos a mitad y obtendremos dos rosas.
For the roses, I used the following technique. Where I have taken foam balls, flattened each one to form a circle. Then he placed these together in one direction on top of each other. I used 5, but if you want the rose to be wider, you can use more circles. At one end we begin to roll. We cut in half and we will obtain two roses.
 |  |
También he hecho algunas hojas, de dos formas. Una puntiaguda, y otra hoja más tipo gordita. En ambas, he usado el bolillo para marcar el centro.
I have also made some leaves, in two ways. One pointed, and another more chubby type leaf. In both, I have used the bobbin to mark the center.
 |  |
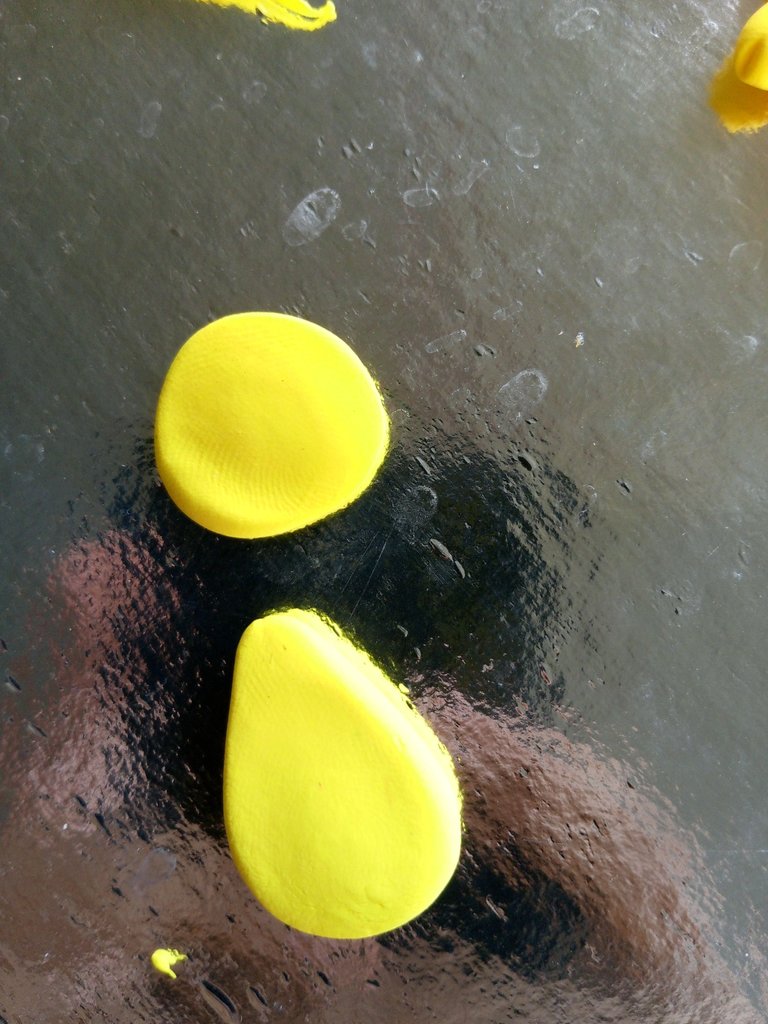
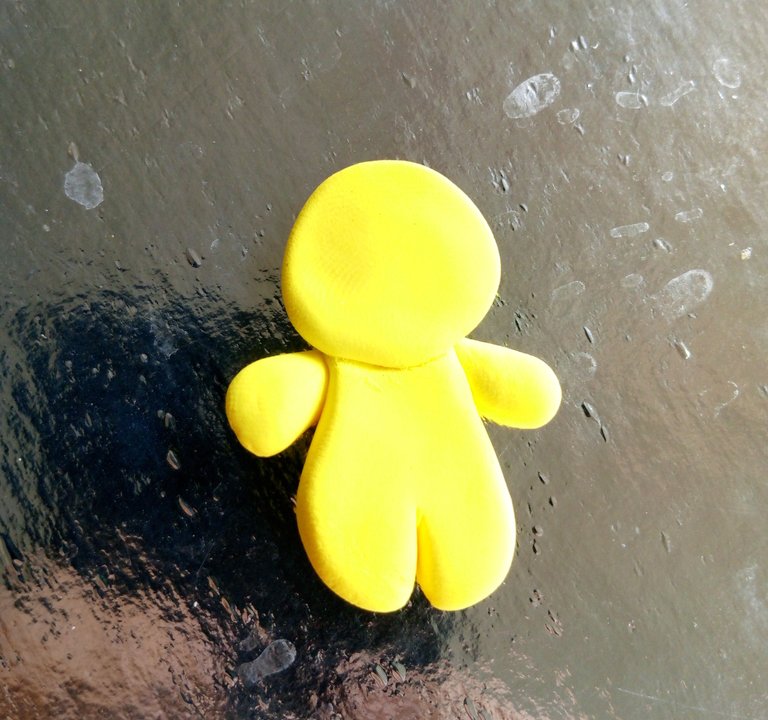
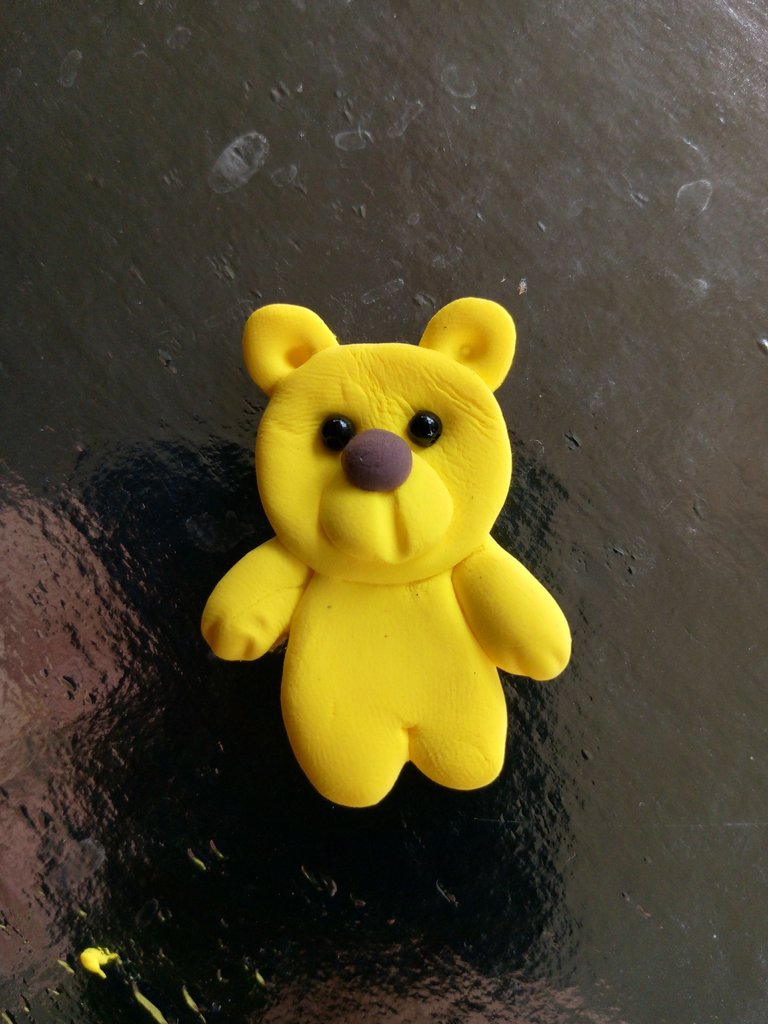
Elaboré un par de osos. Tomé porciones de amarillo, que fui aplanando. La cabeza un circulo, mientras que la parte del cuerpo una gota que he cortado en la parte inferior para formar las patitas. Los brazos, fueron un par de gotitas. Las orejas un par de circulos y el hocico una combinación de circulo con la línea central marcada con bolillo. Los ojos son hechos con pequeñas cuentas negras. He marcado las orejas y las patas con el bolillo.
I made a couple of bears. I took portions of yellow, which I flattened. The head is a circle, while the body part is a drop that I have cut at the bottom to form the legs. The arms were a couple of droplets. The ears are a pair of circles and the muzzle is a combination of circles with the central line marked with a bobbin. The eyes are made with small black beads. I have marked the ears and legs with the bobbin.
 |  | 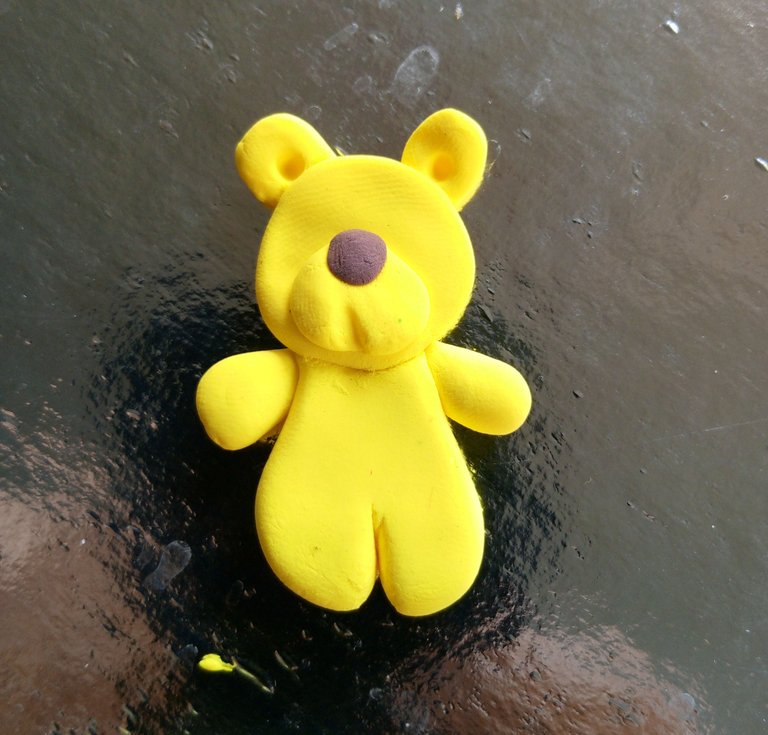 |
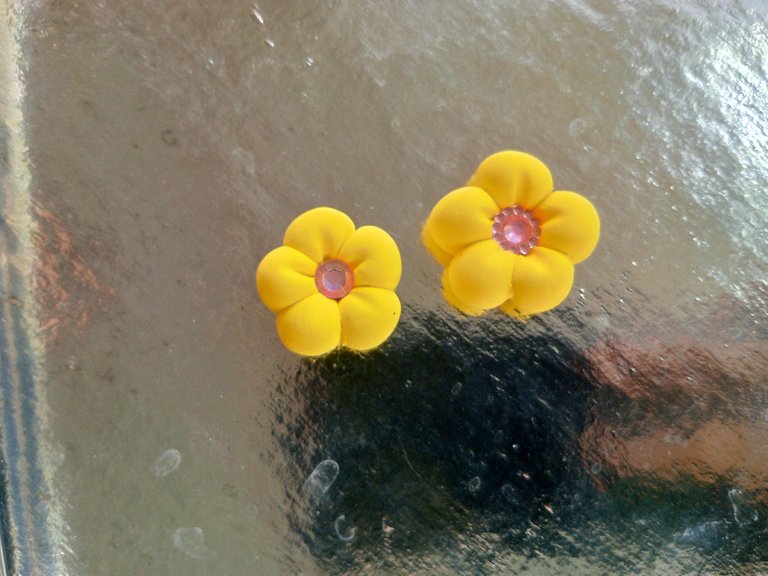
Al haber terminado las figuras y que han secado, procedí a darle una capa de esmalte. Esto ayudará a aportar brillo y más resistencia al aplique.
Once I had finished the figures and they had dried, I proceeded to give them a coat of enamel. This will help add shine and more resistance to the application.
🌸🌸🌸🌸🌸🌸
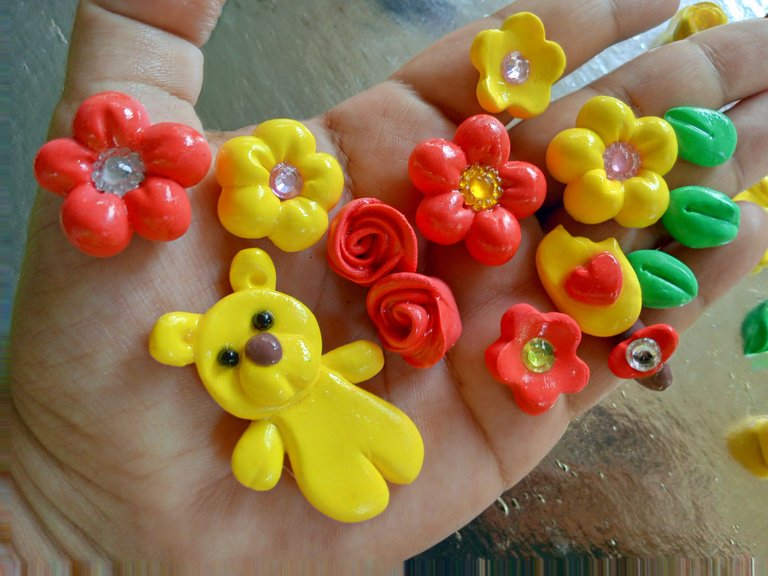
Resultado / Result
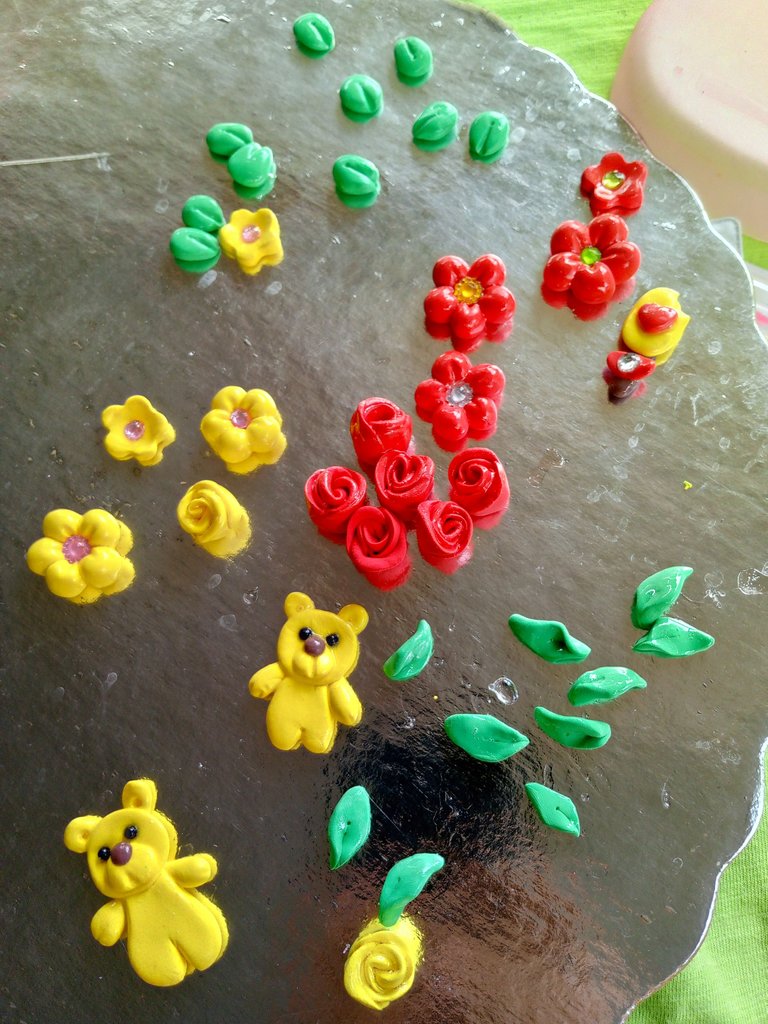
No son los más lindos ni elaborados apliques, pero son los primeros y espero continuar prácticando para mejorar y de pronto adquirir moldes para reducir el trabajo.
¡Y hasta aquí el proyecto del día! Espero les haya gustado tanto como a mí.
Si tienes alguna duda o sugerencia, no dudes en dejar un comentario. Las fotos que he colocado a lo largo del texto, las he tomado desde mi móvil Infinix con ayuda de mi amiga Carmen.
¡Hasta la próxima!, tengan todos una bendecida noche cargada de salud, paz y amor.
They are not the prettiest or most elaborate appliqués, but they are the first and I hope to continue practicing to improve and eventually acquire molds to reduce the work.
And that's it for the project of the day! I hope you liked it as much as I did.
If you have any questions or suggestions, don't hesitate to leave a comment. The photos that I have placed throughout the text were taken from my Infinix mobile phone with the help of my friend Carmen.
Until next time! Everyone have a blessed night full of health, peace and love.
Las.flores están preciosas!!
Muchas gracias, Bendiciones
Gracias por el apoyo a mi contenido 🙏
¡¡¡Buen trabajo!!! Gracias por publicar tu excelente contenido en Hive Diy,te quedaron tan hermosos y tan llamativos que no pareciera que fueran hechos con ese material, un trabajo asombroso.
Tu comunidad artesana ahora es testigo

Muchas gracias, es tan alentador el apoyo y sus lindas palabras. Pienso seguir practicando para aprender más modelos, realizar estas lindas figuras es gratificante y entretenido. Muchas Bendiciones