Happy Friday to all
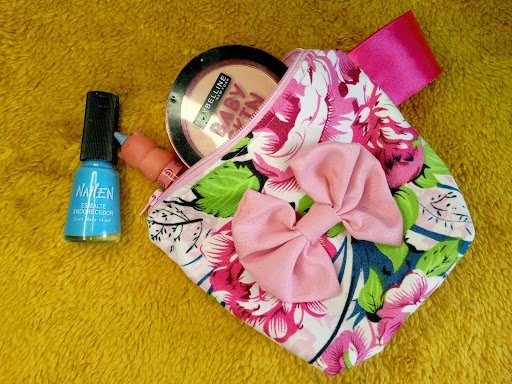
Siempre me gusta ir haciendo y experimentando cosas nuevas. La aventura de hoy fue realizar un Neceser estampado, ideal para guardar cositas como maquillaje o alguna otras cositas que no deseemos se revuelvan en el bolso o cartera. Esta creación del día es para mi amiga Carmen, que tenía un desastre dentro de la cartera diaria con el maquillaje y cositas similares. Ella misma me dijo: "Estas manos serán las que me salvaran del desastre". Yo sonreí, porque siempre nos ayudamos mutuamente con todo lo que podamos.
I always like to do and experience new things. Today's adventure was to make a Printed Toiletry Bag, ideal for storing things like makeup or any other things that we do not want to get mixed up in our bag or purse. This creation of the day is for my friend Carmen, who had a mess in her daily purse with makeup and similar things. She herself told me: "These hands will be the ones that will save me from disaster." I smiled, because we always help each other with everything we can.
La telas que usé fueron dos, una fue Dopiovelo y la otra Dacron Estampado, sin embargo puedes usar cualquiera que tengas en disponibilidad para usar. De repente usar telas con texturas o más rígidas, le dan un toque más lindo y diferente. Para el lazo decorativo, un par de rectángulos fue suficiente, uno más grande y uno en tipo listón para cubrir el centro. Siempre le había tenido miedo a colocar o hacer cosas que empleen cierres, me parecía muy complicado. Sin embargo, fue algo bastante sencillo de colocar, solo tuve mucho cuidado con el carrito del cierre, de irle moviendo según cosía la costura de unión y la de asentamiento.
The fabrics I used were two, one was Dopiovelo and the other Printed Dacron, however you can use any you have available to use. Suddenly using textured or more rigid fabrics gives it a prettier and different touch. For the decorative bow, a couple of rectangles were enough, one larger and one ribbon type to cover the center. I had always been afraid of placing or doing things that used closures, it seemed very complicated to me. However, it was quite simple to place, I was just very careful with the closure cart, moving it as I sewed the joining seam and the settling seam.
🌸🌸🌸🌸🌸🌸
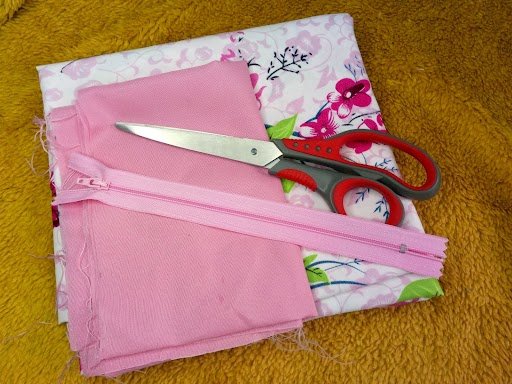
Materiales
- Tela Dopiovelo 20x34 CM
- Tela Dacron Estampada 20x34 CM
- Un trozo de cinta raso
- Cierre de 25 CM
- Tijera
- Máquina de coser - Hilo rosa
Materials
- Dopiovelo fabric 20x34 CM
- Printed Dacron Fabric 20x34 CM
- A piece of satin ribbon
- 25 CM closure
- Scissors
- Sewing machine - Pink thread
🌸🌸🌸🌸🌸🌸
Proceso de Creación / Creation Process
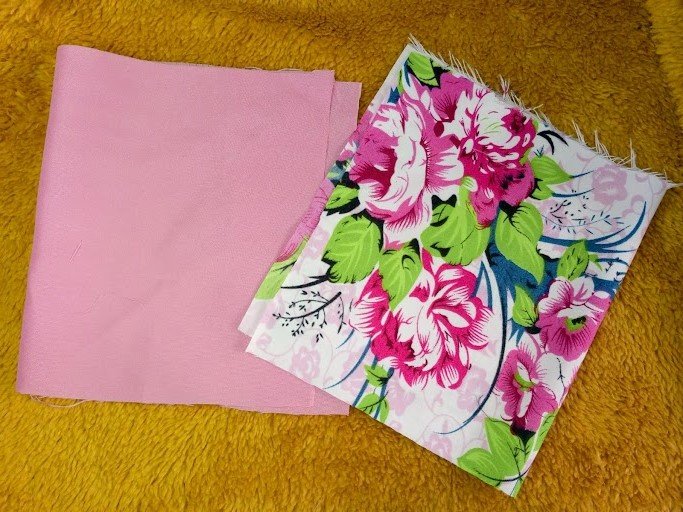
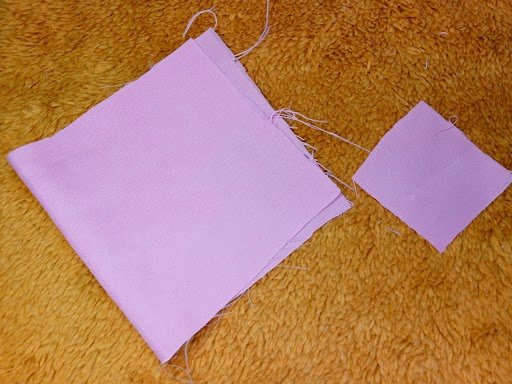
Iniciamos cortando las piezas que necesitamos, usaremos dos piezas de tela, una estampada y la otra unicolor. Estas piezas miden 20X34 CM.
We start by cutting the pieces we need, we will use two pieces of fabric, one printed and the other solid. These pieces measure 20X34 CM.
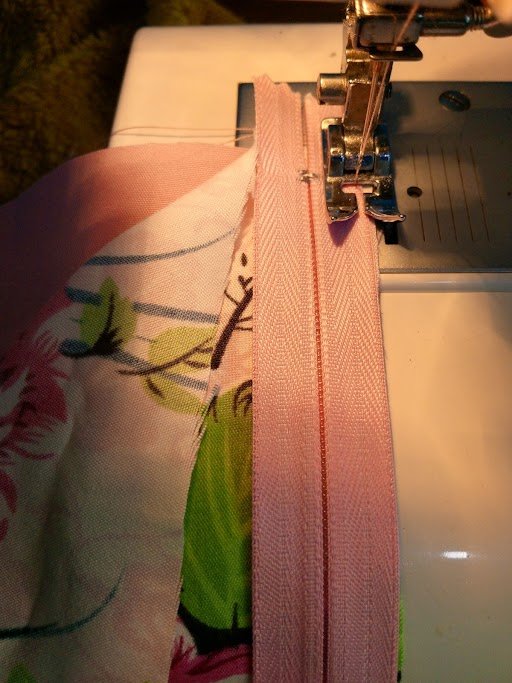
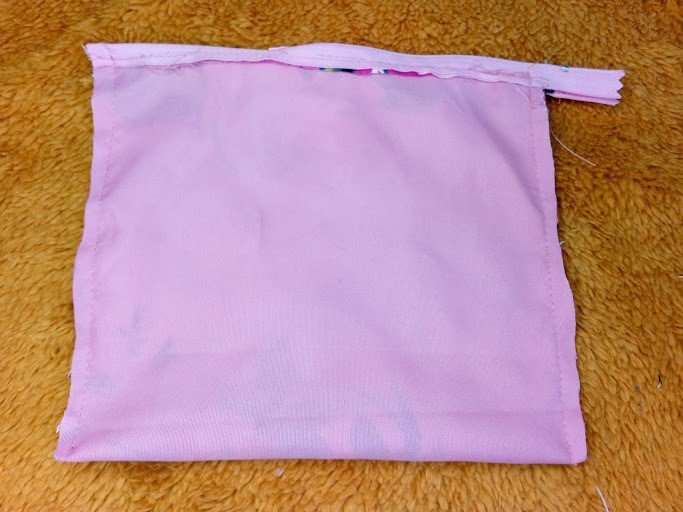
Para iniciar a coser, colocamos ambas telas y enfrentamos orillos y derechos con el cierre. Damos una costura recta y después realizamos una costura de asentamiento por el derecho. Repetimos el proceso por ambos lados, cuidando y moviendo el carrito del cierre para que sea más fácil de coser.
To start sewing, we place both fabrics and face the edges and sides with the closure. We sew a straight seam and then we make a settling seam on the right side. We repeat the process on both sides, taking care of and moving the zipper carriage to make it easier to sew.
 | 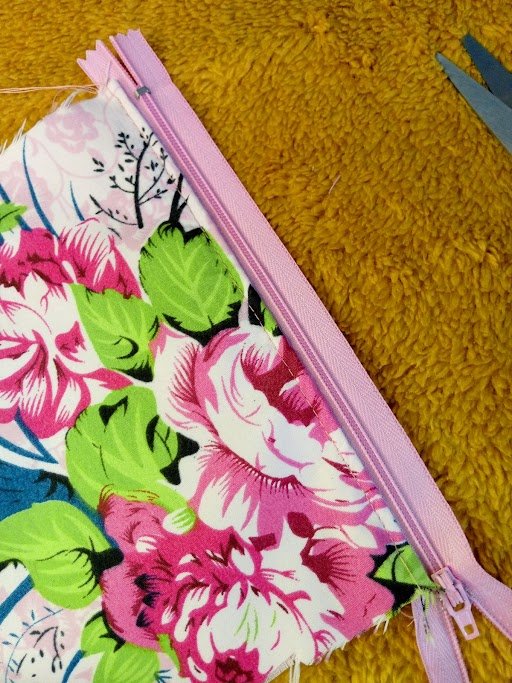 |
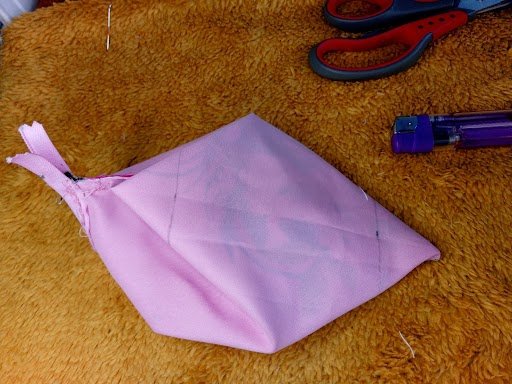
Teniendo la pieza por el lado del revés, desde adentro cosemos con puntada recta el tirante. Después coseremos por los laterales. Cuidando que a este momento, el cierre esté abierto y así podamos dar vuelta luego.
Having the piece on the wrong side, from the inside we sew the strap with a straight stitch. Then we will sew on the sides. Making sure that at this moment, the closure is open so we can turn around later.
 |  |
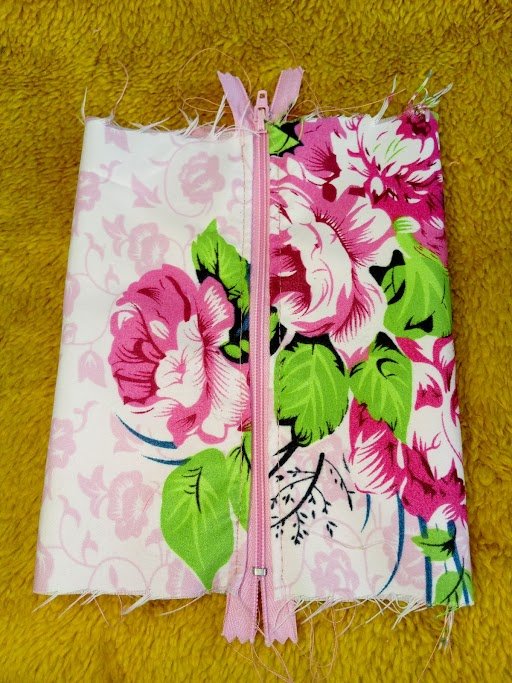
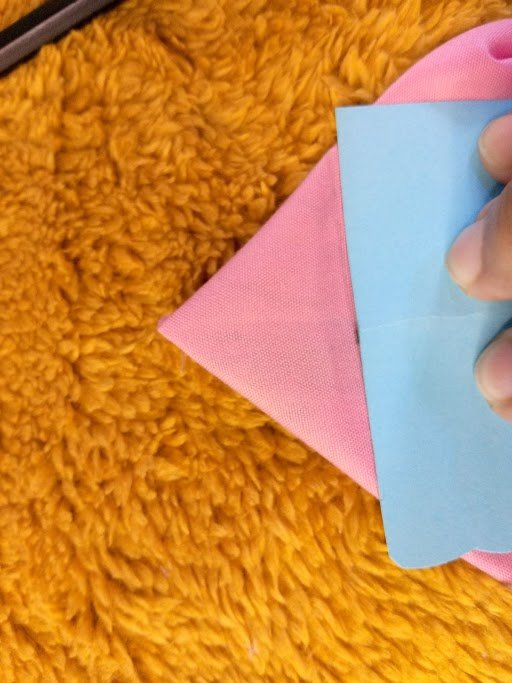
Desde la esquina inferior derecha e izquierda, hacía adentro medimos 3 centímetros para así obtener un triángulo. Marcamos y pasamos costura recta. Cortamos excedente.
From the lower right and left corners, inwards, we measure 3 centimeters to obtain a triangle. We mark and pass a straight seam. We cut excess.
 |  |
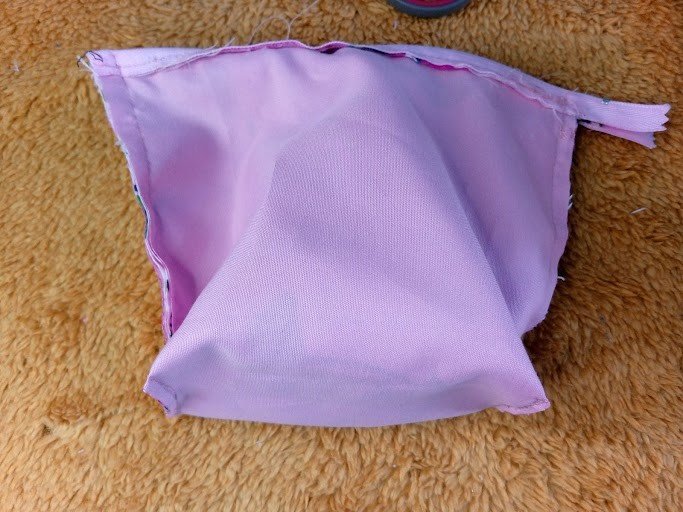
Volteamos la pieza, por el orificio del cierre.
We turn the piece through the closure hole.

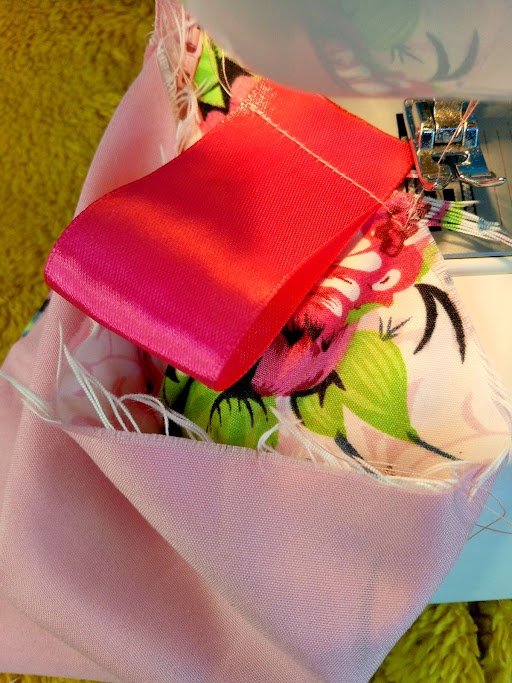
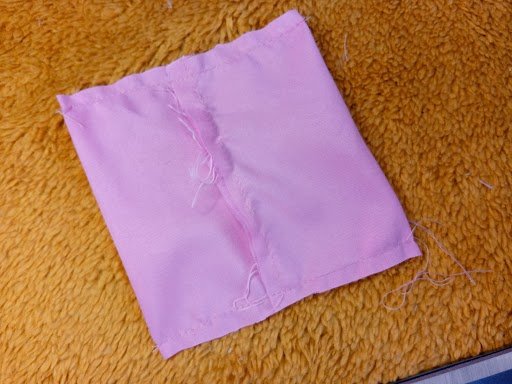
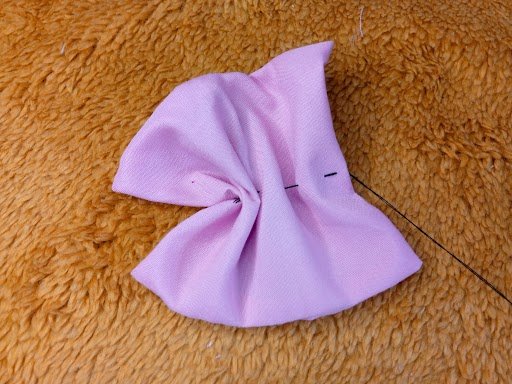
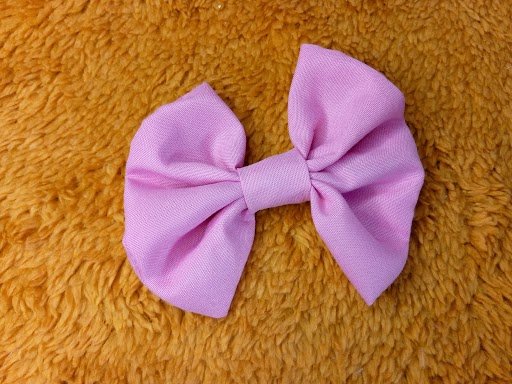
Para darle un toque más femenino, le he colocado un lazo. Para ello corté en la misma tela de forro dos rectángulos. Uno grande y uno tipo listón para colocar en el centro. Cosí por un lado, llevé al centro y uní con puntada recta por los laterales. Le hice una pequeña abertura y di vuelta, formando bien las puntas. Con el listón más pequeño, cubrí el centro. Fijé el lazo en el neceser con ayuda de silicón, aunque también puede ser cosido.
To give it a more feminine touch, I have placed a bow on it. To do this, I cut two rectangles out of the same lining fabric. One large one and one ribbon type to place in the center. I sewed on one side, took it to the center and joined with a straight stitch on the sides. I made a small opening and turned it, forming the tips well. With the smallest ribbon, I covered the center. I fixed the bow on the toiletry bag with the help of silicone, although it can also be sewn.
 |  |  |
🌸🌸🌸🌸🌸🌸
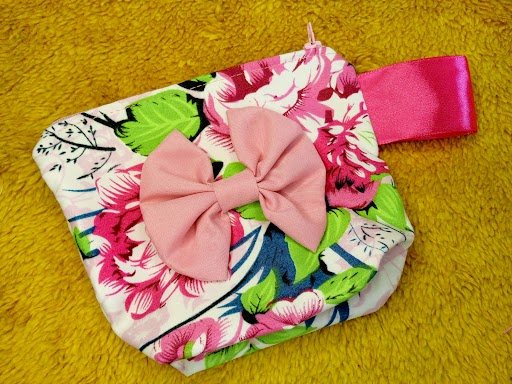
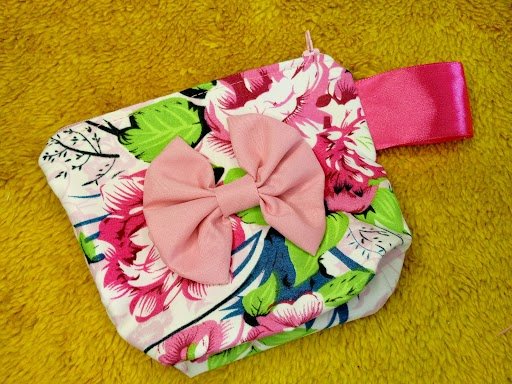
Resultado / Result :
🌸🌸🌸🌸🌸🌸
¡Y hasta aquí el proyecto del día! Espero les haya gustado tanto como a mí.
Si tienes alguna duda o sugerencia, no dudes en dejar un comentario. Las fotos que he colocado a lo largo del texto, las he tomado desde mi móvil Infinix.
¡Hasta la próxima!, tengan todos un bendecido día cargado de salud, paz y amor.
And that's it for the project of the day! I hope you liked it as much as I did.
If you have any questions or suggestions, don't hesitate to leave a comment. The photos that I have placed throughout the text were taken from my Infinix mobile.
Until next time, everyone have a blessed day full of health, peace and love.
The end result is absolutely amazing 😍
Thank you so much. I really appreciate the comment and support of my humble content. Blessings.
Que bello amiga, muy práctico y además parece muy fácil de elaborar, necesito uno como este 😊
Si, desde que inicié en la costura había tenido miedo de hacer cosas que impliquen cierre. Más sin embargo, fue bastante fácil de esta manera incorporar el cierre. Espero pronto puedas hacer uno propio. Bendiciones.
Excelente. Recuerdo que antes todas las mujeres tenían de estos neceseres. Mis tías siempre viajaban con ellos.
Que bueno que sabes hacerlos. Se ve muy cómodo para llevar y traer.
Lindo tu trabajo. Me gustó 🙋🏽♀️
Muchas gracias amiga mía. Yo creo que puedo ser del tiempo de tus tías. Aunque, yo desde hace años dejé de usar maquillaje, de repente me realice uno para guardar cositas de costura o las pastillas. Muchas gracias por tu apreciación, un abrazo. Bendiciones.
Amiga quedo muy hermoso, el estampado es muy tierno!
Gracias por compartir!
that looks so beautiful, you are so creative. keep up the good work.
Siempre me ha gustado ser organizada, y tener un neceser, es orden en la cartera con el maquillaje y cualquier cosita que queramos cuidar, te quedo precioso, me encanto el estampado de la tela y el detalle del lazo. Me animaré pronto hacer mis neceseres para comenzar mi colección. Gracias por compartir.😃