Blessed Friday everyone present
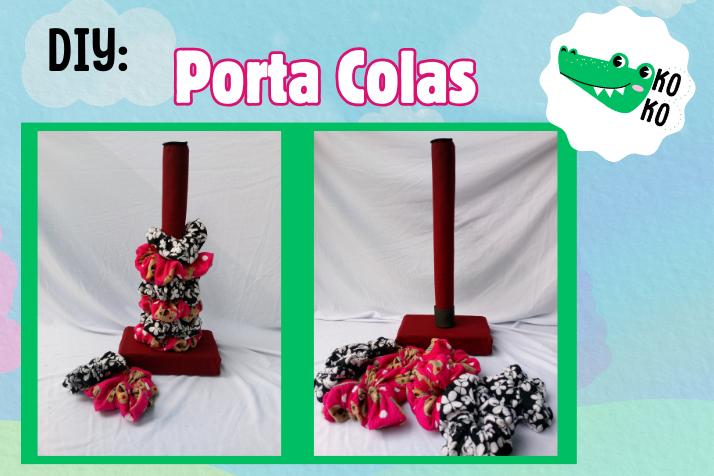
Esta semana ha sido "movida", me registré para estar presente en una pequeña especie de muestra que se realizará mañana sábado en la plaza del pueblo, será como un pequeño stand de artesanos y emprendedores. Así que la semana estuvo full, mucha costura, muchos lazos y accesorios infantiles. Además, hice Scrunchies en variedad de telas y estampados. Pero me hacía falta un coletero, algo que pudiera ayudarme a mostrarlas. Por eso, nace esta publicación de hoy, un coletero que hice de manera casera, te contaré como y que materiales he usado para ello.
This week has been "busy", I registered to be present at a small kind of exhibition that will be held tomorrow Saturday in the town square, it will be like a small stand of artisans and entrepreneurs. So the week was full, lots of sewing, lots of bows and children's accessories. Additionally, I made Scrunchies in a variety of fabrics and prints. But I needed a scrunchie, something that could help me show them off. Therefore, today's publication is born, a scrunchie that I made at home, I will tell you how and what materials I used for it.
Todo ha sido muy apresurado, me animé a participar en la exposición porque es una buena manera de empezar o dar un paso nuevo para mostrar al público las cosas que hago. La sala de mi casa se ha vuelto practicamente un pequeño taller, donde he pasado estos días prolongadas horas cortando, cosiendo y armando distintas piezas. Una de ellas son las Scrunchies y quería un porta colas que me ayudará a darle un poco de presentación y colocar en la mesa del stand. Así que usé diferentes materiales que tenía a la mano para crear uno.
Everything has been very rushed, I decided to participate in the exhibition because it is a good way to start or take a new step to show the public the things I do. The living room of my house has practically become a small workshop, where I have spent long hours these days cutting, sewing and assembling different pieces. One of them is Scrunchies and I wanted a tail holder that will help me give it a little presentation and place on the table at the stand. So I used different materials I had on hand to create one.

Para elaborar el porta colas usé un retazo de tela Drill, un trozo de madera que había quedado huérfano en casa al dañarse una cama, algo de foami, un cartón residuo de envoplast y silicon. Fue sumamente rápido de elaborar, además de sencillo y útil para lo que deseaba. Las Scrunchies se ven super lindas allí, ha sido realmente una buena manualidad.
To make the glue holder I used a scrap of Drill fabric, a piece of wood that had been orphaned at home when a bed was damaged, some foam, a piece of cardboard left over from envoplast and silicone. It was extremely quick to make, as well as simple and useful for what I wanted. The Scrunchies look super cute there, it was a really good craft.
🐊🐊🐊🐊🐊🐊
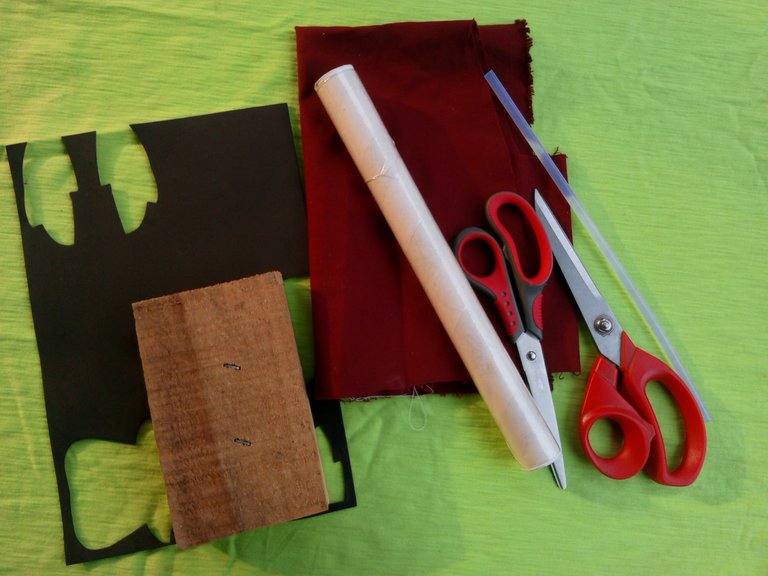
Materiales
- Retazo de tela Drill.
- Cartón circular, donde viene el envoplast.
- Foami.
- Silicón - Encendedor.
- Rectángulo de madera.
- Tijera.
Materials
- Piece of Drill fabric.
- Circular cardboard, where the envoplast comes.
- Foami.
- Silicone - Lighter.
- Wooden rectangle.
- Scissors.
🐊🐊🐊🐊🐊🐊
Proceso de Creación / Creation Process
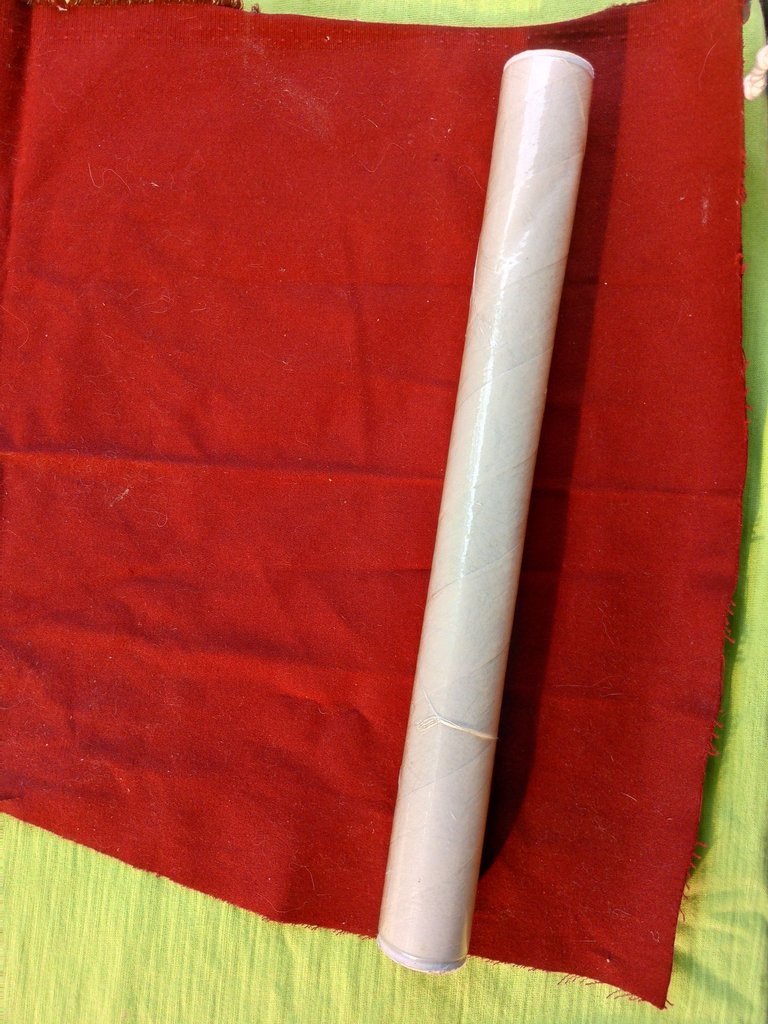
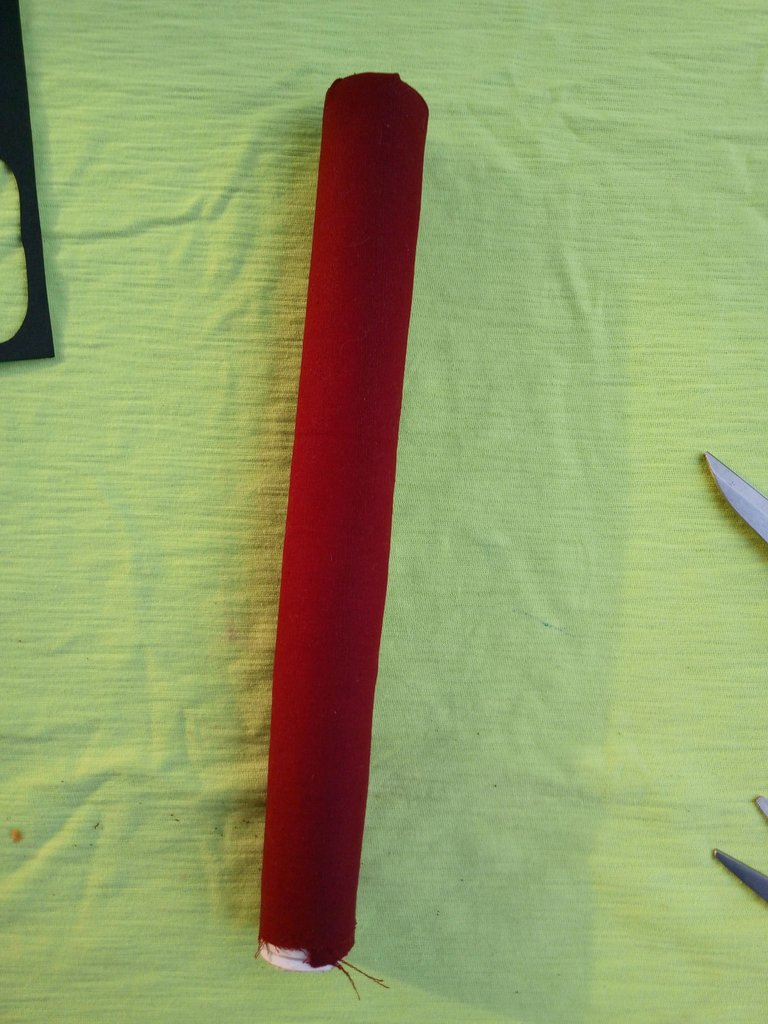
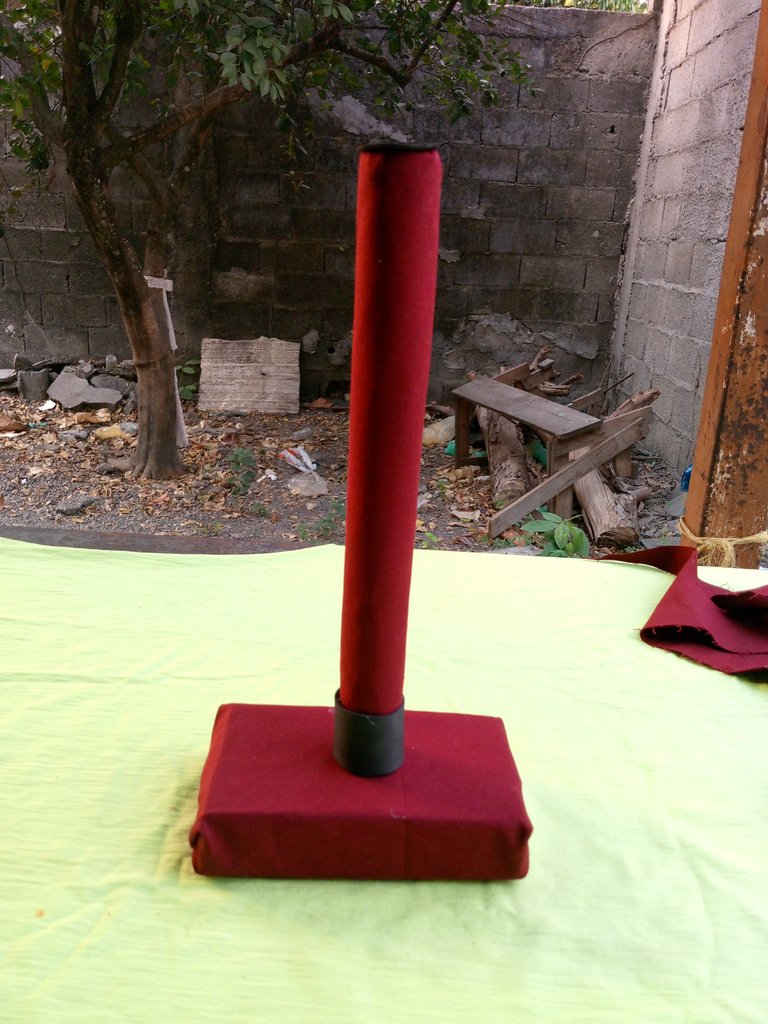
Medimos la tela en relación con el tamaño del tubo, ésta debe cubrirle. Con silicon nos ayudamos a forrar y fijar la tela en el tubo de cartón.
We measure the fabric in relation to the size of the tube, it must cover it. With silicone we help ourselves to line and fix the fabric in the cardboard tube.
 |  |
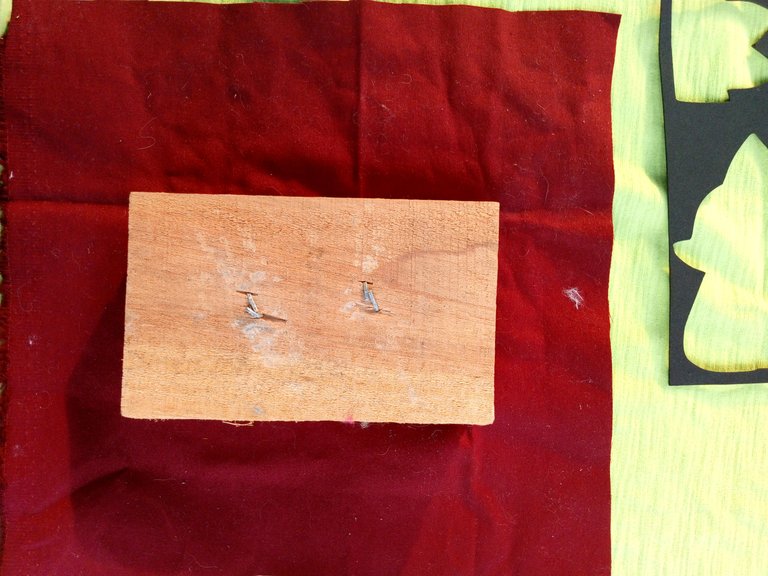
Ahora forraremos de la misma manera el rectángulo de madera.
Now we will cover the wooden rectangle in the same way.
 | 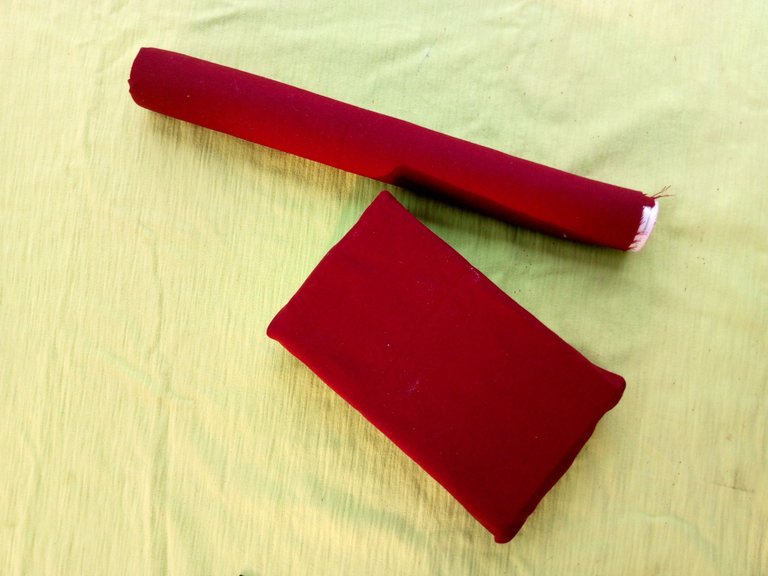 |
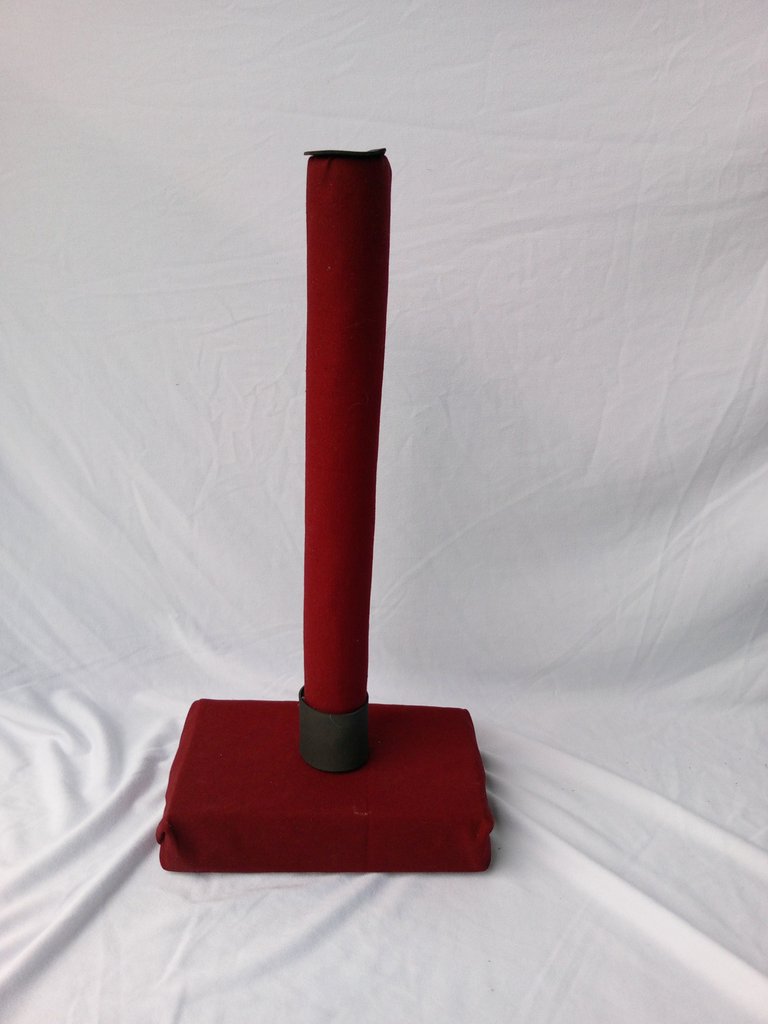
Ahora uniremos ambas piezas, quedando el tubo en el centro. Para fijar he usado suficiente silicon. Después cortaremos un listón de foami que servirá para cubrir la base del tubo de cartón. También cortamos un circulo de foami para colocarle en la parte superior del tubo.
Now we will join both pieces, leaving the tube in the center. To fix it I used enough silicone. Then we will cut a foam strip that will serve to cover the base of the cardboard tube. We also cut a foam circle to place on the top of the tube.
 |  |
🐊🐊🐊🐊🐊🐊
Resultado / Result :
🐊🐊🐊🐊🐊🐊
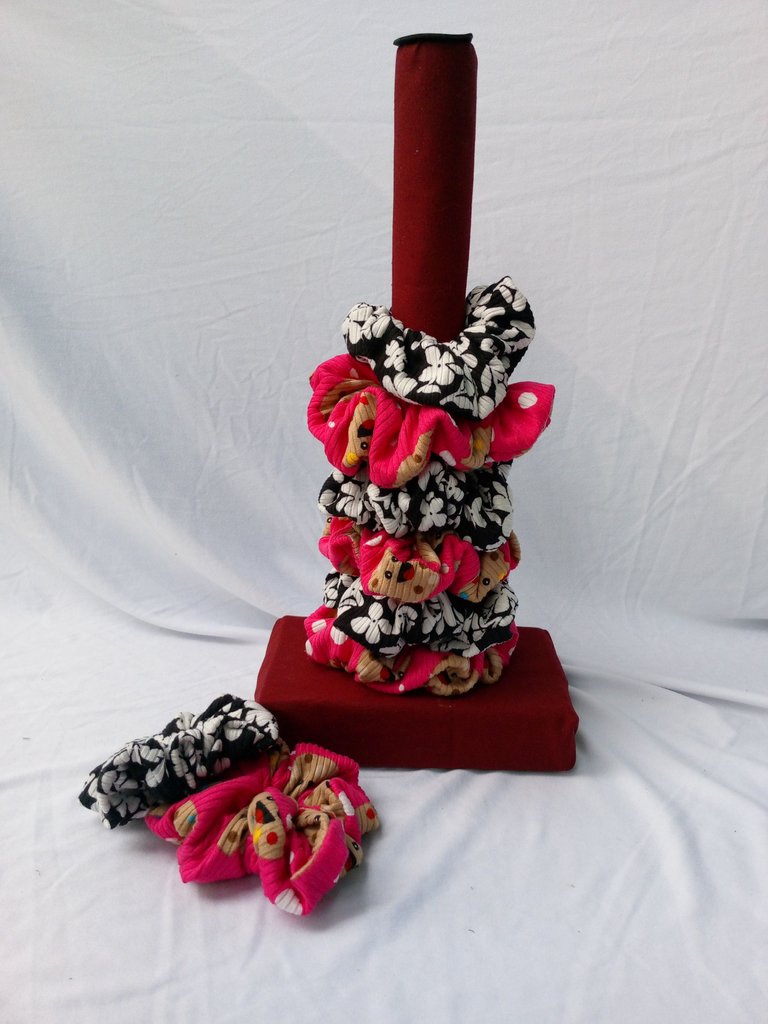
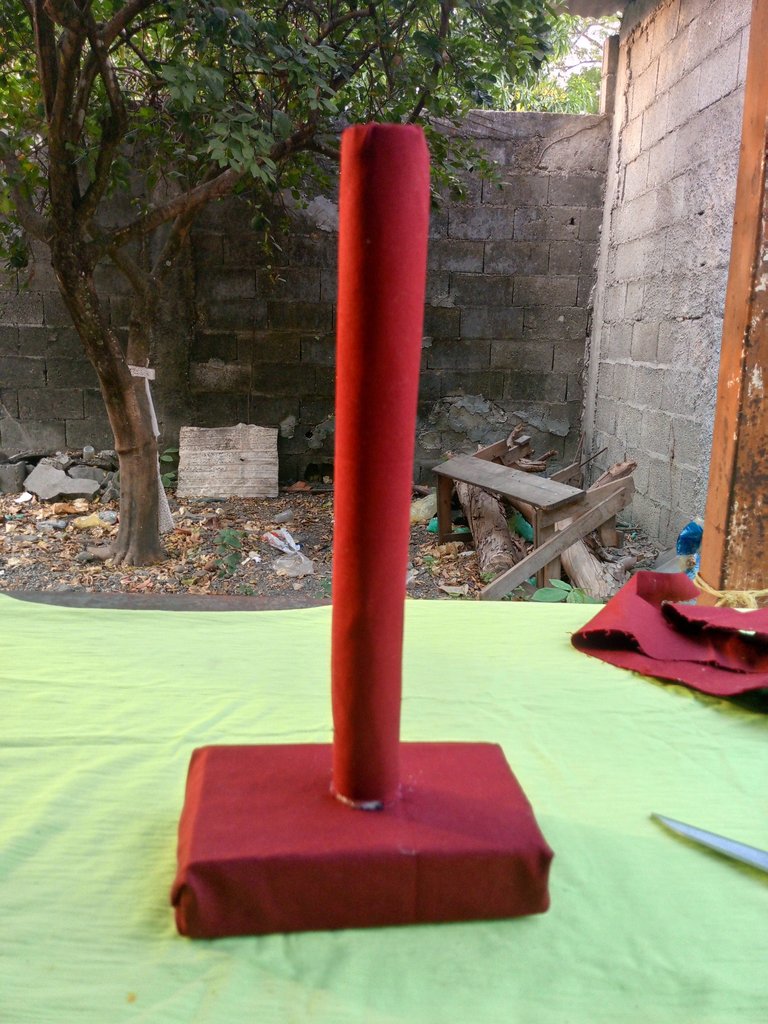
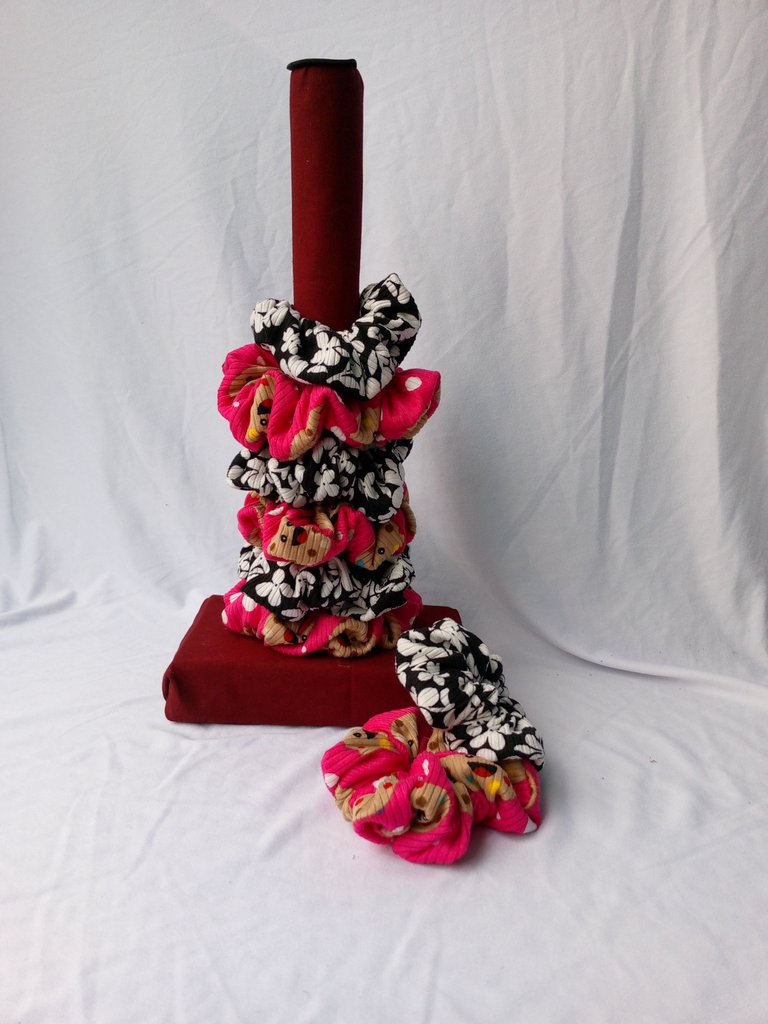
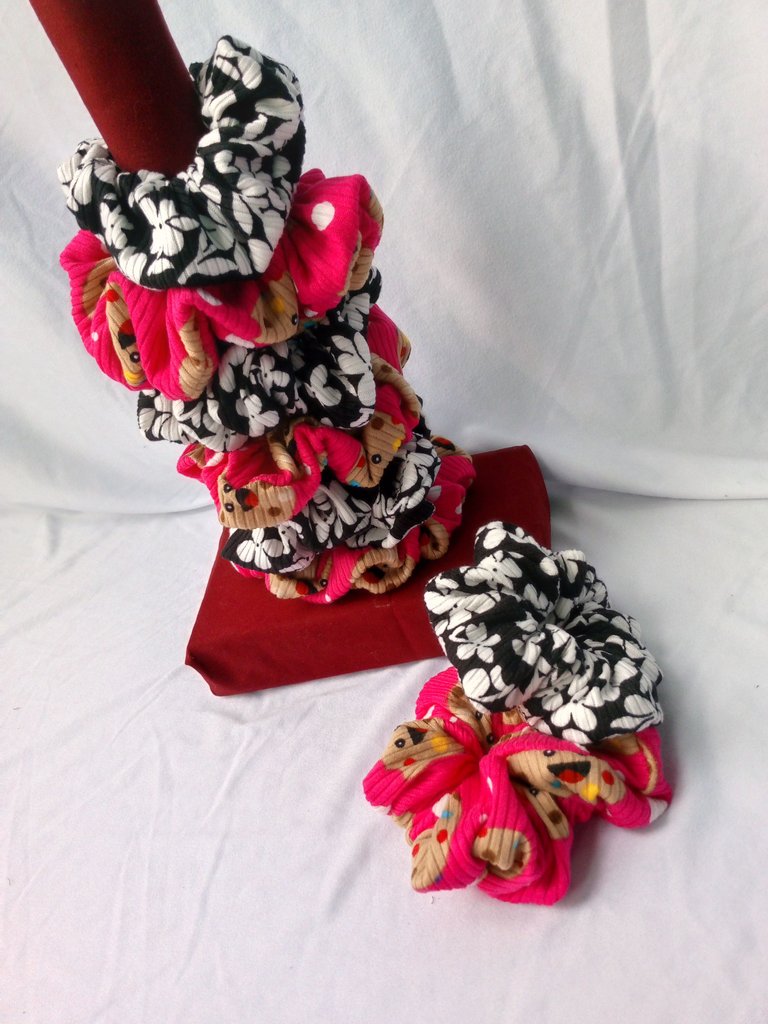
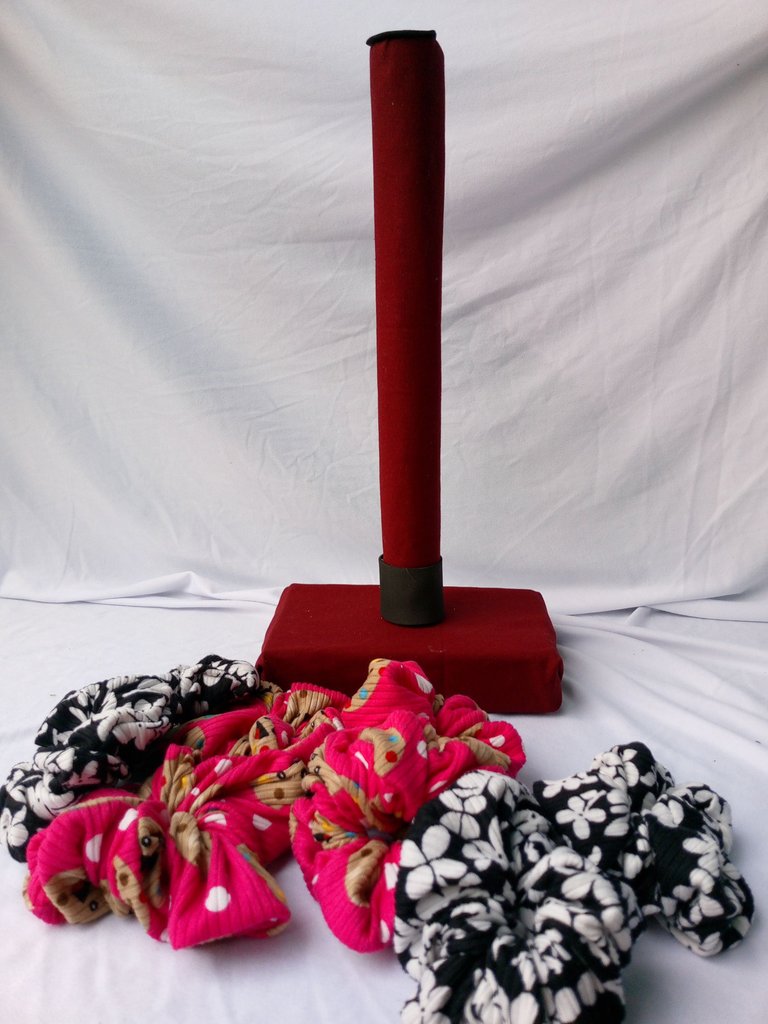
Este porta colas es lindo y sencillo, pero cumple muy bién la función para la cual fue creado. Estoy imaginando lo simpático que se podrá ver mañana sobre la mesa y el espacio para lucir las Scrunchies.
This tail holder is cute and simple, but it fulfills the function for which it was created very well. I'm imagining how nice it will look tomorrow on the table and the space to show off the Scrunchies.
🐊🐊🐊🐊🐊🐊
¡Y hasta aquí el proyecto del día! Espero les haya gustado tanto como a mí.
Si tienes alguna duda o sugerencia, no dudes en dejar un comentario. Las fotos que he colocado a lo largo del texto, las he tomado desde mi móvil Infinix.
¡Hasta la próxima!, tengan todos un bendecido día cargado de salud, paz y amor.
And that's it for the project of the day! I hope you liked it as much as I did.
If you have any questions or suggestions, don't hesitate to leave a comment. The photos that I have placed throughout the text were taken from my Infinix mobile.
Until next time, everyone have a blessed day full of health, peace and love.
aha that looks great, you are amazing. keep up the good work. have a great day and week ahead.
Thank you so much. Always grateful for the support. Blessings
gracias por compartirnos esta genial manualidad, es algo super util y que cre que todas las mujeres lo necesitamos para que no se extravien nuestrass colas.
Así es, muy útil y ocupa un pequeño espacio para organizar las colas. Muchas gracias, bendiciones
exdelente, saludos.
Gracias, bendiciones
bendiciones amiga.
Excelente idea, muy creativa, me parece genial y el color está muy bonito. Sigamos creciendo
Gracias amigo. Ciertamente el color esta lindo, bendiciones. Feliz domingo.
Saludos amiga, este accesorio es bien importante tenerlo, para así no perder tanto las colas para el cabello, ahora que veo este artículo necesitaré uno con urgencia.😃
Hola Amiga, muchas gracias. Y si, es genial para resguardarlas. A veces no sabemos donde le dejamos, a mi nieta le sucedía mucho. Espero pronto puedas hacer uno para ti. Bendiciones.
Me encantó este proyecto, es muy útil y nuestros scrunchies quedan bien organizados a la vista para poder elegir el que queremos.
Gracias por compartir amiga @belkysmargarita
Me contenta saber que te ha gustado, además de que te haya sido útil el tutorial. Gracias a ti por leer, bendiciones.
Agradecida por el apoyo a mi contenido. Bendiciones
Excelente proyecto!
Muchas gracias amiga. Bendiciones