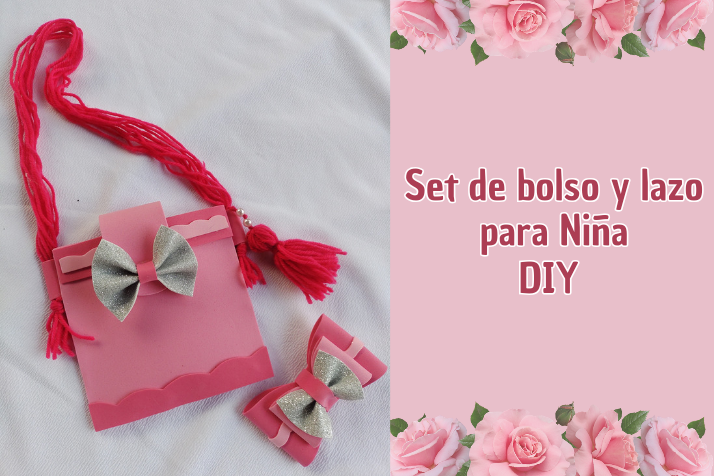
Hola amigos y amigas de Hive Diy. Me complace estar en esta ocasión para presentarles un proyecto fácil, lindo y económico de realizar. Se trata de un Set de Bolso y Lazo para niña, se encuentra elaborado en Foami de variados colores, algo de estambre y silicon. Este lo he elaborado para mi nieta, ella ama usar cositas y le encanta el color rosa. Pero fácilmente un set como este podría ser una opción ideal para un presente diferente.
Hello friends of Hive Diy. I am pleased to be on this occasion to present you an easy, beautiful and economical project to carry out. This is a Bag and Bow Set for girls, it is made of Foami in various colors, some yarn and silicone. I made this for my granddaughter, she loves using things and loves the color pink. But a set like this could easily be an ideal option for a different present.
La idea de este set nació de que mi nieta me hacía señas de que quería un bolso pequeño, para guardar algunas cositas de cartón que ella había dibujado y cortado. El lazo si fue una combinación que quise hacerla, para así formar un set. El dúo resultó muy rosa y muy femenino, pienso que el lazo en plateado ha sido como una cereza en el pastel.
The idea for this set came from my granddaughter telling me that she wanted a small bag to store some cardboard things that she had drawn and cut. The bow was a combination that I wanted to make, in order to form a set. The duo turned out very pink and very feminine, I think the silver bow was like a cherry on the cake.
Para el asa del bolso, hubiera querido hacerla tejida, pero aún mis dotes inmediatos de tejido no llegan a ese nivel. Con este proyecto, he elaborado mi primera borla, casi la estropeo, pero pude recuperarla. Mi nieta por su lado, brincaba de la felicidad, era tanto rosa que estaba allí en esas dos piezas, que decía: Muy rosa, mientras aplaudía.
For the bag handle, I would have liked to make it woven, but my immediate knitting skills still do not reach that level. With this project, I made my first tassel, I almost ruined it, but I was able to recover it. My granddaughter, on her side, was jumping with happiness, she was so pink that she was there in those two pieces, that she said: Very pink, while she applauded.
Materiales
- Foamis en distintos tipos de rosa
- Foami plateado con escarcha
- Estambre color fucsia o rosa
- 2 Perlas
- 1 Pinza Caimán Mediana
- Silicon - Pistola de Silicon
- Tijera
Materials
- Foamis in different types of pink
- Silver foam with frost
- Fuchsia or pink yarn
- 2 Pearls
- 1 Medium Alligator Clip
- Silicon - Silicon Gun
- Scissors
Proceso de Creación / Creation Process
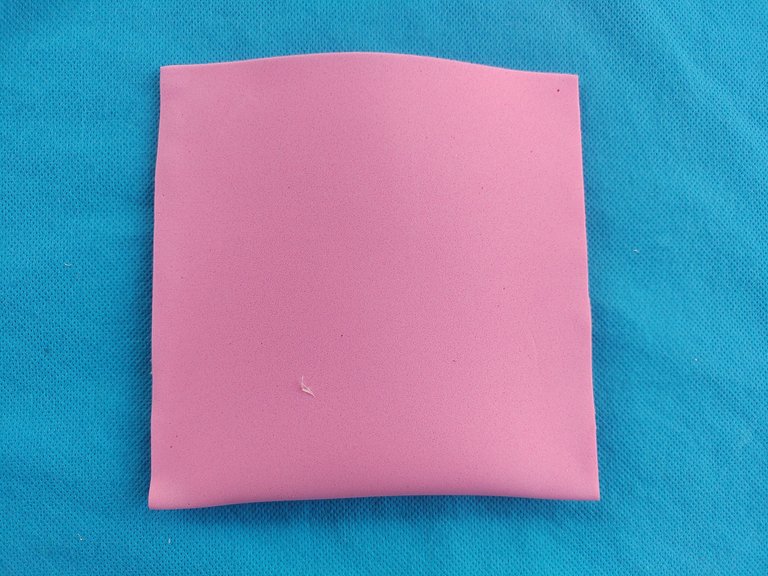
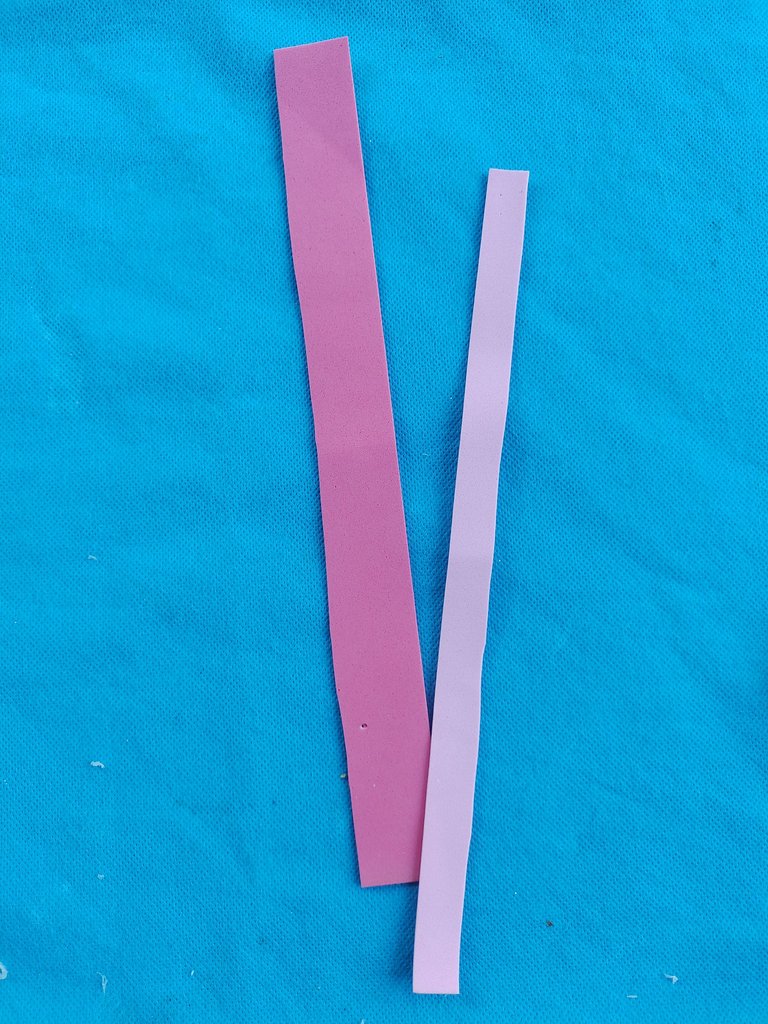
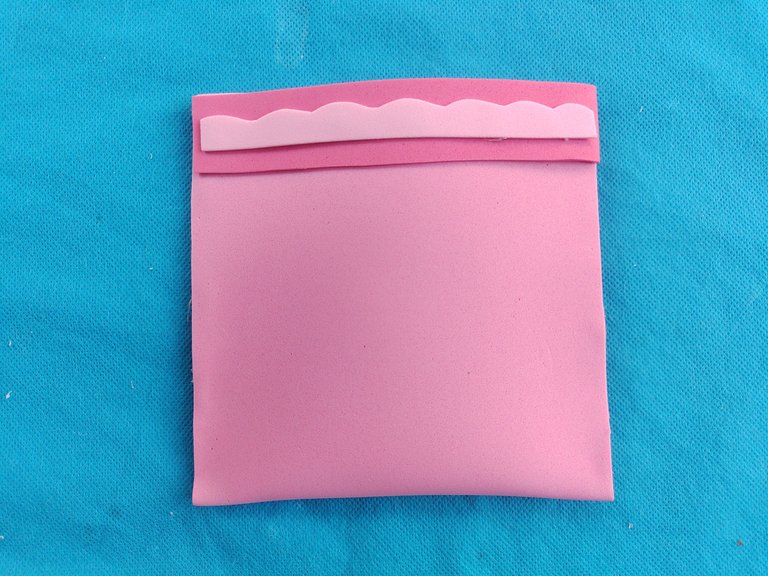
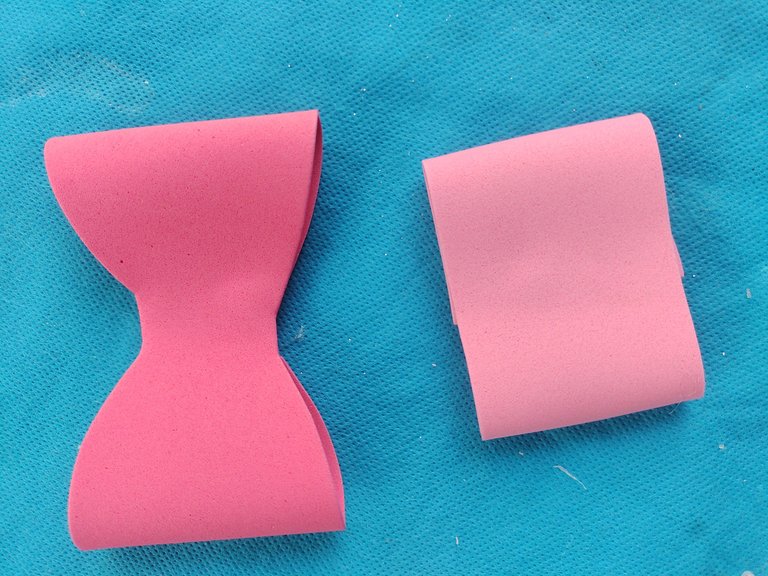
Con una de las láminas de foami, le doblamos y formamos el cuerpo del bolso. He cortado un poco por un costado, para que sea rectangular y no cuadrado. Con silicon uniremos los costados. Cortamos listones para darle color y uno de ellos cortamos formando ondas.
With one of the foam sheets, we fold it and form the body of the bag. I have cut a little on the side, so that it is rectangular and not square. With silicone we will join the sides. We cut ribbons to give it color and we cut one of them forming waves.
 |  |  |
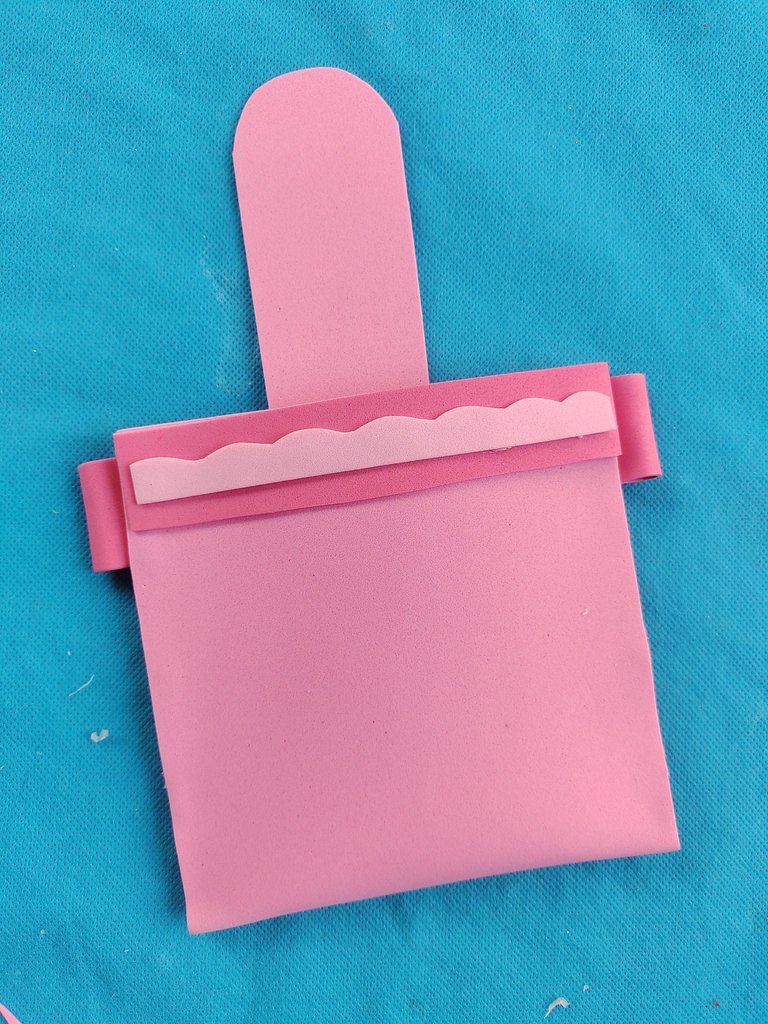
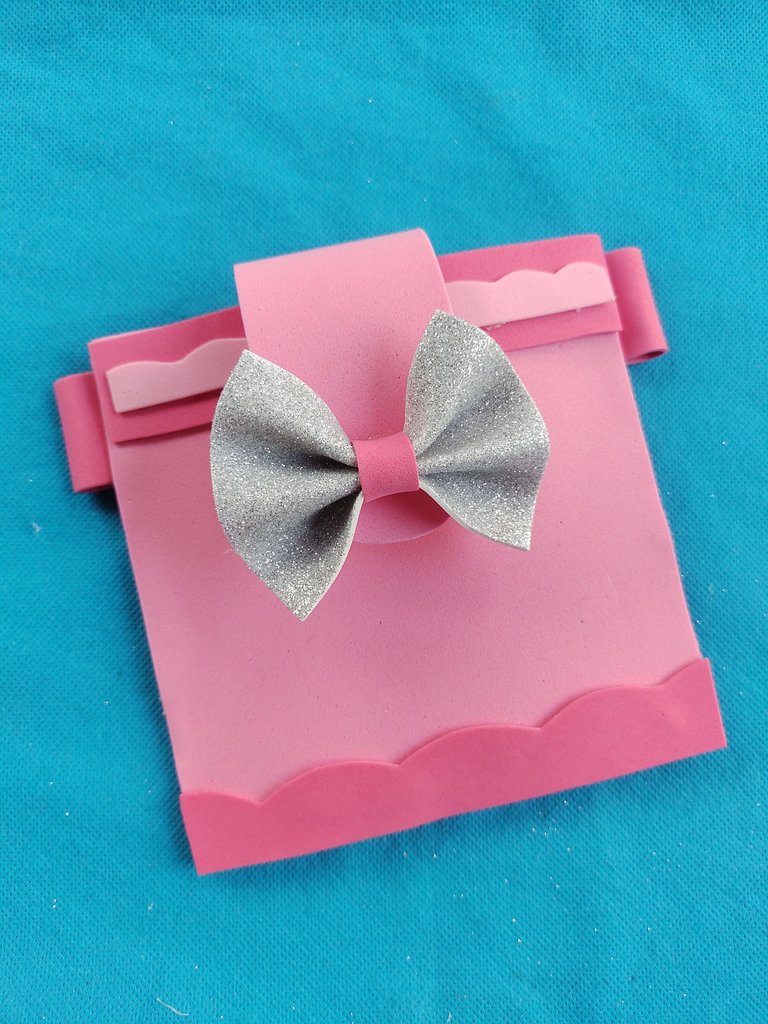
Cortamos las siguientes piezas, que son un par de pestañas rectangulares y una para el broche. Con silicon unimos las piezas.
We cut the next pieces, which are a pair of rectangular tabs and one for the brooch. With silicone we join the pieces.
 |  |
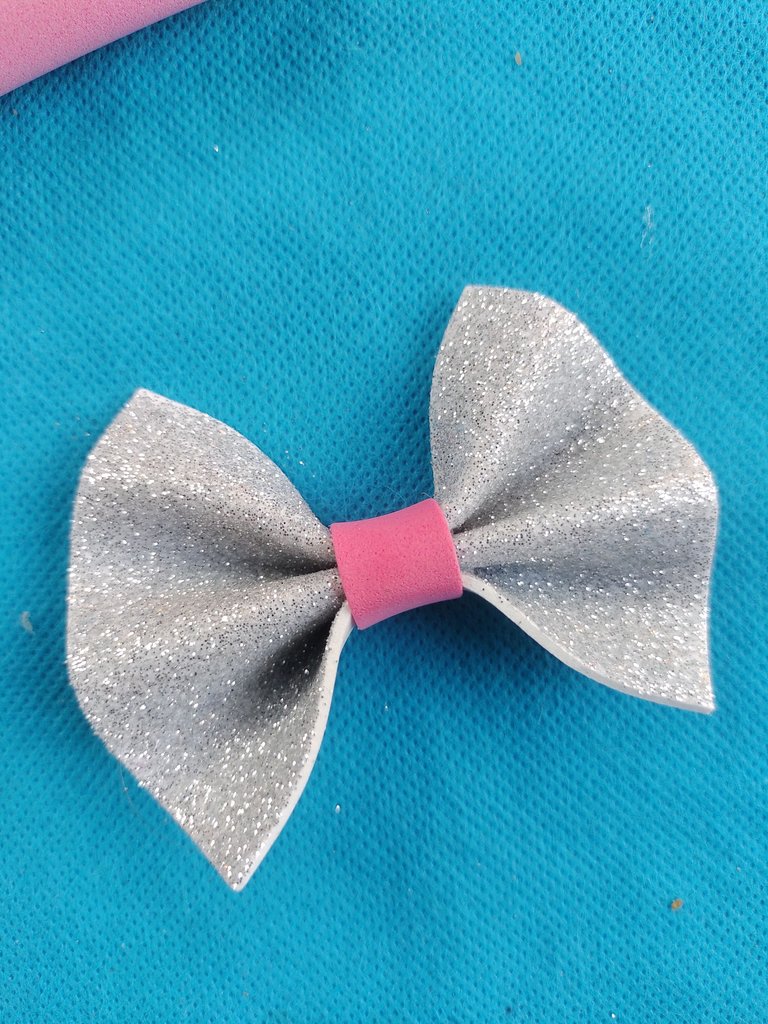
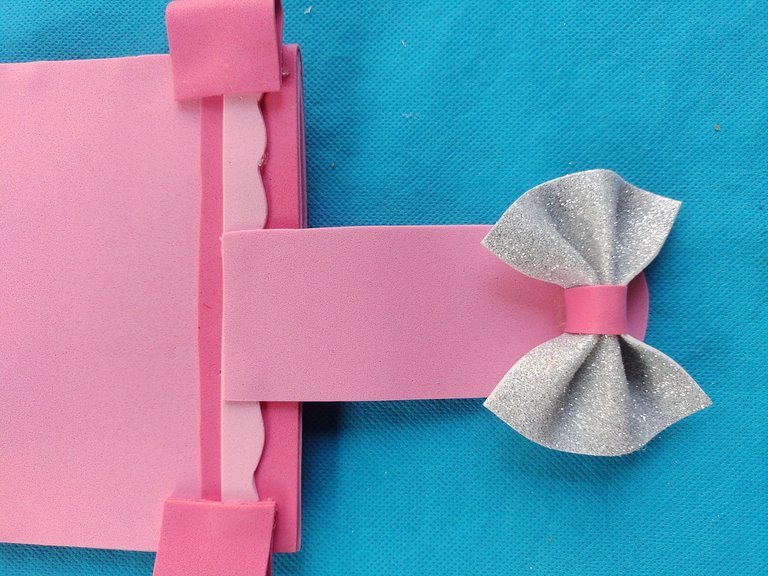
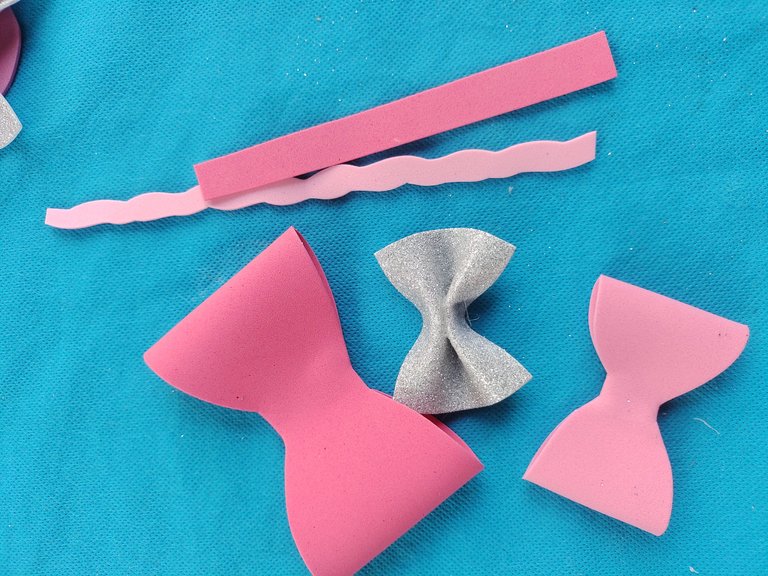
Cortamos un rectángulo en plateado, un listón en rosa. Haremos un lazo que uniremos al broche del bolso.
We cut a rectangle in silver, a ribbon in pink. We will make a bow that we will attach to the clasp of the bag.
 |  |  |
Con el estambre medimos y damos varias vueltas, para elaborar el asa. Introducimos por las pestañas del bolso.
With the yarn we measure and make several turns to make the handle. We introduce through the tabs of the bag.

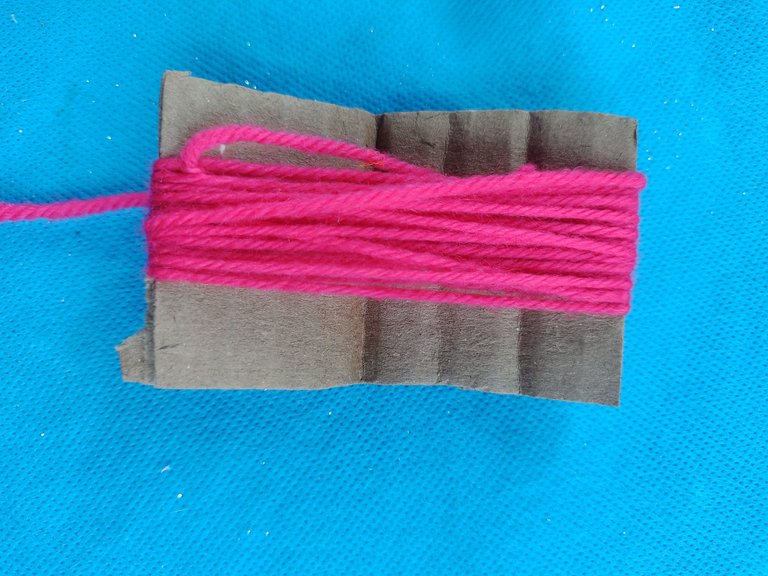
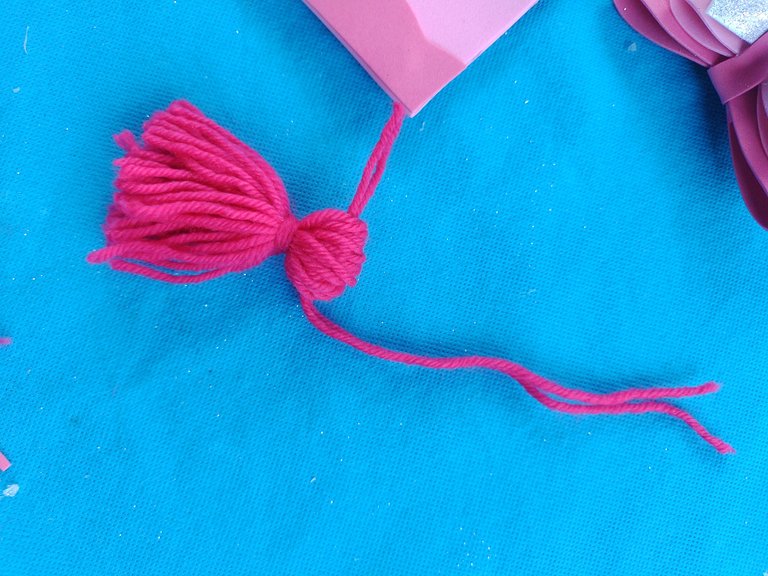
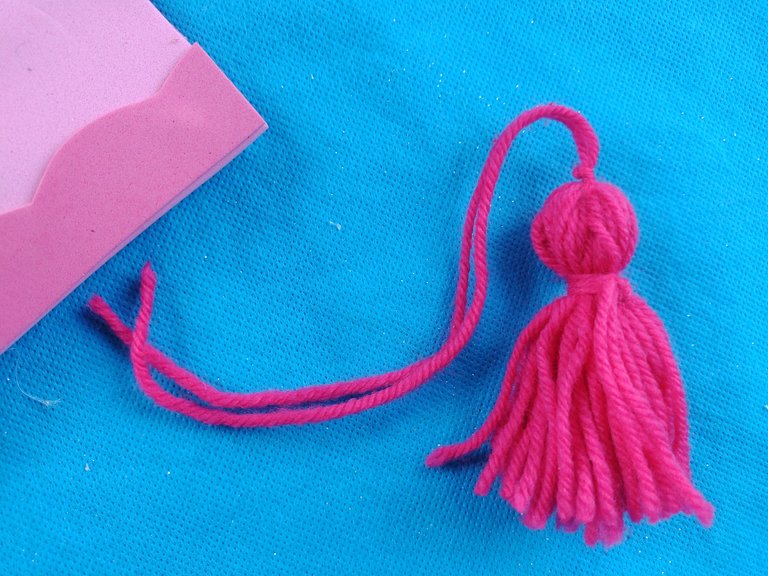
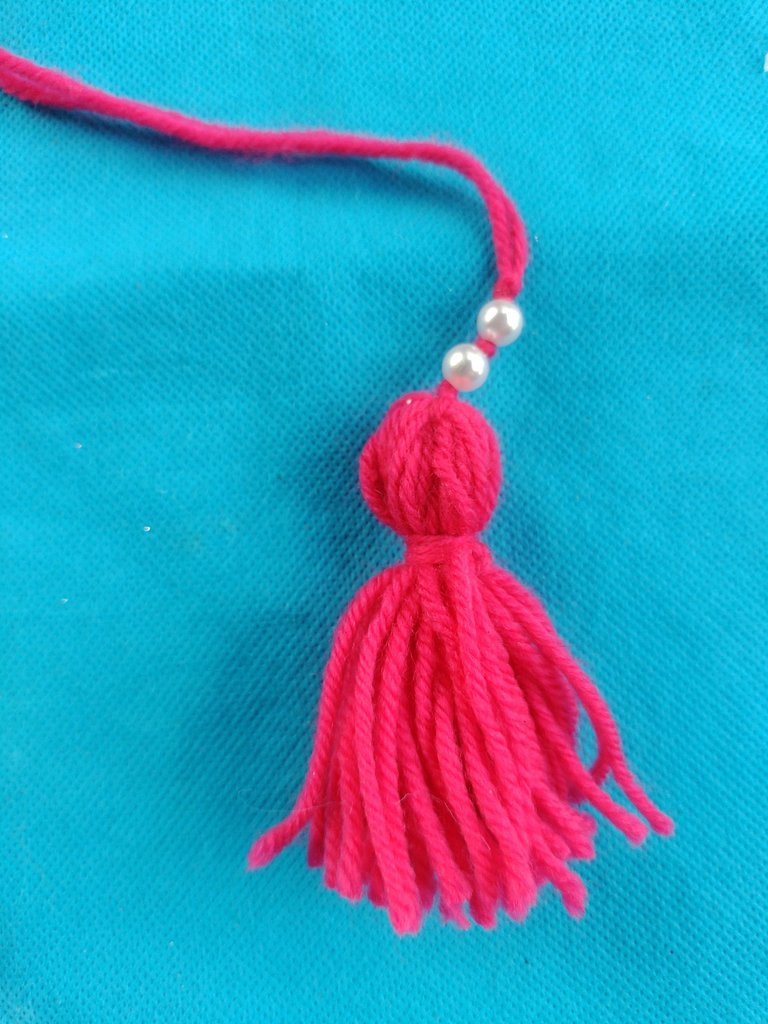
Ahora haremos la borla, tomé un rectángulo de cartón y allí di vueltas con el estambre. Hice un nudo un poco más alto que el medio y por la parte superior, hice un nudo atado. En el inferior he cortado y emparejado los hilos. Para mejor el aspecto de la borla, le he introducido dos perlas con un nudo en medio de cada una.
Now we will make the tassel, I took a cardboard rectangle and I rolled the yarn around there. I tied a knot a little higher than the middle and at the top, I tied a tied knot. In the lower one I have cut and matched the threads. To improve the appearance of the tassel, I have inserted two pearls with a knot in the middle of each one.
 |  |  |
Colocamos la borla en uno de los lados de las asas. También colocamos un trozo de cierre mágico.
We place the tassel on one of the sides of the handles.We also placed a piece of magic closure.

Resultado / Result
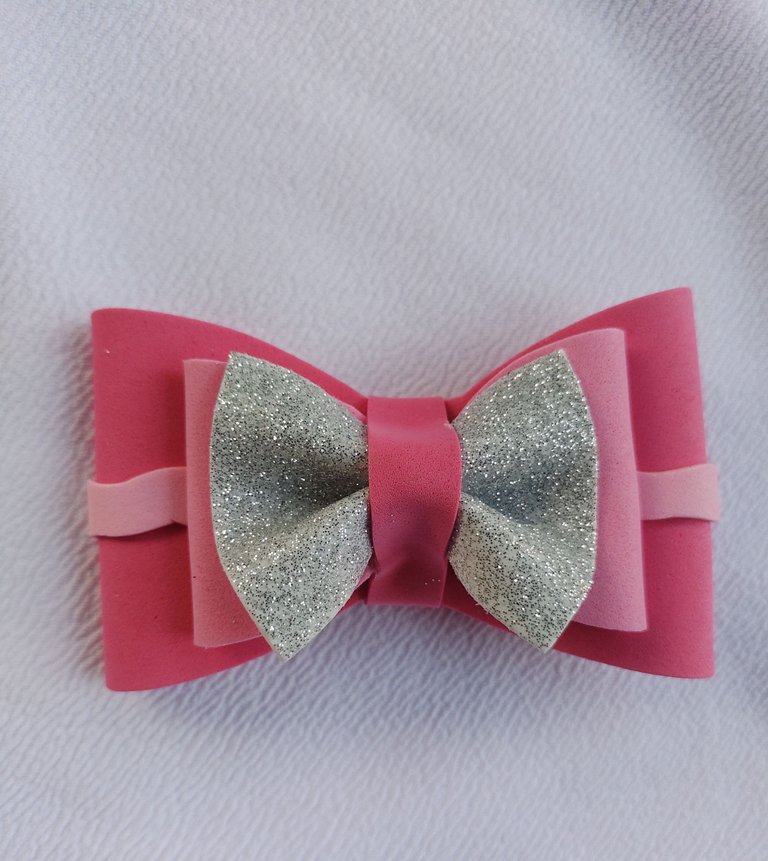
Para el Lazo/ For the Loop:
Cortamos inicialmente los rectángulos en los siguientes colores:
We initially cut the rectangles in the following colors:
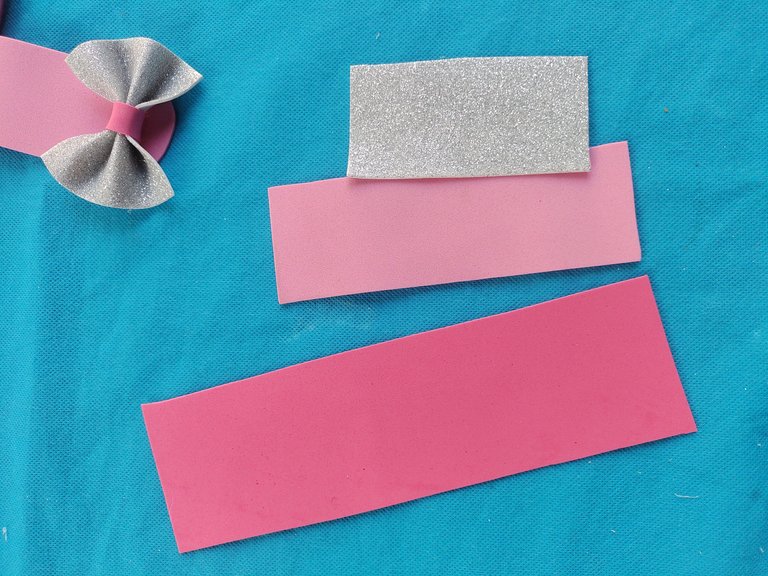
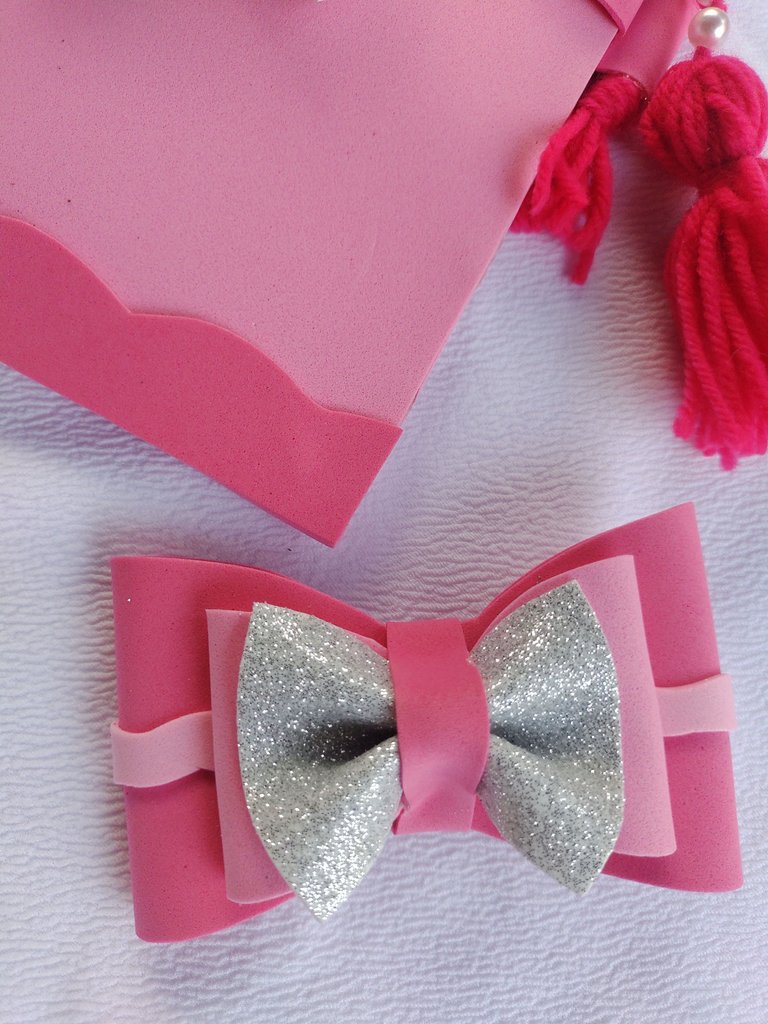
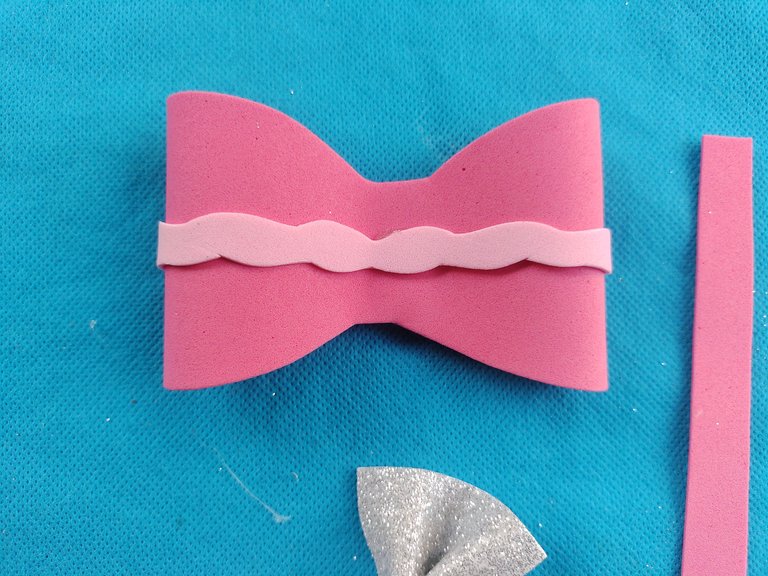
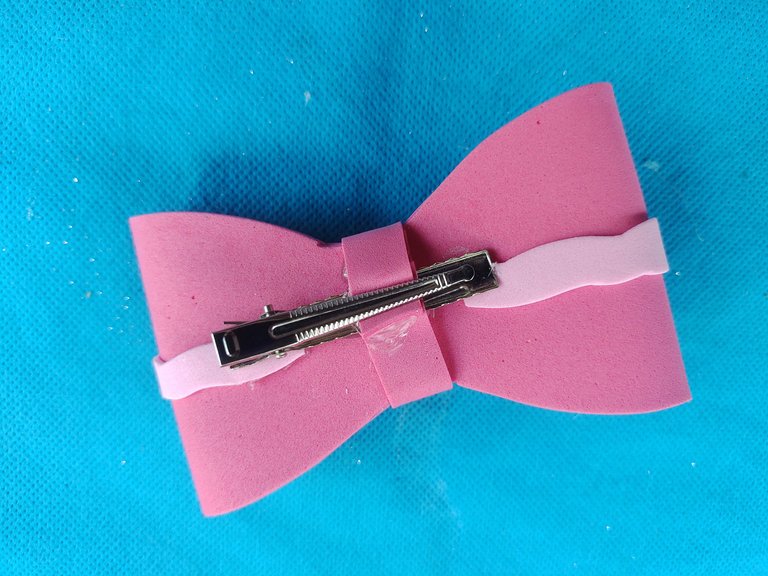
Unimos al centro con silicon y cortamos los bordes de los lazos. Después uniremos las piezas en una sola. Con un listón cubrimos al centro y por la parte trasera colocamos la pinza caimán con silicon. El listón central, lo aseguramos con silicon en la pinza.
We join the center with silicone and cut the edges of the ties. Then we will join the pieces into one. With a ribbon we cover the center and on the back we place the alligator clip with silicone. We secure the central strip with silicone in the clamp.
 |  |  |
 |  |
Resultado / Result
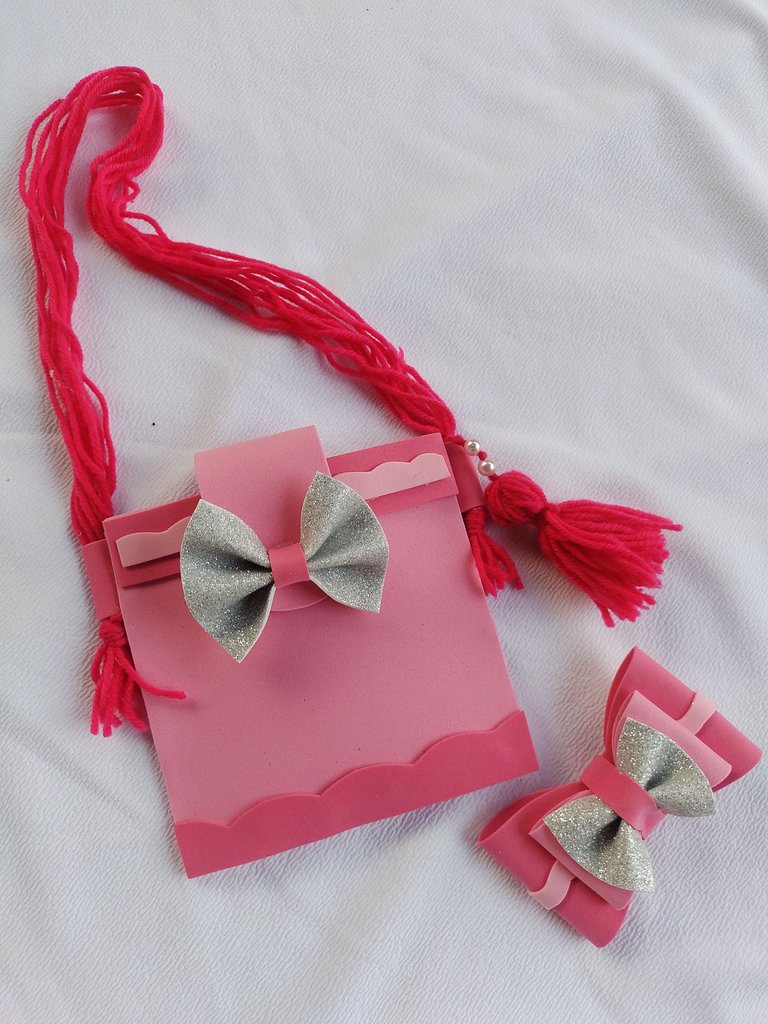
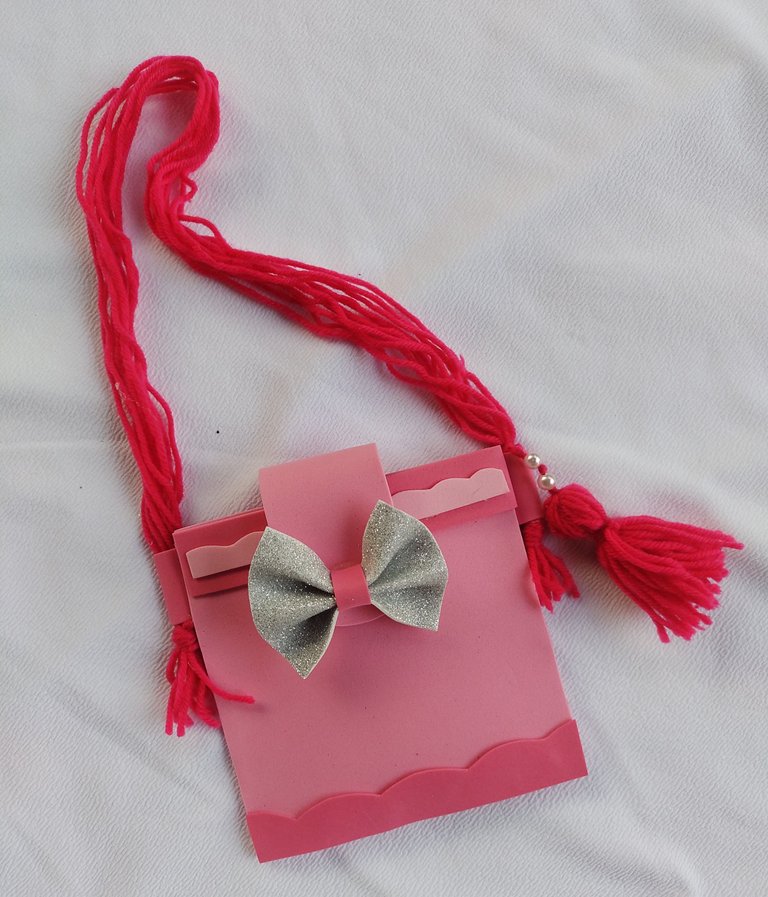
El Set completo, luce así: / The complete set looks like this:
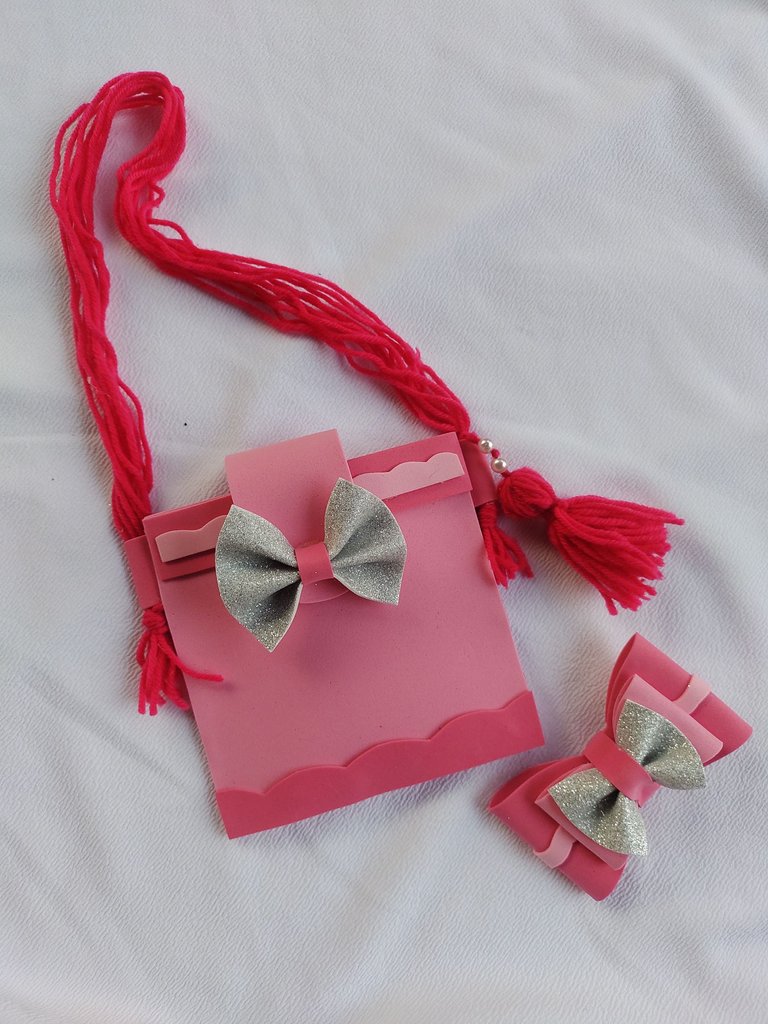
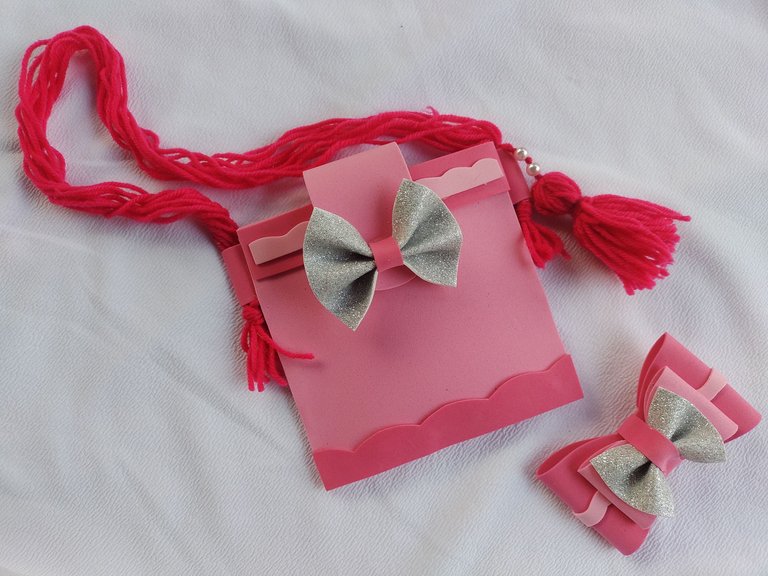
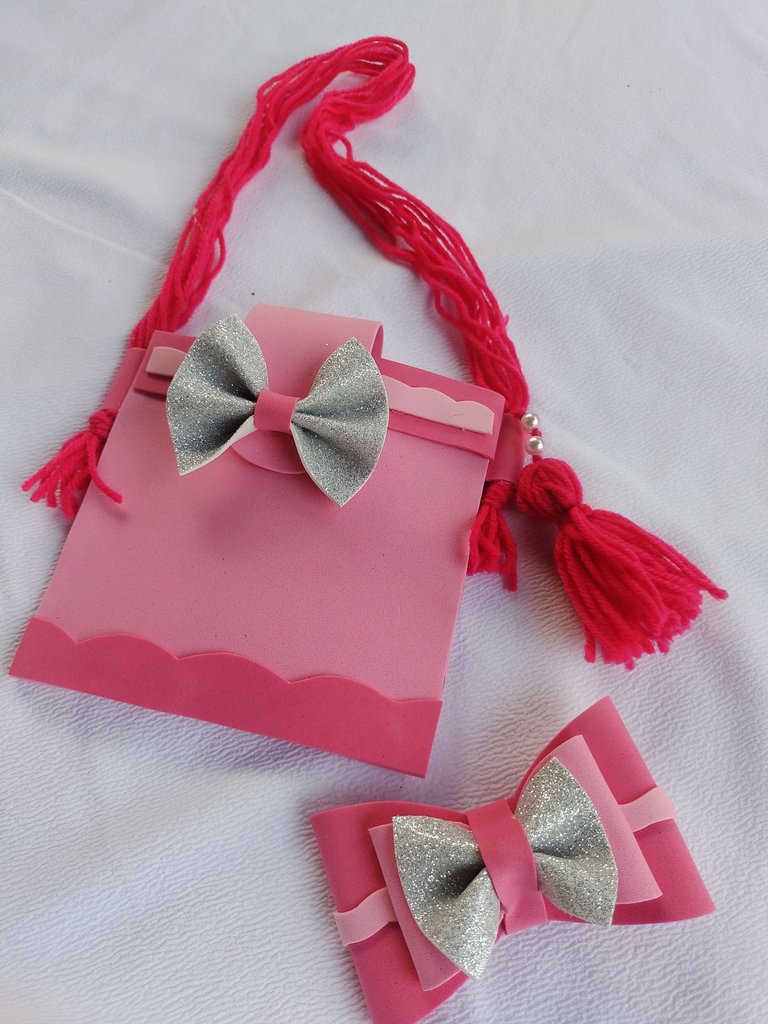
El set me ha gustado mucho, sin dudar que a mi nieta le encantó el resultado. Es muy satisfactorio poder elaborar cosas diferentes y únicas para las personas que amamos. Dios gracias por ello.
I really liked the set, without a doubt that my granddaughter loved the result. It is very satisfying to be able to make different and unique things for the people we love. God thank you for that.
¡Y hasta aquí el proyecto del día! Espero les haya gustado tanto como a mí.
Si tienes alguna duda o sugerencia, no dudes en dejar un comentario. Las fotos que he colocado a lo largo del texto, las he tomado desde mi móvil Infinix.
¡Hasta la próxima!, tengan todos un bendecido día cargado de salud, paz y amor.
And that's it for the day's project! I hope you liked it as much as I did.
If you have any questions or suggestions, don't hesitate to leave a comment. The photos that I have placed throughout the text were taken from my Infinix mobile.
Until next time! Everyone have a blessed day full of health, peace and love.
Gracias por el apoyo a mi contenido, agradecida infinitamente. Bendiciones.
Quedaron muy lindos, tanto el lazo como el bolso, me encanta el rosa 💗💗💗
Muchas gracias, a mi nieta también. Es su color favorito, ese y el azul. Bendiciones.
Esta hermoso y coqueto, lo lucira de maravilla con esos colores y decoraciones 😍 me recuerda cuando mi abuela solia hacerme algunas manualidades y eran muy bonitas, que hermoso detalle ❤️
Muchas gracias, que bueno que guardas esos gratos recuerdos en tu pensamiento. Imagino que fue un retroceder en el tiempo enternecedor.
Bendiciones.