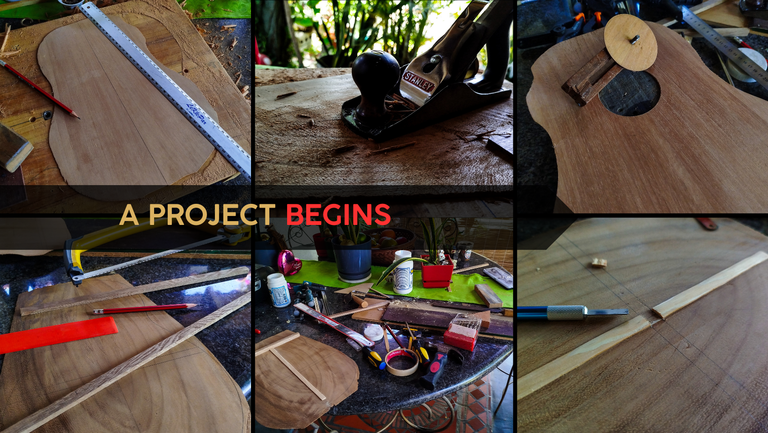

Welcome back to another entry in the workshop. Today, we start another project that picks up on some pieces that were salvaged from projects that did not end well due to several reason. Could this be the time these parts find themselves assembled into a new instrument? Only work will tell!
Let's get to it!
Top and Back
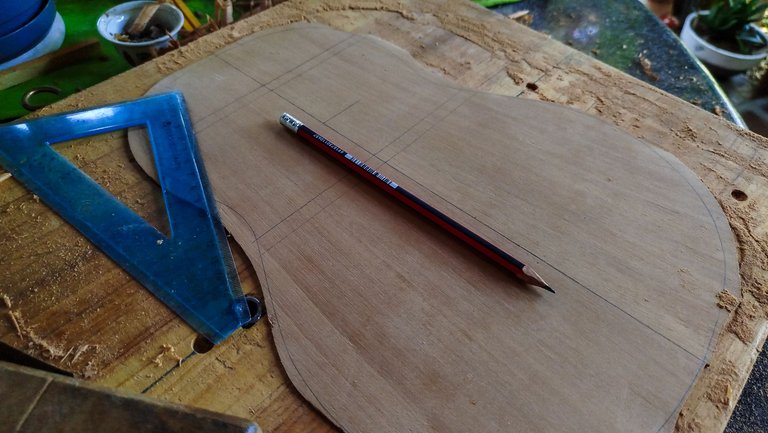

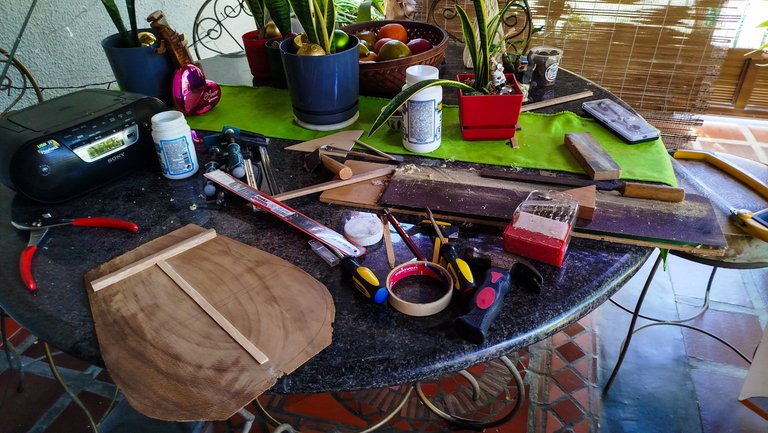
Last time, there were many parts on the table. Those were made into a single blank for sound boards and backs. We are taking two of these to start these pieces for a new instrument.
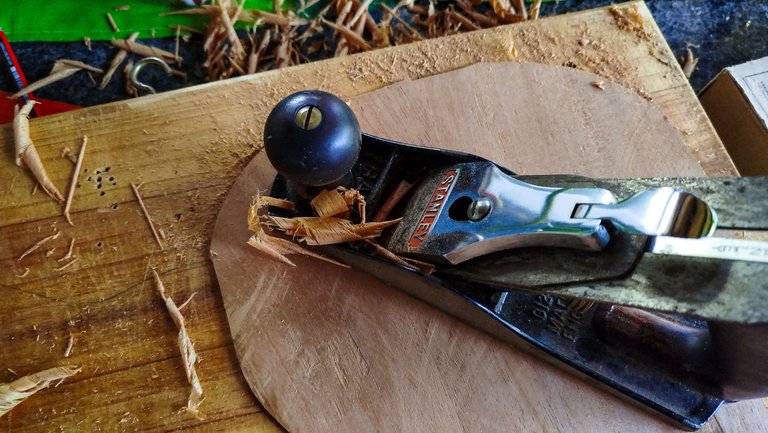
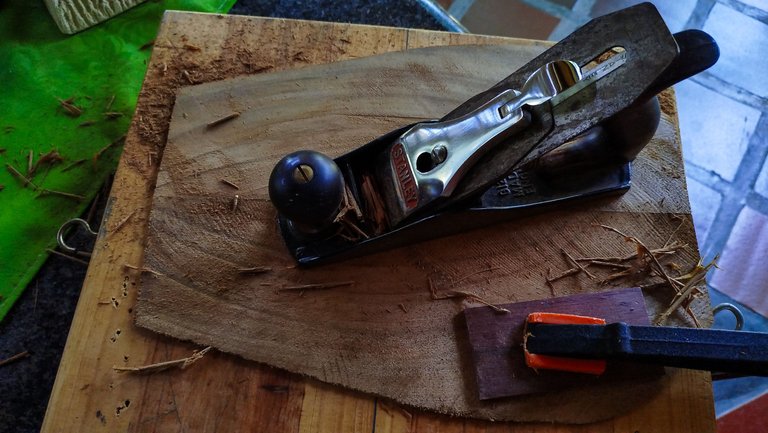
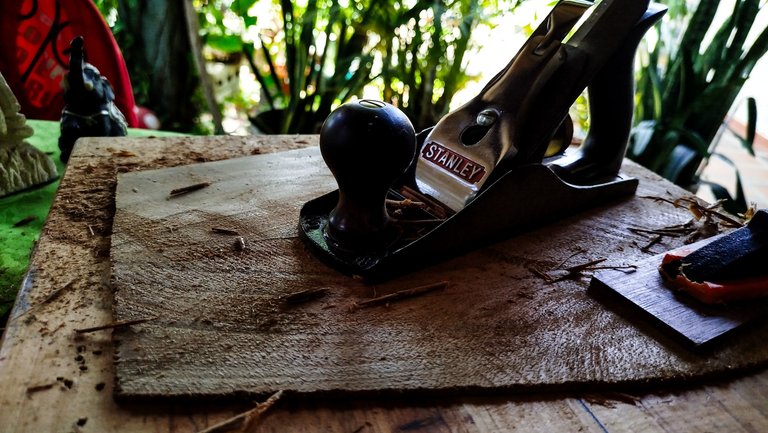
The first step is to clean both sides on the surface of these pieces of wood using a hand plane. We will need to flip the top or back and even give it a turn to avoid going against the grain of wood. The general idea, besides removing cutting marks or burnt spots, is to reduce the thickness of the pieces around 2mm or less. This gives us enough flexibility and room to keep working with sandpaper and card scraper once the instrument is assembled if we want to give it some tuning to the sound it can produce. Flexible materials give a lot of sound but tend to break with tension. The other thing is that a rigid top will only give treble sounds and have no sustain. We need to find the balance between projection and durability.
The work ends with the pieces give us the tone that sounds better. For this, we do a tap tone test. We hold the top or back to one ear and tap it to listen to the sound it produces. We need to listen to the wood ringing as if it were a bell. It is not quite the same but it's the best reference in the way sound should behave.
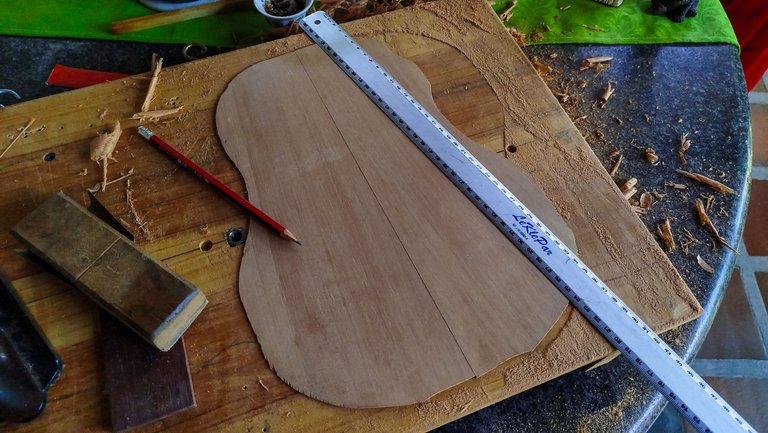
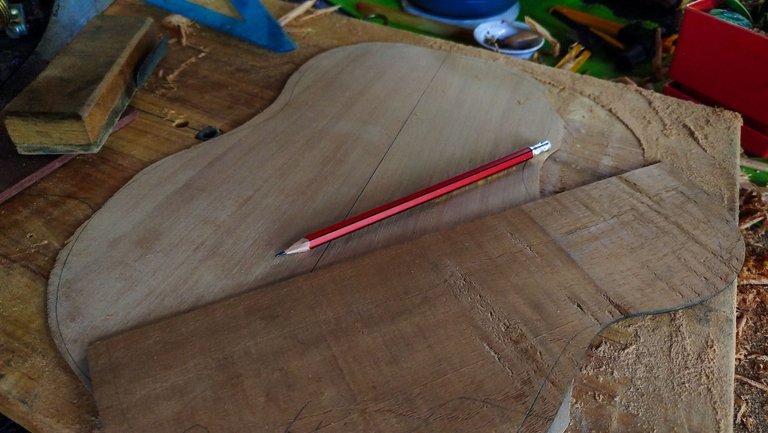
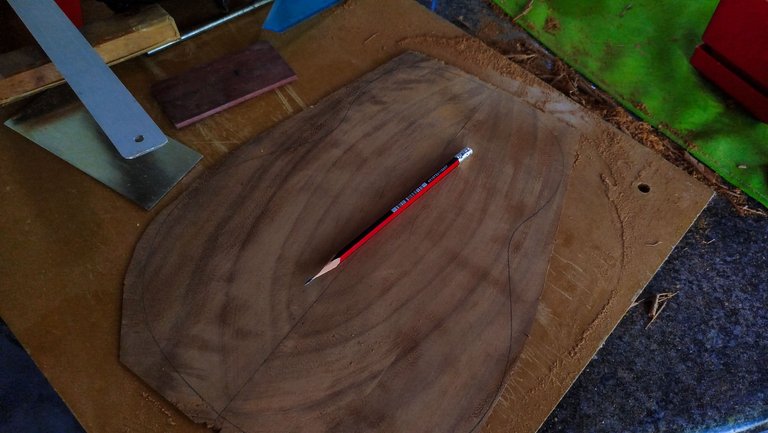
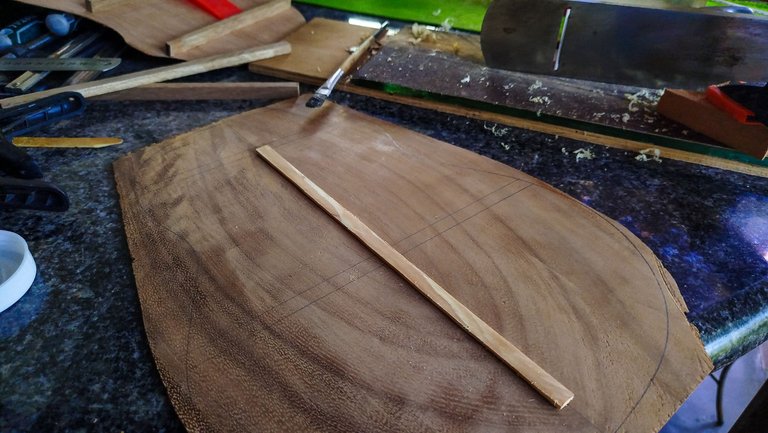
To finish this part, we make the layout of the bars and center line on both pieces using our template. Then, we are ready to move to the next step.
Bars, Sound hole and Glue Up
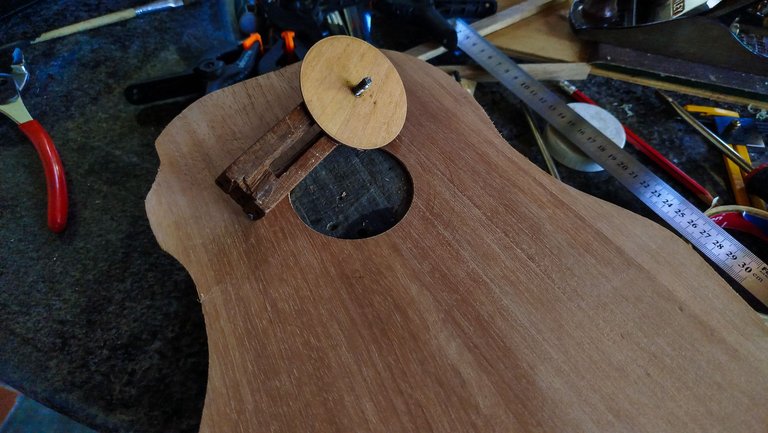

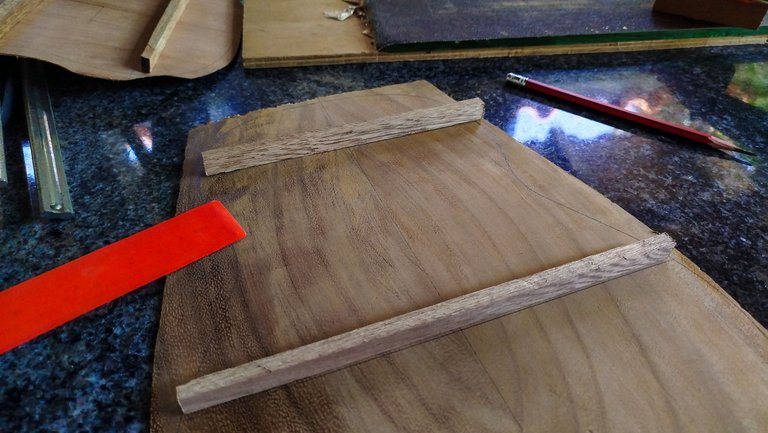
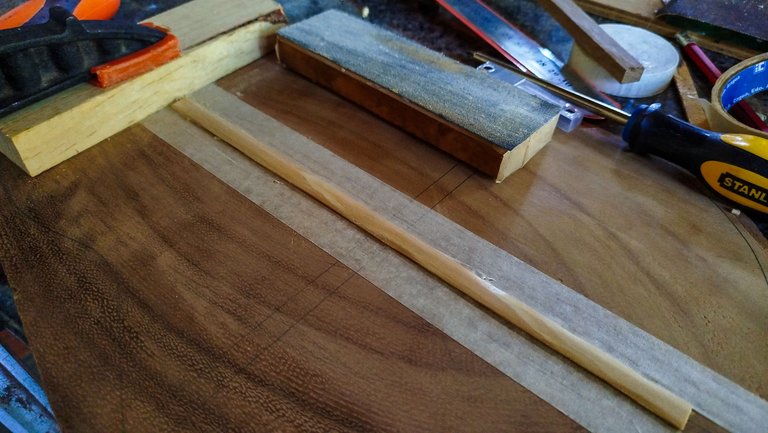
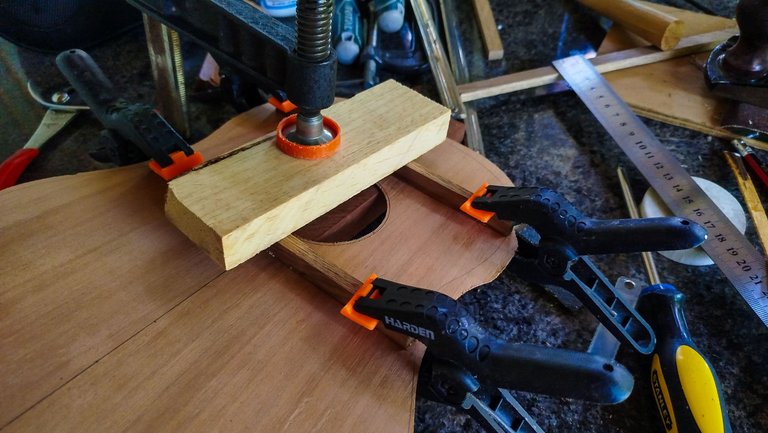
Now, we make the cuts in strips of wood to have our bars in the right measure. Then, we go ahead and cut the sound hole on the sound board. This looks easy, but we spent over an hour fixing this circle cutter since it was broken. It is nice to have such a tool working again.
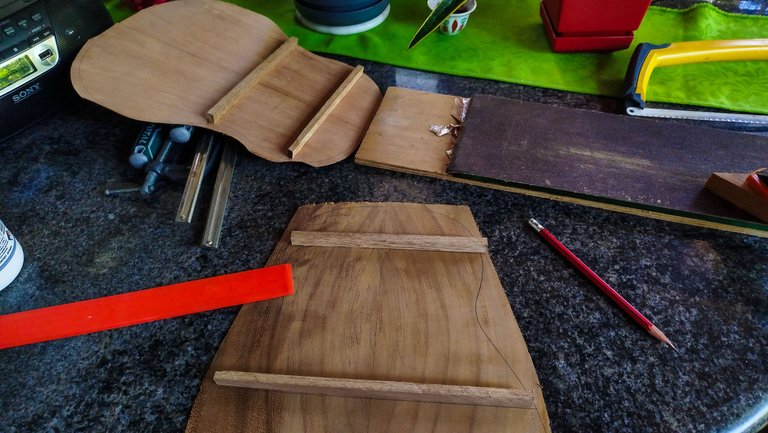
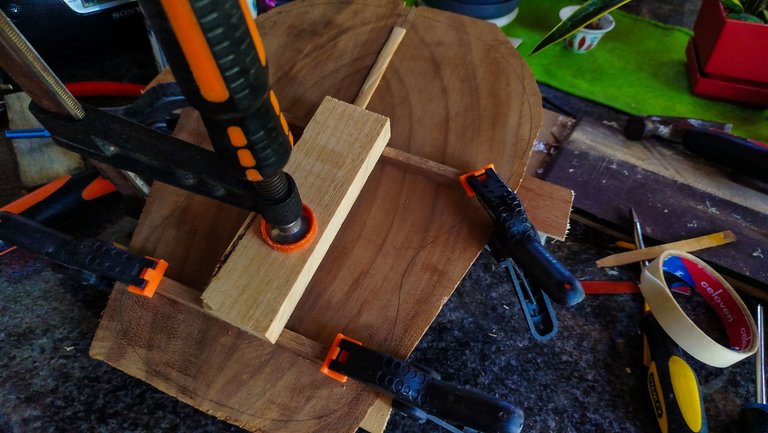
Then, it is all about working on the bars. We sand all the faces of them and get ready to make the glue ups. However, before gluing the bars we need to add the reinforcement for the back of the instrument. This is the first piece that needs to be glued to this part. It reinforces the joinery between the two pieces of wood that compose the back.
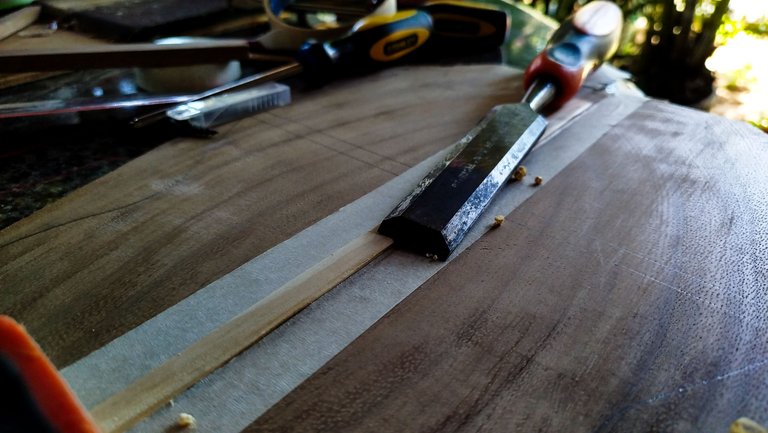
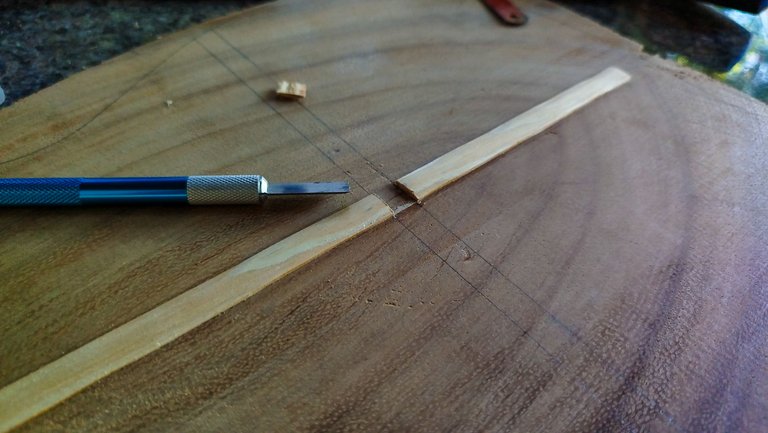
When it is in place, we also need to give it some work. We remove the corners with a chisel and then sand it. Now, we need to make a cut to make room for the second bar, the longest one. Once these steps are done, we can finally get to glue the bars on both sound board and back.
We use some regular clamps to hold the ends of the bars. That way they won't move as the glue reduces friction between the pieces of wood when it is fresh. The last step is adding a surface to put an F-clamp and give the bars some extra pressure in the middle so they can be glued in place properly.
And just like that a new project has started. Keep an eye over the entries to check the process of this one. Thanks a lot for reading see you next time!
Photos 📷: Redmi Note 13
Thumbnail 🖼️: Canva.
Editing 🎬:Adobe Photoshop Lightroom.

Follow me on Instagram for enquires and commission.
If you'd like to help the workshop grow, you can make a donation here. You can find me at discord as bertrayo#1763