
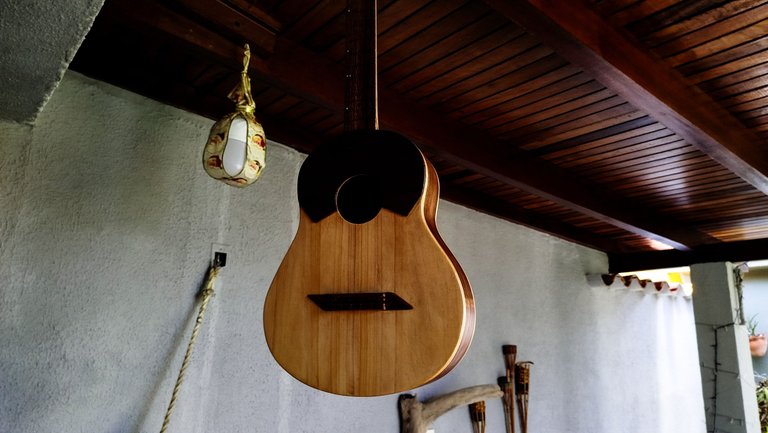
We're back to keep going on the repairs of my own instrument. However, one new repair comes to the mix. The bridge of the instrument I gave my music teacher got detached from the sound board, an effect of a bad glue up and the heat wave around town. You can check out my previous entry.
Without further a due, let's jump right to it!
First Coat
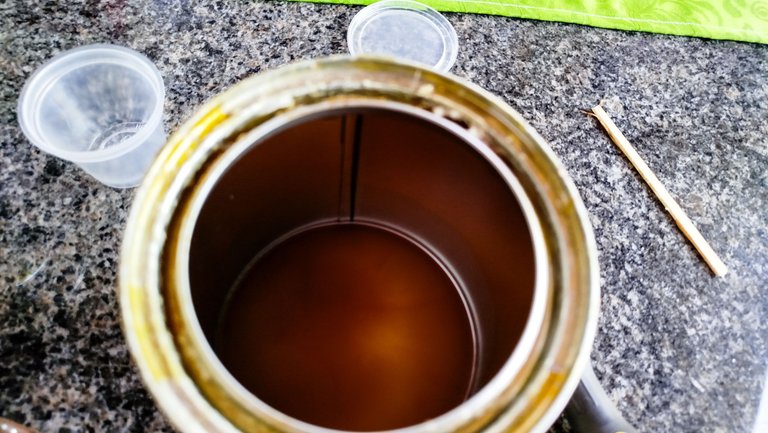
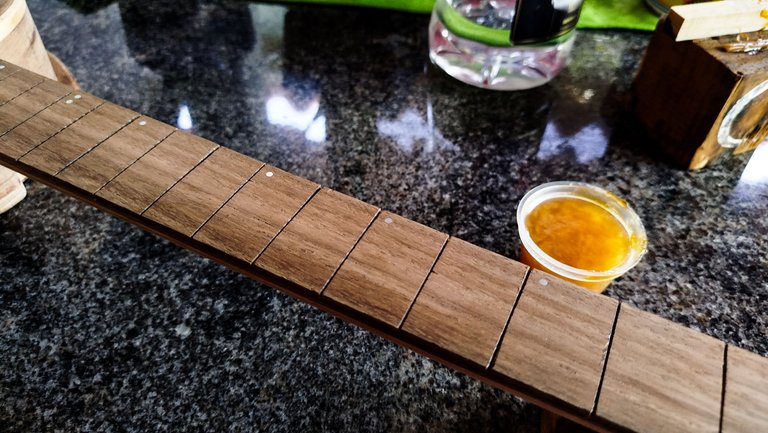
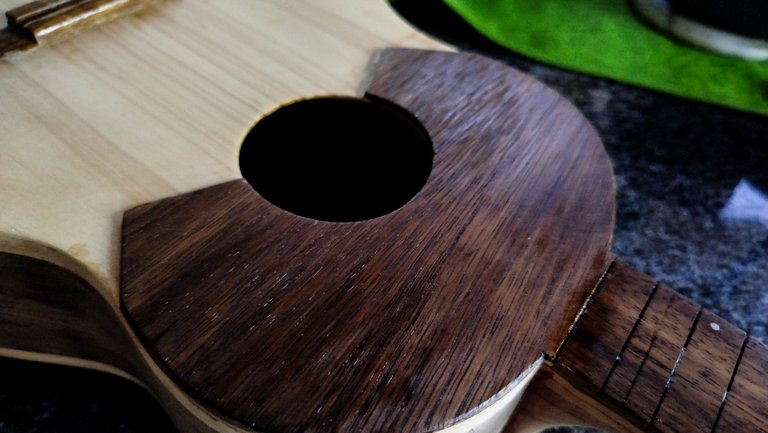
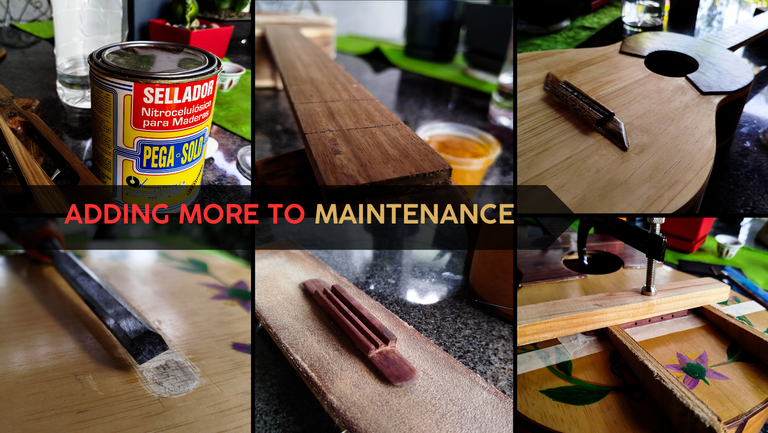
Last time, we did an intensive sanding job on this instrument. It was ready to start the coats of finish. Since we're starting on the fretboard to get the frets in place, we'll make a thin batch of sealant. And any remaining quantity will go on the rest on the instrument as we start to seal off the exposed wood to protect from the humidity.
One thing I noticed is how little sealant I have left. If any jobs come by, I'll need to get some to complete them. Let's hope someone wants an instrument or repair job.
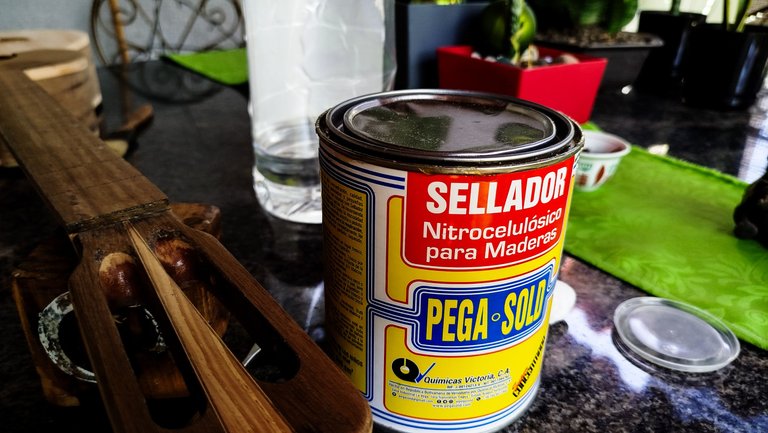
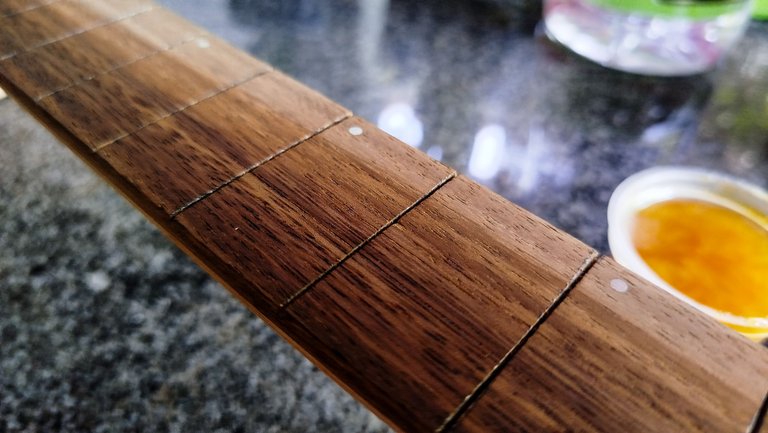
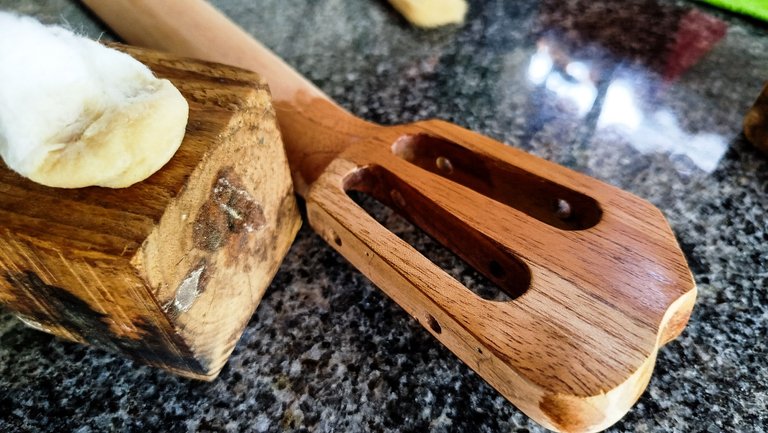
Mixing such a thick sealant is kind of troublesome. We need to get it out of the can by scooping it. Then, making sure it doesn't fall onto any surface. I bet something like a honey dipper would make it easier to complete this job. Gotta keep a mental note to make one for sealant.
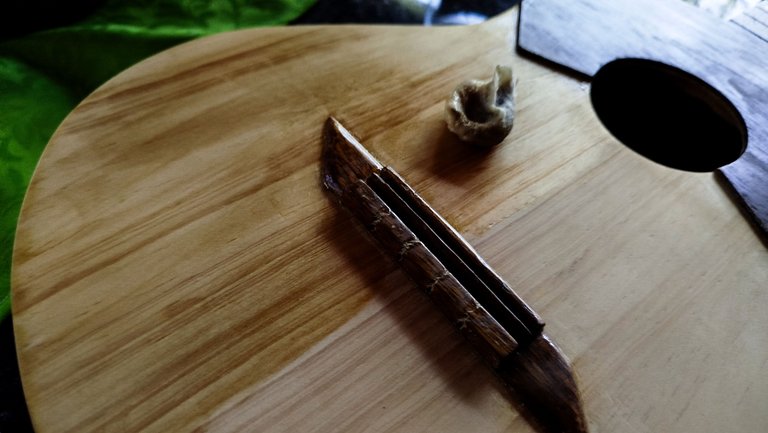
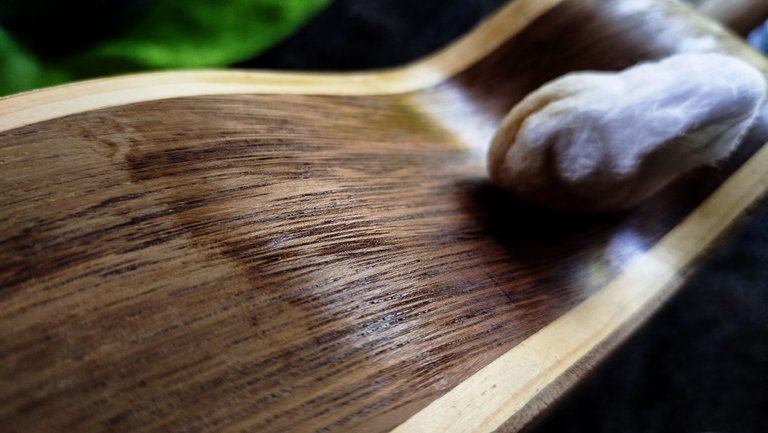
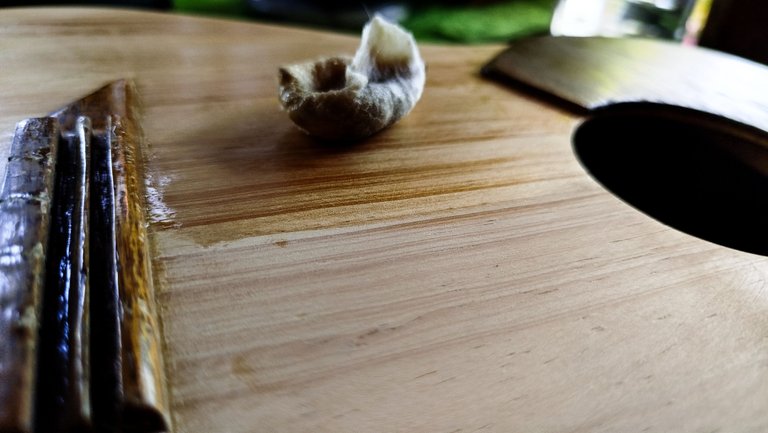
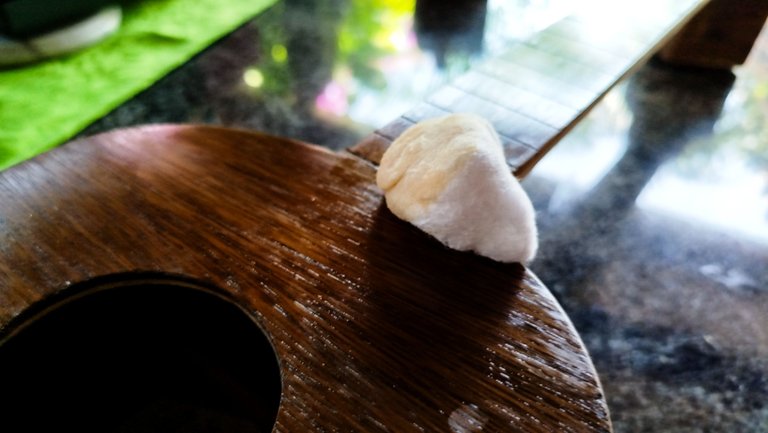
Once we have it in our container, we mix it with thinner until we have the right consistency. Then, it's all about using a cotton ball to spread it on the fretboard. We can already see how it comes to live when we make each pass. This step will go on for at least 3 coats. We don't actually want to fill the pores of this wood. It is Saman and it has some very big pores that actually look kind of cool. Having the sealant fall inside of the is enough to protect it.
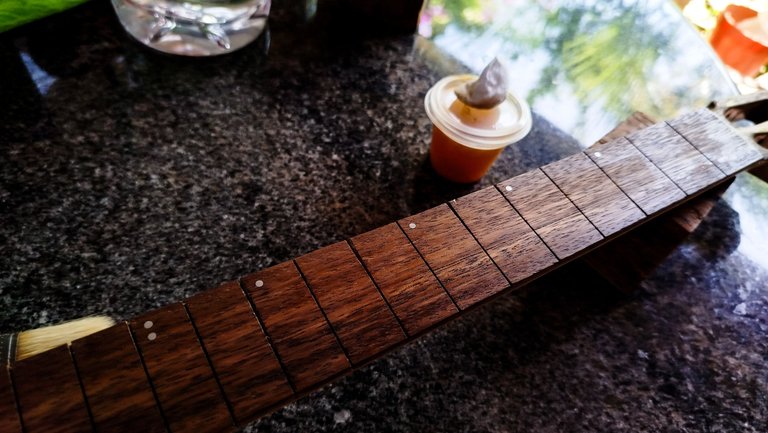
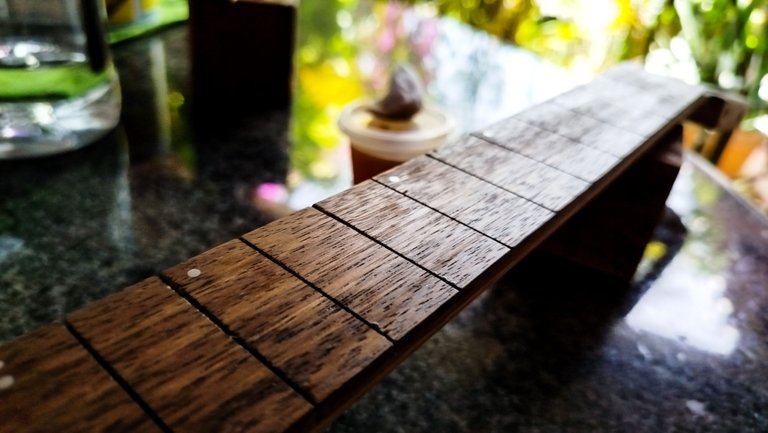
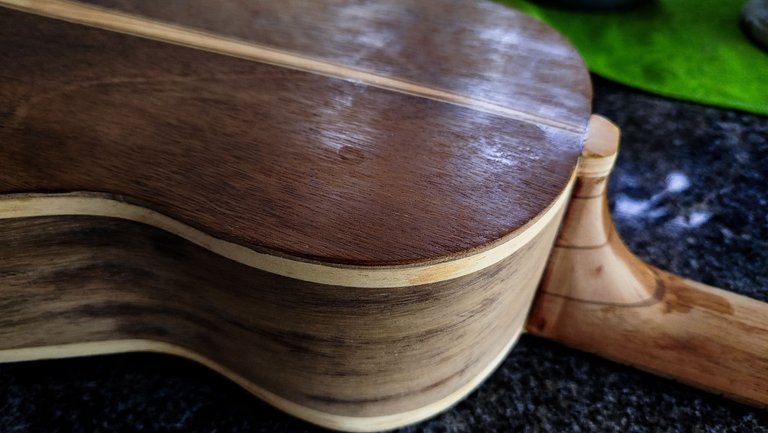
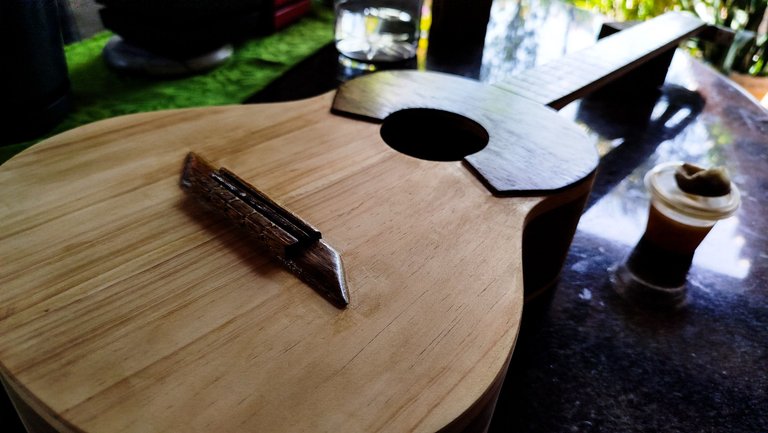
After finishing the fretboard area, we can start to apply the rest of the sealant on the other parts of the instrument. We'll make an exception on the neck since we still haven't gotten the frets in place and need to sand them. Otherwise, the rest is fair game. We can see again the wood turning to a more vivid color after just a pass of this mix.
The rest to come are frets and more coats of sealant to finish this maintenance job.
The Suspect
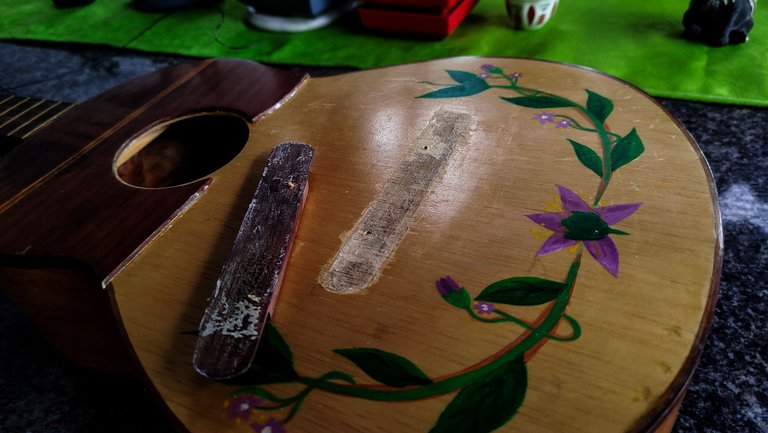
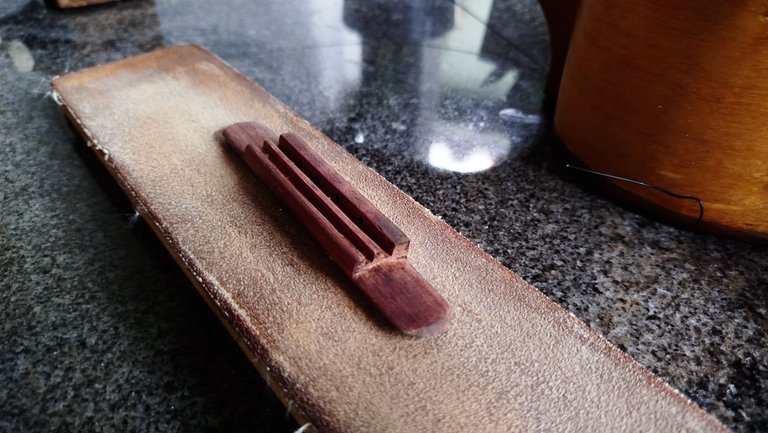

I was told this instrument scared the whole family when the bridge came off. It isn't a surprise. There's a lot of tension on the piece so it must be akin to throwing a stone with a slingshot. Anyways, I remember this one had a problem with the bridge when I first made it. And unbeknownst to me, the action I took on that time wasn't enough to prevent any further pull of the strings. Adding the heat wave, glue wasn't enough to hold it in place. Thus, we came off its place.
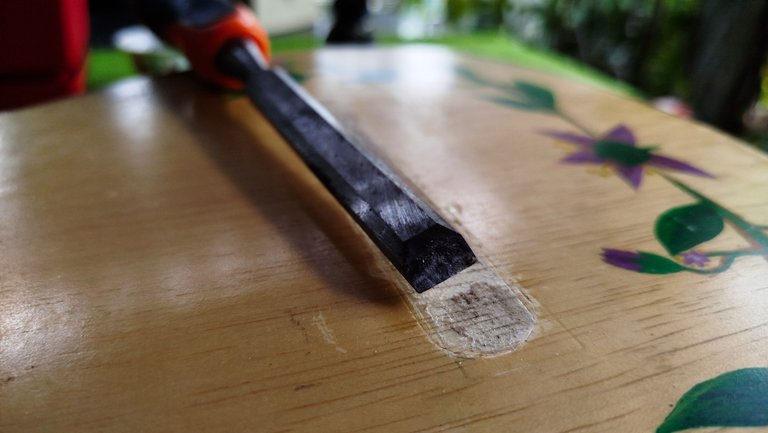
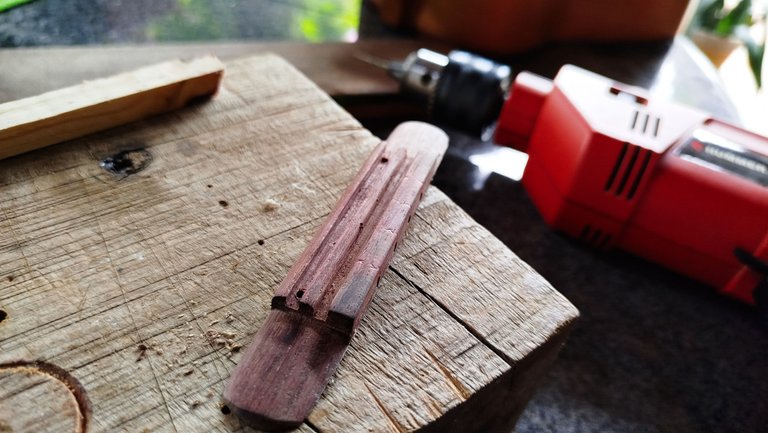
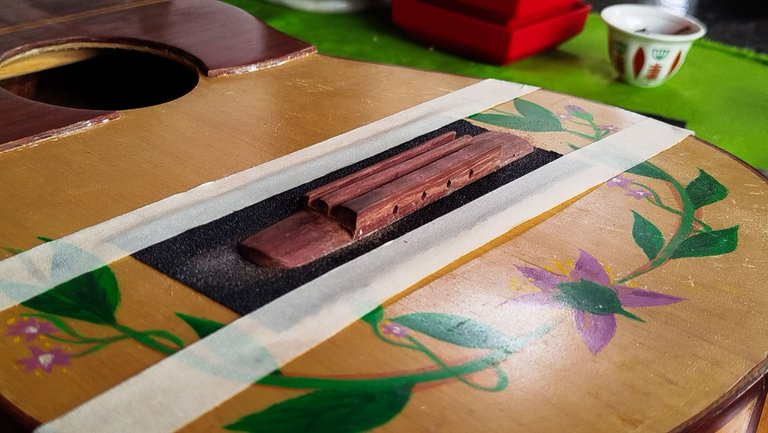
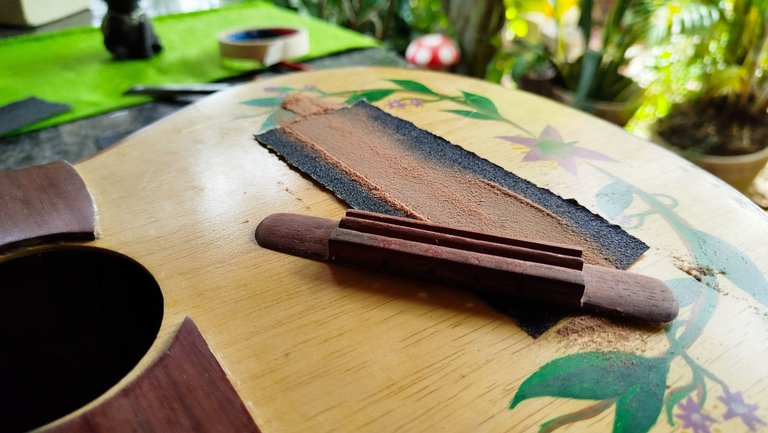
To start the job, we have to remove any dry glue attached to both parts, bridge and sound board. To do the first, we have to sand the bottom half of it. And that will remove the anchors. To do the latter, we have to use a chisel since we can't apply water nor heat to soften the glue.
Then, we next step is to correct any movement on the wood. To do this, we fix a piece of sandpaper on top of the sound board just on the same stop the bridge has to go. Now, we sand the bridge on this paper. This way we make so the bridge has the same shape of the sound board and the exact spot where we need to glue it.
After fixing this, we add new anchors by drilling the older ones. Finally, we apply glue after masking the zone with tape to catch the glue spread. And we can clamp it in place so it glues properly. This will be held in place for 24 hours. And we'll have to wait another 48 to tune the instrument to see if the bridge holds in place this time.
I foresee some busy days in my future, but a lot of work that's a ton of fun!
Thanks for reading. See you next time!
Fotos/Photos 📷: taken by me (Redmi Note 13).
Portada/Thumbnail 🖼️: by me, created with Canva.
Edición/Editing 🎬: by me, made with Adobe Photoshop Lightroom.

Follow me on Instagram for enquires and commission.
If you'd like to help the workshop grow, you can make a donation here. You can find me at discord as bertrayo#1763
Excelente tutorial amigo con estos tips podemos practicar en nuestra casa para reparar nuestro propio instrumento
No es exactamente un tutorial para eso. Es una muestra del proceso. Alguien sin experiencia en reparación de este tipo de cosas puede echar a perder un instrumento inventando mucho.
From what I can see you will be very busy and very busy, that's great!
I love the finish you gave it and also the customization it has.
🤣🤣🤣