
Last week, we did some work on the finish of the fretboard to get it ready for the frets and position markers. It's time to follow-up this project and complete these tasks.
Let's jump right to it!
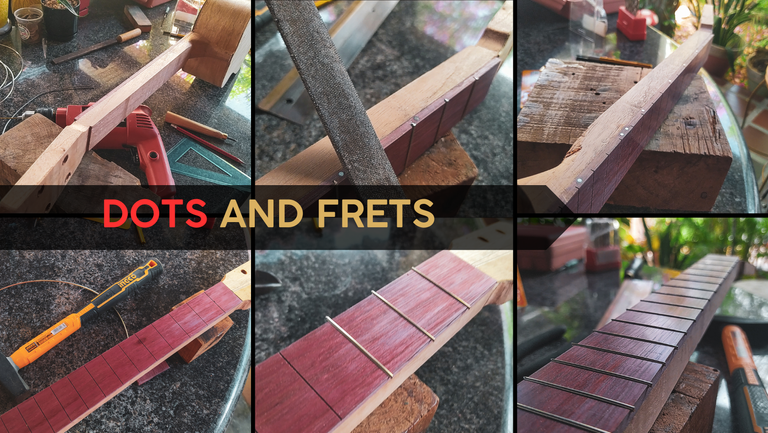
Position markers


Although this feature is completely optional, it sure helps with memory for positions on the instrument. The idea is to mark some frets that are related to certain things you can do in the instrument while playing. One of the reason for using them in certain spots is to mark the harmonics that can be made on each string according to the division that is made by placing a finger on top of it. It all comes from a Pythagorean experiment done when the Greek Mathematician was still alive.
However, on my instruments I tend to place a marker on fret 10 instead of 9. It doesn't mark the harmonic, but it helps you remember some of the chord inversions that go on this fret.
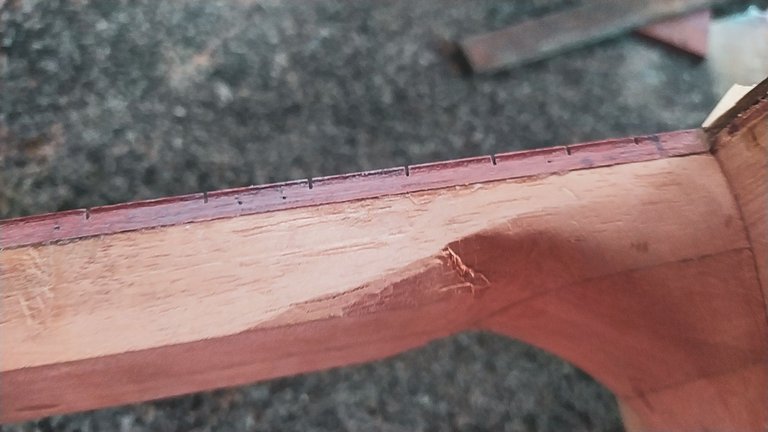
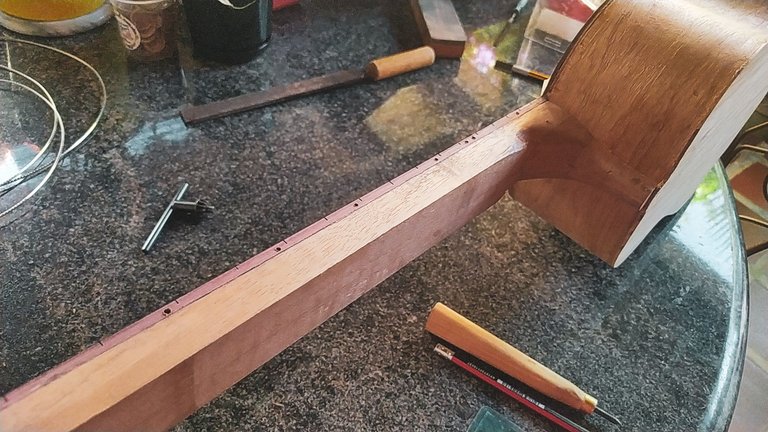
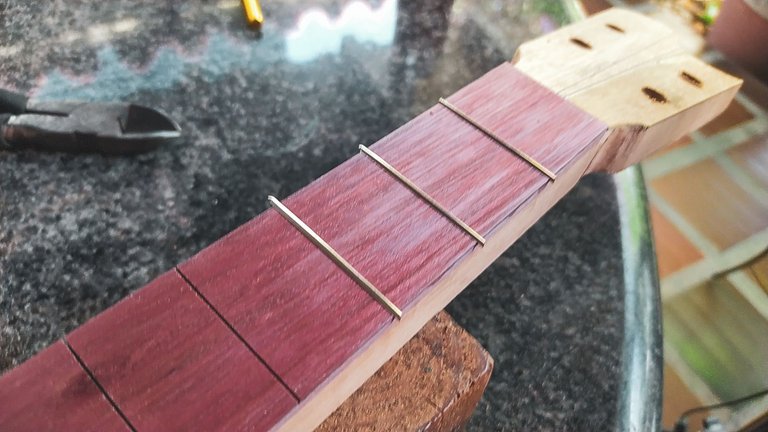
To work this out, we mark where we want to have the dots. Since we have already put a layer of finish of the front of the fretboard, these will go on the side. We mark on frets 3, 5, 7, 10, 12 and 15. Taking into consideration that fret 12 is a double dot since it marks the octave of the open strings (this means you can find the same sound the strings make without holding any frets on this fret, vexing but that's music math!).
With the marks in place, we can work the drilling portion of the work. We need enough room to get some piece of aluminum inside each hole. To hold them in place, we' use some cyanoacrylate. This kind of glue is useful for quick jobs and to hold two different kind of materials together. We place each piece of the holes.
The next step is to file everything down to wood level. This step needs to be done with some control since we don't want to ruin the fretboard. Once we have done enough filing, we finish it off with some sandpaper. And thus, we have our position markers in place.
Taking the time to measure works wonders as this time all dots are aligned. But even if they weren't, "I'm a luthier. It isn't a mistake. It's a feature!"
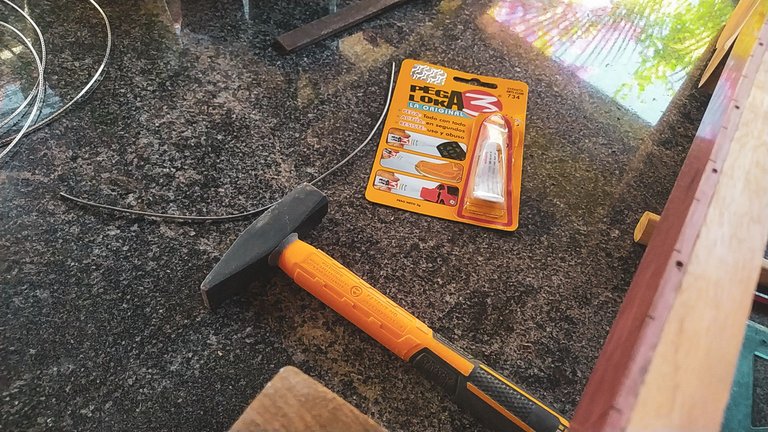
Frets

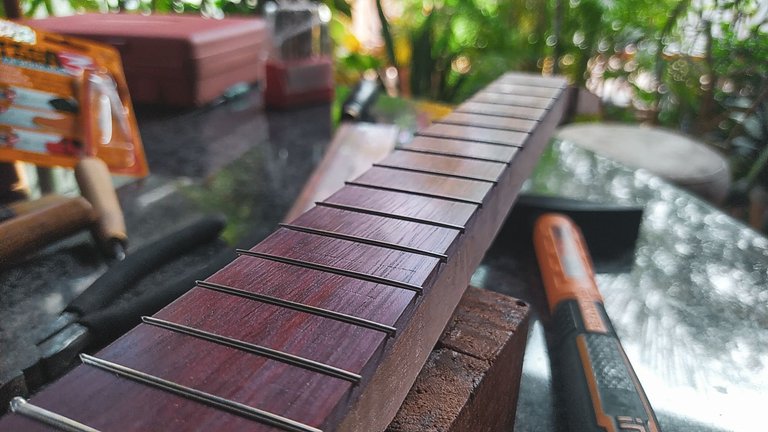


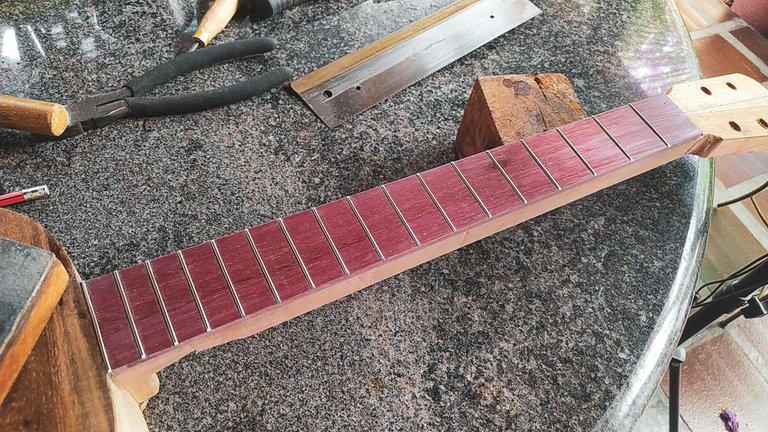
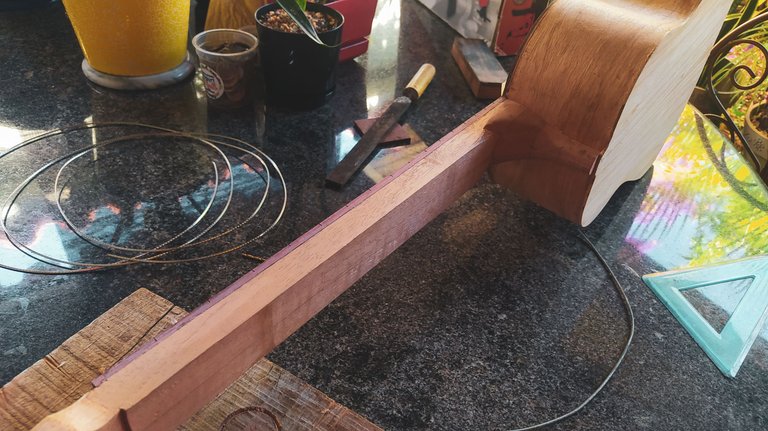
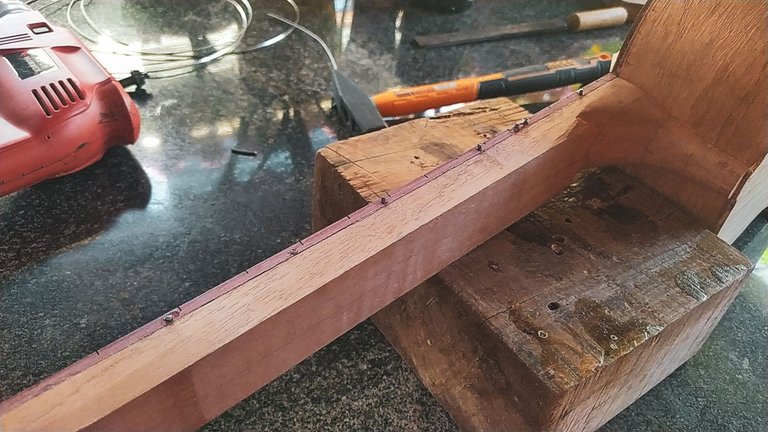
And it's finally time to get the frets of their slots. We'll a hammer, a wire cutter and a piece of wood to protect the frets. We start by measuring each fret and cutting a bit longer than we actually need for each piece. This is to ensure we have enough length of fret to fill the slot.
The next step is to hammer the frets in place one by one. This step is funny as it's the only time we get to use a hammer in the whole build. We place a piece of wood on top of each fret before striking blows with the hammer. This way we don't bend the crown of each one. We also need to check if each fret is leveled with the fretboard. If it isn't it will need some extra taps.
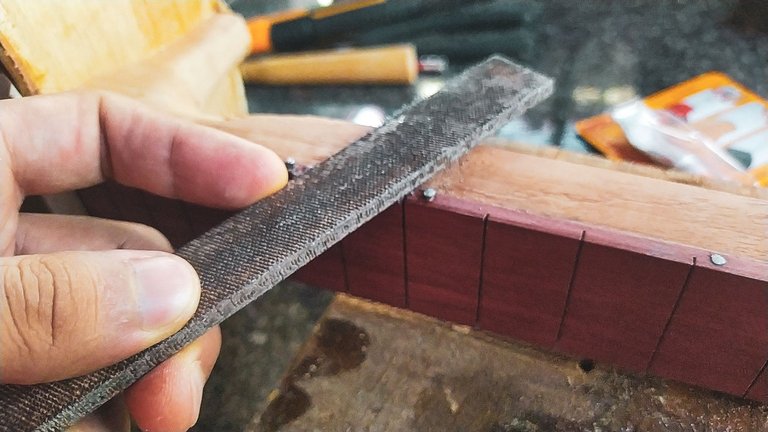
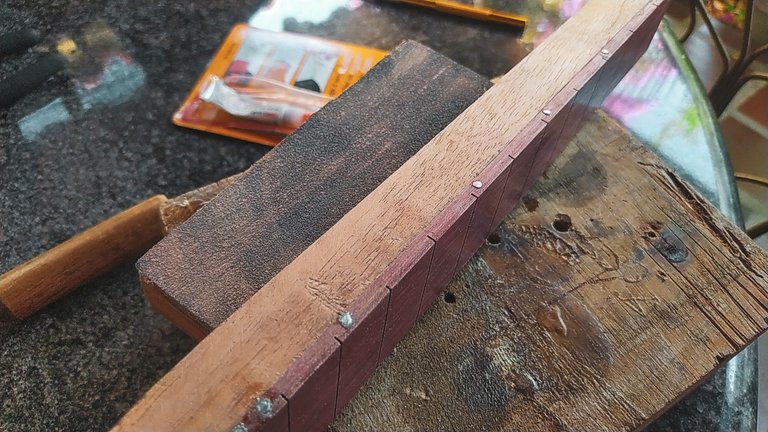
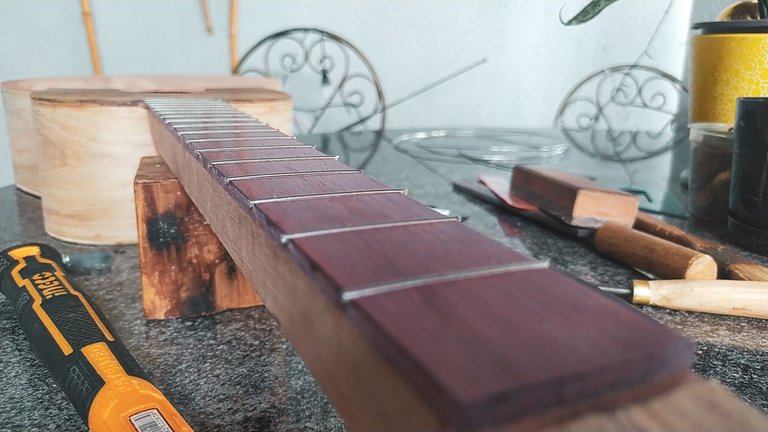
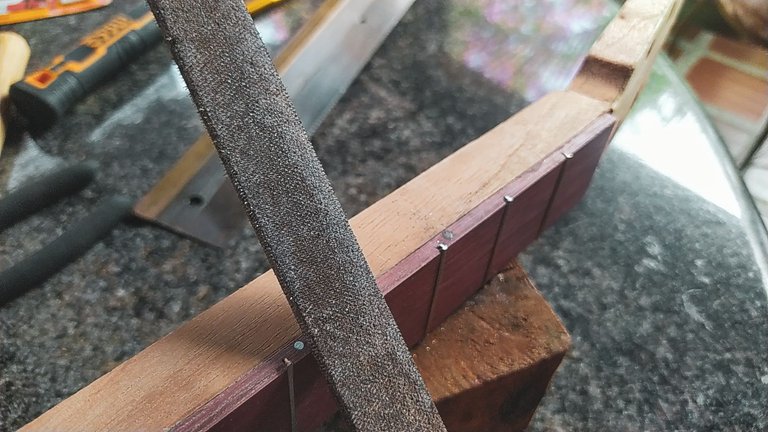
Once we have place each fret, we need to file the ends as they are sharp. We use a file in one direction. That is we only use a motion that goes from the fret towards the neck of the instrument. Doing it on the other way, might even get the fret out of the wood. That could damage the work as the foot of each fret has some teeth to give some grip one it's put inside a slot.
With the ends filed, we can give the ends of the frets a bevel with the help of a sanding block. We can also use the same sanding block to sand the edges to make sure we haven't left any sharp spots on the way.
And once we have done all these steps, we are ready to get some last bits of carving done. On the next entry, we'll tackle the heel cap and the rounding of the neck. These two steps will get us closer to the last bout of sanding and, in time, the finishing of the instrument.
Thanks for reading. See you next time!
Fotos/Photos 📷: taken by me (Redmi Note 8)
Portada/Thumbnail 🖼️: by me, created with Canva.
Edición/Editing 🎬: by me, made with Adobe Photoshop Lightroom.

Follow me on Instagram for enquires and commission.
If you'd like to help the workshop grow, you can make a donation here. You can find me at discord as bertrayo#1763
Me encanta como te está quedando el trabajo y ese color de la manera con ese brillo va genial, más el contraste con el resto del instrumento. Que tengas un hermoso día Andrés!
Todo es parte del diseño previo. Gracias por el apoyo 😁
Gracias a vos Andrés, muy buen día!!
😁
This post has been manually curated by @steemflow from Indiaunited community. Join us on our Discord Server.
Do you know that you can earn a passive income by delegating to @indiaunited. We share more than 100 % of the curation rewards with the delegators in the form of IUC tokens. HP delegators and IUC token holders also get upto 20% additional vote weight.
Here are some handy links for delegations: 100HP, 250HP, 500HP, 1000HP.
100% of the rewards from this comment goes to the curator for their manual curation efforts. Please encourage the curator @steemflow by upvoting this comment and support the community by voting the posts made by @indiaunited.
Congratulations @bertrayo! You have completed the following achievement on the Hive blockchain And have been rewarded with New badge(s)
Your next target is to reach 160000 upvotes.
You can view your badges on your board and compare yourself to others in the Ranking
If you no longer want to receive notifications, reply to this comment with the word
STOPCheck out our last posts:
Ese color por Dios!! Se ve tan bien, le da mucha personalidad por otro lado siempre se aprecia lo que compartes y te tomas el tiempo para explicar un poco toda esa parte técnica.
Muchas gracias. Siempre es un gusto compartir un poco de mi trabajo por estos lados.
Qué hermoso color, le da un toque refinado y único. Bello trabajo 😍👏🏻
Muchas gracias 😁
Awesome 👍👍👍
Thanks 😁