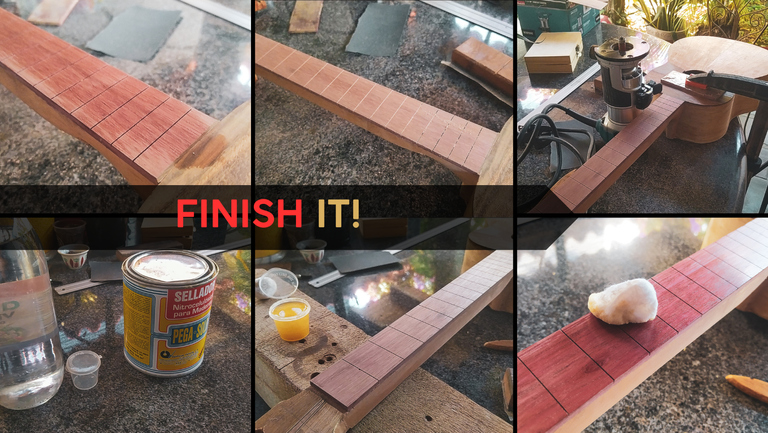

We're back to check on the progress of this instrument. Today, the work will be shorter since we are covering a part regarding the finish of the fretboard. This work will lead into the frets and positions markers, but it is as important as that part.
Let's jump right to it!
Sand it, again
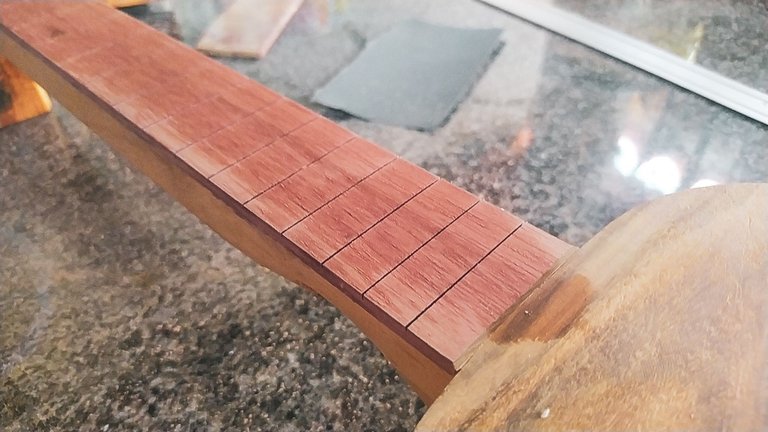
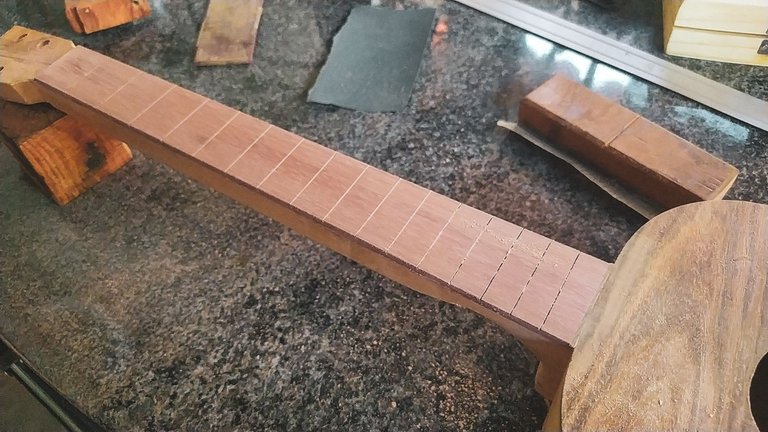
Woodworking implies tons of sanding. If we were to round the hours spend on a specific task during a project, sanding would definitely be the one taking the 1st place. It doesn't even stop at having electric sanders. Imagine doing it by hand. Regardless, this sanding is softer that the other since we need to work the surface of the fretboard to apply some coats of sealant and give it a finish before getting the frets on place.
We start by using a damp cloth to make the fibers of the wood get swollen. This action gives a feeling like hairs on the surface of the wood. We need to remove these sanding if we want to avoid having them after we apply the sealant. It takes around 3-4 attempts before using the cloth does not get any wood splinters on the surface of the fretboard.
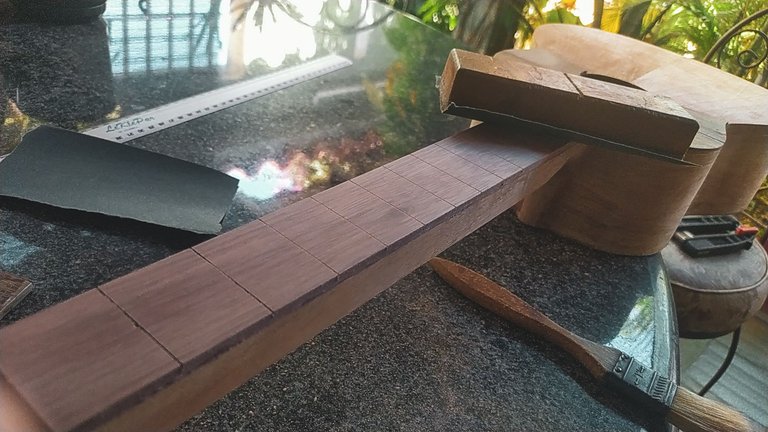
Once we are ready with this, we could use a finer grit sandpaper than 220 to start polishing the surface. However, as we are applying sealant that would create a compact surface on the wood and we would be having a harder time to stick the finish on it.
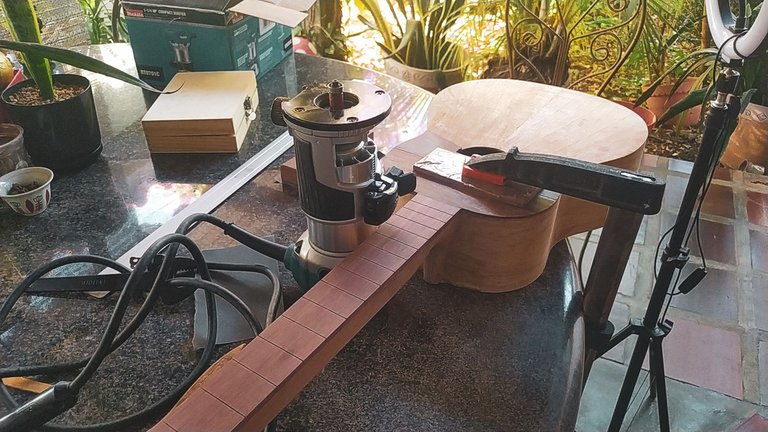
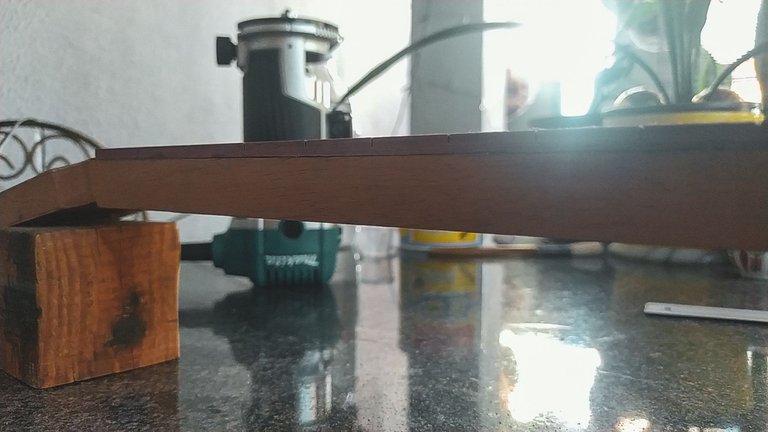
So, after sanding until 220 grit, we'll use the router to trim some part of the edges of the fretboard with a flush trim bit.
Seal it
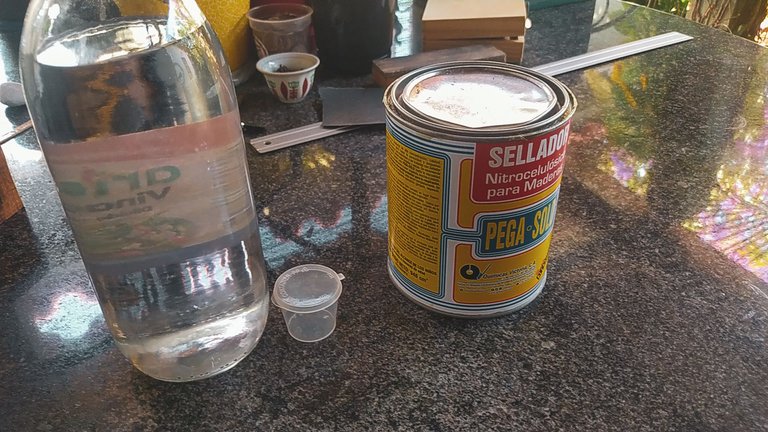
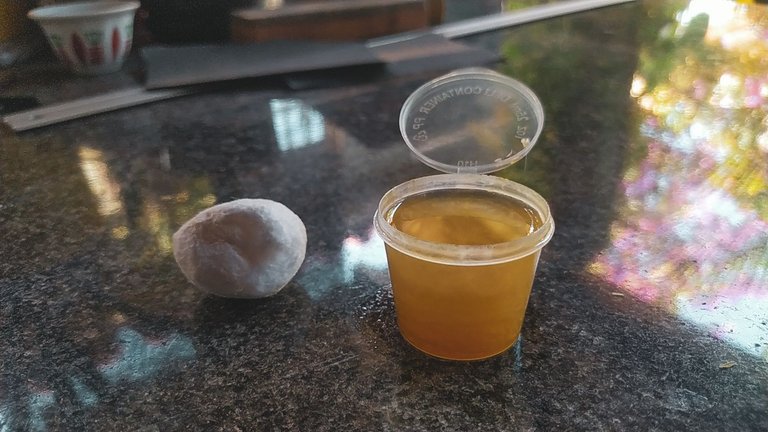
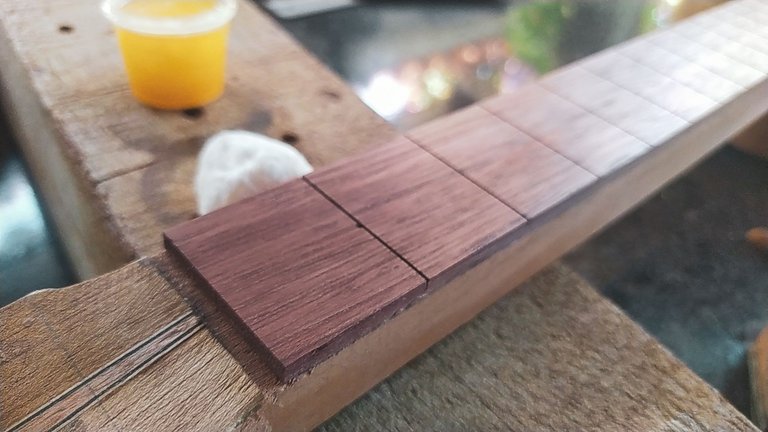
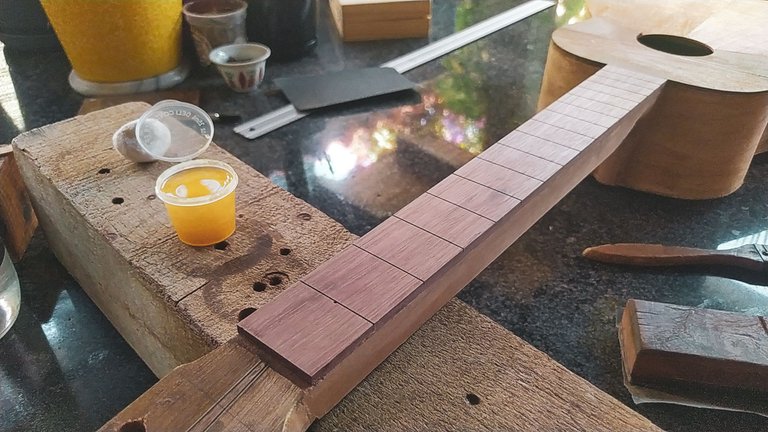
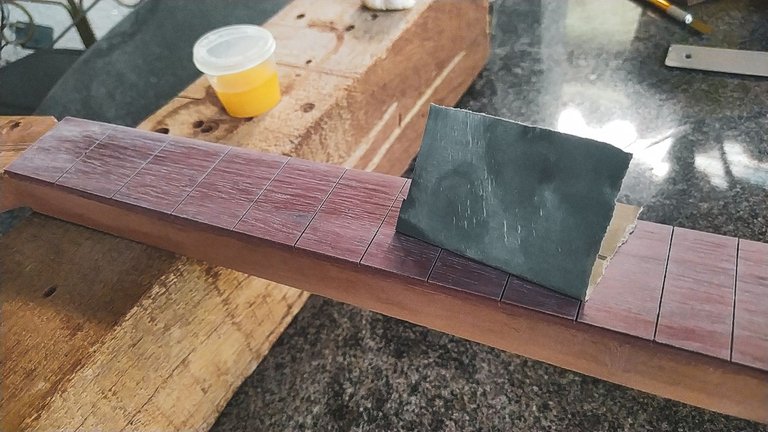
Now, onto the sealant. We have to thin out this sealant since it comes as a paste. So, we'll need a proportion of 3 to 1 in thinner and sealant to get a thin finish to apply. Also, the idea is to use enough for the work and try not leaving any leftovers. But that's something that requires experience and a good eye for measuring.
We use this little cup as a reference and make our mix. To apply it, we'll use a cotton ball. It makes the work easier and doesn't add a texture to the sealant once it is applied. To make it, we need to get some cotton, make it into a ball and roll it on a piece of wood until we remove any loose fibers from it. This step is important as we don't want any cotton residue on the sealant nor the fretboard.
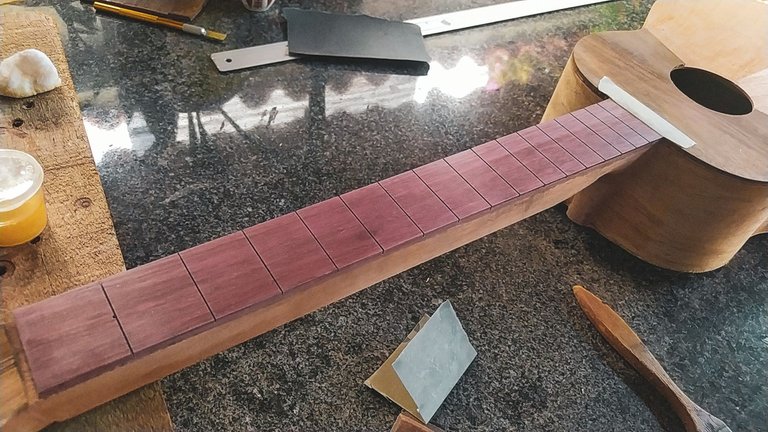
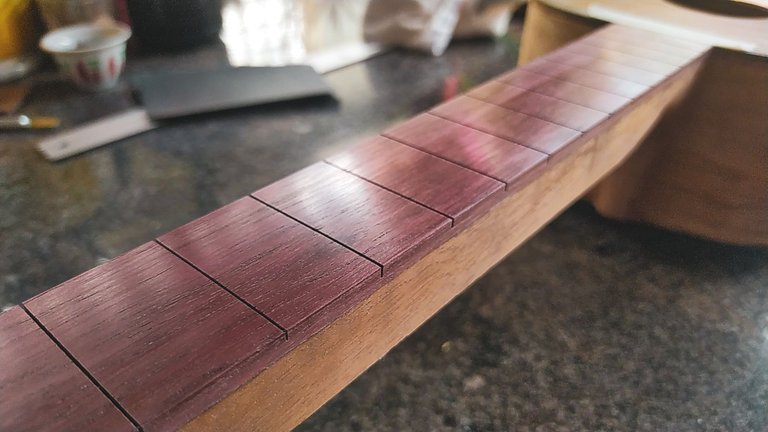
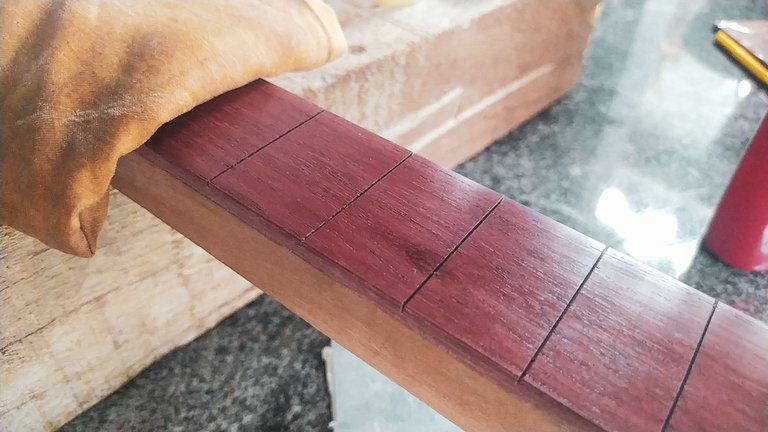
Once we have both sealant and cotton ball ready, we can start applying it to the fretboard. We use a firm pressure on the cotton and go on long strokes from one end to the other trying to not get 2 passes on the same spot. This process is repeated several times until we can see and feel the grain of the wood has been covered.
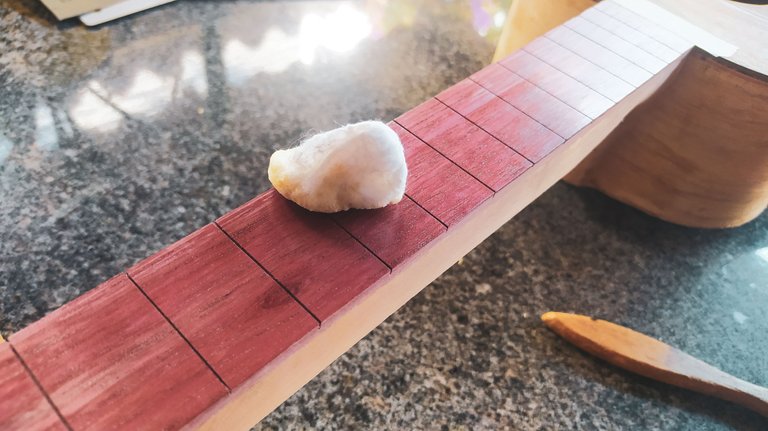
The last steps on this finish are, once again, sanding the sealant. This time we use a 400-grit piece of sandpaper to even out the surface. Then, we dust off the residue with a brush. Finally, we apply some teak oil as an extra layer of protection the sealant. The oil also gives a more vivid color on the wood.
And with this we are ready to start the process of installing the frets and position markers. That will come on the entry.
Thanks for reading!
Fotos/Photos 📷: taken by me (Redmi Note 8)
Portada/Thumbnail 🖼️: by me, created with Canva.
Edición/Editing 🎬: by me, made with Adobe Photoshop Lightroom.

Follow me on Instagram for enquires and commission.
If you'd like to help the workshop grow, you can make a donation here. You can find me at discord as bertrayo#1763
Como me gusta el brillo final que queda sobre la madera, hasta se reflejan cosas. Me encanta. Muy buen trabajo como siempre Andrés!😃
🤣🤣🤣
😂