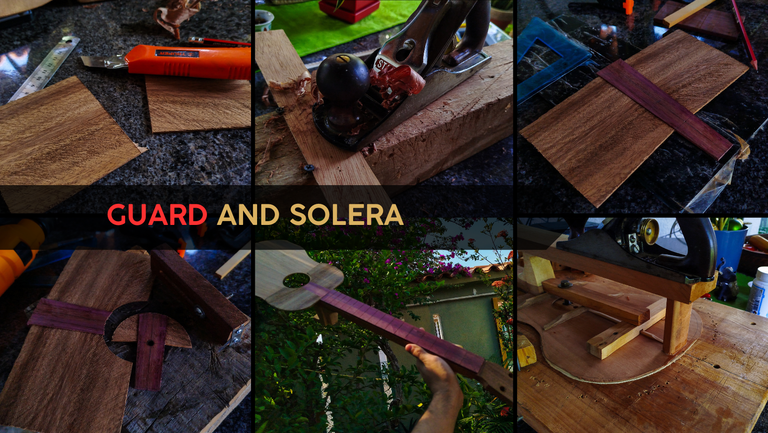

Welcome back to window to the workshop! Today, we are following up the project we started a while ago. Since we have already worked on the bars, we are moving on to the strum guard of the sound board. This is because the neck we are using for this project is a recycled piece from a failed project. And it already has the fretboard attached.
Let's get to it!
Making a Strum Guard
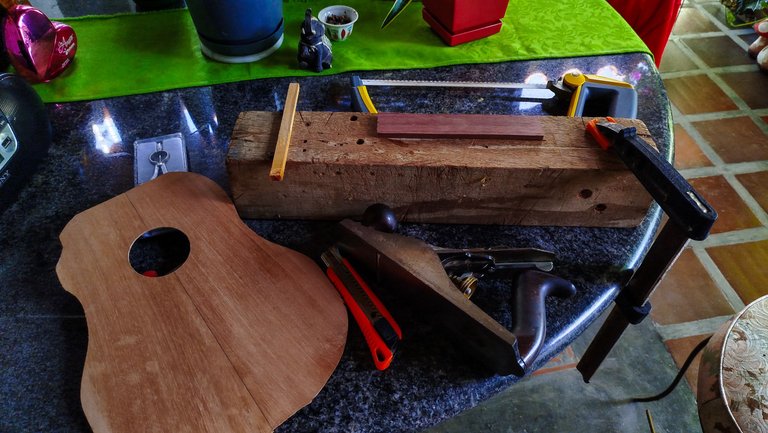


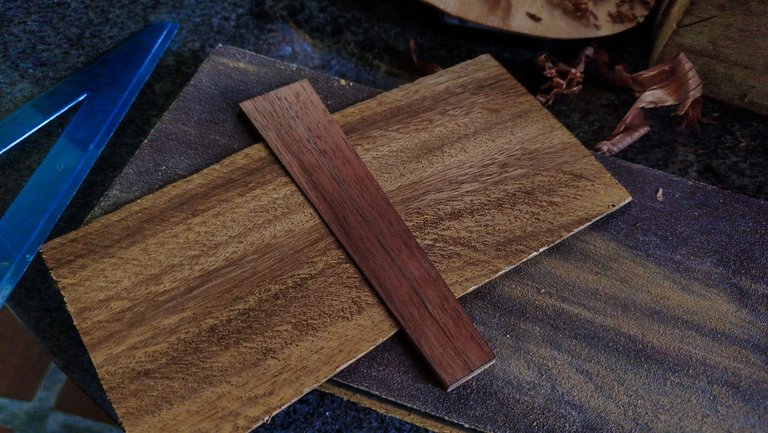
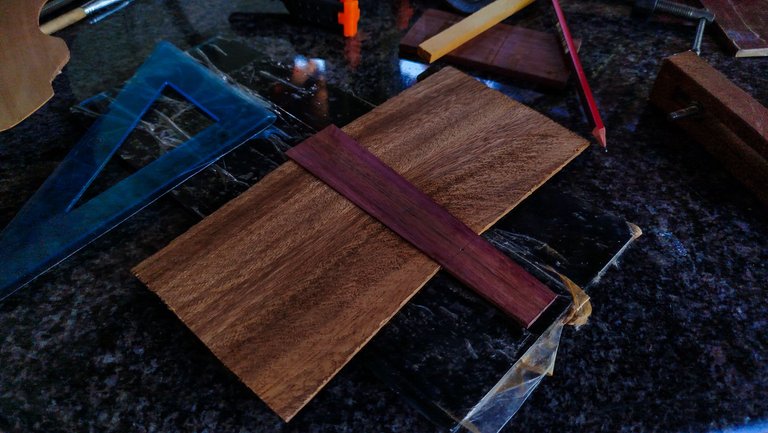
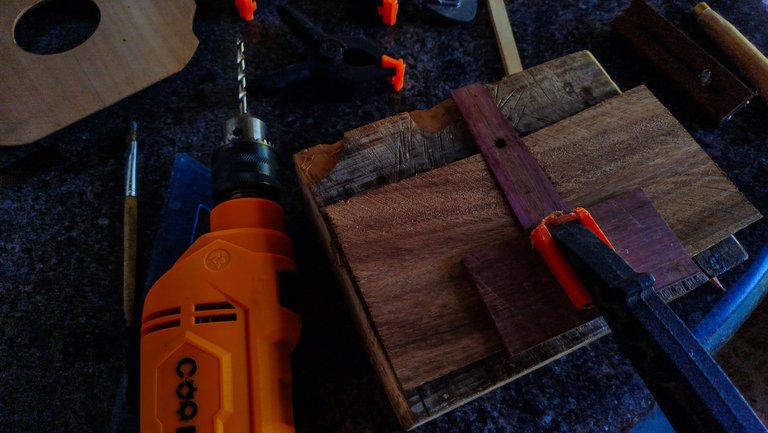
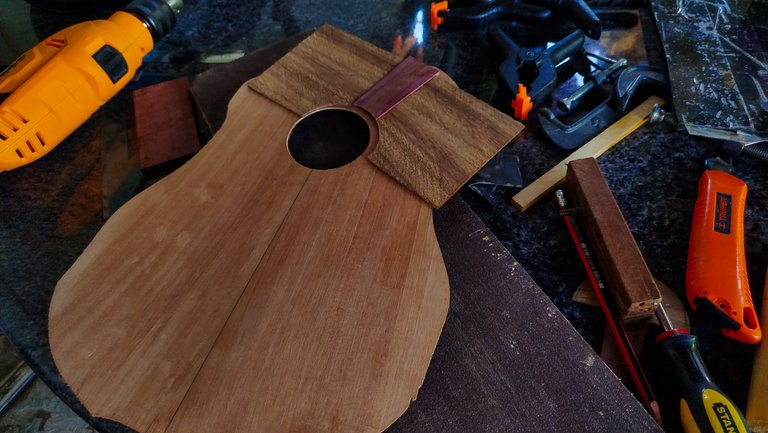
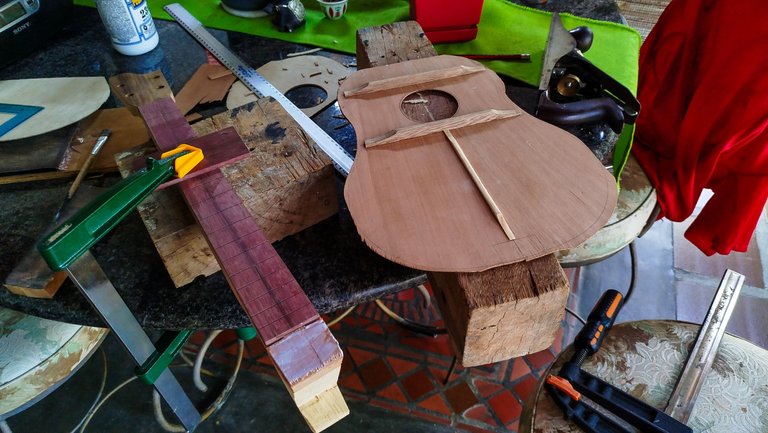
To start making this strum guard, we take some pieces of wood and get to think about the design. Since the fretboard is already made with purpleheart, we are going to use an ornament of the same wood in the middle of the guard. For the rest of the guard, we are using salmwood. The sides and back will also be made of the same wood.
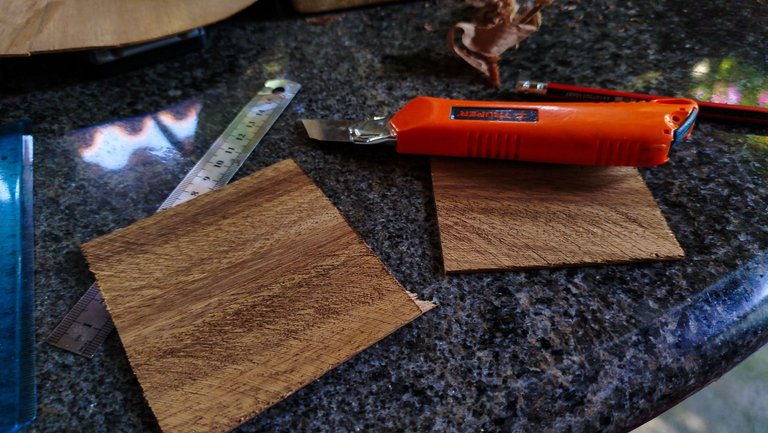
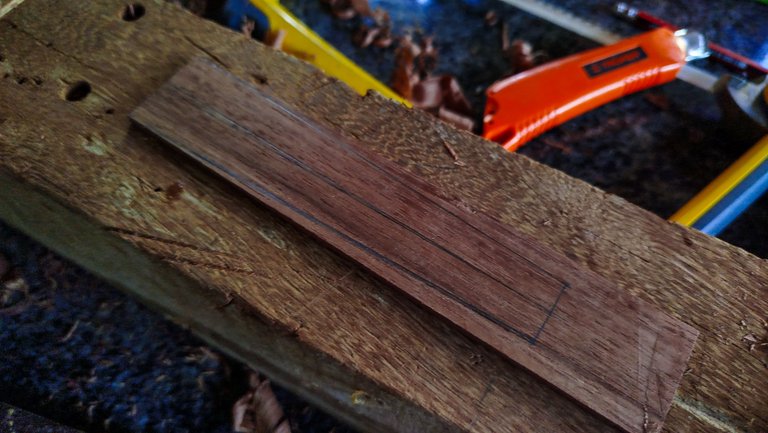
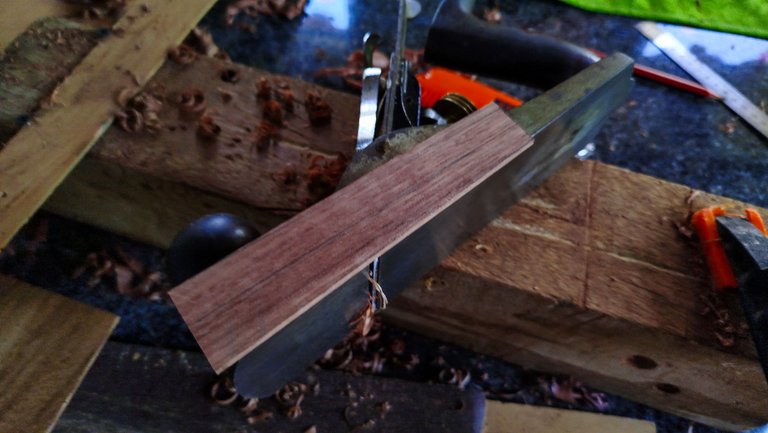
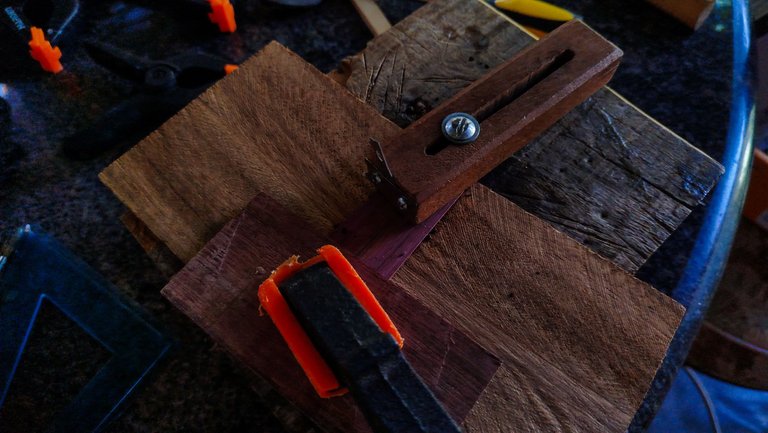
To make this guard, we first cut the salmwood piece in half, so we can fit the purpleheart ornament in the middle. Then, we get to work. We take the measure and draw some lines in the ornament to cut it and shape it. We are going for a wide wedge shape. To complete the shaping, we need to cut the piece and then use the hand plane to remove material from the sides until we erase said lines. Now we can more forward.
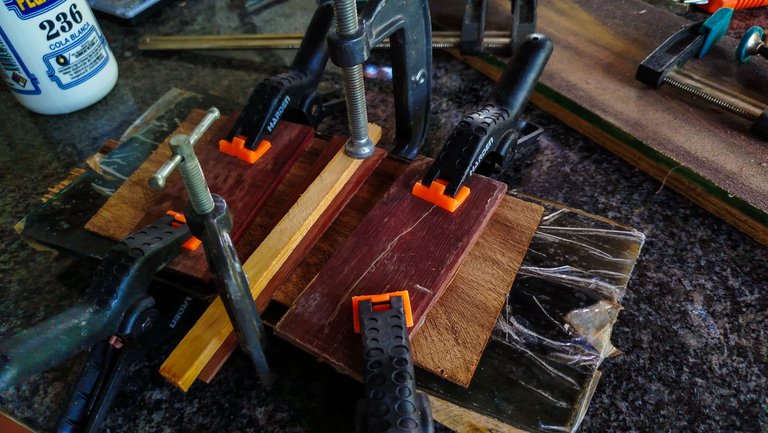
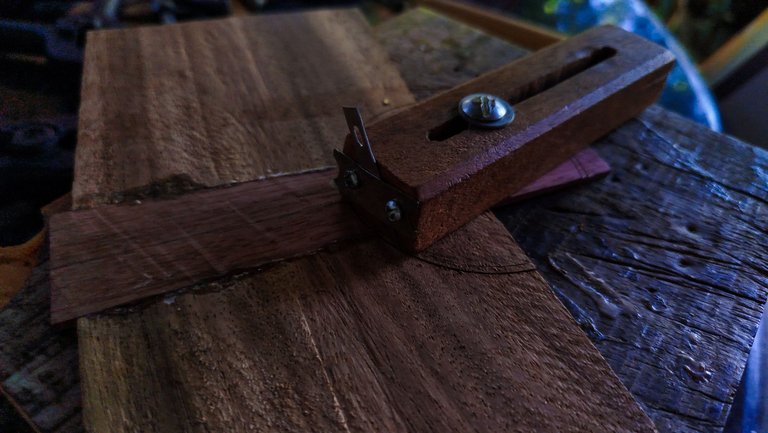
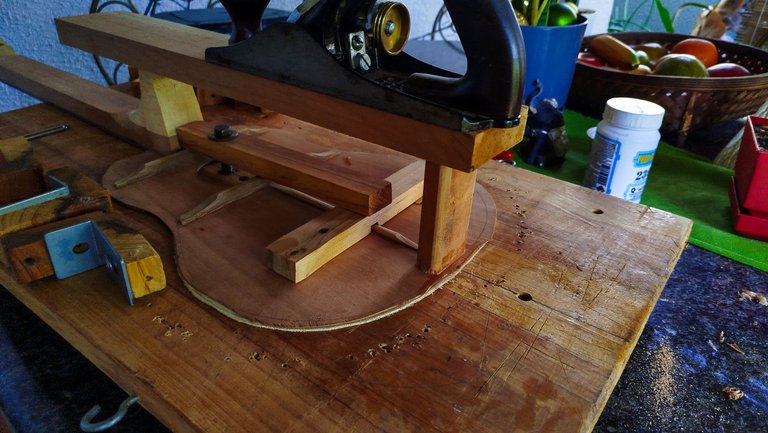
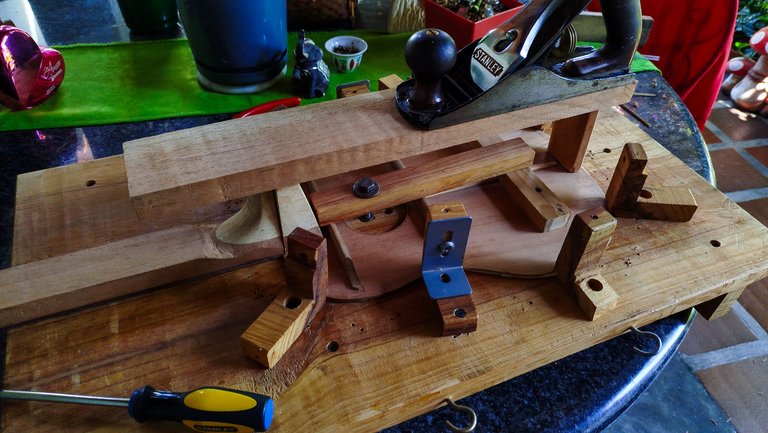
Before gluing everything together, we need to make sure the pieces of the strum guard fit flush with one another. To achieve this, we just have to sand the borders that will be in contact. Once we can dry fit them together and not get any light between the unions, we can proceed. Then, we just hold the pieces in place with some glue and wait for the thing to its magic. A nice way to glue something like this is using a thick glass base. That way everything sits flat while it glues up.
Making the Cut
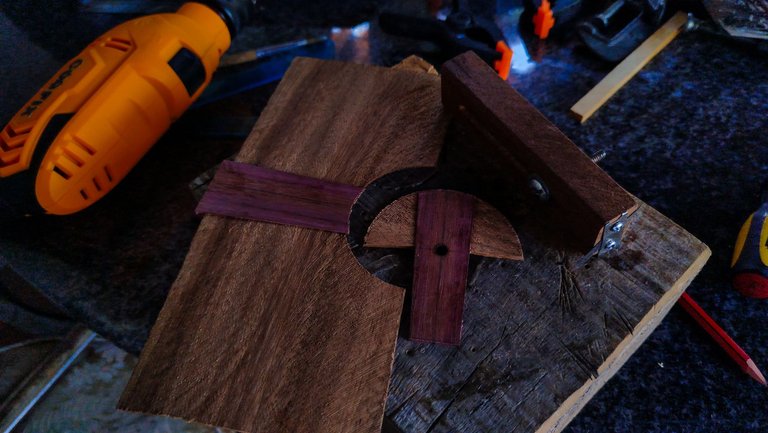
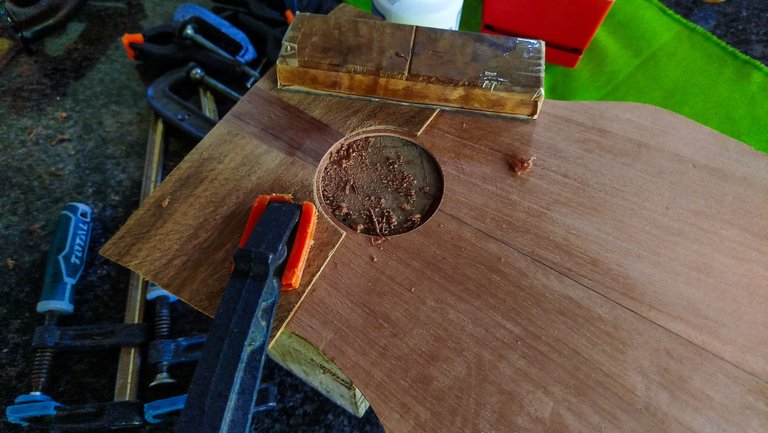
With the strum guard assembled, we how have to put it in place. For this we need to make the cut for the sound hole. It might be easier to make the cut as a whole at once, but this allows us to make the circular cut a bit wider on the guard. That is just an aesthetic choice. Moving on, we take some more measures to align the sound hole and the cut on the guard. Once this is done, we mark where we will make a hole to fit the circle cutter.
Once this is place, we start to make the cuts without forcing the blade. Purpleheart is really hard and can break steel if it is thin like must cutting blades are. We work on one side and then flip the piece to cut on the other side. We repeat the cuts until we have a circle out of the guard.
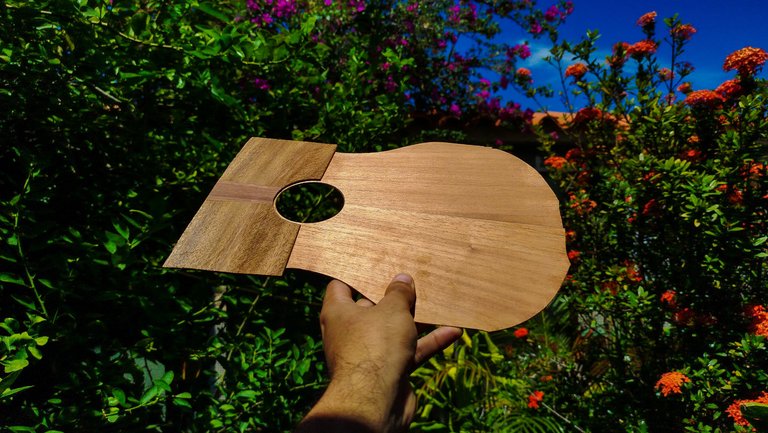
Now we align the guard and the sound board to glue them together. We will make some marks on the reverse of the former and the surface of the latter. This way, glue will not reduce the friction between the piece so much. Then, it is just a matter of time to have both sound board and strum guard as one piece.
On the Solera
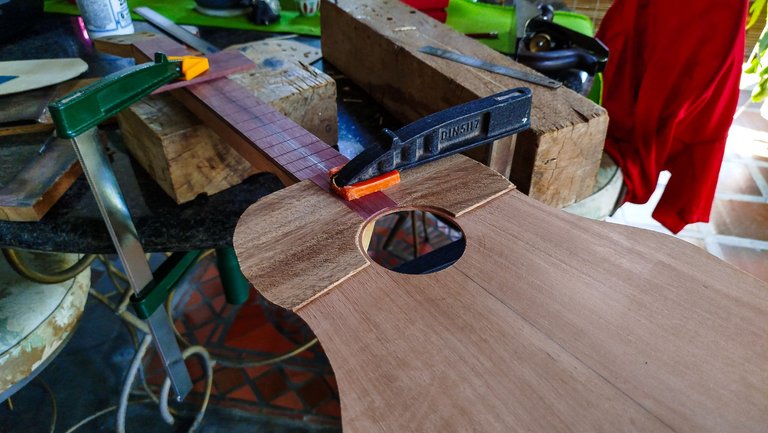
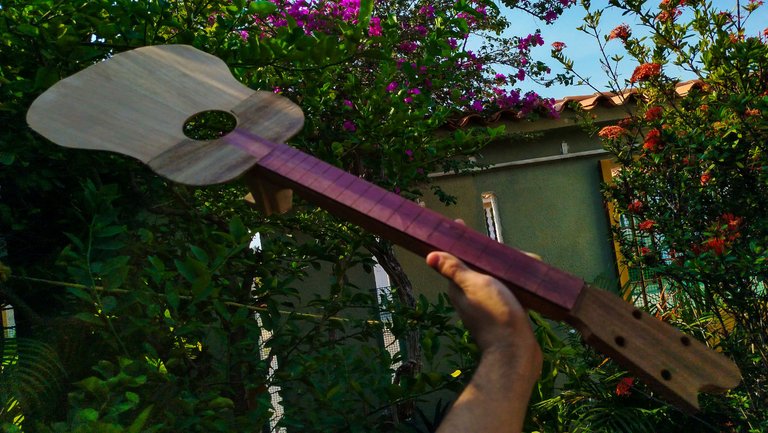
With the pieces already joined, we can make some other glue ups to finish the work on the project for the moment. To start, we are gluing the sound board to the neck. We had already made the cut for both pieces to be flush with each other. This will help a lot. To ensure they are aligned, we just need to draw a line on the fretboard and another in the sound board. These lines traverse the middle of both. Think of the as a level. If both lines are continuous, the pieces are aligned.
When we glue neck and sound board, we will need to keep an eye for the alignment. That means that we will need to loosen the clamp to make sure the pieces are not moving out of alignment. Once we have done all the work, we can let this rest and wait for the job to be done.
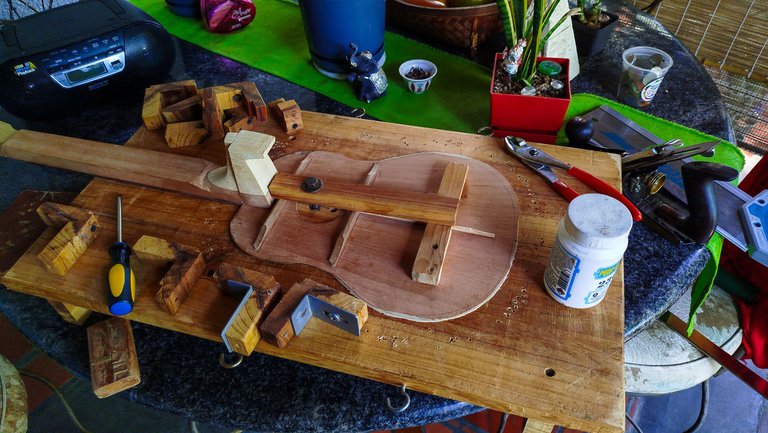
Once the pieces are ready, we can mount them on the solera. And while we are at it, we can also glue the end block on the sound board to have another task checked on the list. That is all for now! Next time we will start working on the sides. Thanks a lot for reading. Have a great Easter! See you next time!
| Entry | Title |
|---|---|
| 1 | A Project Begins |
| 2 | Shaped Bars |
Photos 📷: Redmi Note 13
Thumbnail 🖼️: Canva.
Editing 🎬:Adobe Photoshop Lightroom.

Follow me on Instagram for enquires and commission.
If you'd like to help the workshop grow, you can make a donation here. You can find me at discord as bertrayo#1763
I always told you that I love your work, a real craftsmanship, but not only that, but how you explain the step by step. Although I don't know about musical instruments, I know what handwork is and I admire that, the time, the dedication and the love for it.
On the other hand, you don't skimp on details with the photographs, in which lights and contrasts are magnificent. A lot of photographs to explain visually accompanying the text, that's very good and you have something that I have not seen anywhere else, the way to visualize the photos.
You do a great job in your carving and you bring every step, every element you use and explain it very well. Great job Andres. Hugs!
I have picked this post on behalf of the @OurPick project! Check out our Reading Suggestions posts!
Please consider voting for our Liotes HIVE Witness. Thank you!
Well, looks like someone is getting more into long comments. Thanks a lot, Amonet. Long time no see around. I like to give details. However, I do think that sometimes I take too many photos. Not all of them make it to the post, but the ones that do are hand-picked for that purpose.
I love long comments! It's true that I also take a lot of photos that don't make it to publication, I select the best ones. Always a pleasure to see your work!
Bravo and impressive work friend, well done
Thank you