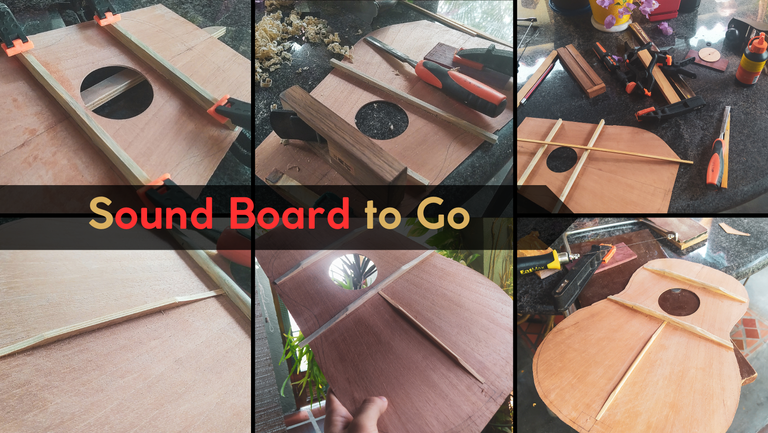

We are back to pick up where we left last week and continue giving shape to the pieces of the puzzle. It's almost time for assembly!
Bars

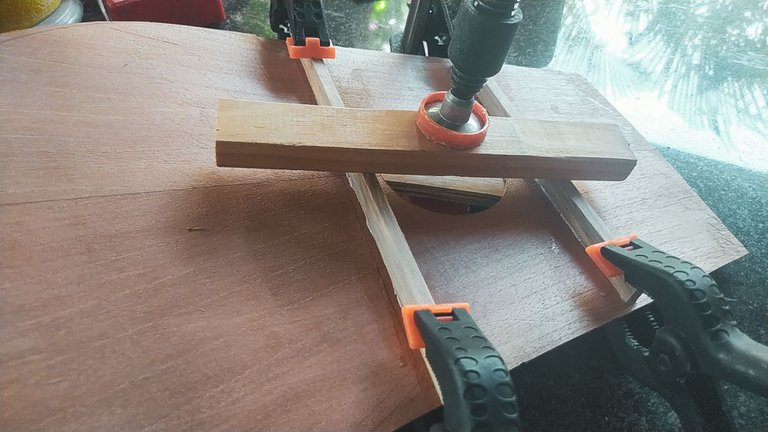
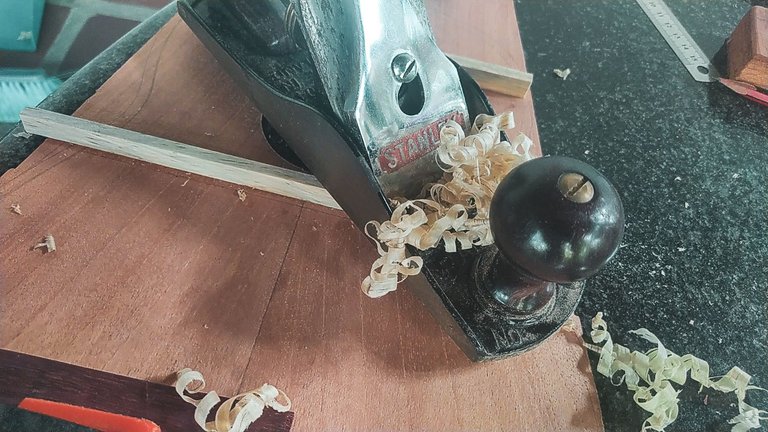
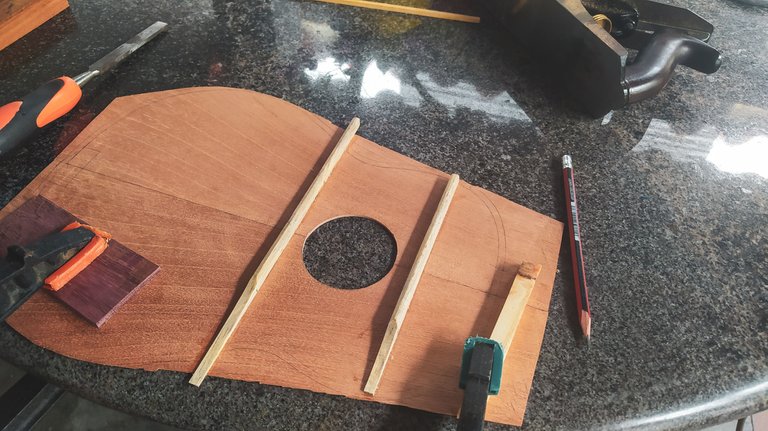
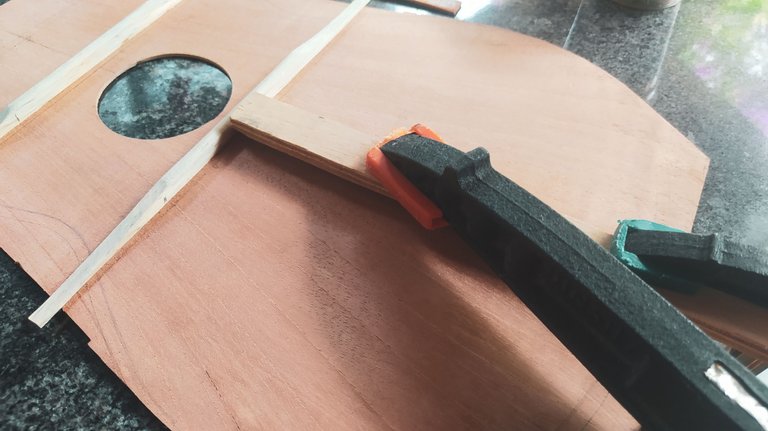
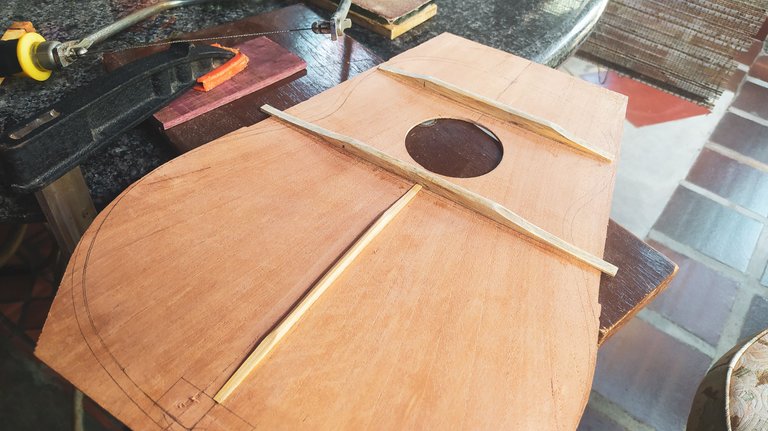
With the sound hole open, it's time to reinforce the sound board. This is the stage that gives us a better notion of the whole sound of the instrument. Once the bars are in place, the pitch of the top will go up. The rest of the tuning will go in the voicing of the bars, struts and the sanding we give it before having the instrument ready.
These bars were cut from the time we made the back. Not only that, but we did some things in advance and had them thin and flat on the side that will be in contact with the top.
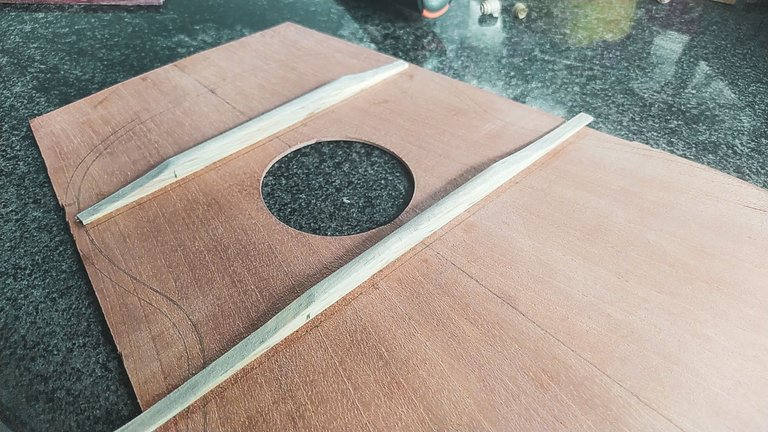
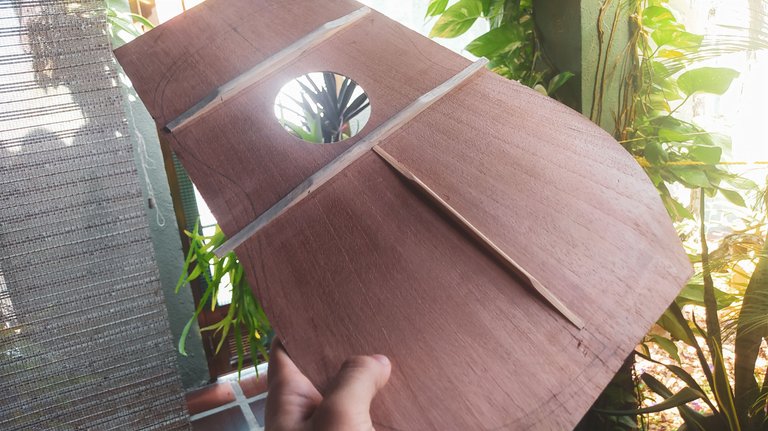
Once glued, we can start to shape them. This part gives us some room for more low-pitched sounds as we are reducing the weight of the sound board and giving it less resistance to action of the strings once the whole instrument is ready. We also went with the classical round top for the bars.
Strut
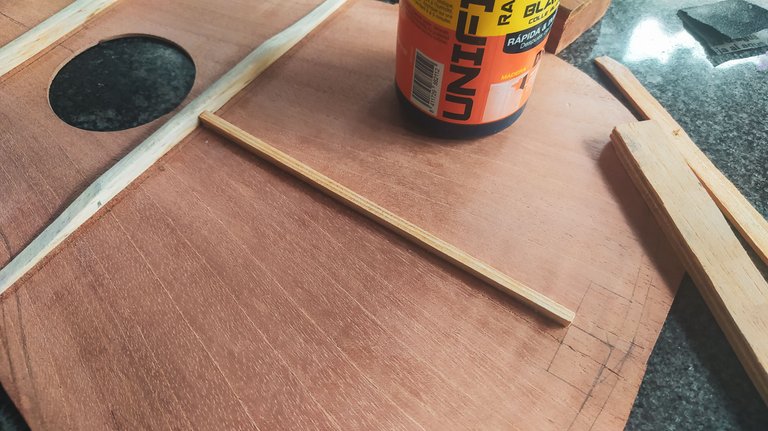

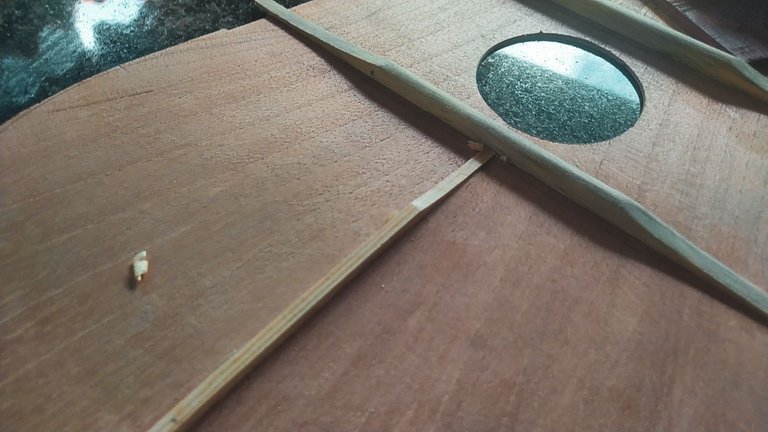
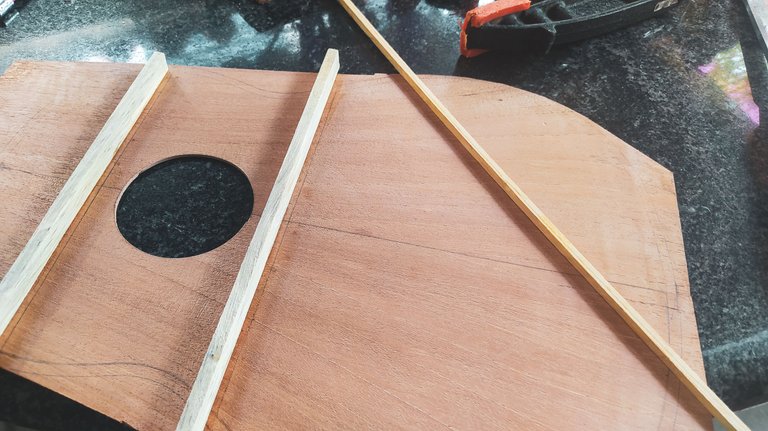
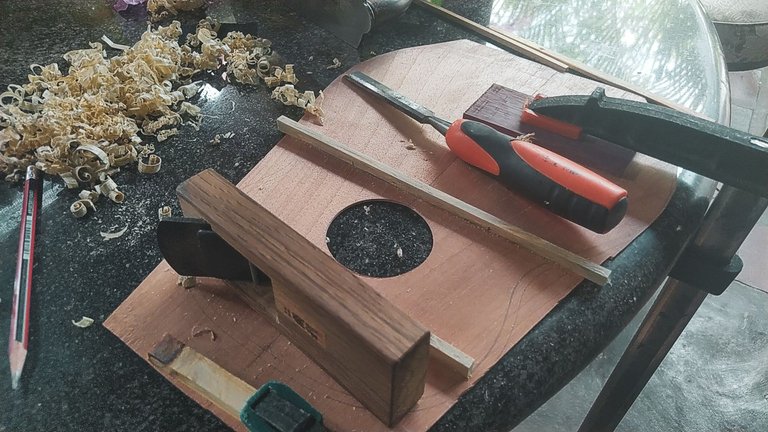
Using struts on a Venezuelan Cuatro is a controversial topic. It's a plucked-strings instrument with a guitarlike shape, but since the sound board is smaller, struts tend to make the top very stiff and reduce sustain. However, here we come to the conundrum of the luthier, the balancing act of durability and sound projection. It's a tough thing. Instrument should be the best combination possible of these factors. Yes, they need to have great sound, but they also should last a long time before coming back to the workshop. It makes no sense to have a glass instrument that sound great, but breaks every time. The opposite is also true. Having a stiff instrument makes it better as a piece of furniture.
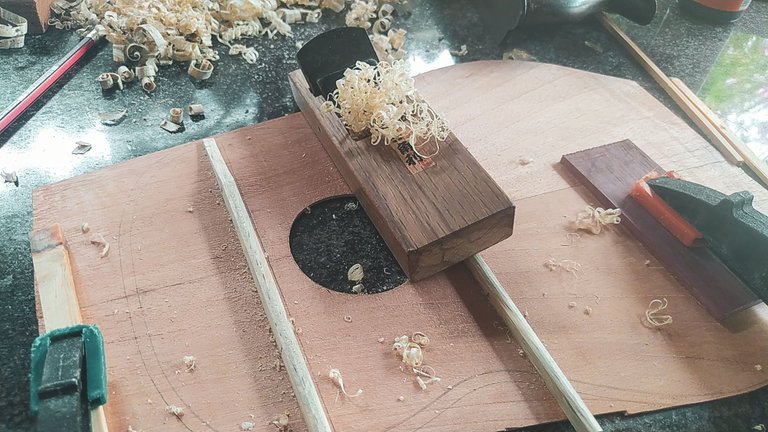
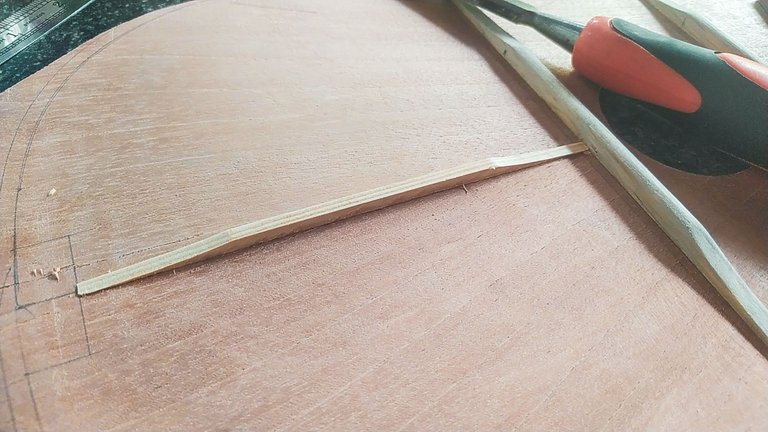
Here, we have only once strut to reinforce the middle section of the sound board. As the top doesn't have a straight, we don't need to much to keep this one strong against the tension of the strings.
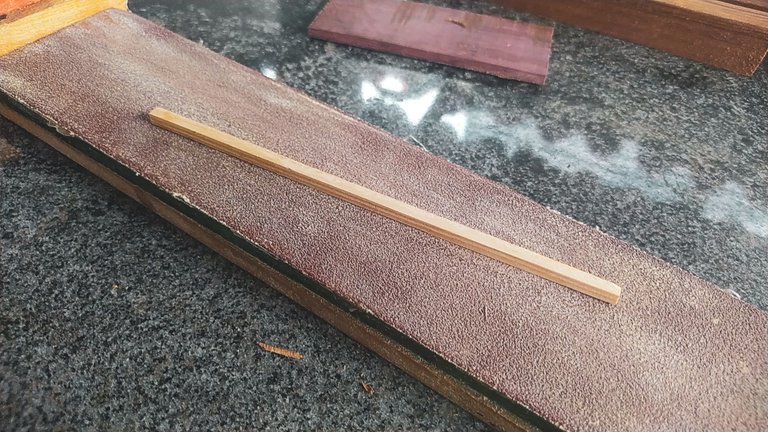
This strut is also voiced to prevent it from adding too much weight to the sound board. Although, pine wood isn't dense.
Trim it
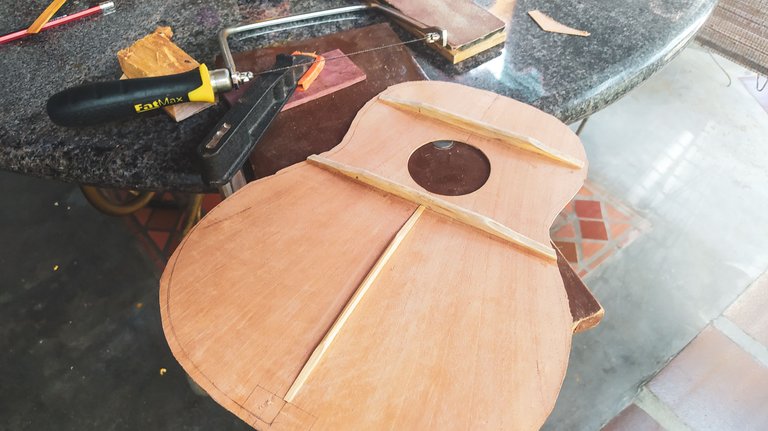
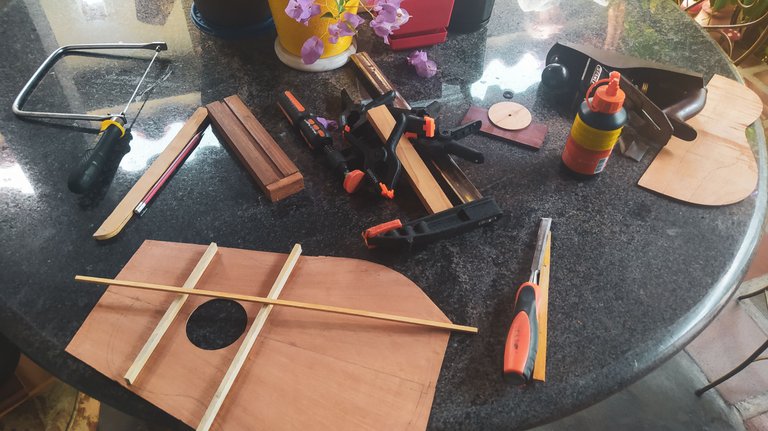
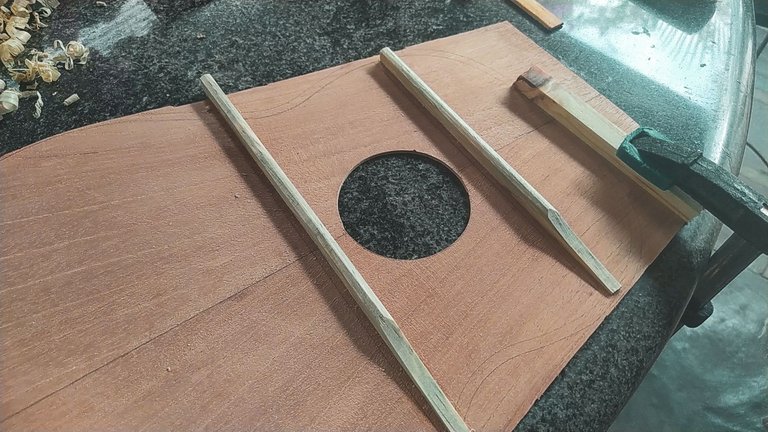
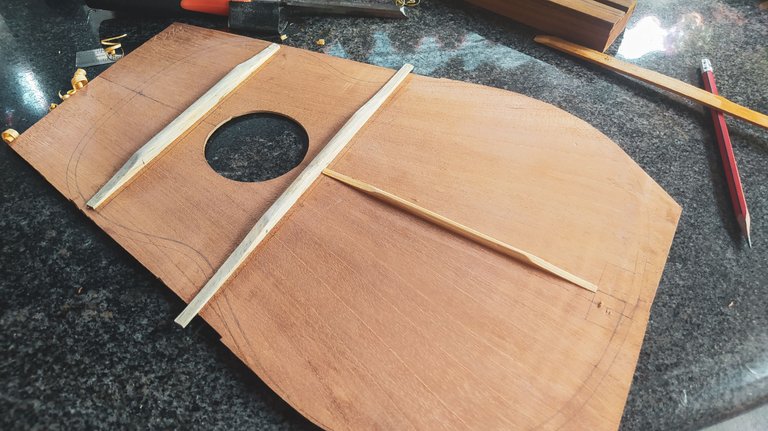
To finish the work, we need to give this sound board it's characteristic shape. As you have seen before, there were two curved lines to mark the perimeter of this piece. The outer one is the guide to cut. So, we do that with the trusty coping saw and in no time we have a top that looks closer to its final form.
Now that both top and back and ready, we can move towards the neck which is the piece that takes more time from any build.
Hope you're enjoying this project as much as I do.
Thanks for reading,
See you in the comment section!
Una Tapa Lista
Estamos de regreso para retomar el proyecto donde lo dejamos la semana pasada y seguir armando las piezas de este rompecabezas. Casi estamos listos para ensamblar.
Barras
Después de abrir la boca, seguimos con los refuerzos de la tapa armónica. Este es el momento en que tendremos una mejor idea de cómo va a sonar el instrumento. Al colocar estos refuerzos, el sonido producido al percutir la tapa cambiará a uno más agudo. El resto de la afinación se trabaja reduciendo la densidad de los refuerzos que le coloquemos y el lijado final.
Estas barras estaban listas desde que hicimos el fondo. No solo eso, hicimos la tarea por adelantado y ahora todo lo que resta es pegarlas a la tapa armónica.
Una vez hayamos hecho esto, es tiempo de darles forma. Aquí es donde le reducimos la resistencia que aportan estos refuerzos. Así favorecemos las frecuencias graves de la tapa. Al tener, menos masa la resistencia a la acción de las cuerdas se reduce. Con respecto a la forma, nos quedamos con un acabado redondo en la parte superior de las barras.
Abanico
Utilizar un abanico en el cuatro venezolano es un tema controversial. Es un instrumento de cuerda pulsada con una forma parecida a una guitarra, pero al tener una caja más pequeña y menos cuerdas, colocar un abanico puede ser contraproducente en la producción de sonido. Todo lo que coloquemos en el reverso de la tapa la hará más rígida. Pero aquí entramos en el dilema de la lutheria: hacer que el instrumento suene más o hacerlo más duradero. Esto es un acto de balance. Un instrumento debería cumplir con ambas cosas. No vale de nada que sea muy sonoro si se rompe mucho. Tampoco sirve lo contrario. Hay que buscar la mejor combinación de ambos factores.
Aquí solo colocamos un refuerzo para la junta de la tapa. Como la veta de la madera no está derecha, no es necesario hacer muchos refuerzos. Así las cuerdas tendrán menos trabajo para producir sonido.
A esta barra extra también le daremos forma para recudir el peso que pueda aportar a la tapa armónica. Aunque para nuestra suerte, el pino no es muy denso.
Recortar
Terminamos por hoy con la forma de la tapa. Como pudieron ver en todas las fotos anteriores, la tapa tiene dos márgenes. El exterior es la marca para cortar y darle la forma característica a la tapa armónica. Solo es cuestión de tomar el arco calador y cortar el exceso de los bordes.
Ahora que ya tenemos listos fondo y tapa, podemos movernos al mástil. Esta es la pieza que se toma más tiempo de todo el proceso de construcción.
Espero que estén disfrutando de este proceso tanto como yo.
Gracias por leer,
¡Nos vemos en la sección de comentarios!
Fotos/Photos 📷: taken by me (Redmi Note 8)
Portada/Thumbnail 🖼️: by me, created with Canva.
Edición/Editing 🎬: by me, made with Adobe Photoshop Lightroom.

Follow me on Instagram for enquires and commission.
If you'd like to help the workshop grow, you can make a donation here. You can find me at discord as bertrayo#1763
Increíble todo el trabajo que lleva, cuando veo las fotos digo que genial!! Gracias Andrés!😀
Puro trabajo de hormiguita
Yo diría que muchas hormiguitas! Voy saliendo!
De una sola hormiga en este caso. 😂
Que vales por 100... jajaja
🤣🤣🤣🤣🤣🤣🤣
https://inleo.io/threads/view/hive-130560/re-leothreads-29hlonkwj
You are progressing well with this cuatro! ;))
Always trying to do better!