
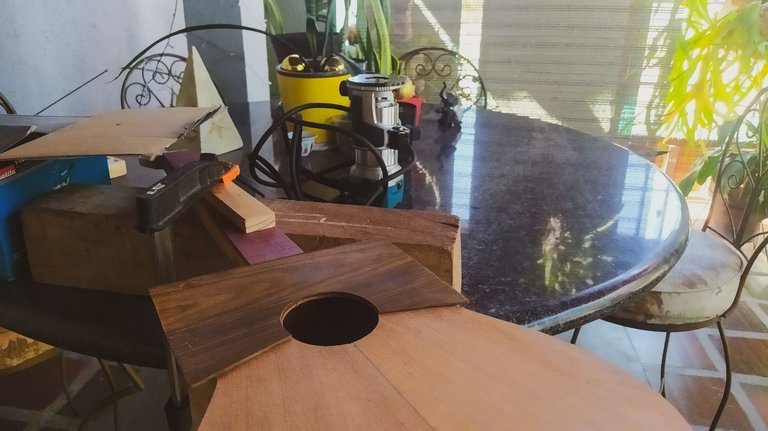
We're back to check on the progress of this instrument. Last time, we got the fretboard in place and now it's time to address the strum guard and fix some other things before we start finishing the fretboard and adding position markers and frets.
Let's jump right to it!
Strum Guard

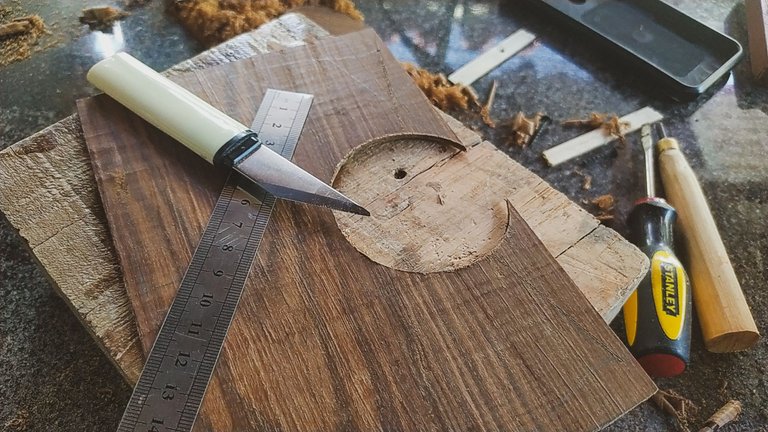
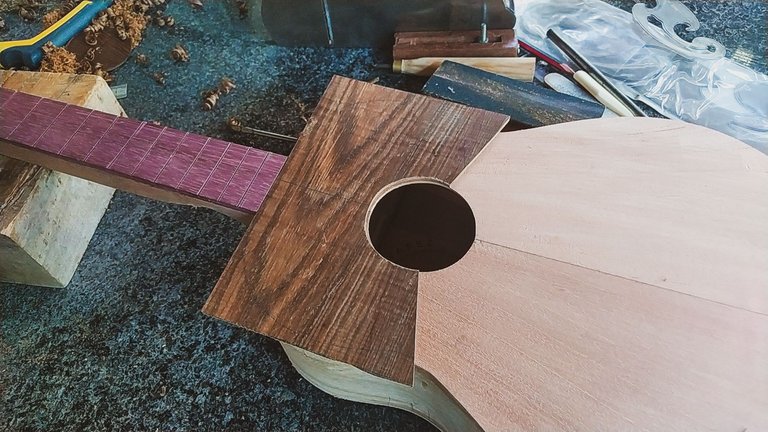
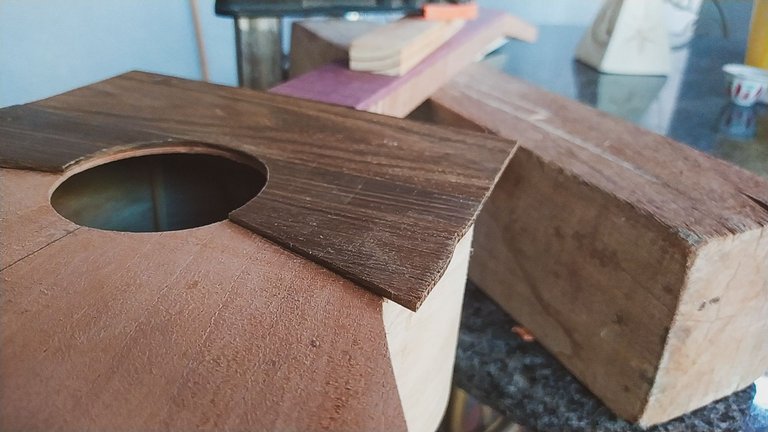
One of the distinctive features of the Venezuelan Cuatro is this piece of wood that goes between the fretboard and sound hole. It is on top of a portion of the sound board. It's called golpeador in Spanish. So every time I talk about, I call it "strum guard". That's its function!
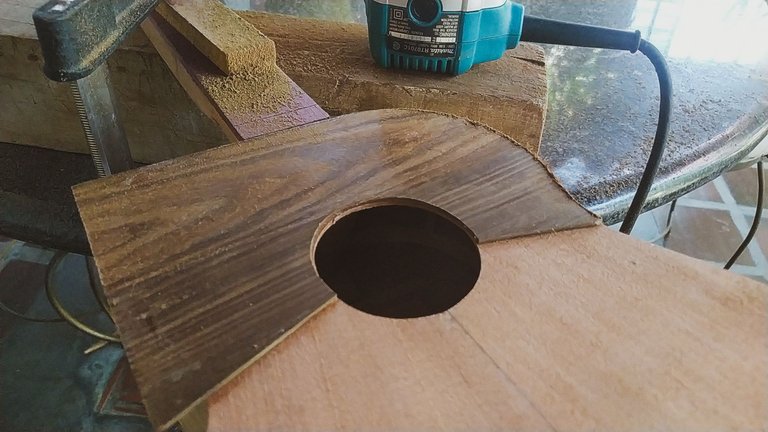
It tends to be made of a hard wood so it can resist the action of the fingernails and strumming patterns of the player. To make it, we need to cut a circle to match the sound hole and also add a design that we like to the piece. The latter is optional, but many luthiers who make this instrument take the opportunity to create interesting patterns that add another signature to their builds. Here. we're going with a straight pattern, but not eh traditional one.
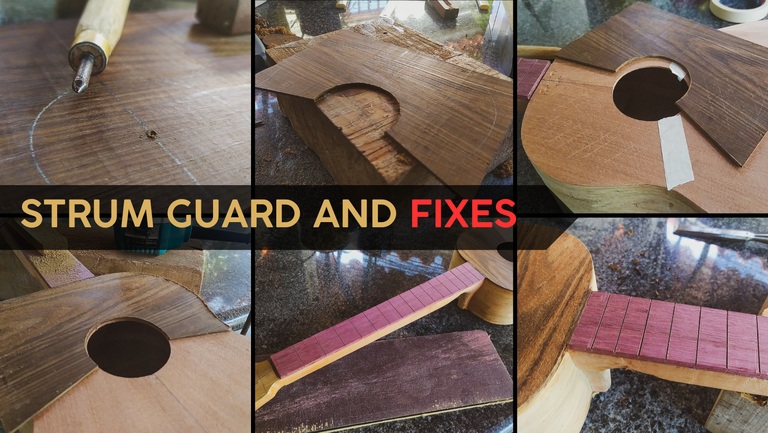
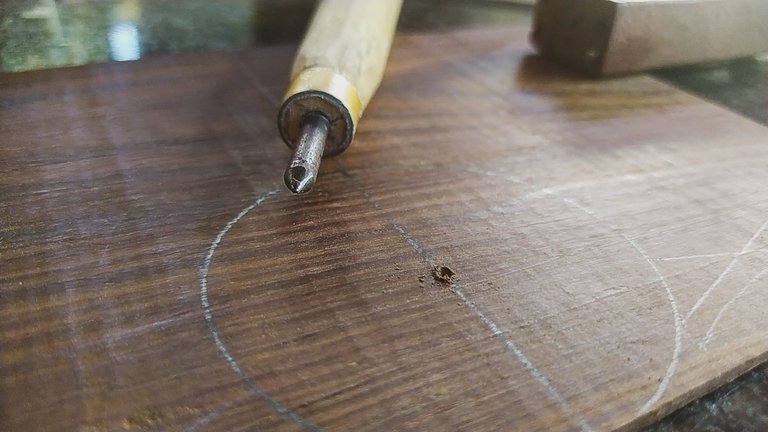
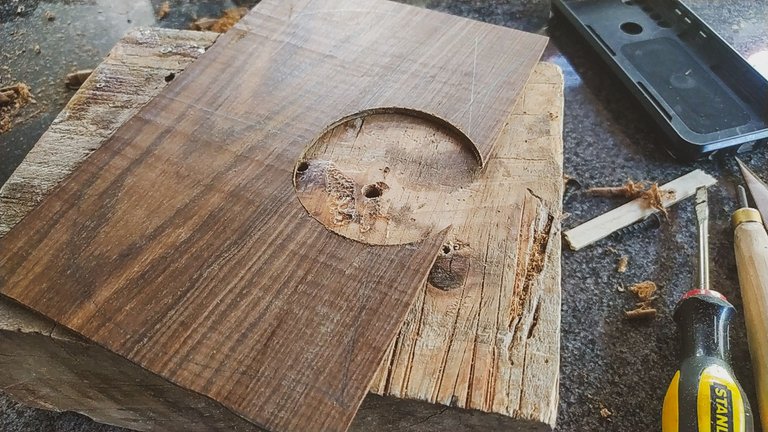
To start, we make a mark to dill a hole in the center of the sound hole mark. Then, we use this hole to get our circle cutter in place. Once this is done, we carve out the circle piece. We might need to remove some extra material to make both round shapes similar.
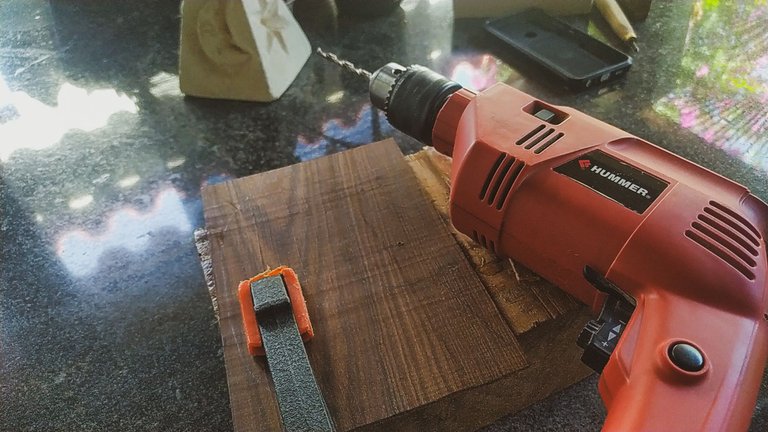
With the hole made, we can cut the design we need. The rest of the work comes on removing some shavings from the top portion until the strum guard fits nicely and aligned with the lines we've previously drawn on the sound board and fretboard.
If you're wondering what can on wood this is, around here is called "Puy" the species is Tabebuia billbergii. It's a close relative to the national tree of Venezuela.
Glue it and fix it
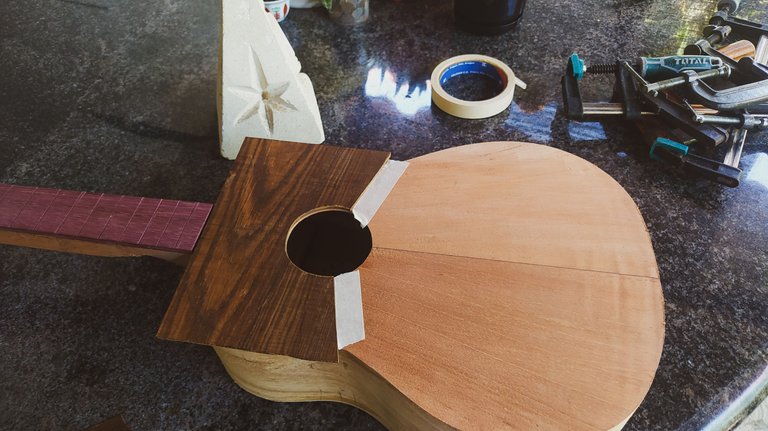

Moving on with the glue up process of the strum guard, we need to use some tape on the sound board to prevent any glue spread from getting stuck on this part of the instrument. It would be annoying to remove once it has dried.
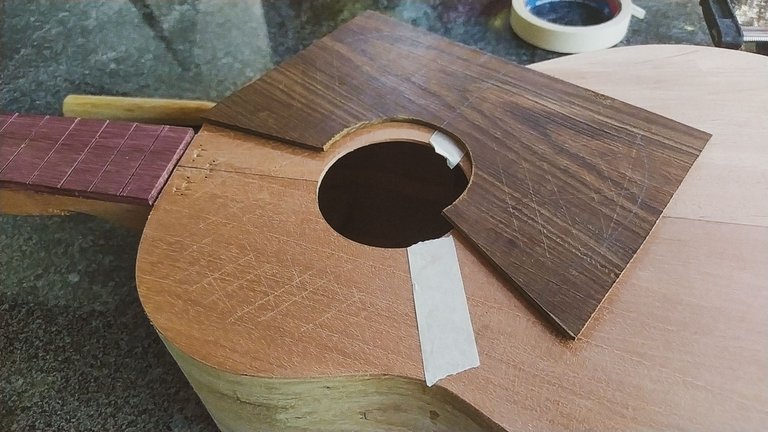
After getting the tape on the sound board, we are ready to glue this piece. The process gets a bit messy and it definitely needs more clamps. I need to address the lack of clamps by making some more. The process is simple, we make a scratch pattern on the reverse of the strum guard and sound board. Then, we can apply glue and start the whole clamping process.
The piece might move a little while performing this step, so it will always need some correction work.
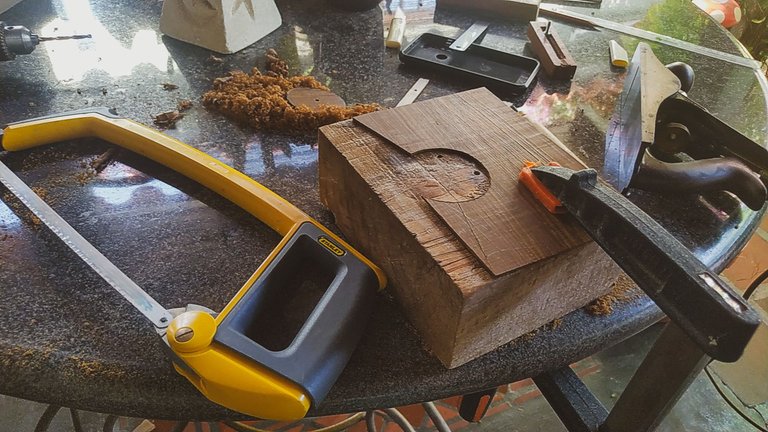
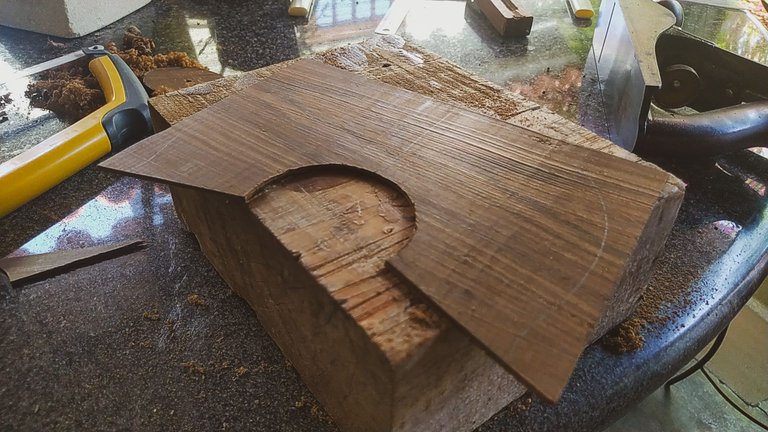
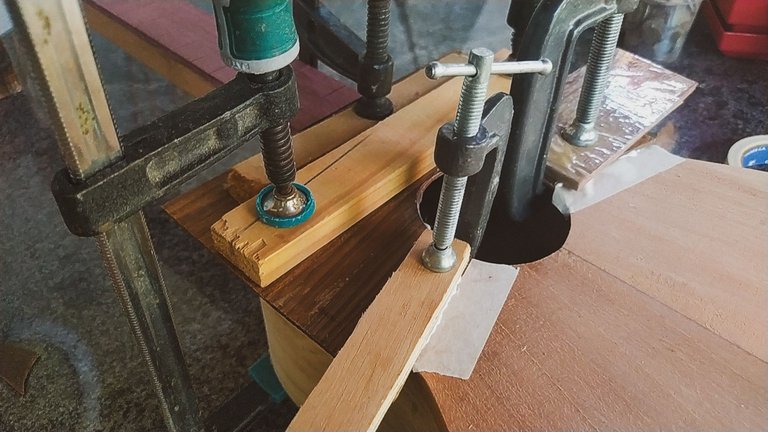
And that will be done next. We need to fill a gap between the fretboard and the strum guard. First, we'll get the borders removed with a router and flush trim bit. That way we have the curve shape it needs to have plus a piece of wood to feel the gap. The fix is easy. We sand the piece of wood until it fits tightly into the gap and then apply glue. The same pressure used to get the piece in the slot will keep it there and allow glue to its job.
Once we have glued this up, we use a chisel to trim to top portion and leave it flush to the fretboard.
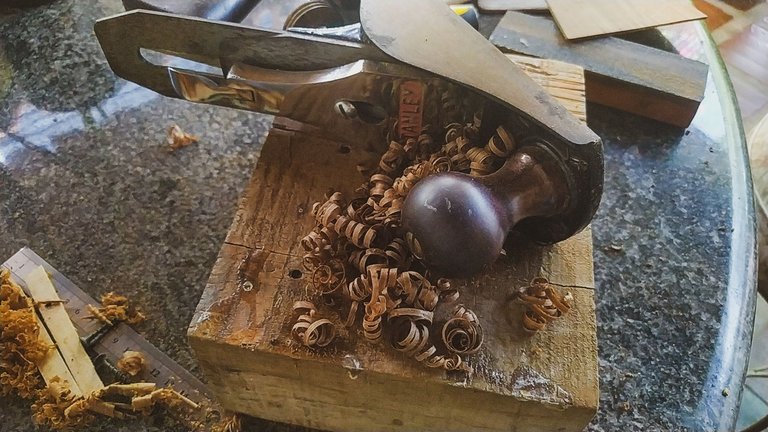
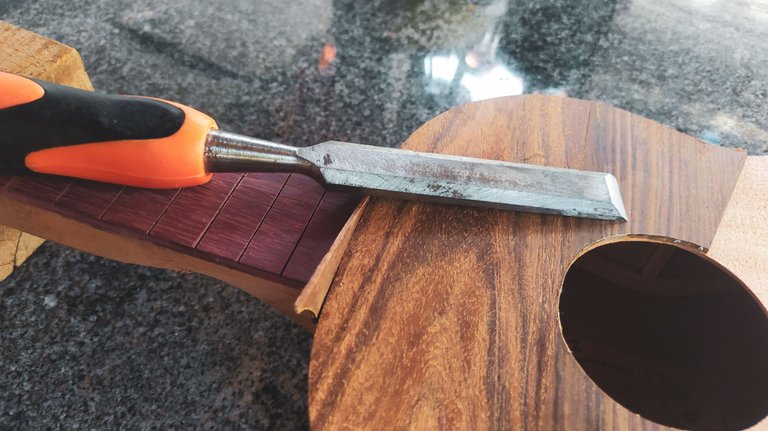
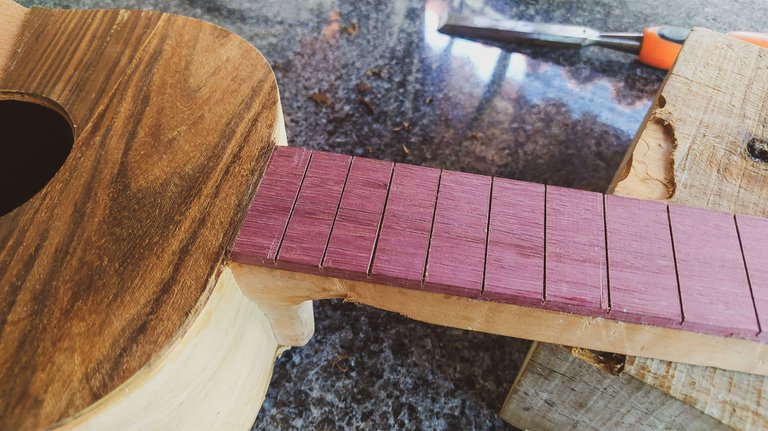
Sand it
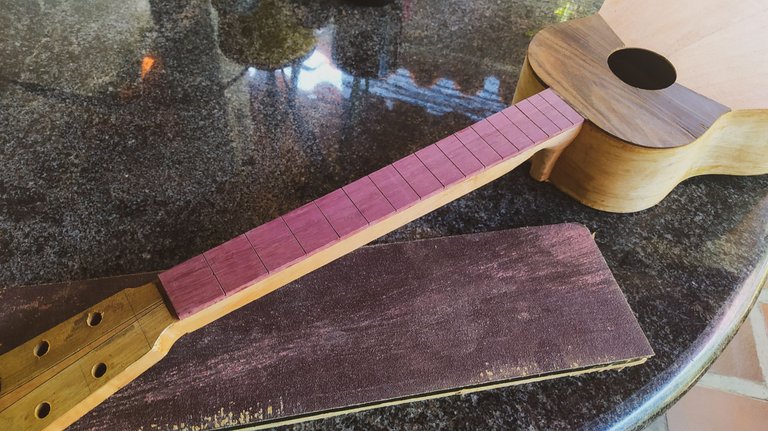
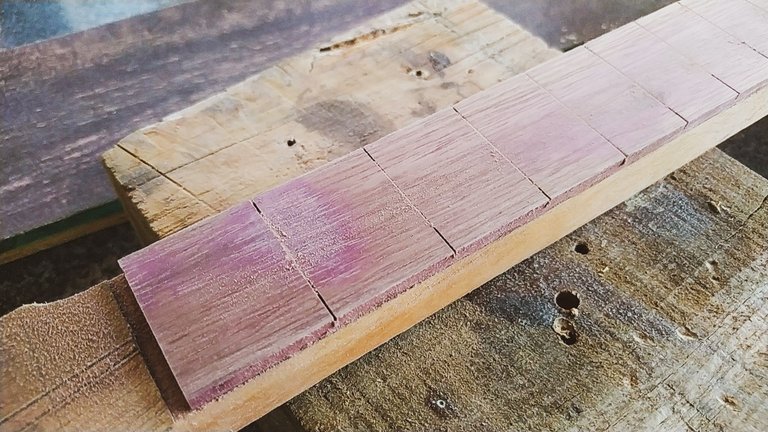
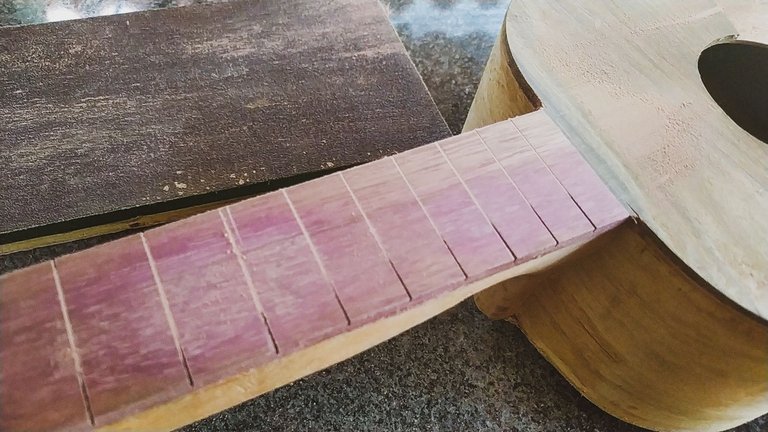
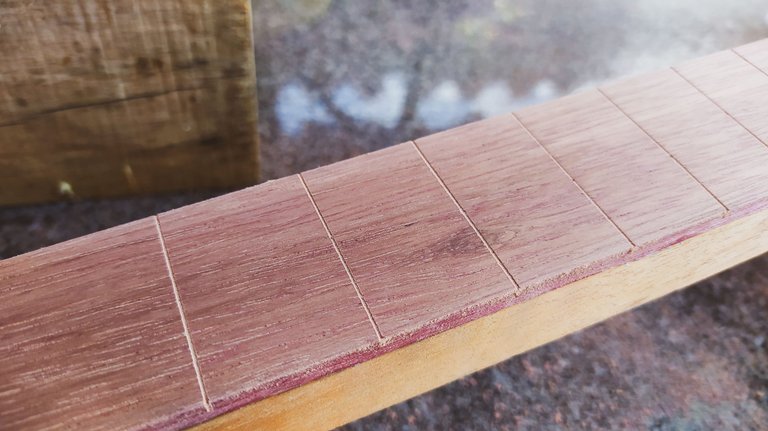
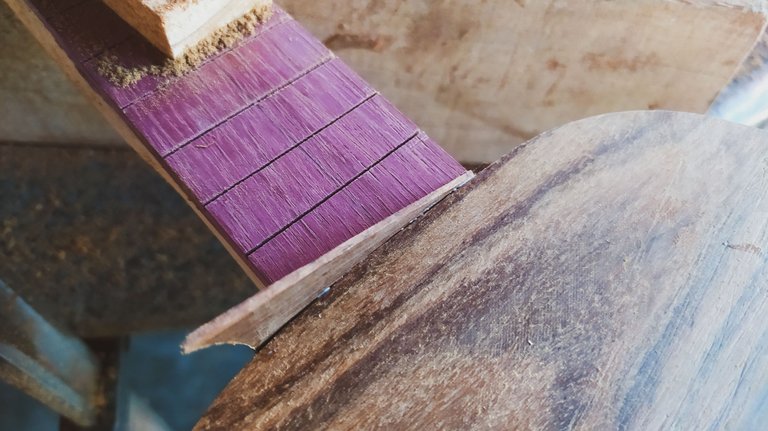
We'll finish this portion of work by sanding the fretboard to prepare for two steps that will be covered next time, finishing and frets.
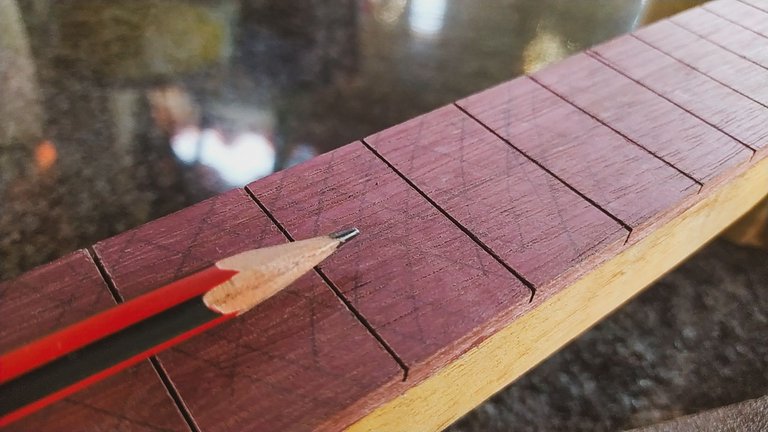
The trick to get the fretboard flat is to use pencil to mark the surface and then we can see what areas are not touched by the sandpaper. Also, purpleheart has a cool effect that gives us another visual cue. The bottom layers are darker than the top ones. This is due a process of oxidation of wood. So as we sand, we'll remove the vibrant purple hue to get a sort of brownish purple. Once the whole surface is this new darker color, we know we are done.
To check if the surface is flat, we can use a ruler and see if any light comes through a gap between the edge of a ruler and the fretboard. Also, we can sand the surface again and see if the slots get filled evenly with sawdust. Both are trademark tricks for the task.
And with these steps we are done for the day, but the work never stops.
Thanks for reading.
See you next time!
Fotos/Photos 📷: taken by me (Redmi Note 8)
Portada/Thumbnail 🖼️: by me, created with Canva.
Edición/Editing 🎬: by me, made with Adobe Photoshop Lightroom.

Follow me on Instagram for enquires and commission.
If you'd like to help the workshop grow, you can make a donation here. You can find me at discord as bertrayo#1763
Super interesting to see the steps little by little, it is more of a visual enjoyment to see it from home, also to learn a little. Very nice work, my greetings and a big 🫂.
Thanks a lot. It's always a pleasure to share some of my tiny bits of work around here.
Send you a big hug all the way back.
Have you ever tried to add a design to your guitar using a pyrography technique?
I'd love to, but I don't have the tool. However, I tend not to do many things regarding designs unless someone asks for it. Most people are finnicky about designs.
But I imagine that if you had the tool you would make one even if it was small.
Not sure. My pulse is horrible for writing.
Un trabajo excelente siempre Andrés! El segundo grupo de fotos cuando le vas dando forma y el contraste de color me encanta. Gran artista!😀
Gracias, gracias.
¡Siii! ¡Una continuación del proyecto! Disfrute mucho leyendo este nuevo avance, tu forma de escribir en verdad es muy agradable Bertrayo, porque no es ni muy técnica pero tampoco muy ambigua, es realmente disfrutable, y te agradezco por estos pequeños y fascinantes datos:
"Si te preguntas qué lata de madera es esta, por aquí se llama "Puy" la especie es Tabebuia billbergii . Es un pariente cercano del árbol nacional de Venezuela" I LOVE IT 🙌 💫
Así vamos todas las semanas, @tesmoforia. Es una manera de utilizar de manera más controlada todo el material de una sesión de trabajo. A parte que un proceso de estos se lleva sus meses en producción. Trato de que se pueda entender los términos sin dejar de lado los conceptos propios del oficio.
Y sí, no puedo dejar de lado el típico "quip" para endulzar la redacción.
Gracias por leer.
Greetings @bertrayo!
It is with love we wish to inform you this article was featured in our Easy Wood Work Projects You Can DIY - Spotlight Series articles. This initiative was designed to encourage and boost-strap your woof work ideas in an attempt to educate other woodwork designers in the Hive Ecosystem! You will receive 100 $BUIDL tokens as a gesture for this masterpiece you created.
I'm honored to be considered for this feature. Thanks a lot for you support!
Welcome buddy. Please keep up the good work