
We are back for the last update of the year for this project. It's been a blast to be doing this so slowly and making progress bit by bit. Last time, we made the whole work on the sides. Now, it's time to get everything that goes inside the instrument before closing it. If you haven't checked the previous entry, just click here.
Let's jump right to it.
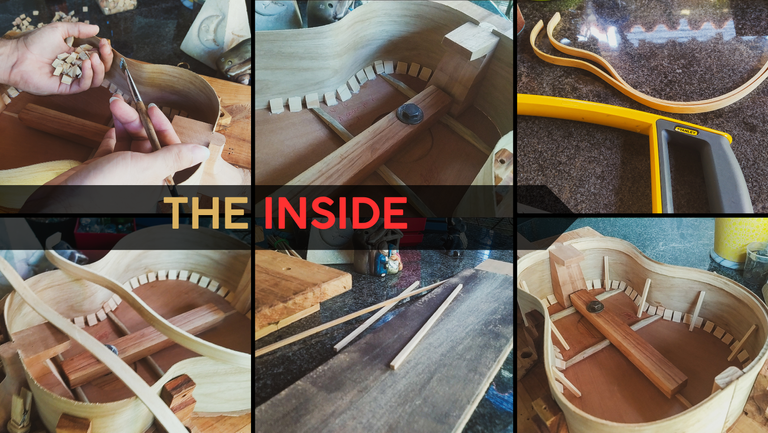
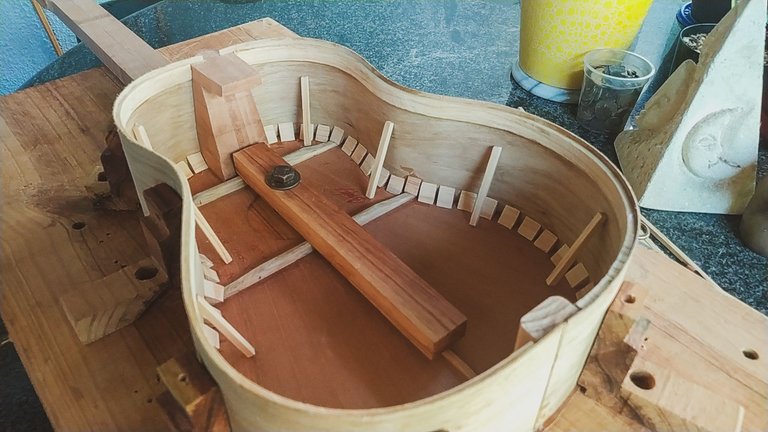
Kerfing
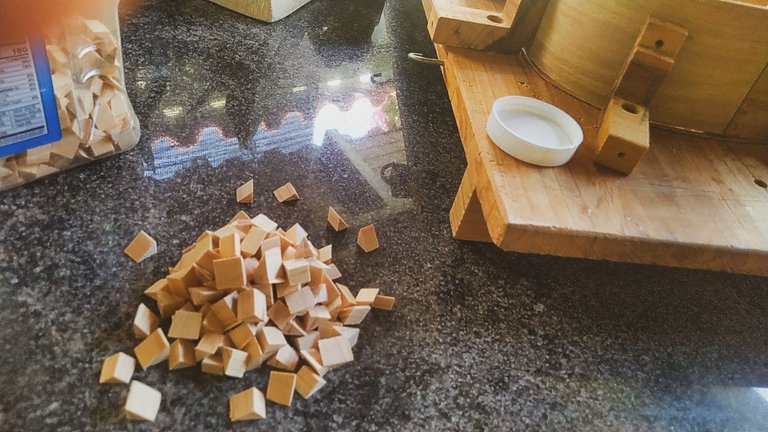
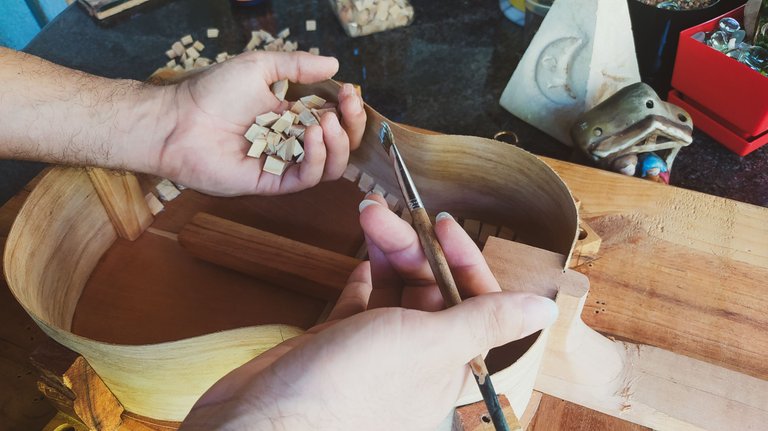

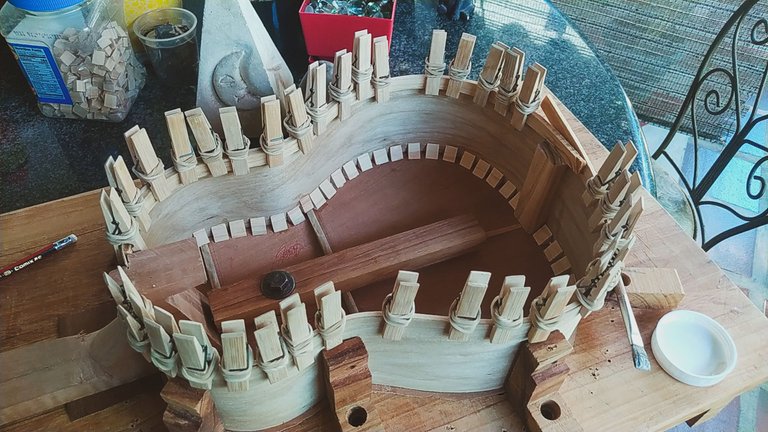
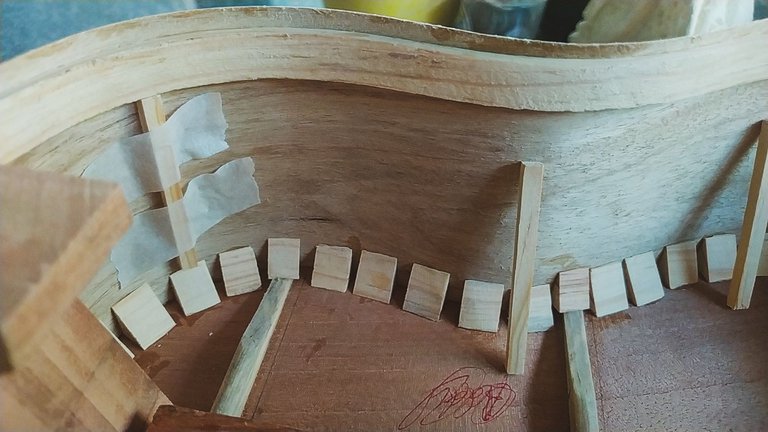
Kerfing are the pieces that help bind the sides and top together. They are made in several ways. People with machines have the habit of making kerfing strips. But it's all about what you have learned and things that are comfortable. The traditional kerfing are these wedges that are made from block of wood and split to become two pieces.
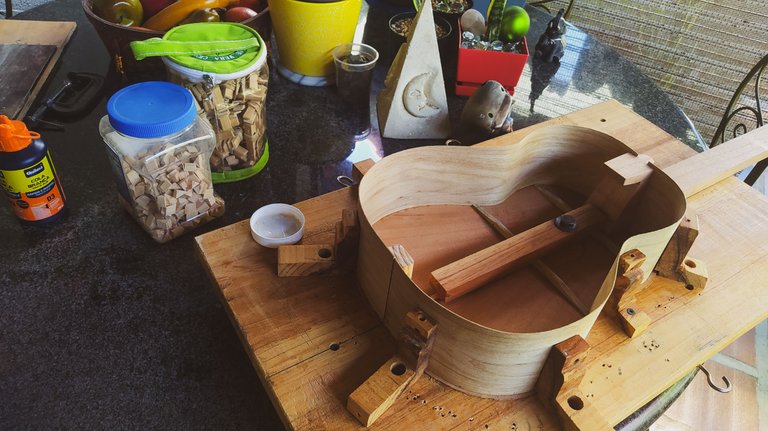
The idea is to place these on the rim of both sound board and sides. Distance between the kerfing varies according to the needs for each instrument and the size of the body. We can use our hands for this or get a brush to apply the glue. If we do the latter, we need to remember to clean the brush of it will become stiff and won't be good for anything.
After getting the kerfing in place, you just need to apply a bit of pressure to see a bit of glue spread. This is to ensure they will get well-placed. Then, it's just about waiting for the glue to dry.
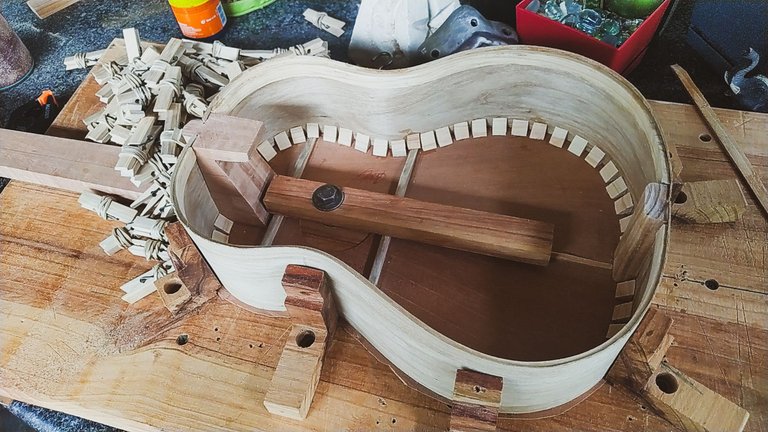
Back kerfing
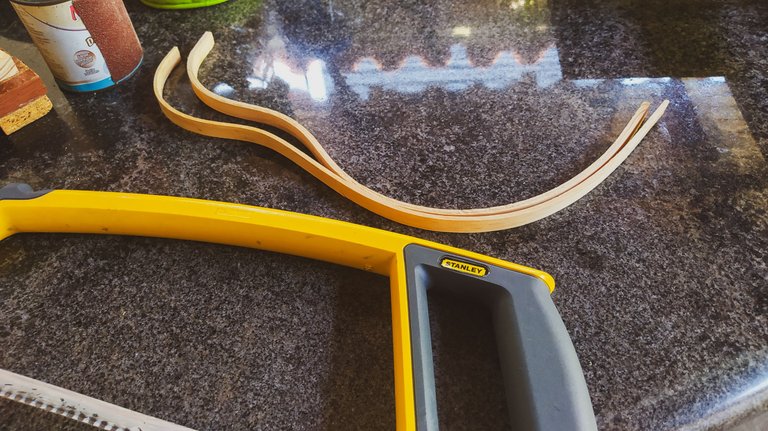

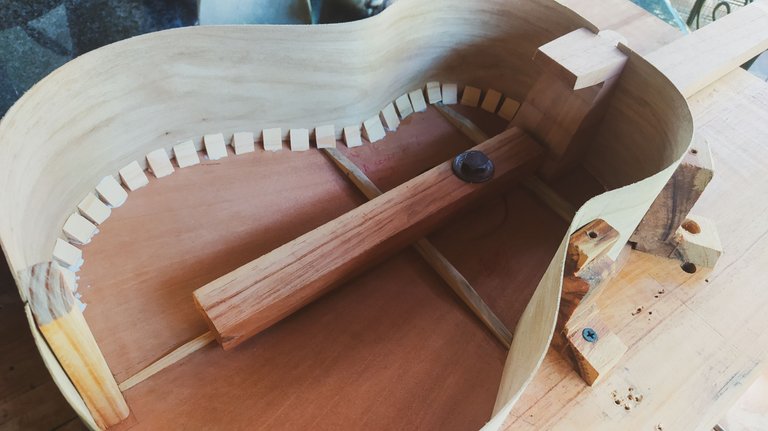
It's time to get the other kerfing. This goes on the part of the sides where we'll put the back to close the instrument. Here, we have these strips of wood we need to bend to put them along the curve of the sides. First, we sand them to get out any marks of cuts.
Then, we need to get the kerfing in water to make the fibers flexible. The other step is to use the bender to give it the shape. And to help retain this curve, we place them in the instrument with clothes pegs while they finish drying.
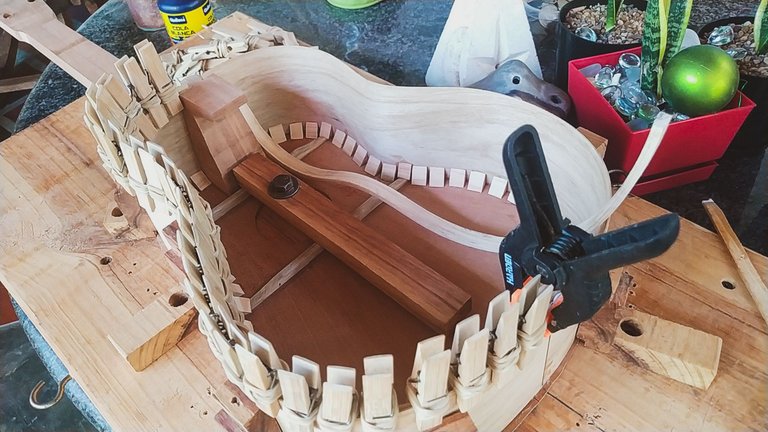
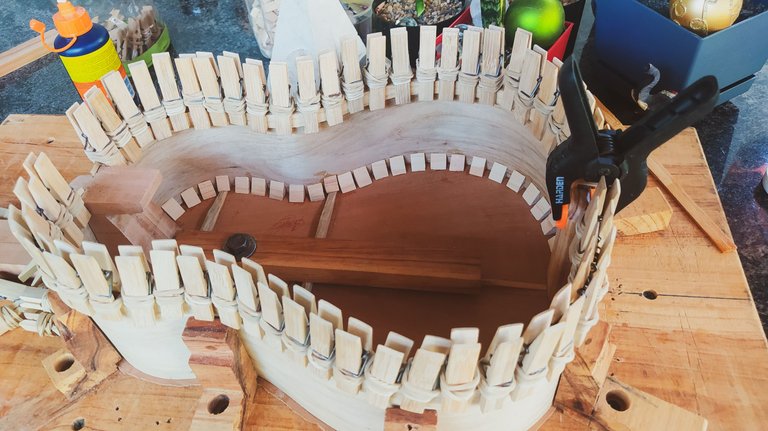
Once this happens, we can cut the ends of the kerfing to have the length we need. To finish the job, we need to apply glue and get kerfing in place and use the clothes pegs again. And then, we let the glue dry.
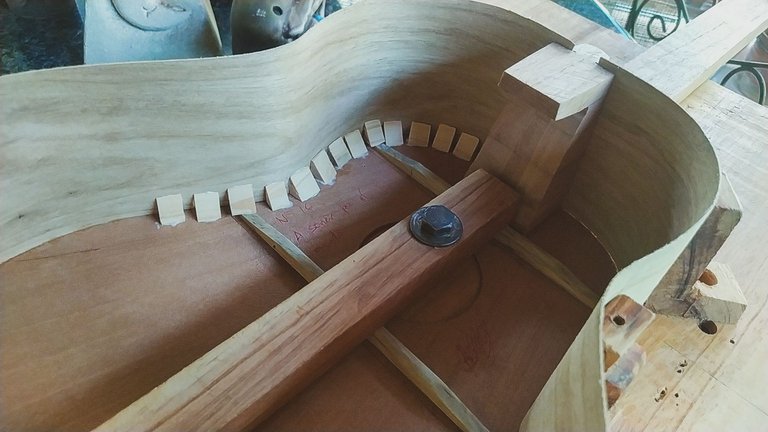
Last reinforcements
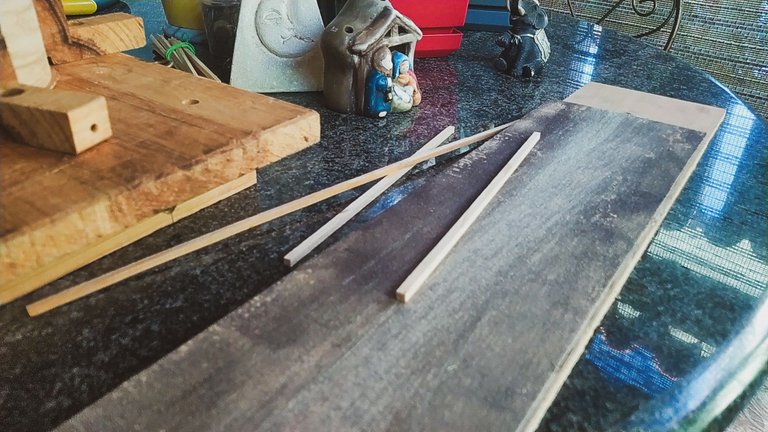
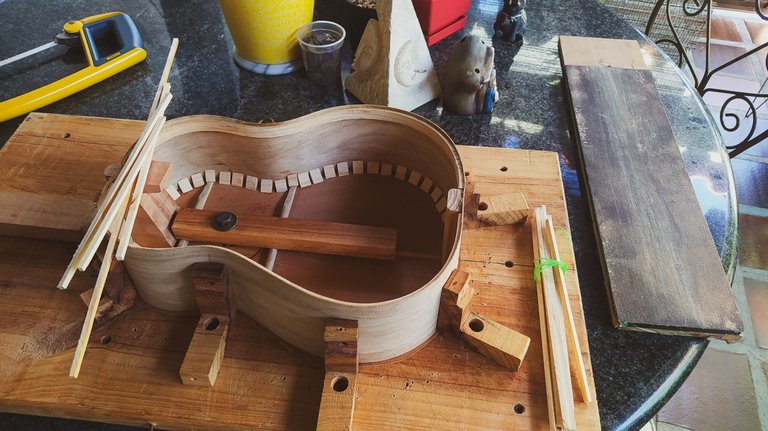
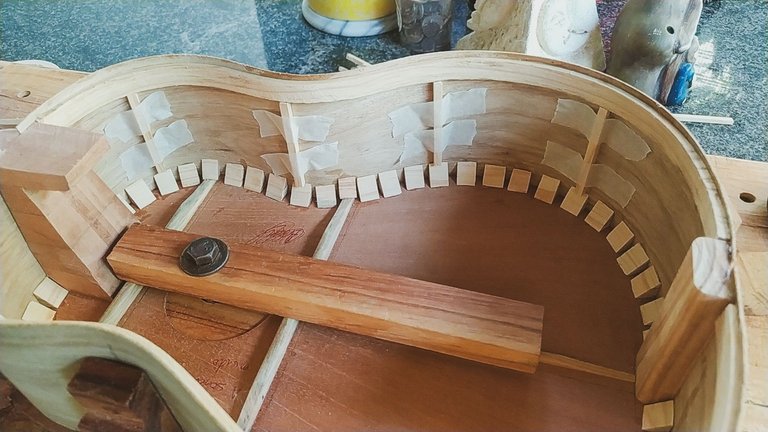
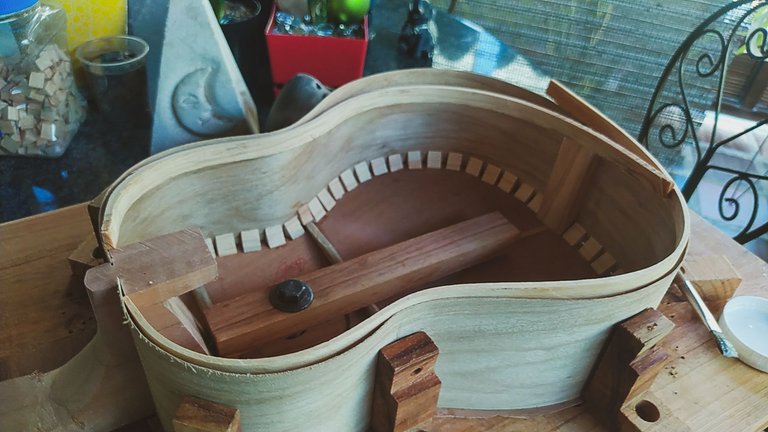
The last reinforcements to finish this bits are the ones that go across the sides. This help us give some strength to the sides since these are really thin. We need some pieces of wood to cut and place between the kerfings on top and bottom.
We sand the pieces of wood. Then, we cut them to the shape we need after measuring each placement. To glue them, we'll use a lot of masking tape to hold the reinforcements in place. Then, we need to let it glue and we have completed the insides of the instrument and are ready to close.
On the next entry, we'll see the works of closing this instrument and start the work on the pieces that go on the outside. Ever coming closer to the final stages of the build. But that will have to wait.
Thanks for reading!
Fotos/Photos 📷: taken by me (Redmi Note 8)
Portada/Thumbnail 🖼️: by me, created with Canva.
Edición/Editing 🎬: by me, made with Adobe Photoshop Lightroom.

Follow me on Instagram for enquires and commission.
If you'd like to help the workshop grow, you can make a donation here. You can find me at discord as bertrayo#1763
Hoy lo que me gustó más fue todo el proceso de la primera sección de fotografías, me encantó eso. Muy buen día Andrés!😀
😁
Gracias, Amonet. Cuando estaba haciendo esto fue que saqué las fotos en blanco y negro de las Manos en la Obra.
Tanto las de color como las blanco y negro son hermosas pero cada una con estilos distintos.
Claro. Uno más de textura y el otro más un tema de composición de colores.
Exactamente, la magia de la fotografía y del buen trabajo de tu lado.
It looks like your project is making a good progress. I can't wait to see the final results ❤️.
Indeed. It will be ready in due time. 😁
Es demasiado delicado y dedicado este trabajo de lutheria de verdad me impresiona cada vez que te leo describiendo los pasos y con esas fotos cada día mas aesthetic 🤩
Ja, ja, ja, ja. Bueno, algo he aprendido de tanto ver fotos aesthetic por aquí. Es un proceso largo y de mucha paciencia y me encanta.
Me encanta la forma en qué presentas tu trabajo y haces que podamos además de apreciar el paso a paso, entenderlo un poco más.
Gracias, Eli. Me tomó un buen rato llegar a la forma de presentar estos trabajos y que me gustara como se ve.