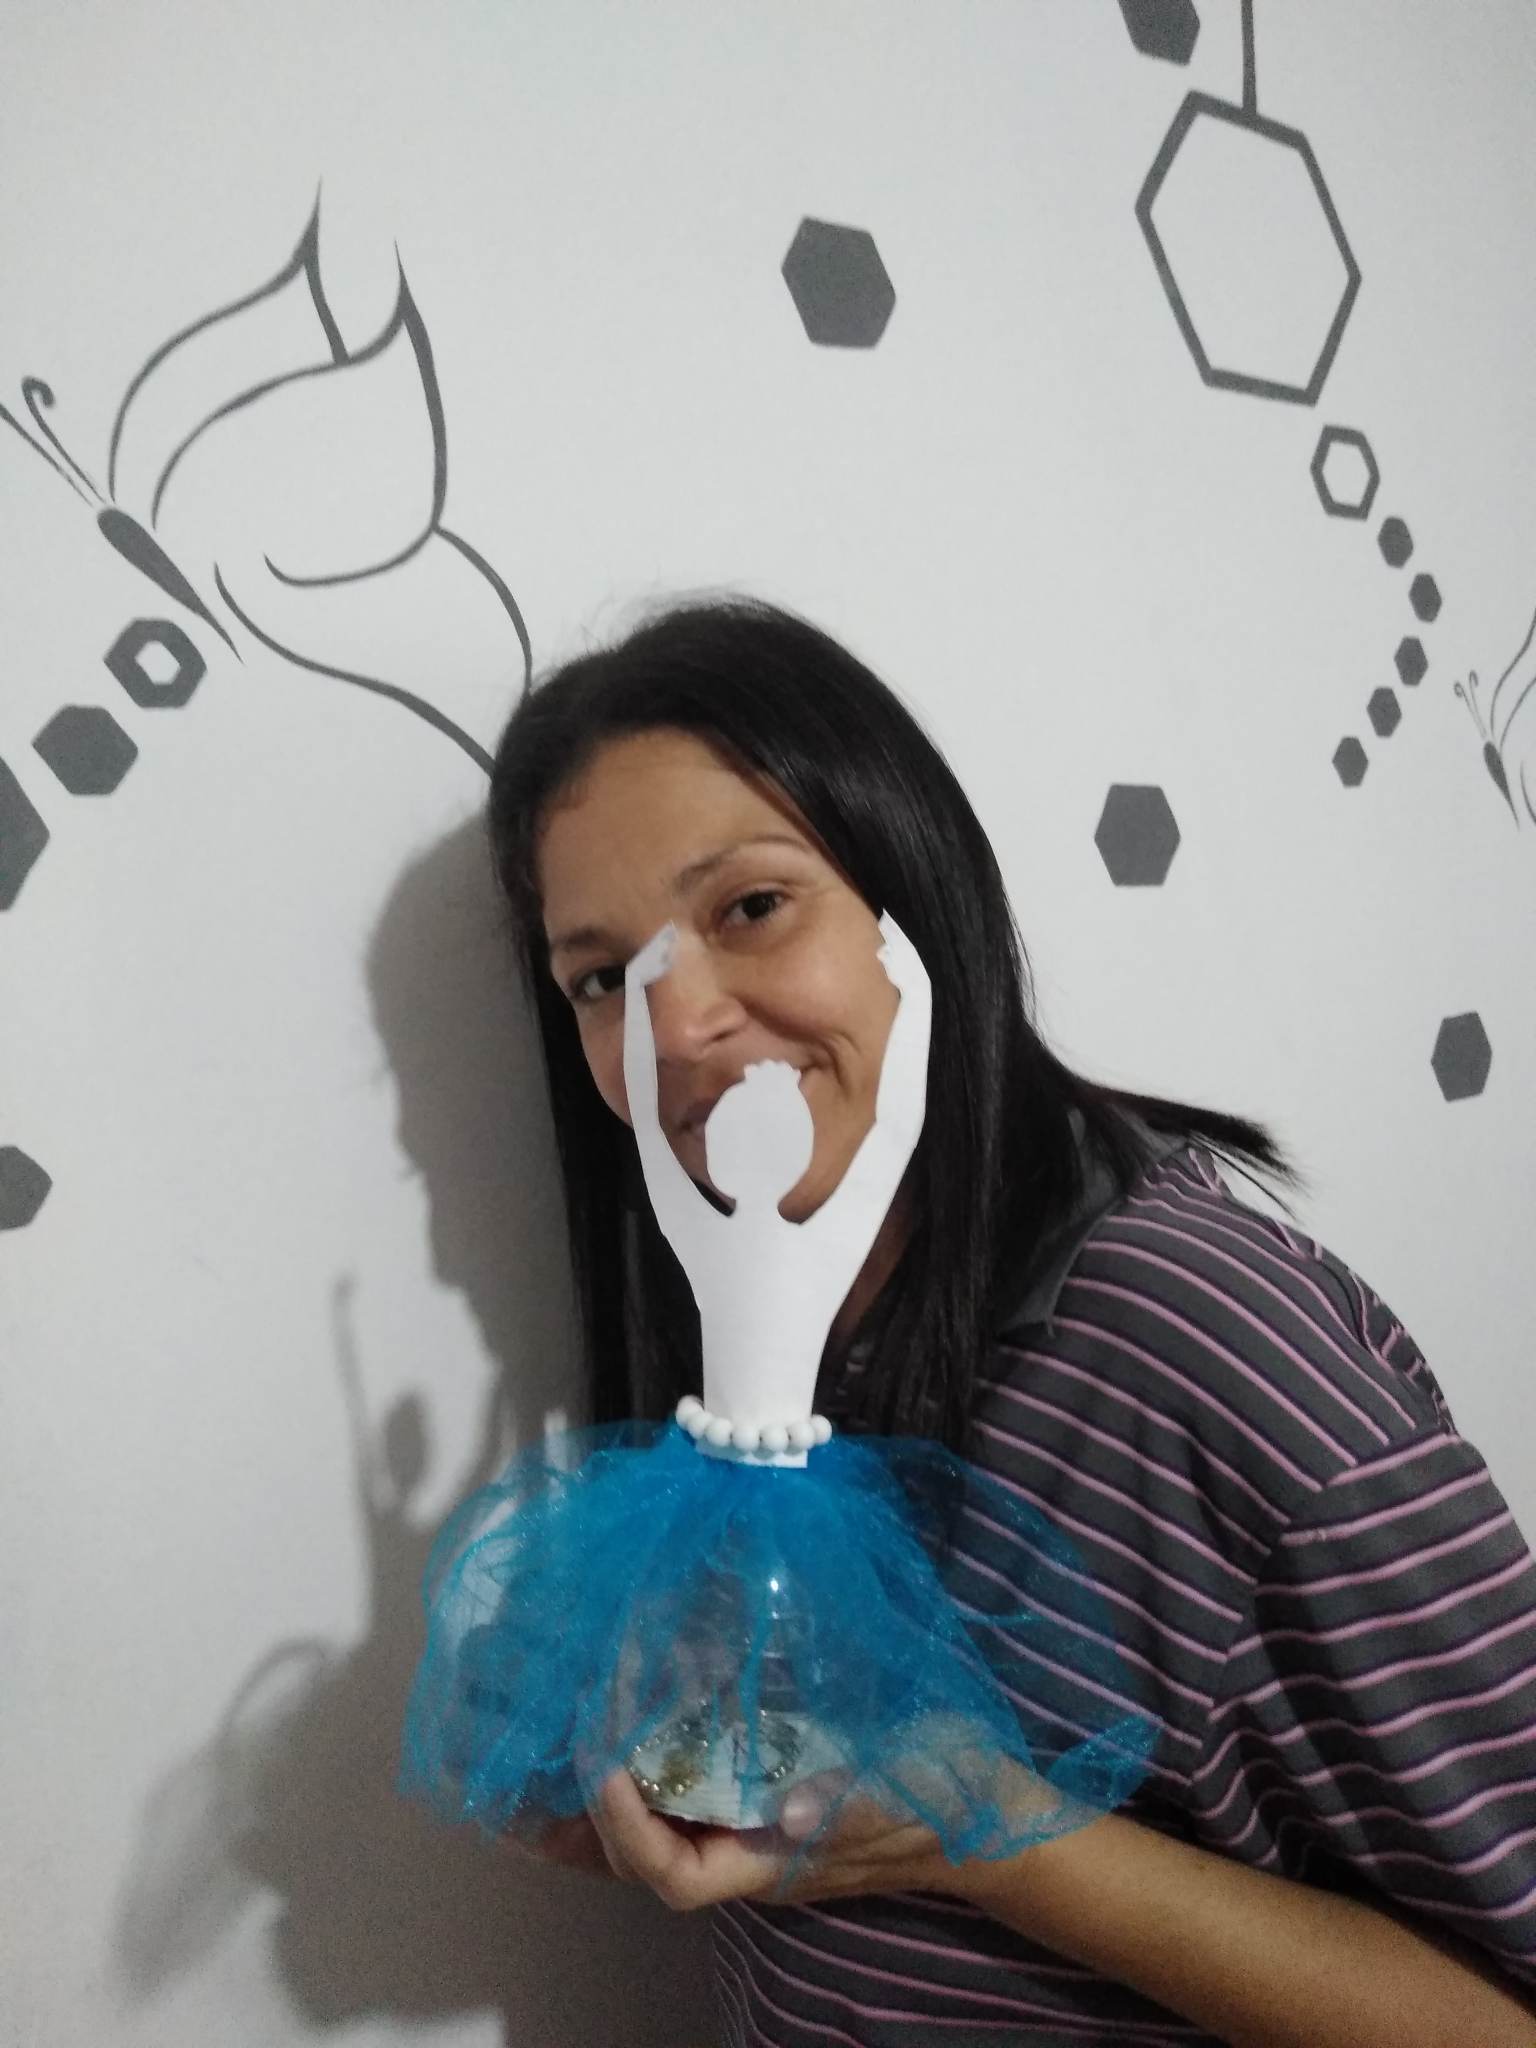
Hello friends and friends of hive, I am happy to be here with you all, welcome to my blog where today I will teach you how to make a ballerina shaped organizer, I loved the result, the truth is very practical and easy to do using materials that we have at home, I am happy with the result and I want you to see it and can do it too, so let's see the step by step.

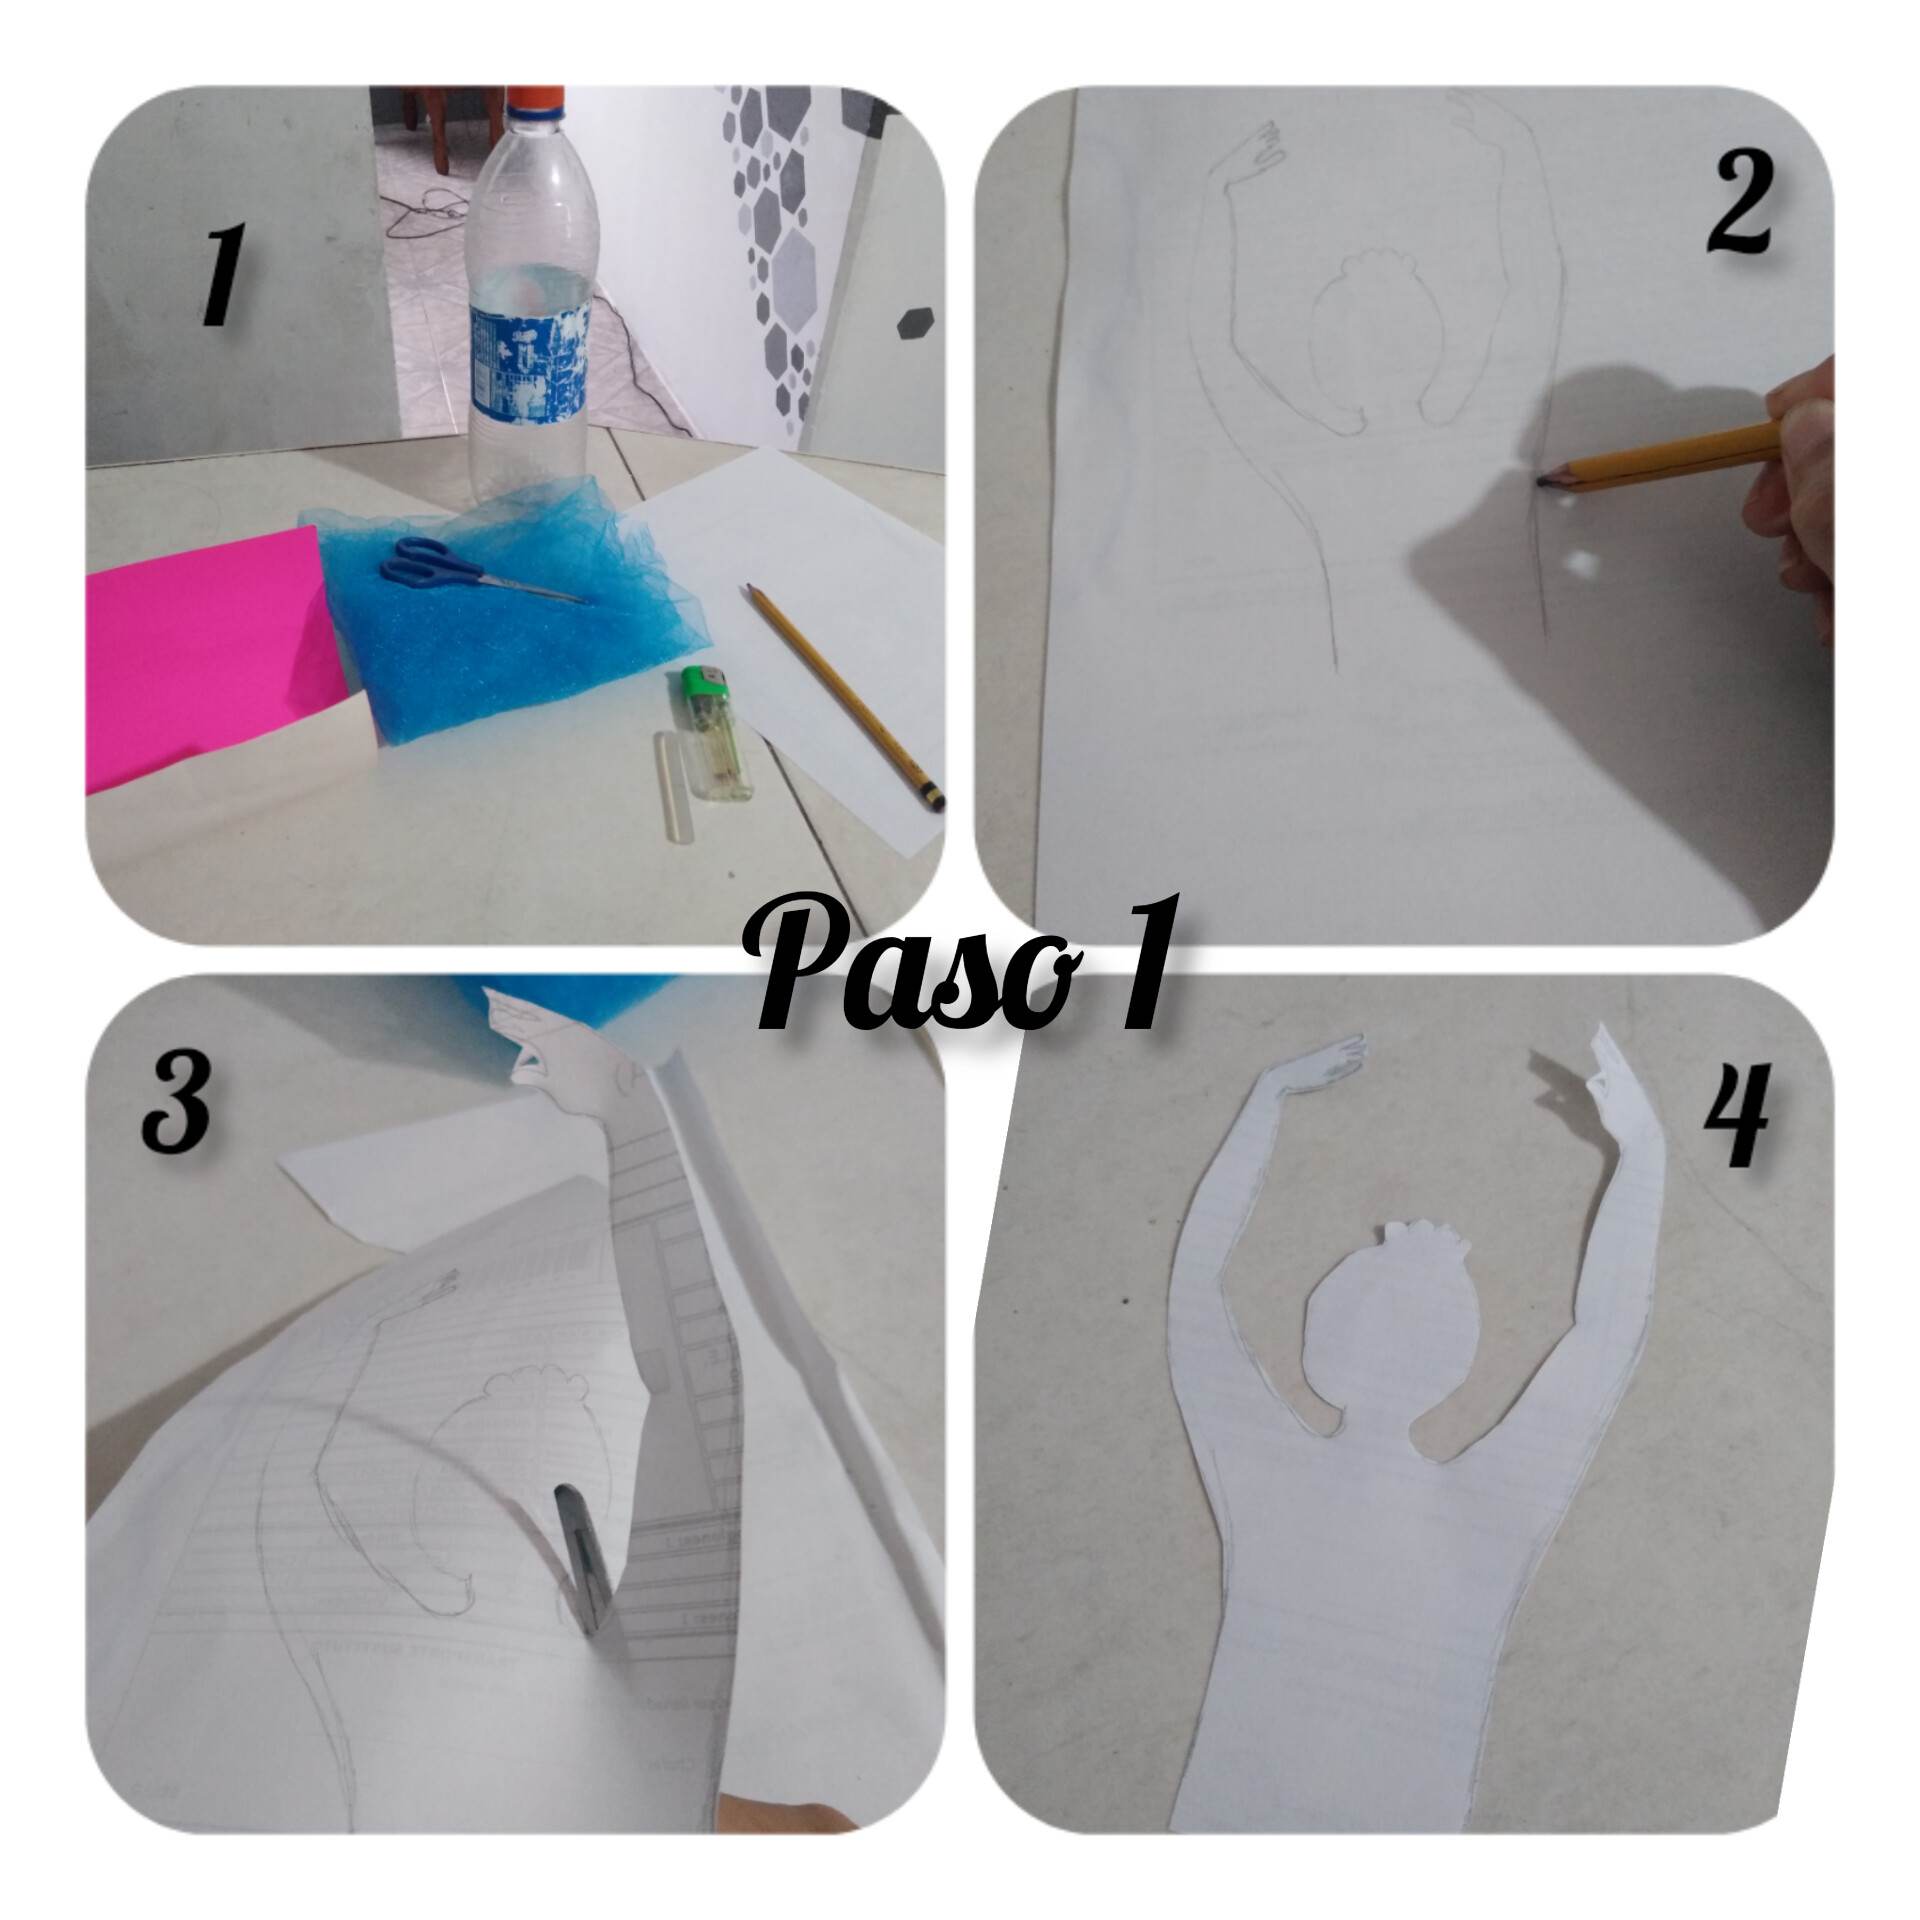
Paso 1: para comenzar a hacer nuestro organizador vamos a necesitar tela de tutú, una botella plástica de refresco de un litro, tijera, silicón, yesquero, hoja, lápiz. Lo primero que debemos hacer será dibujar la silueta de una bailarina en la hoja blanca, pero ña dibujaremos hasta la cintura ya que el cuerpo de la muñeca lo haremos con los otros materiales, dibujaremos la silueta y la recortaremos.
Step 1: to start making our organizer we will need tutu fabric, a liter plastic soda bottle, scissors, silicone, tinder, paper, pencil. The first thing to do is to draw the silhouette of a ballerina on the white sheet, but we will draw it up to the waist since the body of the doll will be made with the other materials, we will draw the silhouette and cut it out.
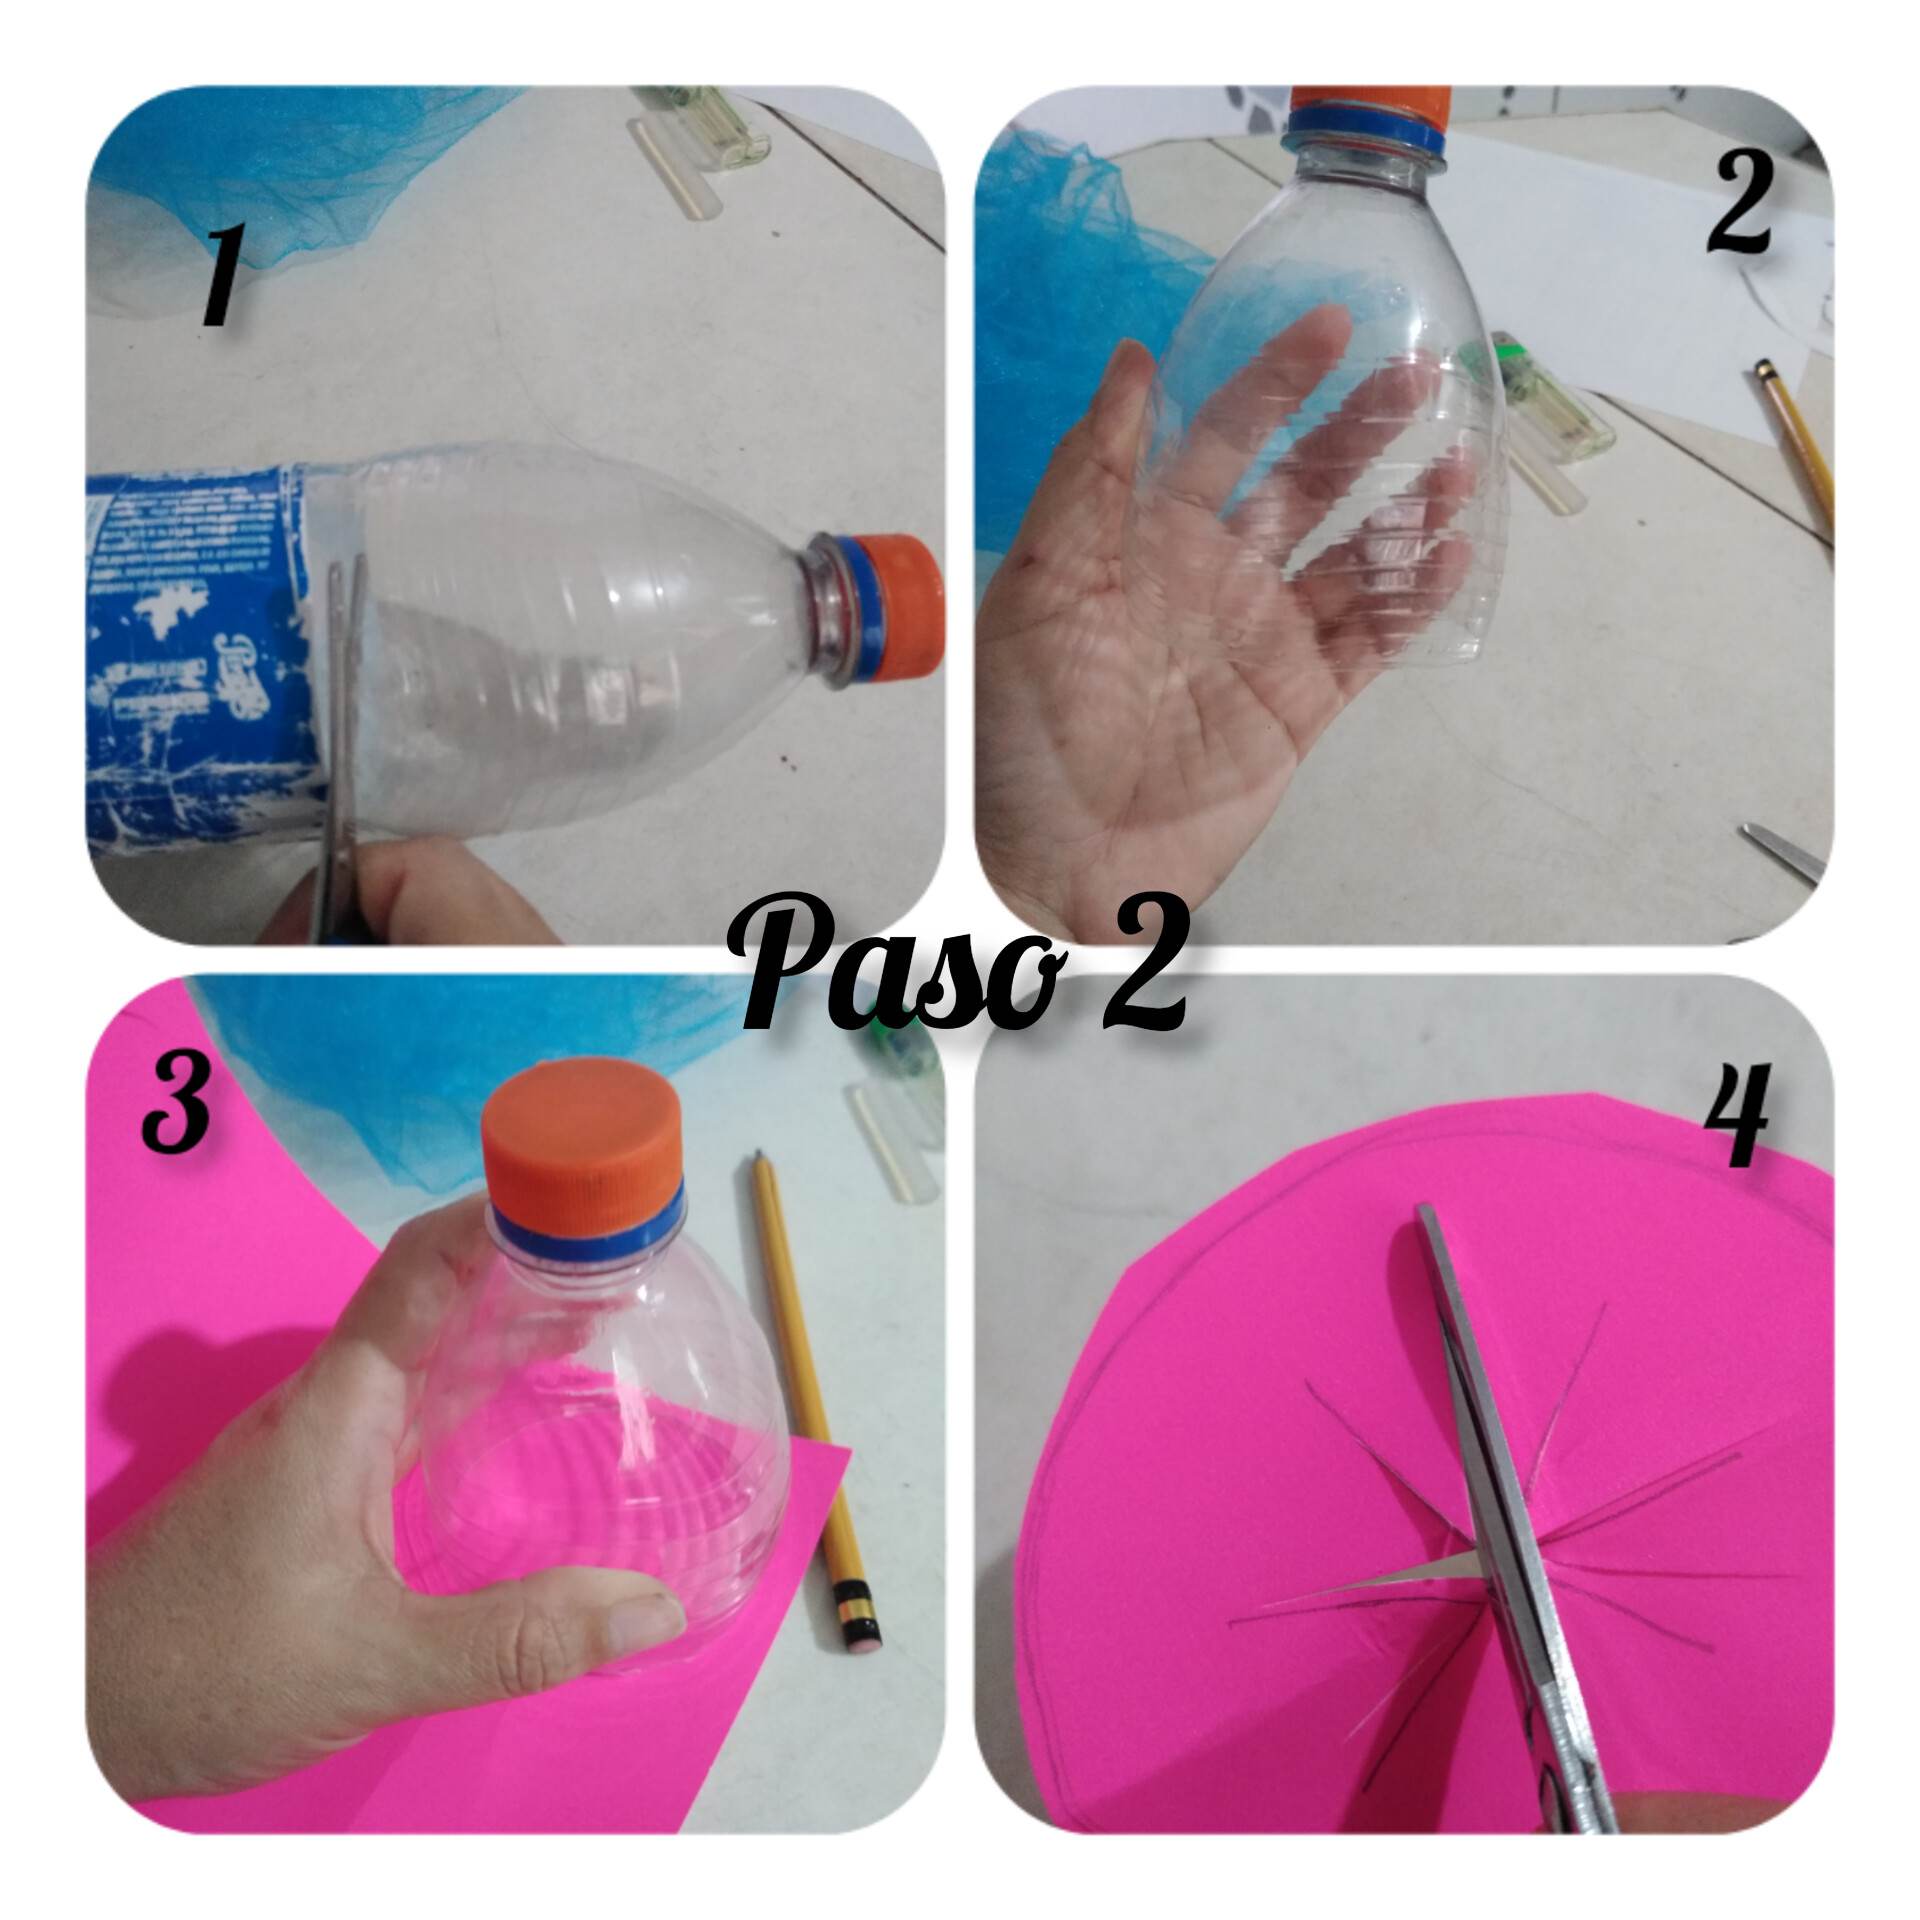
Paso 2: ahora lo que haremos será proceder a cortar cuidadosamente la botella plástica de refresco justo sobre el papel que envuelve a la botella, como pueden ver en la imagen esta pieza será la que usaremos para hacer nuestro organizador. Ahora marcaremos en una tela quirúrgica el círculo de la parte de abajo de la botella sobre la tela y la procederemos a cortar, haremos estas cortadas en el centro ya que por ahí meteremos las cosas que guardaremos dentro del organizador en forma de bailarina.
Step 2: now what we will do is proceed to carefully cut the plastic soda bottle just above the paper that wraps the bottle, as you can see in the image this piece will be the one we will use to make our organizer. Now we will mark the circle of the bottom of the bottle on the fabric and proceed to cut it, we will make these cuts in the center because we will put the things that we will keep inside the organizer in the shape of a ballerina.
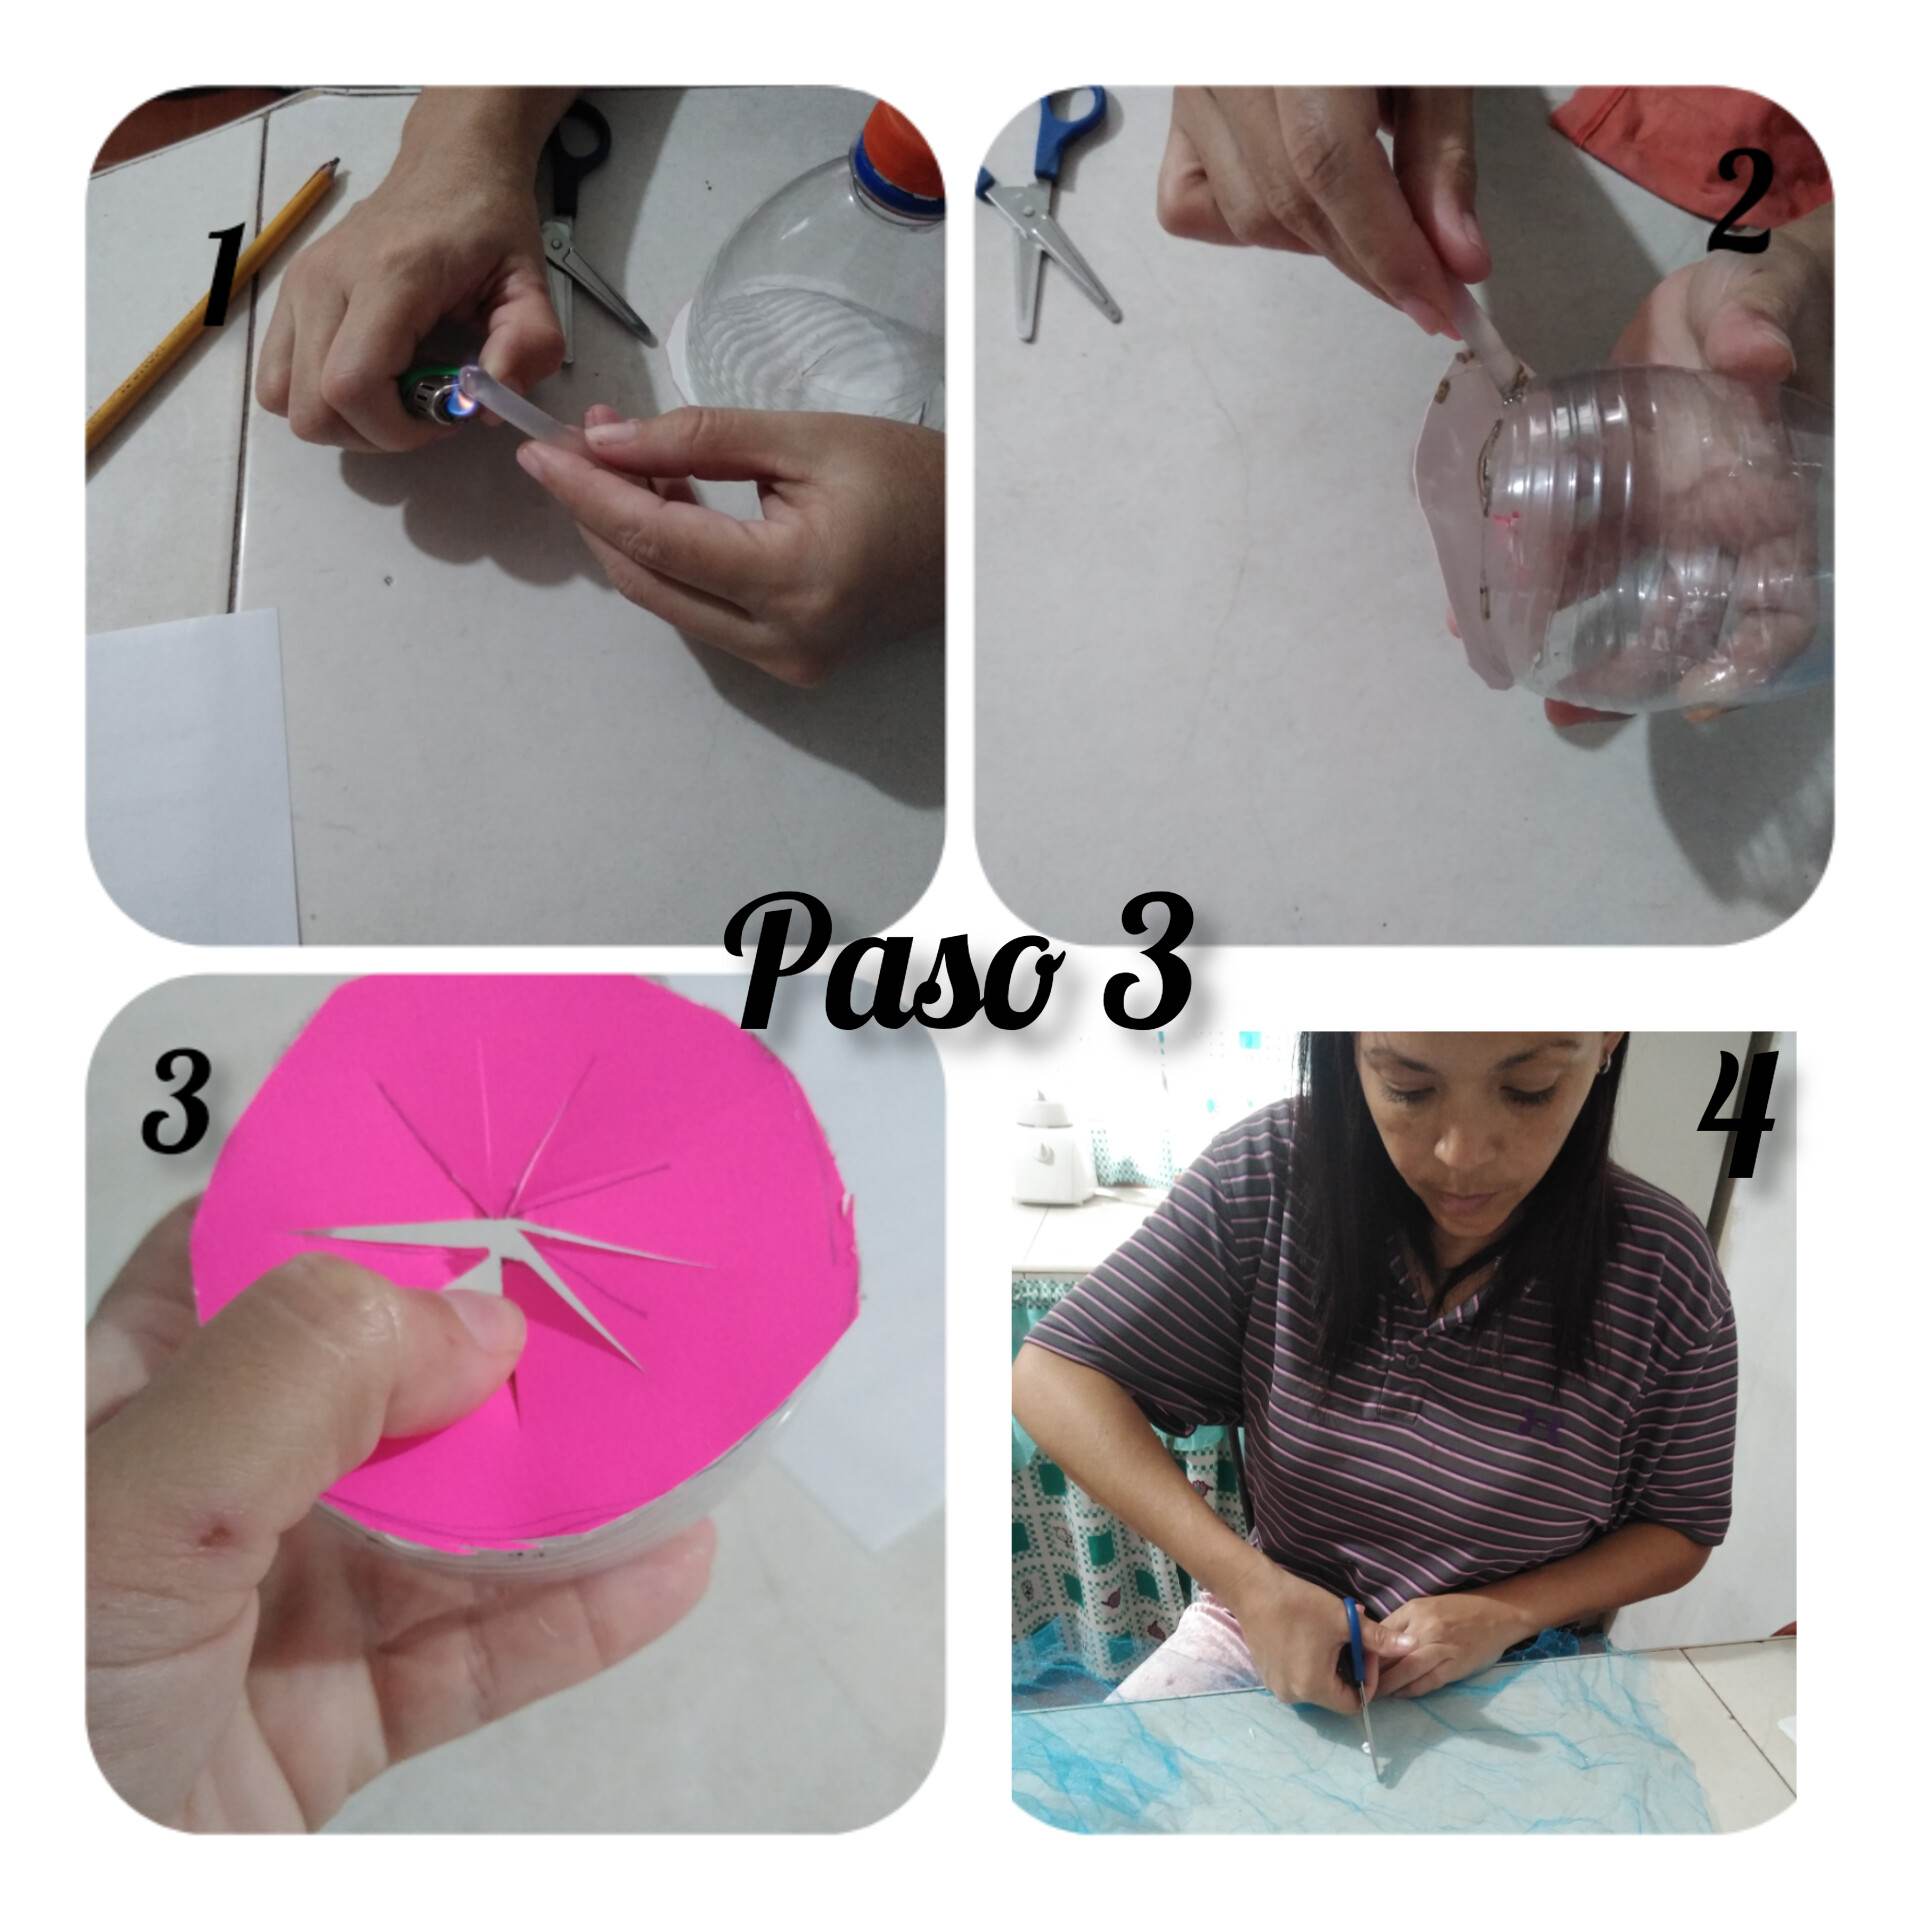
Paso 3: lo que procederemos ahora a hacer será pegar la pieza fucsia que cortamos en la parte de abajo de la botella plástica, la pegaremos como lo muestra la imagen. Luego lo que haremos será cortar el tutu de la bailarina.
Step 3: what we will proceed to do now is to glue the fuchsia piece that we cut on the bottom of the plastic bottle, we will glue it as shown in the image. Then we will cut the ballerina's tutu.
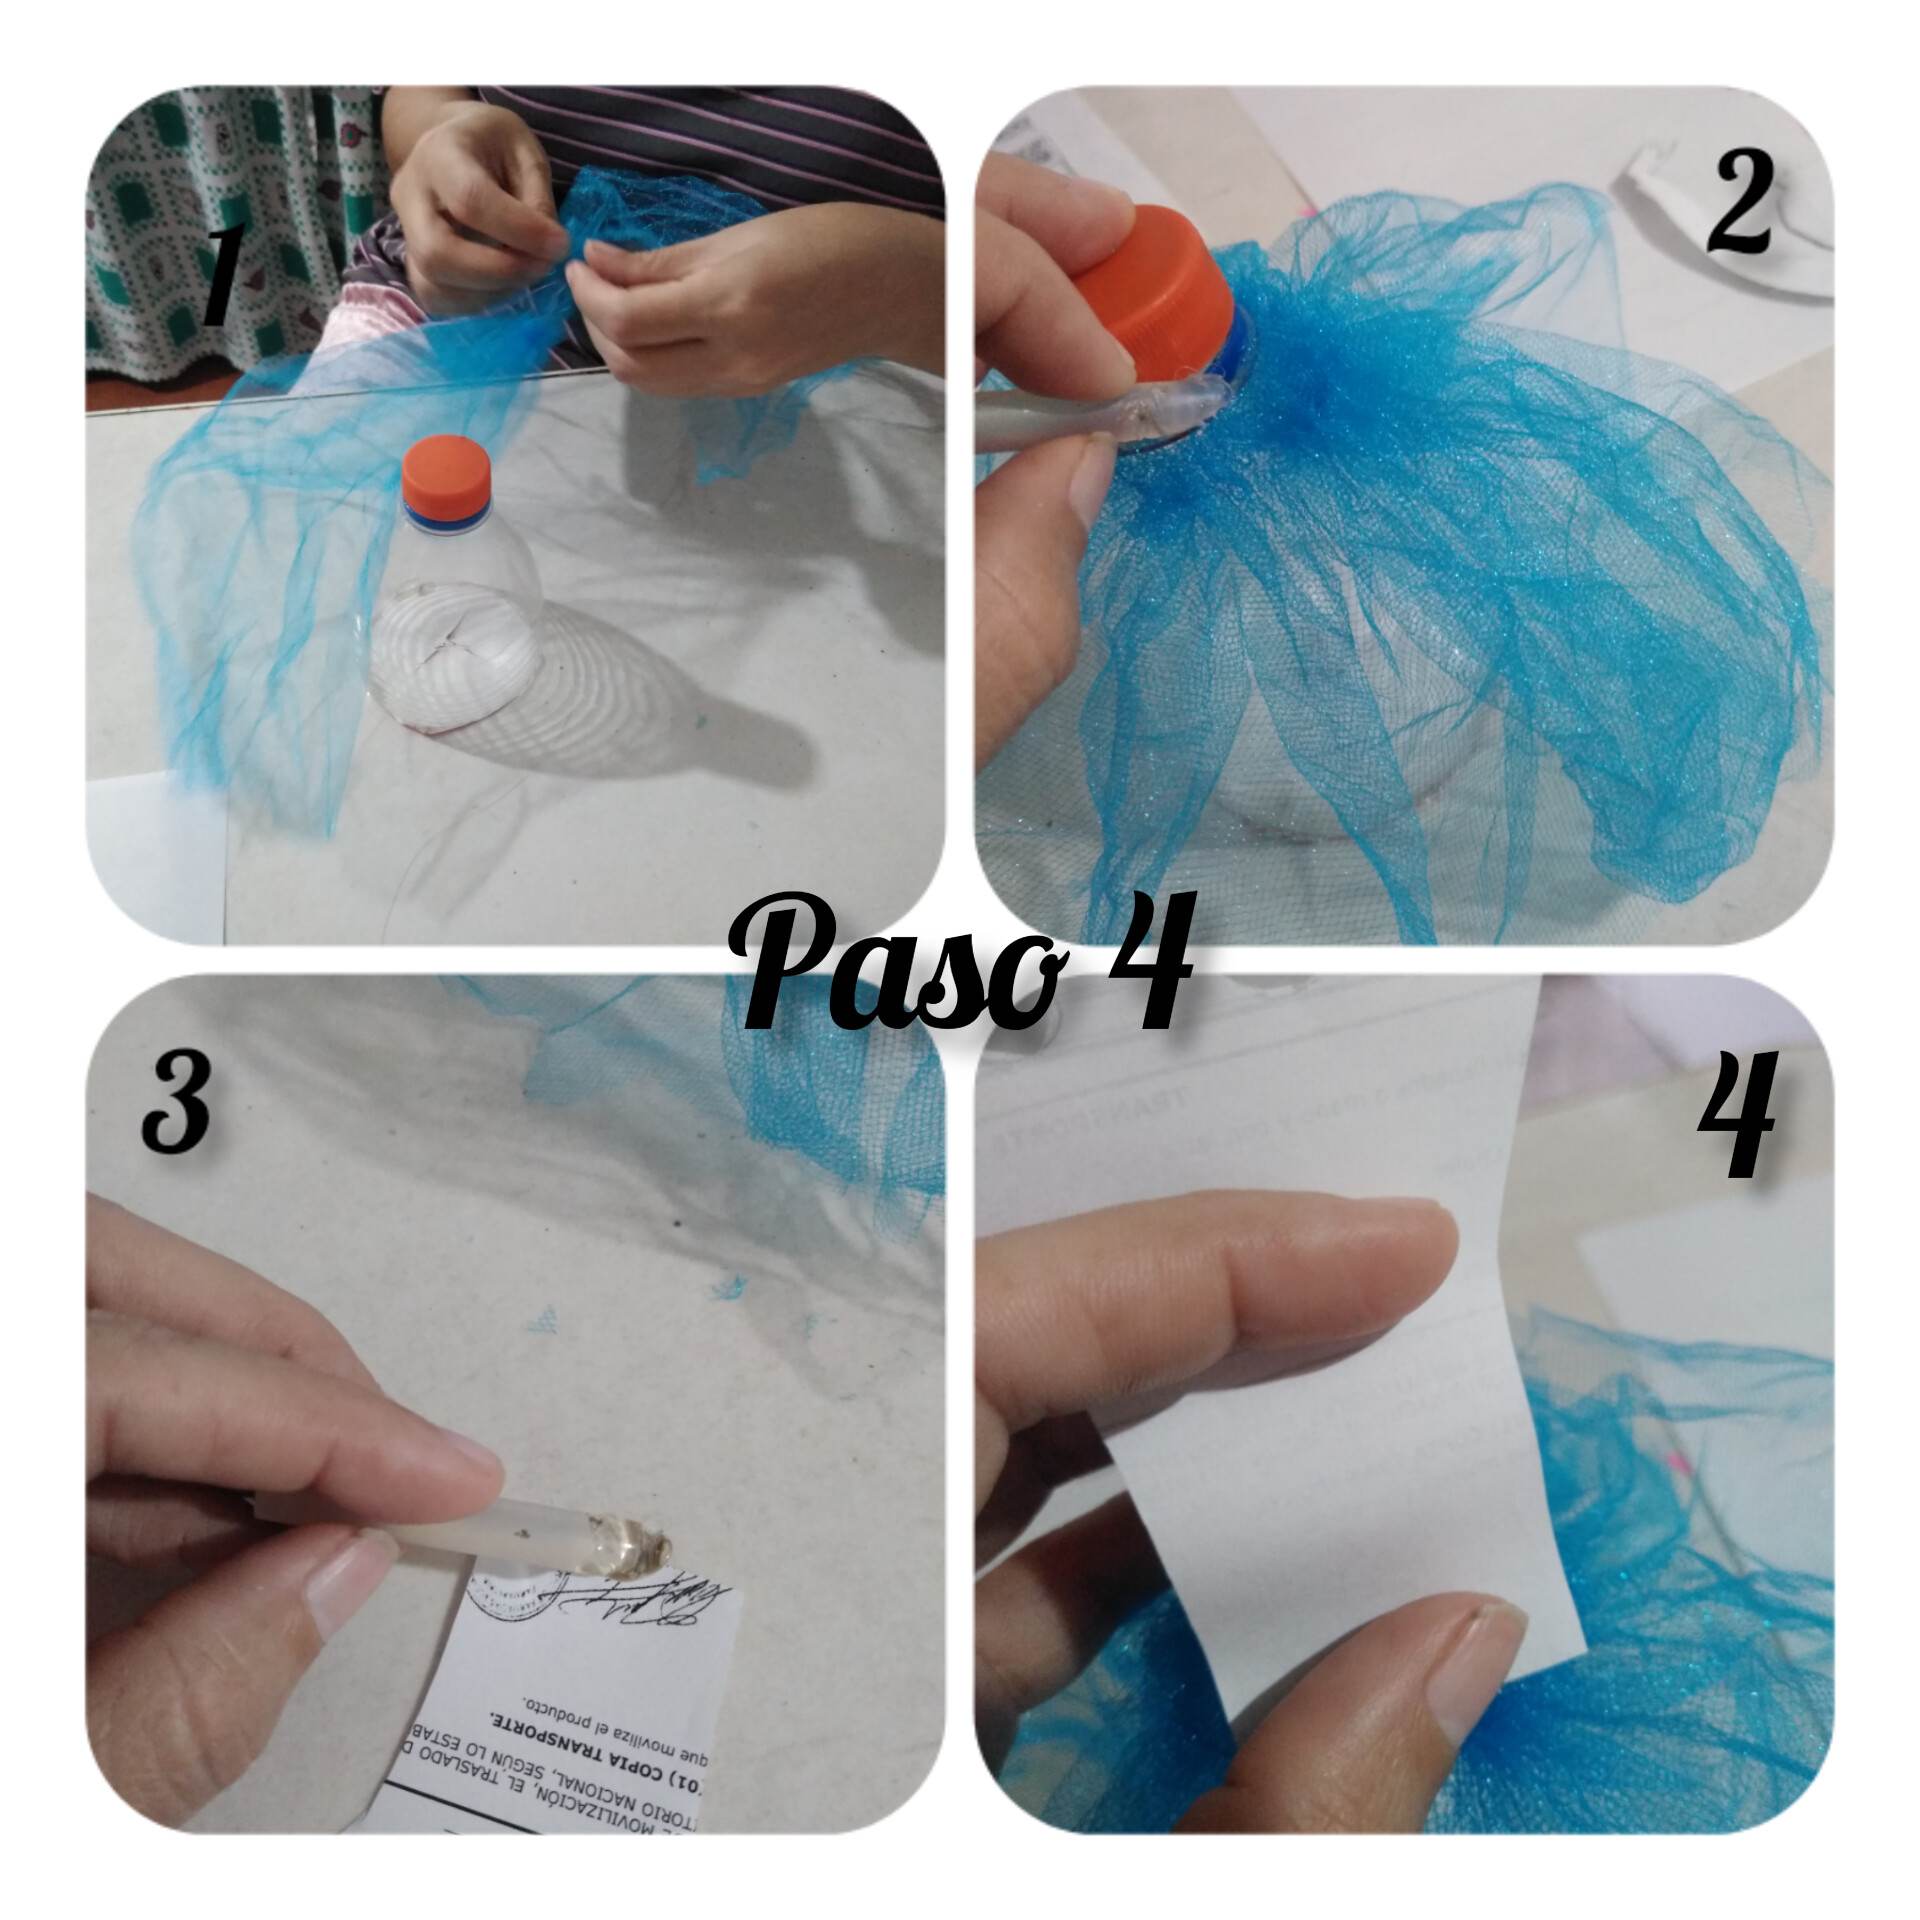
Paso 4: Comenzaremos a cortar el tutu de la bailarina, o que haremos será cortar una tira rectangular larga la cual procederemos a arruchar hacia la punta de la botella e iremos pegando con silicón, pegamos muy bien y arruchamos bien ya que es necesario que la tela envuelva la tapa de refresco procurando un gran acabado, ahora pegamos la silueta de la muñeca o bailarina a la tapa.
Step 4: We will begin to cut the tutu of the ballerina, or we will cut a long rectangular strip which we will proceed to wrinkle towards the tip of the bottle and we will glue with silicone, we glue very well and wrinkle well because it is necessary that the fabric wraps the soda cap ensuring a great finish, now we glue the silhouette of the doll or ballerina to the cap.
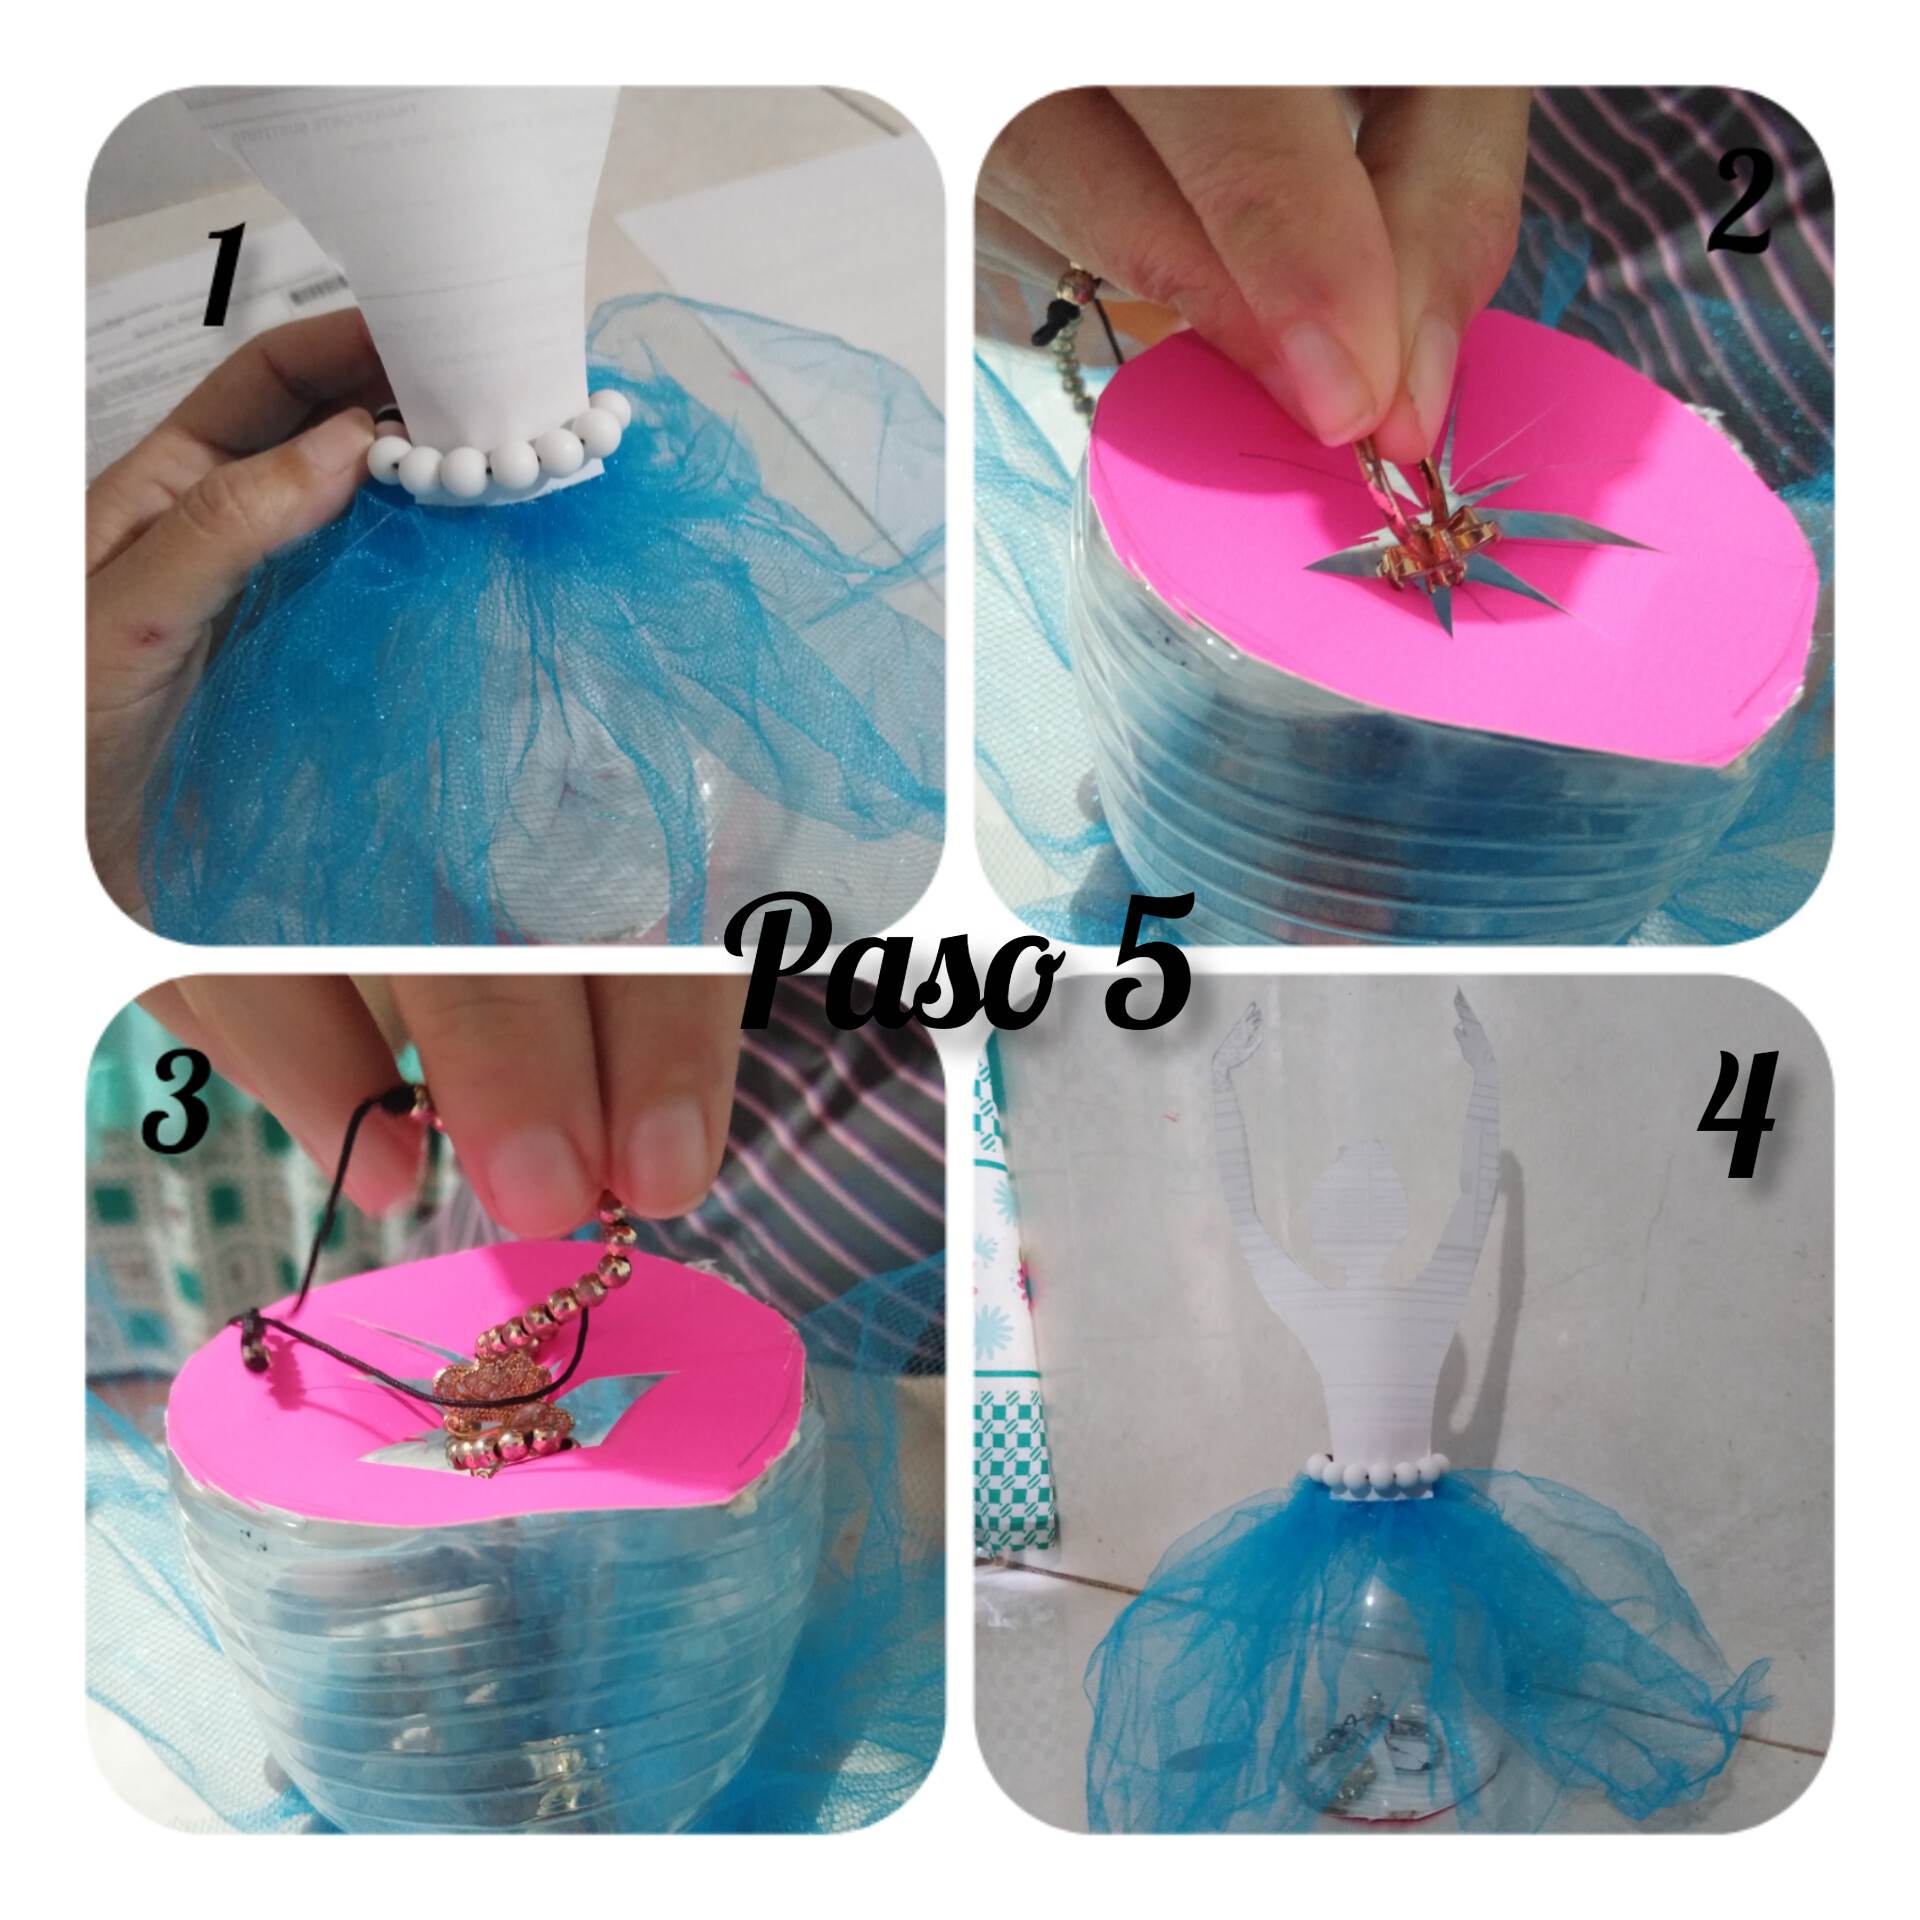
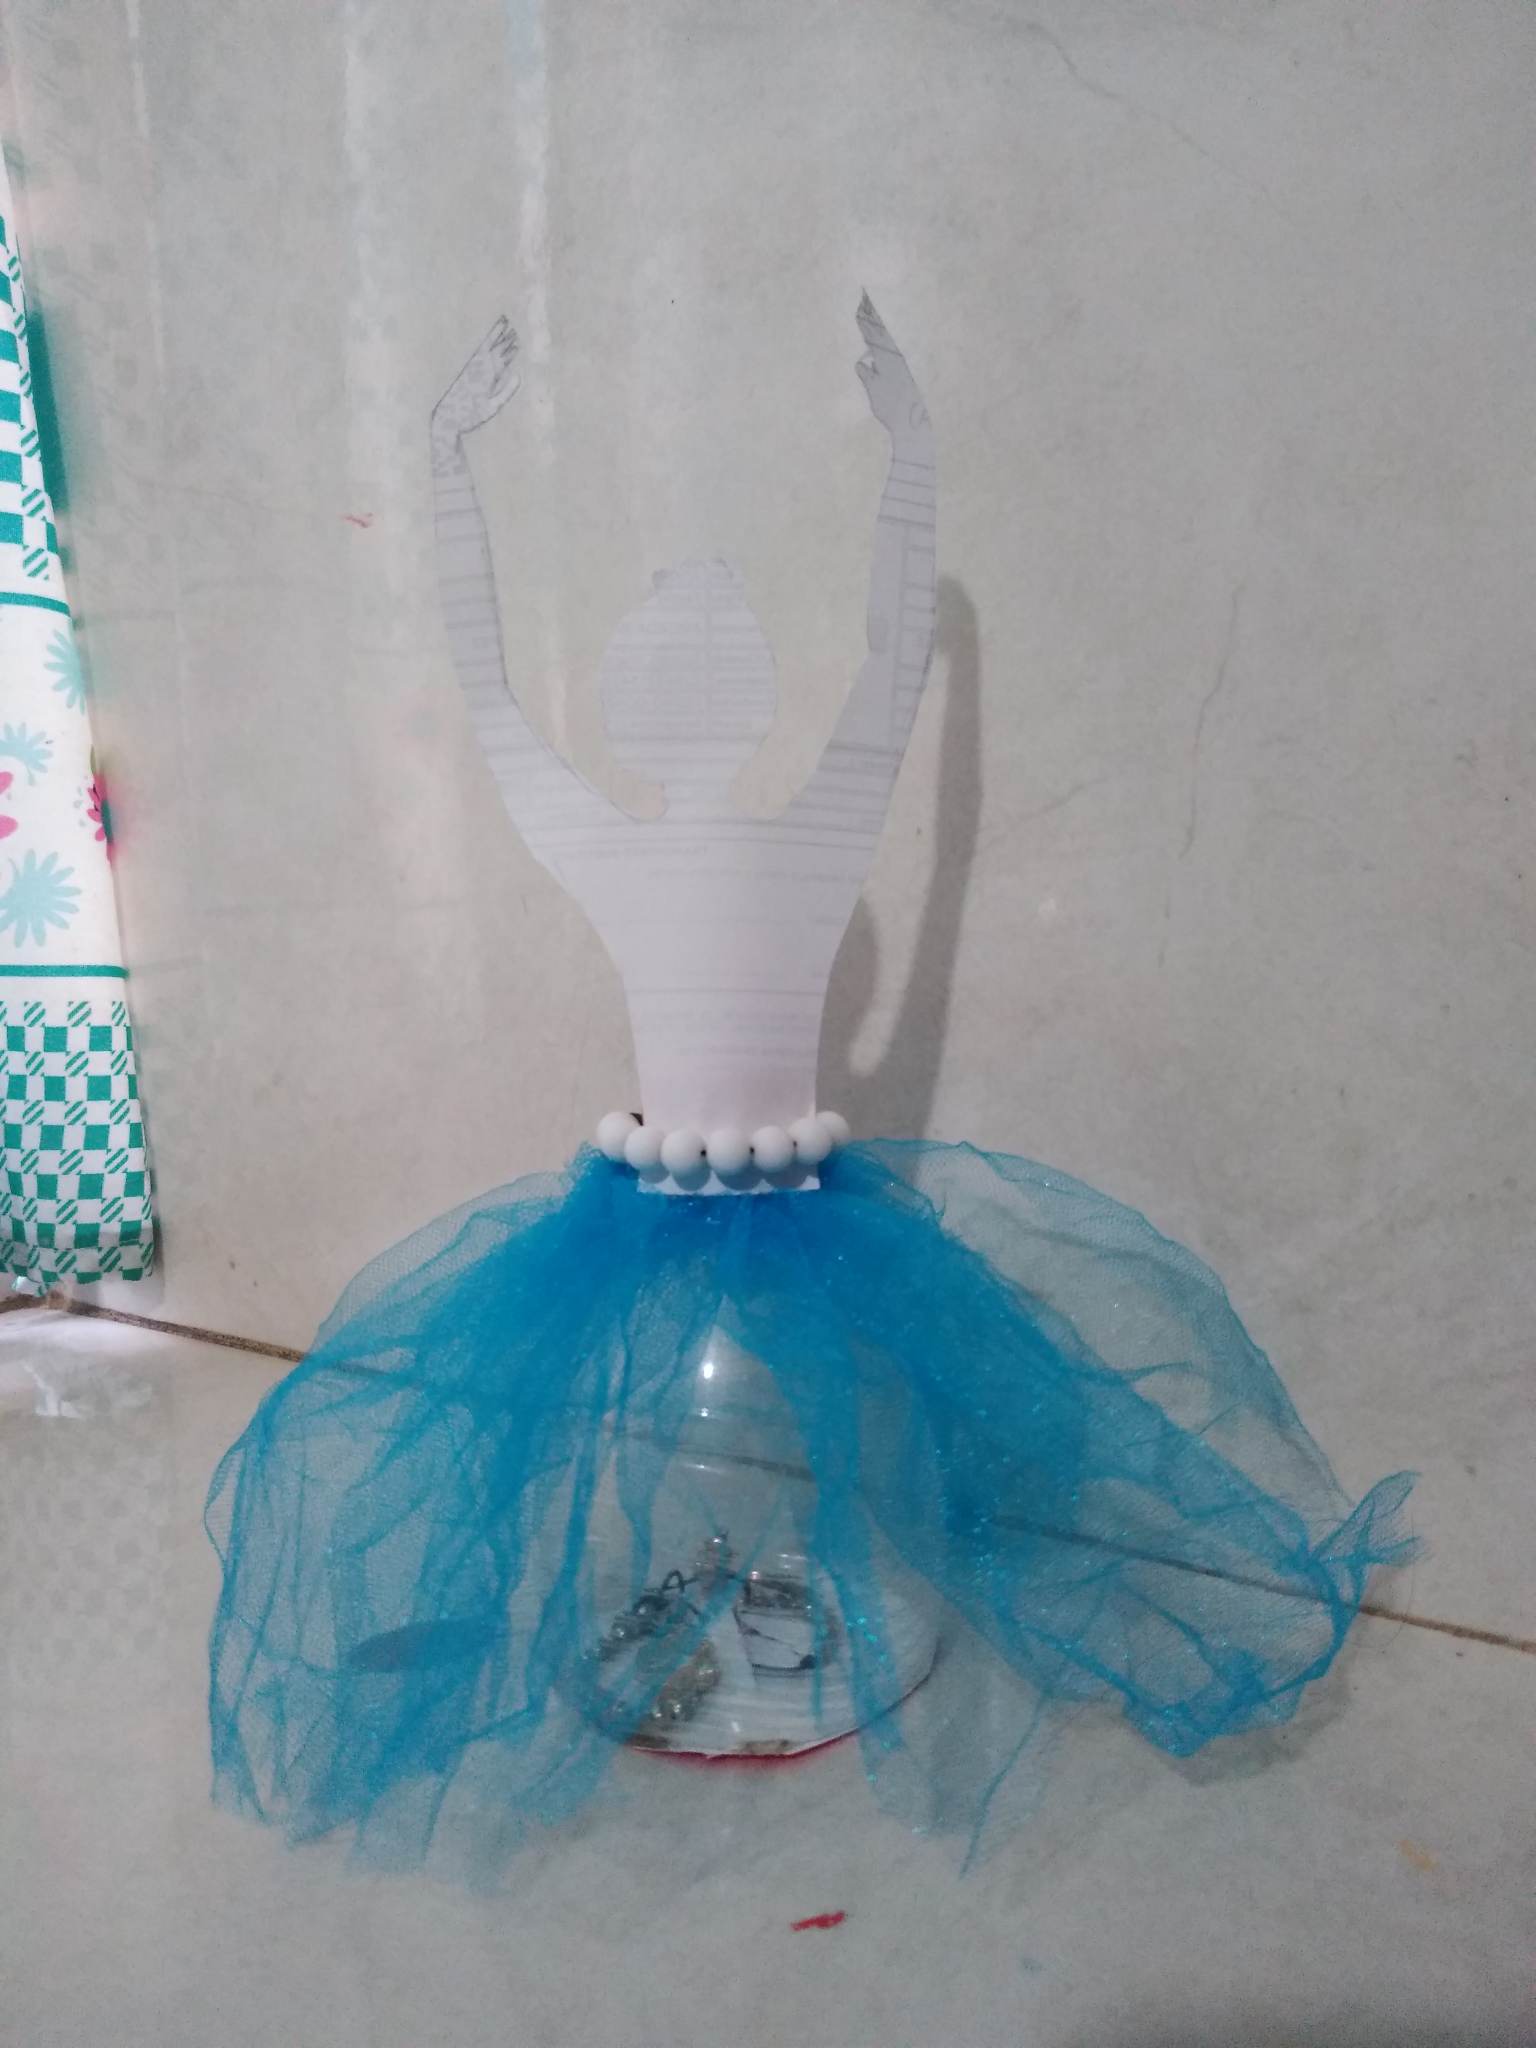
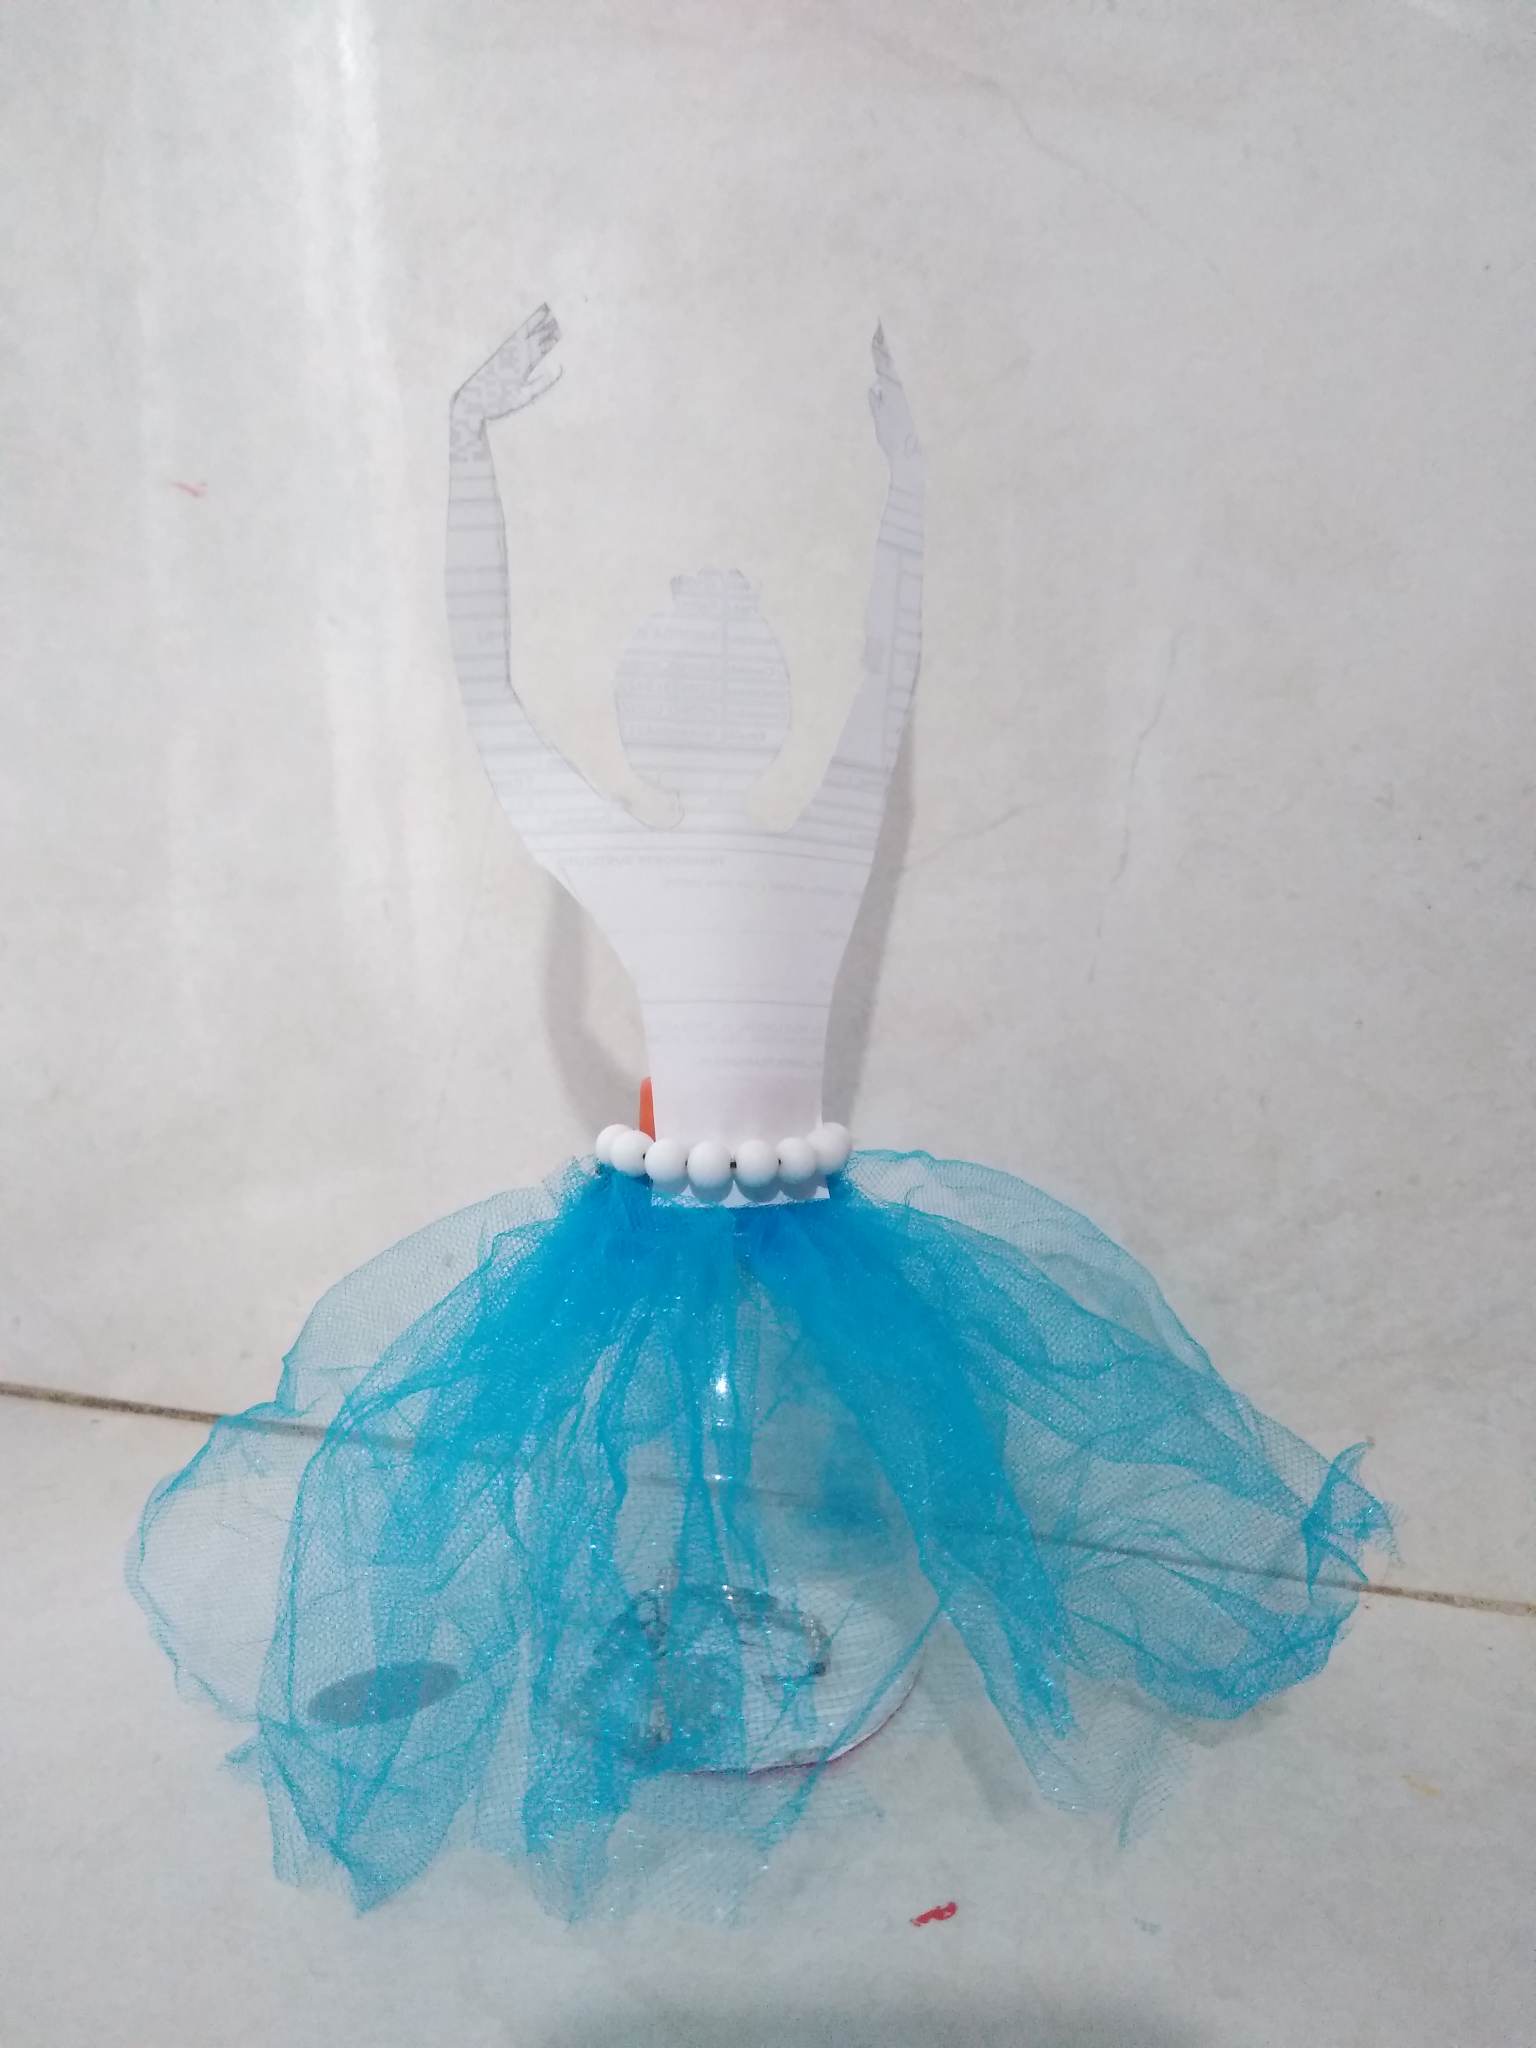
Paso 5: pegamos la silueta y colocaremos algunas piedras alrededor de la cintura de la bailarina para darle un toque lindo. Ahora procederemos a buscar las cositas personales que guardaremos en nuestro bello organizador, la verdad es que se ve muy bello y de esta manera culminamos esta maravillosa creación.
Step 5: Glue the silhouette and place some stones around the ballerina's waist to give it a nice touch. Now we will proceed to look for the little personal things that we will keep in our beautiful organizer, the truth is that it looks very beautiful and in this way we finish this wonderful creation.
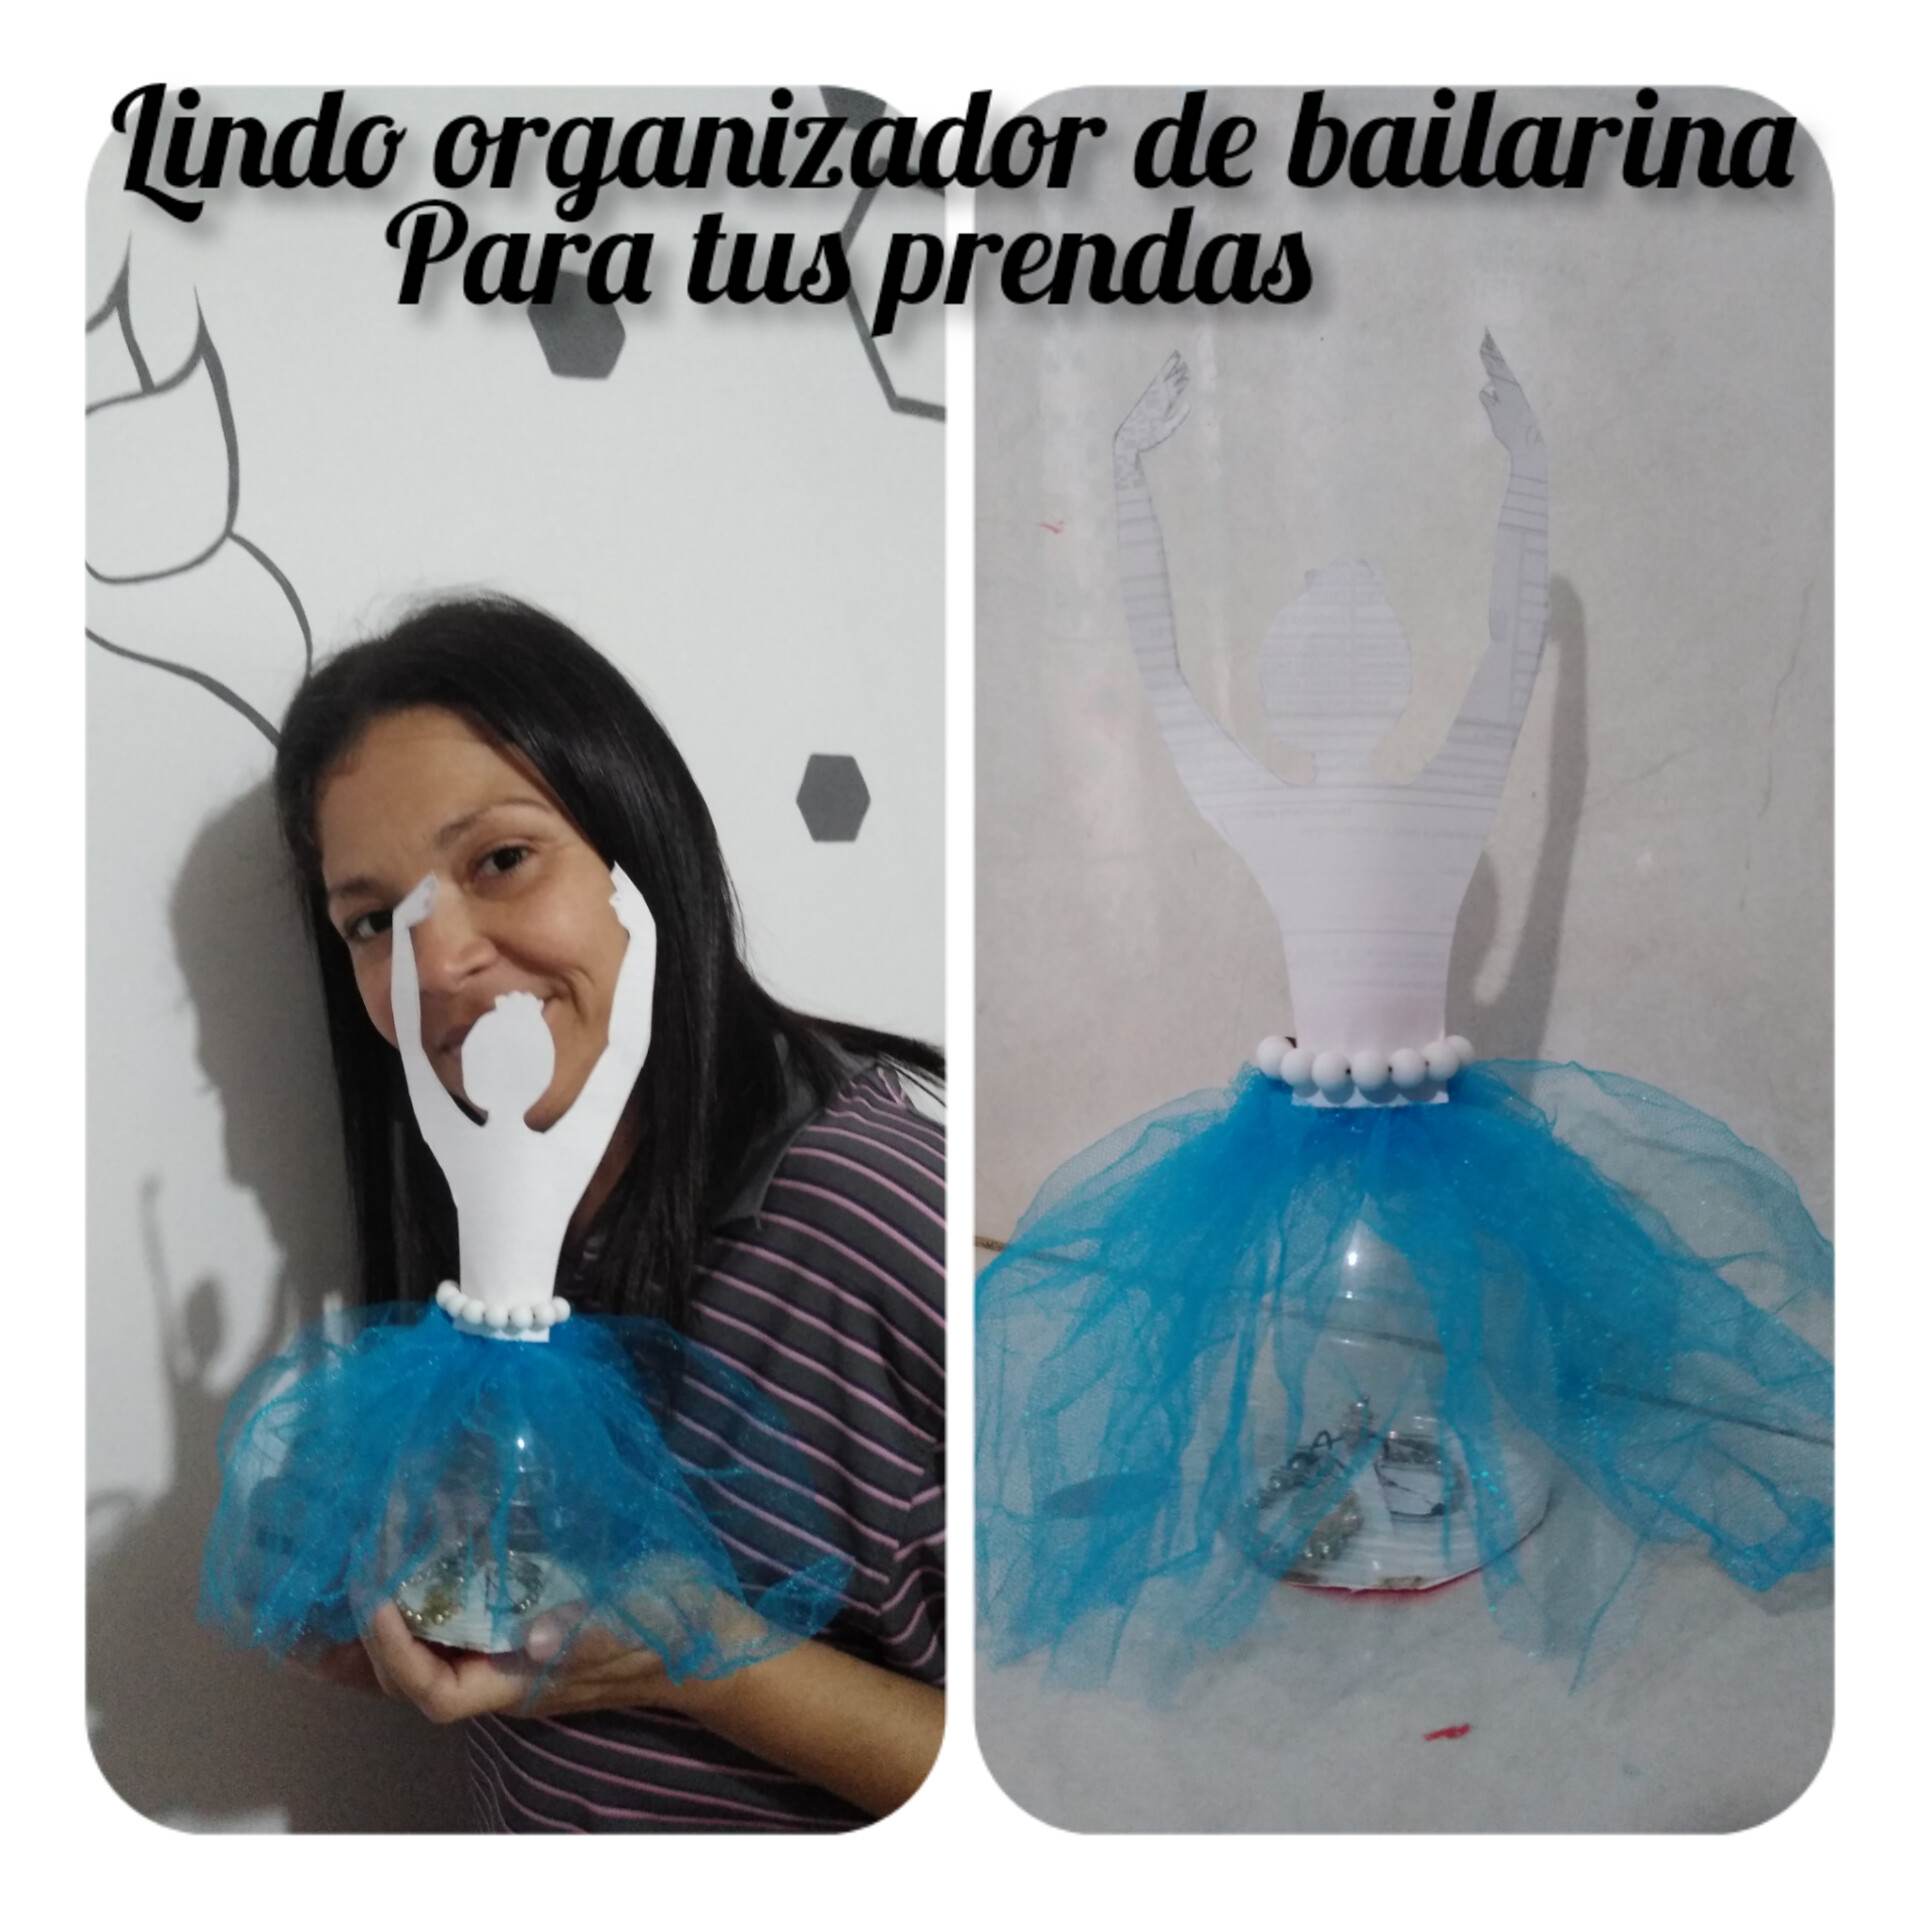
Final Result.