Hello beautiful people
Greetings to you all on this beautiful day, I hope you are having a good time out there, it's so nice to be here today with my beautiful design of a boxy pouch I made for my friend, this is one of the design I love so much from the pouches I've made so far, well I have made beautiful ones but I can tell that this particular one is lovely.
Recently, I made a boxy pouch very similar to this for my sewing thread as they are lying carelessly and untidy, so I decided to make a pouch where I can keep them safe and tidy for easy access whenever I'm in need of them though that was not as beautiful as this one I made but after the making of the pouch, it serve the purpose for which it was made, which was beautiful as I intended, my friend saw it and demanded for same design but smaller I asked what she needed it for and she said it's for her little simple makeup items, then I thought to myself, this can actually be made for different purposes, some can actually decide to put other items in it just as they desired, without wasting much time, let me take you through the process of making this simple and beautiful boxy pouch I made for my friend.
Let's get started with the cutting and sewing process.
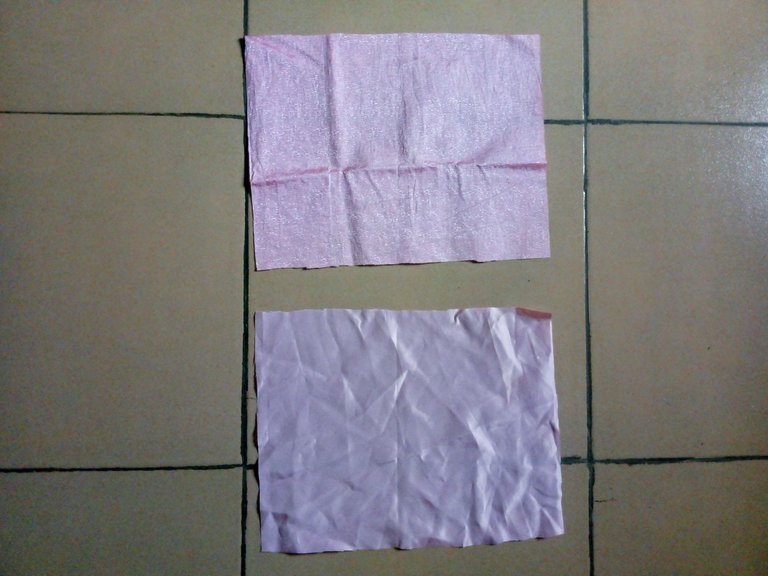
From the left over fabric i used for a tote bag, I measured 13 x 10.5" and the same was repeated on the lining I intend to use.
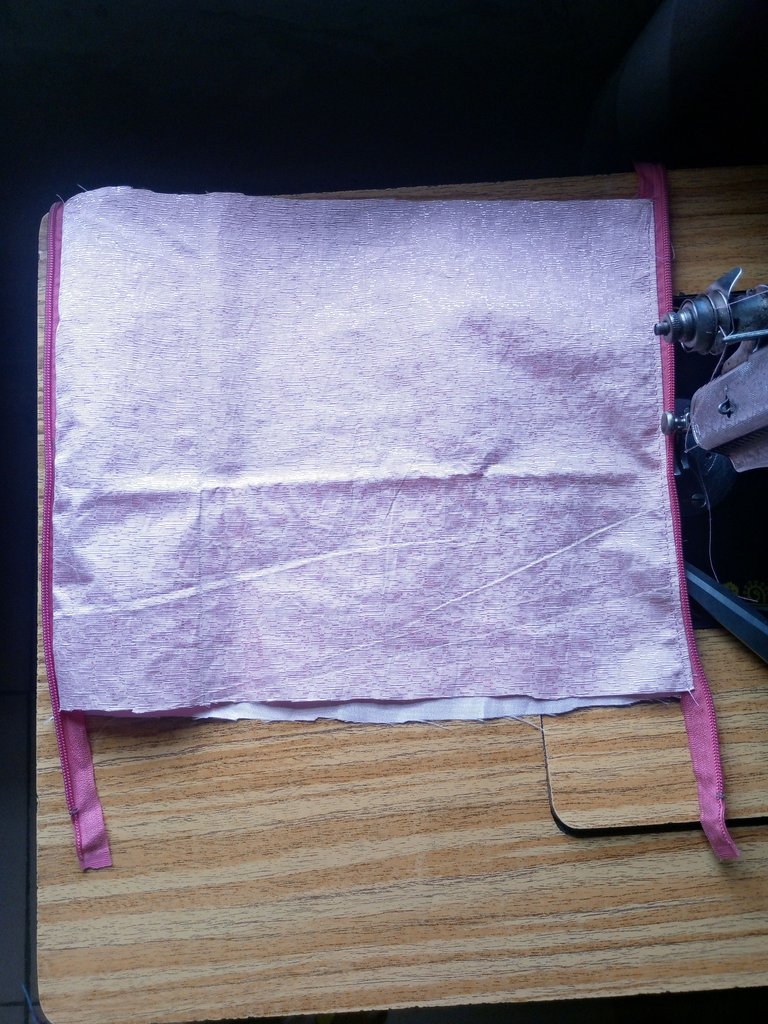
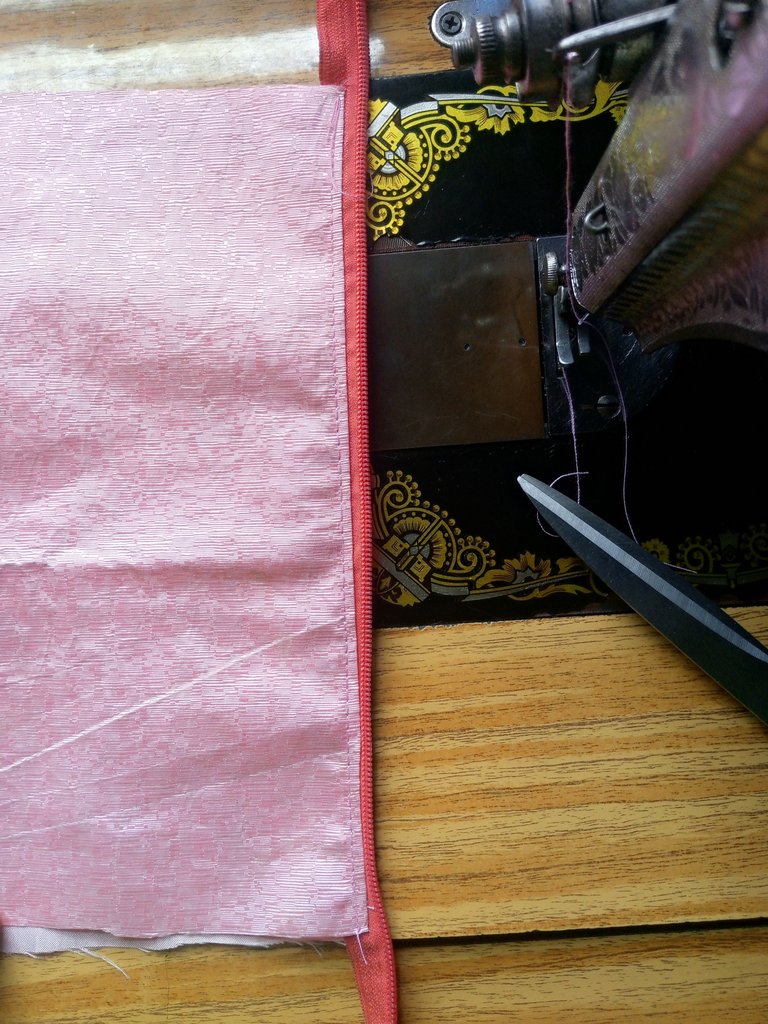
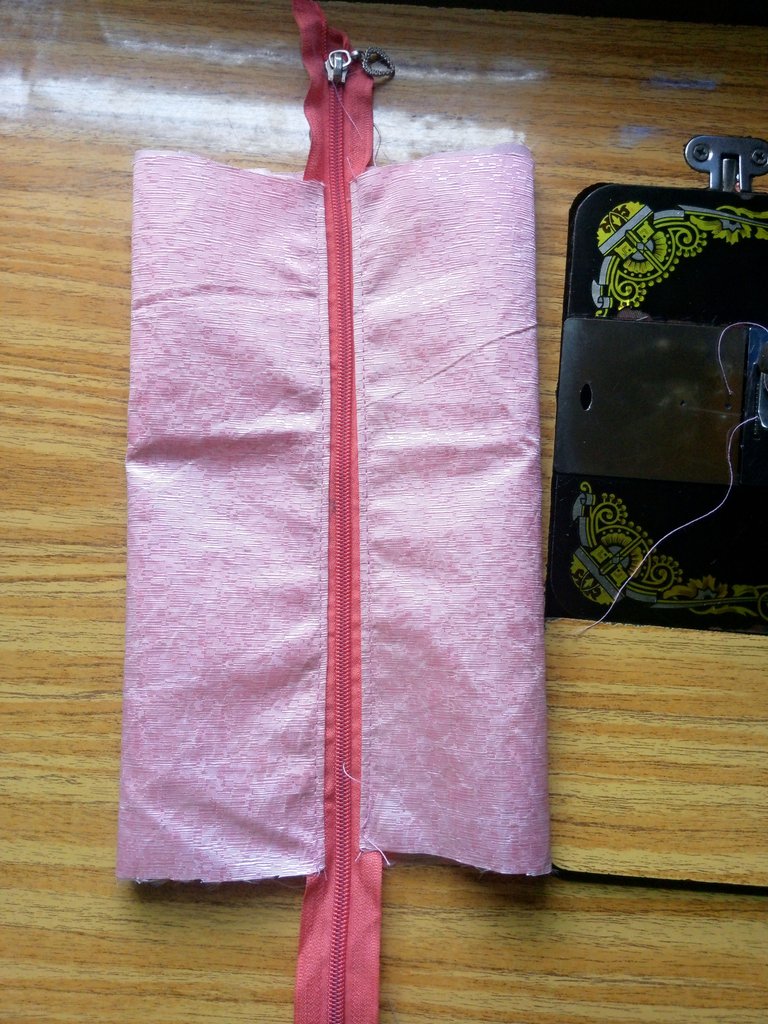
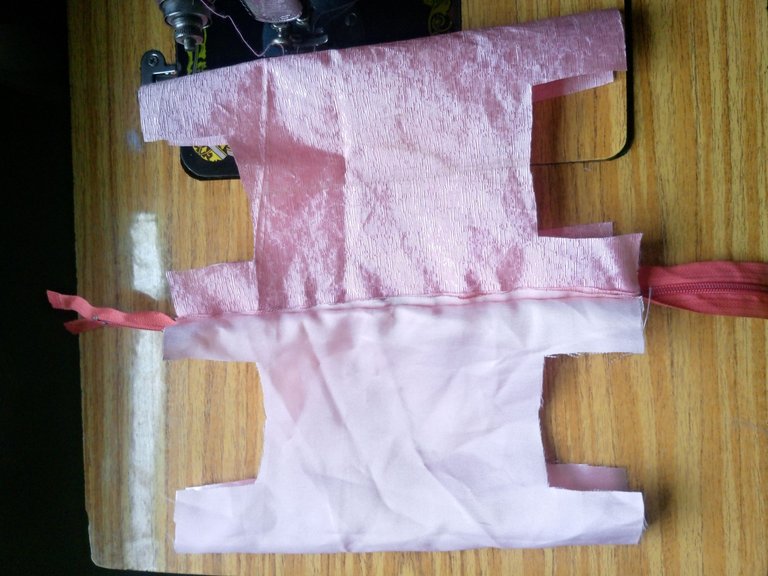
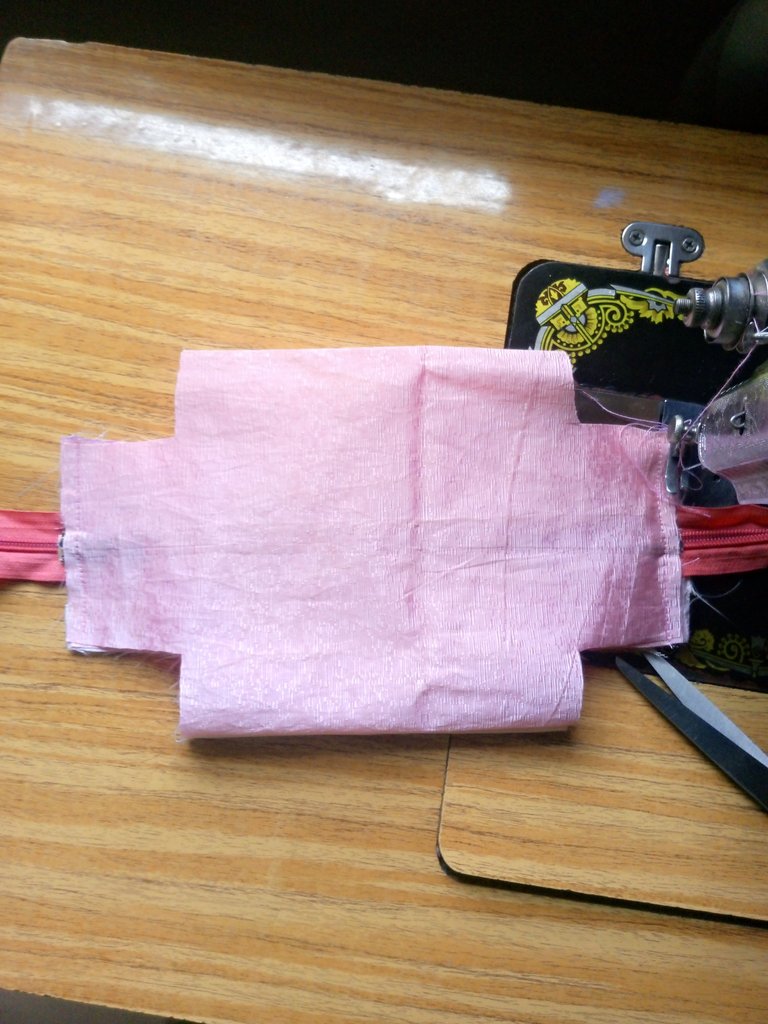
Then I placed my zipper facing down on the main fabric while I placed the lining on the zipper and it was sewn, the same was repeated on the other side and I top stitch on but sides.
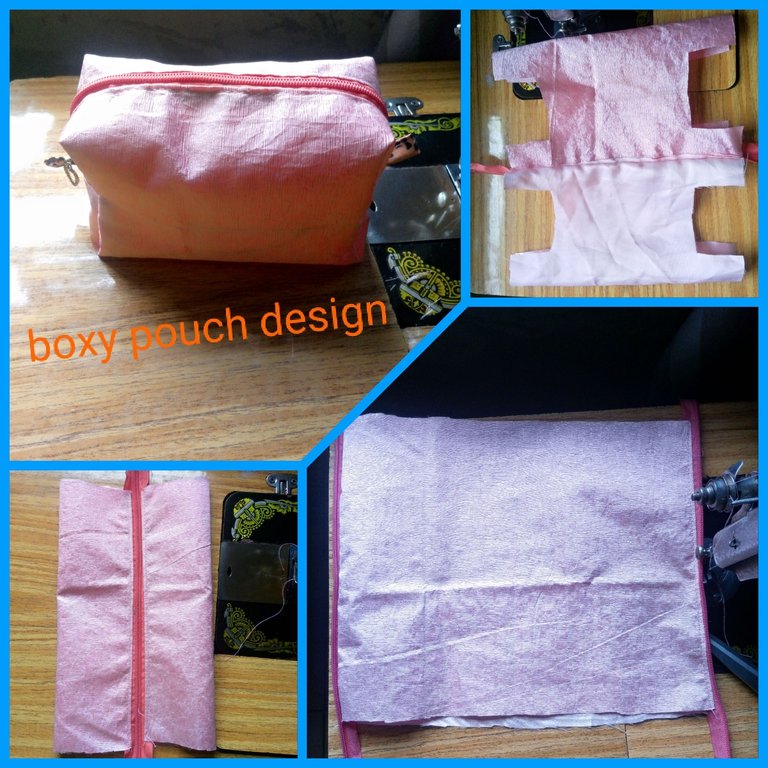
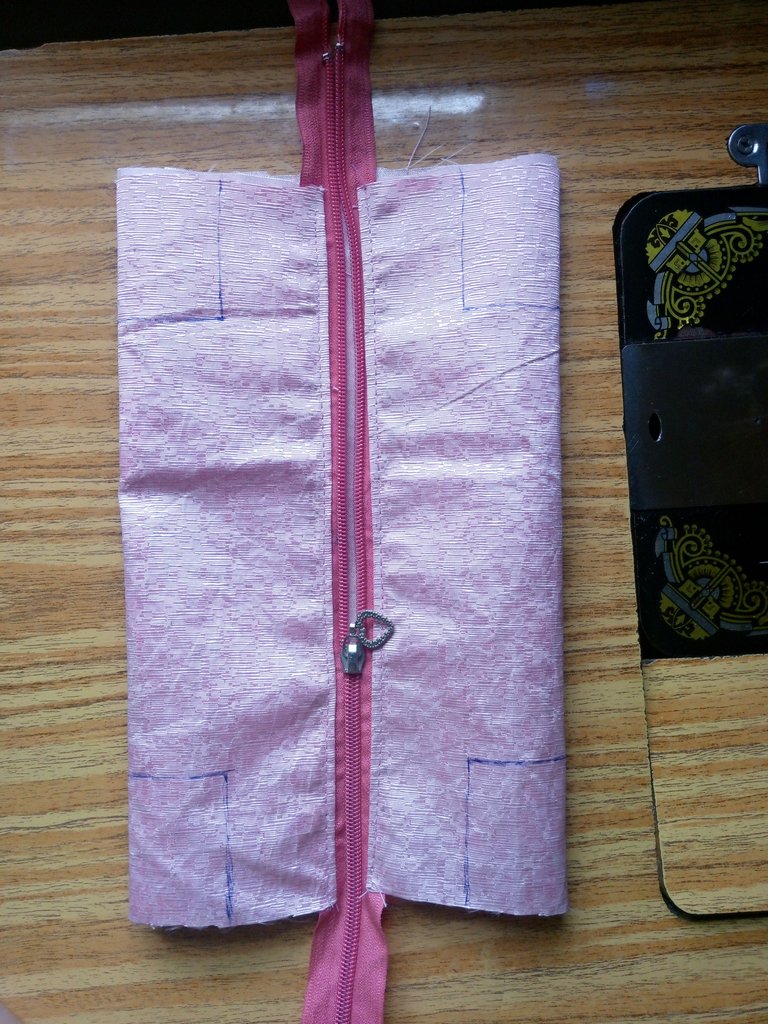
It was zipped up as I measured 2 x 1.5" on the four sides as seen below
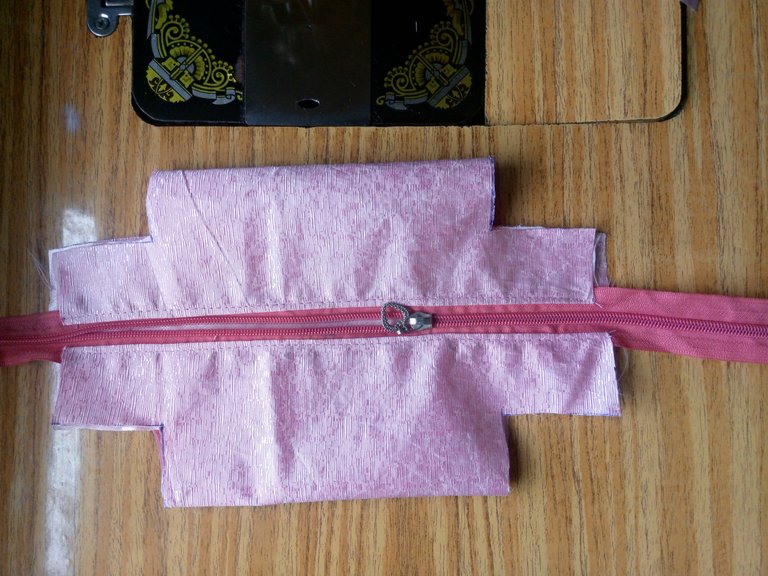
With my scissors, I cut out the lines I marked on the edges
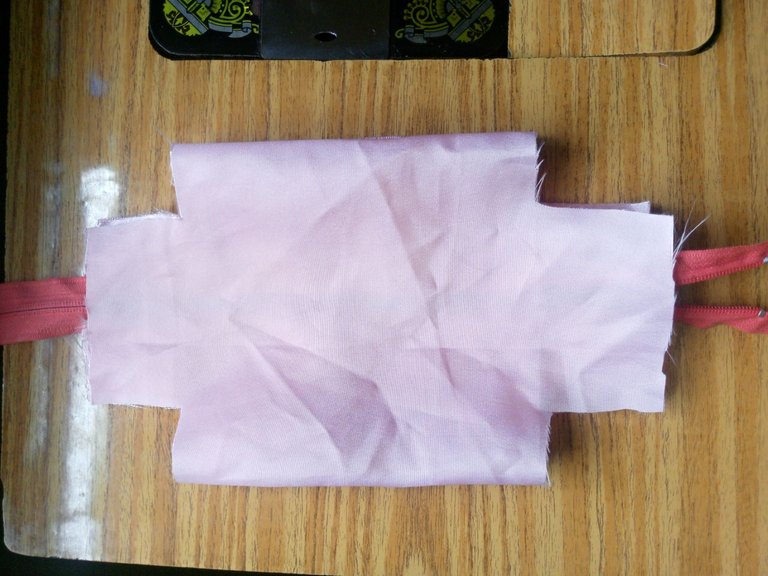
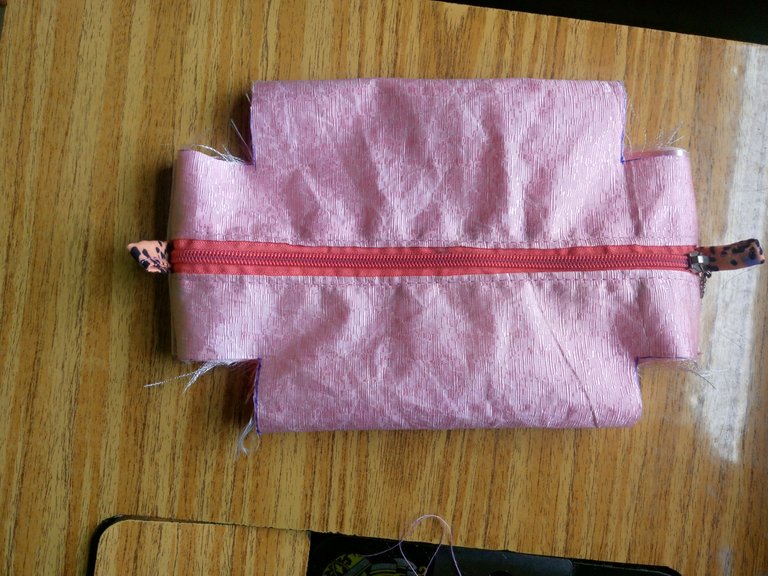
It was turned inside out through one of the opening, I placed the fabric to fabric and lining to lining.
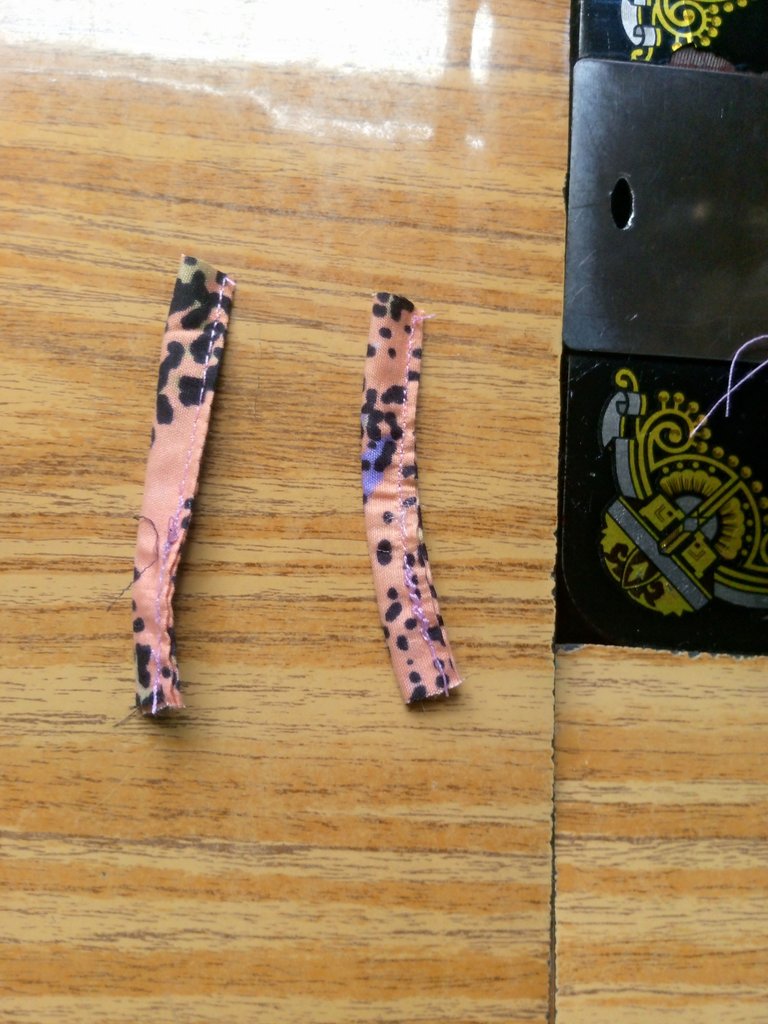
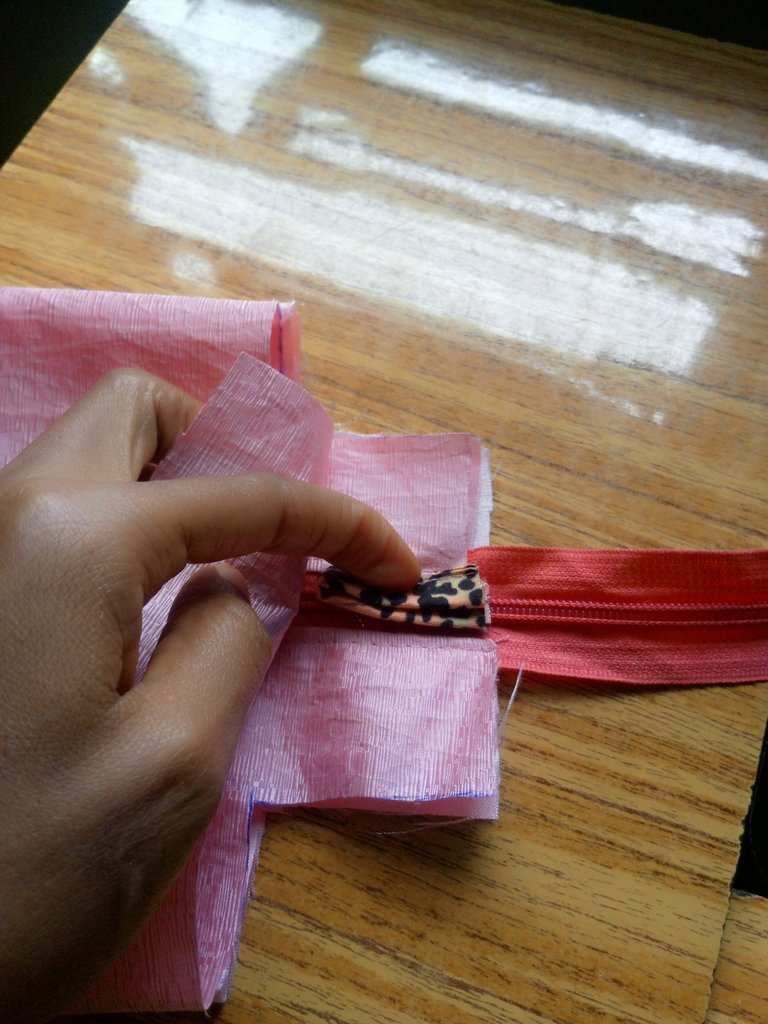
I made a small handle on both sides by placing it on the main fabric before sewing together.
I sew on both sides and trimmed off the excess zipper then I turned it to the right side through one of the opening.
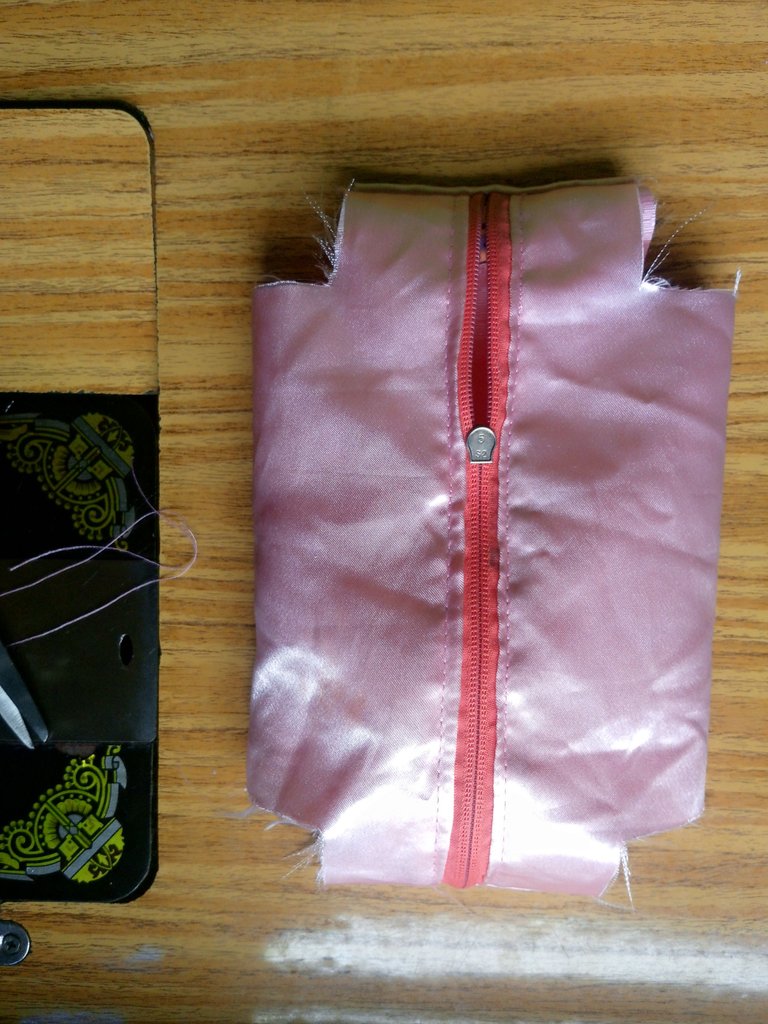
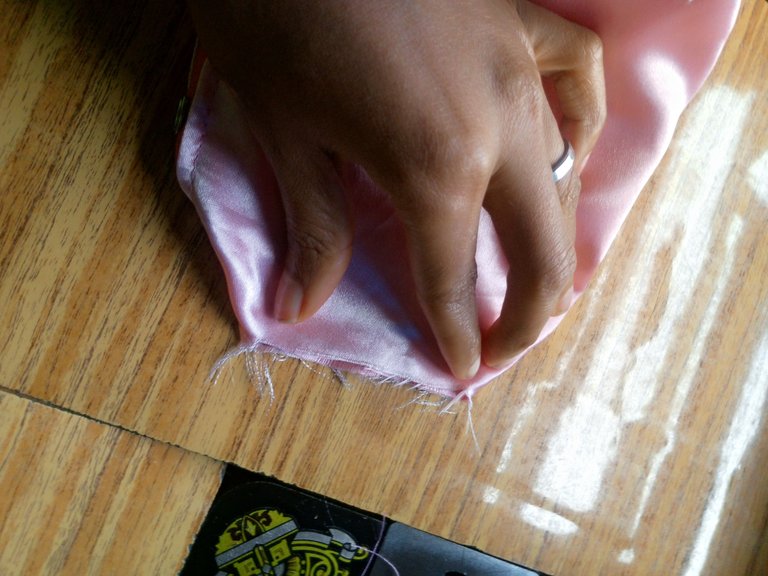
I opened the zipper and turned the pouch to the wrong side to sew up the four opening.
I sew on the each of the opening just as seen below.
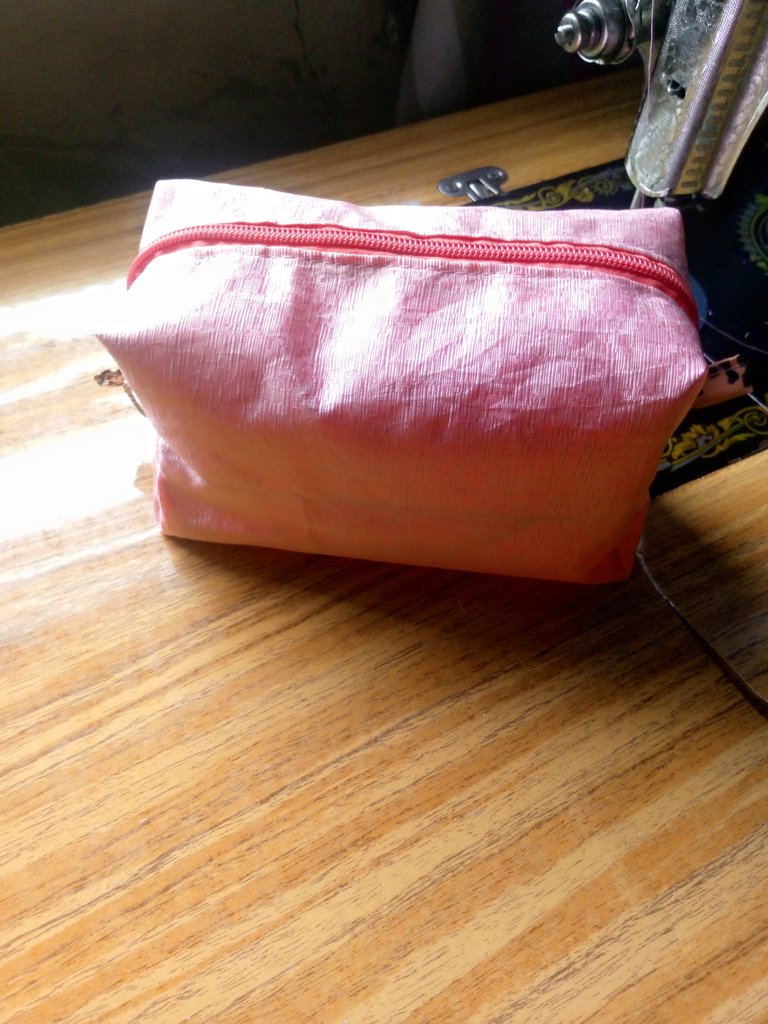
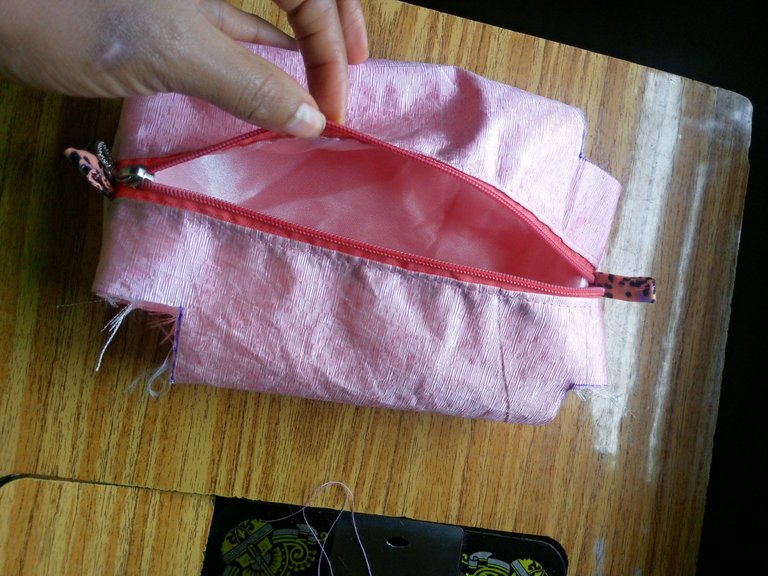
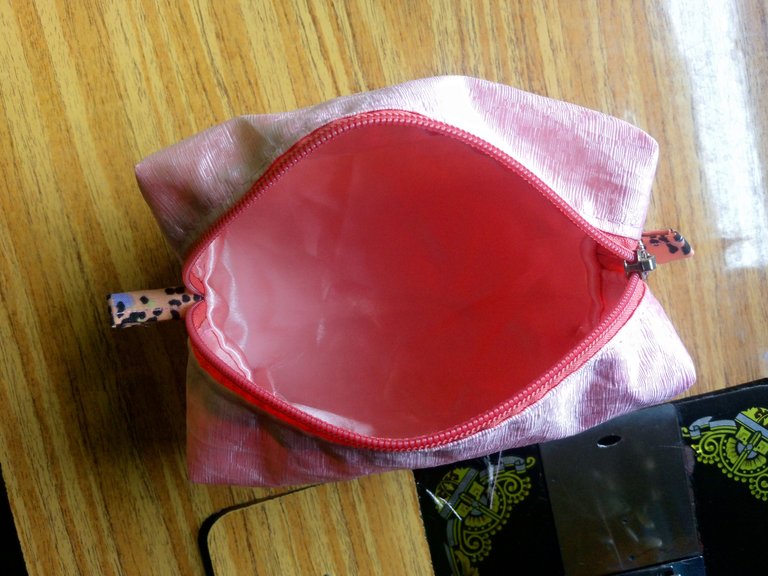
It was turned to the right side and I have the beautiful boxy pouch here.
This is the inner view.
I'm sure my friend will love this simple design of boxy pouch I made for her when delivered to her.
I need one like that, and with that subtle pink color it's gorgeous.💗
Wow! Thank you so much @lauracraft, I will sure make one for you. I'm glad you like my work.
What a nice intention friend, really thanks to you too.❤️
You are welcome.
🤗
Very creative