¡Hey, Hivers!✨
Es mi primera vez publicando en esta comunidad, y sinceramente, sé que me verán muy a menudo por acá, porque algo que amo con todo mi corazón es el Arte 🎨 en todas sus expresiones. Y las manualidades siempre encuentran la forma de entretenerme, además, es tan lindo cuando haces algo con tus propias manos y mucha creatividad.
Por esto, quiero enseñarles esta nueva técnica que aprendí hace poco. En la materia de Química tuve esta asignación que me pareció muy curiosa, divertida, sencilla, y perfecta para realizar en nuestros tiempos libres: se trata de elaborar una figura con un engrudo de papel de colores, ¿suena interesante, no? Sin más que decir, ¡empecemos!
It's my first time posting in this community, and honestly, I know you will see me very often here, because something I love with all my heart is Art 🎨 in all its expressions. And crafts always find a way to entertain me, plus, it's so nice when you make something with your own hands and a lot of creativity.
For this reason, I want to show you this new technique I learned recently. In Chemistry, I had this assignment that I found very curious, fun, simple, and perfect to do in our free time: it's about making a figure with colored paper paste, sounds interesting, doesn't it? Without further ado, let's get started!
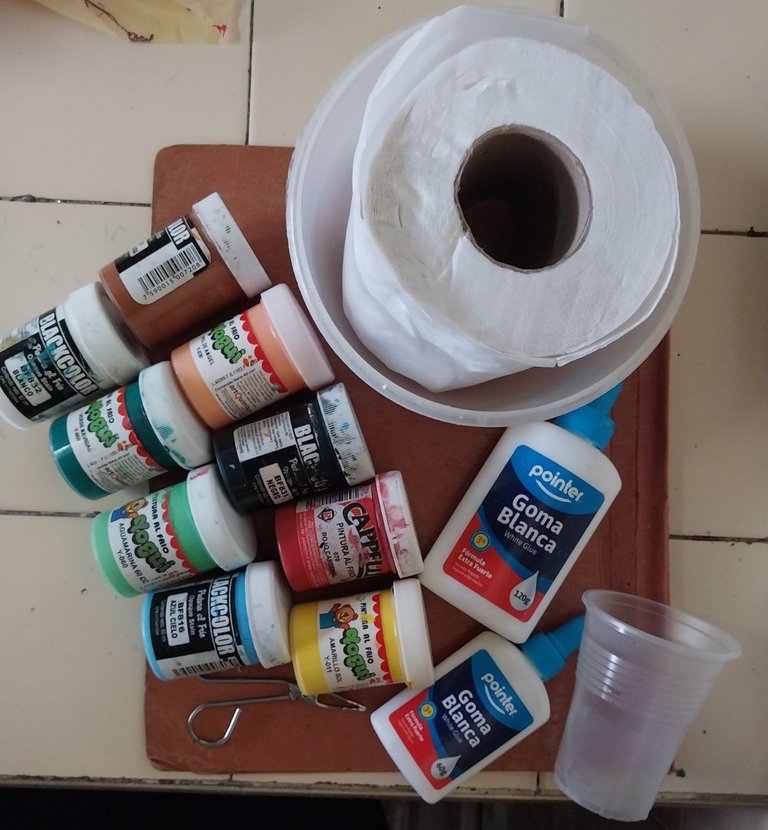
Materiales:
Un rollo de papel, puedes usar cualquier papel absorbente
Un bol hondo con agua
Una cartulina, puede ser cualquier cartón resistente al agua
Pegamento
Vasos desechables
Pinturas al frío
¡Y mucha creatividad!✨
Materials:
A roll of paper, you can use any absorbent paper.
A deep bowl with water
A piece of cardboard, you can use any waterproof cardboard
Glue
Disposable cups
Cold paints
And a lot of creativity!✨
Paso 1
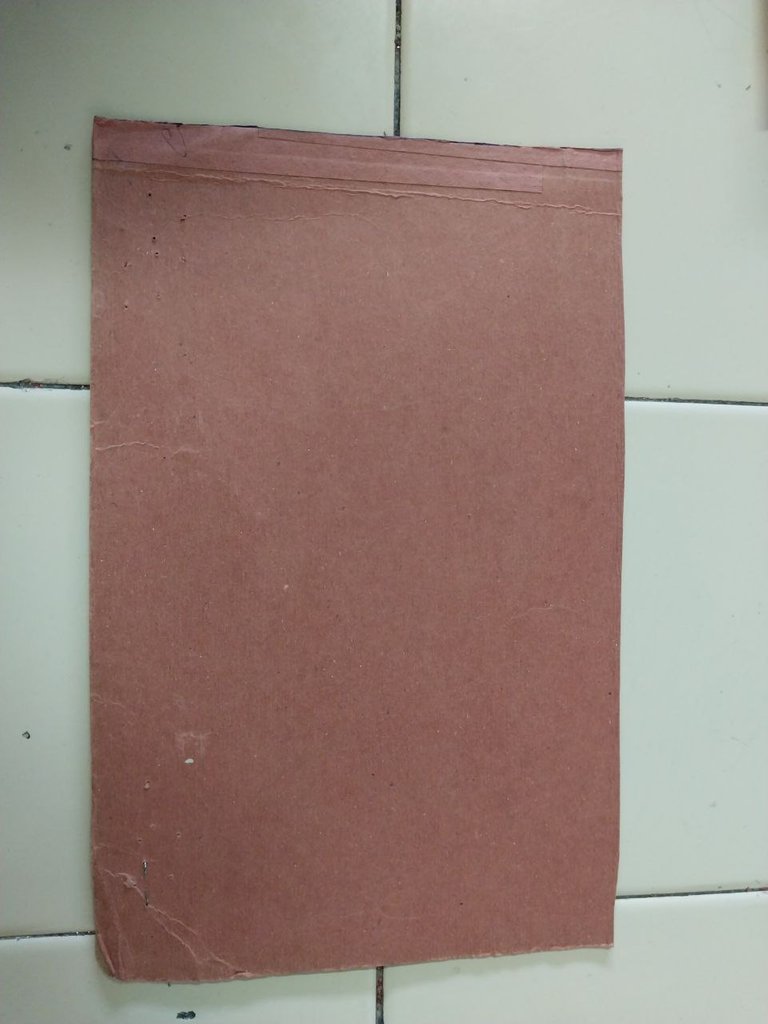
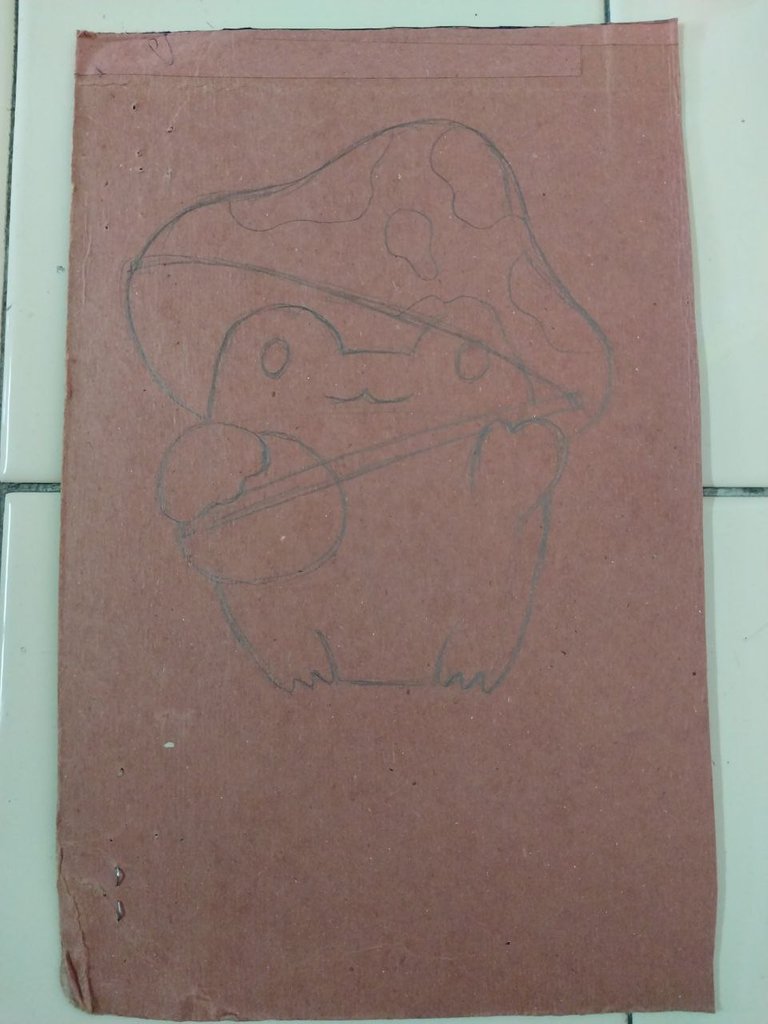
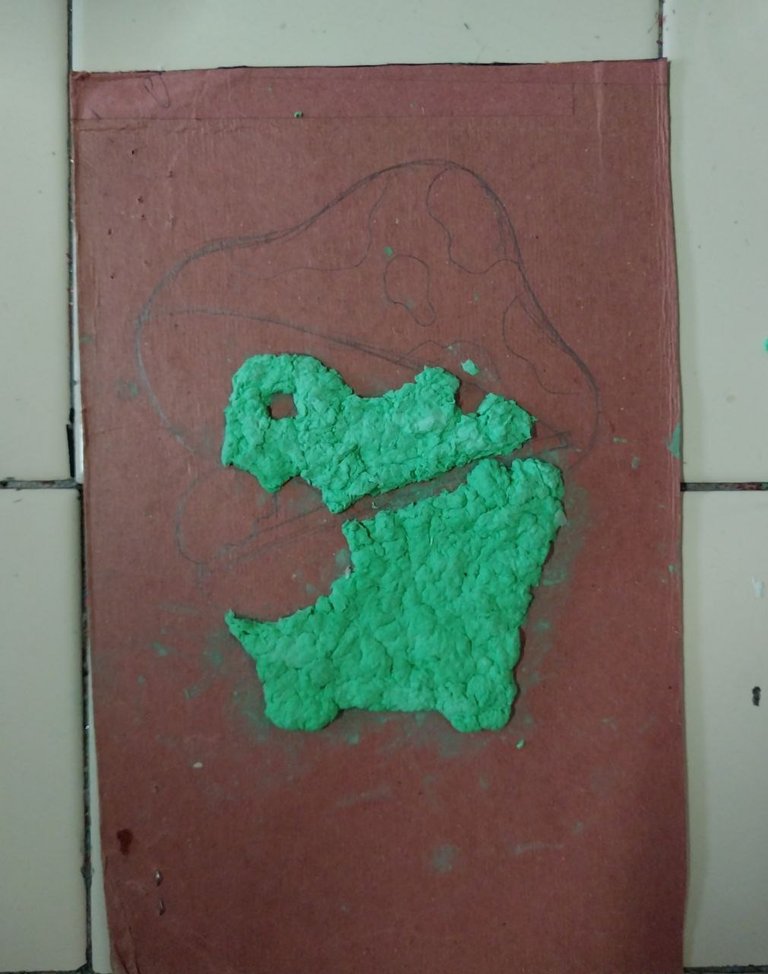
En la cartulina o cartón vamos a comenzar trazando las líneas base del dibujo que deseemos, en mi caso me pareció buena idea hacer una rana, con un hongo en la cabeza como un sombrero, me pareció tierno y sencillo este diseño, además, tampoco quería algo muy exagerado o muy complicado para ser la primera vez intentando esta técnica.
Step 1
On the cardboard, we are going to start by tracing the base lines of the drawing we want, in my case I thought it was a good idea to make a frog, with a mushroom on the head like a hat, I found this design tender and simple, besides, I didn't want something too exaggerated or too complicated to be the first time trying this technique.
 |  |
|---|
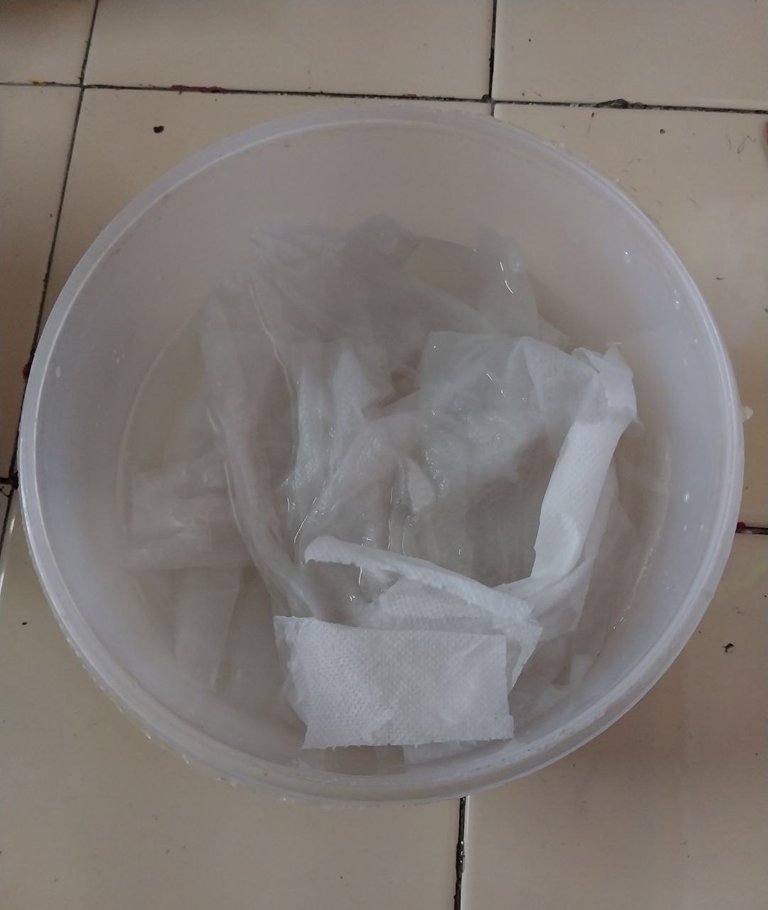
En el bol con agua, procederemos a agregar trozos del papel absorbente, el cual recomiendo que sea de tamaños medianos o pequeños, después los vamos a exprimir cada uno, pero… ¡sin quitarle completamente el agua! Un error que cometí al realizar este paso, por primera vez, fue que apreté con mucha fuerza el papel, dejándolo completamente seco, como consecuencia, esto hizo que la pintura no se mezclara uniformemente con los papeles y el acabado no estuviera bien.
Step 2 In the bowl with water, we will proceed to add pieces of the absorbent paper, which I recommend to be of medium or small sizes, then we will squeeze each one, but... without completely removing the water! A mistake I made when doing this step, for the first time, was that I squeezed the paper too hard, leaving it completely dry, as a consequence, this made that the paint did not mix evenly with the papers and the finish was not good.
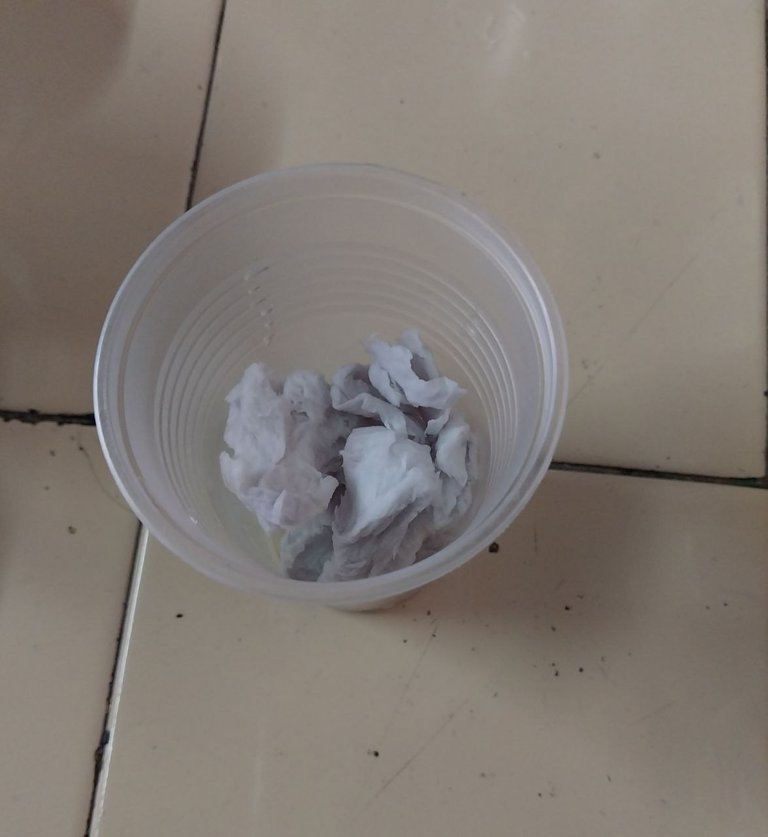
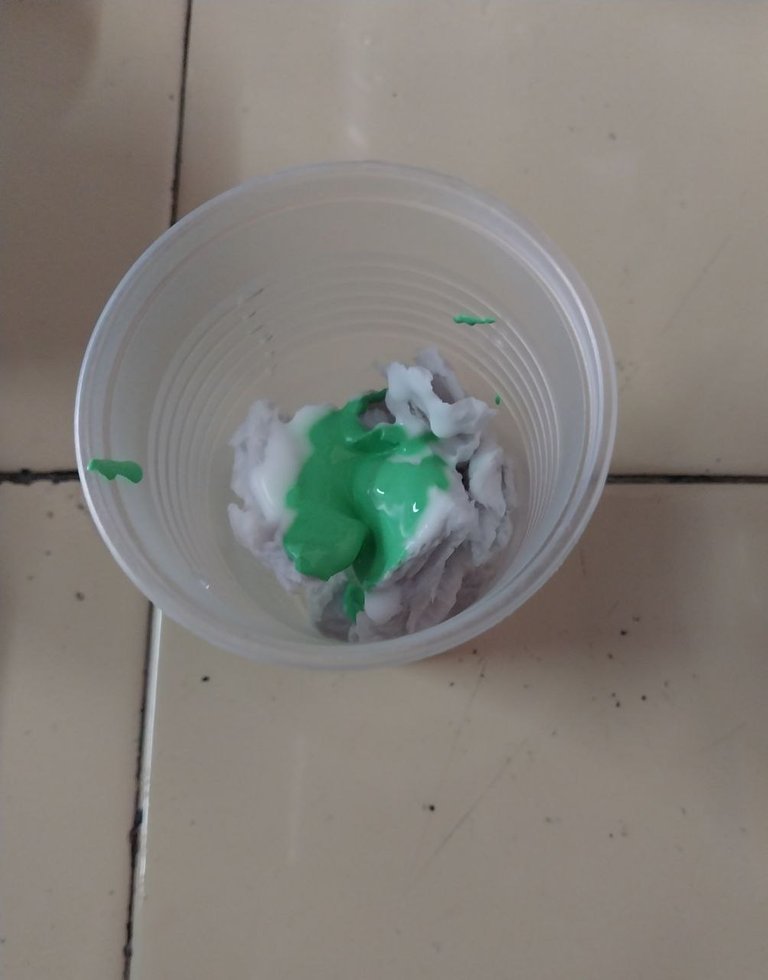
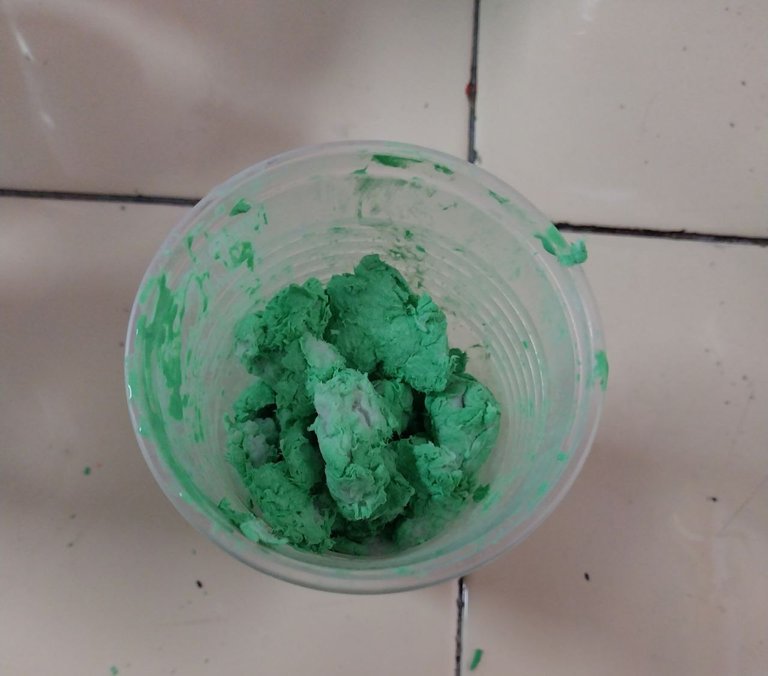
Continuaremos tomando unos pedazos del papel húmedo y lo colocaremos en uno de los vasos desechables. Aquí le agregaremos la pintura que queramos, según nuestro dibujo, y también el pegamento, lo mezclaremos hasta que todo se integre correctamente. Repetiremos este paso de acuerdo a cuántos tonos de pintura vamos a utilizar.
Consejo: la cantidad de pegamento que usaremos debe ser similar a 1/4 de la cantidad de papel que colocamos en el vaso, para hacer una mezcla uniforme.
Step 3 Continue by taking a few pieces of the wet paper and placing it in one of the disposable cups. We will continue taking some pieces of the wet paper, and we will place it in one of the disposable cups. Here we will add the paint we want, according to our drawing, and also the glue, we will mix it until everything is correctly integrated. We will repeat this step according to how many shades of paint we are going to use.
Tip: the amount of glue we will add should be similar to 1/4 of the amount of paper we put in the glass, to make a uniform mixture.
 |  |  |
|---|
Ahora, en este paso, tendremos que juntar cada gramo de la paciencia que tengamos para realizar el siguiente procedimiento; tomaremos un poco del engrudo y lo esparciremos por todo el dibujo (obviamente, siguiendo el diseño principal), podemos utilizar pinzas pequeñas, la madera de un pincel o incluso nuestros propios dedos, la manera en que se te haga más cómodo.
Step 4
Now, in this step, we will have to gather every ounce of the patience we have to perform the following procedure; we will take some of the paste and spread it all over the drawing (obviously, following the main design), we can use small tweezers, the wood of a brush or even our own fingers, the way that makes you more comfortable.
 |  |  |
|---|
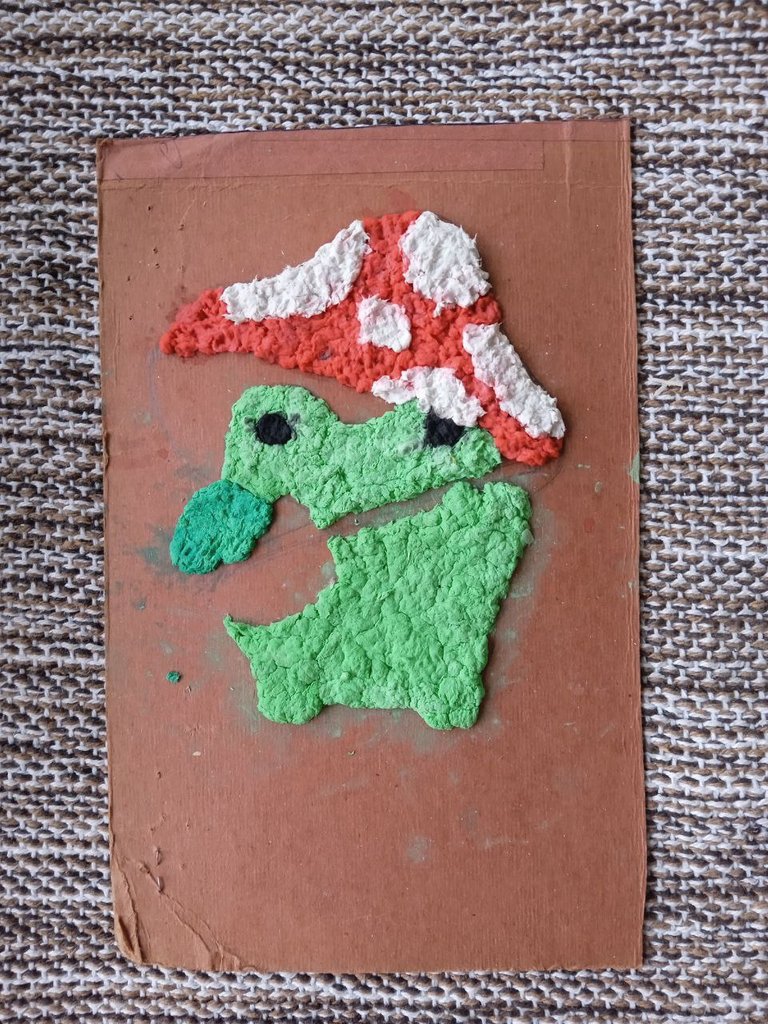
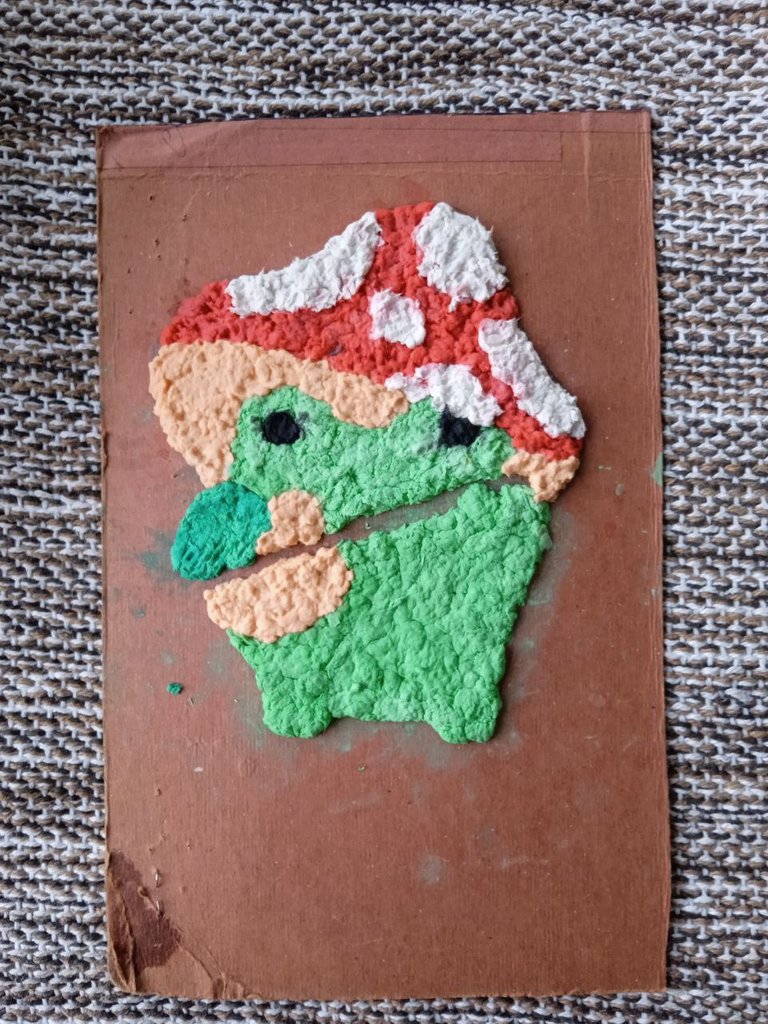
Repetiremos todo este proceso según la cantidad de colores que tendrá el dibujo ¡y listo!✨
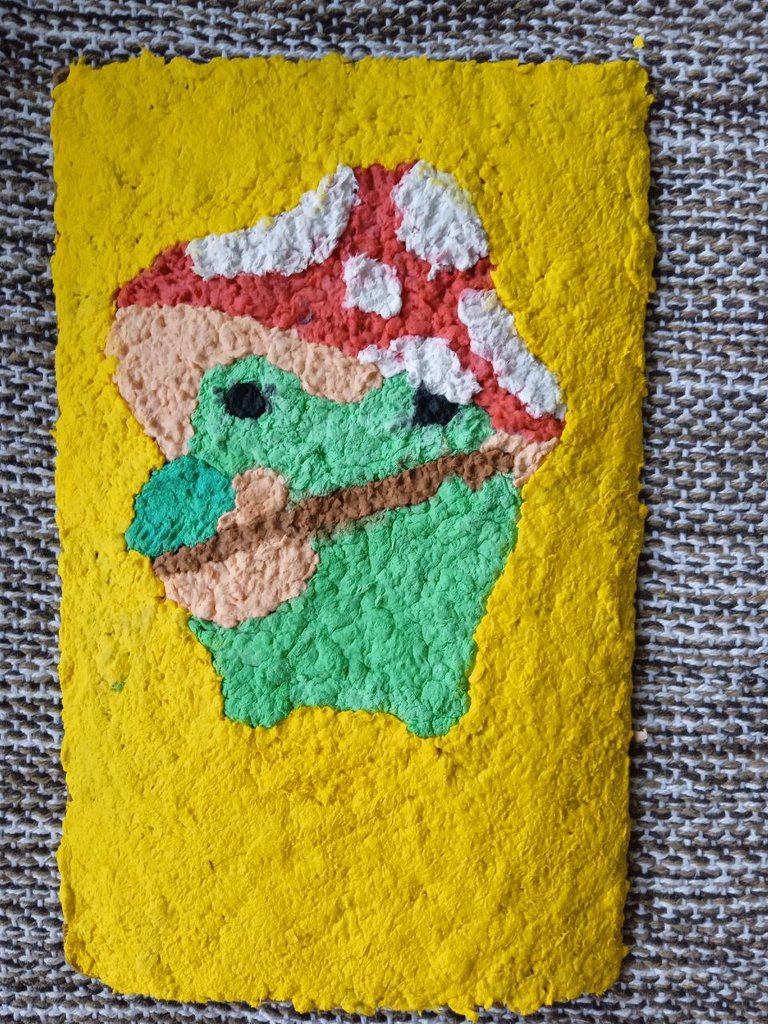
Aquí les muestro el resultado final de mi ranita, la verdad fue una técnica que me gustó bastante, fue original y diferente, y el acabado llama mucho la atención. Es probable que lo vuelva a repetir con otros diseños, pero cuando recargue mi paciencia, porque lleva bastante tiempo ir ordenando cada pedazo de papel.
Result We will repeat this whole process according to the amount of colors that the drawing will have, and that's it!✨
Here I show you the final result of my little frog, the truth was a technique that I liked a lot, it was original and different, and the finish draws a lot of attention. It is likely that I will repeat it again with other designs, but when I recharge my patience, because it takes quite some time to order each piece of paper.
¡Nos volveremos a ver pronto!
Sincerely thank you very much for reading, and getting this far 💖 I hope you liked this idea, and that you do it one day when you are bored, as a form of entertainment. I invite you to comment if you have any questions✨. See you again soon!
-Bix♡
Mi Instagram para dibujos | My Instagram for drawings
bixland
Todas las imagenes son de mi propiedad
Texto traducido por DeepL
¡Me encanta!🥺 Siento que es una idea sencilla pero original, y ya me imaginé haciendo flores🌸
Me alegra que te haya motivado a intentarlo, no puedo esperar a ver esas flores ✨
Voy a terminar acabando con el papel de la casa 😂.
Es una idea genial, seguramente la ponga en práctica
¡Espero que lo intentes pronto!✨ Es muy divertido aunque si necesitas bastante paciencia 😅
Muy buena técnica ideal para hacer lindos dibujos o muñecos
Gracias por leer🥺💖
Esta muy genial, he usado esta técnica de papel artesanal antes, pero no para crear dibujos, me parece un excelente proyecto! Te quedo increíble!
Mucho éxito!
Muchas gracias💙, espero que lo llegues a intentar con un dibujo y si es así, me encantaría ver el resultado ✨
It was really a surprise, it was the first time I saw the idea of doing something like this.
Thank you 💙, it's an original idea that I found interesting to share with everyone✨.
Congratulations @bixland! You have completed the following achievement on the Hive blockchain And have been rewarded with New badge(s)
Your next target is to reach 400 upvotes.
You can view your badges on your board and compare yourself to others in the Ranking
If you no longer want to receive notifications, reply to this comment with the word
STOPCheck out our last posts:
Support the HiveBuzz project. Vote for our proposal!
Bonito trabajo, intentare hacer algún diseño, con ese material. Gracias por compartir.