Español:
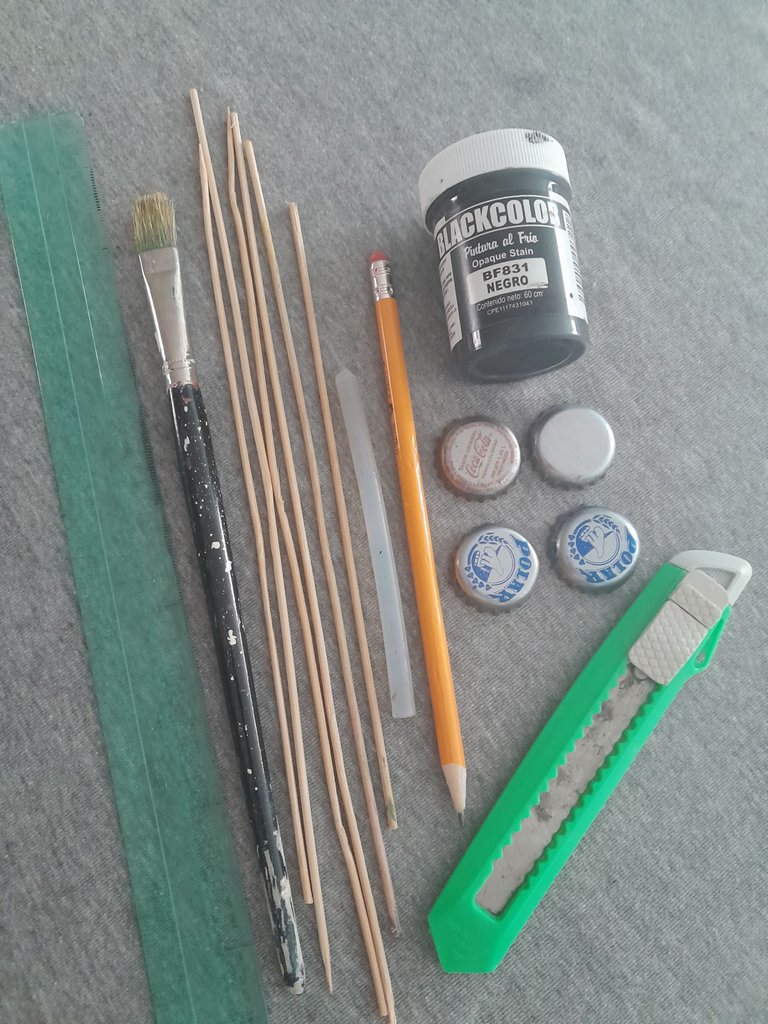
Materiales:
- Chapas o tapas de botellas.
- Palillos de altura.
- Pintura al frió.
- Silicon en barra.
- Exacto (cutter).
- Pincel.
- Lápiz.
- Regla.
English:
Materials:
- Bottle caps or lids.
- Chopsticks of height.
- Cold paint.
- Silicon bar.
- Exact (cutter).
- Paintbrush.
- Pencil.
- Ruler.

Español:
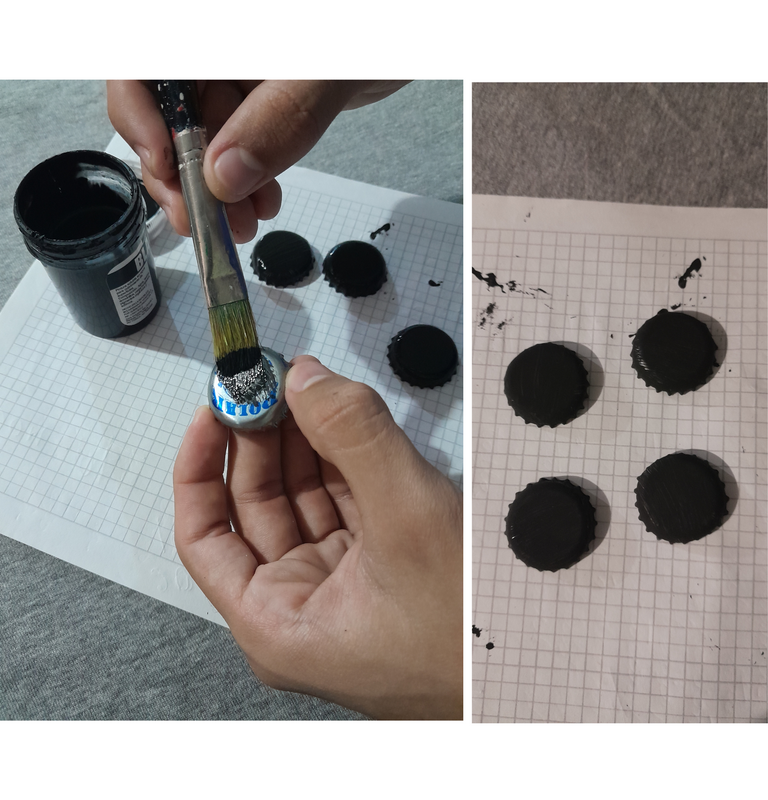
Paso 1:
- Con la pintura al frió y el pincel, pintamos las chapas, luego la colocamos a secar.
English:
Step 1:
- With the cold paint and the brush, we paint the plates, then we place them to dry.
Español:
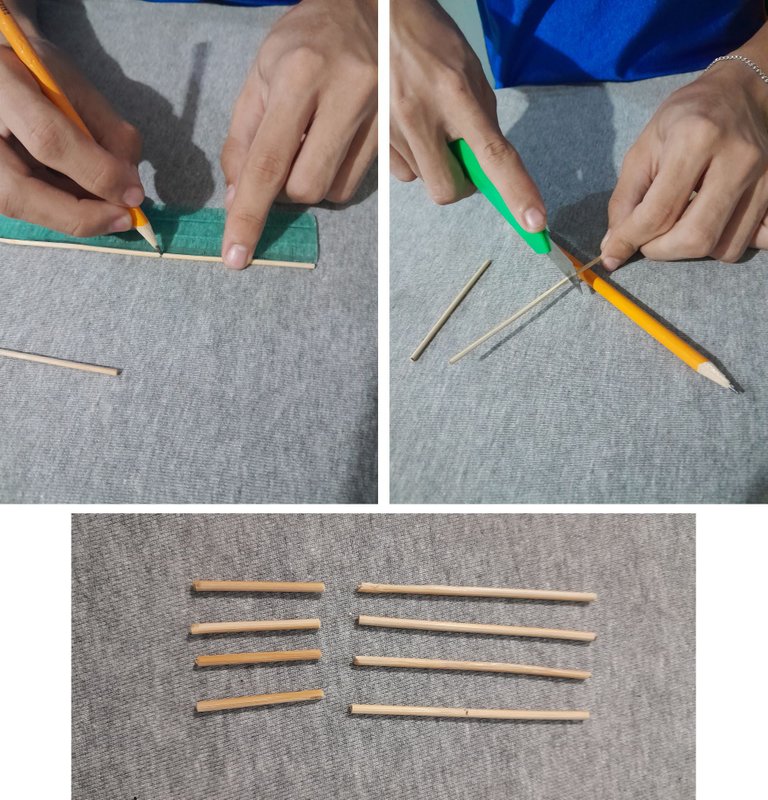
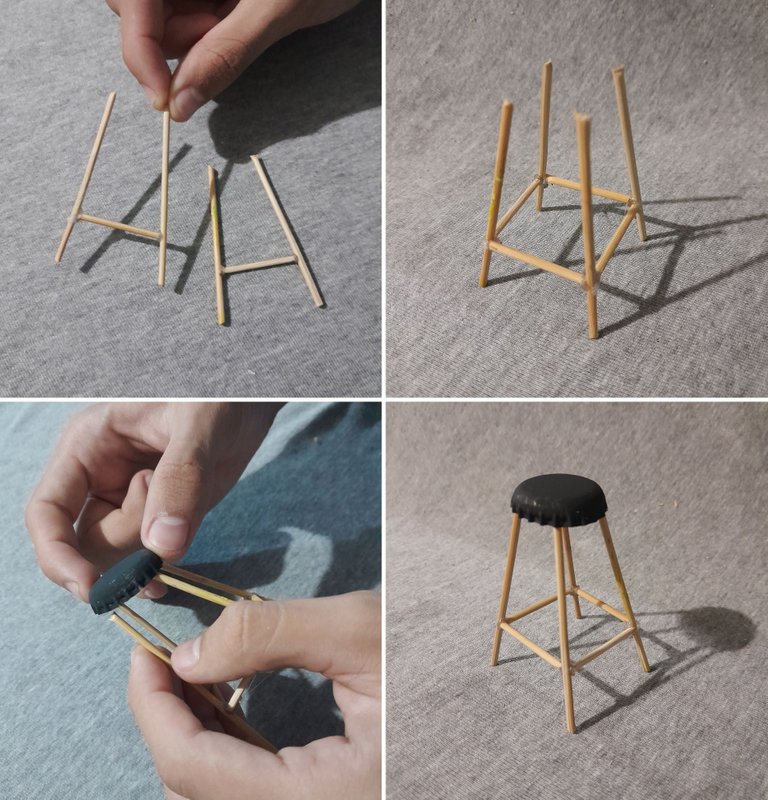
Paso 2:
- Mientras las chapas se secan continuamos, medimos y marcamos con el lápiz los palillos de altura a 7 cm, recortando con el cutter cada uno. Para un banquito vendría siendo un total de 8 palitos = 4 de 7 cm y 4 de 3 cm.
English:
Step 2:
- While the sheets are drying we continue, we measure and mark with the pencil the sticks of height to 7 cm, cutting with the cutter each one. For a stool would be a total of 8 sticks = 4 of 7 cm and 4 of 3 cm.
Español:
Paso 3:
- Ahora con el silicon caliente, pegamos los palitos pequeños de 3 cm a los palitos más grande a la altura de 2 cm de abajo hacia arriba quedando todos unidos, luego en la parte de arriba le pegamos la chapa, para terminar con nuestro hermoso taburete.
English:
Step 3:
- Now with the hot silicone, we glue the small sticks of 3 cm to the larger sticks at the height of 2 cm from bottom to top being all united, then at the top we glue the plate, to finish with our beautiful stool.
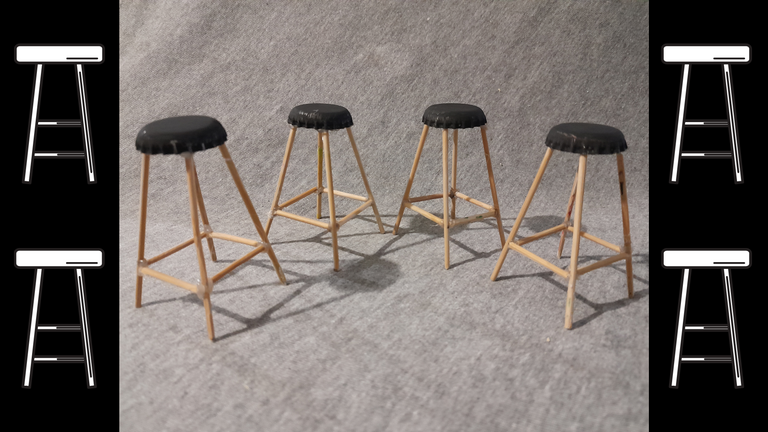
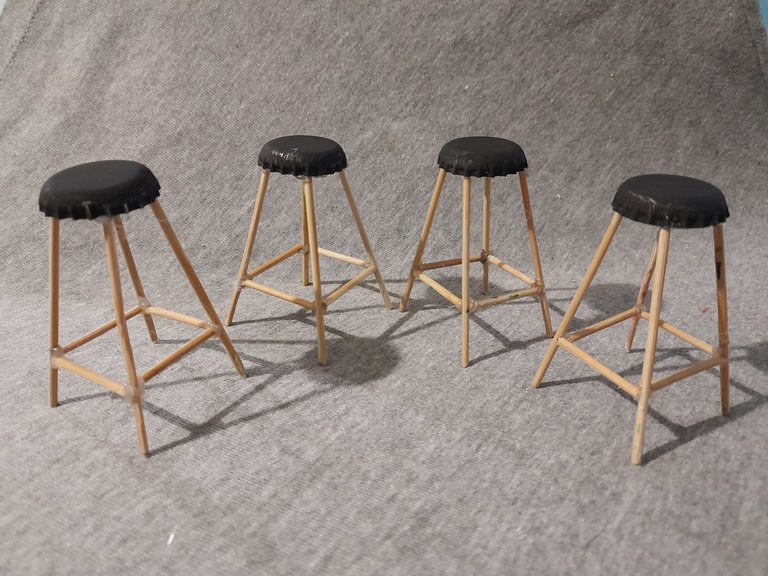
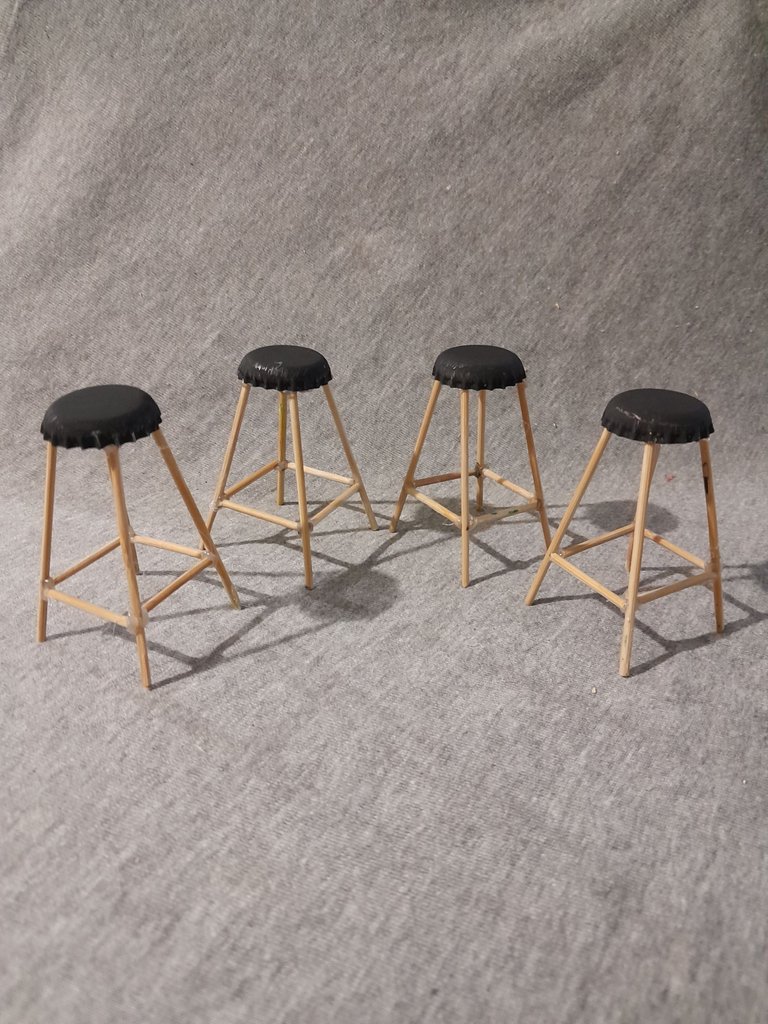
Resultado final.
Final result.

Todas las fotos son de mi autoria y editadas con Canva.
Traductor: DeepL Traslate.
All photos are my own and edited with Canva. Translator: DeepL Traslate.
Traductor: DeepL Traslate.
All photos are my own and edited with Canva. Translator: DeepL Traslate.
Whoa! I thought they were real chairs lol
Hello, thanks for commenting, they are for decoration, greetings.
Thank you for sharing this post on HIVE!
Your content got selected by our fellow curator ashikstd & you just received a little thank you upvote from us for your great work! Your post will be featured in one of our recurring compilations which are aiming to offer you a stage to widen your audience within the DIY scene of Hive. Stay creative & HIVE ON!
Please vote for our hive witness <3
Thank you for your valuable support, best regards.
Jajaja! creí que eran reales! quedaron estupendas.
Gracias @equipodelta, bueno en realidad si son reales ja,ja,ja..., pero en miniatura, es broma ya se que has querido decir, ya que en la foto se ven grande útil para sentarse. Que bueno que haya gustado, no me imagine que mi linda creatividad resultara algo divertido. Saludo feliz día.
Dear @brahiam15,
Our previous proposal expired end of December and the Hivebuzz project is not funded anymore. May we ask you to review and support our new proposal (https://peakd.com/me/proposals/248)?
Thank you for your help!