Amigos, siempre son Bienvenidos a mi Blog/Friends, you are always welcome to my Blog
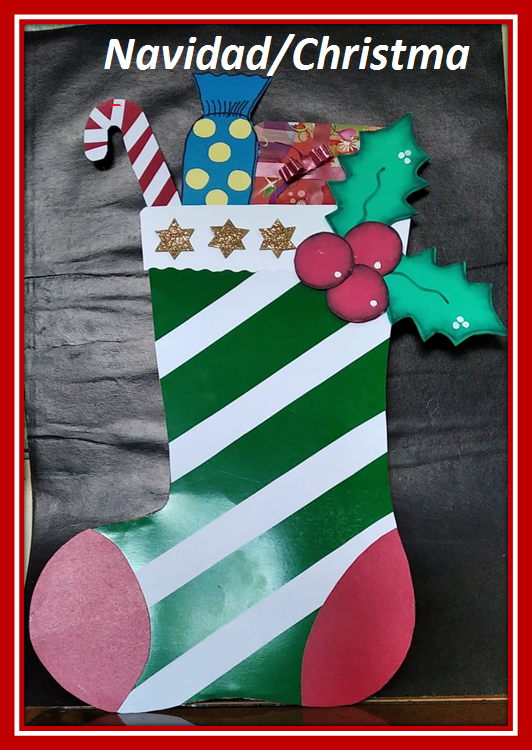
Hola amigos amantes de las manualidades bendecido día para todos, mi proyecto de hoy es una Bota de Navidad cargada de golosinas y regalos ideal para decorar la puerta de nuestra casa. A continuación, les muestro como la realice
Hello friends craft lovers blessed day for all, my project today is a Christmas boot loaded with goodies and gifts ideal for decorating the door of our house. Below, I show you how I made it
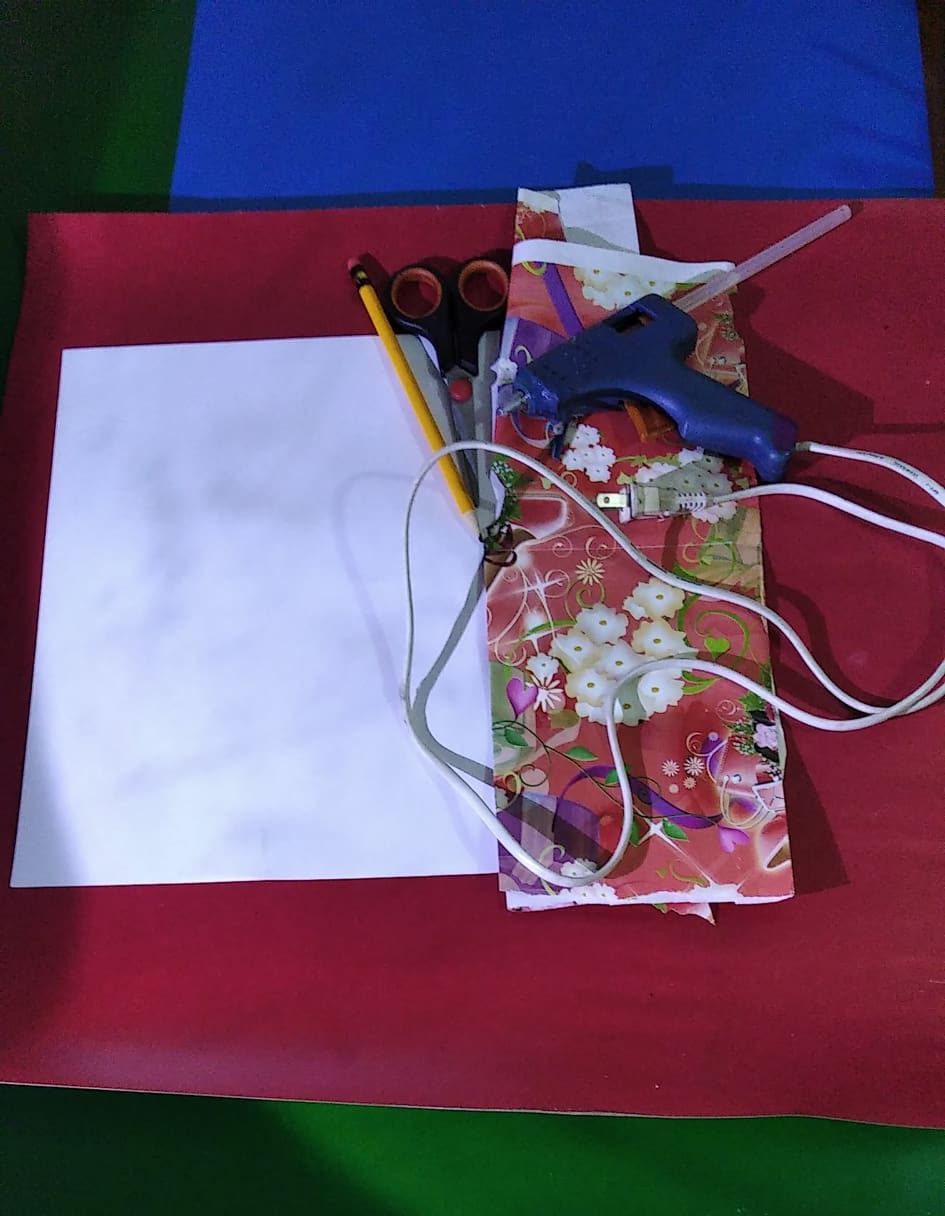
Los Materiales son los siguientes: Cartulinas verde, cartulina roja y cartulina azul; hoja blanca, papel de regalo, pistola se silicón, tijera, lápiz, cartón
Materials are as follows: Green cardboard, red cardboard and blue cardboard; white sheet, wrapping paper, silicone gun, scissors, pencil, cardboard.
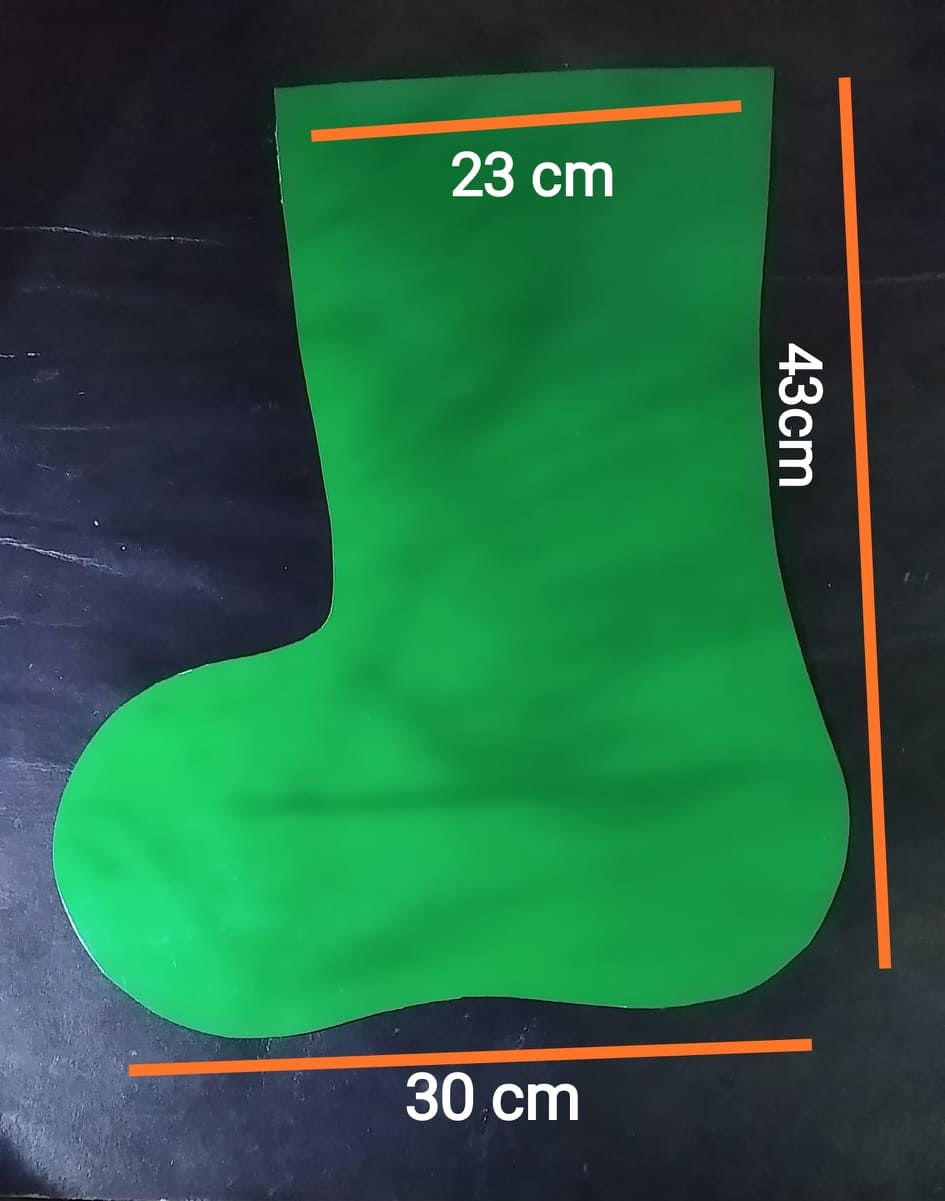
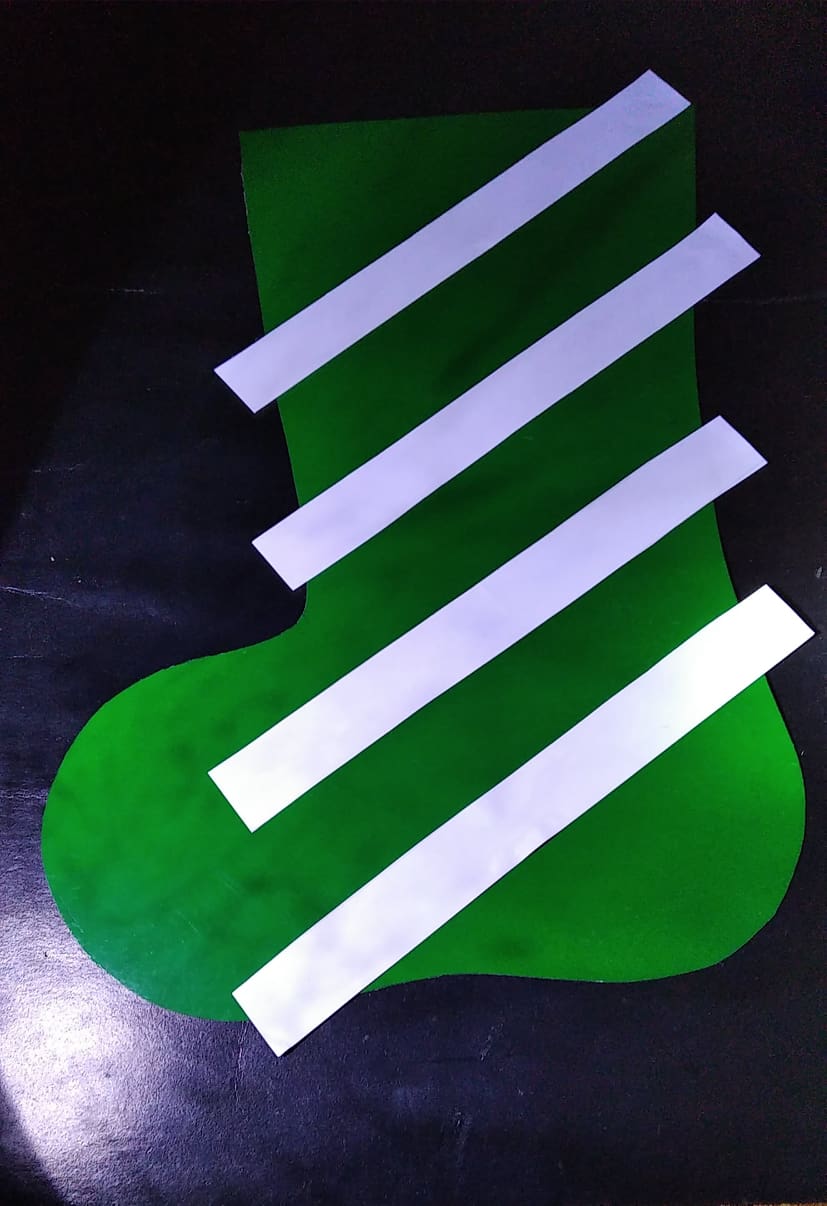
El primer paso es dibujar y recortar la forma de la bota en la cartulina verde con las siguientes medidas arriba 23cm, abajo 30cm y de largo tiene 43cm
The first step is to draw and cut out the shape of the boot on the green cardboard with the following measurements: top 23cm, bottom 30cm and length 43cm.
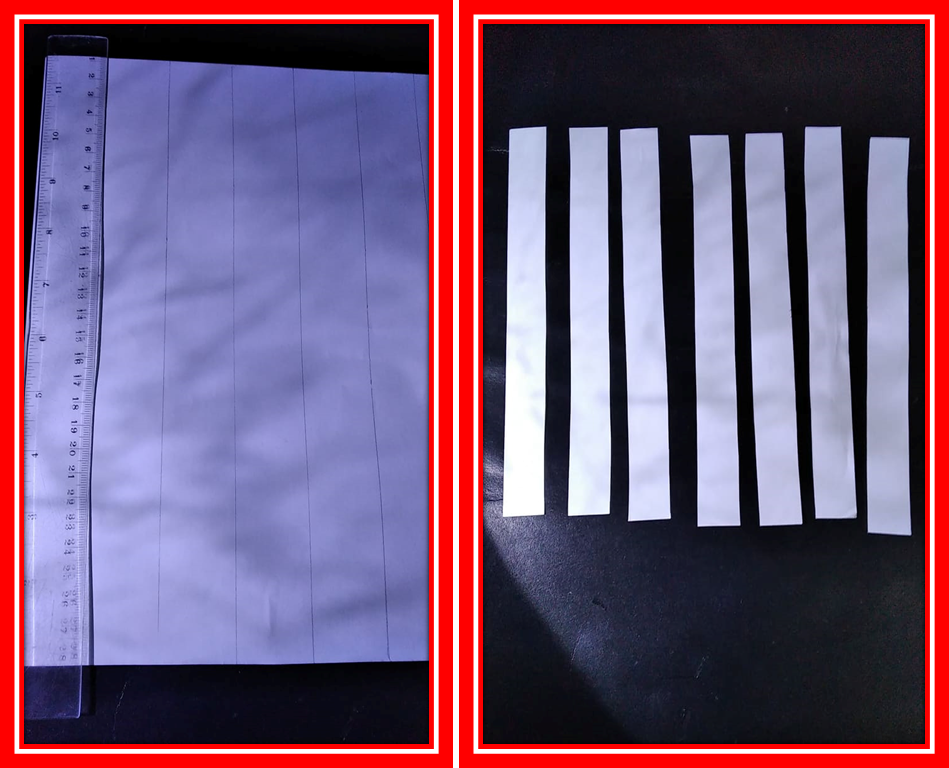
Luego se dibujan tiras de papel blanco del ancho de una escuadra, se recortan y se pegan sobre la bota dejando una pequeña separación entre cada tira
Then draw strips of white paper the width of a square, cut them out and glue them on the boot, leaving a small gap between each strip.
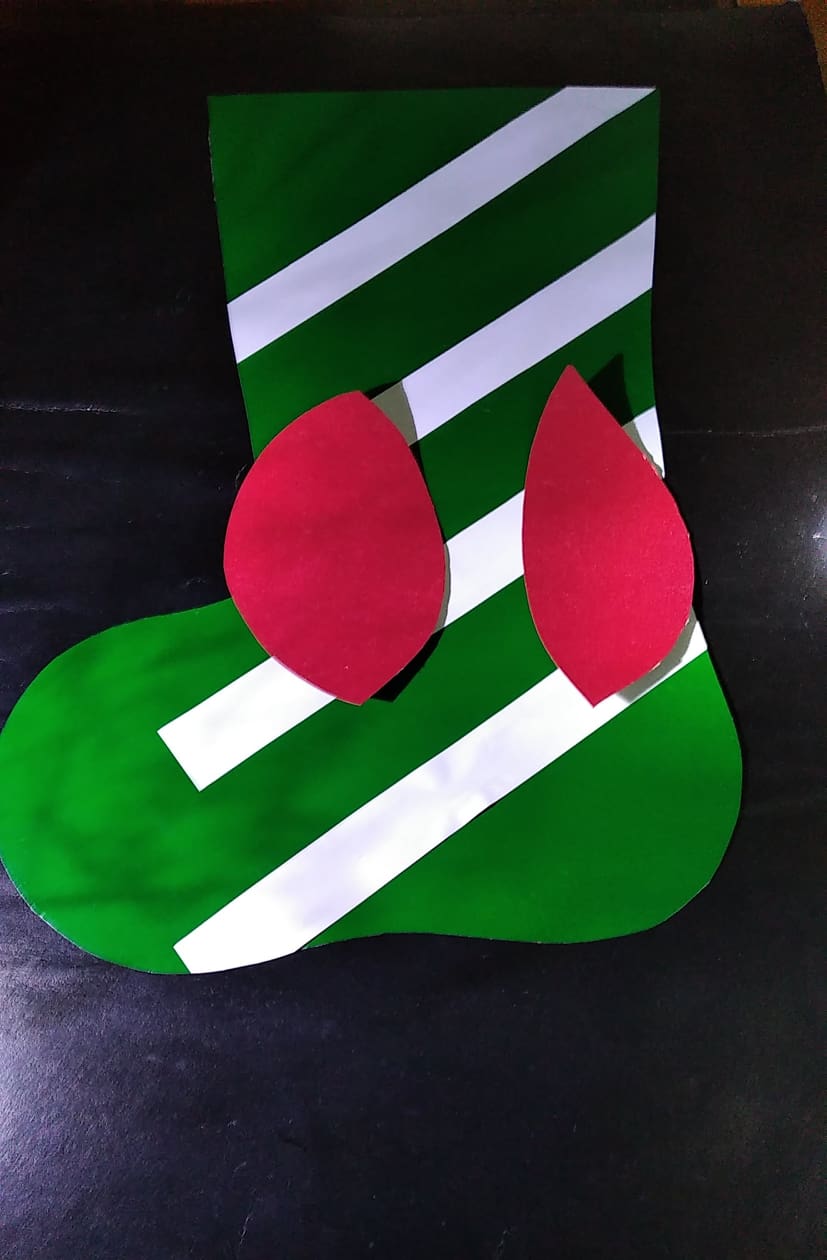
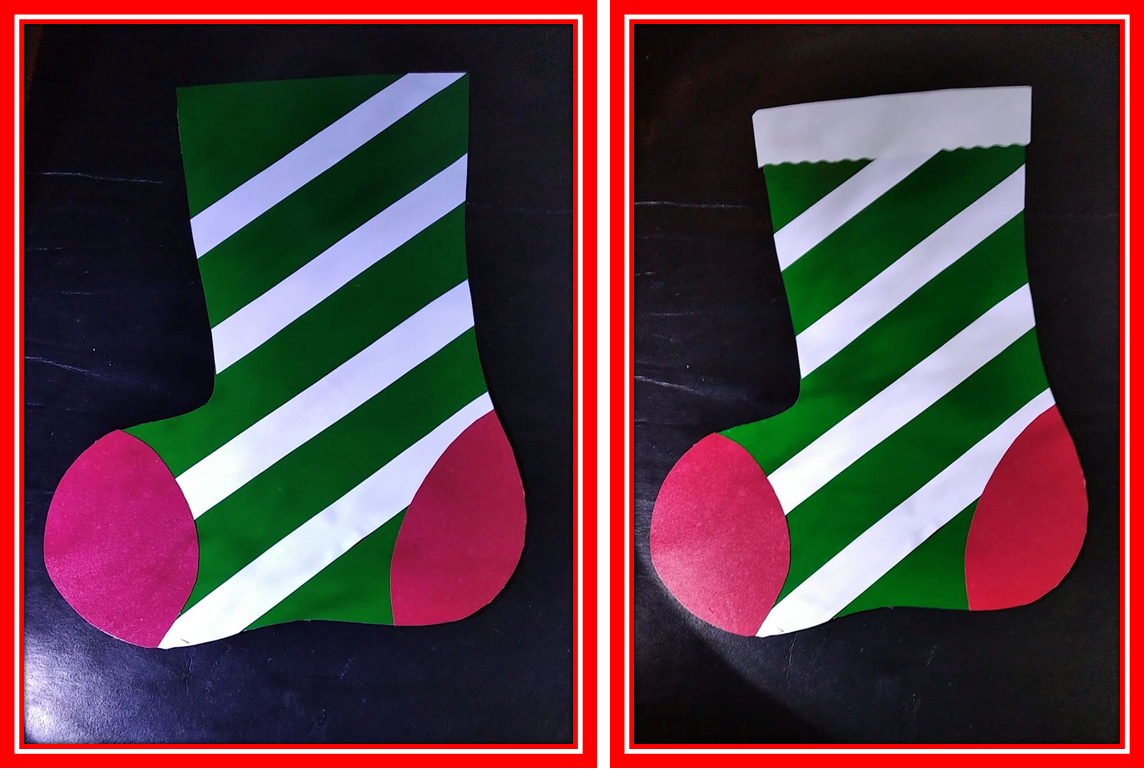
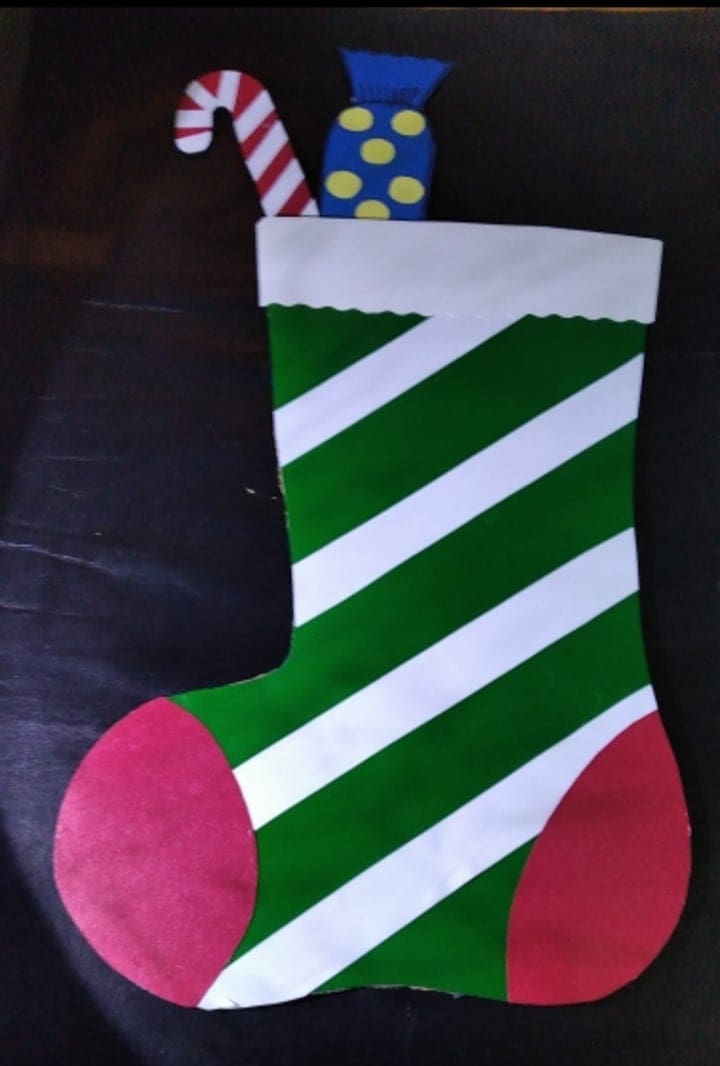
Ahora se dibuja en cartulina roja la punta y el talón de la bota y se decora la parte de arriba de la bota con papel blanco
Now draw the toe and heel of the boot on red cardboard and decorate the top of the boot with white paper.
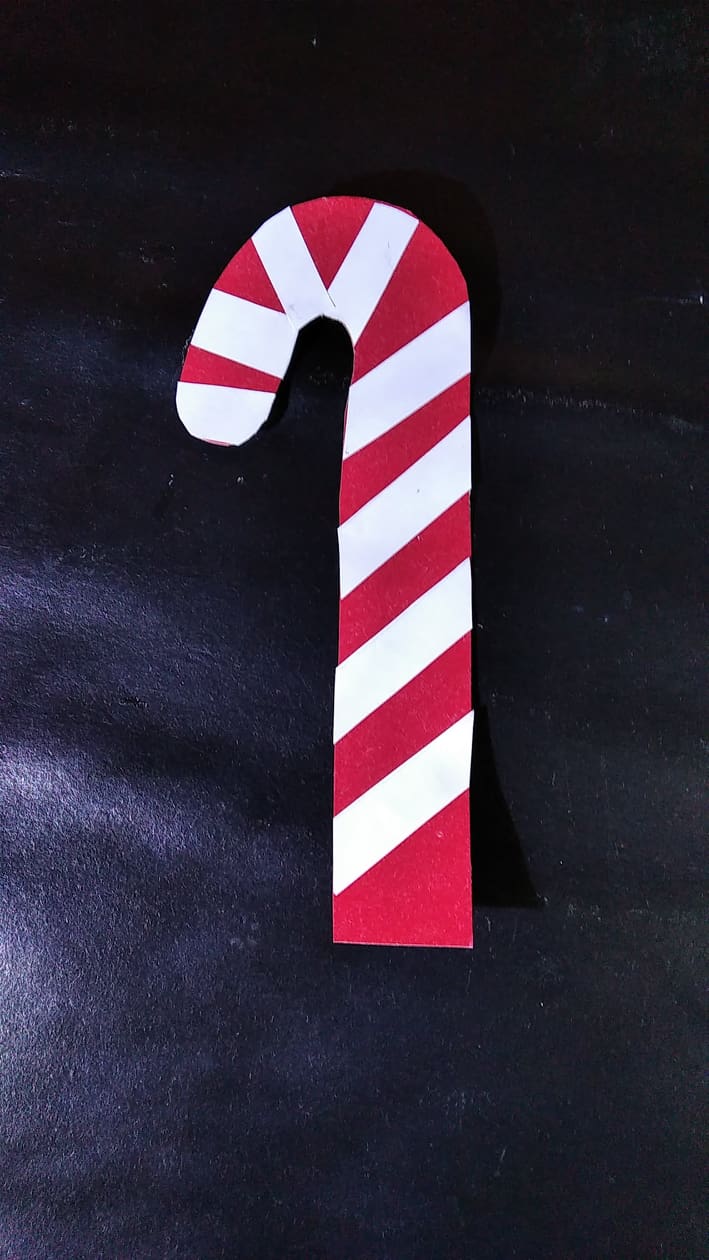
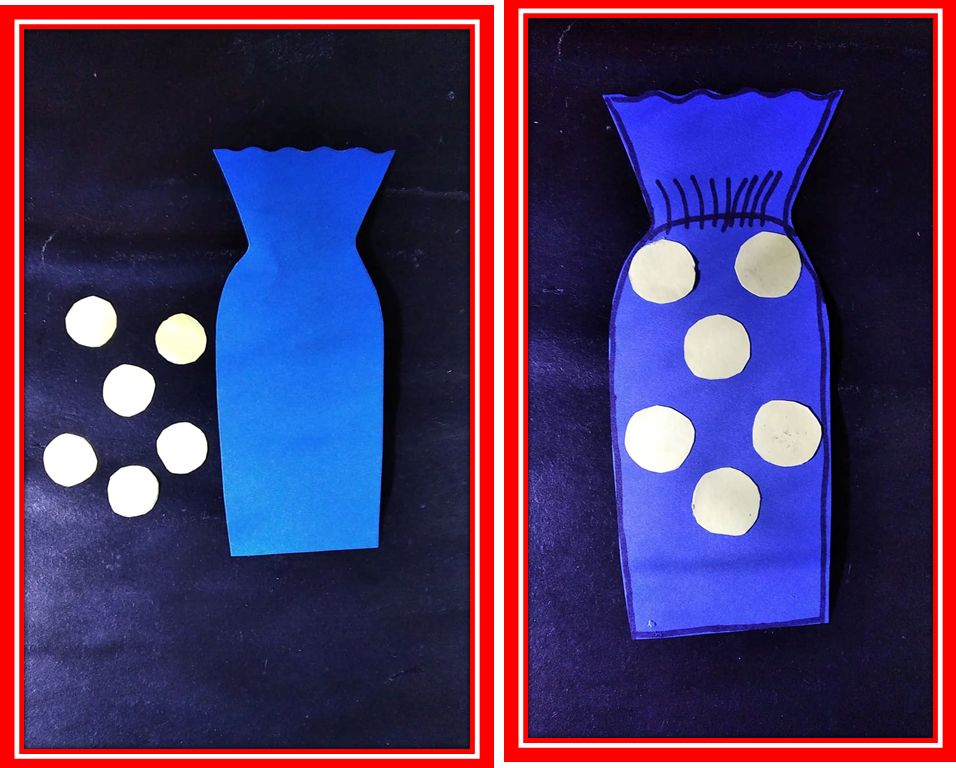
Se decora un bastón rojo con tiras blancas. Se recorta la forma de un caramelo y se decora con círculos amarillos
Decorate a red stick with white strips. Cut out the shape of a candy and decorate it with yellow circles.
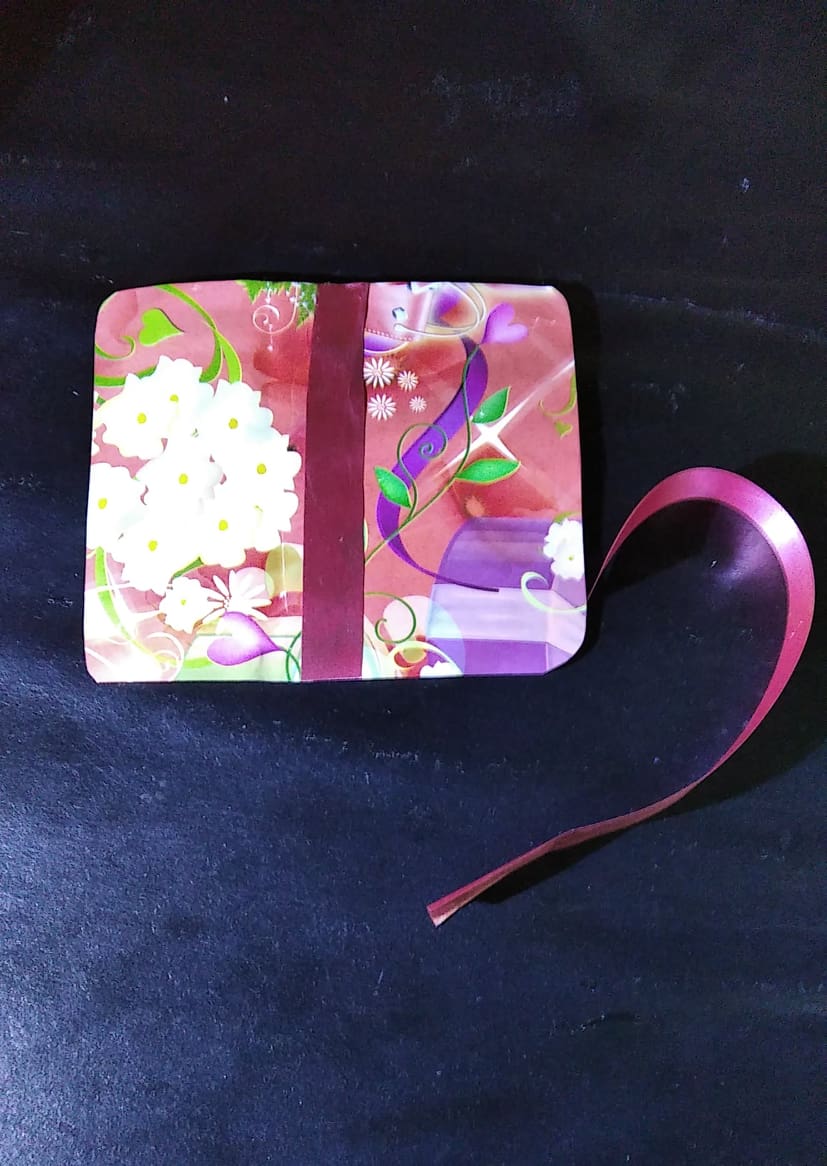
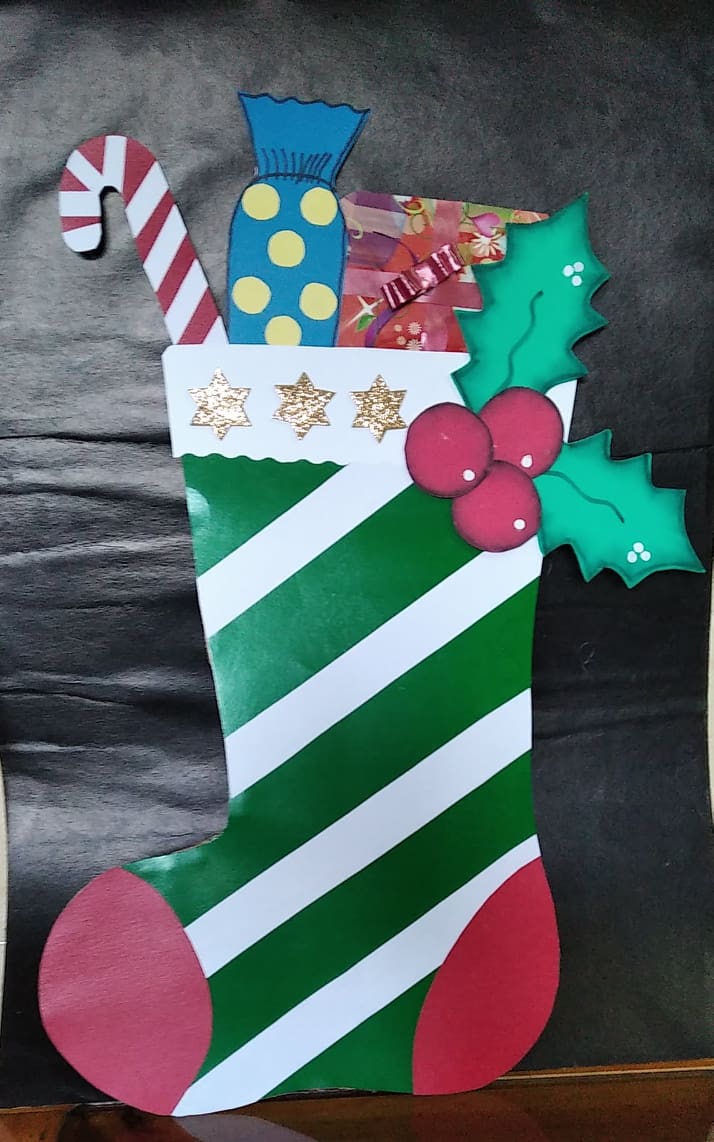
Es el turno de envolver el regalo, recortamos un cuadrado y colocamos dos cintas en forma de cruz y finalizamos con un lindo lazo que se coloca en el centro
Now it's time to wrap the gift, we cut out a square and place two ribbons in the shape of a cross and finish with a pretty bow in the center.
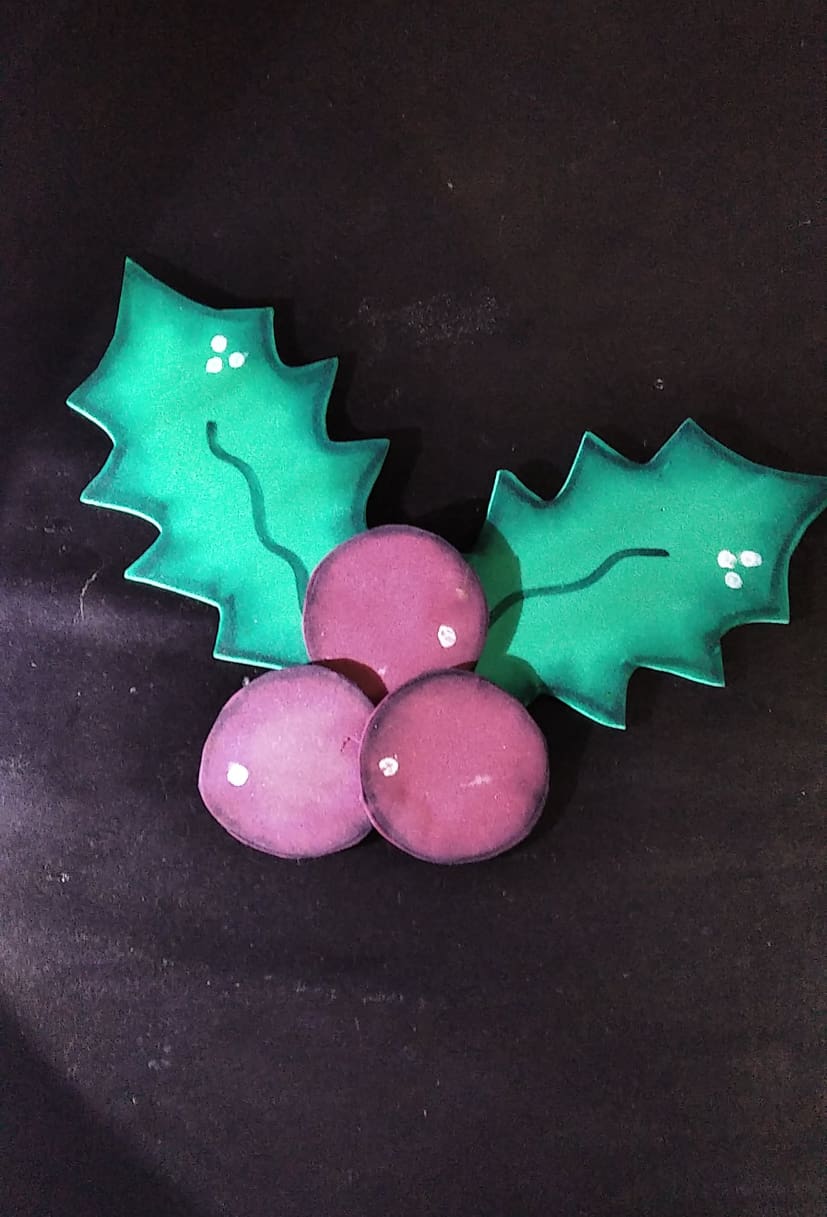
Recortamos tres círculos y dos hojas verdes en foami, se demarcan con marcador negro y se frota con el dedo para que tome apariencia de envejecido
Cut out three circles and two green leaves in foami, mark them with black marker and rub them with your finger to give them an aged appearance.
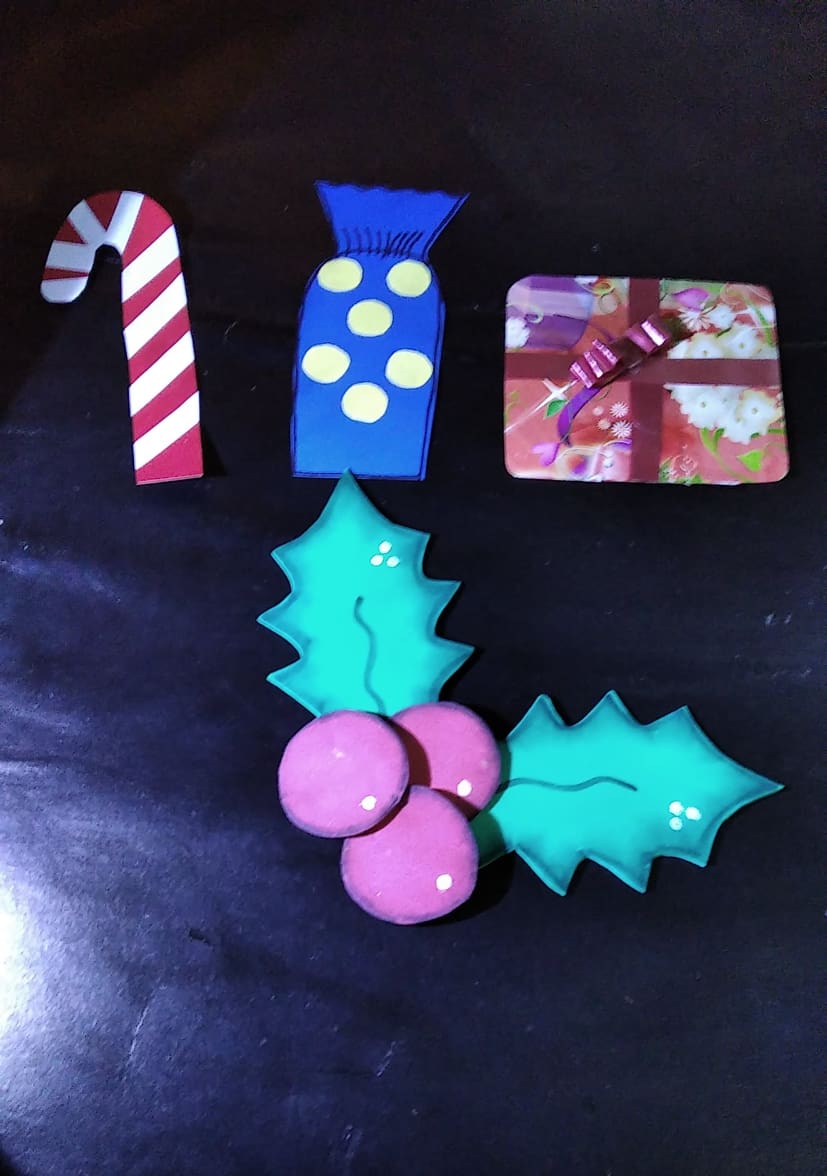
Se recorta la forma de la bota en cartón y se pega en la parte de atrás y ahora sí, comenzamos armar nuestra bota. Comenzando por el bastón el cual se pega al lado del caramelo por la parte de atrás de la bota. Seguidamente se pega el regalo y por ultimo las hojas y las bolas de navidad
Cut out the shape of the boot in cardboard and glue it on the back and now we start to assemble our boot. Starting with the cane which is glued to the side of the candy on the back of the boot. Next we glue the gift and finally the leaves and the Christmas balls.
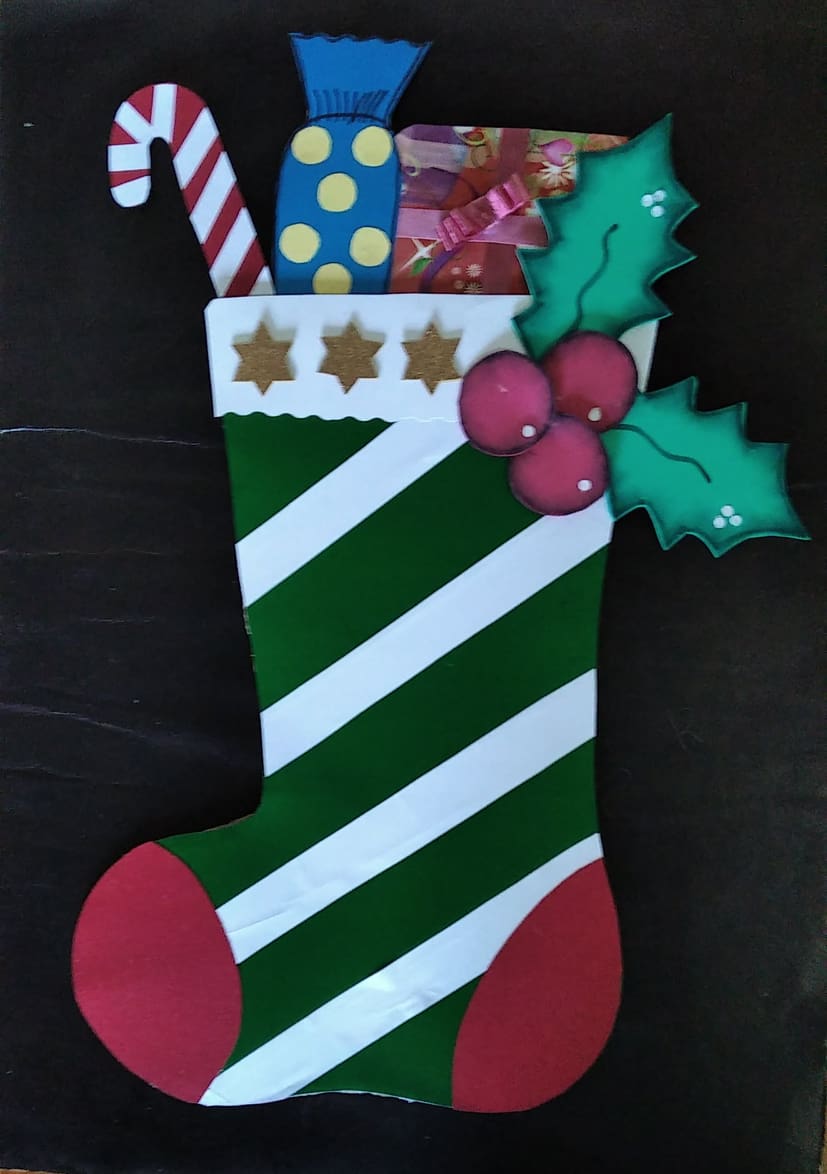
RESULTADO FINAL/FINAL RESULT
Las fotos son de mi autoría y fueron tomadas con mi celular Redmi7/The photos are of my authorship and were taken with my Redmi7 cell phone
Gracias dojeda,feliz día
Gracias por el apoyo @mayvileros,bendecido día