¡Hola comunidad Hive Diy!/Hello Hive Diy community!
Mi proyecto de hoy es la realización de un Robot a partir de una lata de fórmula para bebes, una lata de atún y chapas, a continuación, les muestro el proceso y les enseño como lo hice
My project today is the realization of a Robot from a baby formula can, a tuna can and sheets, then I show you the process and show you how I did it.
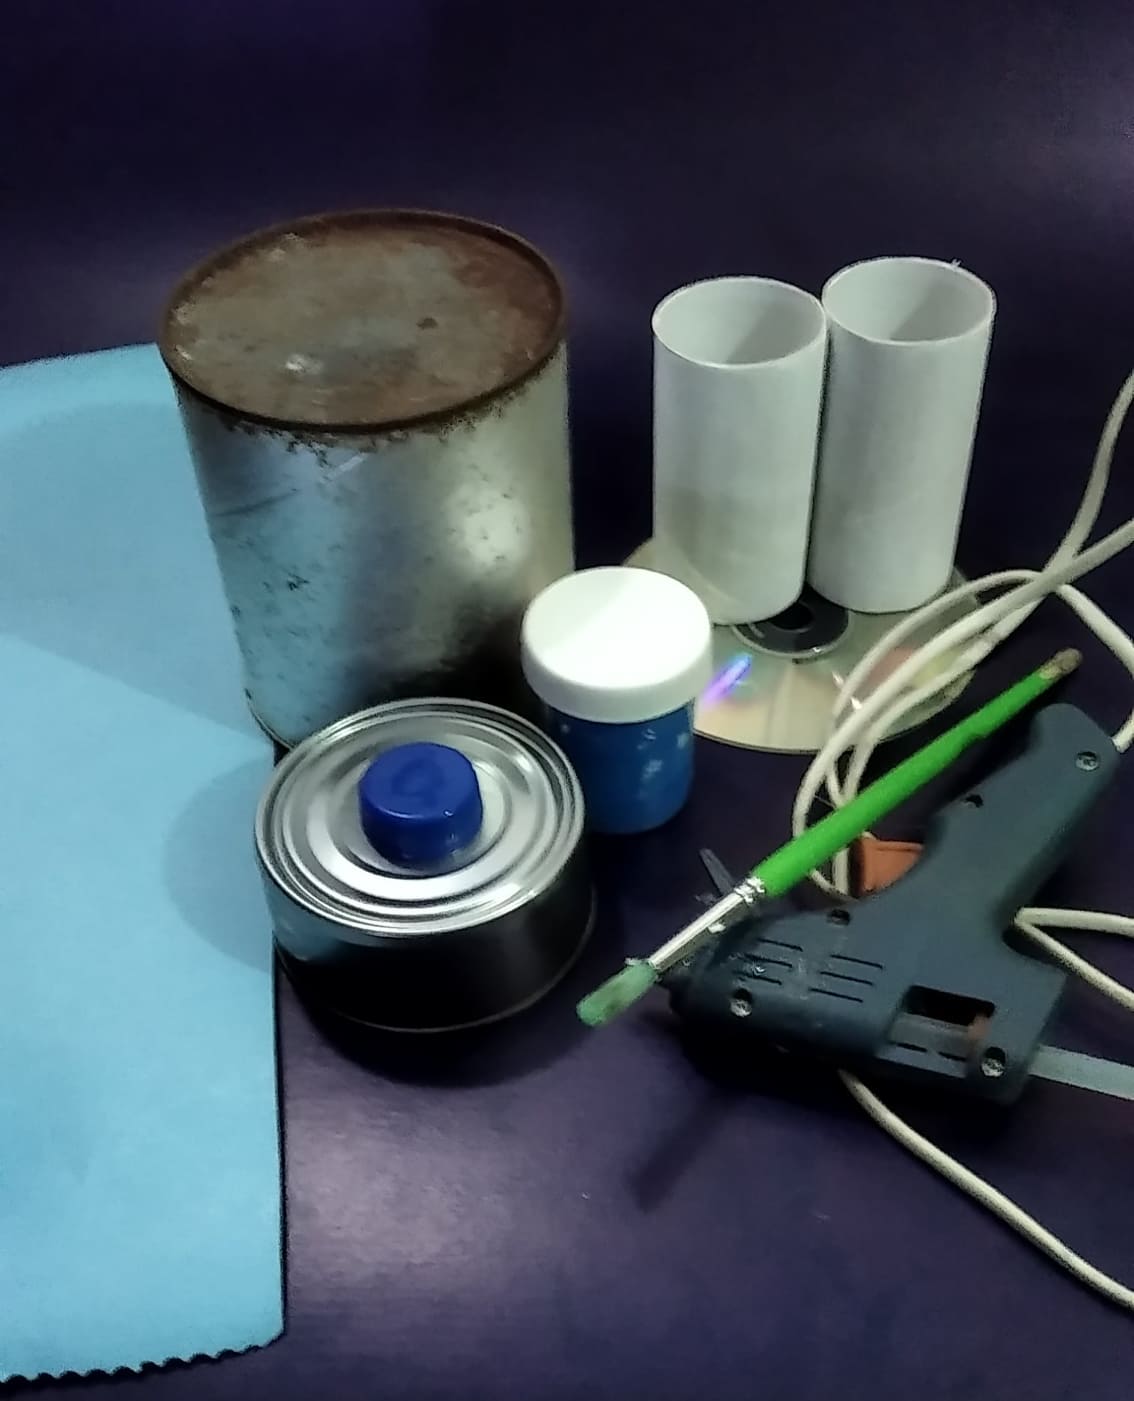
MATERIALES//MATERIALS
- LATA DE FORMULA PARA BEBE
- PISTOLA DE SILICON
- TUBOS DE CARTON
- TAPA DE REFRESCO
- CARTULINA AZUL
- LATA DE ATUN
- PINTURA AZUL
- CHAPAS
- PINCEL
- CD
- CAN OF BABY FORMULA
- SILICONE GUN
- CARDBOARD TUBES
- SODA CAP
- BLUE CARDBOARD
- TUNA CAN
- BLUE PAINT
- PLATES
- PENCIL
- CD
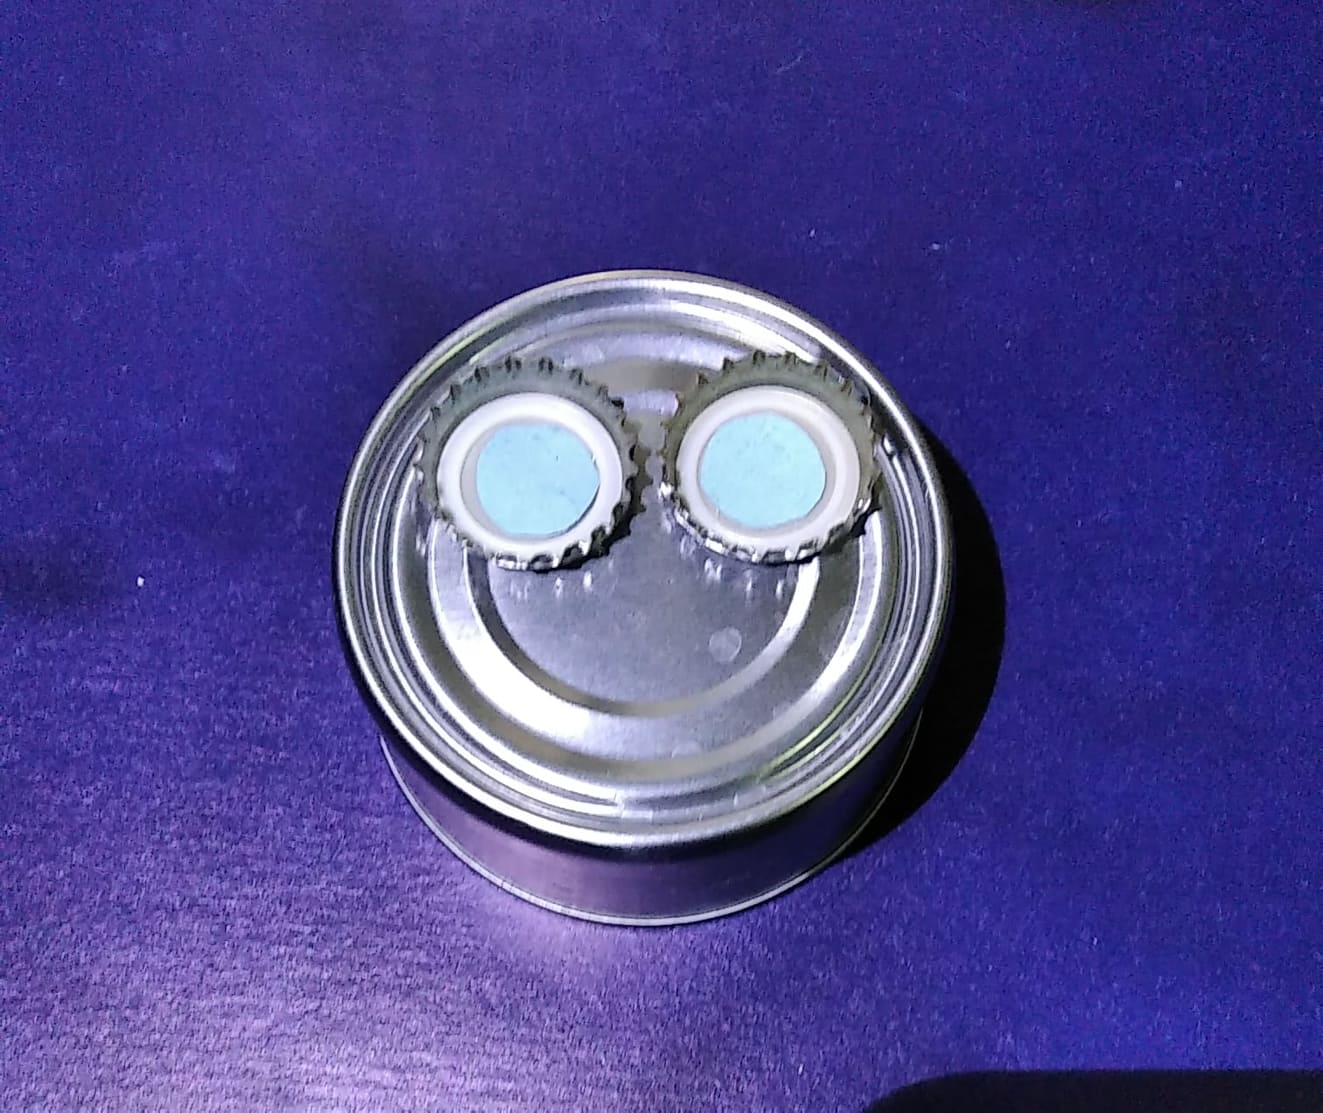
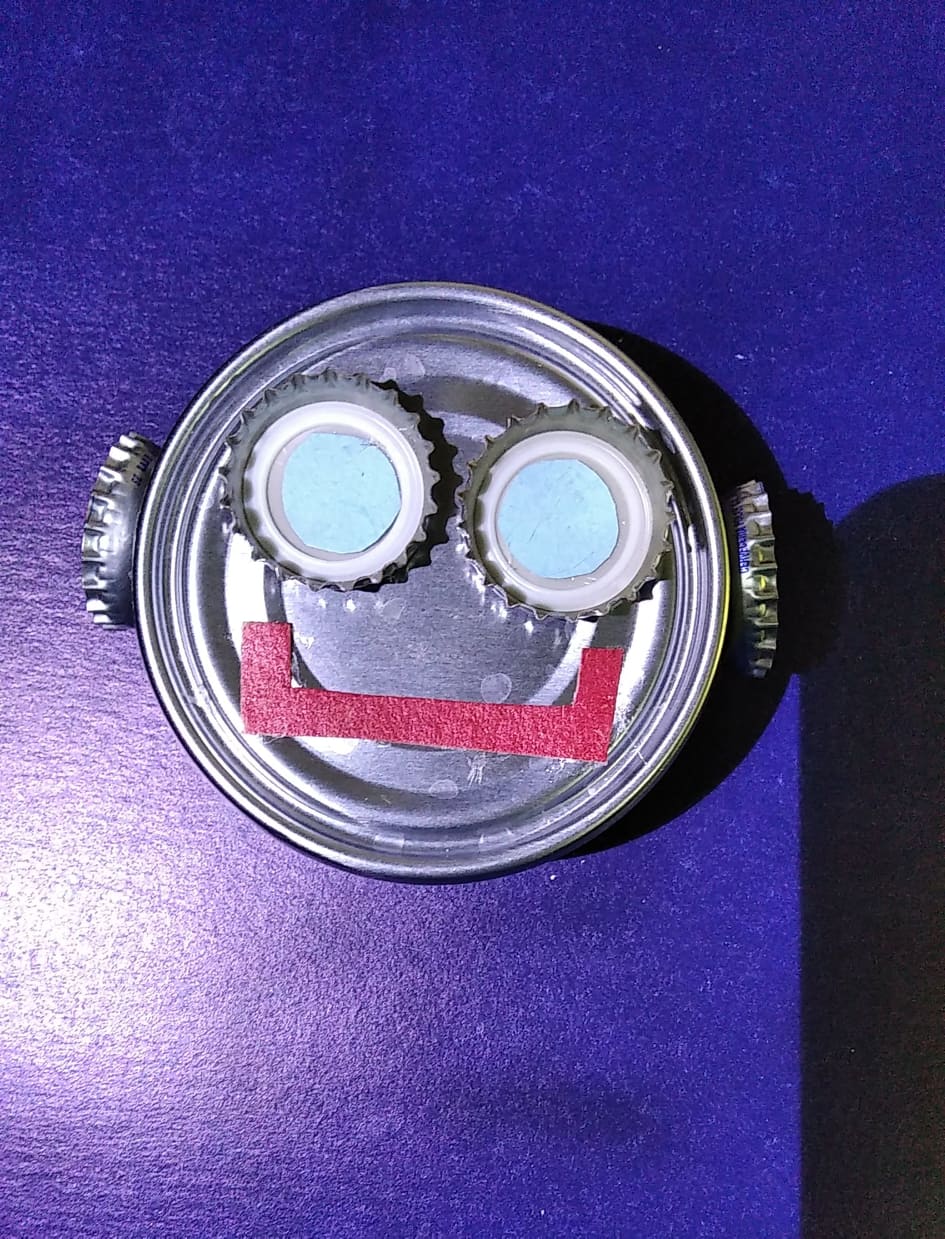
Lo primero que hice fue hacer los ojos del robot para ello emplee dos chapas y un circulo de cartulina azul. Luego pegue dos chapas a los lados para simular las orejas y coloque una boca sonriente realizada con cartulina roja
The first thing I did was to make the eyes of the robot using two sheets and a circle of blue cardboard. Then I glued two sheets on the sides to simulate the ears and placed a smiling mouth made with red cardboard.
El siguiente paso fue pintar de azul los tubos de cartón y pegarlos debajo de la lata grande para simular las piernas. Sobre la lata pegue el CD y sobre el CD pegue la tapa plástica de refresco para simular el cuello
The next step was to paint the cardboard tubes blue and glue them under the large can to simulate the legs. On top of the can I glued the CD and on top of the CD I glued the plastic soda lid to simulate the neck.
El siguiente paso es hacer los brazos, para ello recorte dos tiras de cartulina azul de 2cm de ancho y uní las puntas para luego ir doblando hasta que quede en forma de acordeón
The next step is to make the arms, for this cut two strips of blue cardboard 2cm wide and join the ends and then fold it until it is in the shape of an accordion.
Para las manos dibuje la forma de la letra "U" con una pestaña debajo la cual servirá para pegar la mano al brazo
For the hands, draw the shape of the letter "U" with a tab underneath to attach the hand to the arm.
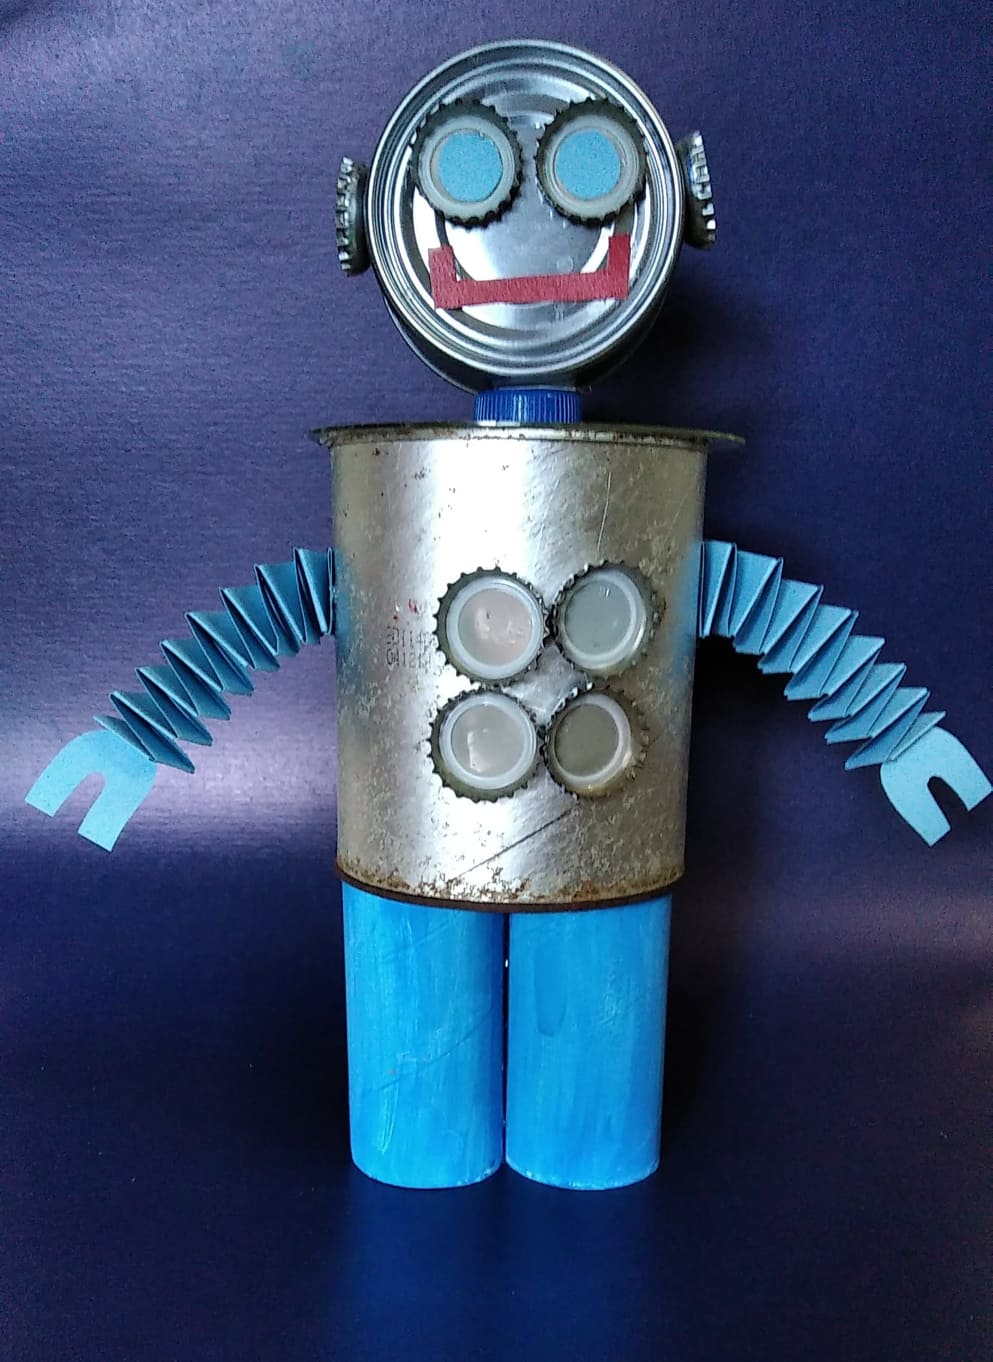
Luego de tener la cabeza y los brazos termine de armar mi robot pegando la cabeza sobre el cuello y un brazo a cada lado de la lata. En el torso pegue cuatro chapas simulando botones en la barriga de mi robot
After I had the head and arms I finished assembling my robot by gluing the head on the neck and one arm on each side of the can. On the torso I glued four plates simulating buttons on the belly of my robot.
RESULTADO FINAL DEL PROYECTO//FINAL RESULT OF THE PROJECT

Las fotos son de mi autoría y fueron tomadas con mi celular Redmi7/The photos are of my authorship and were taken with my Redmi7 cell phone