Saludos cordiales/Best regards
Bienvenidos a mi Blog Amigos/Welcome to my Blog friends
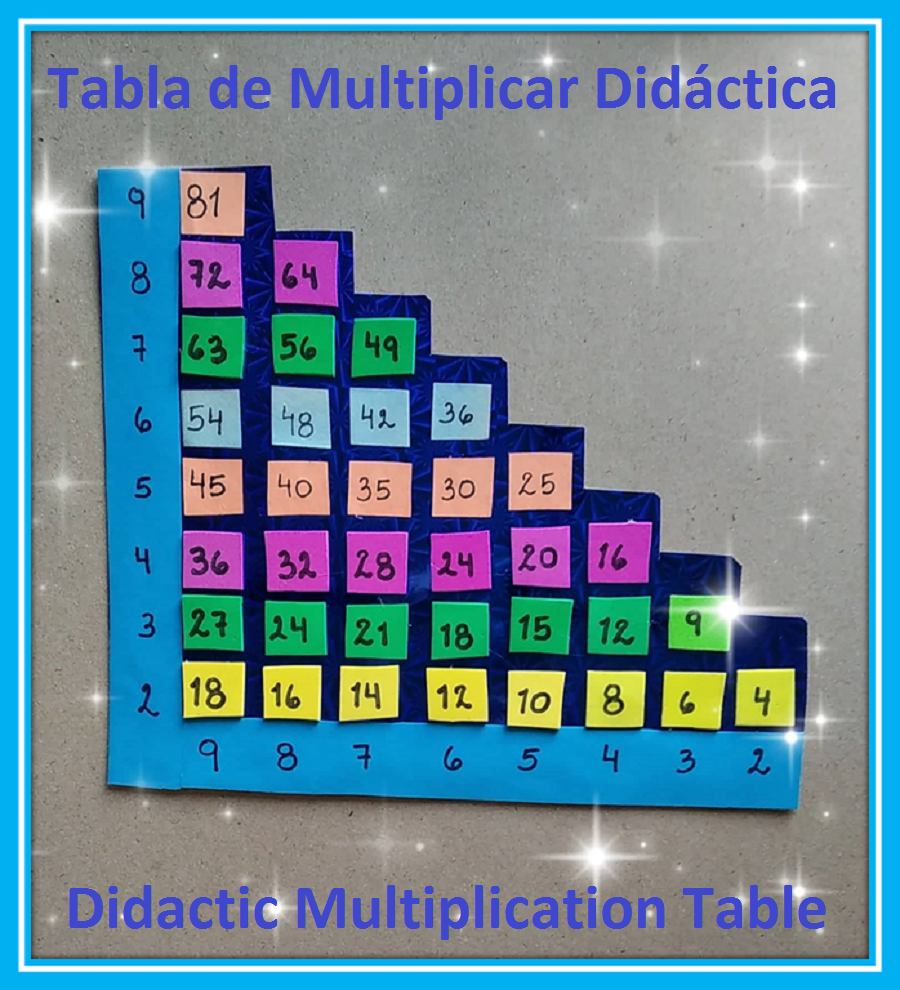
Comenzando el día con la bendición de Dios, espero se encuentren excelentemente bien. Ahorita me encuentro trabajando con niños del tercer grado mi meta es que aprendan la tabla de multiplicar, hay varios niños que ya se la saben, sin embargo, tengo otros que se atascaron en la tabla del dos, así que decidí realizar una tabla de Multiplicar Didáctica para pasar un rato divertido con ellos ya que si el niño es feliz aprende más rápido. La realice con trozos de foami y de cartulina que tenía dispuestos para botar a la basura, pero una vez más reutilizar y reciclar fue la mejor opción. A continuación, les muestro como lo hice
Starting the day with God's blessing, I hope you are excellently well. Right now I am working with third grade children, my goal is for them to learn the multiplication table, there are several children who already know it, however, I have others who got stuck in the table of two, so I decided to make a Didactic Multiplication Table to have a fun time with them because if the child is happy he learns faster. I made it with pieces of foam and cardboard that I had ready to throw away, but once again reusing and recycling was the best option. Here I show you how I did it
MATERIALES A UTILIZAR /THE MATERIALS TO USE
CARTULINA METALIZADA, CARTULINA AZUL, CARTULINA AZUL CLARO,CARTULINA ANARANJADA,FOAMI FUCSIA,FOAMI VERDE,FOAMI AMARILLO,TIJERA,LAPIZ,SILICON FRIO,CARPETA EN DESUSO
METALLIC CARDBOARD, BLUE CARDBOARD, LIGHT BLUE CARDBOARD, ORANGE CARDBOARD, FUCHSIA FOAMI, GREEN FOAMI, YELLOW FOAMI, SCISSORS, PENCIL, COLD SILICON,FOLDER IN DISUSE
PASO A PASO/STEP BY STEP
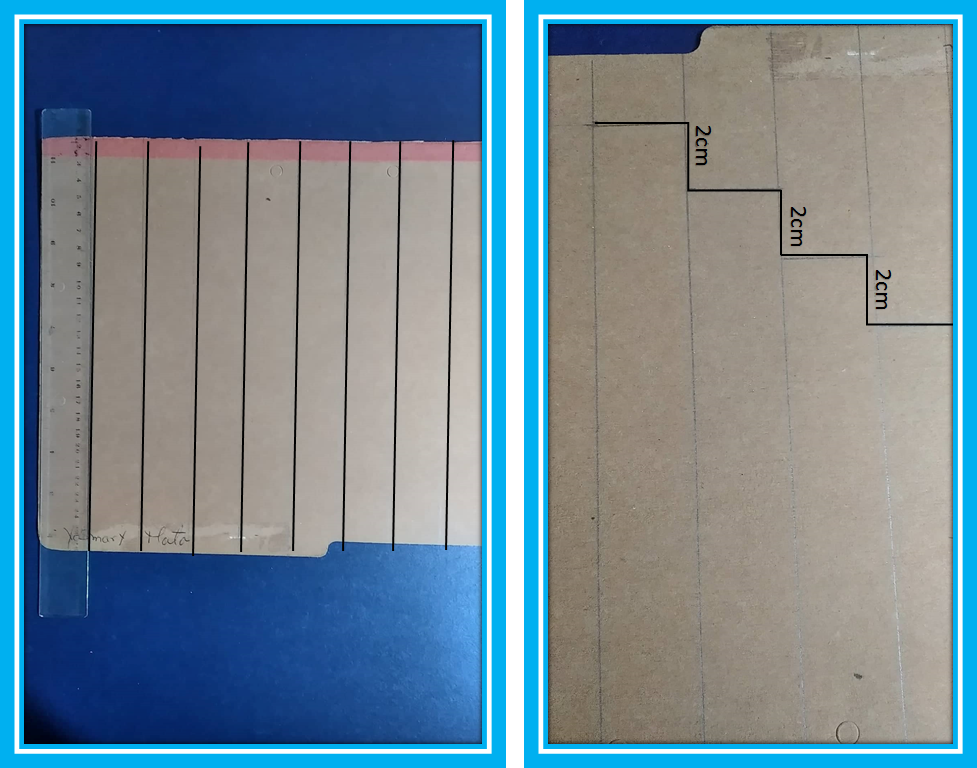
El primer paso es realizar trazos en la carpeta en desuso, esto lo hacemos con la ayuda de una escuadra para tomar el mismo grosor de nuestra escuadra. Luego remarcaos unas líneas que parecen escalones de 2cm, como se observa en la imagen
The first step is to make strokes in the unused folder, we do this with the help of a square to take the same thickness as our square. Then highlight some lines that look like 2cm steps, as seen in the image
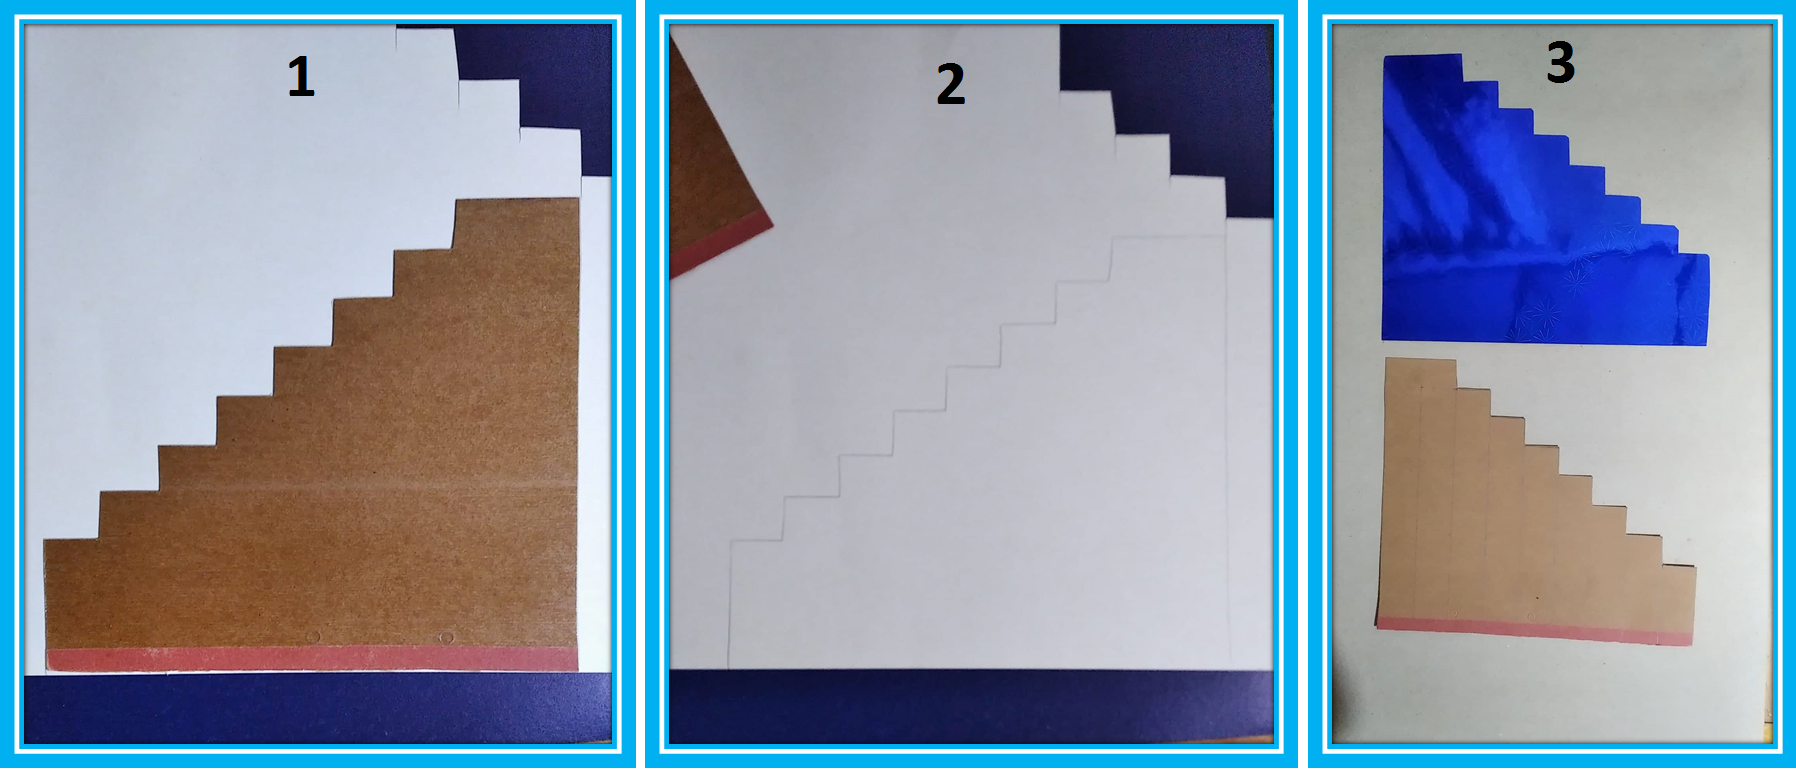
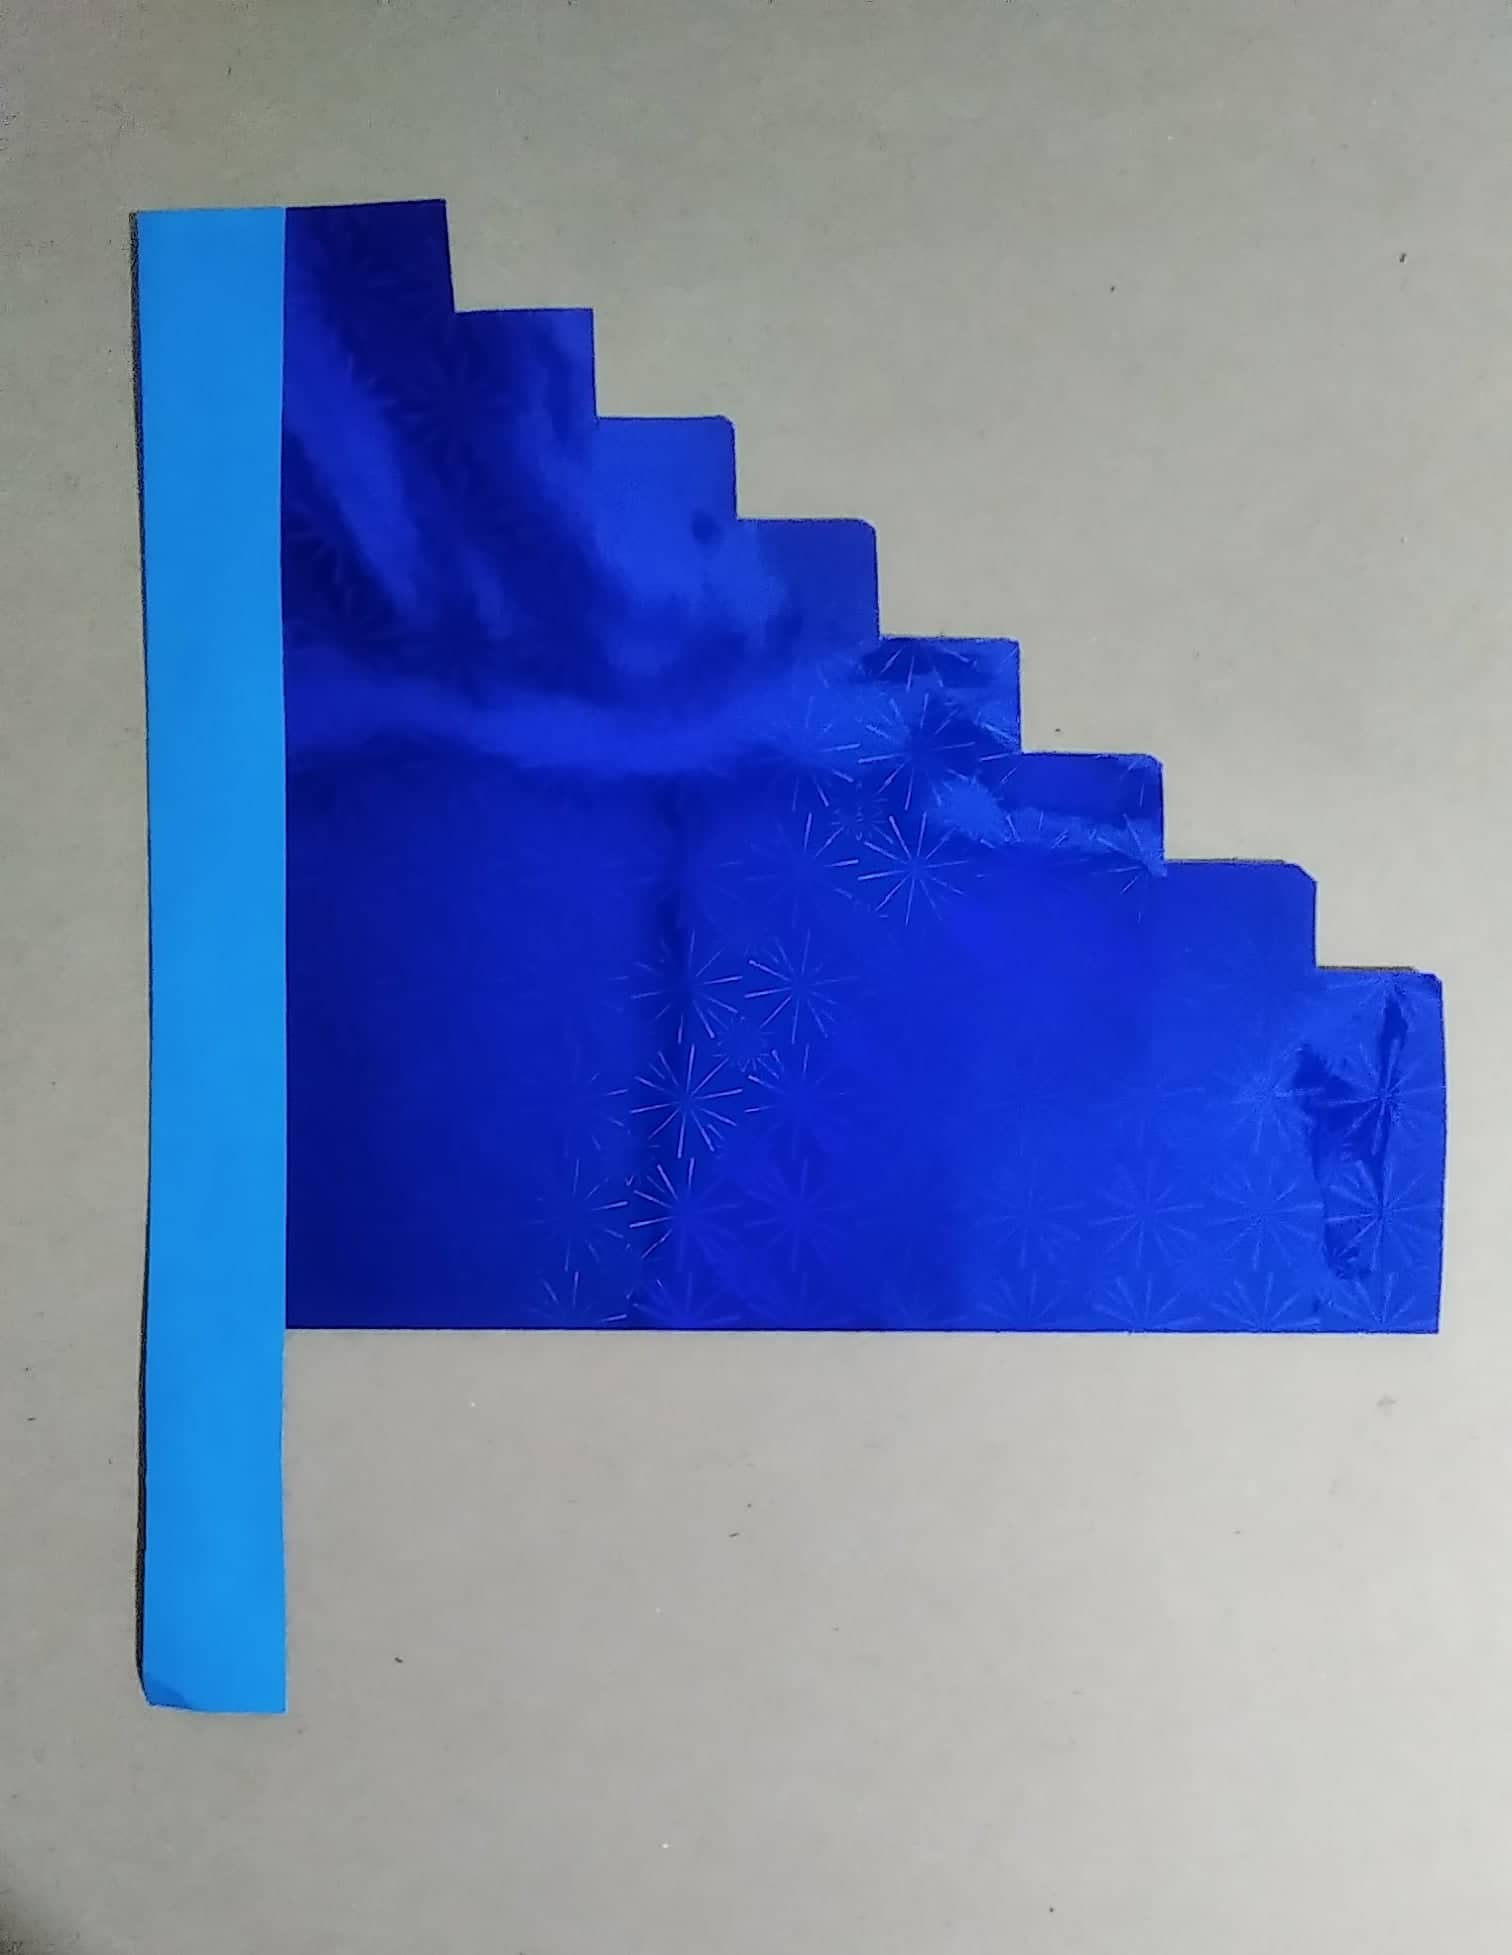
Ahora se recorta la carpeta y se transfiere la forma a la cartulina metalizada de color azul. Coloquen la carpeta al contrario como se ve en la imagen N1, sobre la parte trasera de la cartulina metalizada para que no les pase como a mí, que coloque la carpeta y no la voltee, cuando recorte no cuadro y tuve que hacerlo de nuevo jajaja
Una vez que se recorta se pega la metalizada sobre la carpeta. Esto lo realice así para darle soporte y para que quede más resistente
Now the folder is cut out and the shape is transferred to the metallic blue cardboard. Place the folder the other way around as seen in image N1, on the back of the metallic cardboard so that it doesn't happen to you like it did to me, place the folder and don't turn it over, when I cut it out I didn't box and I had to do it again hahaha
Once it is cut, the metallic one is glued on the folder. Do this like this to give it support and to make it more resistant
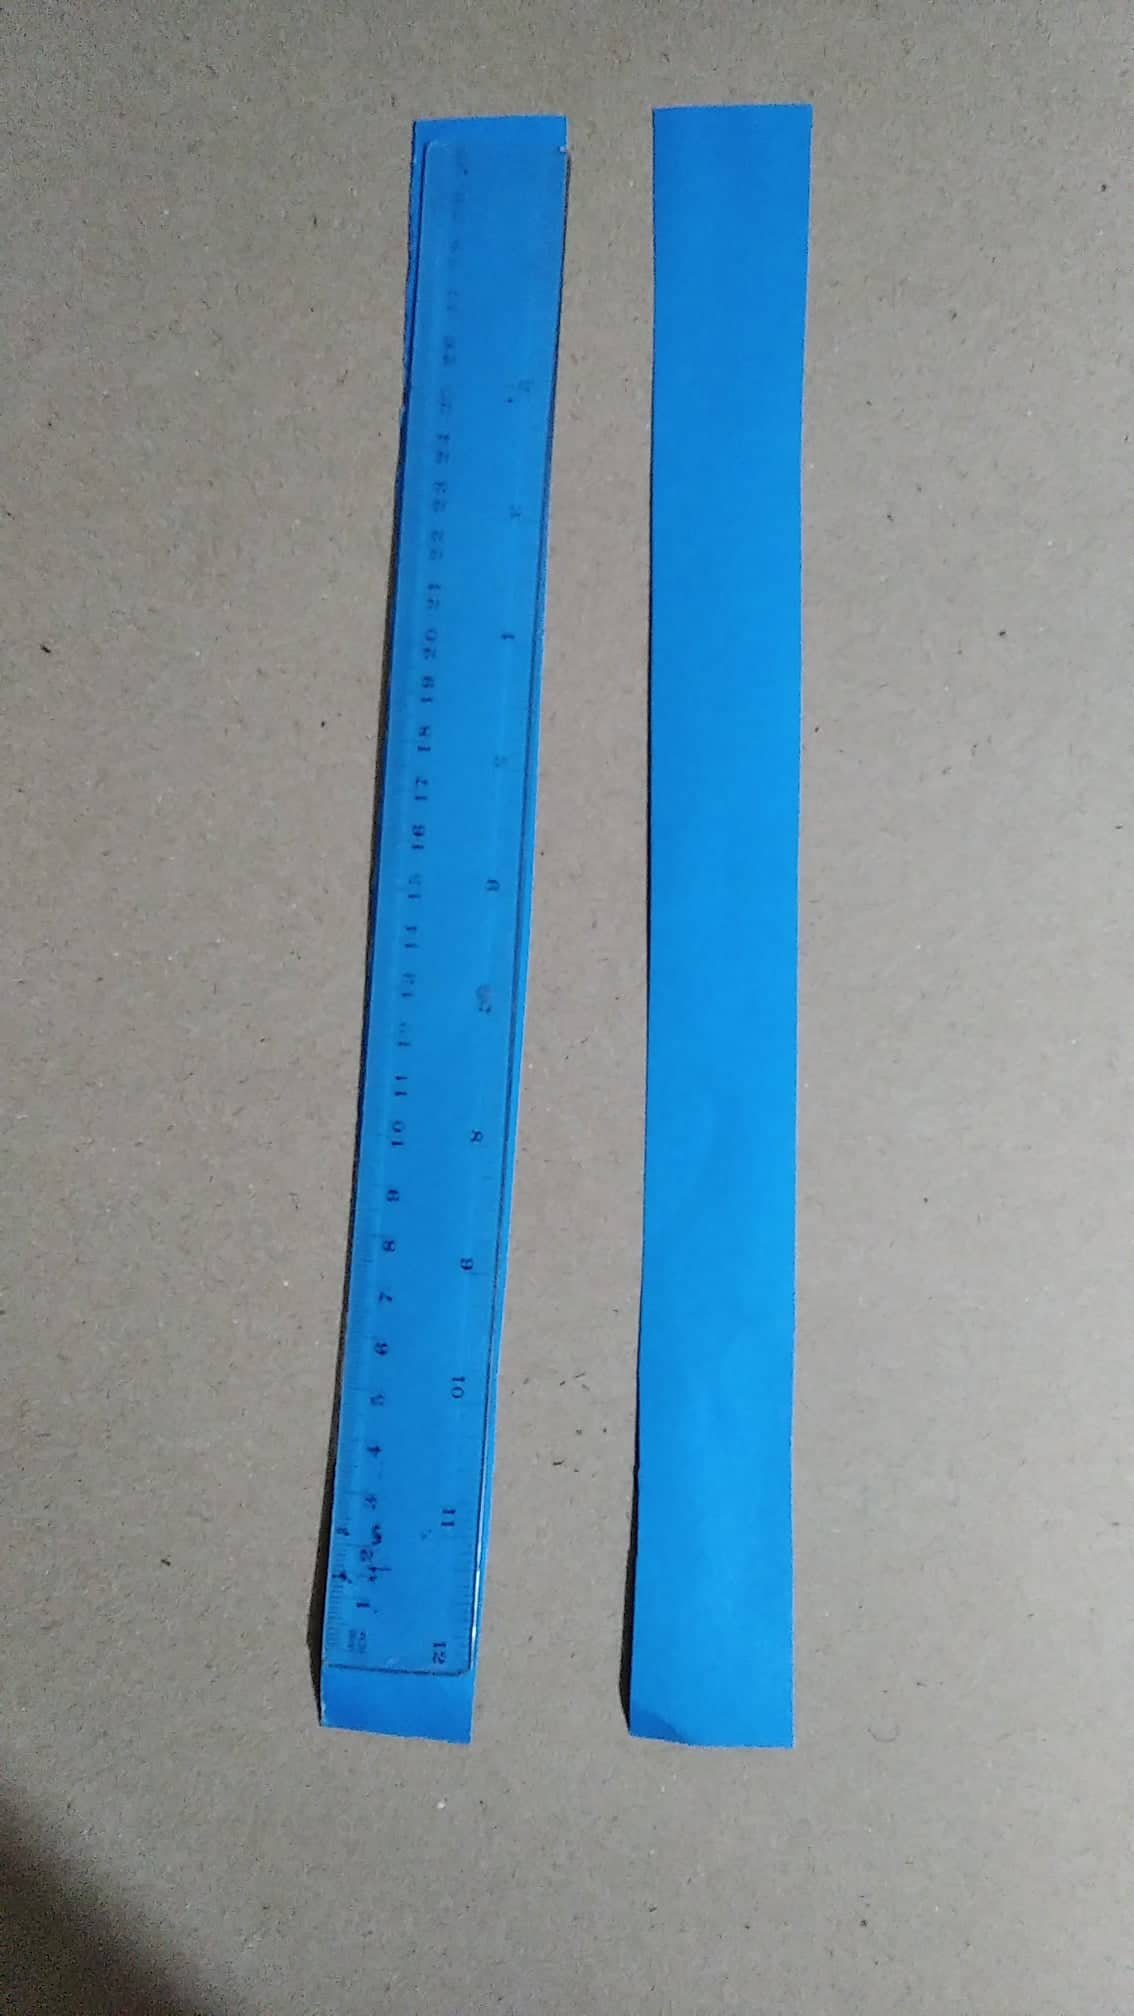
Se cortan dos listones del grosor de la escuadra, el largo no importa ya que luego se va a recortar
Two strips of the thickness of the square are cut, the length does not matter since it will be cut later
Pegamos un listón en la parte izquierda
We glue a ribbon on the left side
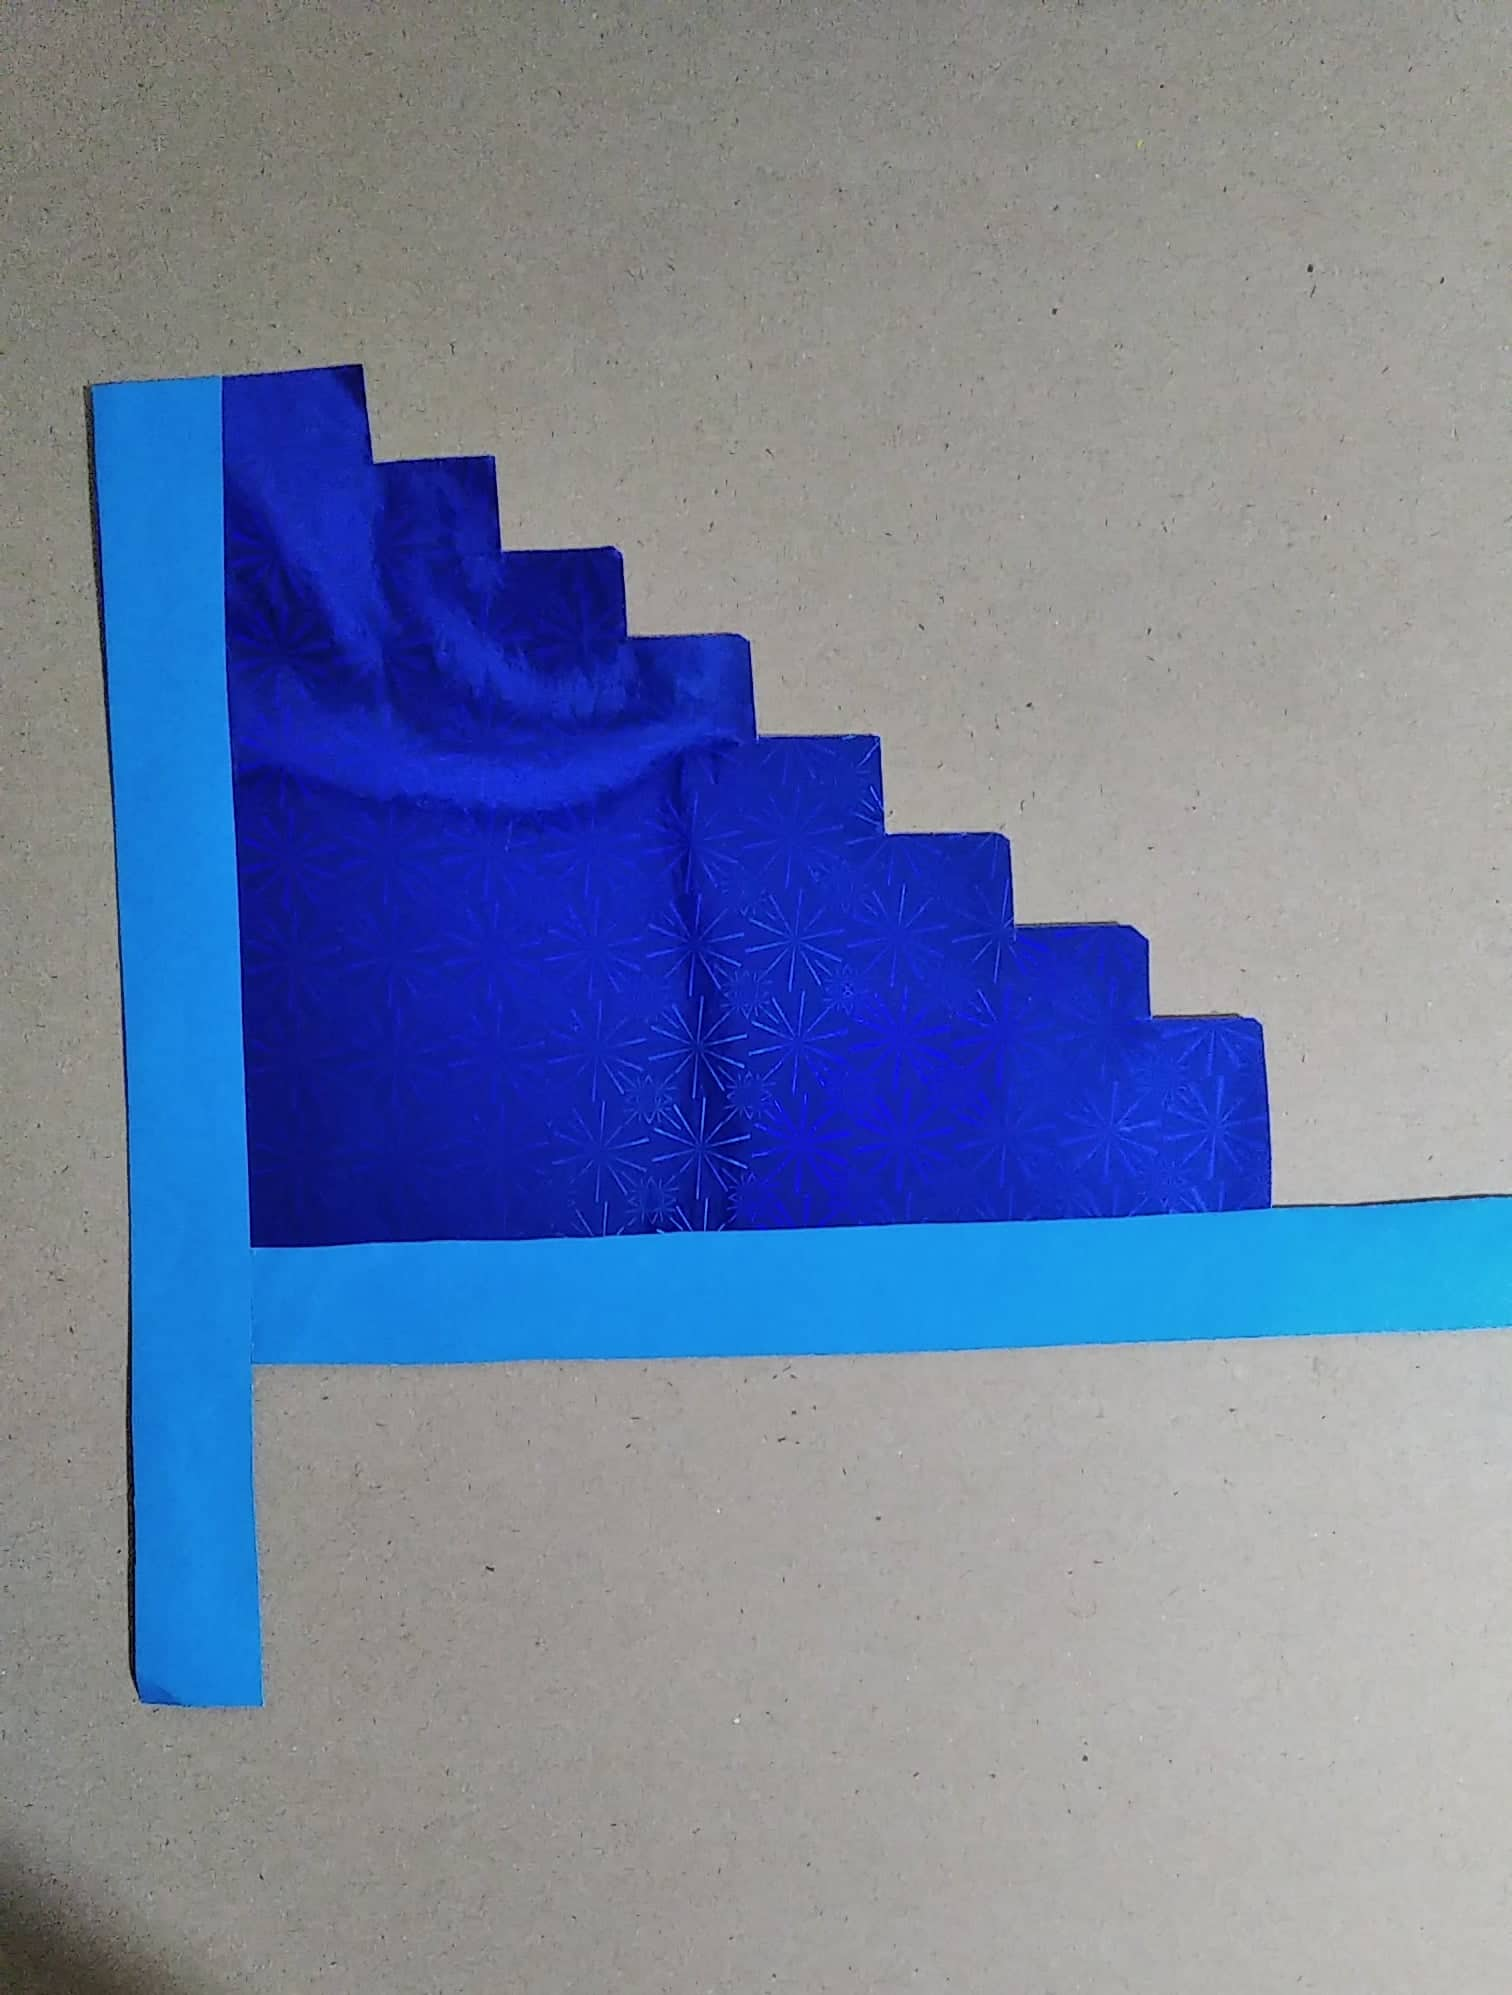
Luego pegamos el listo que falta en la parte de abajo
Then we paste the list that is missing at the bottom
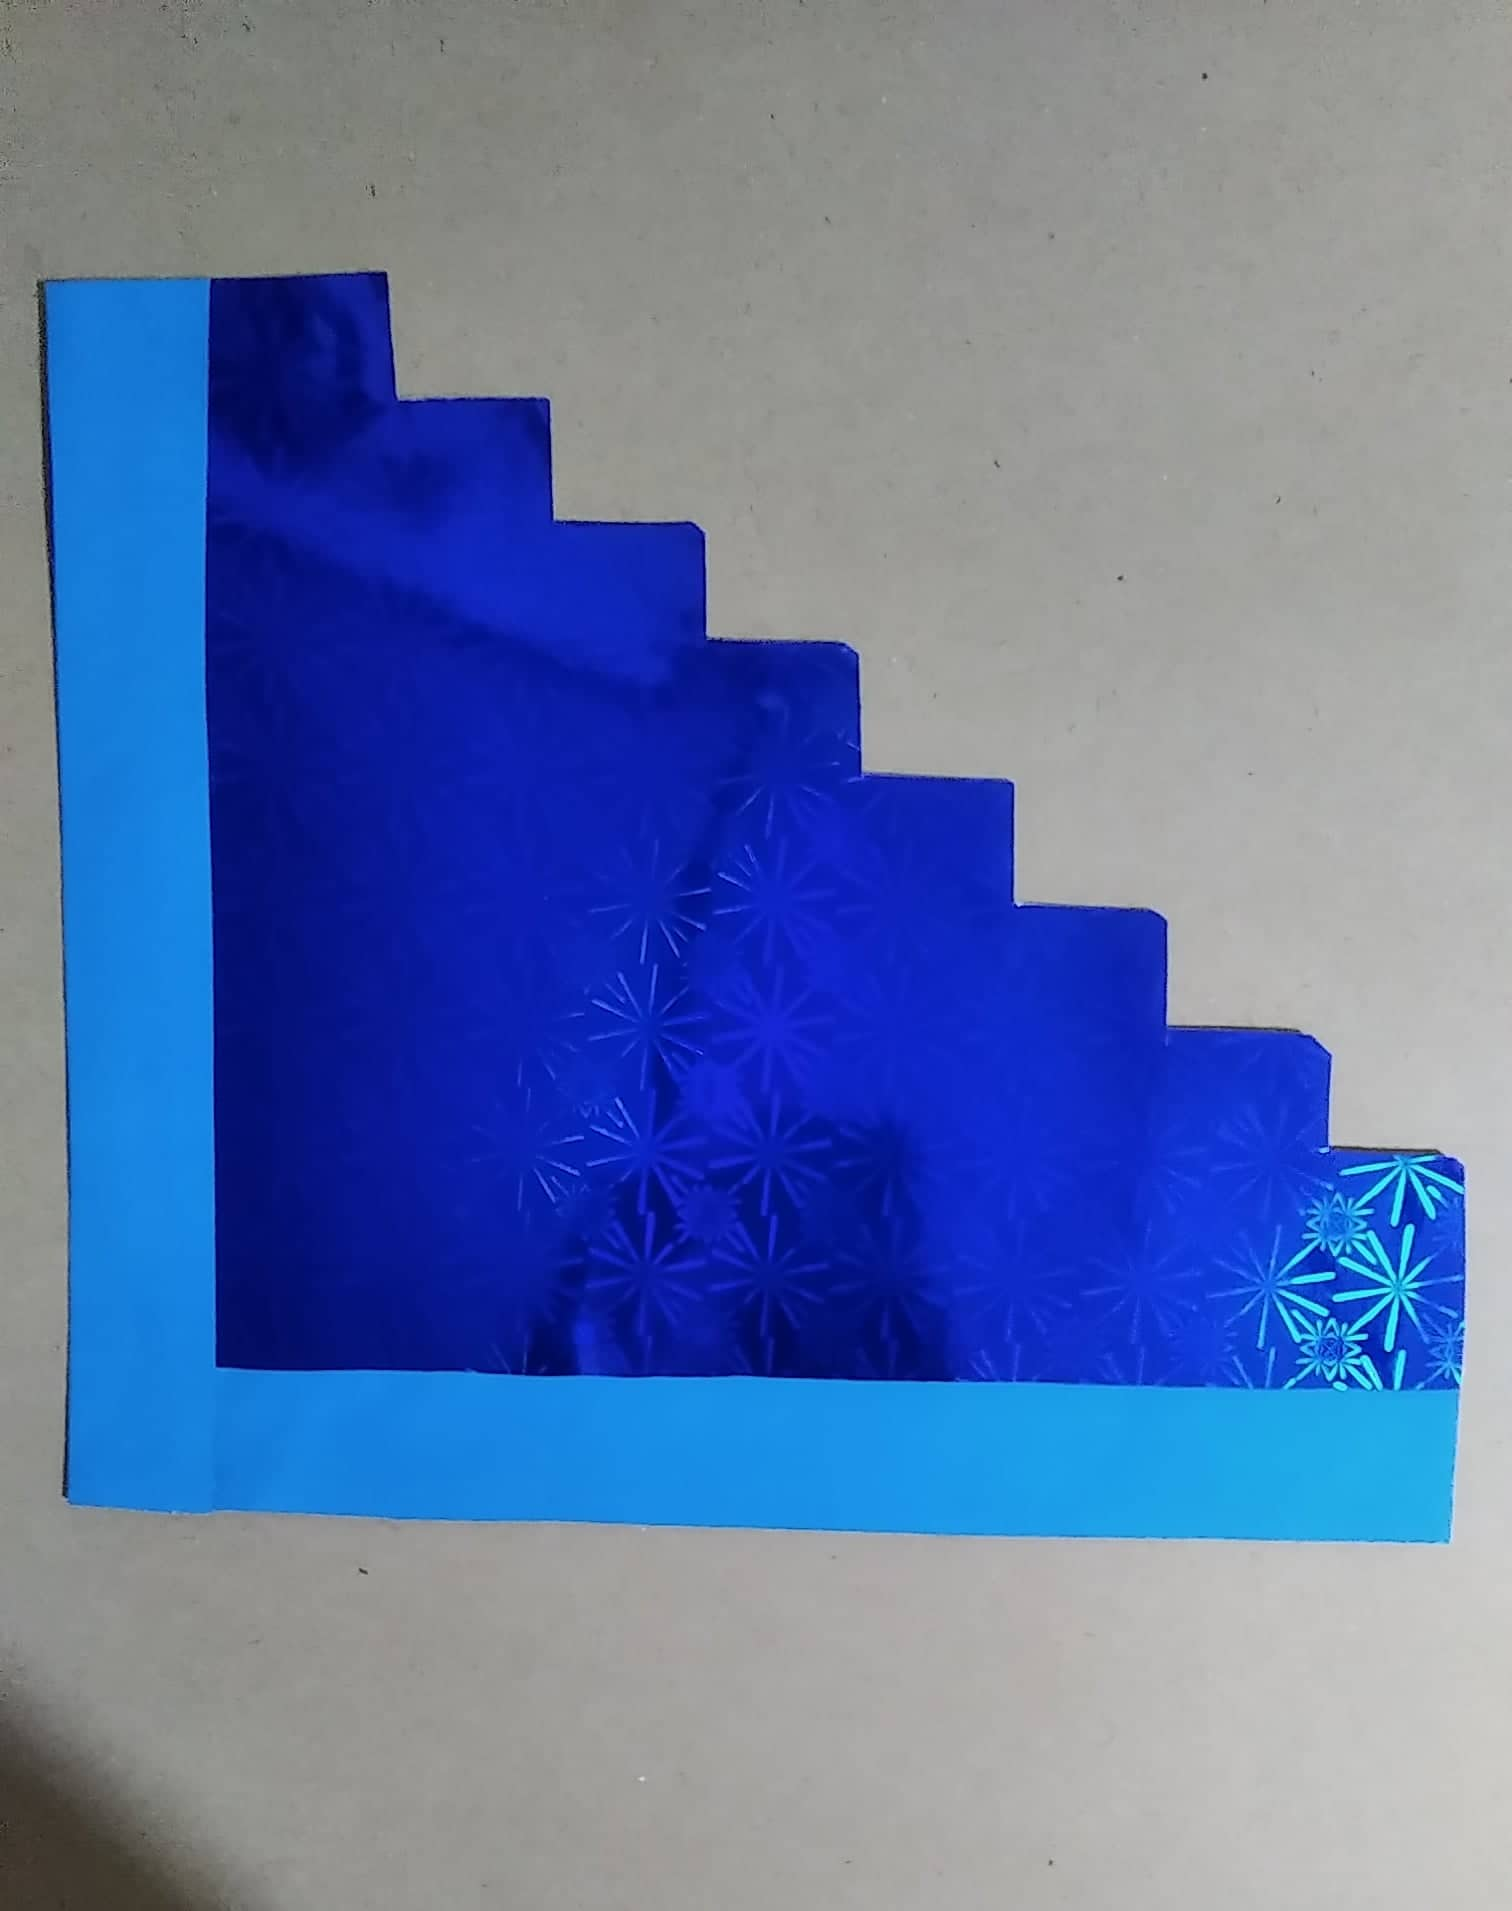
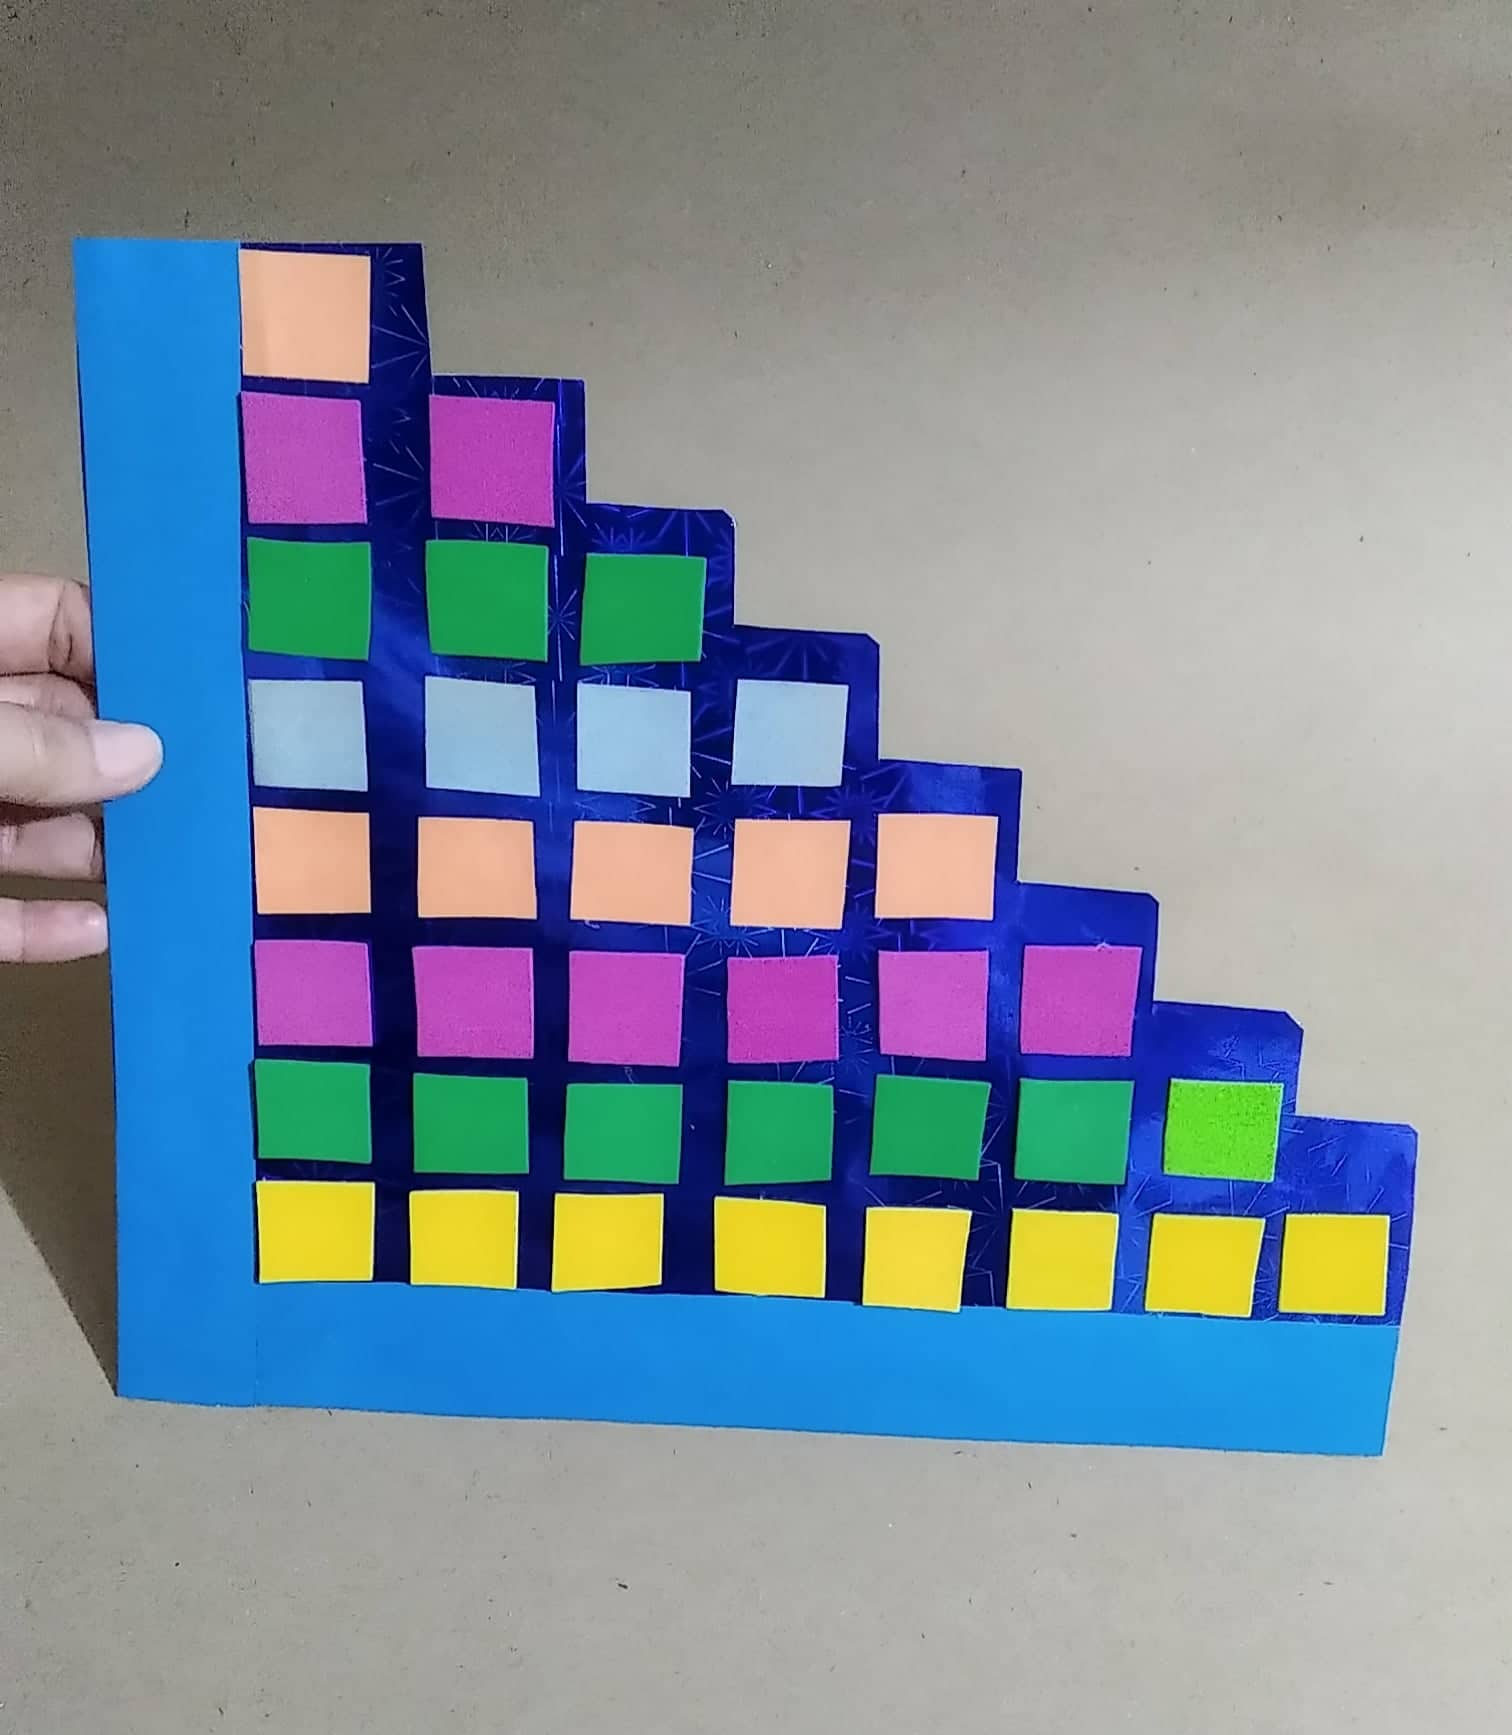
Se recortan los excedentes con la tijera y queda de esta forma
The excesses are trimmed with scissors and it remains this way
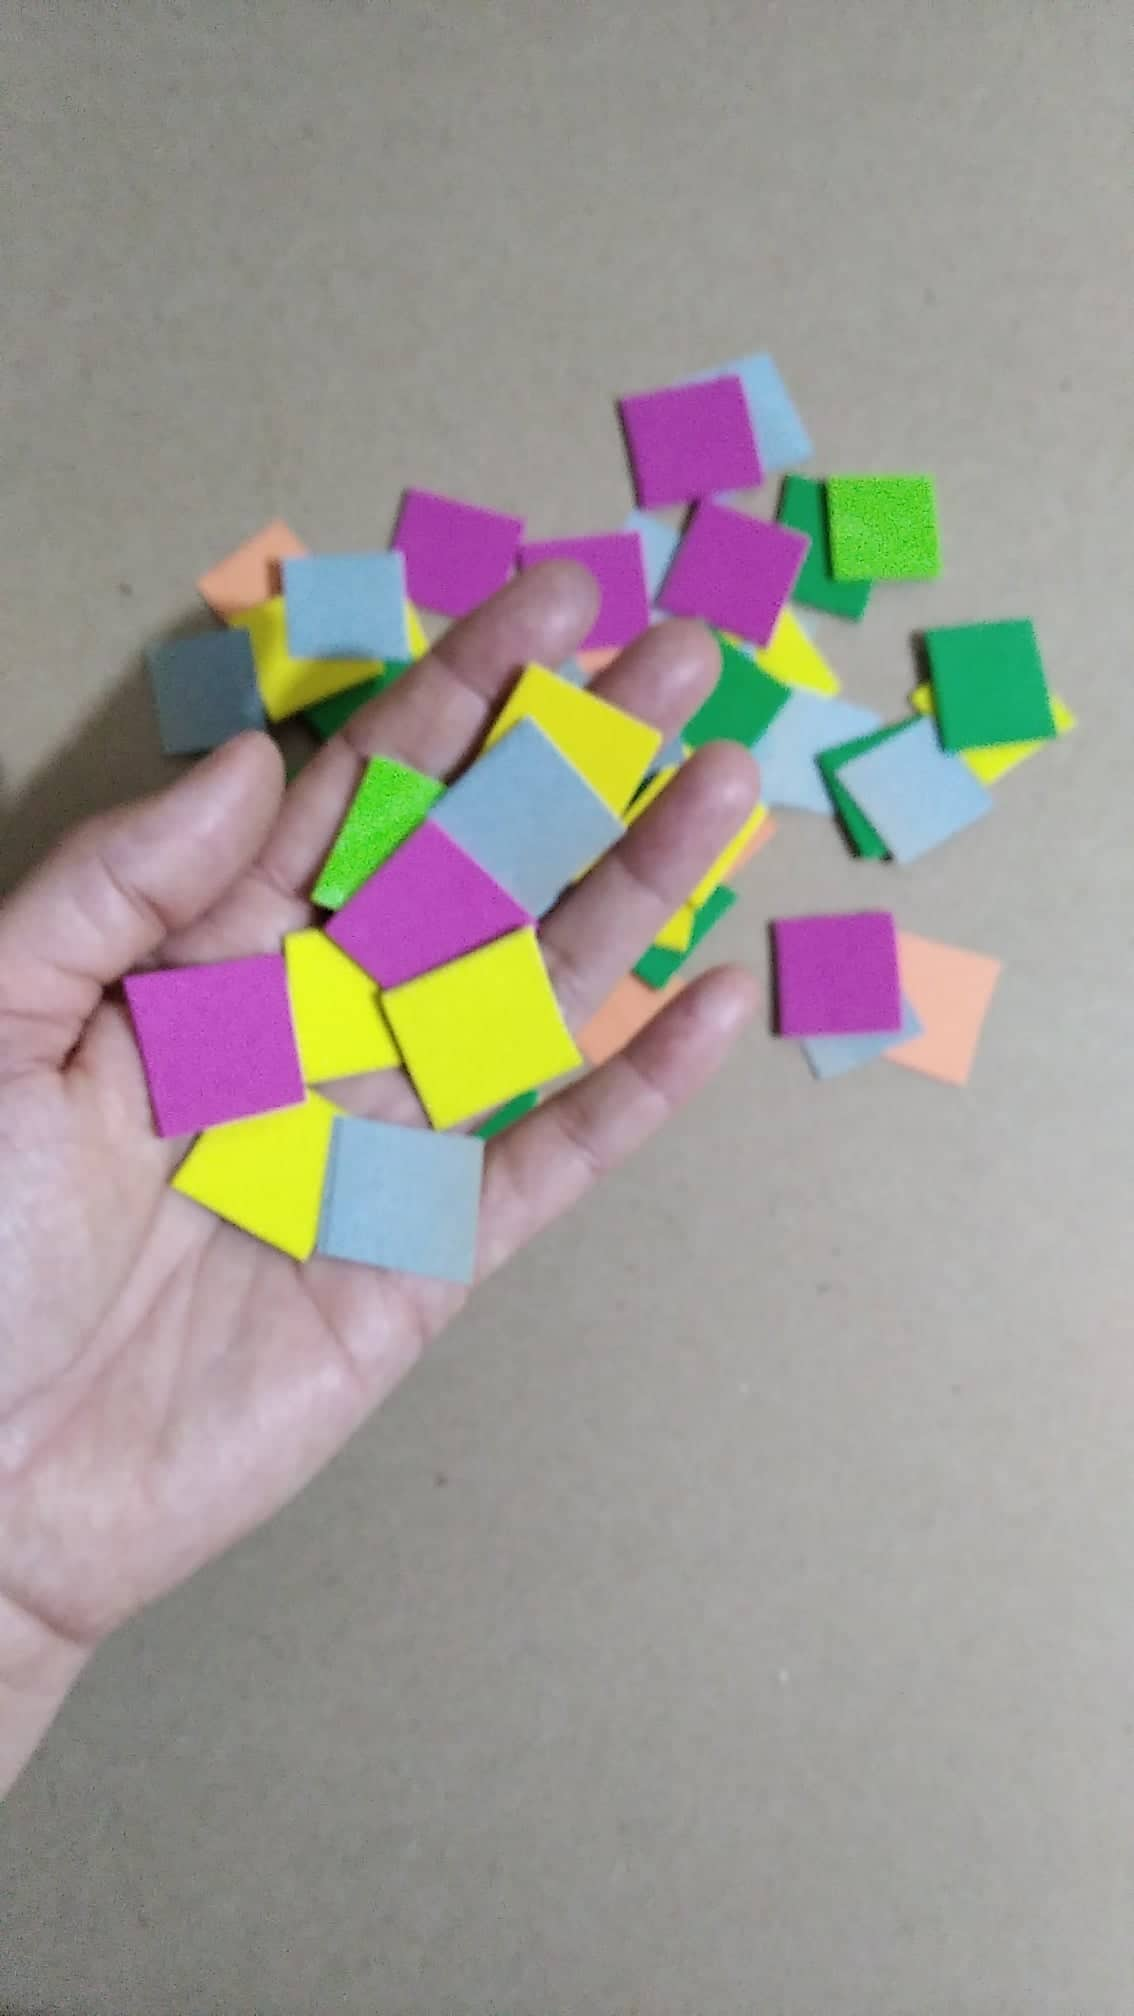
Para escribir los números de la tabla de multiplicar recorte varios cuadrados de diferentes colores
To write the numbers of the multiplication table cut out several squares of different colors
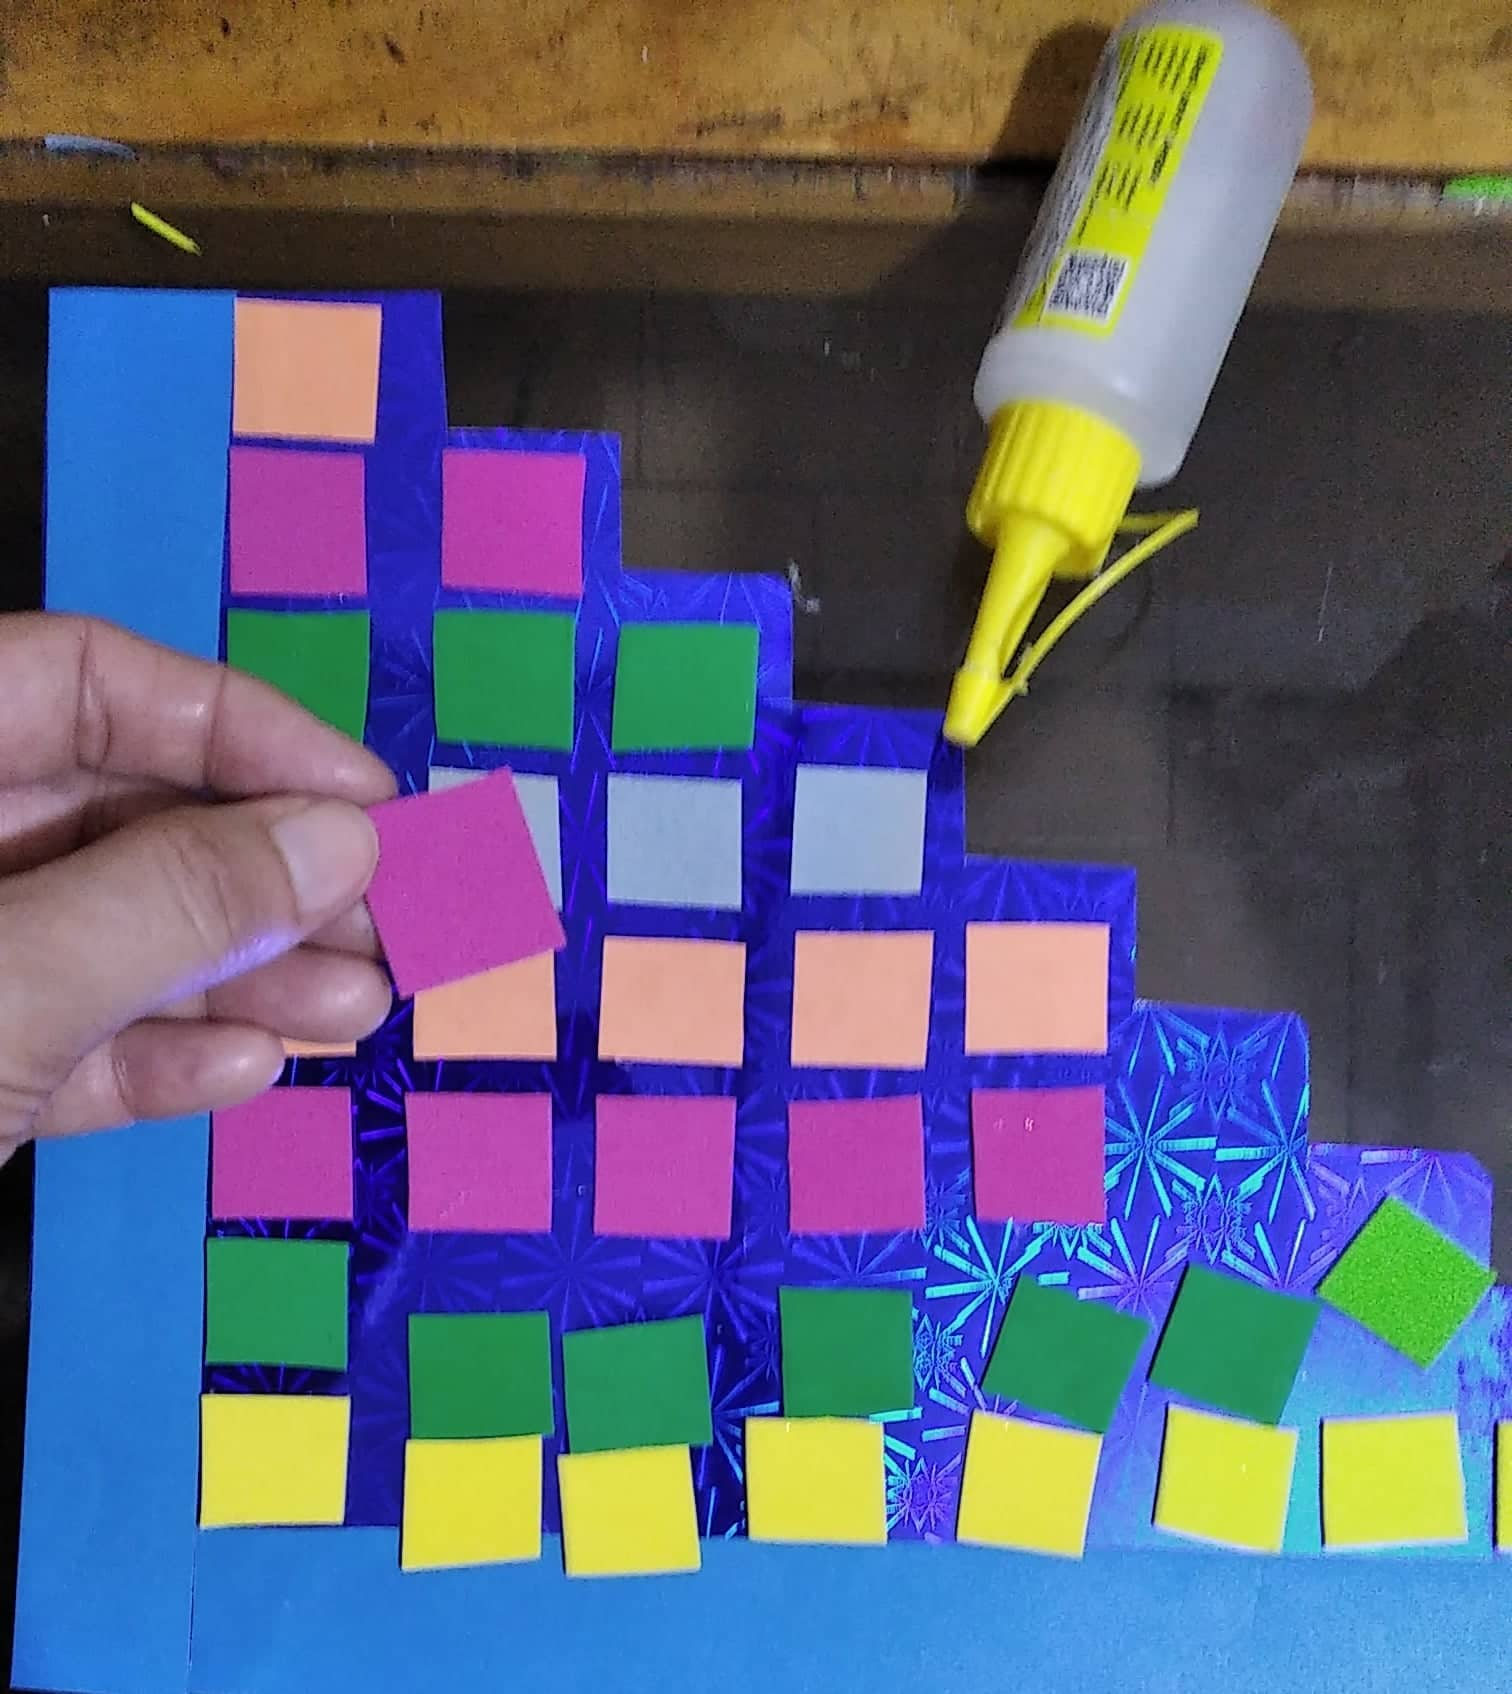
Ya recortados los cuadrados me dispuse a pegarlos con silicón frio realizando columnas. Los cuadrados tienen que quedar uno debajo del otro. Hice todo lo posible por cumplir esto, pero en algunas partes se me descuadro
Once the squares were cut out, I prepared to paste them with cold silicone, making columns. The squares have to be one below the other. I did my best to accomplish this, but in some places I lost focus
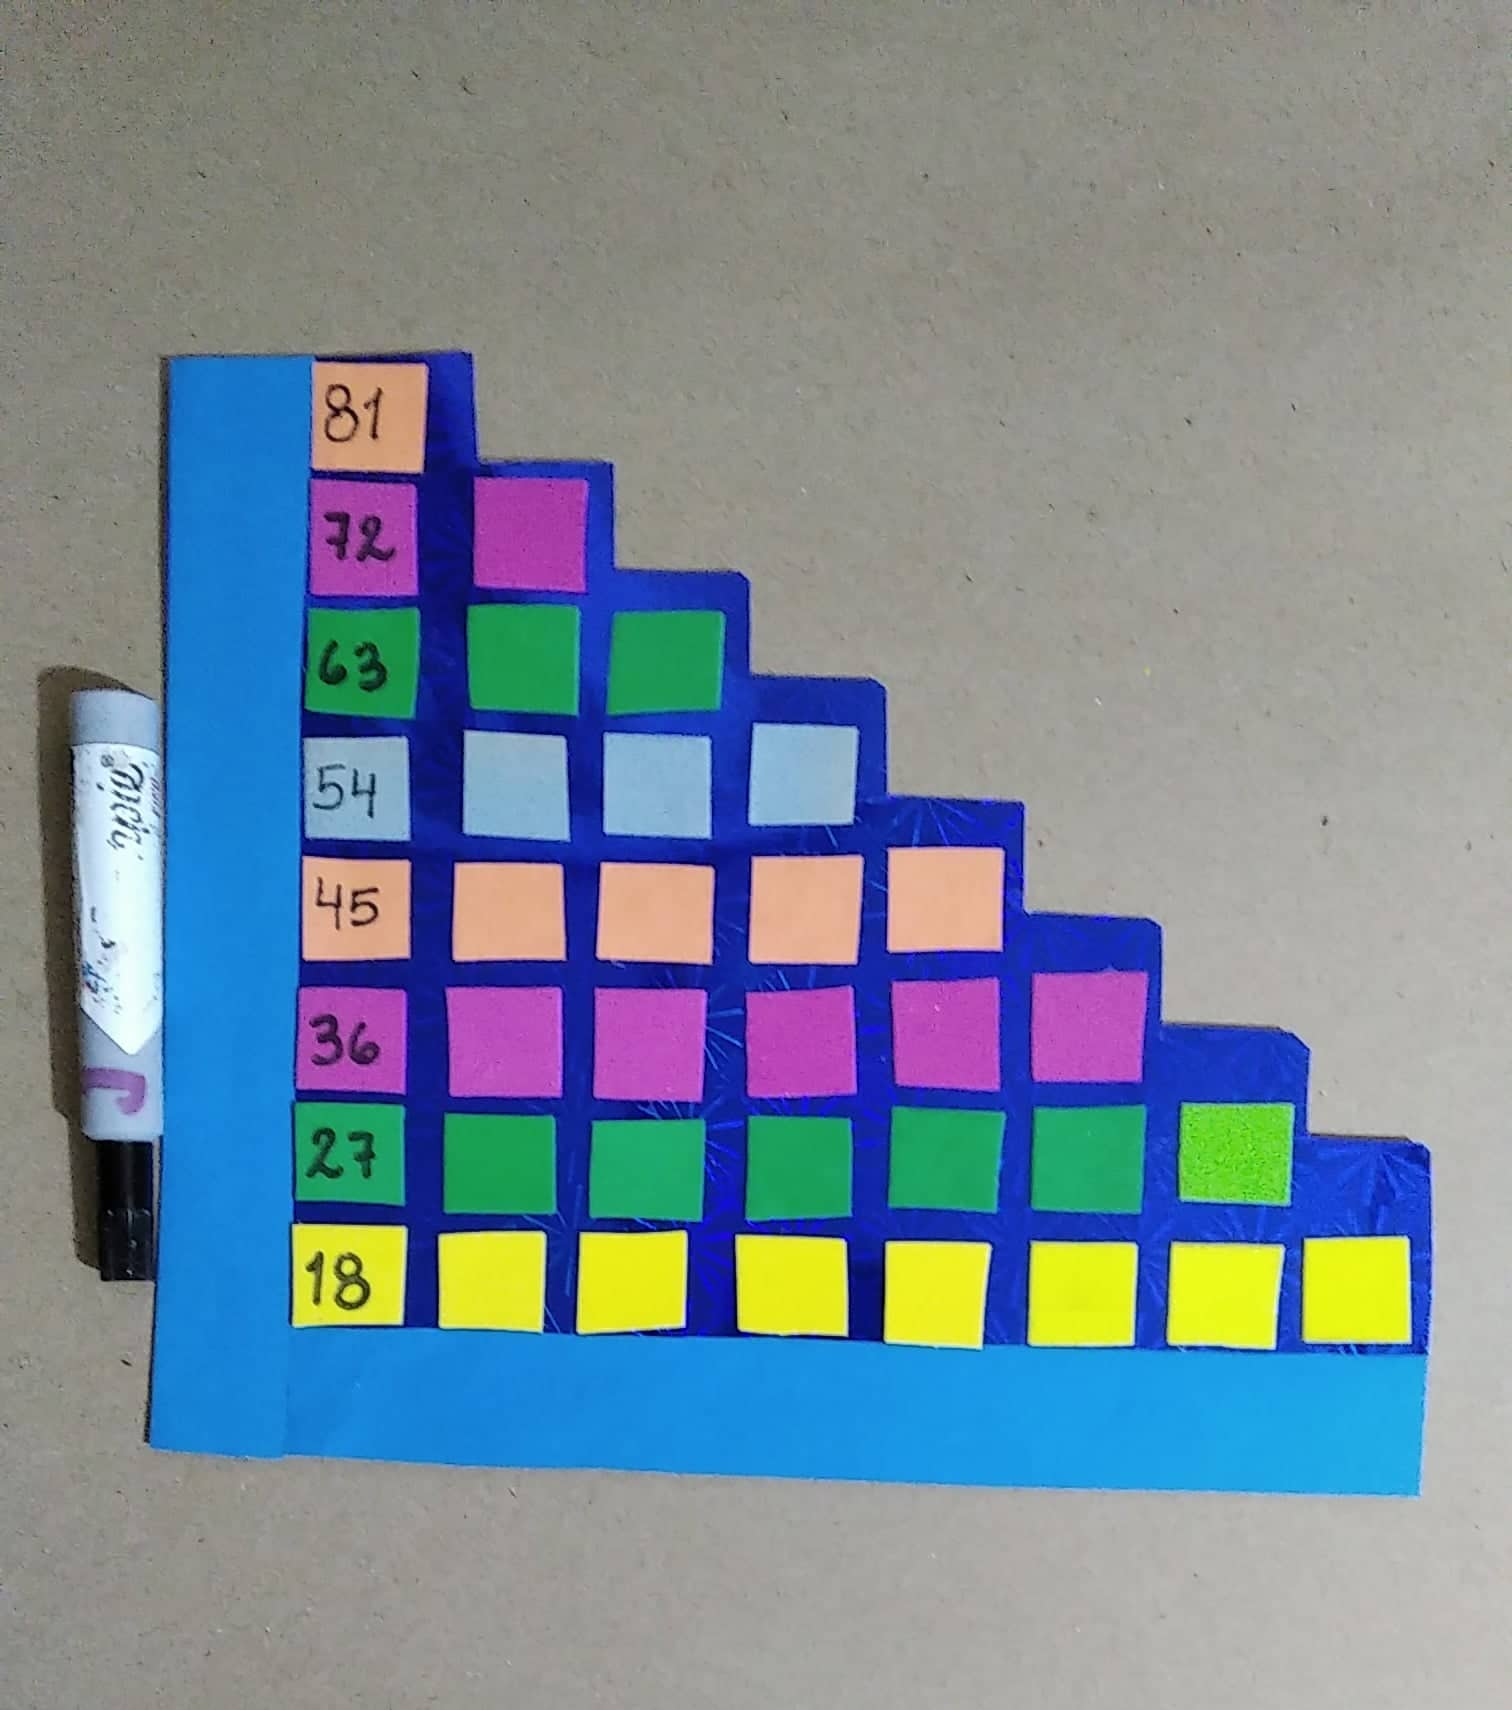
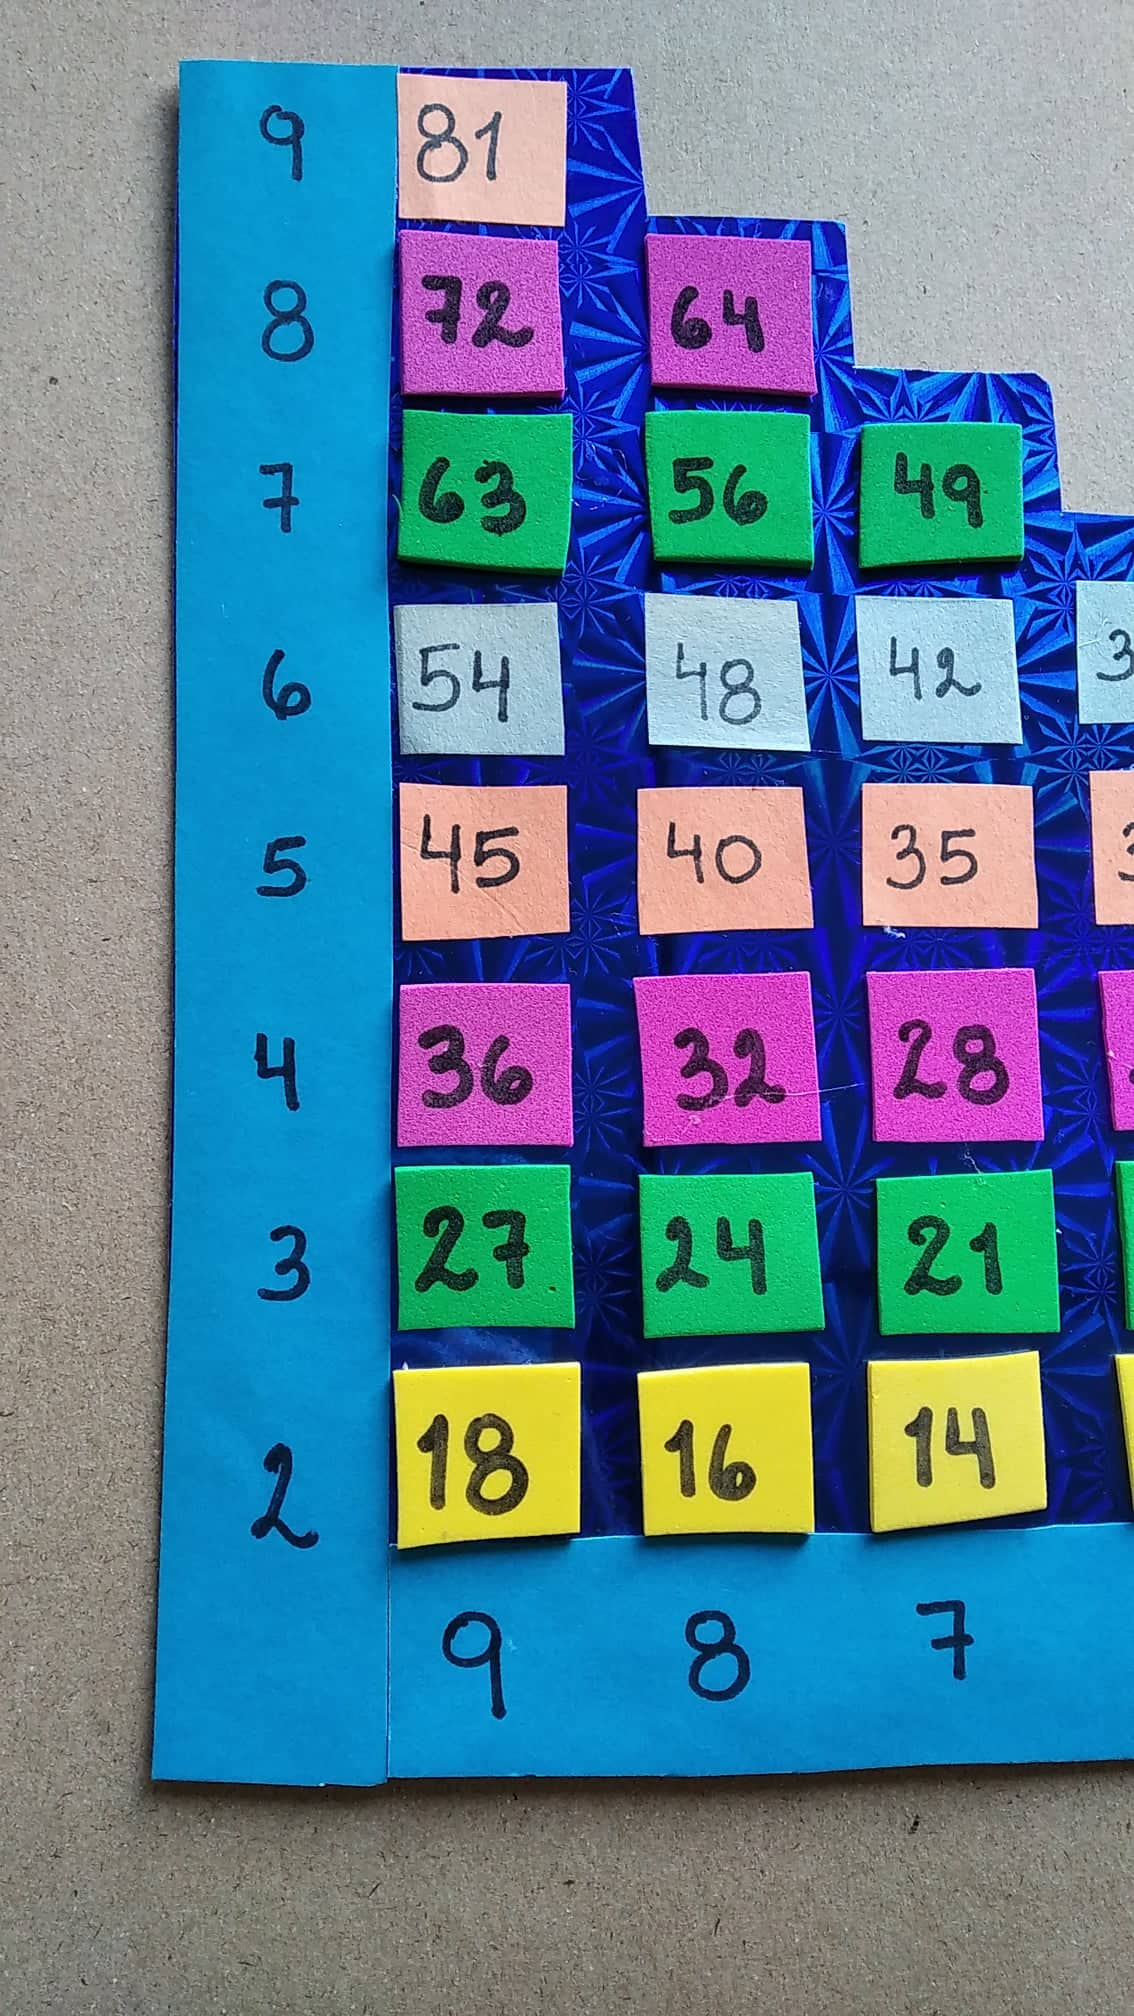
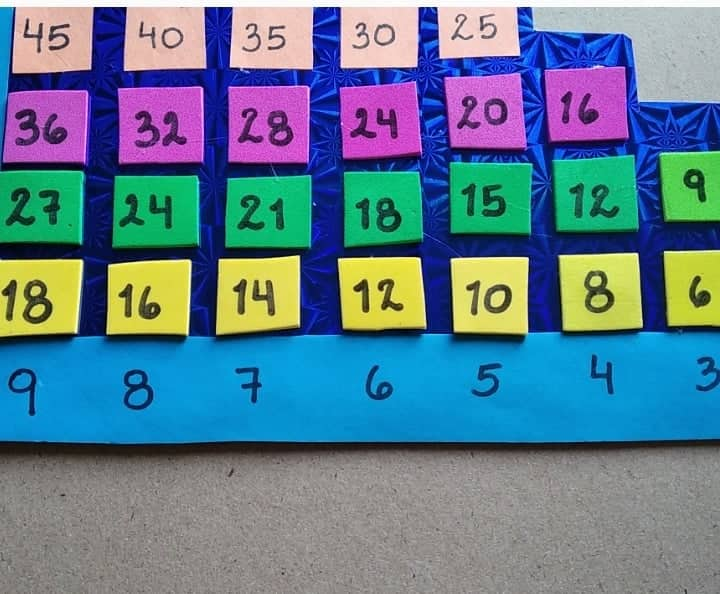
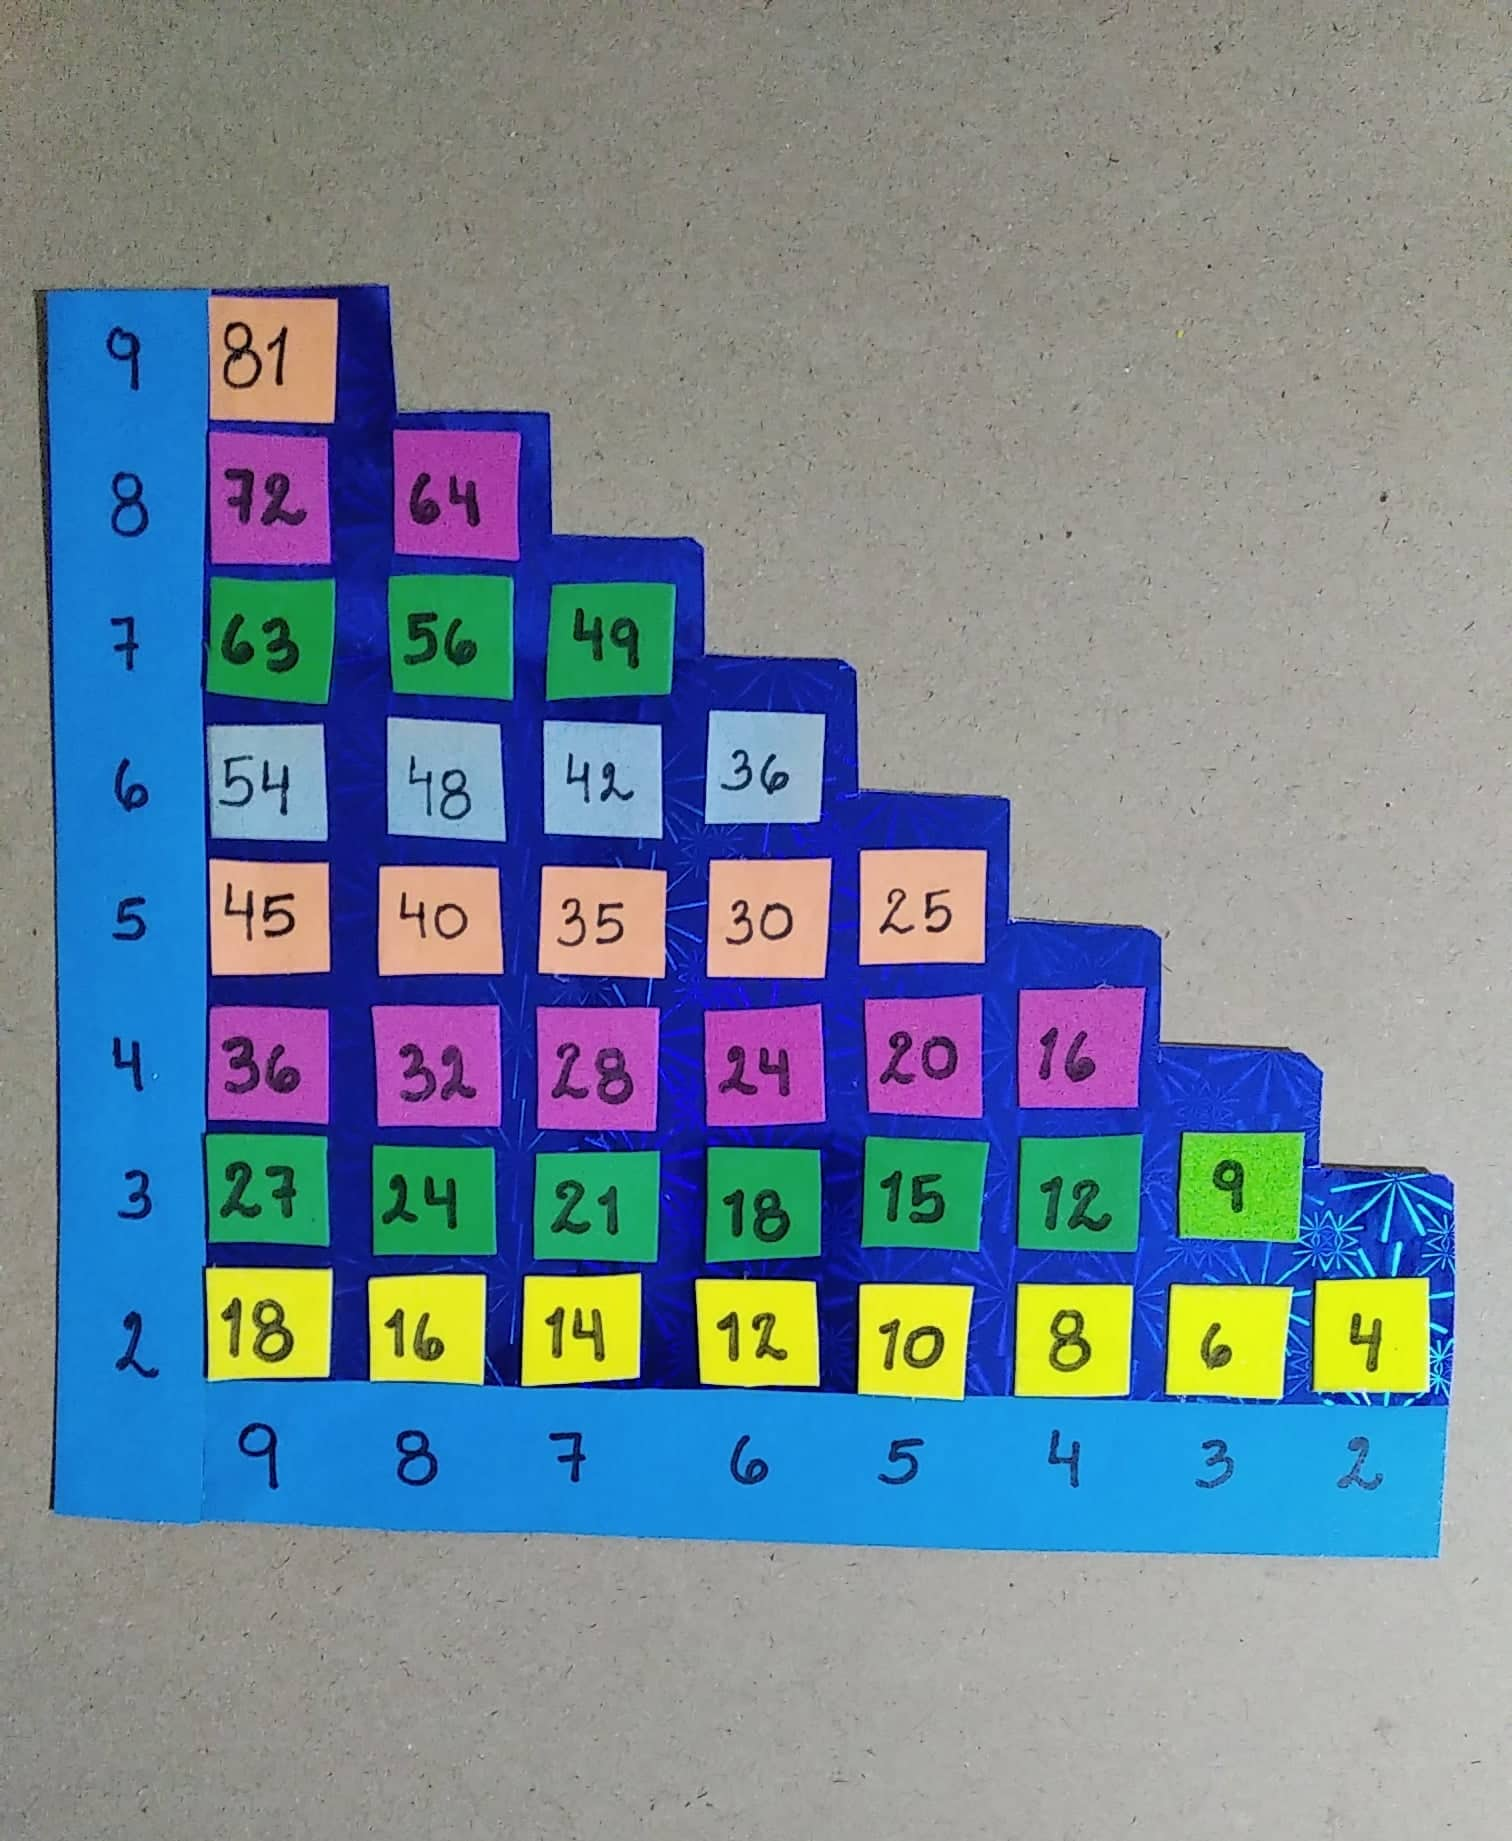
Los numeros los realice con marcador negro, comenzando por la parte izquierda alli se colocan los resultados de la tabla del nueve. Luego se contunua colocando los resultados de las tablas que faltan
The numbers are made with a black marker, starting on the left side, the results of the nine table are placed there. Then it continues placing the results of the missing tables
RESULTADO FINAL /FINAL RESULT
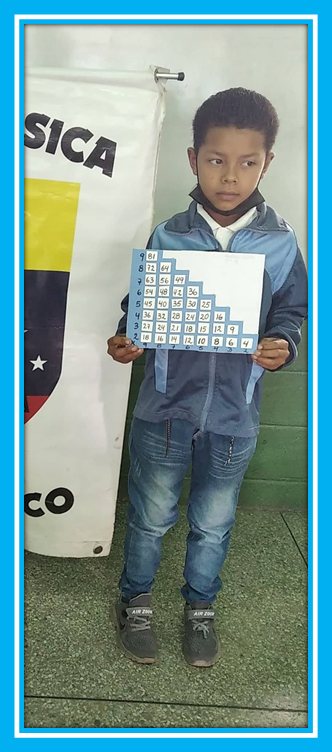
Aquí les muestro la foto de uno de mis niños con la tabla de multiplicar que el mismo realizo, se divirtió mucho en el proceso
Here I show you the photo of one of my children with the multiplication table that he made himself, he had a lot of fun in the process
Las fotos son de mi autoría y fueron tomadas con mi celular Xiaomi Redmi 7A
Traducido con www.DeepL.com/Translator (versión gratuita)
Edite las fotos con PowerPoint
The photos are my own and were taken with my Xiaomi Redmi 7A cell phone
Translated with www.DeepL.com/Translator (free version)
Edit the photos with PowerPoint

Espero se animen a realizar esta Tabla de Multiplicar Didáctica a los niños les va a gustar mucho y así los enseñamos a reciclar. Se les quiere
Hasta la próxima
I hope you are encouraged to make this Didactic Multiplication Table, the children will like it a lot and that is how we teach them to recycle. They are loved
Until next time
Dear @brume7, we need your help!
The Hivebuzz proposal already got important support from the community. However, it lost its funding a few days ago and only needs a few more HP to get funded again.
May we ask you to support it so our team can continue its work this year?
You can do it on Peakd, ecency,
https://peakd.com/me/proposals/199
Your support would be really helpful and you could make a difference.
Thank you!