Hola, amigos de Hive. Espero estén bien, (muy bien) ¿recuerdan que dejé una dinámica en el otro post? pues bueno, hoy les traeré solo el muñeco ☃️ de navidad, me hubiese encantado de haberles traído a los 2 muñecos en un solo post, sin embargo, por temas de que se hizo de noche no logré hacer al Grinch, debido a que sí tomaba las fotos en la noche quedarían algo raras y poco bonitas. Por ello, lo traeré entre mañana y pasado mañana, y aparte, se me hizo algo tarde para hacerlo debido a que tuve que salir con mi papá a comprar los materiales y unas cosas para la casa😼👍
Pues bueno, este muñeco de nieve lo decidí hacer debido a que lo ví que era bastante bonito y sus materiales no serían muchos. Además de que puedes dejarle distintos usos ya sea para adornar, para ponerlo en el arbolito, para ponerlo de decoración en una cajita, etc. La verdad es que le encontré bastantes utilidades y usos los cuales dependiendo de cuál elijas solo variaría el tamaño del muñeco.
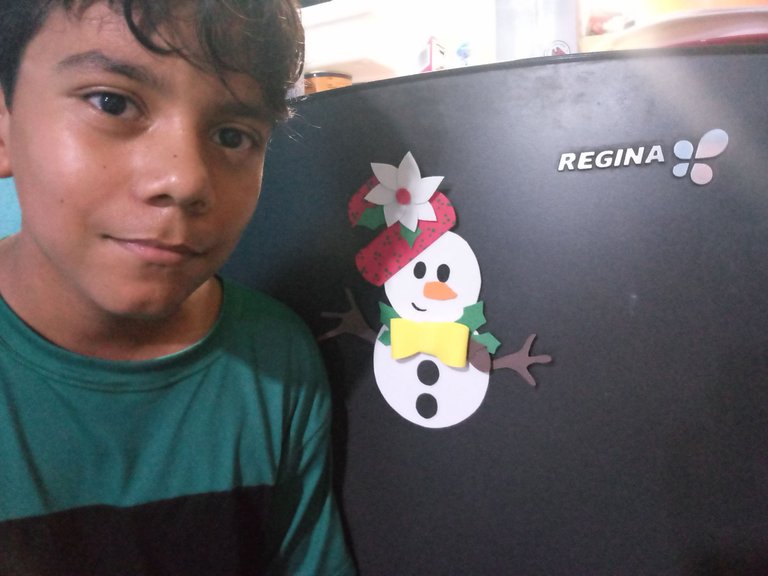
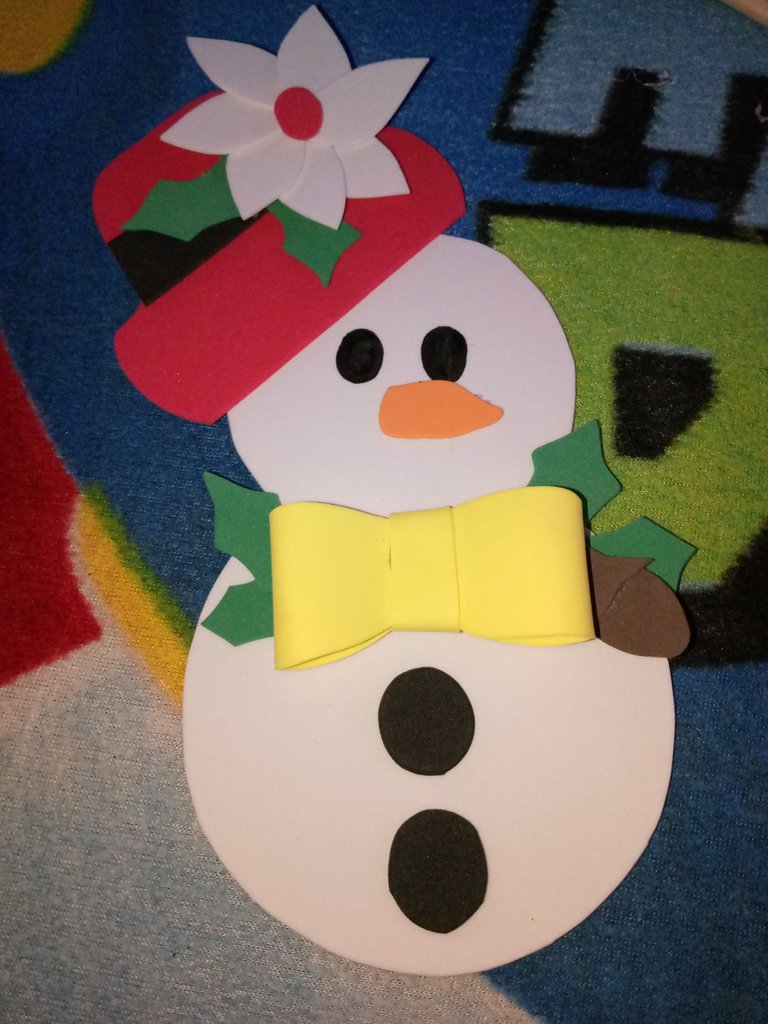
Yo en mi caso elaboré este muñeco de nieve para adornar nuestra nevera de forma navideña 🎅🏼🌲 La verdad quedó bastante bien y con una iniciativa navideña muy linda🗿👍
Ahora, ¡empecemos con el tutorial de una vez por todas! 😼
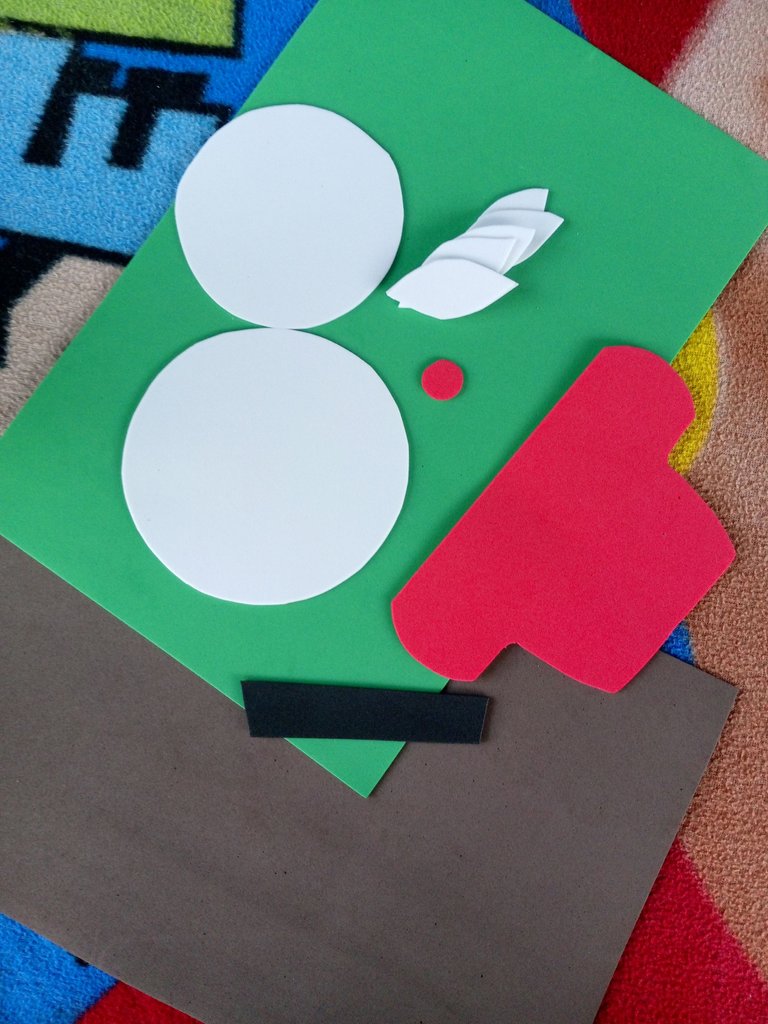
Materiales:
1- Foami rojo y naranja
2- Foami verde
3- Foami negro
4- Foami amarillo
5- Una barra de silicona
6- Un marcador o también lo pueden sustituir por pintura color negro, otra opción válida seria foami color negro. Pintura verde
7- Un lápiz
8- Tijera
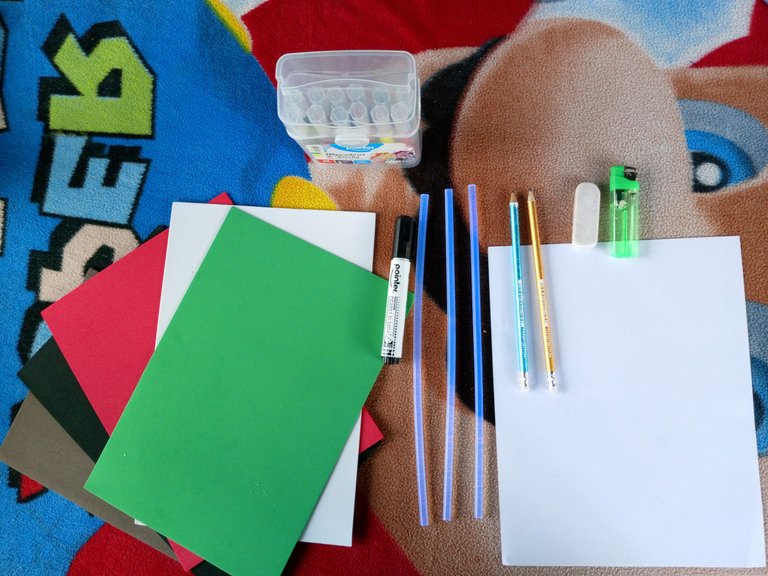
Bueno, eso sería todo lo que usaremos durante esta manualidad. Ahora pasemos con el primer paso.
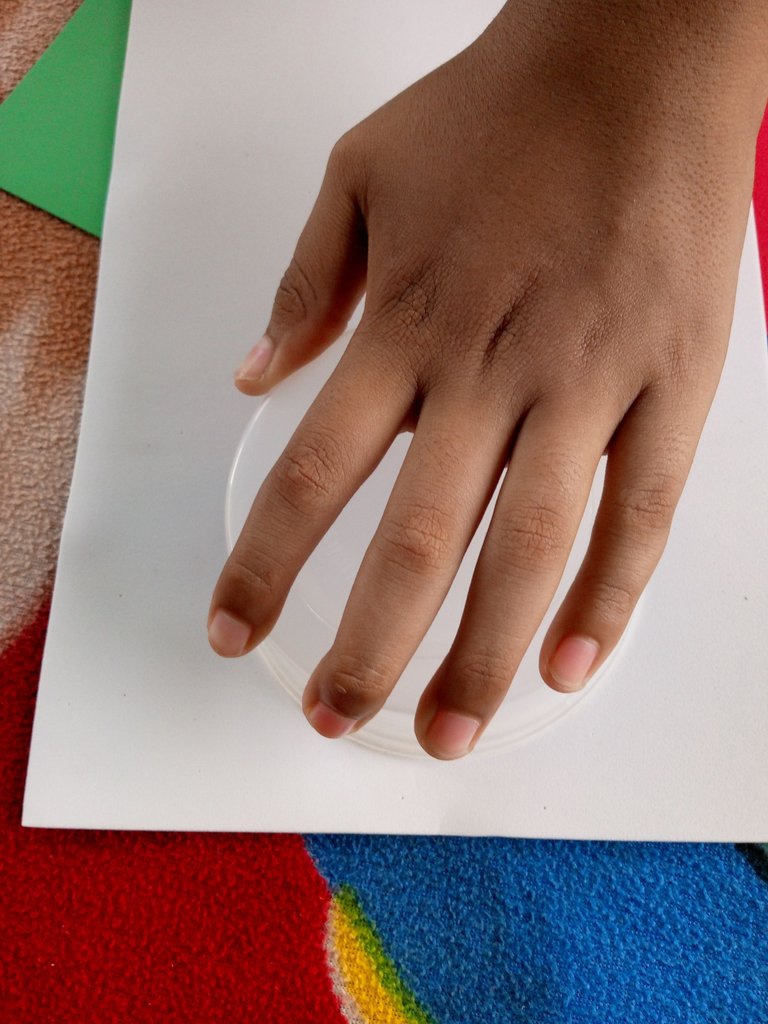
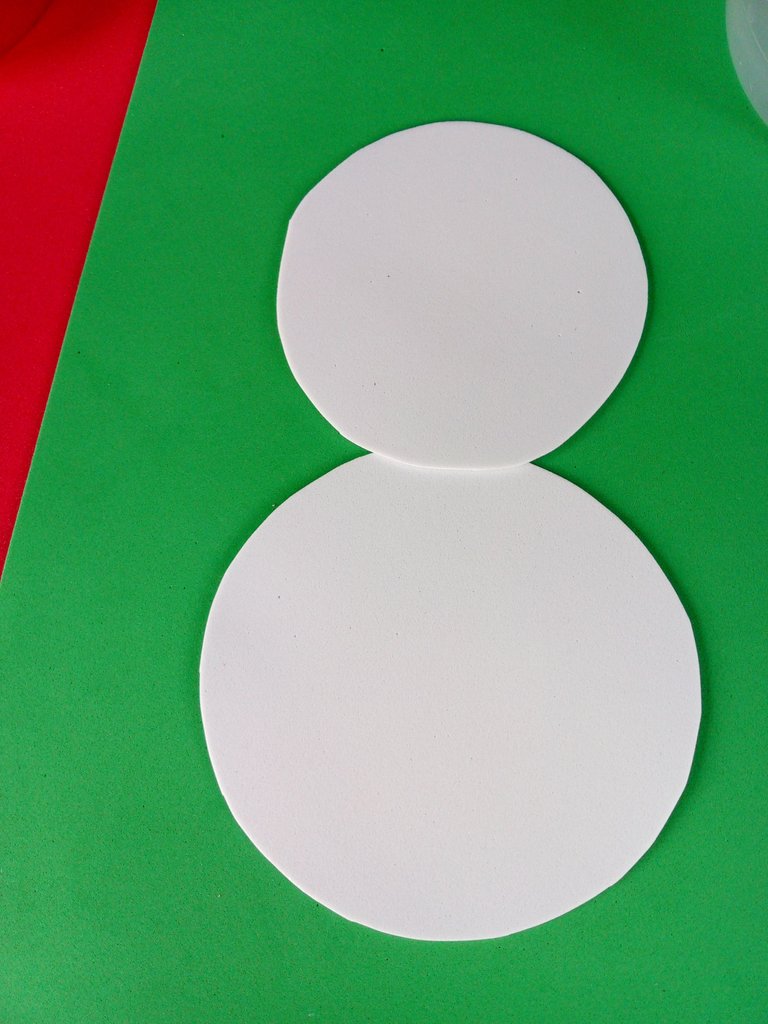
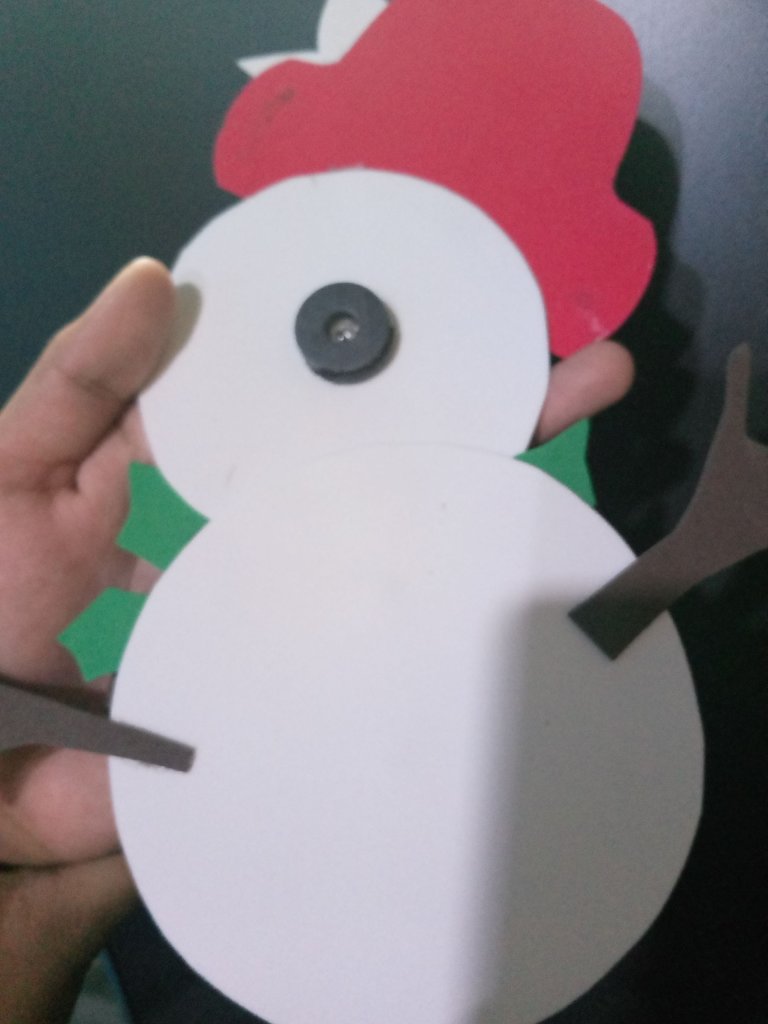
Primero. Tomaremos algo que sea circular (de preferencia un pote) y lo colocaremos sobre el foami haciendo algo de presión, luego dibujaremos el círculo para cortarlo. Este mismo proceso lo haremos pero con un pote más pequeño, debido a que esta será la cabeza.
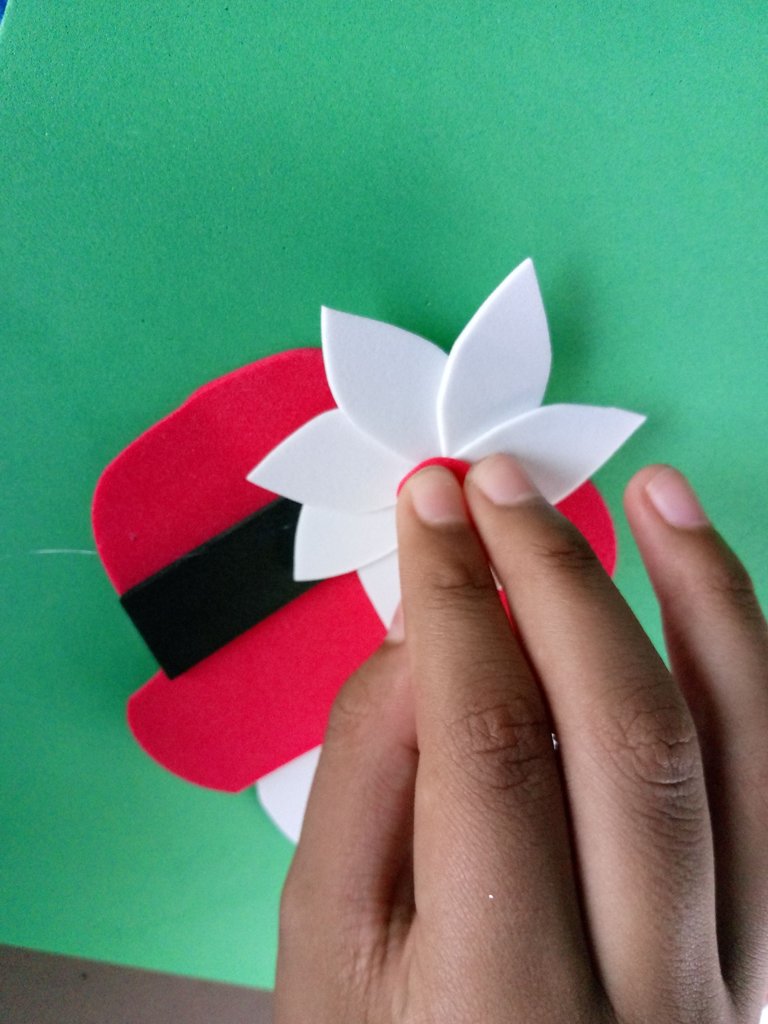
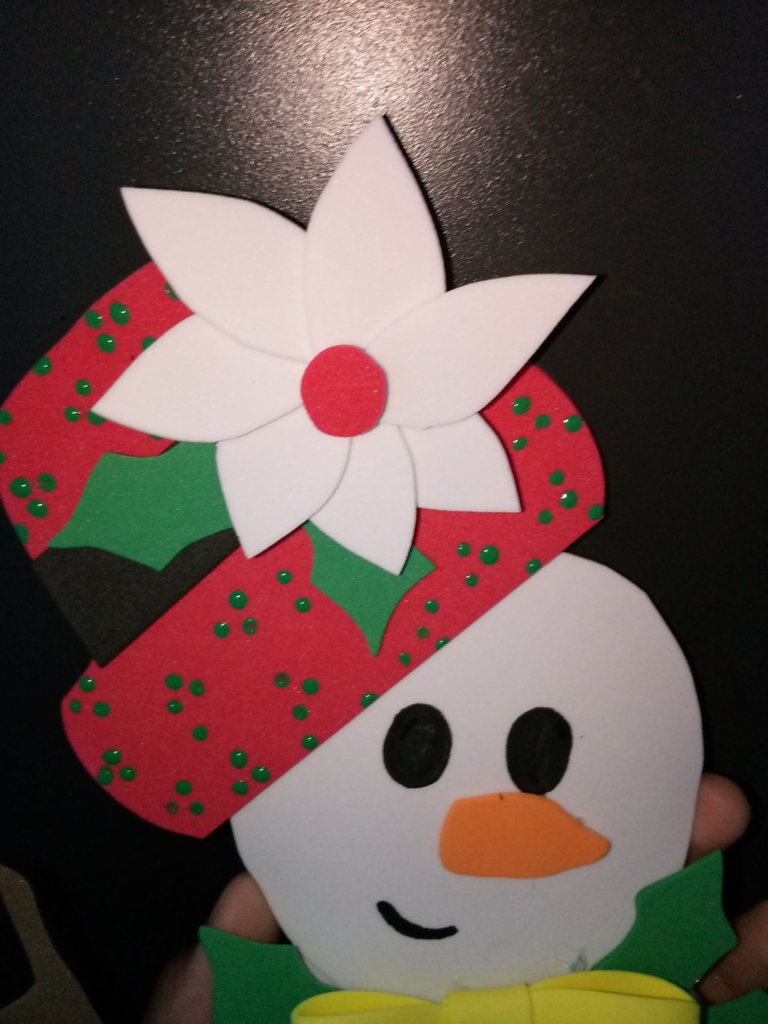
Ahora tomaremos los foamis de color: rojo, negro y blanco. Pará luego hacer con el foami blanco unas especies de pétalos, con el foami rojo haremos un pequeño puntito circular y haremos una flore. También un sombrero, para luego hacer con el foami negro un listón el cual tendrá nuestro sombrero.
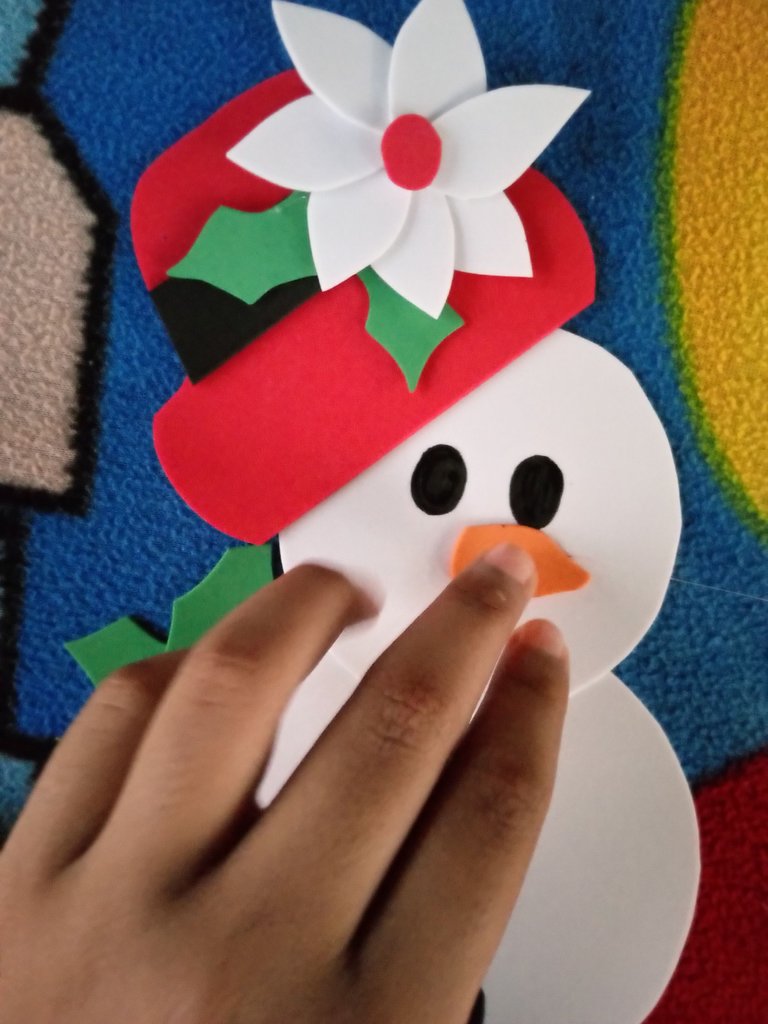
Luego pegaremos el listón al sombrero y el sombrero a la cabeza de nuestro muñeco de nieve y haremos unos ojos😼☃️🎅🏼

Seguido de esto, pegamos la flor 🌸 en el sombrero.
Ahora haremos unas especies de hojitas típicas navideñas, las cuáles colocaremos abajo de nuestra flor.

Posteriormente, haremos una nariz de tipo zanahoria en el foami naranja, la cual colocaremos un poco abajo del ojo derecho de nuestro muñeco de nieve☃️
Ahora. Empezaremos a hacer un moño de color amarillo. Con foami o con alguien otro tipo de material que tengas a disposición.
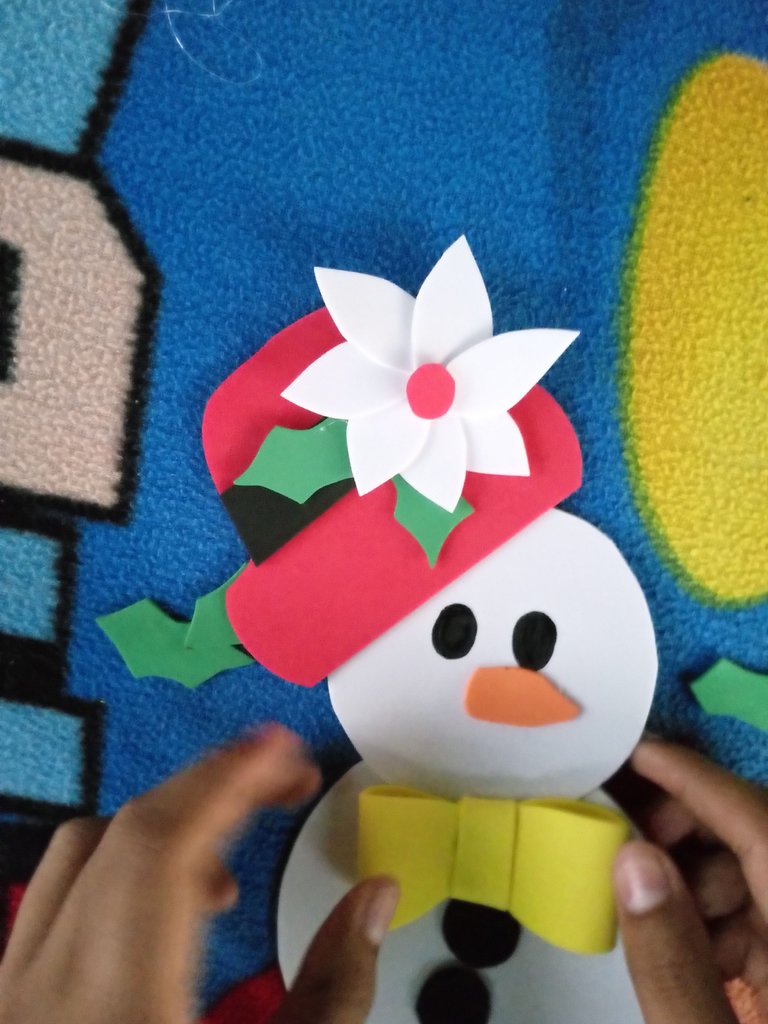
Siguiendo con nuestro proceso. Haremos unos pequeñitos detalles los cuales serían más hojitas color verde y una nuez. (Estos detallitos los colocaremos debajo de nuestro moño amarillo)
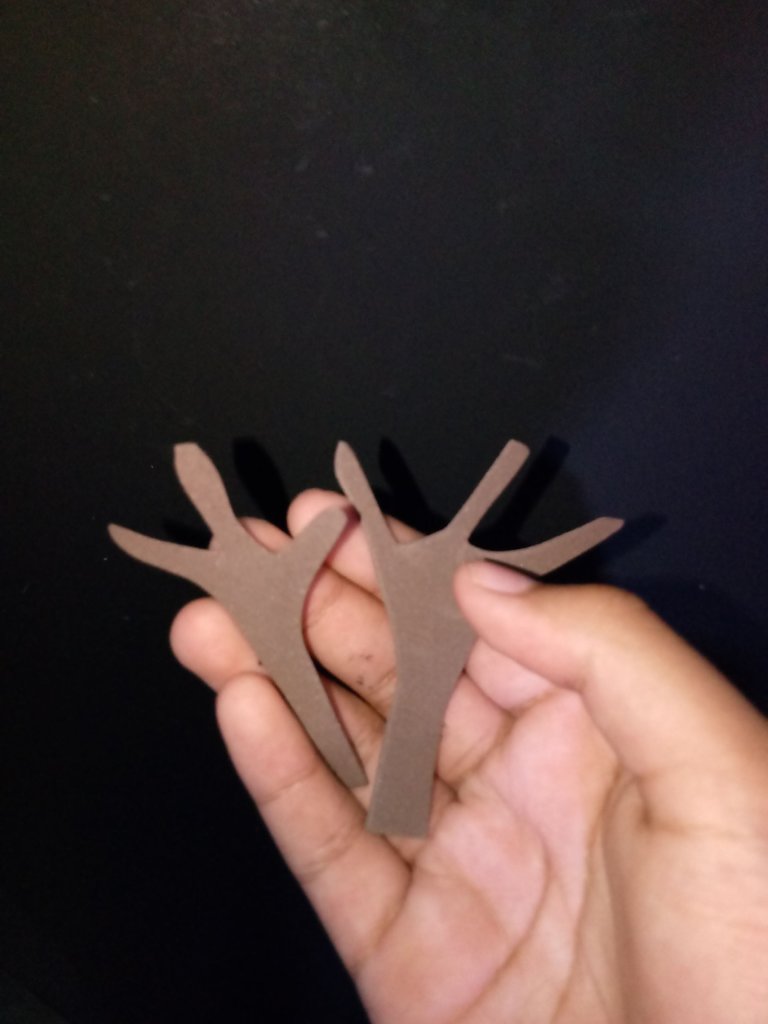
Luego le haremos unos puntitos color verde al gorro del muñeco de nieve ☃️ y también haremos sus ramas en foami marrón.
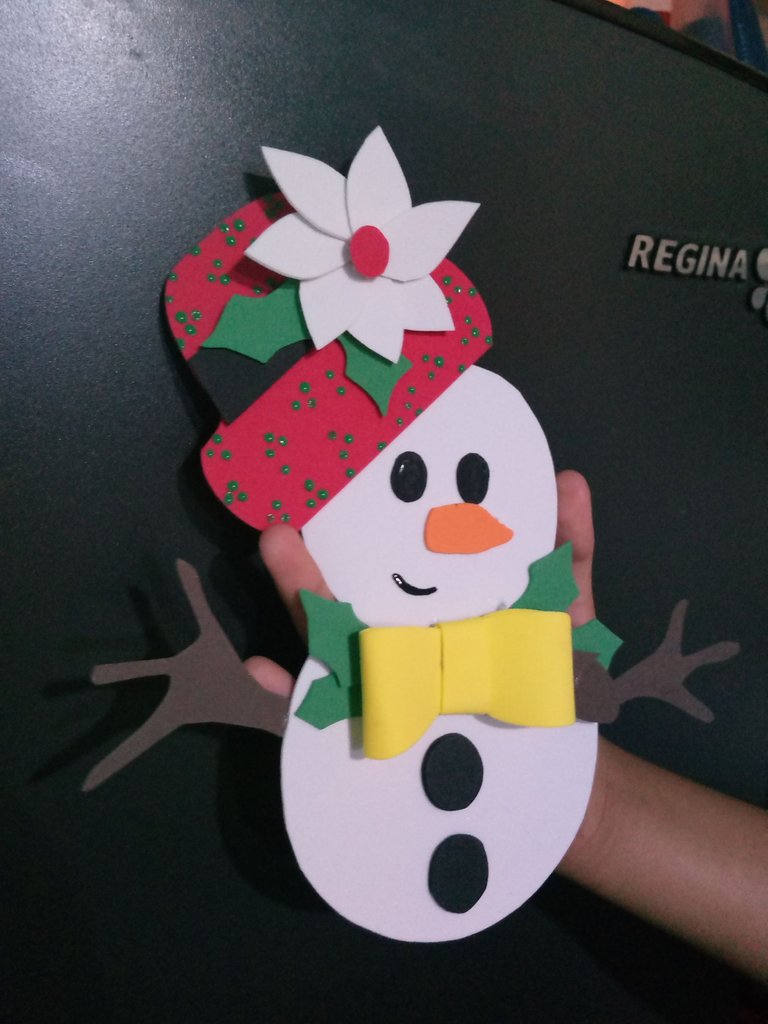
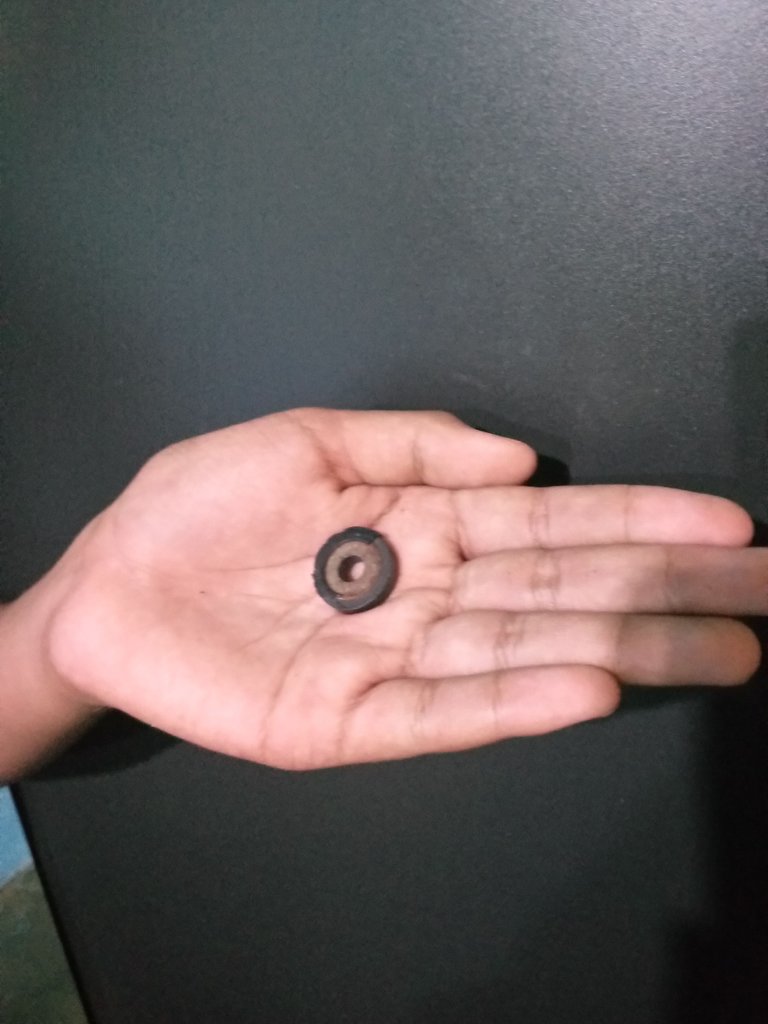
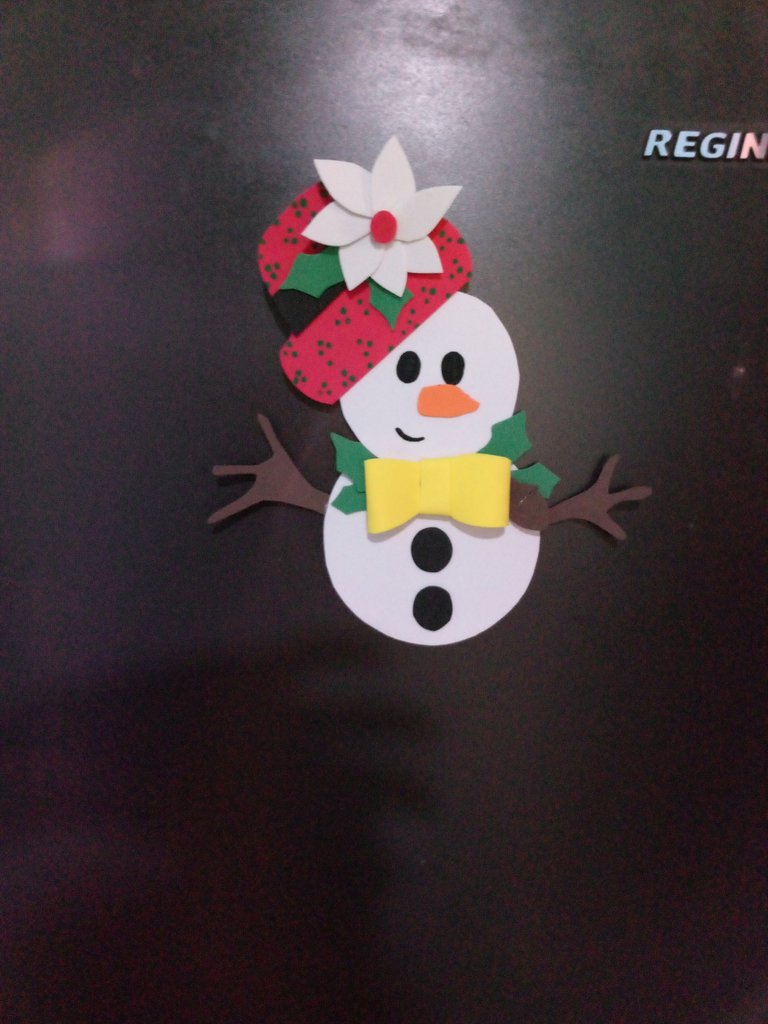
Luego ya estaría terminado, yo en mi casó le colocare un imán 🧲 en la parte trasera para poder colocarlo en el refrigerador de una manera cómoda y sin afectar la superficie de la nevera 😼 Así quedaría al final:
Pues bueno, quería agradecerles por todo el apoyo el cuál obtuve en el anterior post, de verdad les agradezco muchísimo 😼 ¡espero y seguir así!...
Pues bueno, hasta acá llegó mi post, espero lo intenten en casa y me despido, les deseo un bonito día 🌟 y una felíz navidad jojojo🎅🏼🌲☃️
English Version:
Hello Hive friends. I hope you are well, (very well) do you remember that we did a dynamic in the other post? well, today I will bring you only the Christmas doll ☃️, I would have loved to have brought you the 2 dolls in a single post, however, due to the fact that it was night I was not able to make the Grinch, because it did take The photos at night would be a little strange and not very pretty, so I will bring it between tomorrow and the day after tomorrow, and besides, it was a little late for me to do it because I had to go out with my dad to buy the materials and some things for the house😼👍
Well, I decided to make this snowman because I saw that it was quite pretty and its materials would not be enough, apart from that, you can give it different uses either to decorate, to put it on the tree, to put it as decoration in a box, etc. The truth is that I found quite a few utilities and uses that could be done with it.
In my case, I made (with the help of my mother) this snowman to decorate our refrigerator in a Christmas way 🎅🏼🌲the truth is, it turned out pretty good 🗿👍
Now, let's get started with the tutorial once and for all! 😼
Materials:
1- Red foami
2- Green foami
3- Black foami
4- Yellow foam
5- A silicone bar
6- A marker or you can also replace it with black paint, another valid option would be black foam.
7- A pencil
Well, that would be all we will use during this craft. Now let's move on to the first step.
First. We will take something that is circular (preferably a pot) and place it on the foam, then we will draw the circle and then cut it. We will do this same process but with a smaller pot, because this will be the head.
Now we will take the colored foamis: red, black and white. Then make some kind of petals with the white foami, with the red foami we will make a small circular dot and a hat, and then make a ribbon with the black foami which will hold our hat.
Then we will glue the ribbon to the hat and the hat to the head of our snowman and make some eyes😼☃️🎅🏼
Following this, we will join the petals to form a flower 🌸 to which we will glue the red dot that we had made previously.
Now we will make some kind of leaves which we will place below our flower.
Later, we will make a carrot nose which we will place a little below the right eye of our snowman☃️
Now. We will start to make a yellow bow.
Continuing with our process. We will make some small details which would be more green leaves and a walnut. (We will place these little details under our yellow bow)
Then we will make some green dots on the snowman's hat ☃️ and we will also make his branches.
Then it would be finished, in my house I will put a magnet on it 🧲 so I can place it on the refrigerator 😼 This is how it would look in the end:
Well, I wanted to thank you for all the support we got in the other post, I really appreciate it 😼 I hope we continue like this!...
Well, here we have reached our post, I hope you have tried it at home and I say goodbye, I wish you a nice day 🌟 and a Merry Christmas jojojo🎅🏼🌲☃️
Es una idea muy linda, me encantan las decoraciones navideñas y creo que hasta la nevera debe estar en modo navideño!!! Copiaré tu idea, mi nieta de seguro estará feliz de ver allí en la nevera un lindo muñeco de nieve. Bendiciones.
Gracias, seguro le encantará🎅🏼
Queda muy lindo!!
¡Gracias!
Now when you look at the refrigerator, it gives positive vibes and makes you feel great. Nice work! Thanks!
Su publicación ha sido votada por @Edu-venezuela, se trasladará a otros proyectos de curación para obtener más apoyo. ¡Sigan con el buen trabajo!
Gracias😺
Congratulations @carlpia! You have completed the following achievement on the Hive blockchain And have been rewarded with New badge(s)
Your next target is to reach 500 upvotes.
You can view your badges on your board and compare yourself to others in the Ranking
If you no longer want to receive notifications, reply to this comment with the word
STOPCheck out our last posts: