Greetings dear Hive community, today I present a tutorial on How to make a WALL-E Robot with cardboard as a participation in the Hivediy community contest. For this practice, refer to a material found on the web.
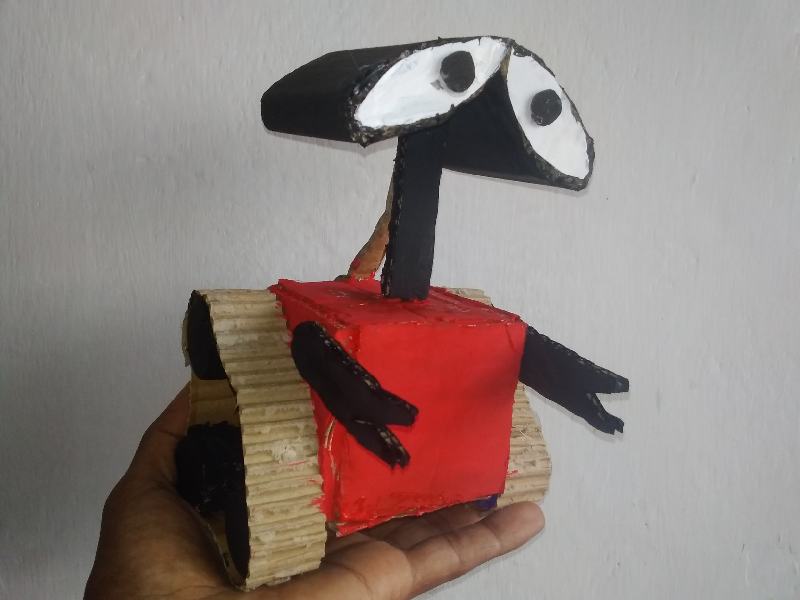
Mundo de Cartón/ Cómo realizar un Robot WALL-E con Cartón / Cardboard World / How to make a WALL-E Robot with Cardboard
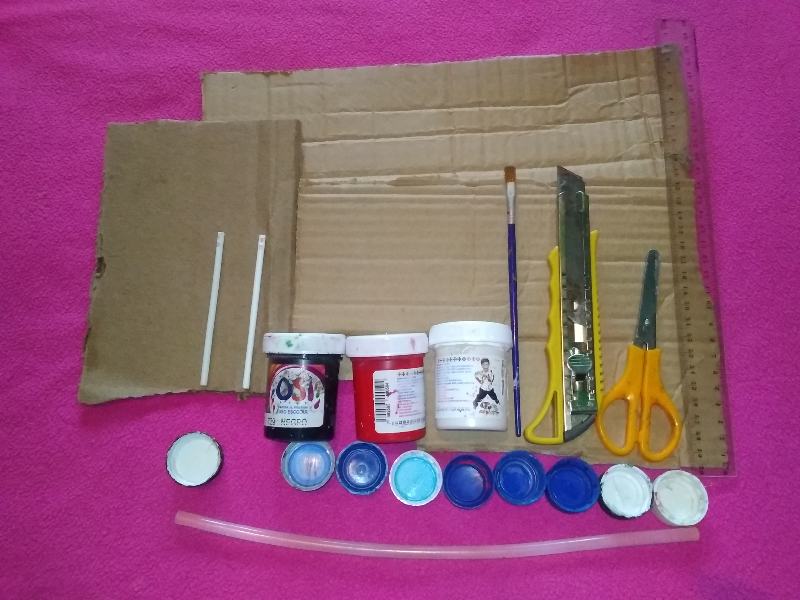
Materiales:
- 1 Cartón
- Tapas de refrescos
- Pintura al frío color rojo, negro y blanco
1 Cuter - 1 Silicón
- Regla
- 1 Pincel
- 2 Palitos de chupetas</>
Materials:
1 Carton
Soft drink caps
Cold paint red, black and white
1 Cuter
1 Silicone
Rule
1 Brush
2 lollipop sticks
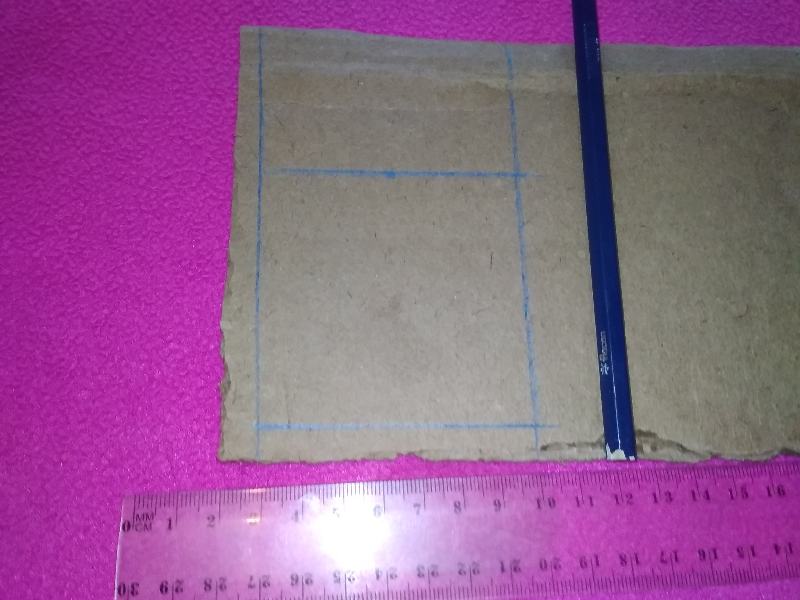
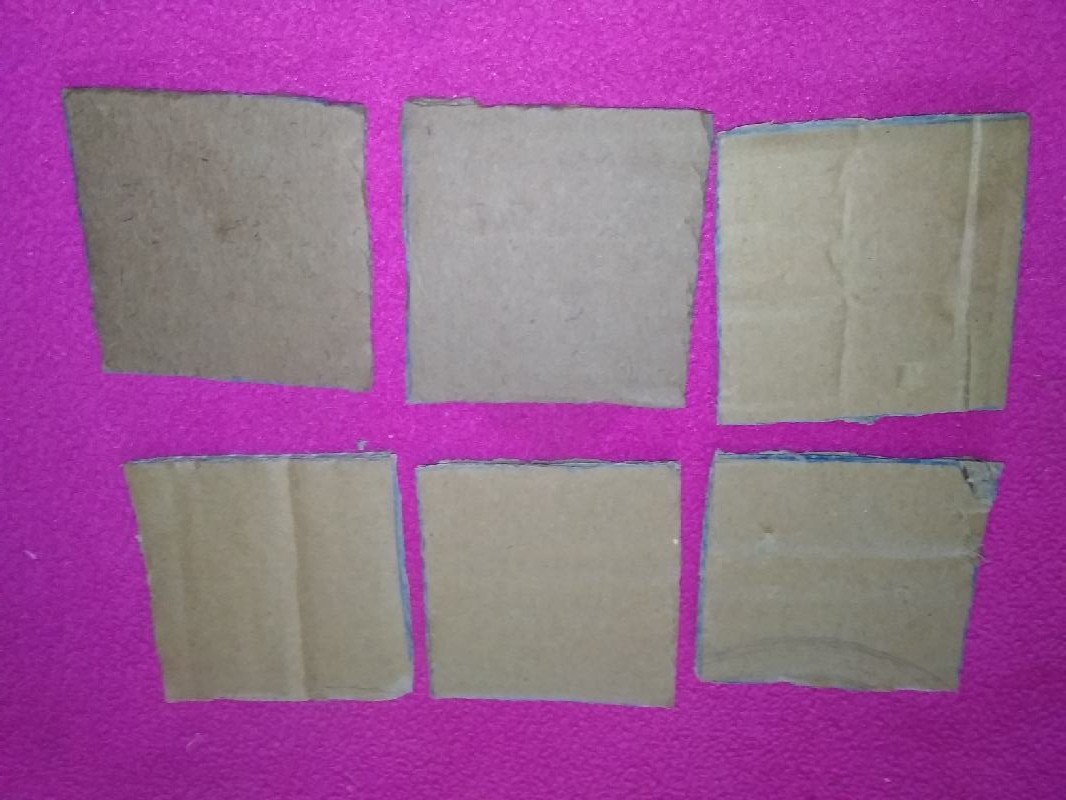
Paso 1:
Se dibuja seis rectángulos de 7cm de largo x 7cm de ancho sobre el cartón.
Step 1:
Six 7cm long x 7cm wide rectangles are drawn on the cardboard.
Paso 2:
Se recortan los rectángulos con la tijera.
Step 2:
The rectangles are cut out with the scissors.
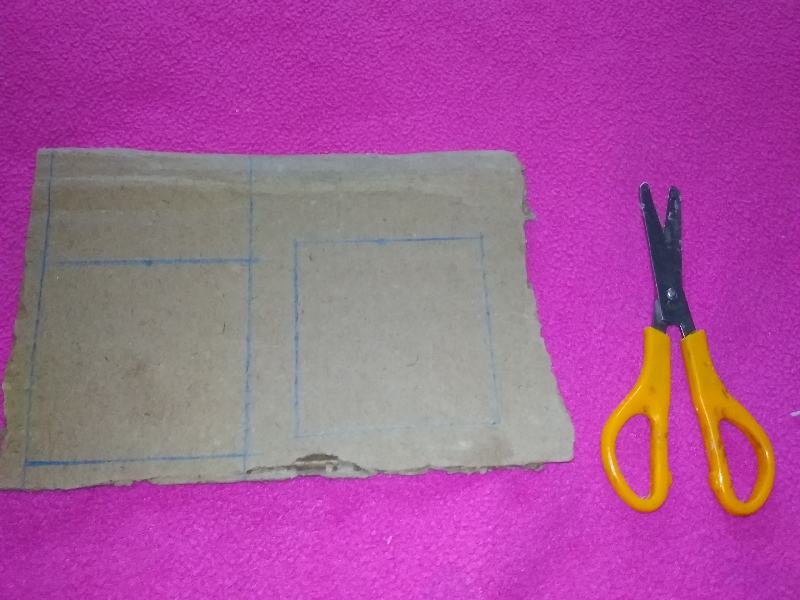
Quedando así:
Being that way:
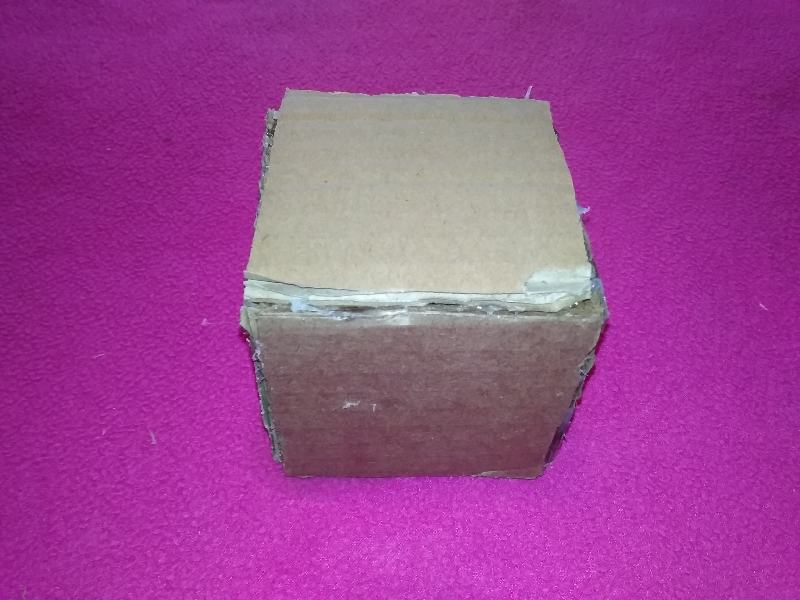
Paso 3:
Se pegan los rectángulos con silicón, hasta formar una caja.
Step 3:
The rectangles are glued with silicone, until they form a box
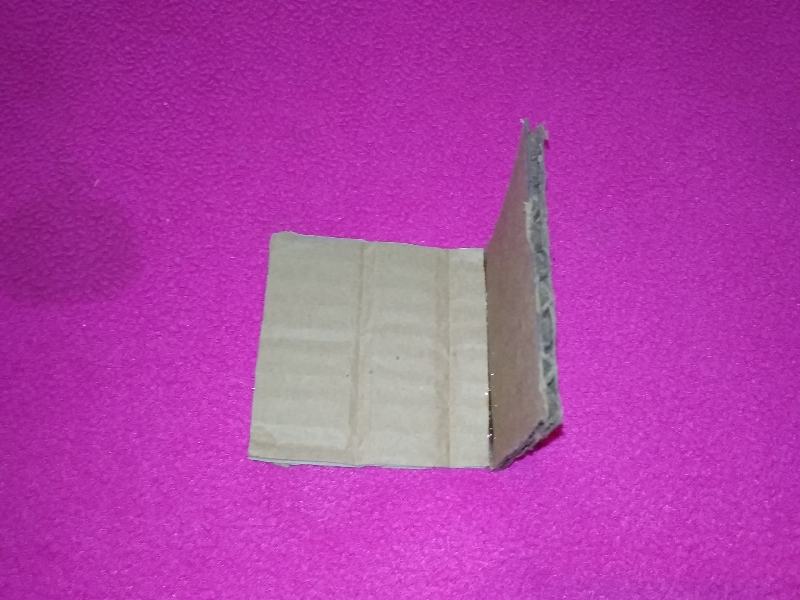
Quedando así:
Being that way:
Paso 4:
Se pegan las dos tapas de refrescos para tener unas ruedas mucho más anchas, así hacemos con las demás, hasta tener seis pares.
Step 4:
The two soda lids are glued together to have much wider wheels, so we do with the others, until we have six pairs.
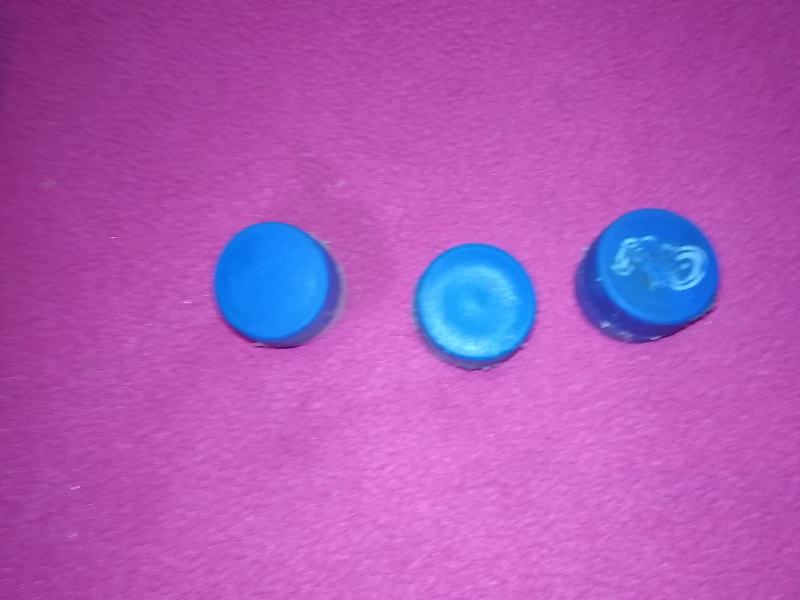
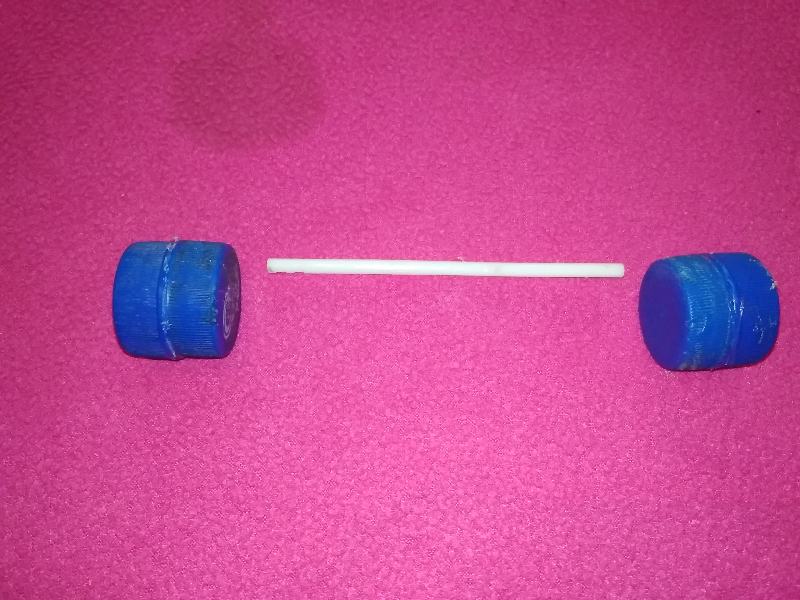
Paso 5:
Se pega el palito de chupeta sobre cada una de las ruedas o tapas de refrescos.
Step 5:
Stick the lollipop stick on each of the wheels or soda lids
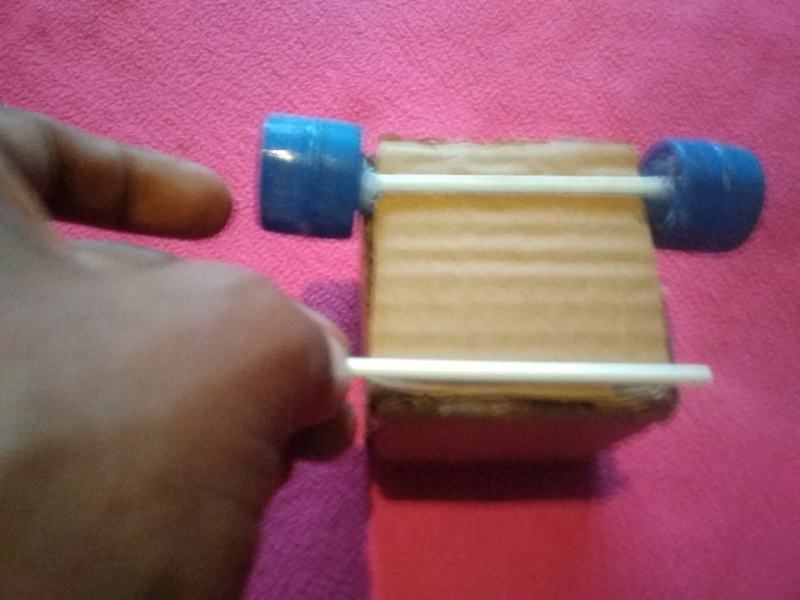
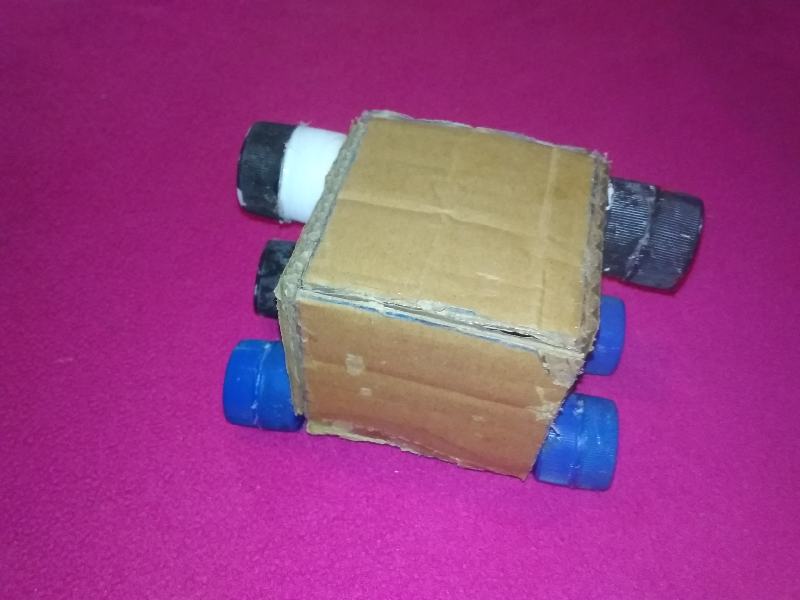
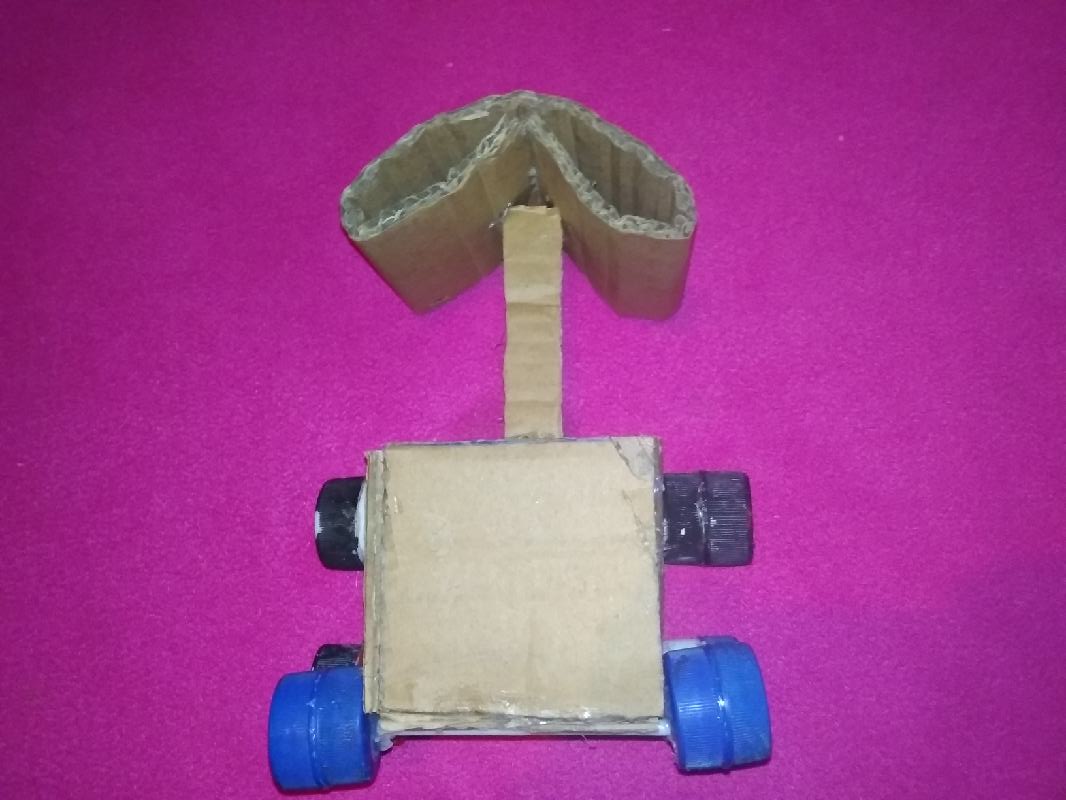
Paso 6:
Se pega las ruedas sobre la caja de cartón en la parte de inferior. Luego pegamos las otras en la parte de atrás.
Step 6:
The wheels are glued onto the cardboard box at the bottom. Then we glue the others on the back.
Quedando así:
Being that way:
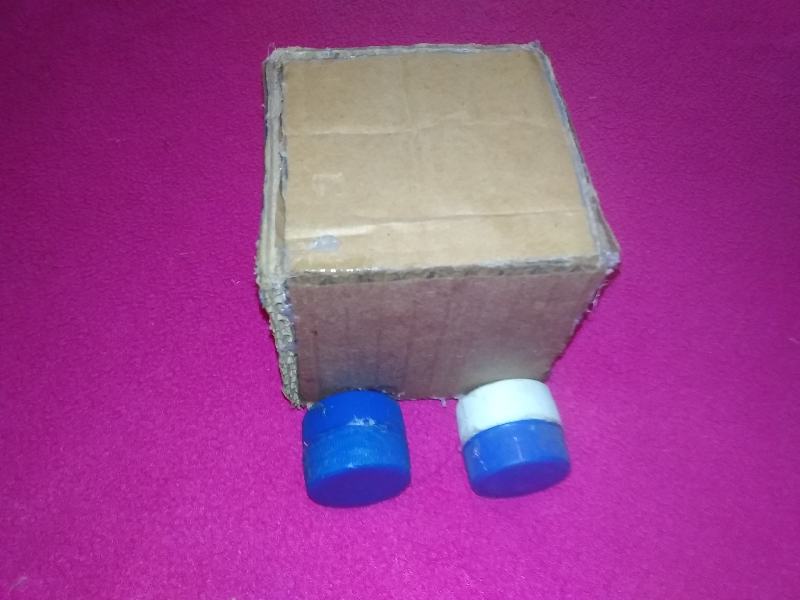
Paso 7:
Se pegan las dos ruedas en la parte de atrás.
Step 7:
The two wheels are glued on the back.
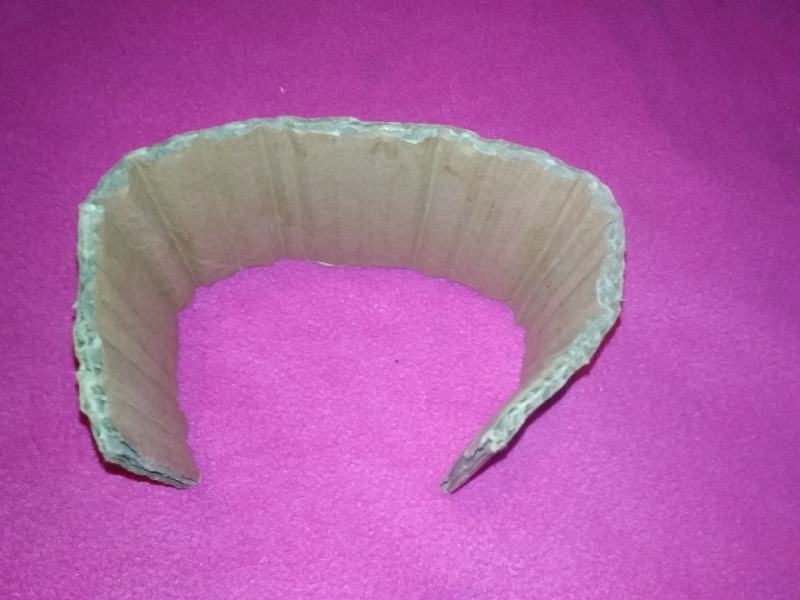
Paso 8:
Se recorta el cartón de 15 cm de largo y 5cm de ancho, luego los doblamos y lo pegamos son silicón. En el centro se le pega una tira de cartón.
Step 8:
The cardboard is cut 15 cm long and 5 cm wide, then we fold them and glue them with silicone. A cardboard strip is glued in the center
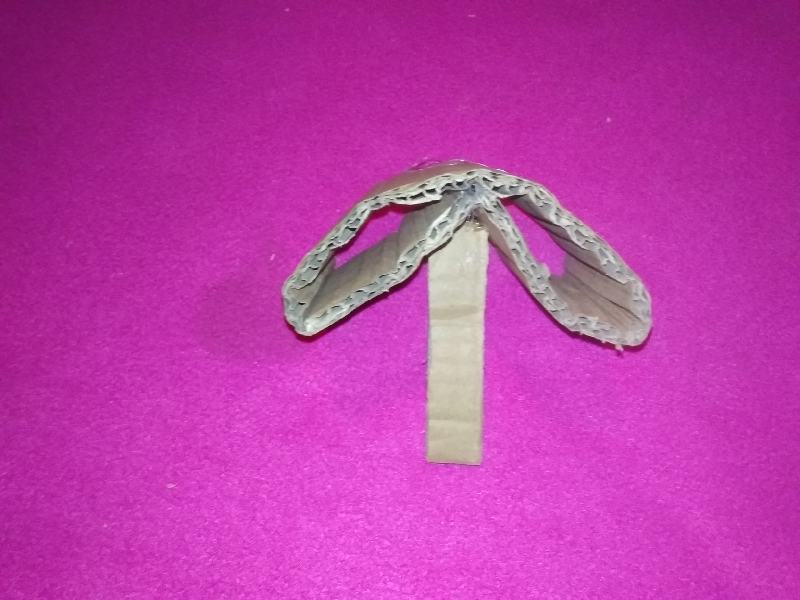
Paso 9:
Se pega la figura de cartón encima de la caja, esta será la cabeza del robot.
Step 9:
Stick the cardboard figure on top of the box, this will be the robot's head.
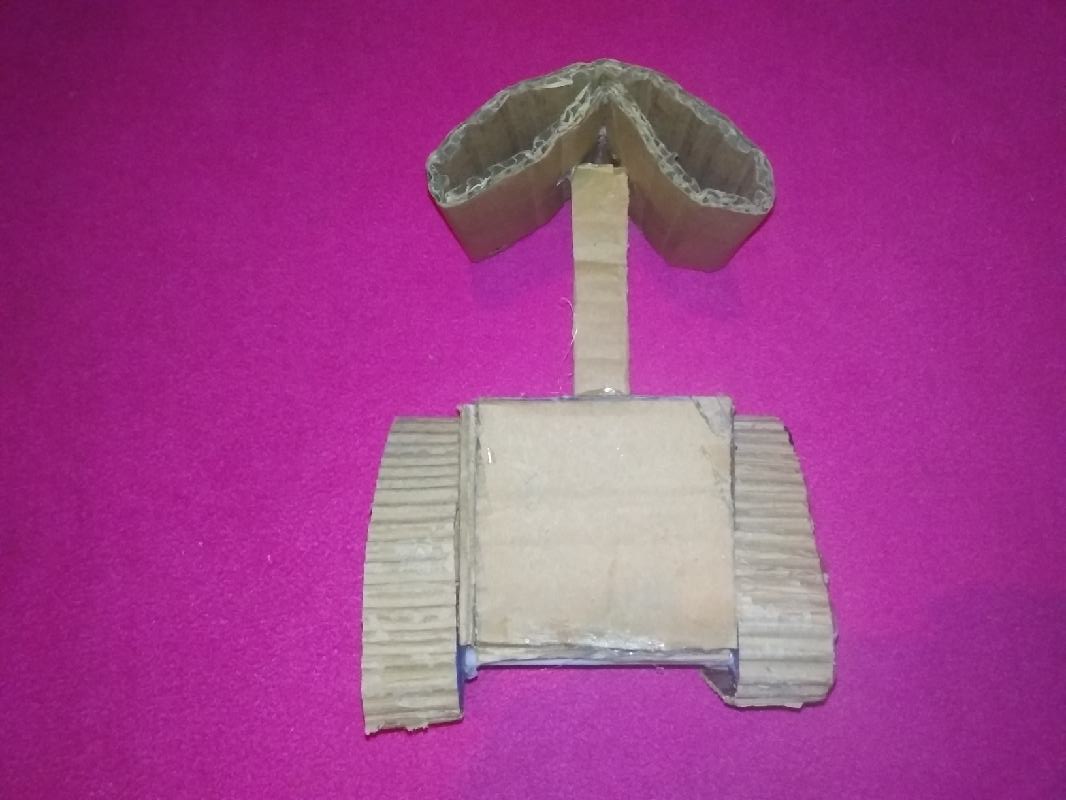
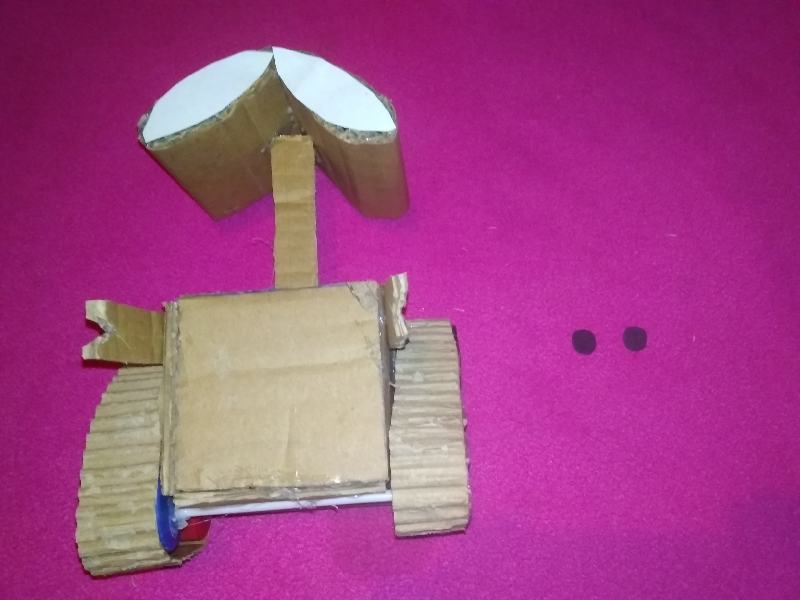
Paso 10:
Se recortan dos tiras de cartón de 15cm de largo y 3cm de ancho y se pega alrededor de los cauchos, quedando como un riel.
Step 10:
Two cardboard strips 15cm long and 3cm wide are cut out and glued around the rubbers, leaving like a rail

Paso 11:
Se cortan una forma con hoja blanca para rellenar los ojos del robot.
Step 11:
A shape is cut out of white sheet to fill in the robot's eyes.
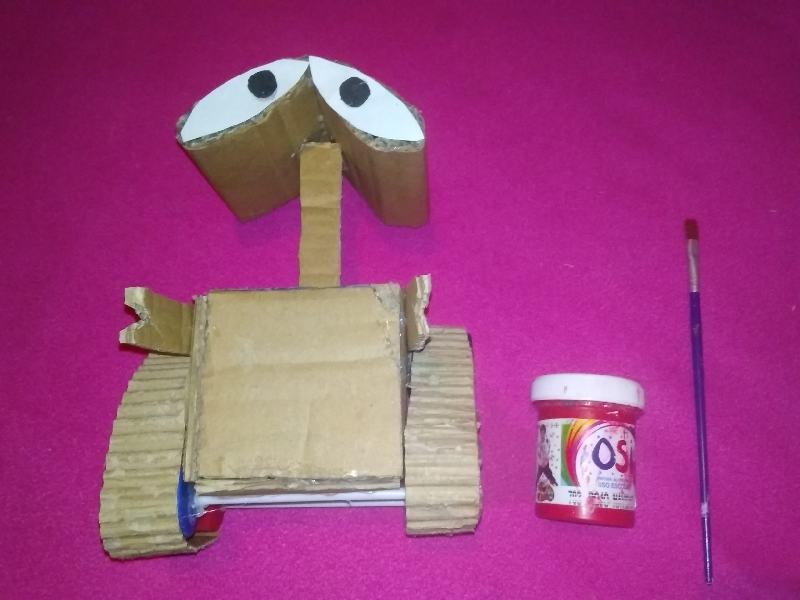
Paso 12:
Se pinta el robot de color rojo con negro y retocamos los ojos con el color blanco.
Step 12:
The robot is painted red with black and we retouch the eyes with white.
Material consultada Fuente
Consulted material [Source]
Espero que les haya gustado mi tutorial, nos vemos en el próximo.
I hope you liked my tutorial, see you in the next one.

The rewards earned on this comment will go directly to the person sharing the post on Twitter as long as they are registered with @poshtoken. Sign up at https://hiveposh.com.
Muy original quedo igualito amigo
Hola @yolimarag muchas gracias por pasar por mi blog.
Está hermoso tu robot wall-e @cetb2008, muy decorativo,
Hola @isabelpena muchas gracias por visitar mi publicaciòn.