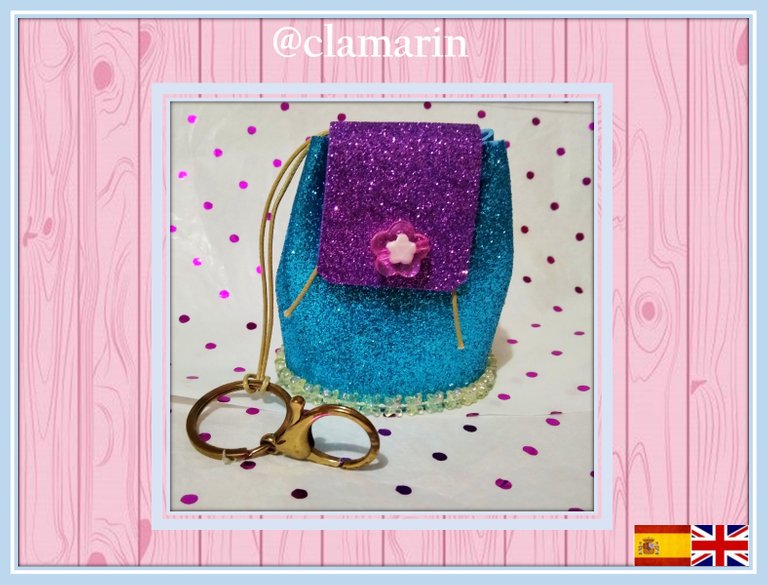
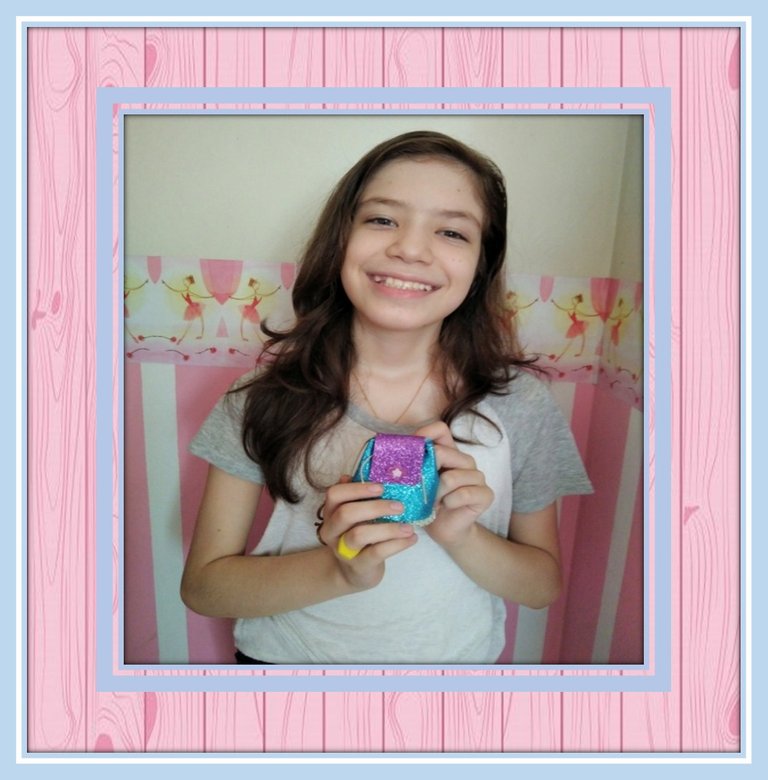
¡Hola querida comunidad de Hive! El día de hoy, quiero compartir con ustedes la creación de un original llavero mini bolso, el cual será un obsequio para mi hija Fernanda. ¡Comencemos!
Hello dear Hive community! Today I want to share with you the creation of an original mini bag keychain, which will be a gift for my daughter Fernanda. Let's get started!
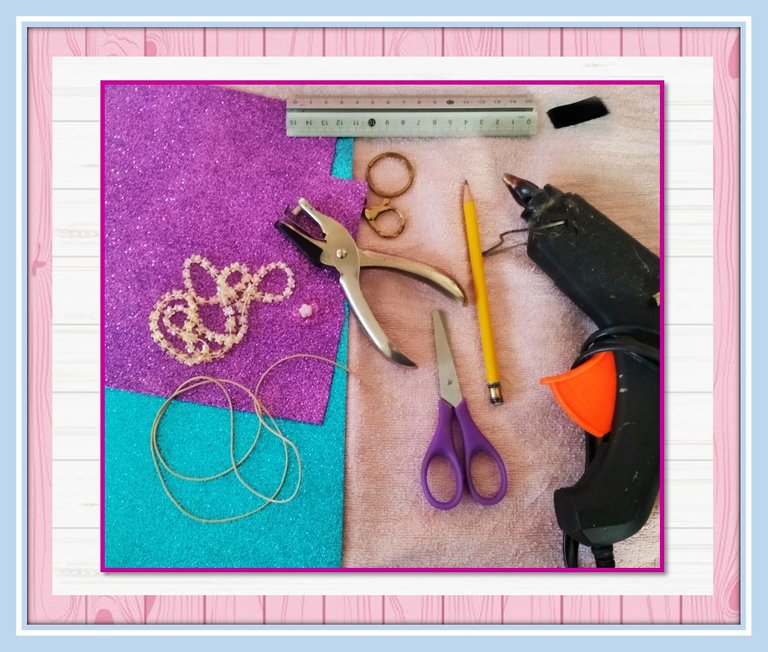
Materiales a utilizar:
• 2 foami escarchado (morado / azul)
• 1 aro de metal
• 1 gancho de langosta
• Cordón color beige
• 1 aplique de flor
• Aplique de cristal
• Cierre mágico
• Peforadora
• Tijera
• Silicon
• Regla
• Lápiz
Materials to use:
• 2 Glitter foam sheets(pink/purple)
• 1 metal split key ring
• 1 lobster clasp
• Beige cord
• 1 acrylic flower applique
• Yards crystal
• Magic Tape Self Adhesive
• Hole punch
• Scissor
• Crystal clear hot glue gun stick
• Rule
• Pencil
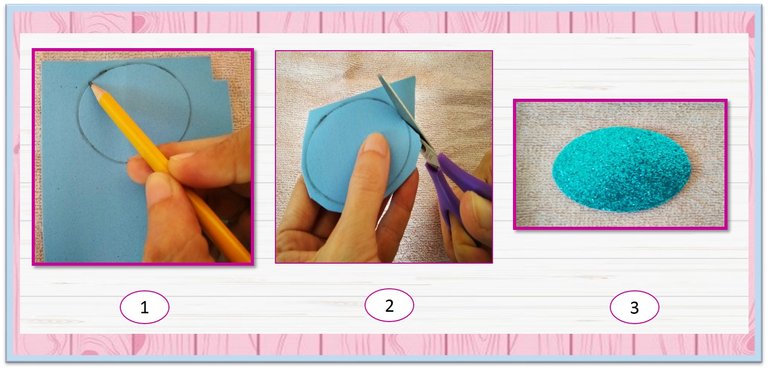
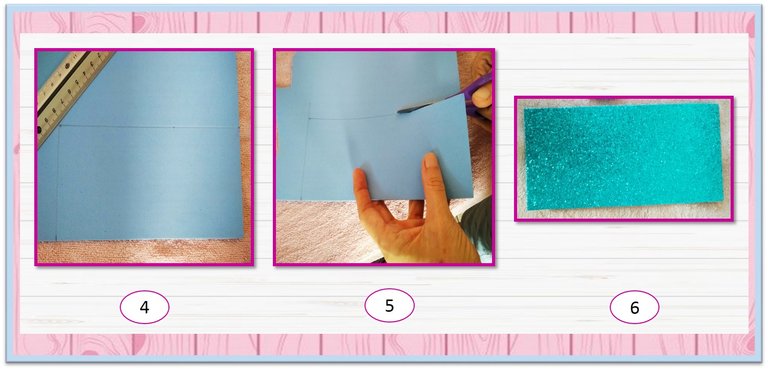
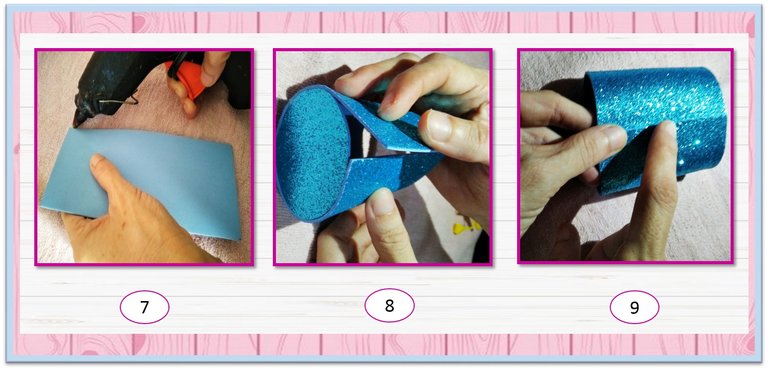
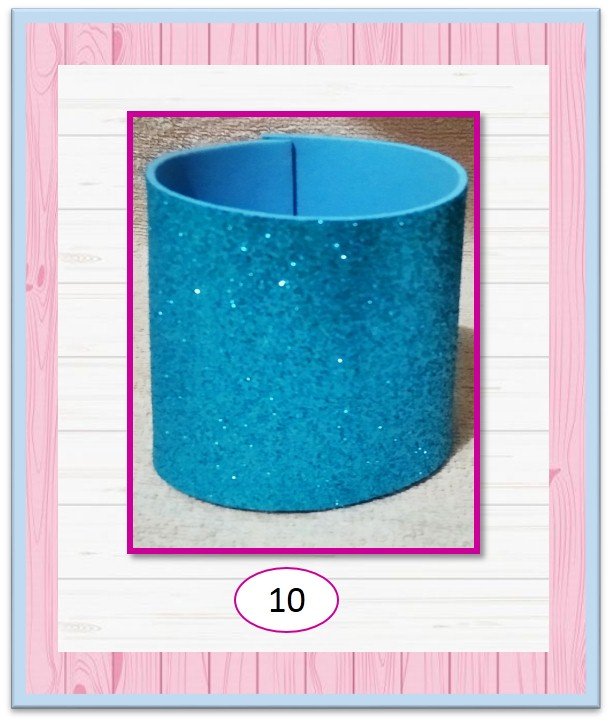
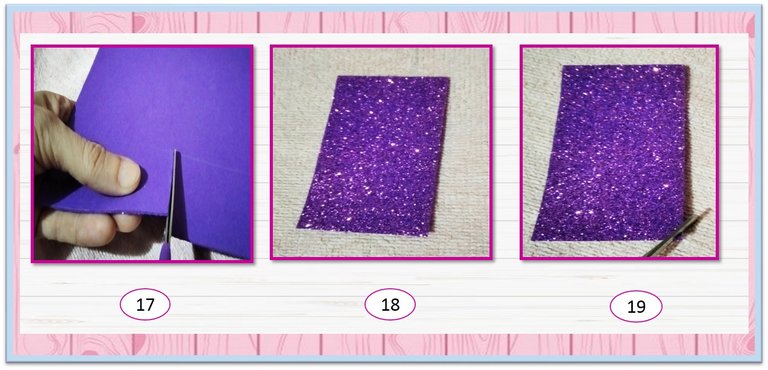
Paso 1:
Dibujamos un óvalo en el foami y recortamos. Luego, cortamos un rectángulo (8 x 18 cm), lo pegamos con silicon al óvalo y pegamos también, la parte posterior.
Step 1
We draw an oval on the foam and cut out. Then, we cut a rectangle (8 x 18 cm), we glue it with silicone to the oval and we also glue the upper part.
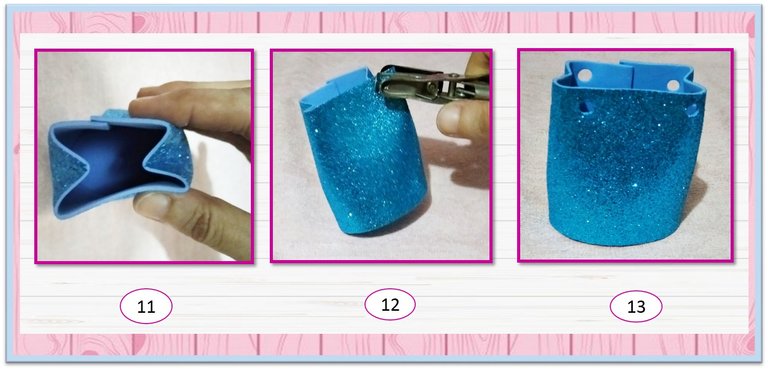
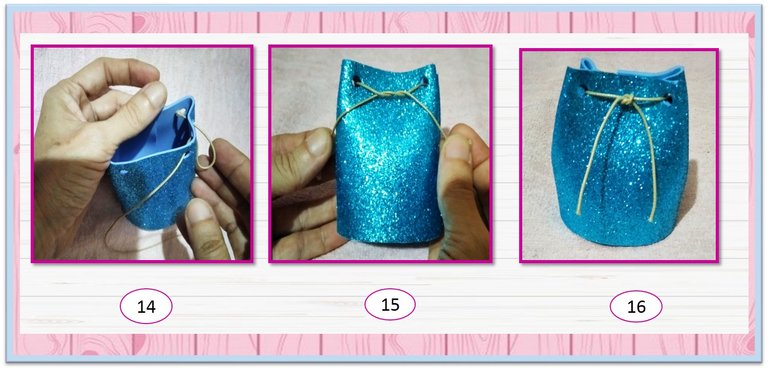
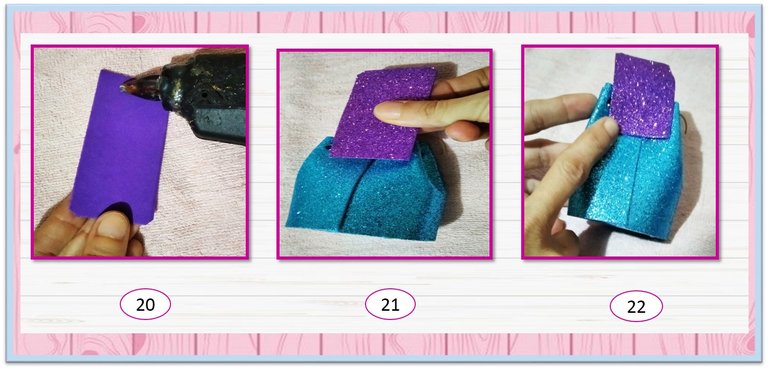
Paso 2:
Doblamos la parte media superior y con la ayuda del perforador de huecos abrimos 4 orificios en las puntas que sobresalen del dobles. Pasamos por los orificios el cordón (22 cm) y atamos.
Step 2:
We fold the upper middle part and with the help of the hole puncher we open 4 holes in the tips that protrude from the doubles. We pass the cord (22 cm) through the holes and we tie it.
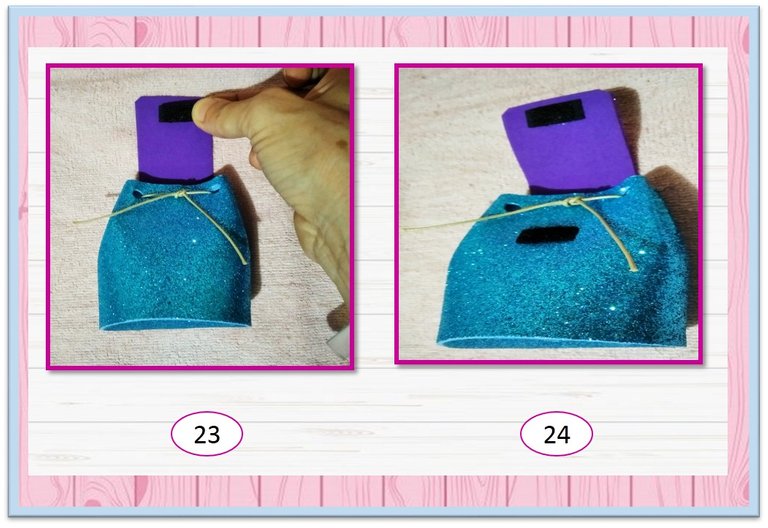
Paso 3:
Cortamos otro rectángulo (4 x 8 cm), cortamos las esquinas de uno de sus extremos y el otro extremo lo pegamos a la parte posterior del bolsito. Colocamos el cierre mágico, para poder unir la tapa, que formamos con el rectángulo, al bolsito.
Step 3:
We cut another rectangle (4 x 8 cm), cut the corners of one of its ends and glue the other end to the back of the bag. We place the magic tape self adhesive, to be able to join the lid, which we form with the rectangle, to the bag.
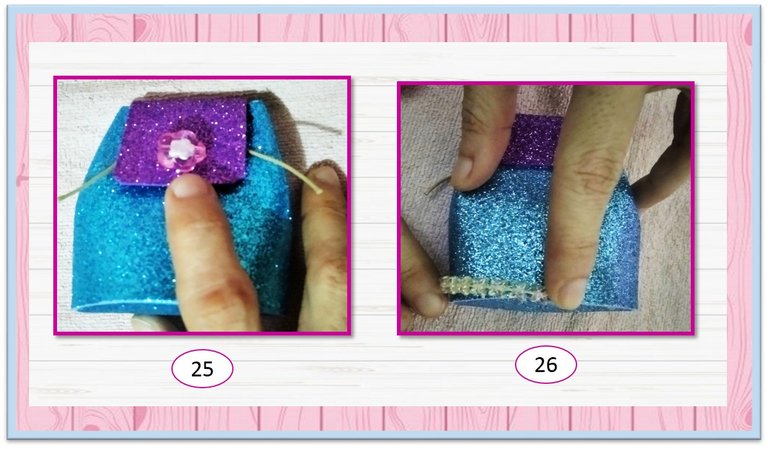
Paso 4:
Colocamos los apliques: uno en la tapa del bolsito (flor) y el otro en la parte inferior del bolsito.
Step 4:
We place the appliques: one on the top of the bag (flower) and the other on the bottom of the bag.
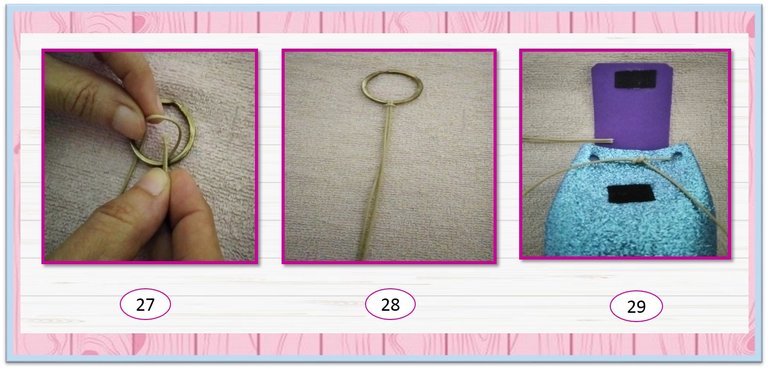
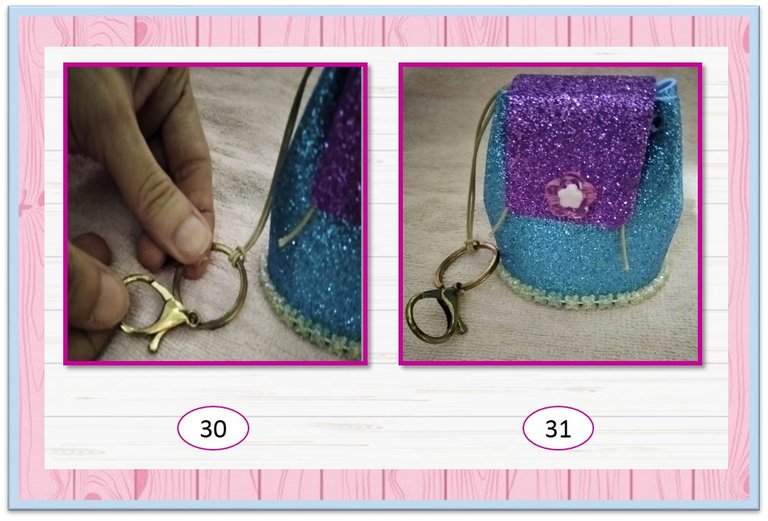
Paso 5:
Atamos al aro de metal el cordón, y lo fijamos a la parte interna de la tapa, cubriendo con un pedacito de foami. Luego introducimos en el aro el gancho de langosta.
Step 5:
We tie the cord to the metal split key ring, and fix it to the inside of the lid, covering with a little piece of foam. Then we introduce the lobster hook into the ring.
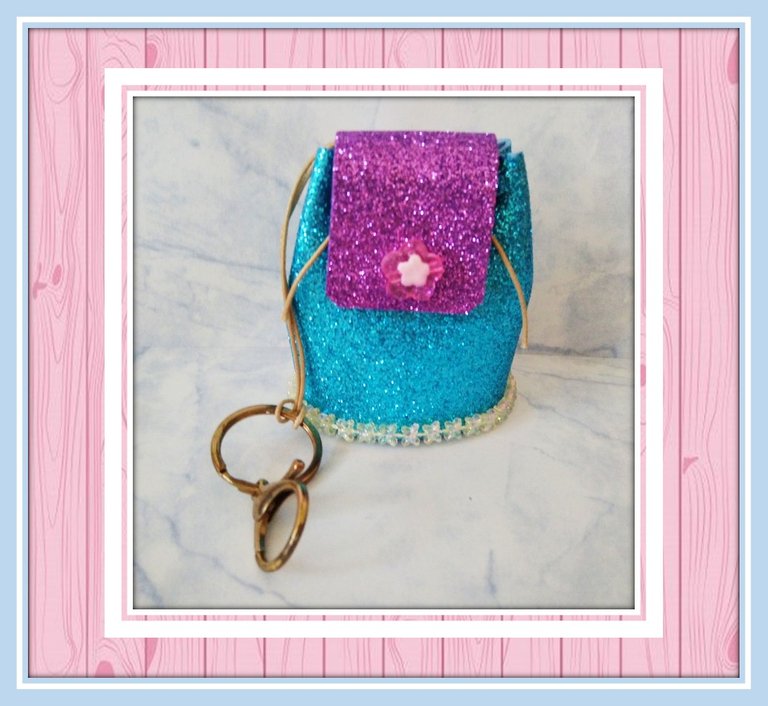
Espero se animen y realicen este práctico y bonito llavero. ¡Hasta una próxima oportunidad!
I hope you cheer up and make this practical and beautiful mini keychain bag. See you soon!

Thank you for sharing this amazing post on HIVE!
non-profit curation initiative!Your content got selected by our fellow curator @stevenson7 & you just received a little thank you via an upvote from our
You will be featured in one of our recurring curation compilations and on our pinterest boards! Both are aiming to offer you a stage to widen your audience within and outside of the DIY scene of hive.
Join the official DIYHub community on HIVE and show us more of your amazing work and feel free to connect with us and other DIYers via our discord server: https://discord.gg/mY5uCfQ !
If you want to support our goal to motivate other DIY/art/music/homesteading/... creators just delegate to us and earn 100% of your curation rewards!
Stay creative & hive on!