❤️ Welcome to my blog @cristzullys❤️
Hello friends of the @HiveDiy community, today I want to share with you a fun tutorial with recycled material to make at home and thus have different ideas when it comes to giving gifts on Mother's Day. I hope each time I can bring you something different so that you can make and give to mom on her day.
MATERIALES
◻️Botella de plástico
◻️Tijeras lisa y de formas.
◻️Pintura al frío roja y blanca.
◻️Pincel
◻️Marcador negro
◻️Brochas para rellenar.
MATERIALS
◻️Plastic bottle
◻️ Smooth and shaped scissors.
◻️ Red and white cold paint.
◻️Brush
◻️Black marker
◻️ Brushes to fill.
PROCEDIMIENTO
PROCESS
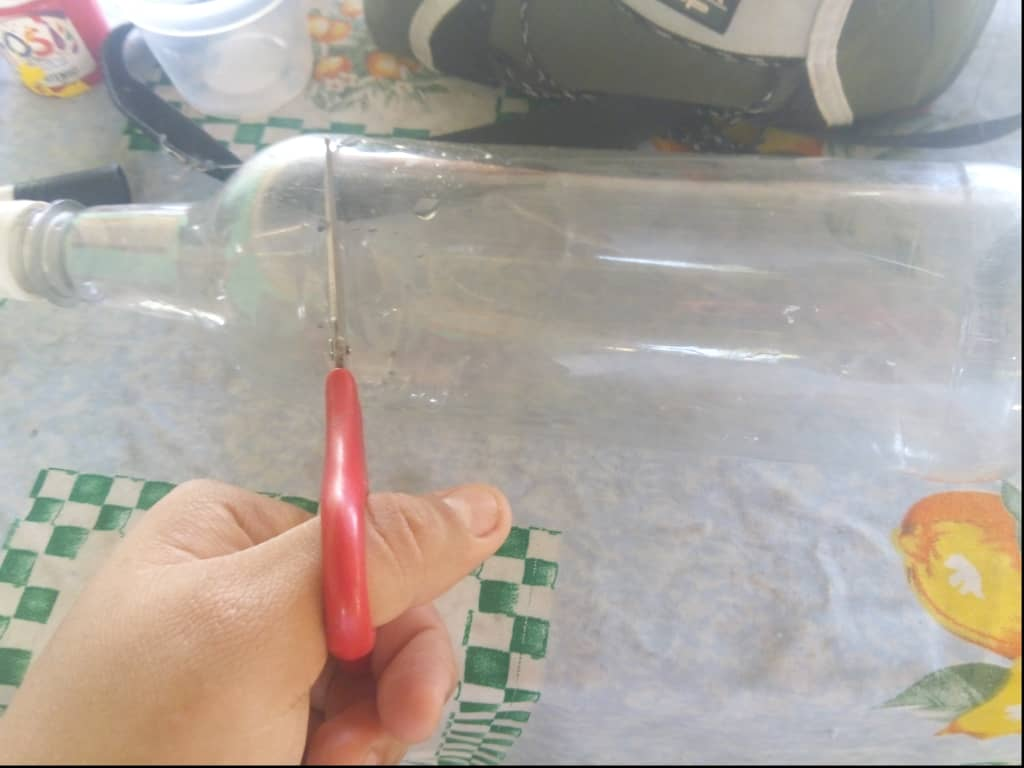
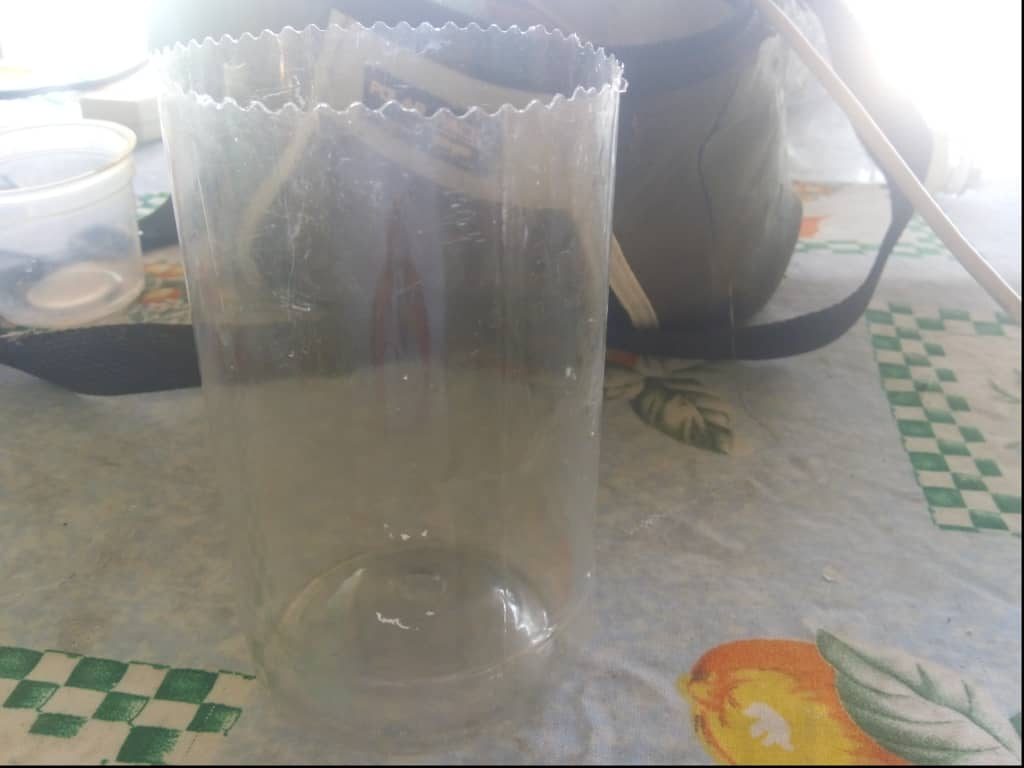
❤️Paso 1❤️
Bueno amigos, lo primero que haremos será cortar nuestra botella de plástico a la medida que deseemos, utilizando la tijera lista.
❤️Step 1❤️
Well friends, the first thing we will do is cut our plastic bottle to the size we want, using the ready-made scissors.
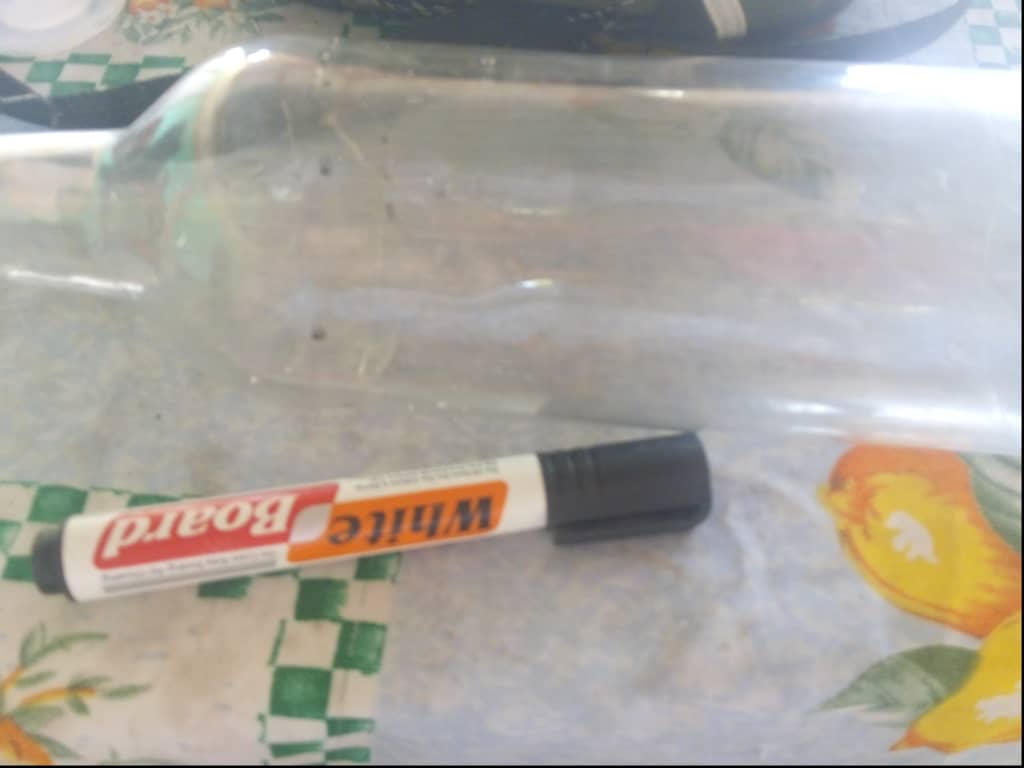
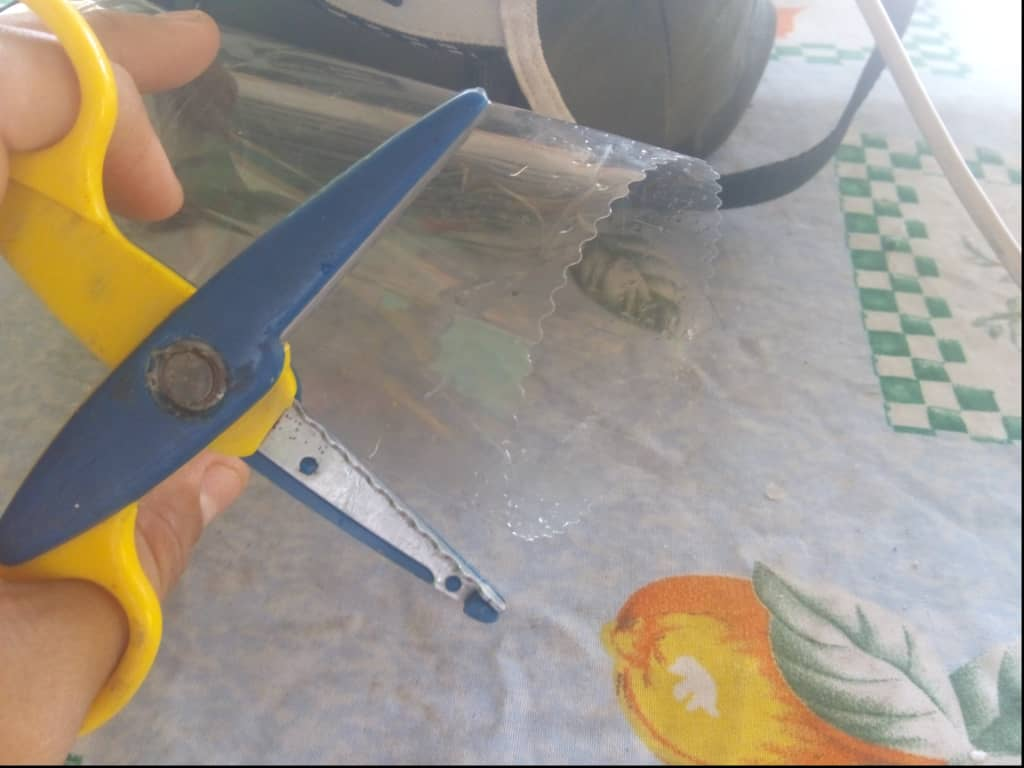
❤️Paso 2❤️
Para darle forma a los bordes lo que haremos será marcar una línea de puntos para que quede más exacto el alrededor de nuestro cilindro. Y cortaremos los bordes con ayuda de una tijera de forma.
❤️Step 2❤️
To shape the edges, what we will do is mark a dotted line so that it is more exact around our cylinder. And we will cut the edges with the help of shape scissors.
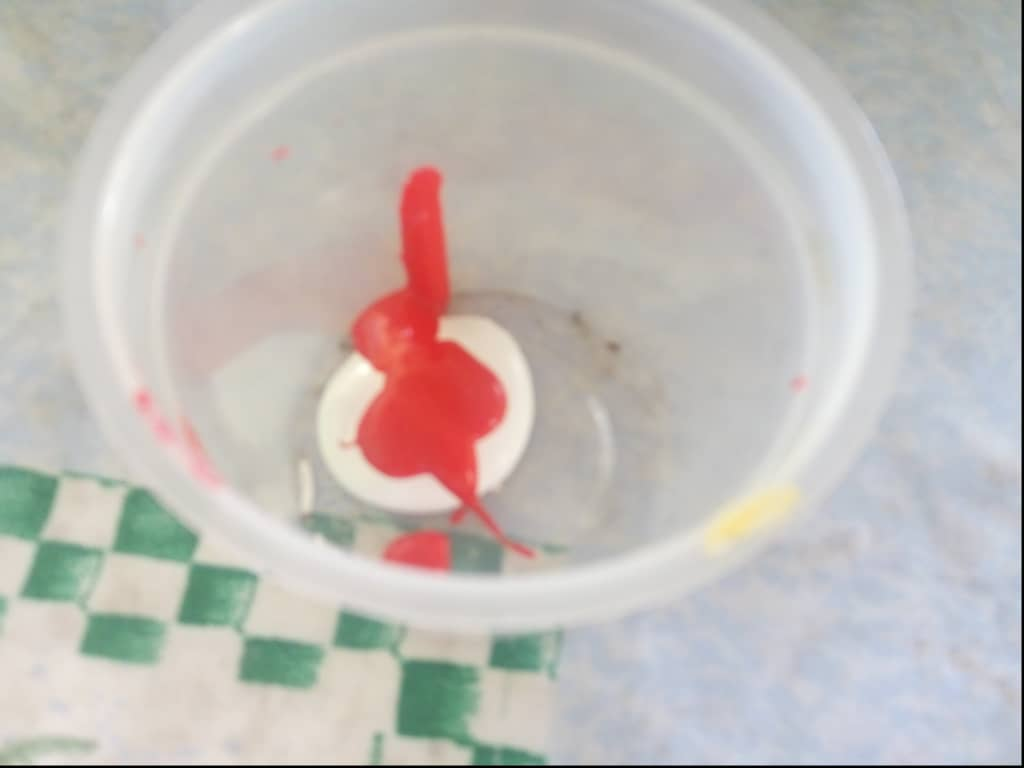
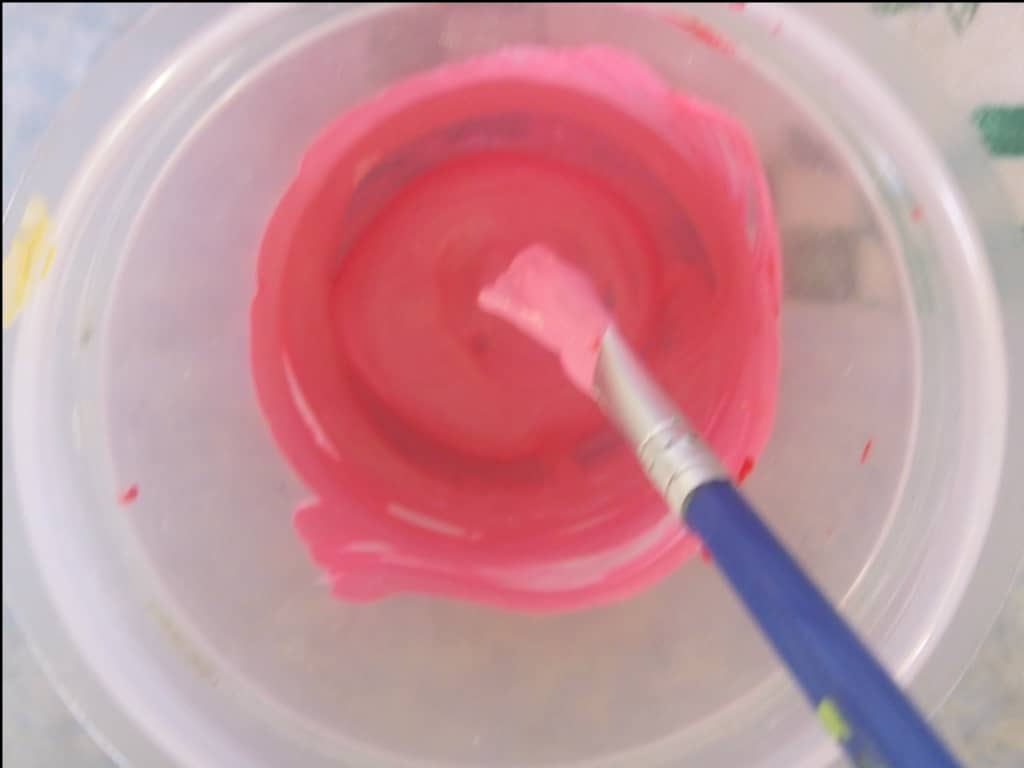
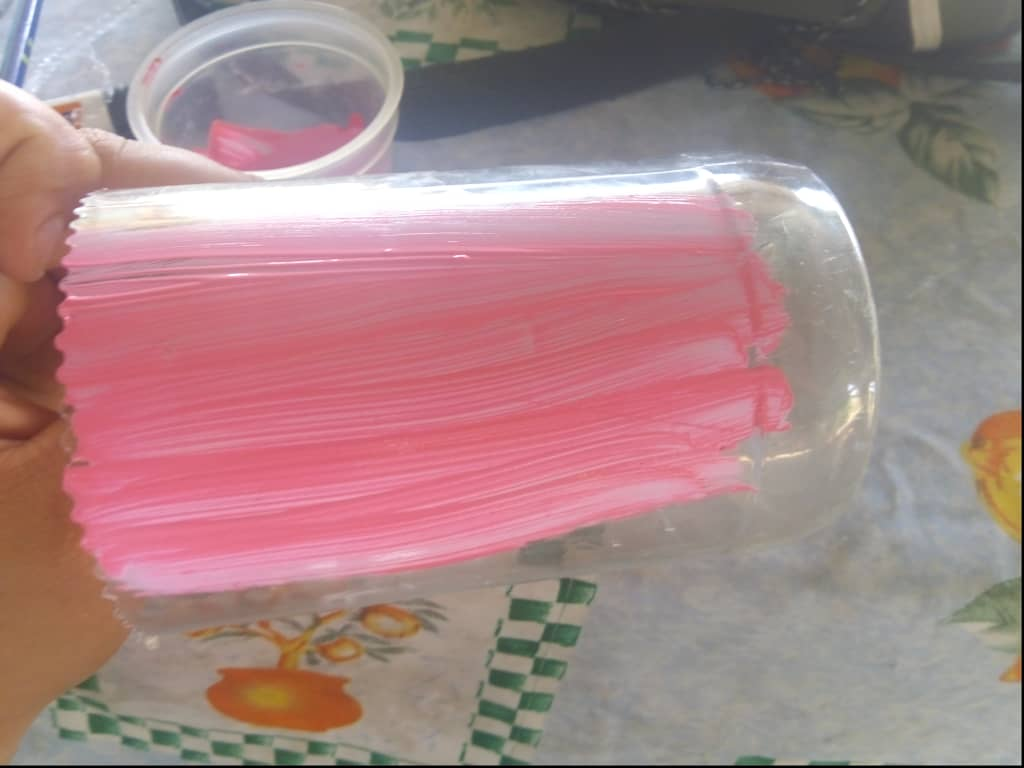
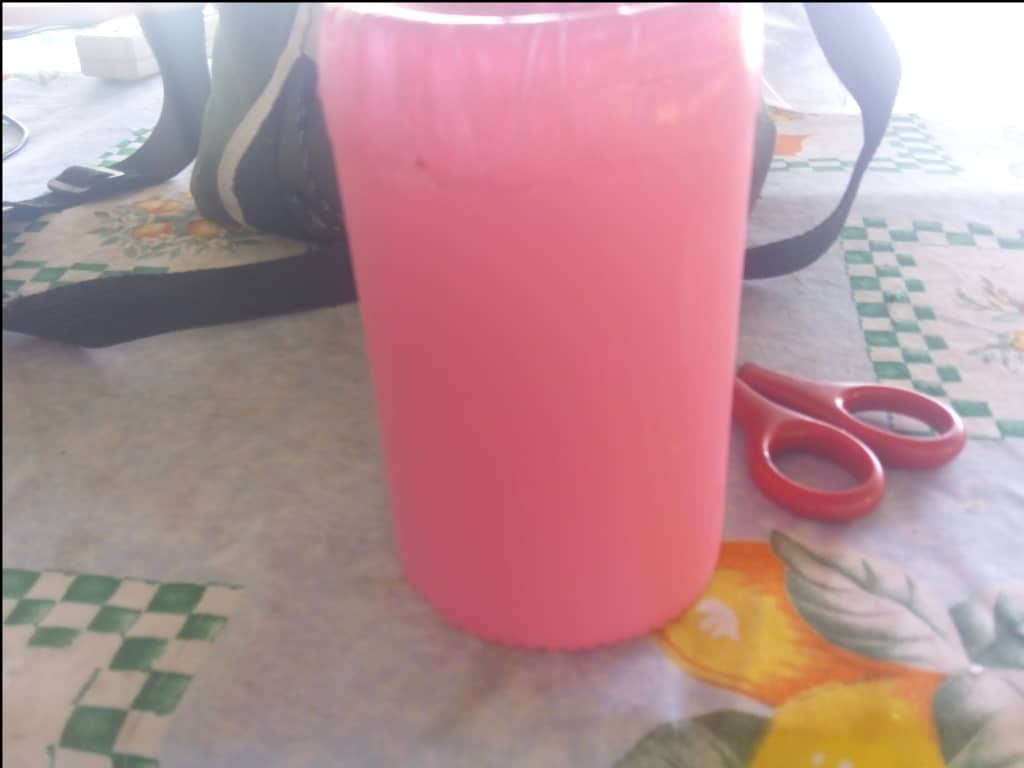
❤️Paso 3❤️
Una vez tengamos la forma deseada, lo que haremos será proceder a pintar nuestro envase. Yo en este caso no tenía pintura color rosa, por eso mezcle los colores rojo y blanco para obtener el color que tanto quería para dar ese toque tierno a nuestro porta brochas. En este caso le di, aproximadamente 4 capas de pintura, esperando su secado entre cada capa.
❤️Step 3 ❤️
Once we have the desired shape, what we will do is proceed to paint our container. In this case, I did not have pink paint, so I mixed the red and white colors to obtain the color that I wanted so much to give that tender touch to our brush holder. In this case I gave him approximately 4 coats of paint, waiting for it to dry between each coat.
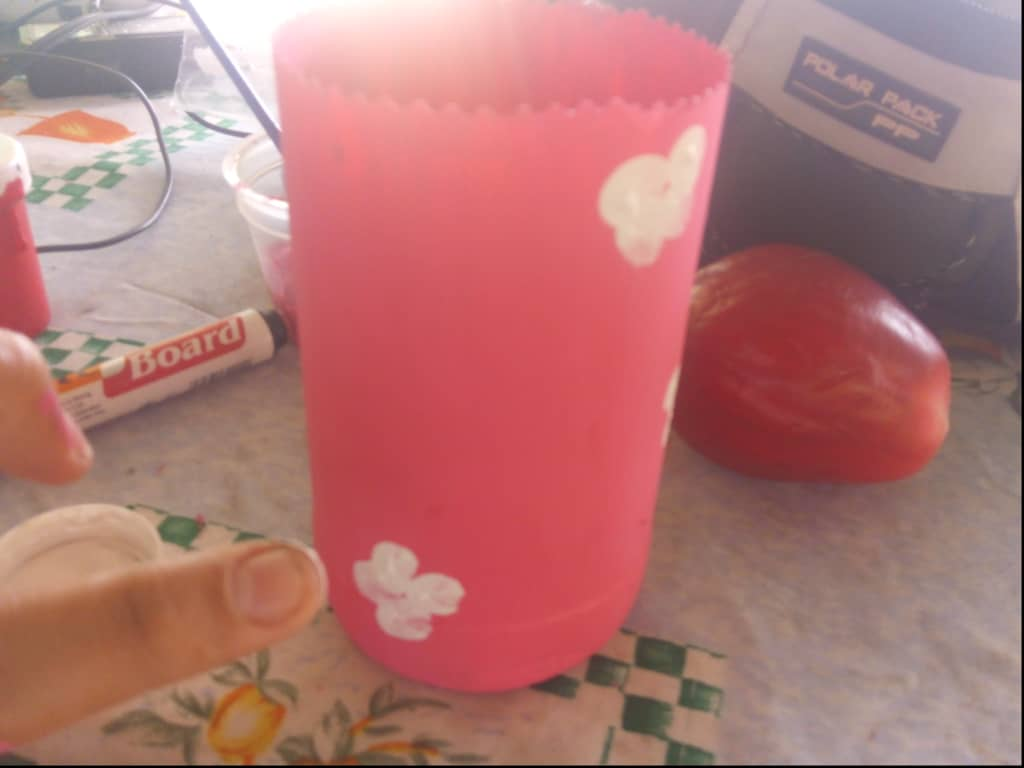
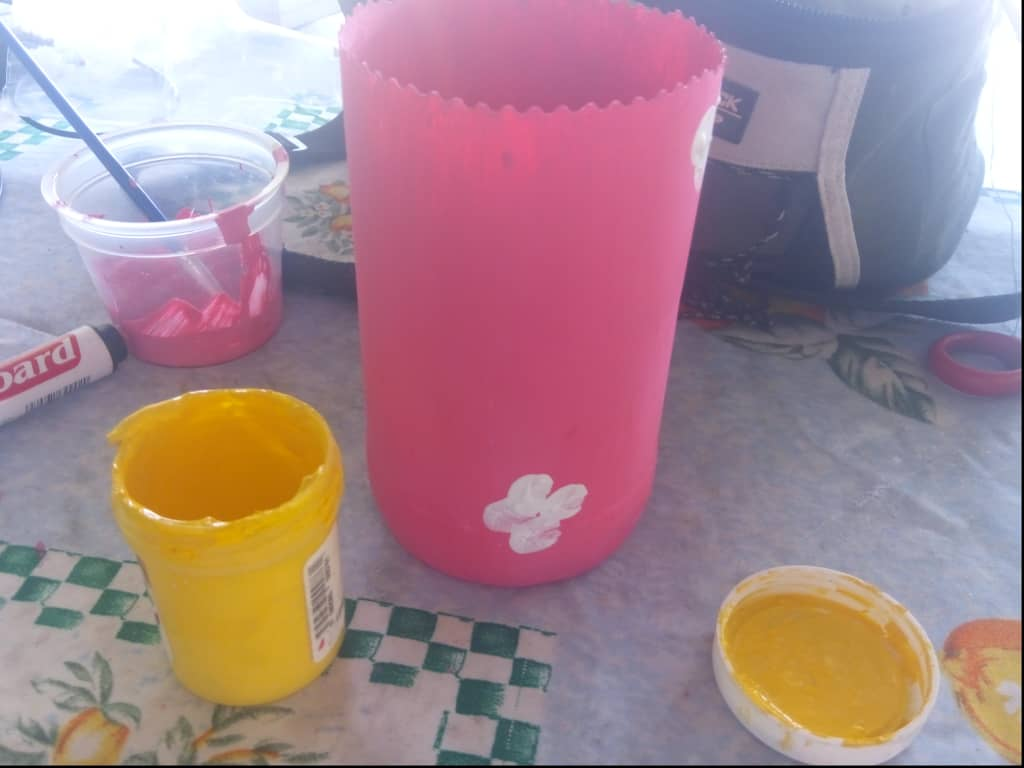
❤️Paso 4❤️
Luego que tengamos el cilindro bien de color, lo que haremos será decorar con unas flores blancas y amarillas en símbolo de la pureza y naturalidad. Para esto haremos los pétalos con nuestras huellas y el centro con ayuda de cualquier objeto puntiagudo.
❤️Step 4❤️
After we have the cylinder well colored, what we will do is decorate it with some white and yellow flowers as a symbol of purity and naturalness. For this we will make the petals with our footprints and the center with the help of any pointed object.
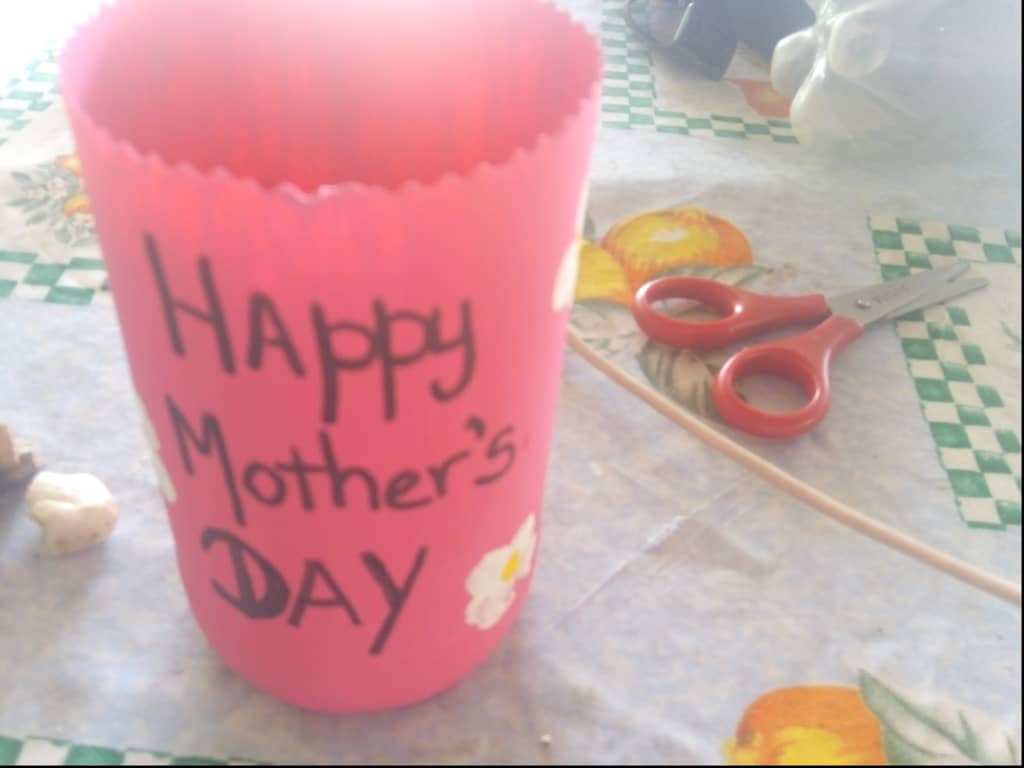
❤️Paso 5❤️
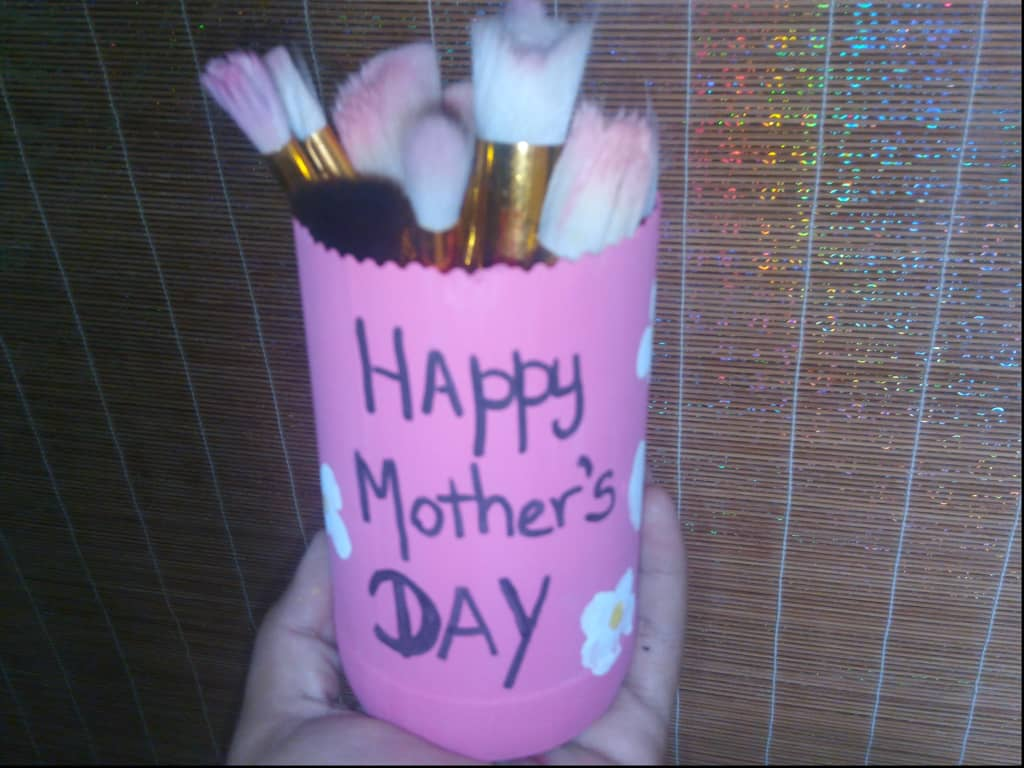
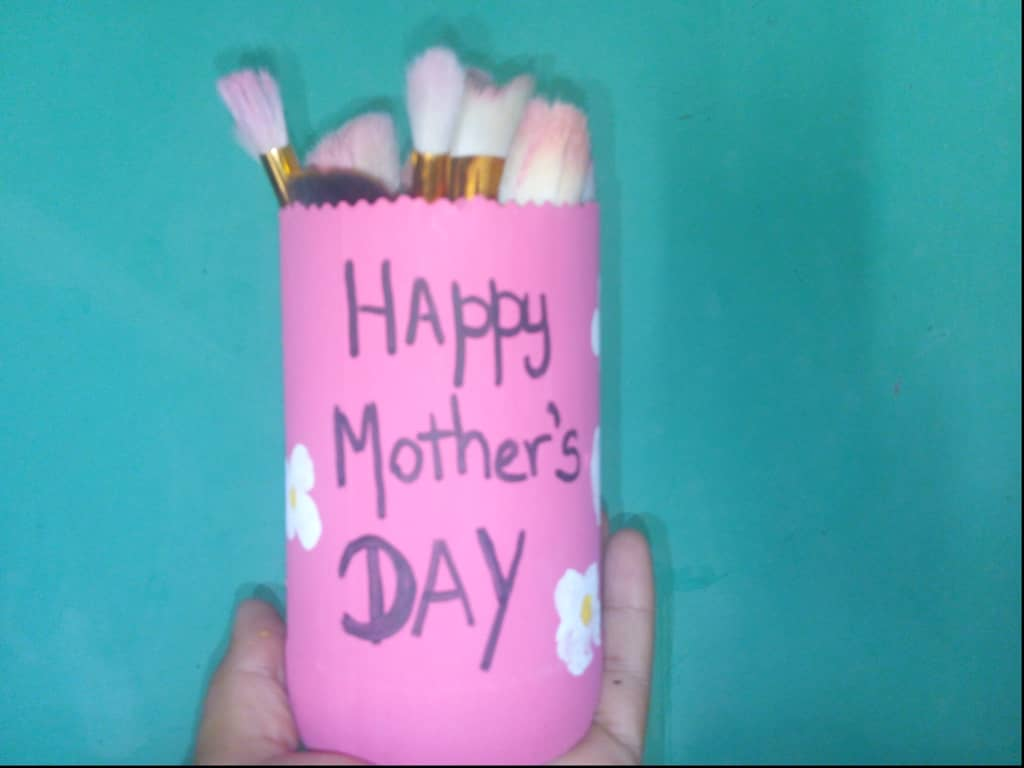
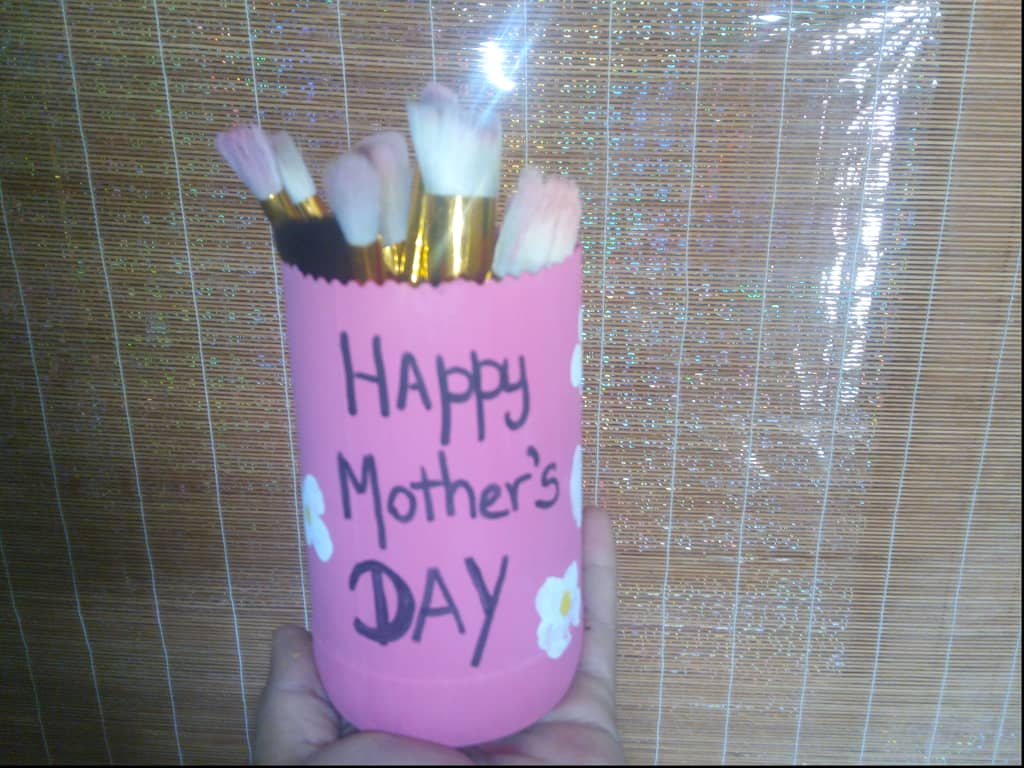
Finalmente agregaremos, cualquier frase que deseemos y rellenaremos con más brochas o cualquier objeto que quepa y en este caso deseemos obsequiar.
❤️Step 5❤️
Finally we will add any phrase that we want and we will fill with more brushes or any object that fits and in this case we want to give away.
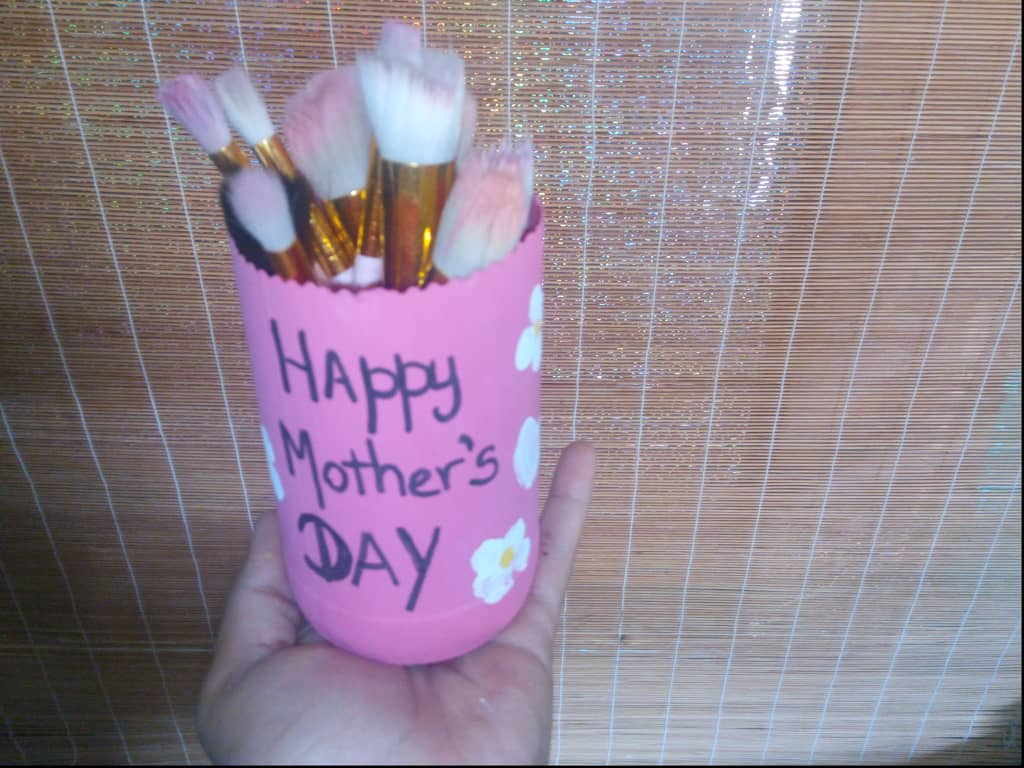
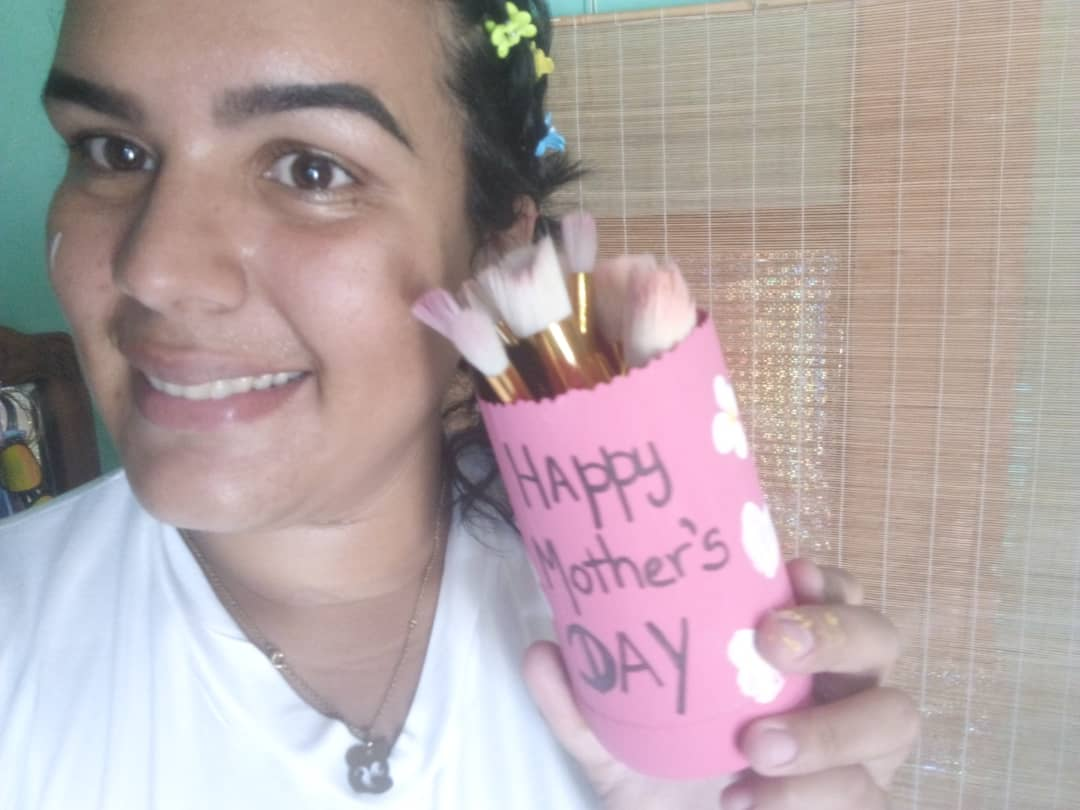
RESULTADOS
RESULTS
TU APOYO ES IMPORTANTE❤️
GRACIAS POR VISITAR MI BLOG Y LEERME♡
YOUR SUPPORT IS IMPORTANT❤️
THANKS FOR VISITING MY BLOG AND READING♡
•Texto Original de: @cristzullys
•Traducido en Google
•Todos los Derechos Reservados Cristzullys González
•Fotografías Tomadas de mi Teléfono Umidigi7s
•Banner Creado y diseñado por @cristzullys
•Original text from: @cristzullys
•Google Translated
•All rights reserved Cristzullys González
•Pictures Taken from my Umidigi7s Phone
•Banner Created and designed by @cristzullys
Me fascina hacer cosas con materiales de provecho, gracias por compartir esta idea, está genial. Que viva el reciclaje!
Así es, es de mucha utilidad. Me alegro que te guste la idea de utilizar el material de provecho, es que es de gran ayuda y así logramos conservar el planeta.
Gracias por visitar mi tutorial, saluditoooos
Que bonito quedó! Gracias por compartir esta idea de regalo para nuestras madres ❤️
Gracias me alegro que te haya gustado. Espero puedas realizarla en casa, saluditos✨✨✨