❤️ Welcome to my blog @cristzullys❤️
Hello dear community of @HiveDiy, after several days absent here, I want to share with you a tutorial with another very useful craft to decorate your room, it will be very easy to do and I am sure you will like it a lot to renew those accessories that we have at home and thus rejuvenate our spaces without spending much, without further ado let's start...
MATERIALES
◻️ Pincel delgado.
◻️ Pintura color negra.
◻️ Pintura color blanco.
◻️ Pintura color verde.
◻️Pintura color amarillo.
◻️ Cepillo de dientes que no usemos
◻️ Creatividad y amor para que todo salga bien.
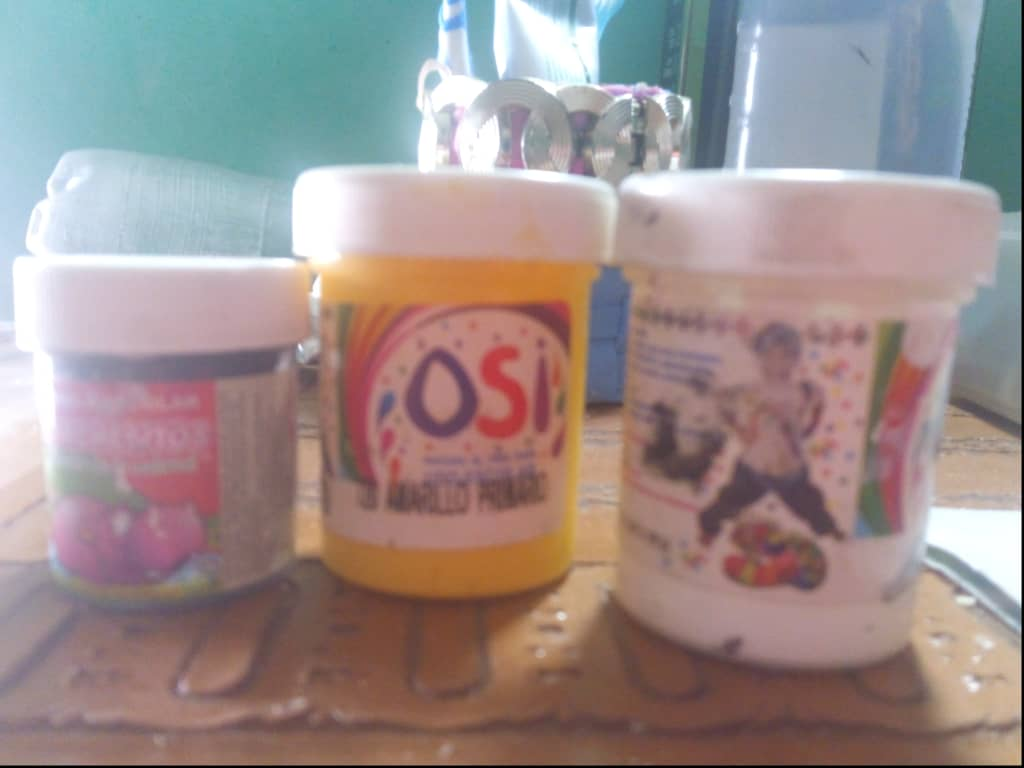
MATERIALS
◻️ Thin brush.
◻️ Paint color black.
◻️ White paint.
◻️ Green paint.
◻️ Yellow paint.
◻️ Toothbrush that we do not use
◻️ Creativity and love so that everything goes well.
PROCEDIMIENTO
PROCESS
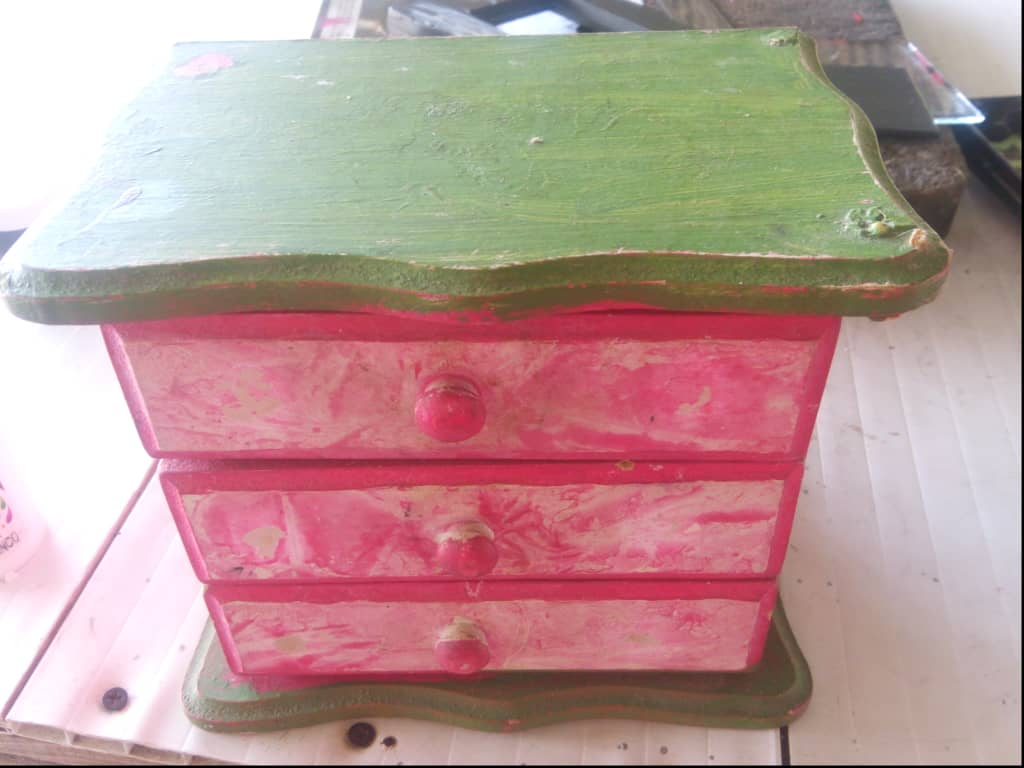
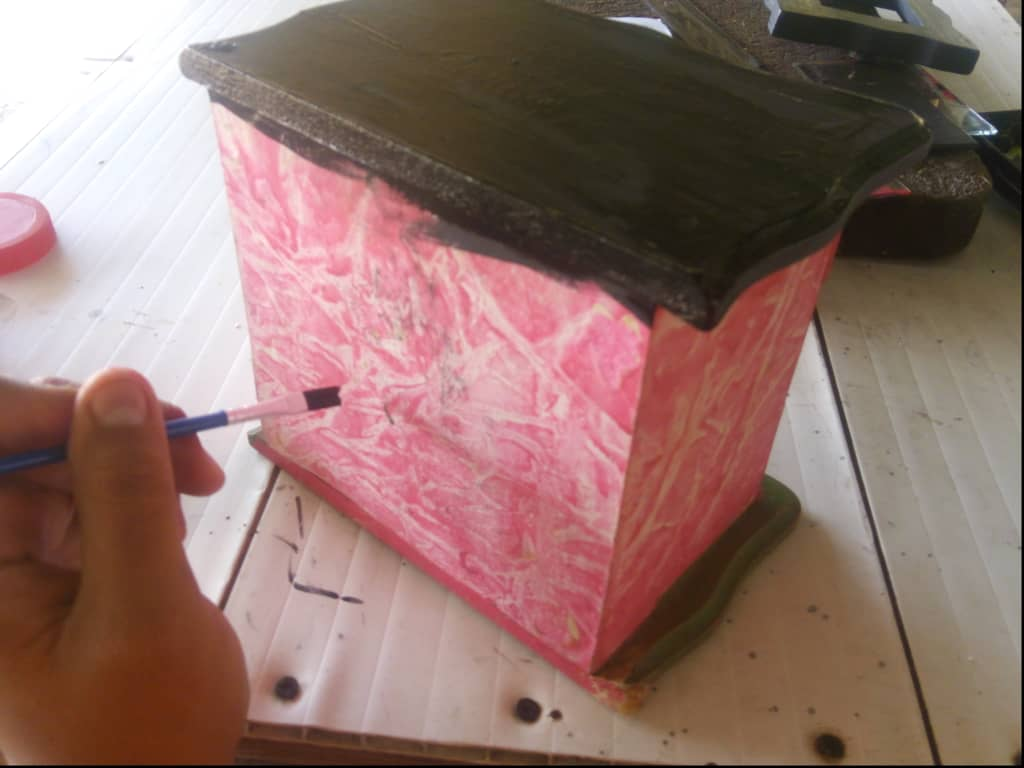
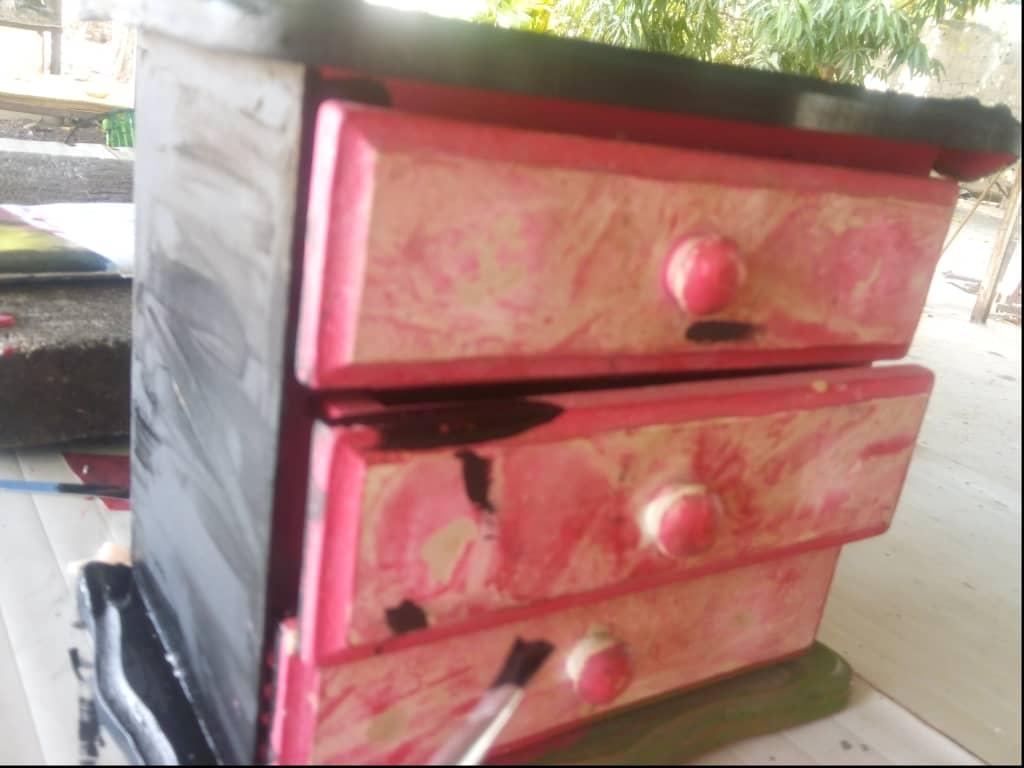
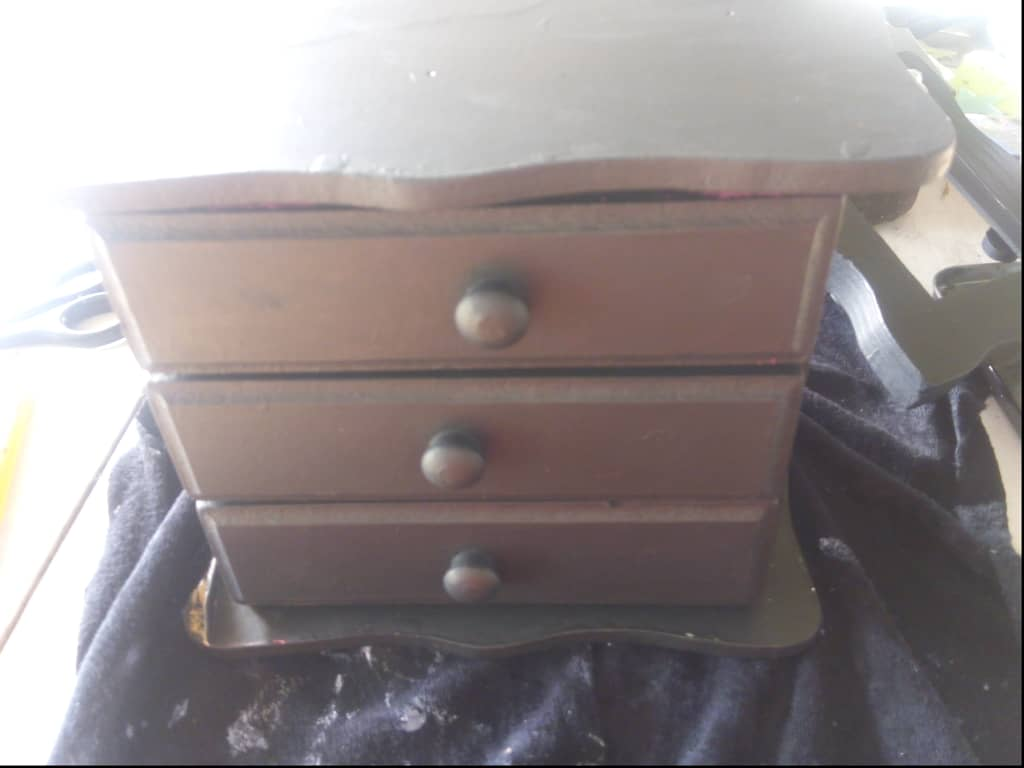
❤️Paso 1❤️
El primer paso será seleccionar la pieza a renovar. Luego que la seleccionemos elegiríamos el color a utilizar. En este caso decidí pintar el joyero color negro para darle un toque neutro a nuestra pieza. Lo que haremos será pintar toda la superficie.
❤️Step 1❤️
The first step will be to select the piece to renew. After we select it, we would choose the color to use. In this case I decided to paint the jewelry box black to give our piece a neutral touch. What we will do is paint the entire surface.

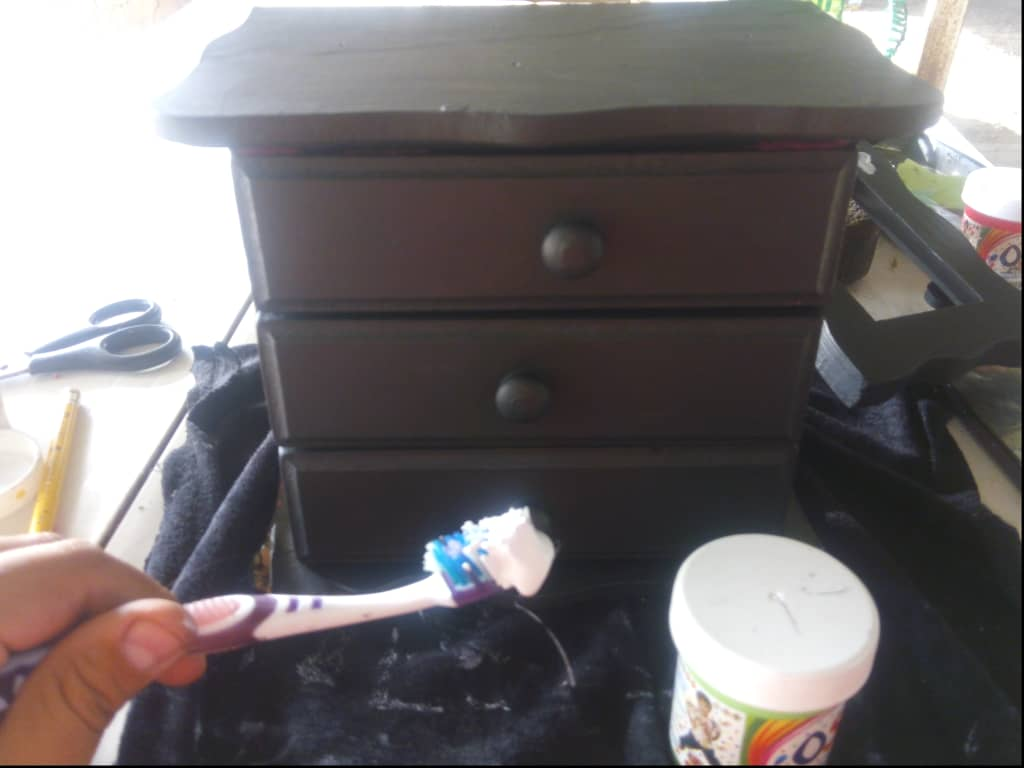
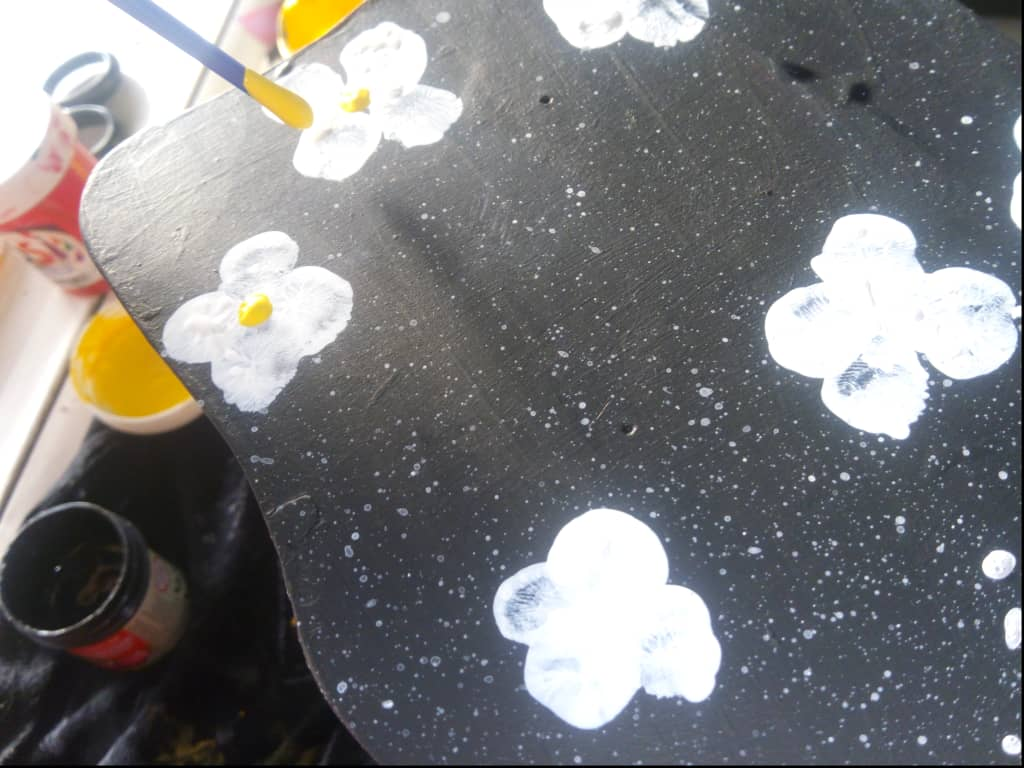
❤️Paso 2❤️
El siguiente paso será tomar el cepillo de dientes y hacer la técnica de salpicado, eligiendo el color de nuestra preferencia. En este caso yo elegí el color blanco para hacer un buen contraste entre el color base y los colores decorativos. Para esto lo que haremos será frotar con el dedo el cepillo una vez lo hayamos humedecido en pintura y frotaremos por toda la superficie.
❤️Step 2❤️
The next step will be to take the toothbrush and do the splashing technique, choosing the color of our preference. In this case, I chose white to make a good contrast between the base color and the decorative colors. For this, what we will do is rub the brush with our finger once we have moistened it in paint and we will rub all over the surface.
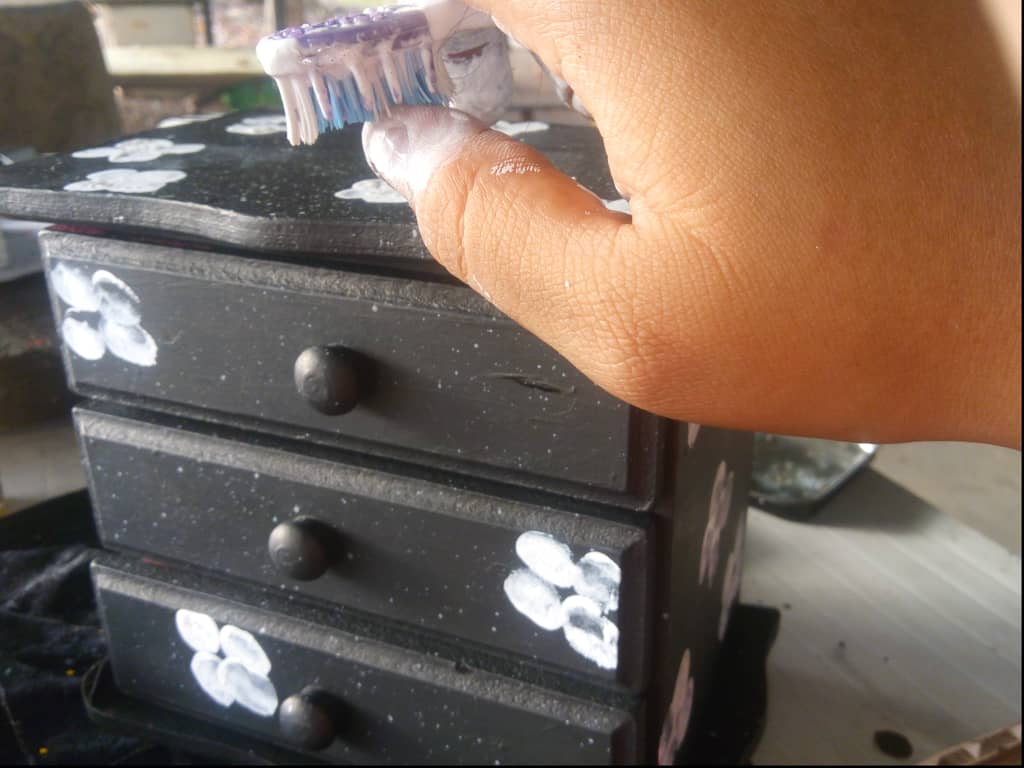
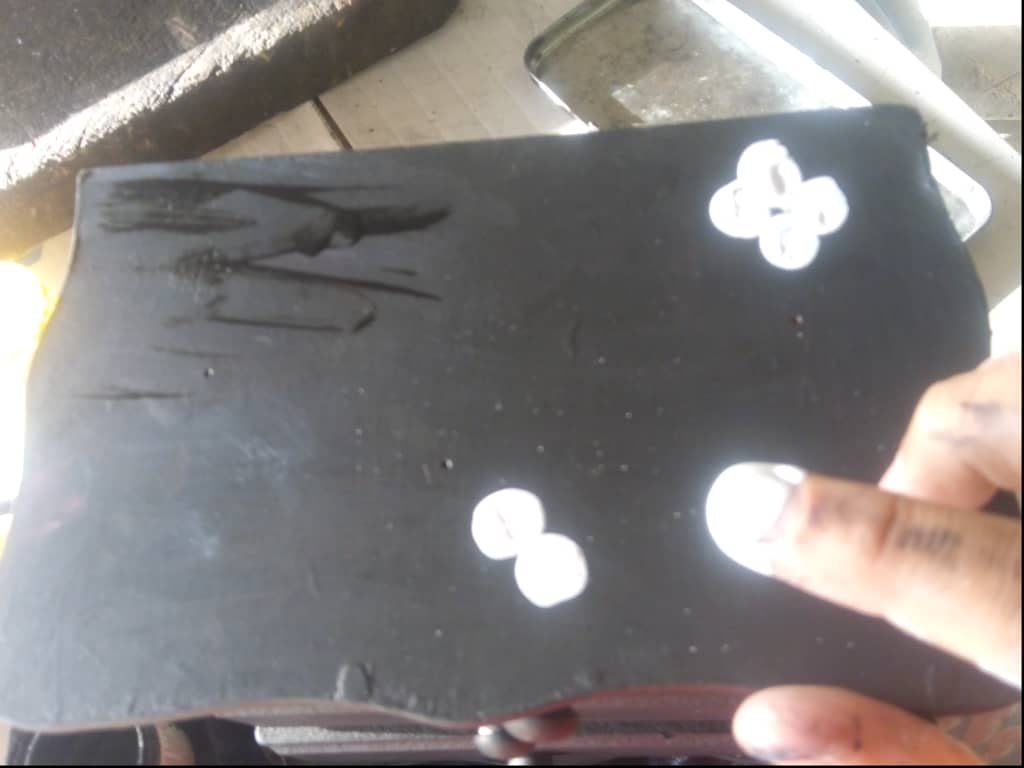
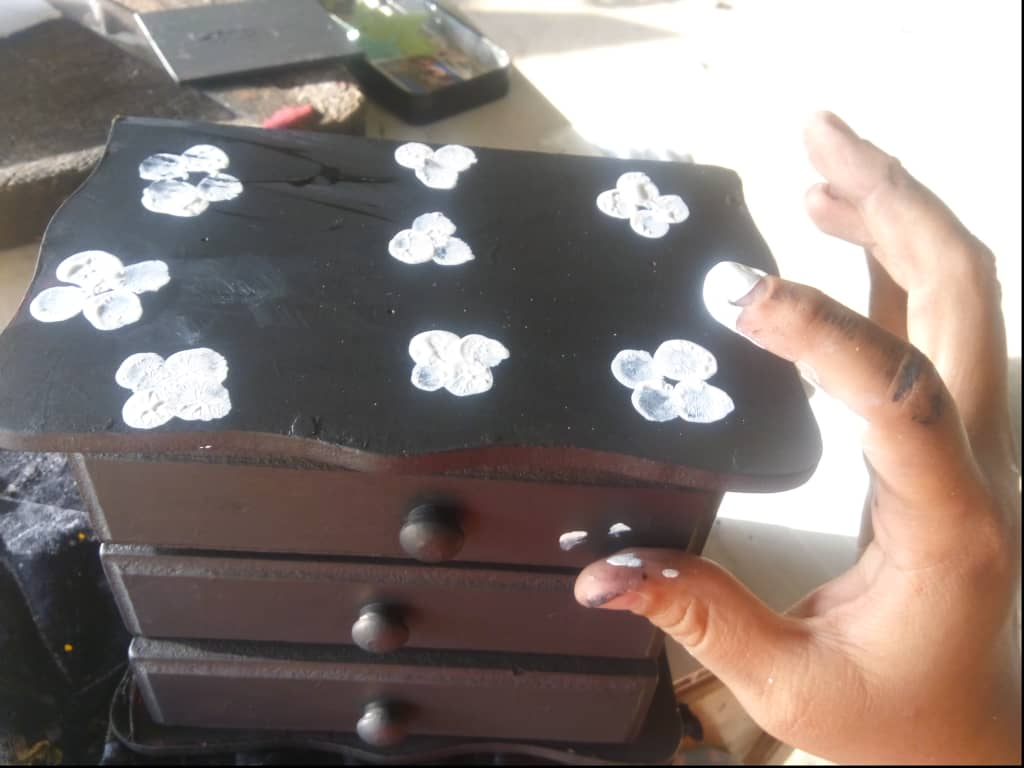
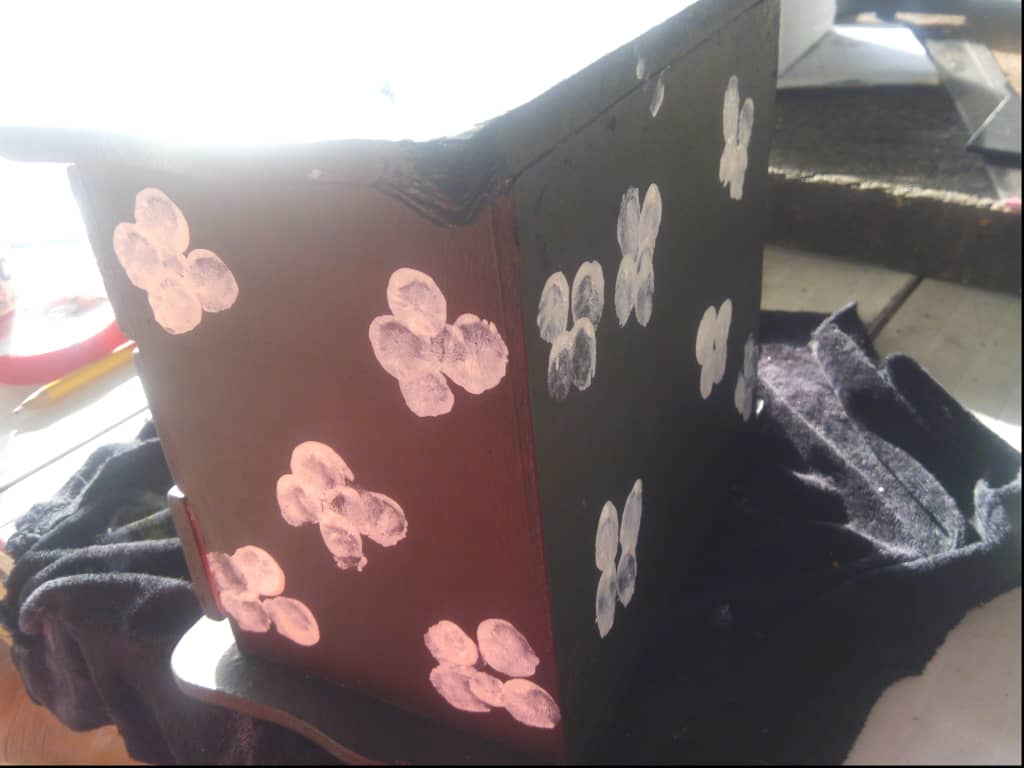
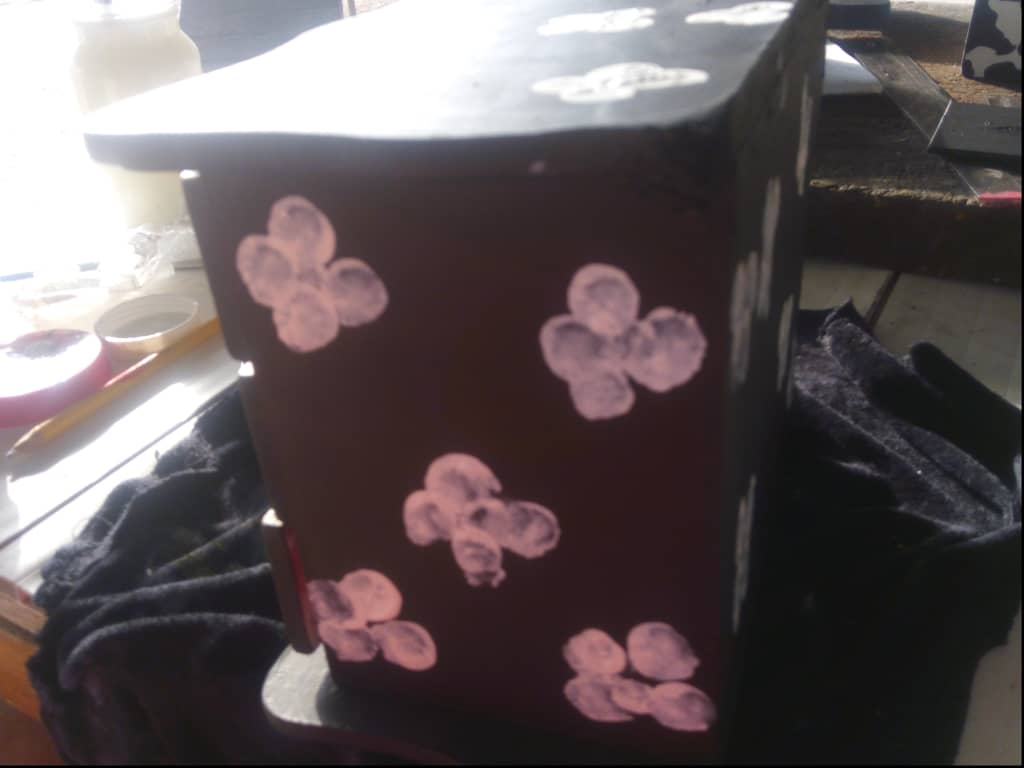
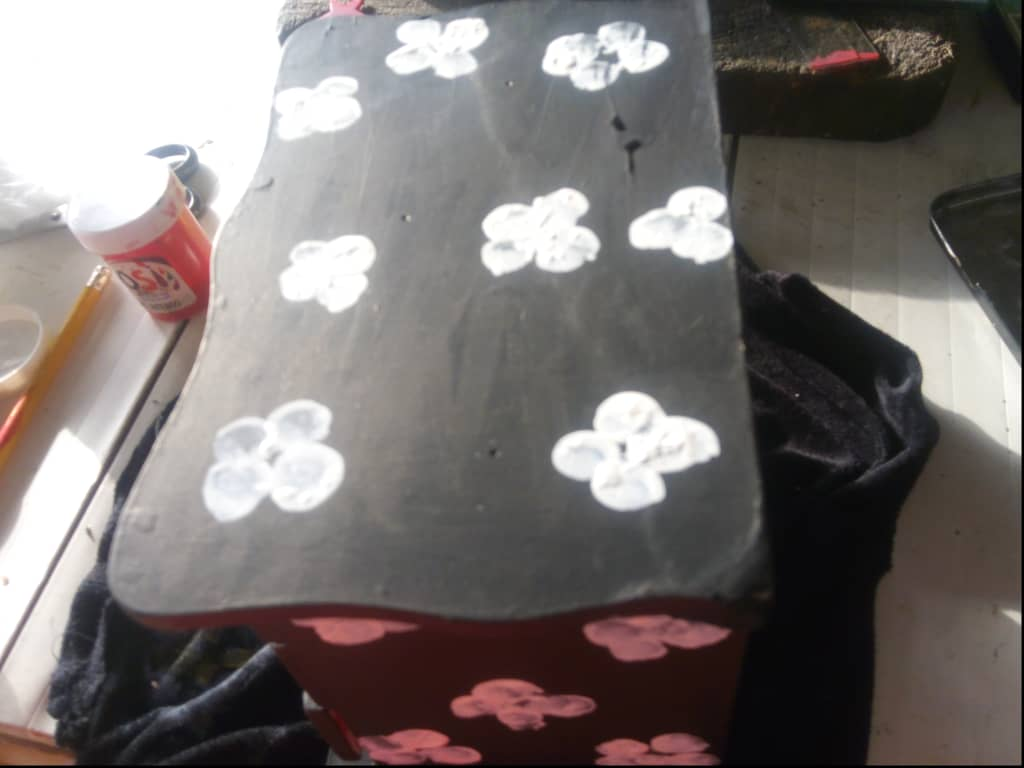
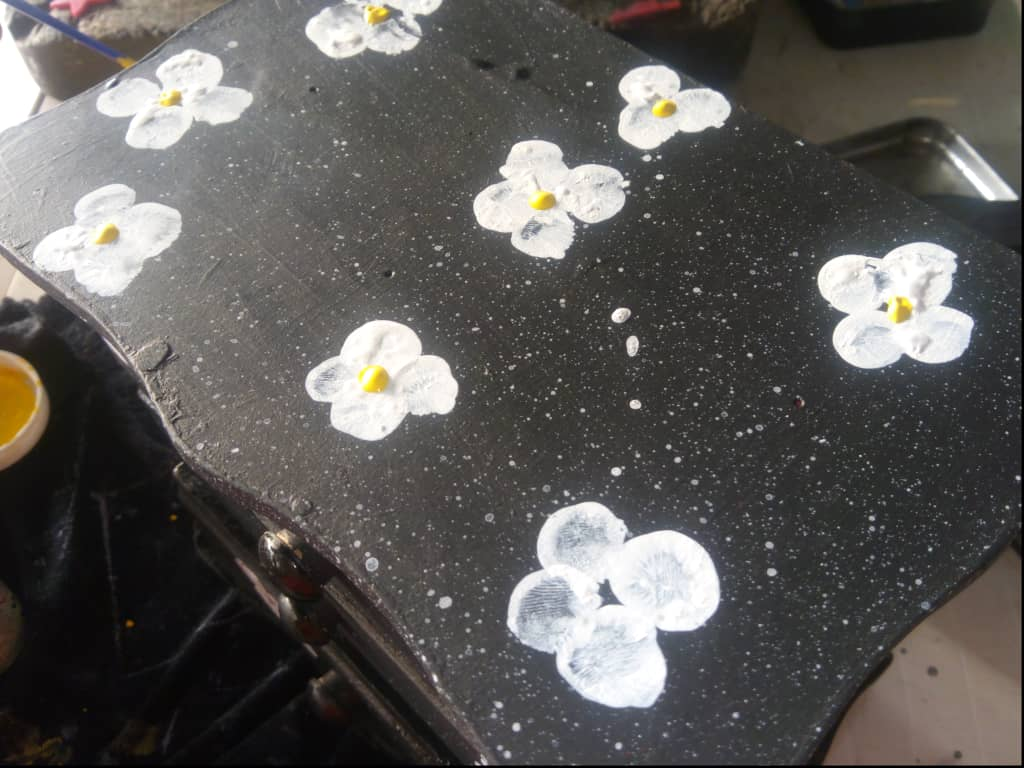
❤️Paso 3❤️
Seguidamente con ayuda de nuestra huellas mojaremos en pintura color blanco, y iremos pegando en la superficie tratando de hacer una flor de cuatro pétalos.
❤️Step 3 ❤️
Next, with the help of our footprints, we will dip in white paint, and we will paste it on the surface trying to make a flower with four petals.
❤️Paso 4❤️
Finalmente lo que haremos será tomar nuestro pincel y rellenar con el color amarillo el centro de nuestras flores, para darle un mejor acabado.
❤️Step 4❤️
Finally, what we will do is take our brush and fill the center of our flowers with the yellow color, to give it a better finish.
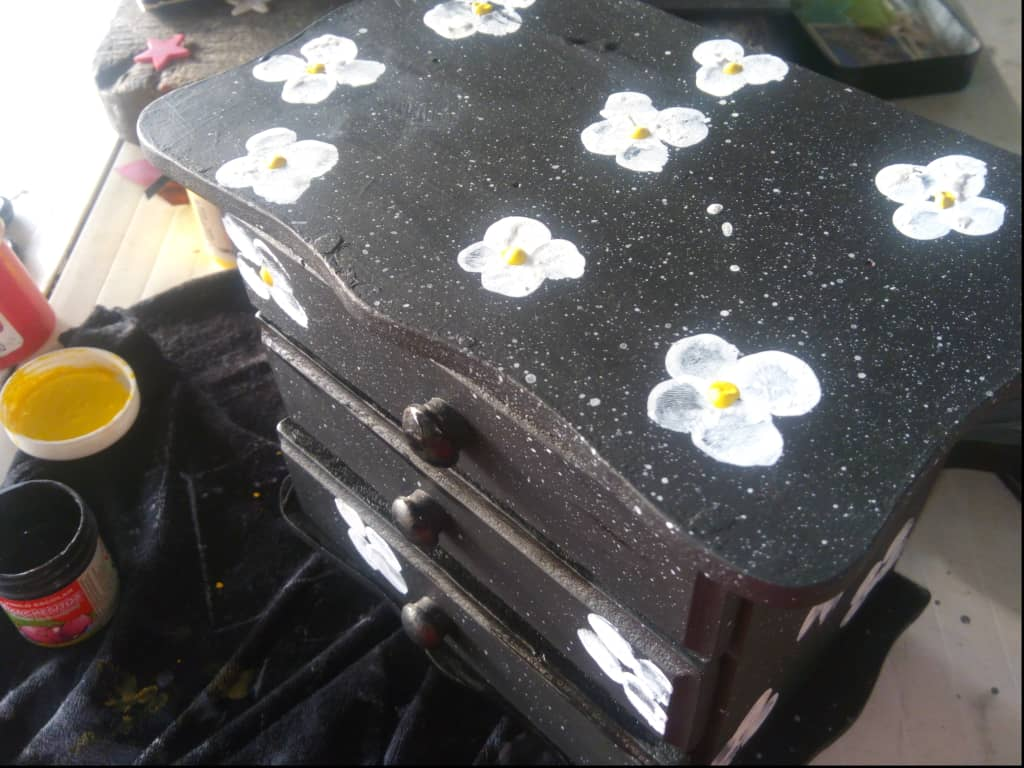
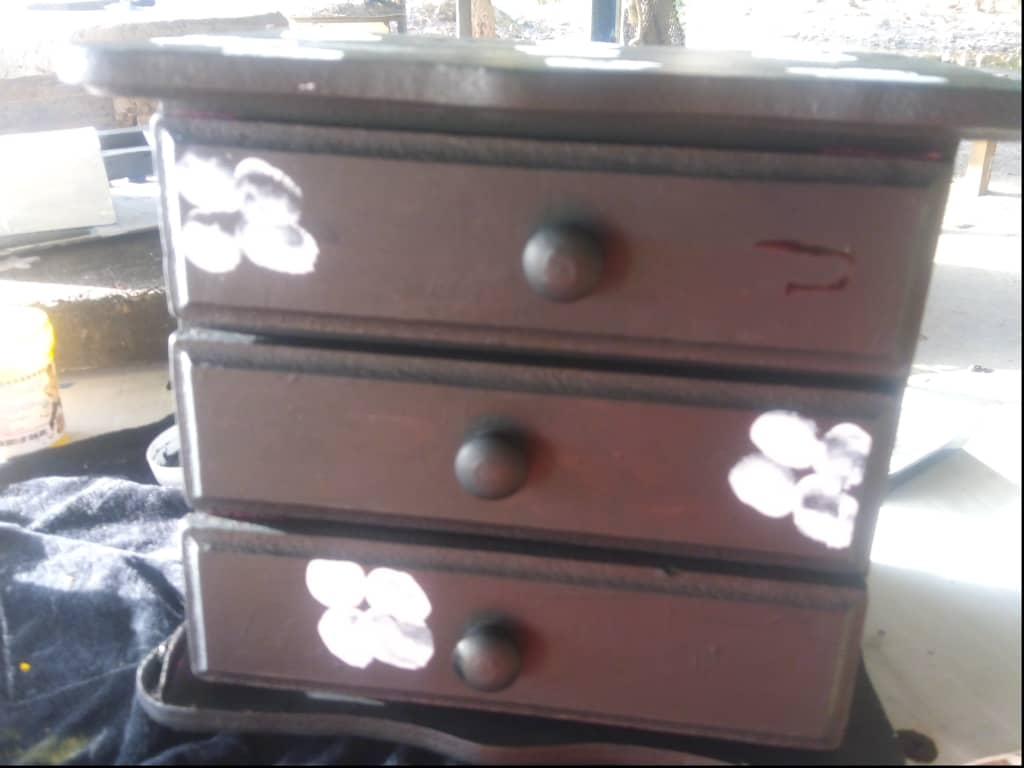
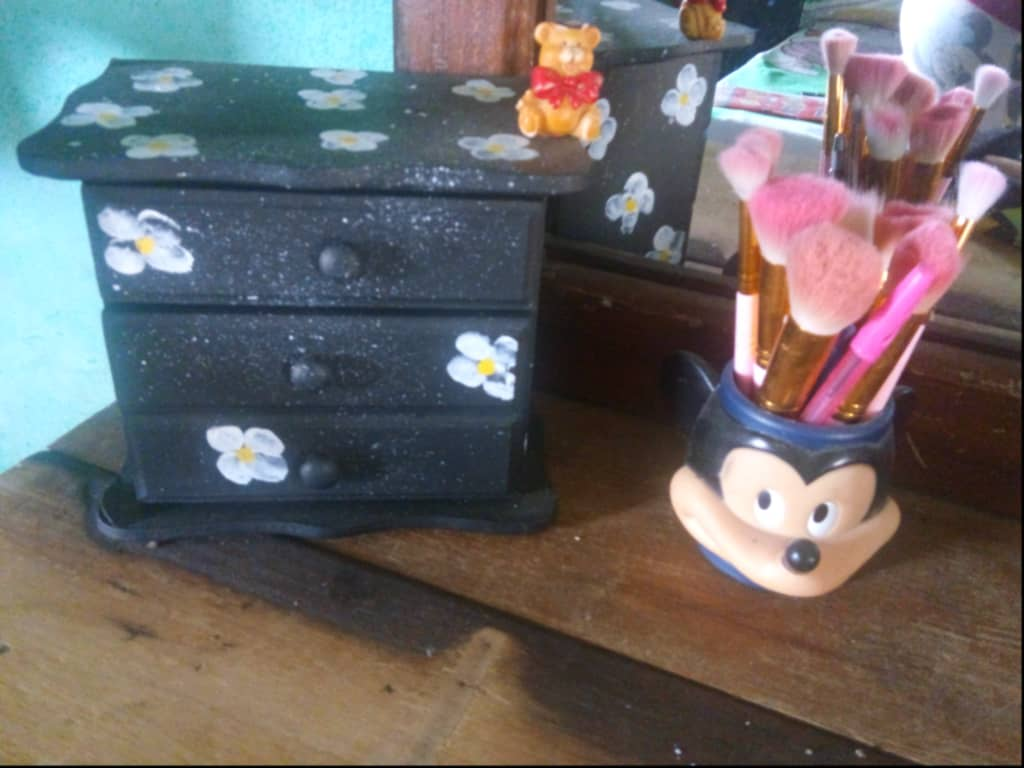
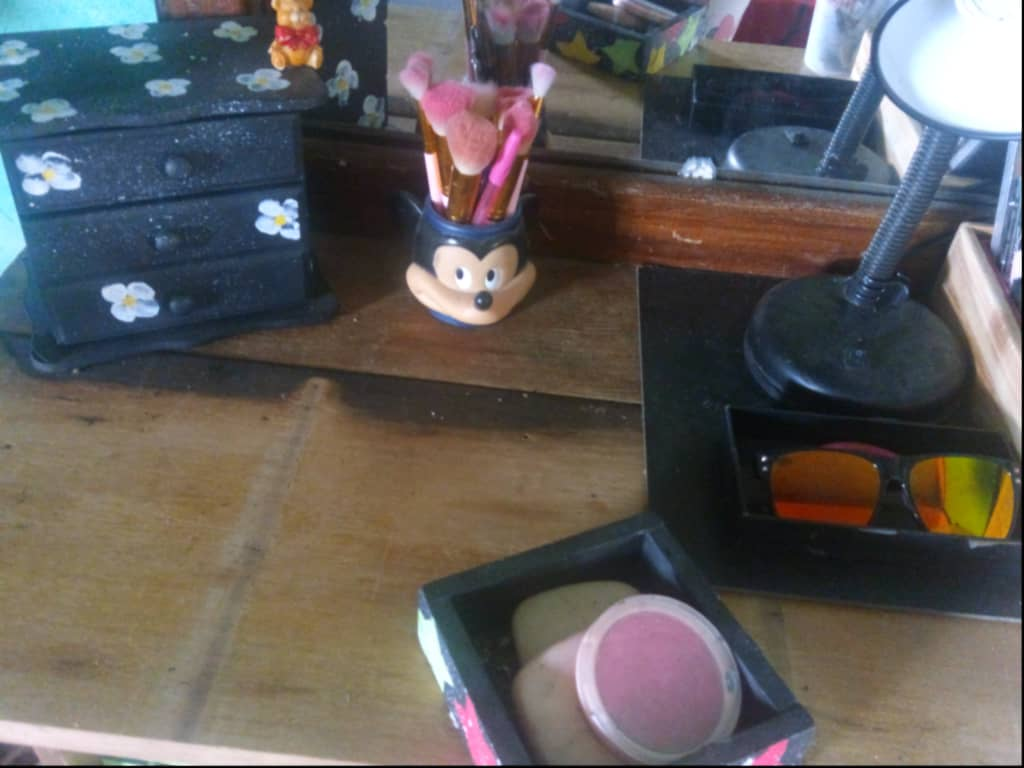
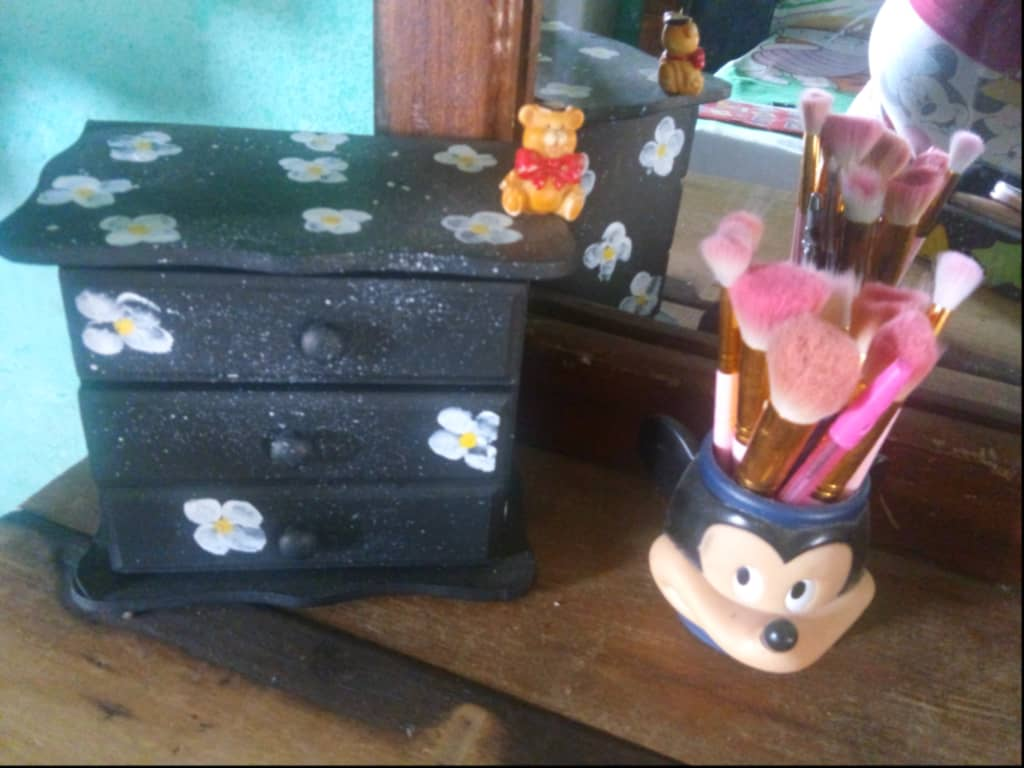
RESULTADOS
RESULTS
TU APOYO ES IMPORTANTE❤️
GRACIAS POR VISITAR MI BLOG Y LEERME♡
YOUR SUPPORT IS IMPORTANT❤️
THANKS FOR VISITING MY BLOG AND READING♡
•Texto Original de: @cristzullys
•Traducido en Google
•Todos los Derechos Reservados Cristzullys González
•Fotografías Tomadas de mi Teléfono Umidigi7s
•Banner Creado y diseñado por @cristzullys
•Original text from: @cristzullys
•Google Translated
•All rights reserved Cristzullys González
•Pictures Taken from my Umidigi7s Phone
•Banner Created and designed by @cristzullys

Congratulations @cristzullys! You have completed the following achievement on the Hive blockchain And have been rewarded with New badge(s)
Your next target is to reach 700 upvotes.
You can view your badges on your board and compare yourself to others in the Ranking
If you no longer want to receive notifications, reply to this comment with the word
STOPTo support your work, I also upvoted your post!
Check out our last posts:
Support the HiveBuzz project. Vote for our proposal!
The rewards earned on this comment will go directly to the people sharing the post on Twitter as long as they are registered with @poshtoken. Sign up at https://hiveposh.com.
Necesito uno vale, no tengo joyería como tal, pero si el anillo d graduación, relojes, algunas pulseritas de cuerdistas y una cadenita con el Dije metálico de Konoha.
Te puedo regalar uno jejejeje, yo amo eso porque así todo está más organizado 🌞☀️💍😅