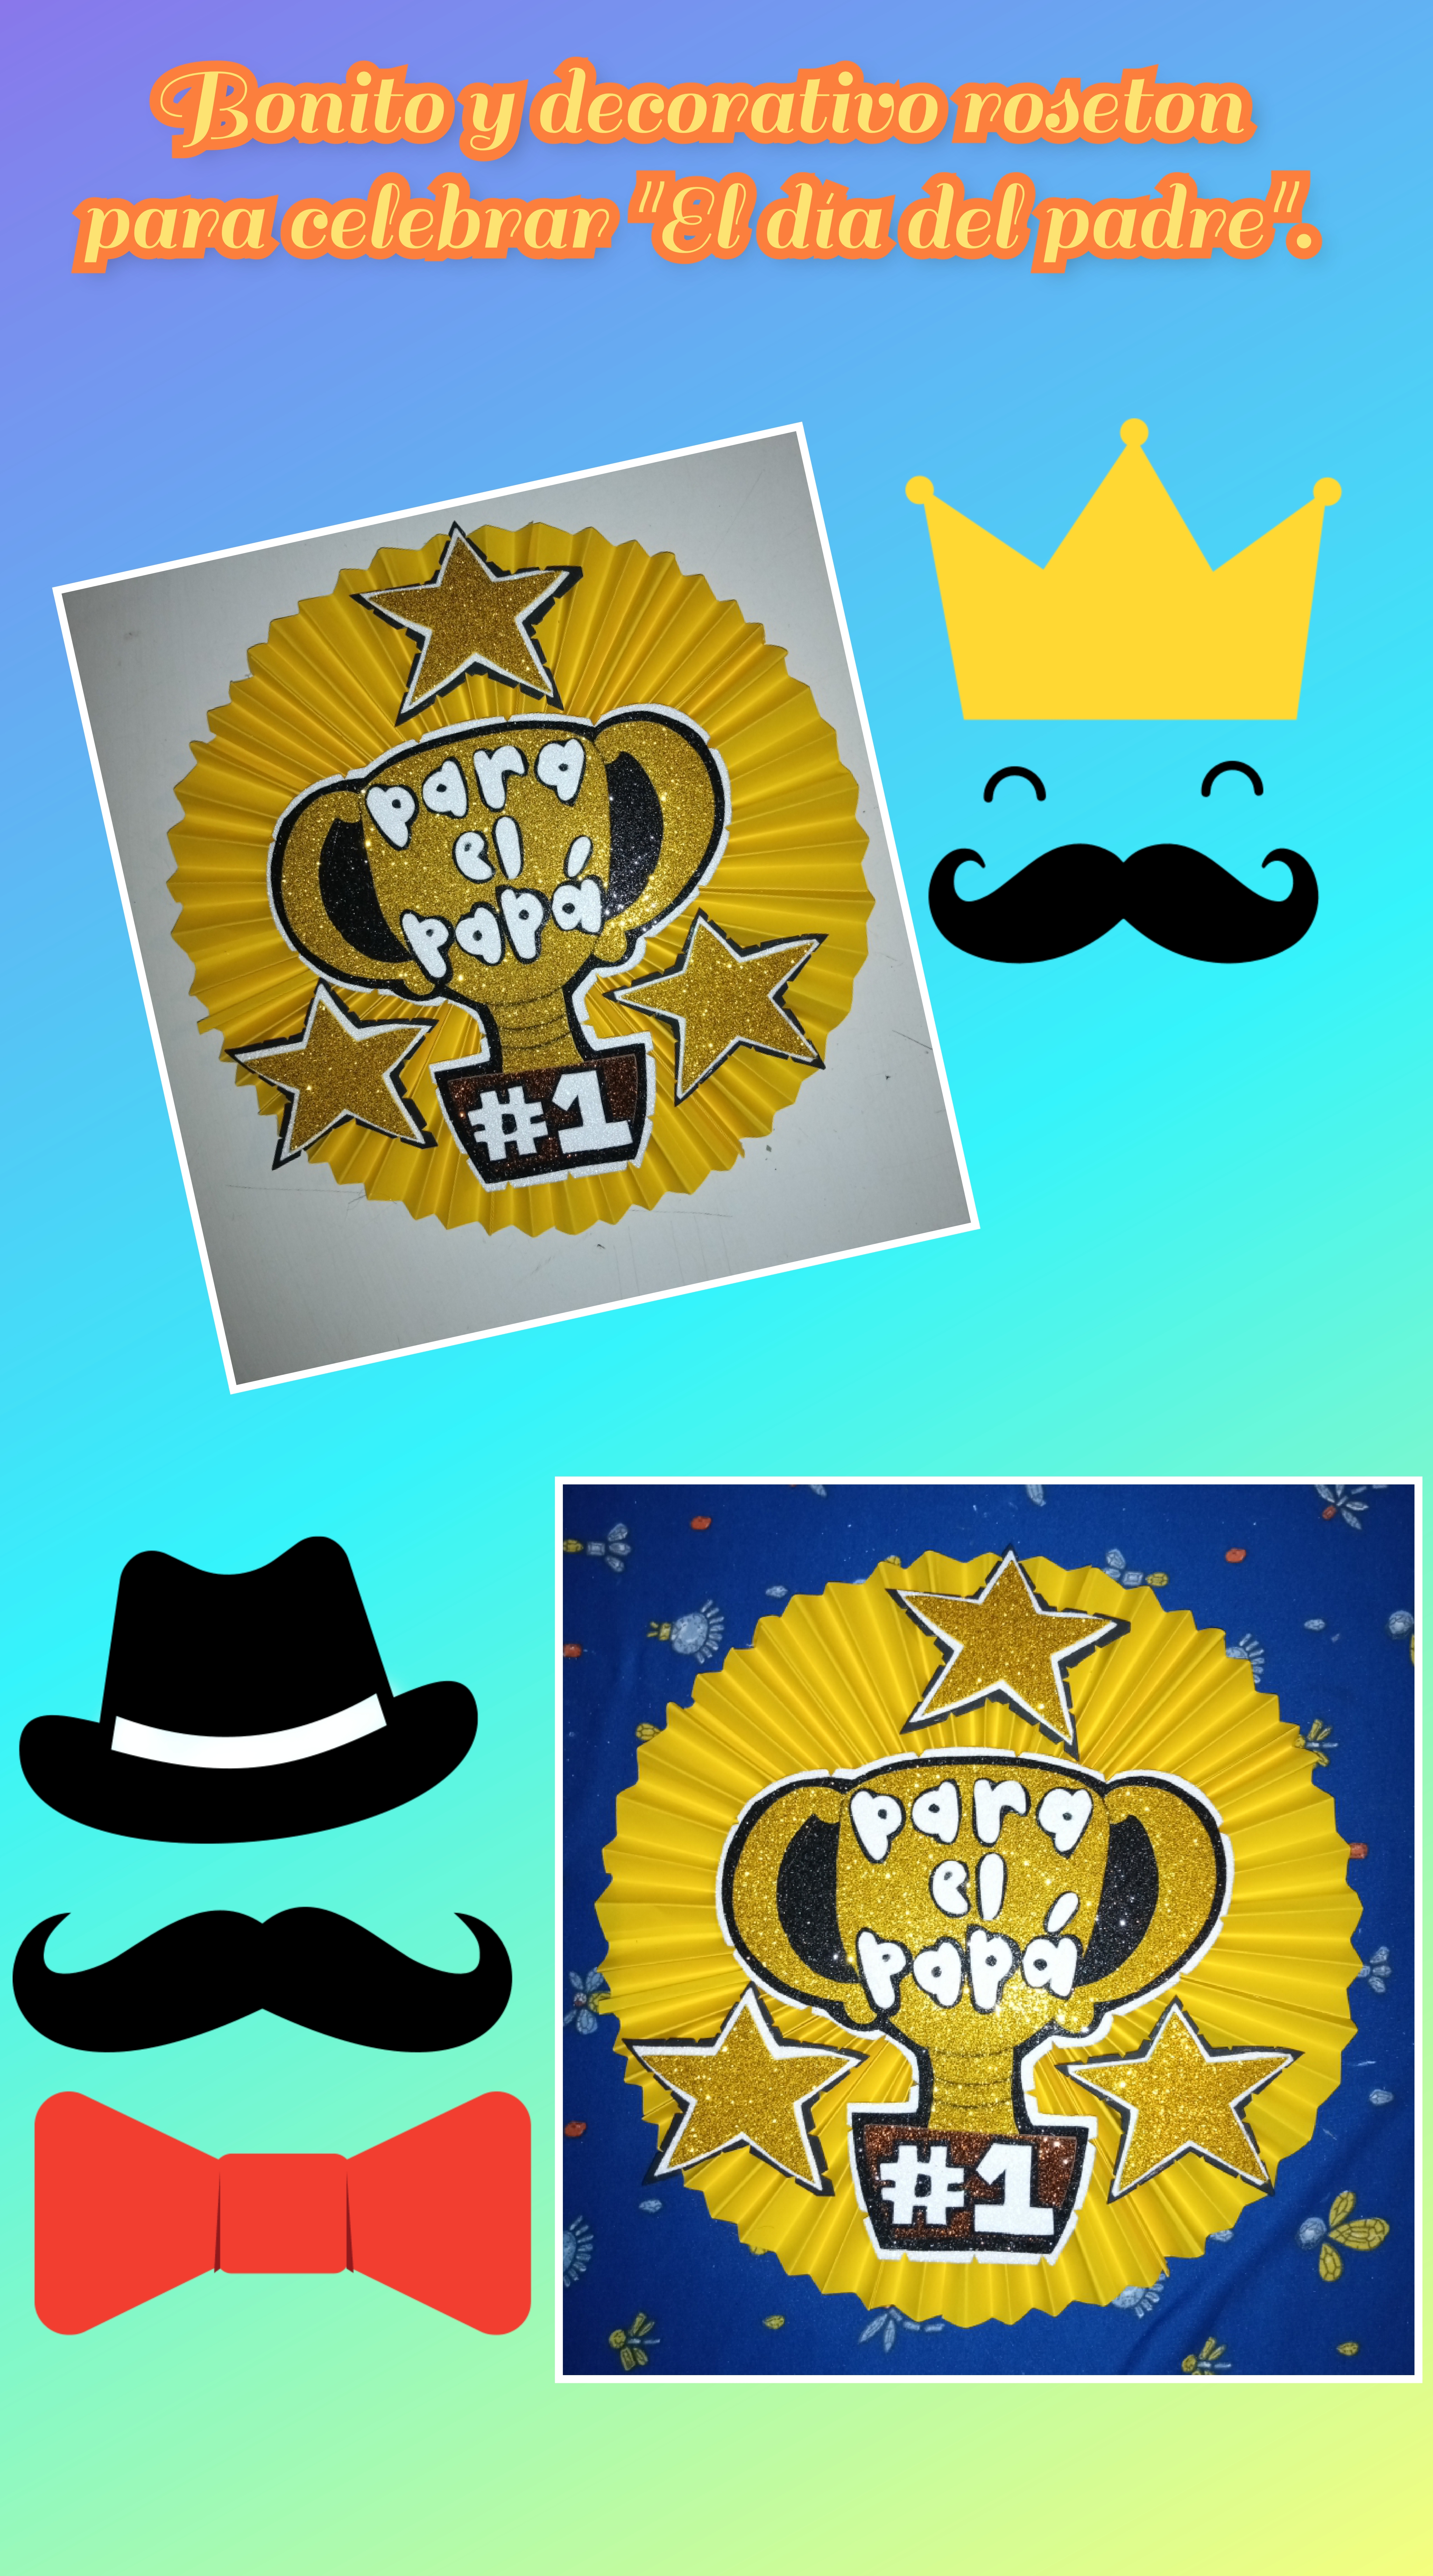
Muy buenos dias, amigos creativos que formamos esta hermosa comunidad Hivediy, espero se encuentren muy bien que es lo mas importante, reciban de mi parte un fuerte abrazo vitual y Dios los bendiga a todos, no habia podido hacer mis publicaciones debido a que el internet ha estado muy mal todos estos dias. Mi proyecto del dia de hoy es mostrarle como elaborar un bonito y decorativo roseton, con tematica de "EL DIA DEL PADRE" es muy facil de elaborar, sin mas que decir manos a la obra comencemos con el paso a paso seguro les va a hacer de mucha utilidad. Espero les guste.
Good morning creative friends who make up this beautiful Hivediy community, I hope you are very well which is the most important thing, receive a big virtual hug from me and God bless you all, I had not been able to make my publications because the Internet has been really bad these days. My project today is to show you how to make a beautiful and decorative rose window, with the theme of "FATHER'S DAY" It is very easy to do, without further ado, let's get to work, let's start with the step by step, it will surely be very useful. I hope you like it.
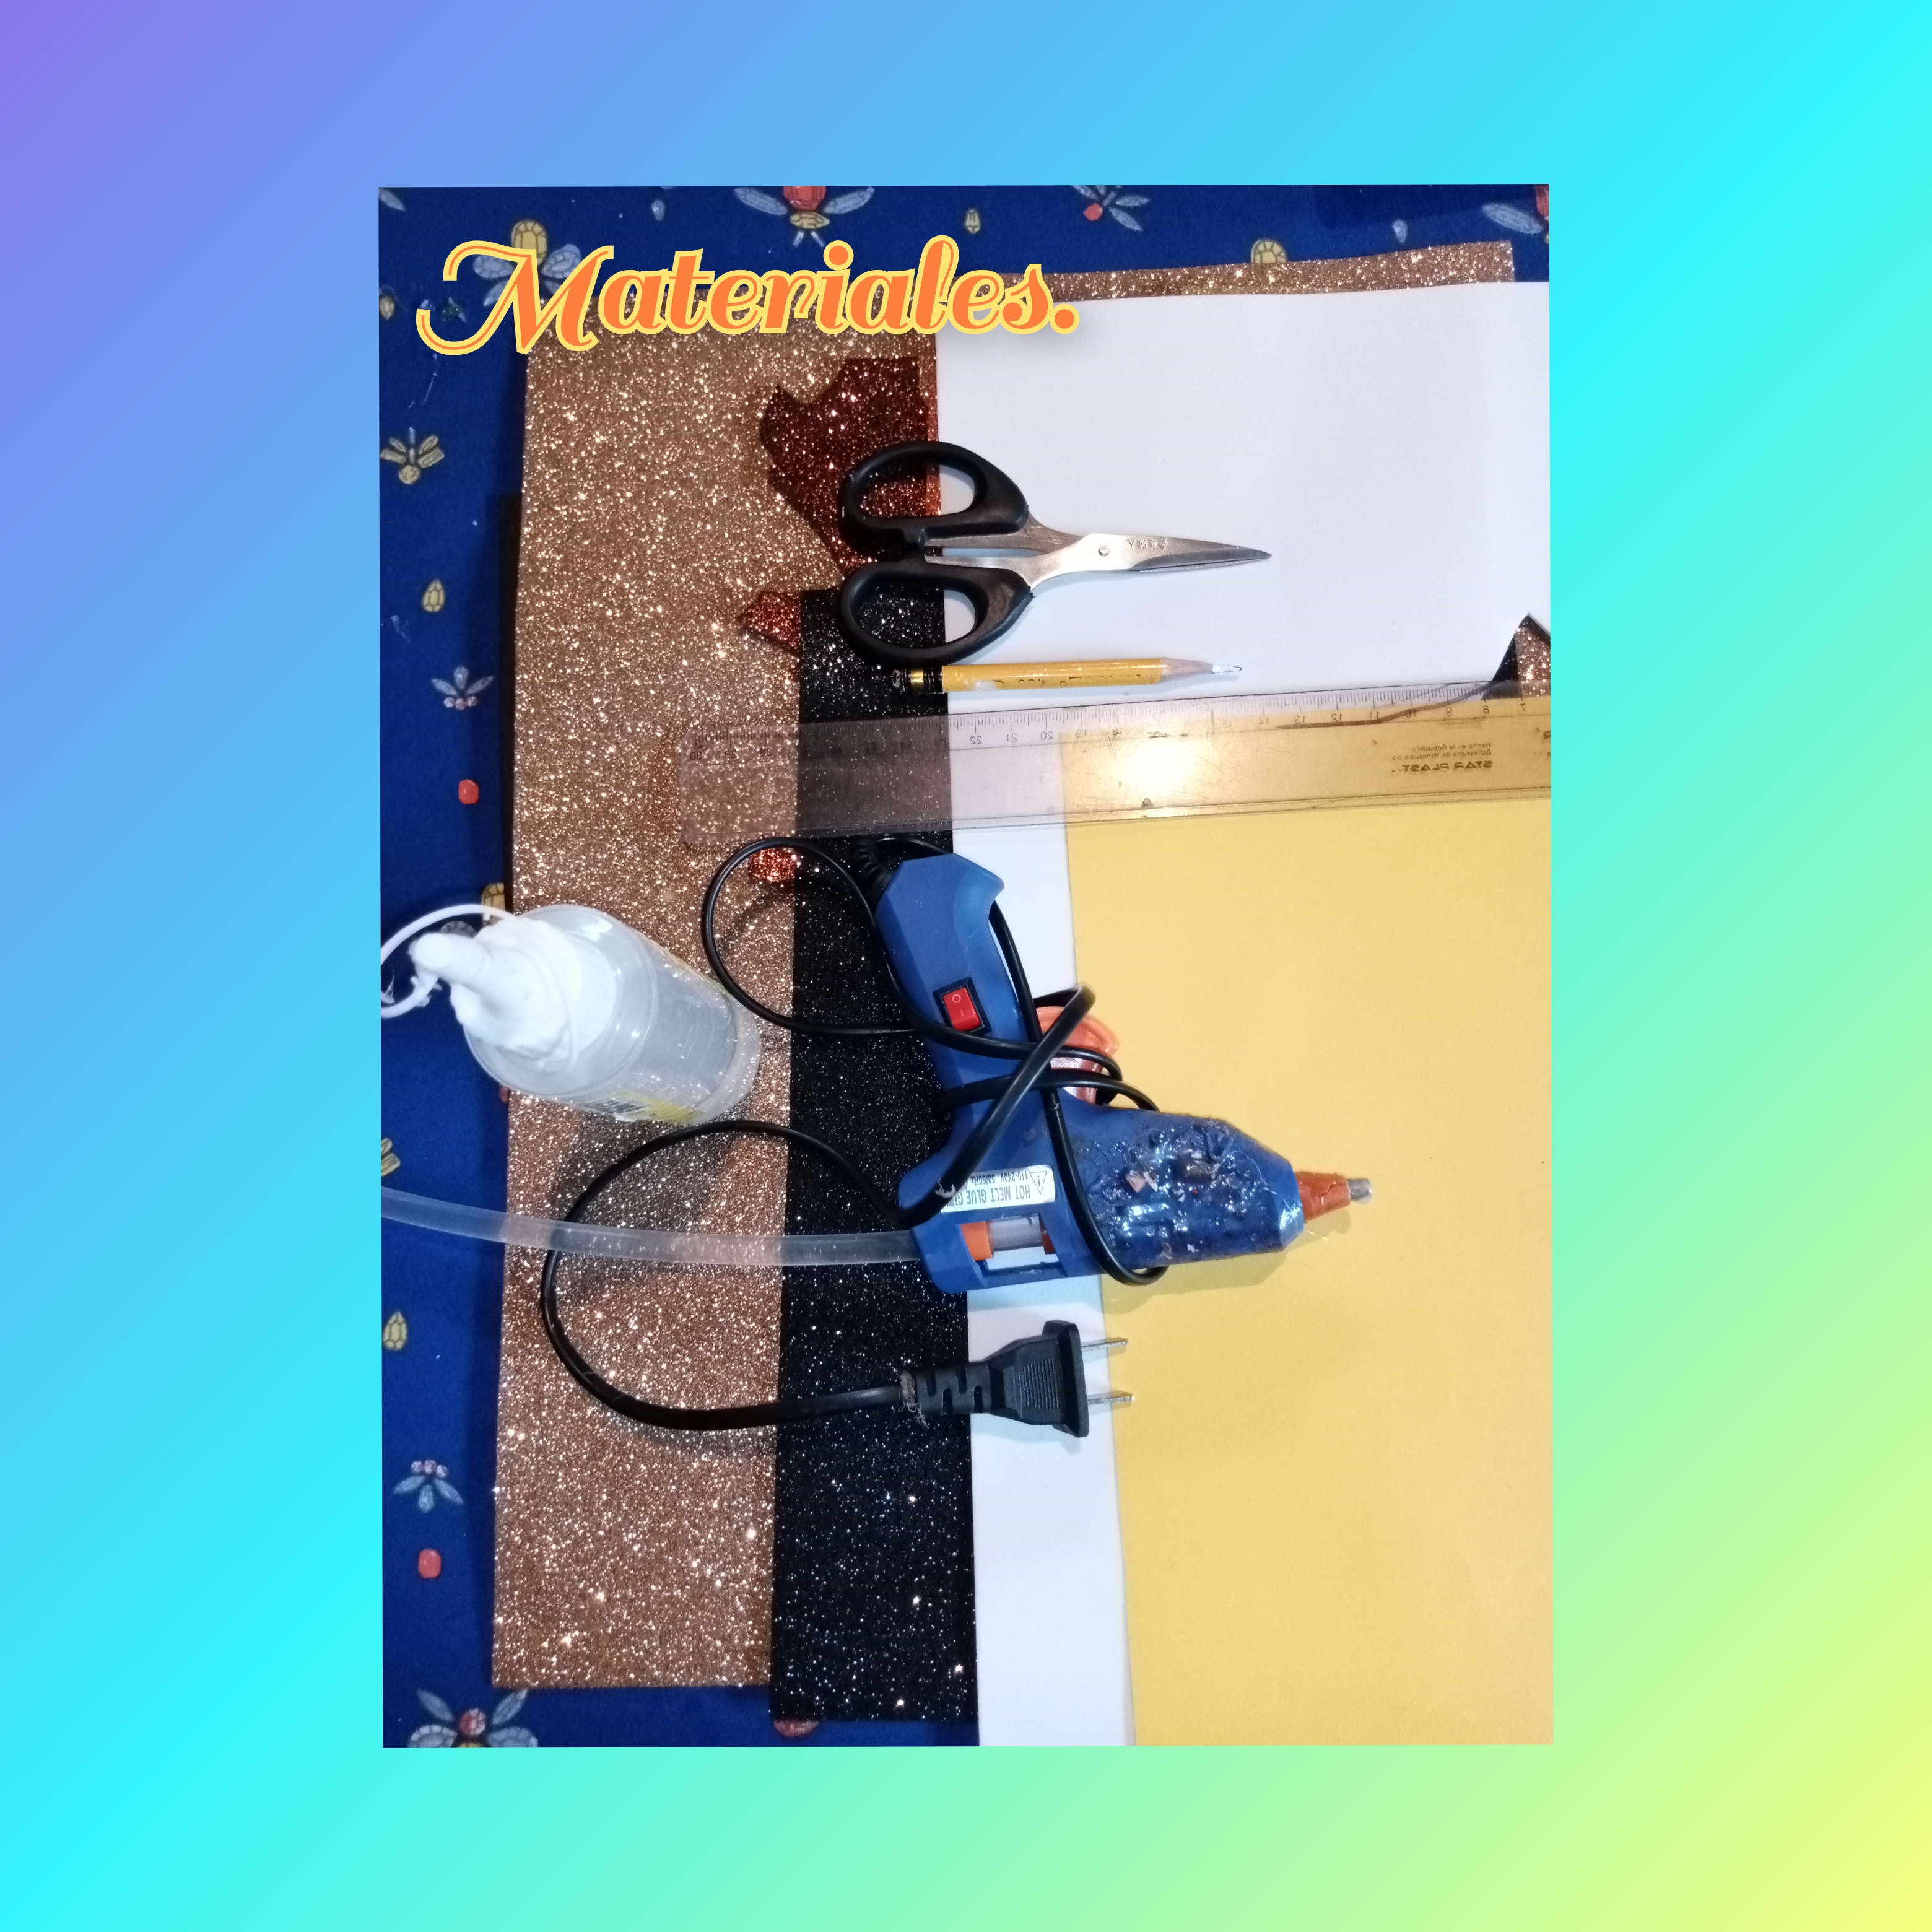
Para elaborar este bonito y decorativo rosetón con temática del "DÍA DEL PADRE" vamos a utilizar los siguientes materiales y herramientas.
*Cartulina escolar, color amarilla.
*Foamis de varios colores y diferentes texturas.
*1 tijera.
*1 lápiz.
*Silicona liquida.
*Pistola de silicona caliente.
To make this beautiful and decorative rose window with the theme of "FATHER'S DAY" we are going to use the following materials and tools.
*School cardboard, yellow.
*Foams of various colors and different textures.
*1 scissors.
*1 pencil.
*Liquid silicone.
*Hot glue gun.
Let's start with the step by step.

Step 1. To start making this beautiful and decorative rose window with "FATHER'S DAY" themes, the first thing we are going to do is take a letter-size yellow school cardboard, then fold it in half several times , after having folded it, we open it and finally we fold it like a fan, see the images.
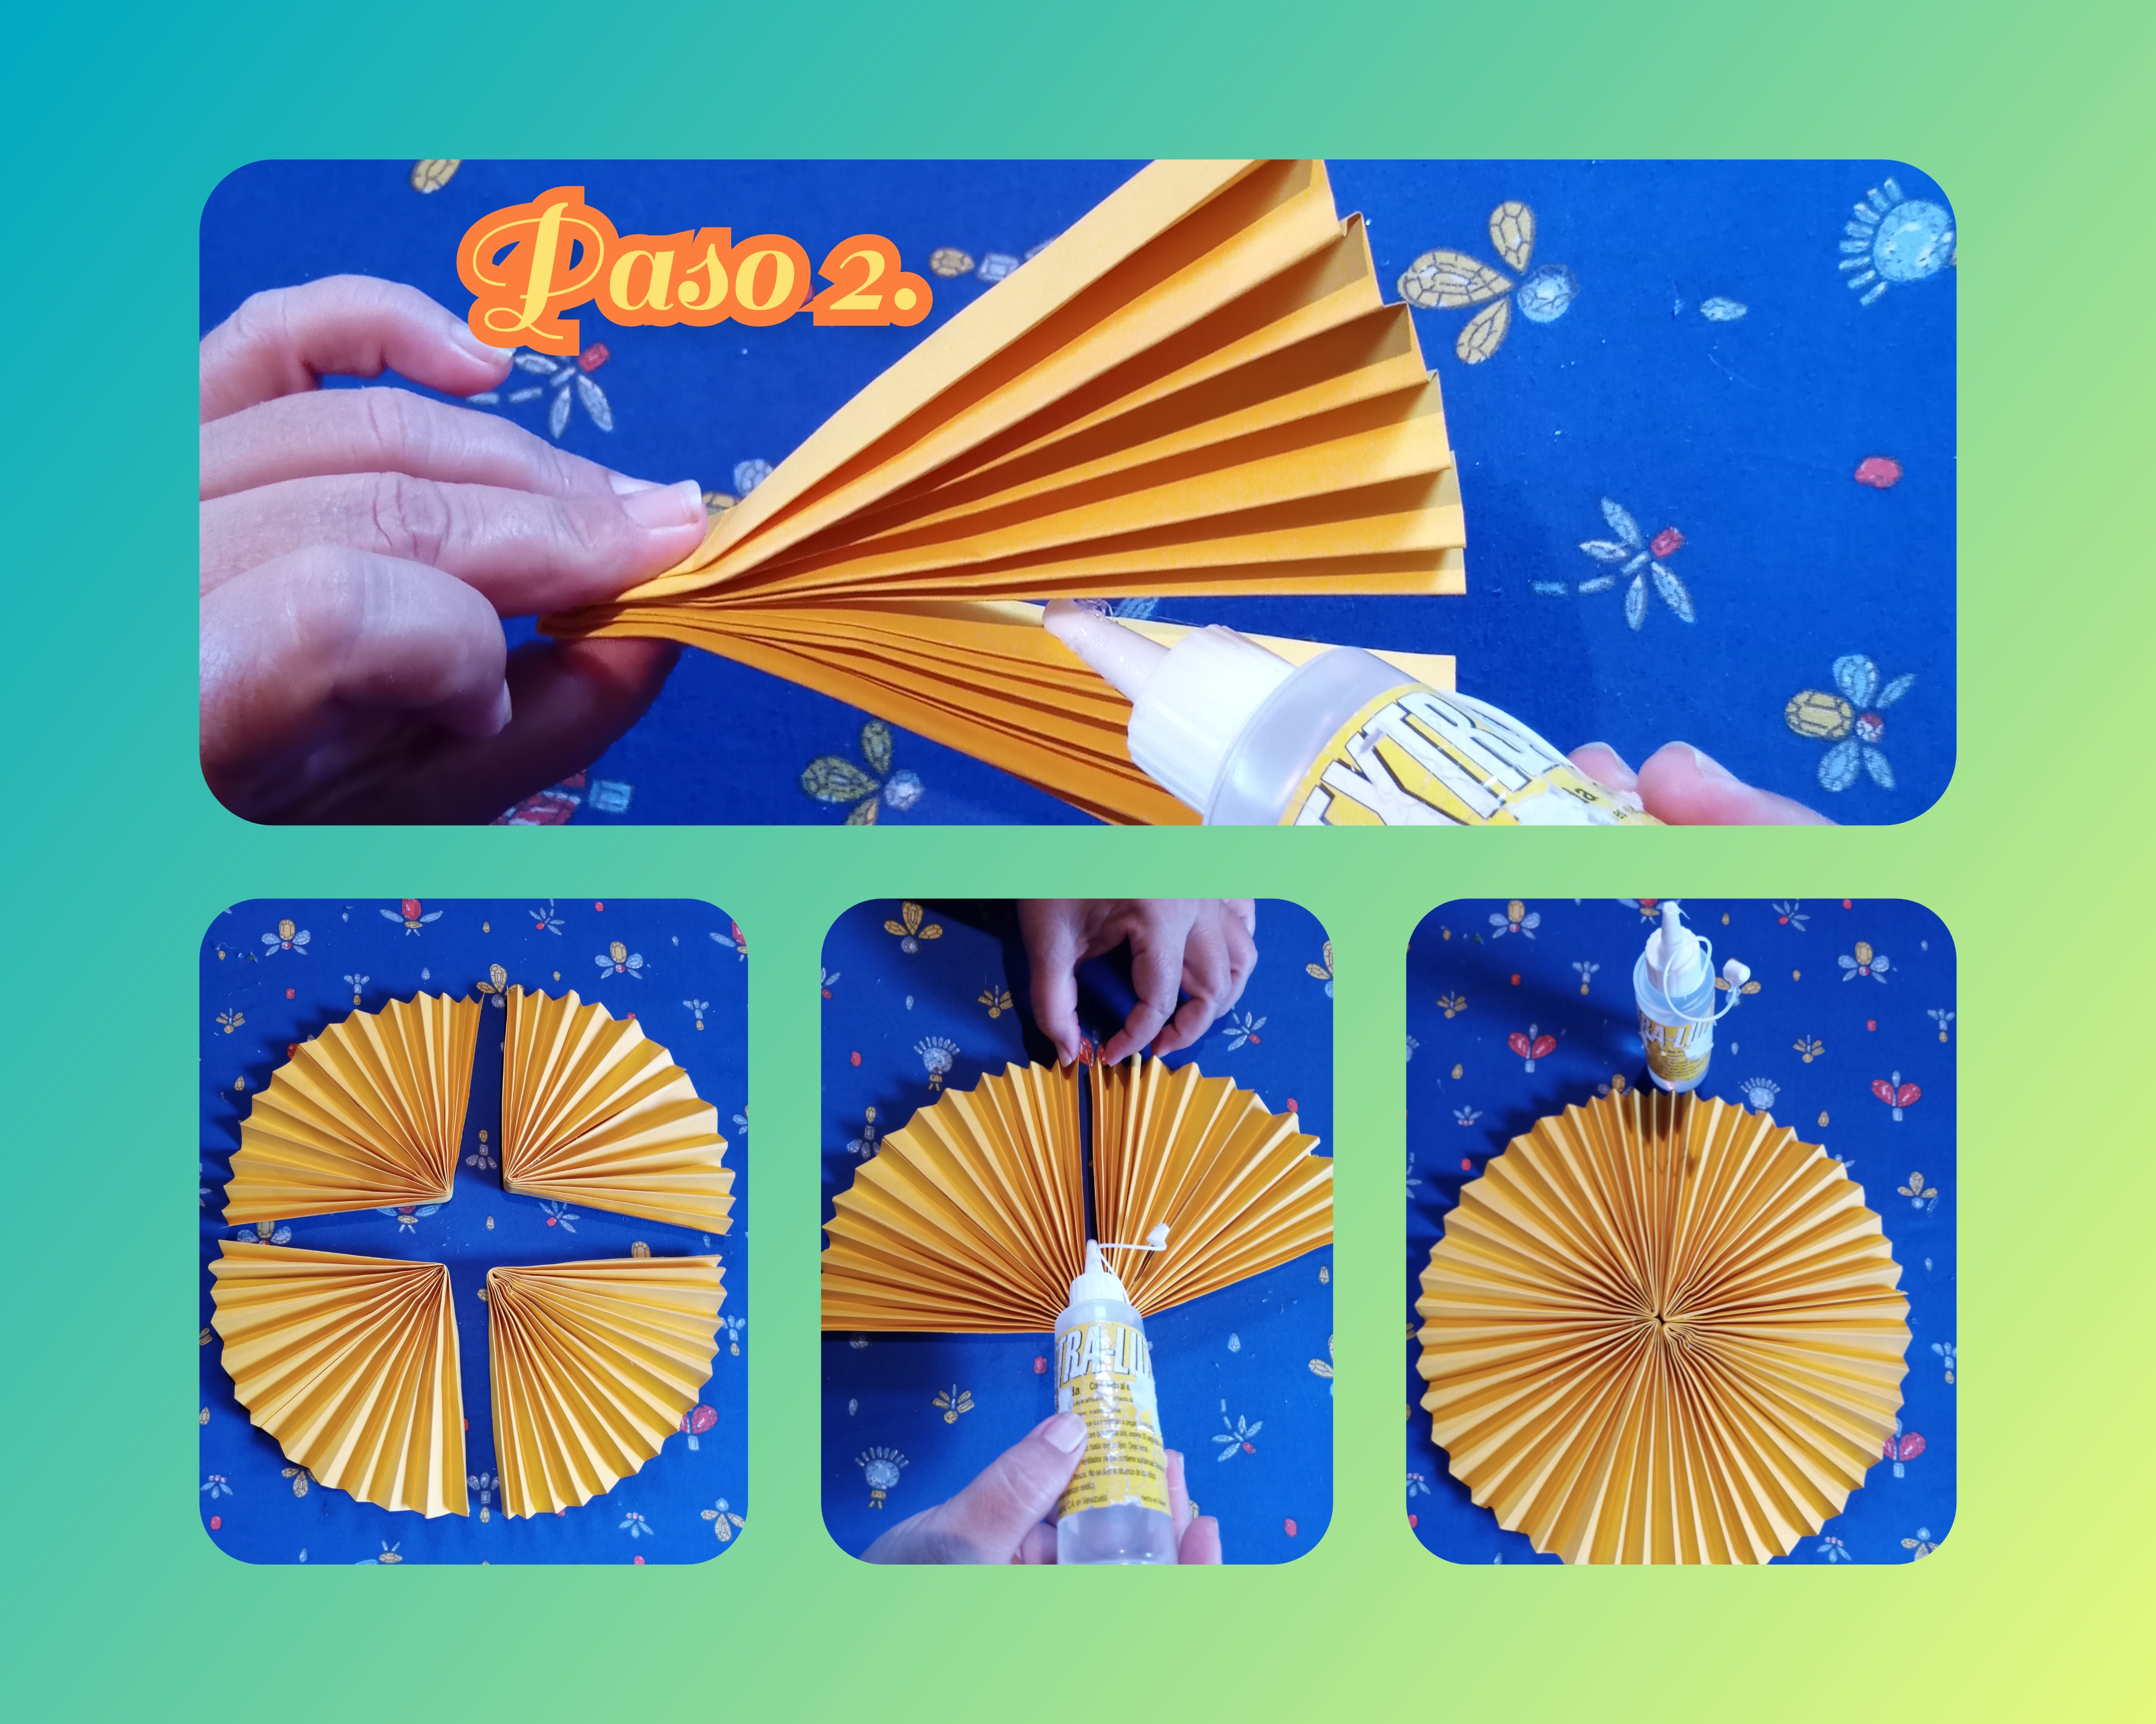
Step 2. After folding the cardboard in the shape of a fan, we fold it in half and glue it in the center, then with liquid silicone we glue the four fans that we made to form the rosette, see the images
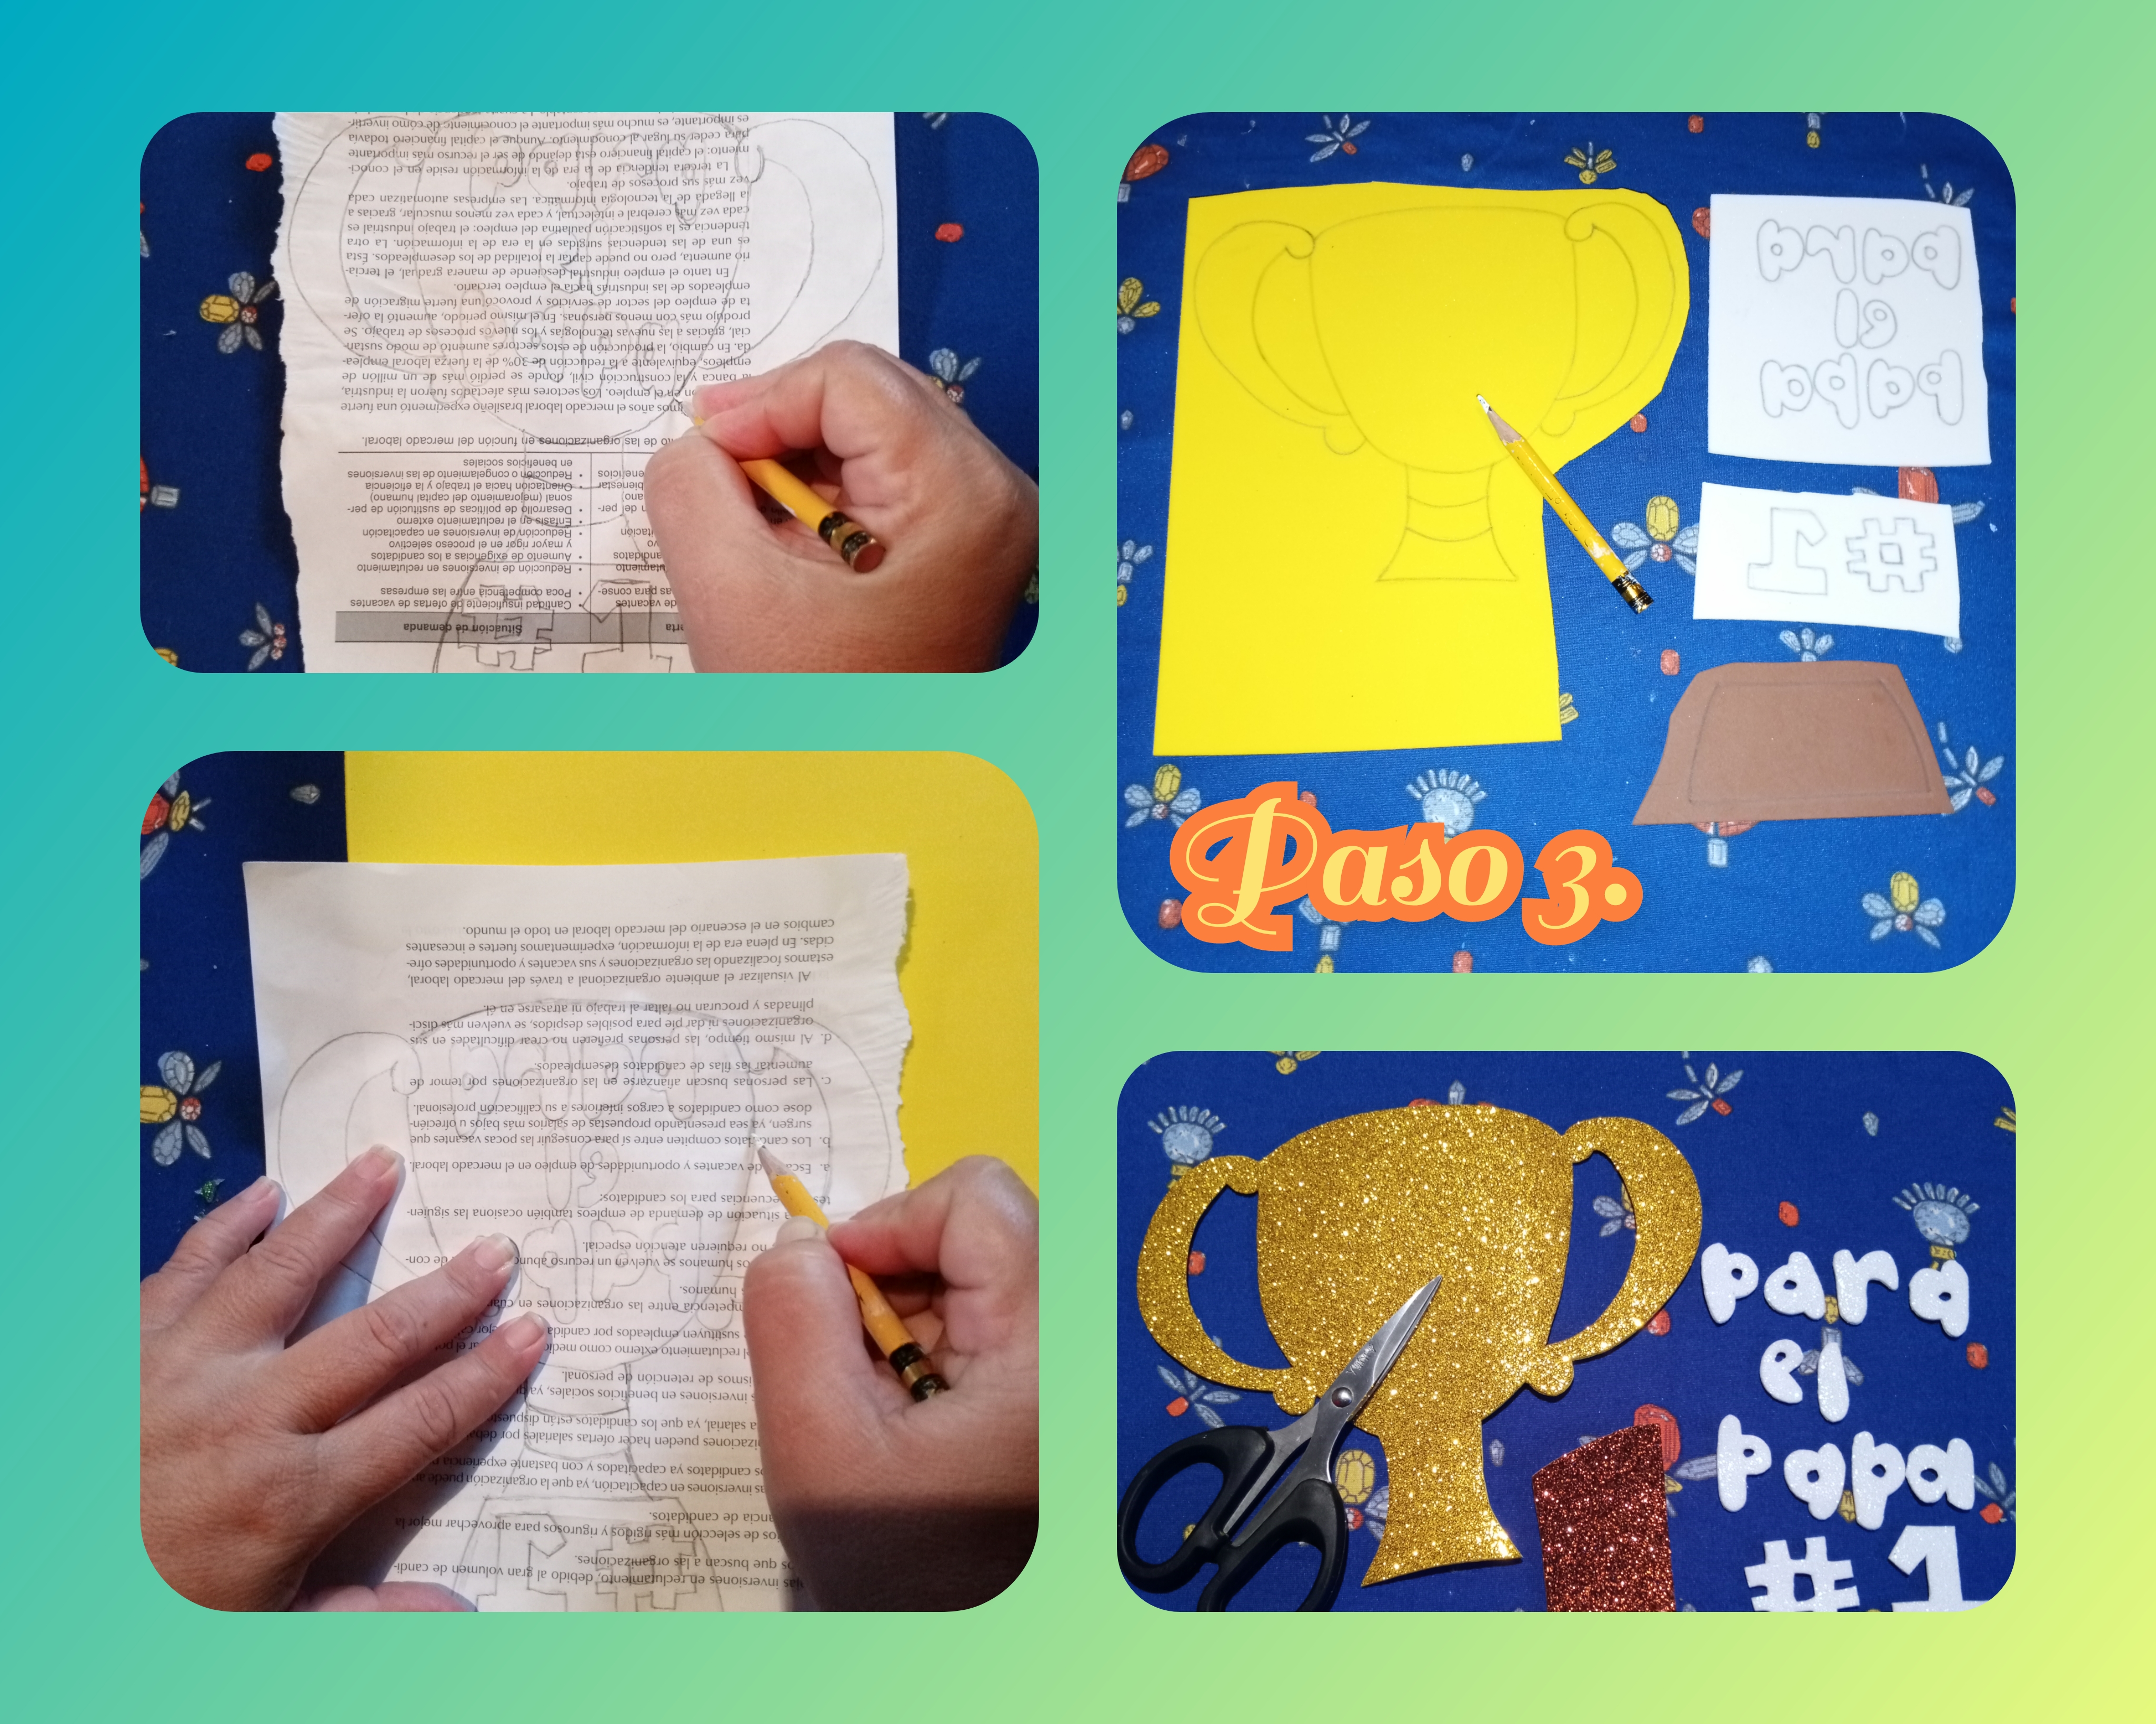
Step 3. Once the rosette is formed, now we are going to draw the figure of a trophy and the letters that will form the phrase, "FOR POPE #1", then we mark all the pieces on the foamis in their respective colors and With the help of scissors we cut them, as shown in the images.

Step 4. Once all the pieces have been cut, we begin to glue them with liquid silicone on a black foami in the shape of a rhombus and finally, with the help of scissors, we cut it along the entire edge, leaving half a centimeter of distance that remains as relief.

Step 5. In this step we are going to paste the figures again in another diamond foami, white color and cut again along the edge leaving half a centimeter of distance and to finish with the tip of the scissors we border the entire edge, see images.

Step 6. In this step we mark stars with diamond foami, gold color and with the help of scissors we cut them, then we take a diamond foami, white color and glue them and to finish we cut them along the edge leaving half a centimeter away as relief.
con silicona caliente, vea las imágenes.
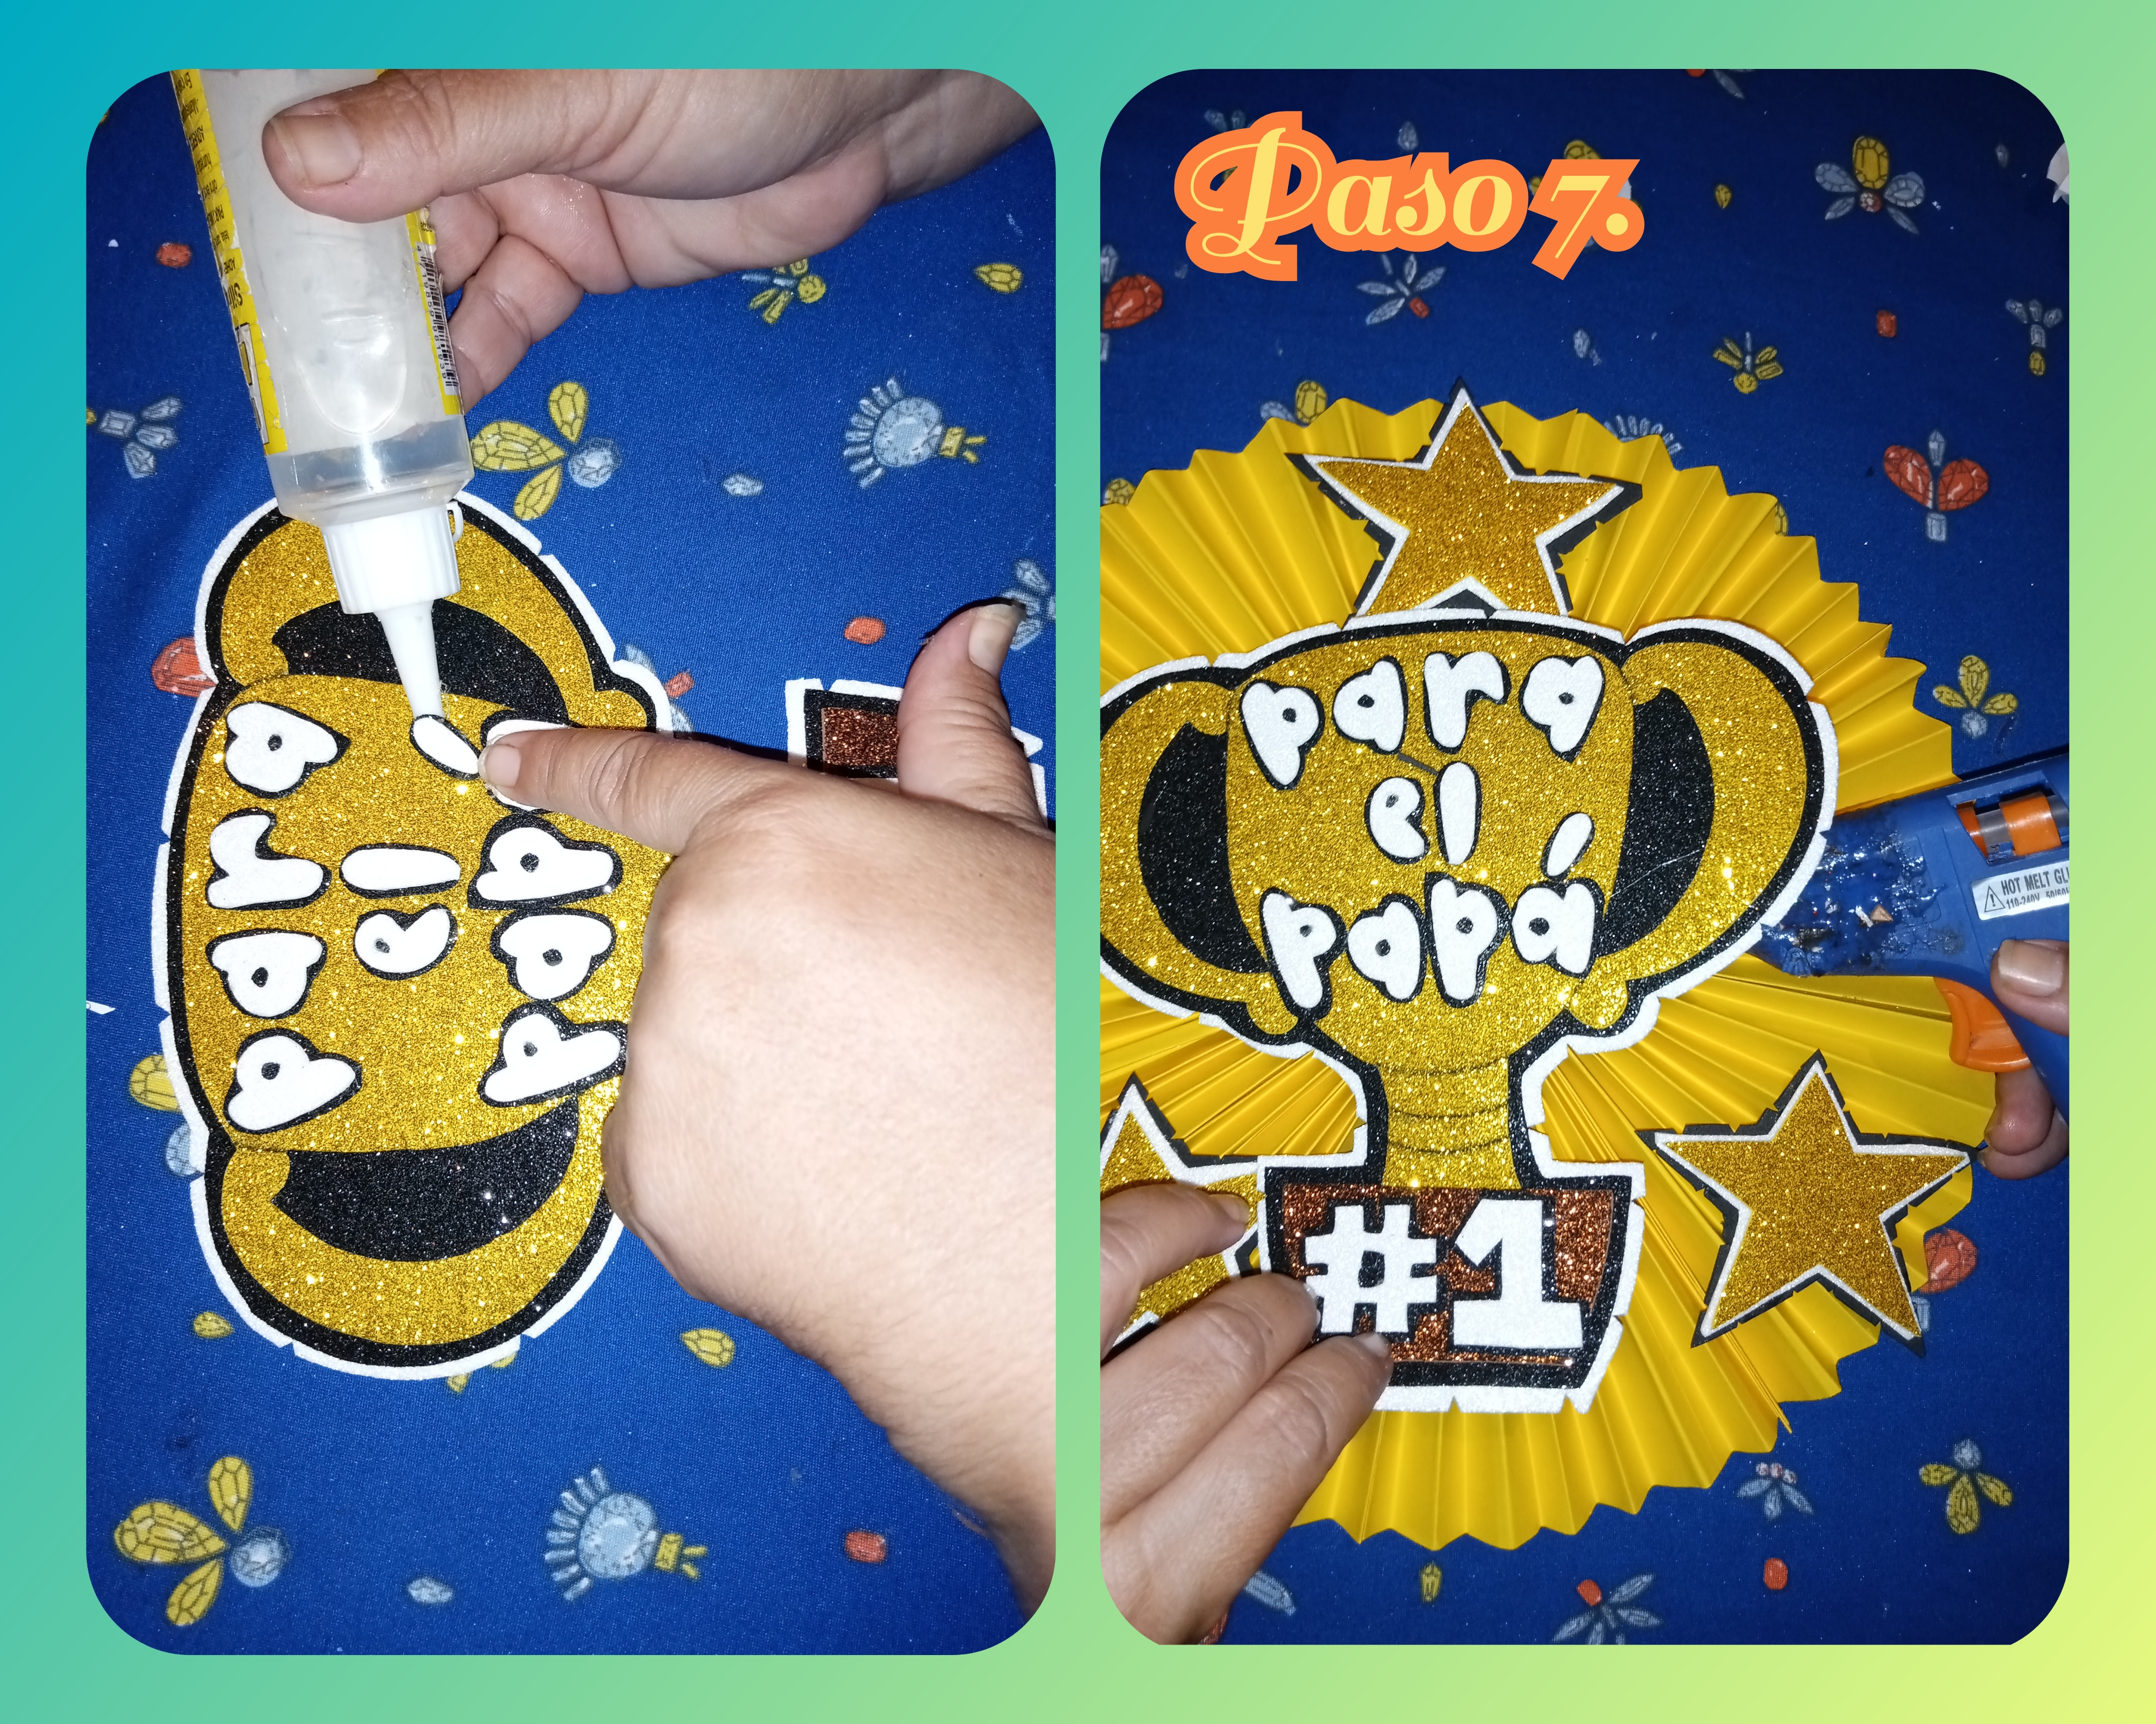
Step 7. In this step we take liquid silicone, and paste the letters in the figure of the trophy and we finish by gluing the figure of the trophy in the rosette that we had previously made
with hot silicone, see the images.

Las fotos fueron tomadas con mi teléfono TECNO SPARK 6 GO y editadas con la aplicación ARTGRID.
The photos were taken with my TECNO SPARK 6 GO phone and edited with the ARTGRID app.
Esto quedó muy bonito. Las imágenes me gusta cómo las editaste. A veces hacemos las imágenes demasiado grandes y ocupan mucho espacio en la publicación, pero tampoco hay que hacerlas demasiado pequeñas porque si alguien con un monitor grande abre nuestro post, verá las imágenes muy pequeñas. Todo debe tener un equilibrio, como hiciste acá.
Me gusta que colocaste en las mismas imágenes "paso 1, 2 ,3..." eso ayuda a guiarnos un poco en el paso a paso. Una publicación encantadora. Merece una pizza.
!PIZZA
Enlace al Discord de la comunidad:
https://discord.gg/SGdtVRkV
PIZZA Holders sent $PIZZA tips in this post's comments:
@gaboamc2393(2/10) tipped @cruzjimenez01 (x1)
Learn more at https://hive.pizza.