Welcome to my Blog.
Hola mis amigos que les encanta el mundo de las manualidades es para mi un gusto estar con ustedes compartiendo cada uno de mis trabajos espero estén muy bien llenos de mucha salud, un caluroso abrazo a todos los que forman parte de esta maravillosa comunidad de Hivediy. Hoy les comparto una Linda idea de elaborar una bella cajita con temática de Mickey mouse ideal para obsequiar un presente en las fiestas infantiles puedes usar el motivo que más te guste animate te va a encantar. A continuación pasos a seguir:
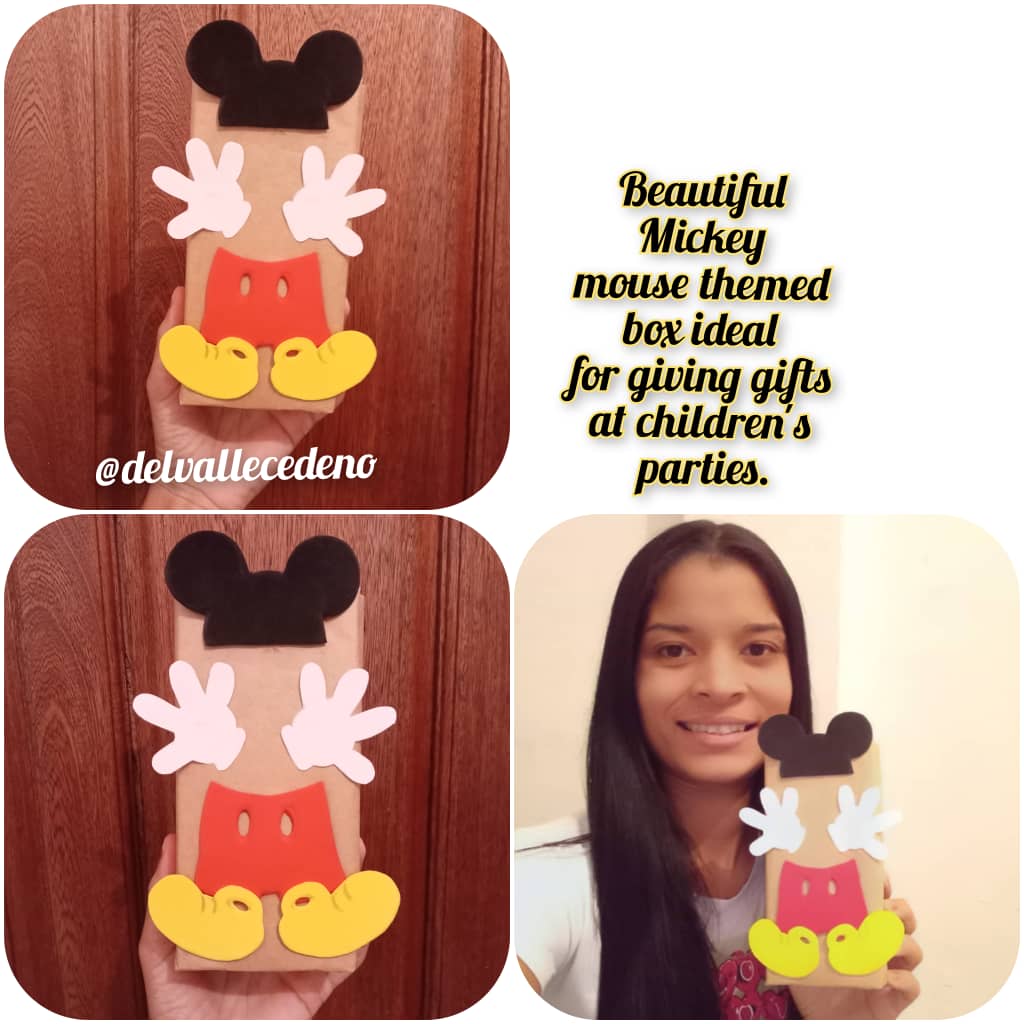
Hello my friends who love the world of crafts, it is a pleasure for me to be with you sharing each of my works, I hope you are very well full of good health, a warm hug to all who are part of this wonderful Hivediy community. Today I share with you a nice idea to make a beautiful Mickey Mouse-themed box, ideal to give a present at children's parties, you can use the motif that you like the most, cheer up, you will love it. Here are the steps to follow:

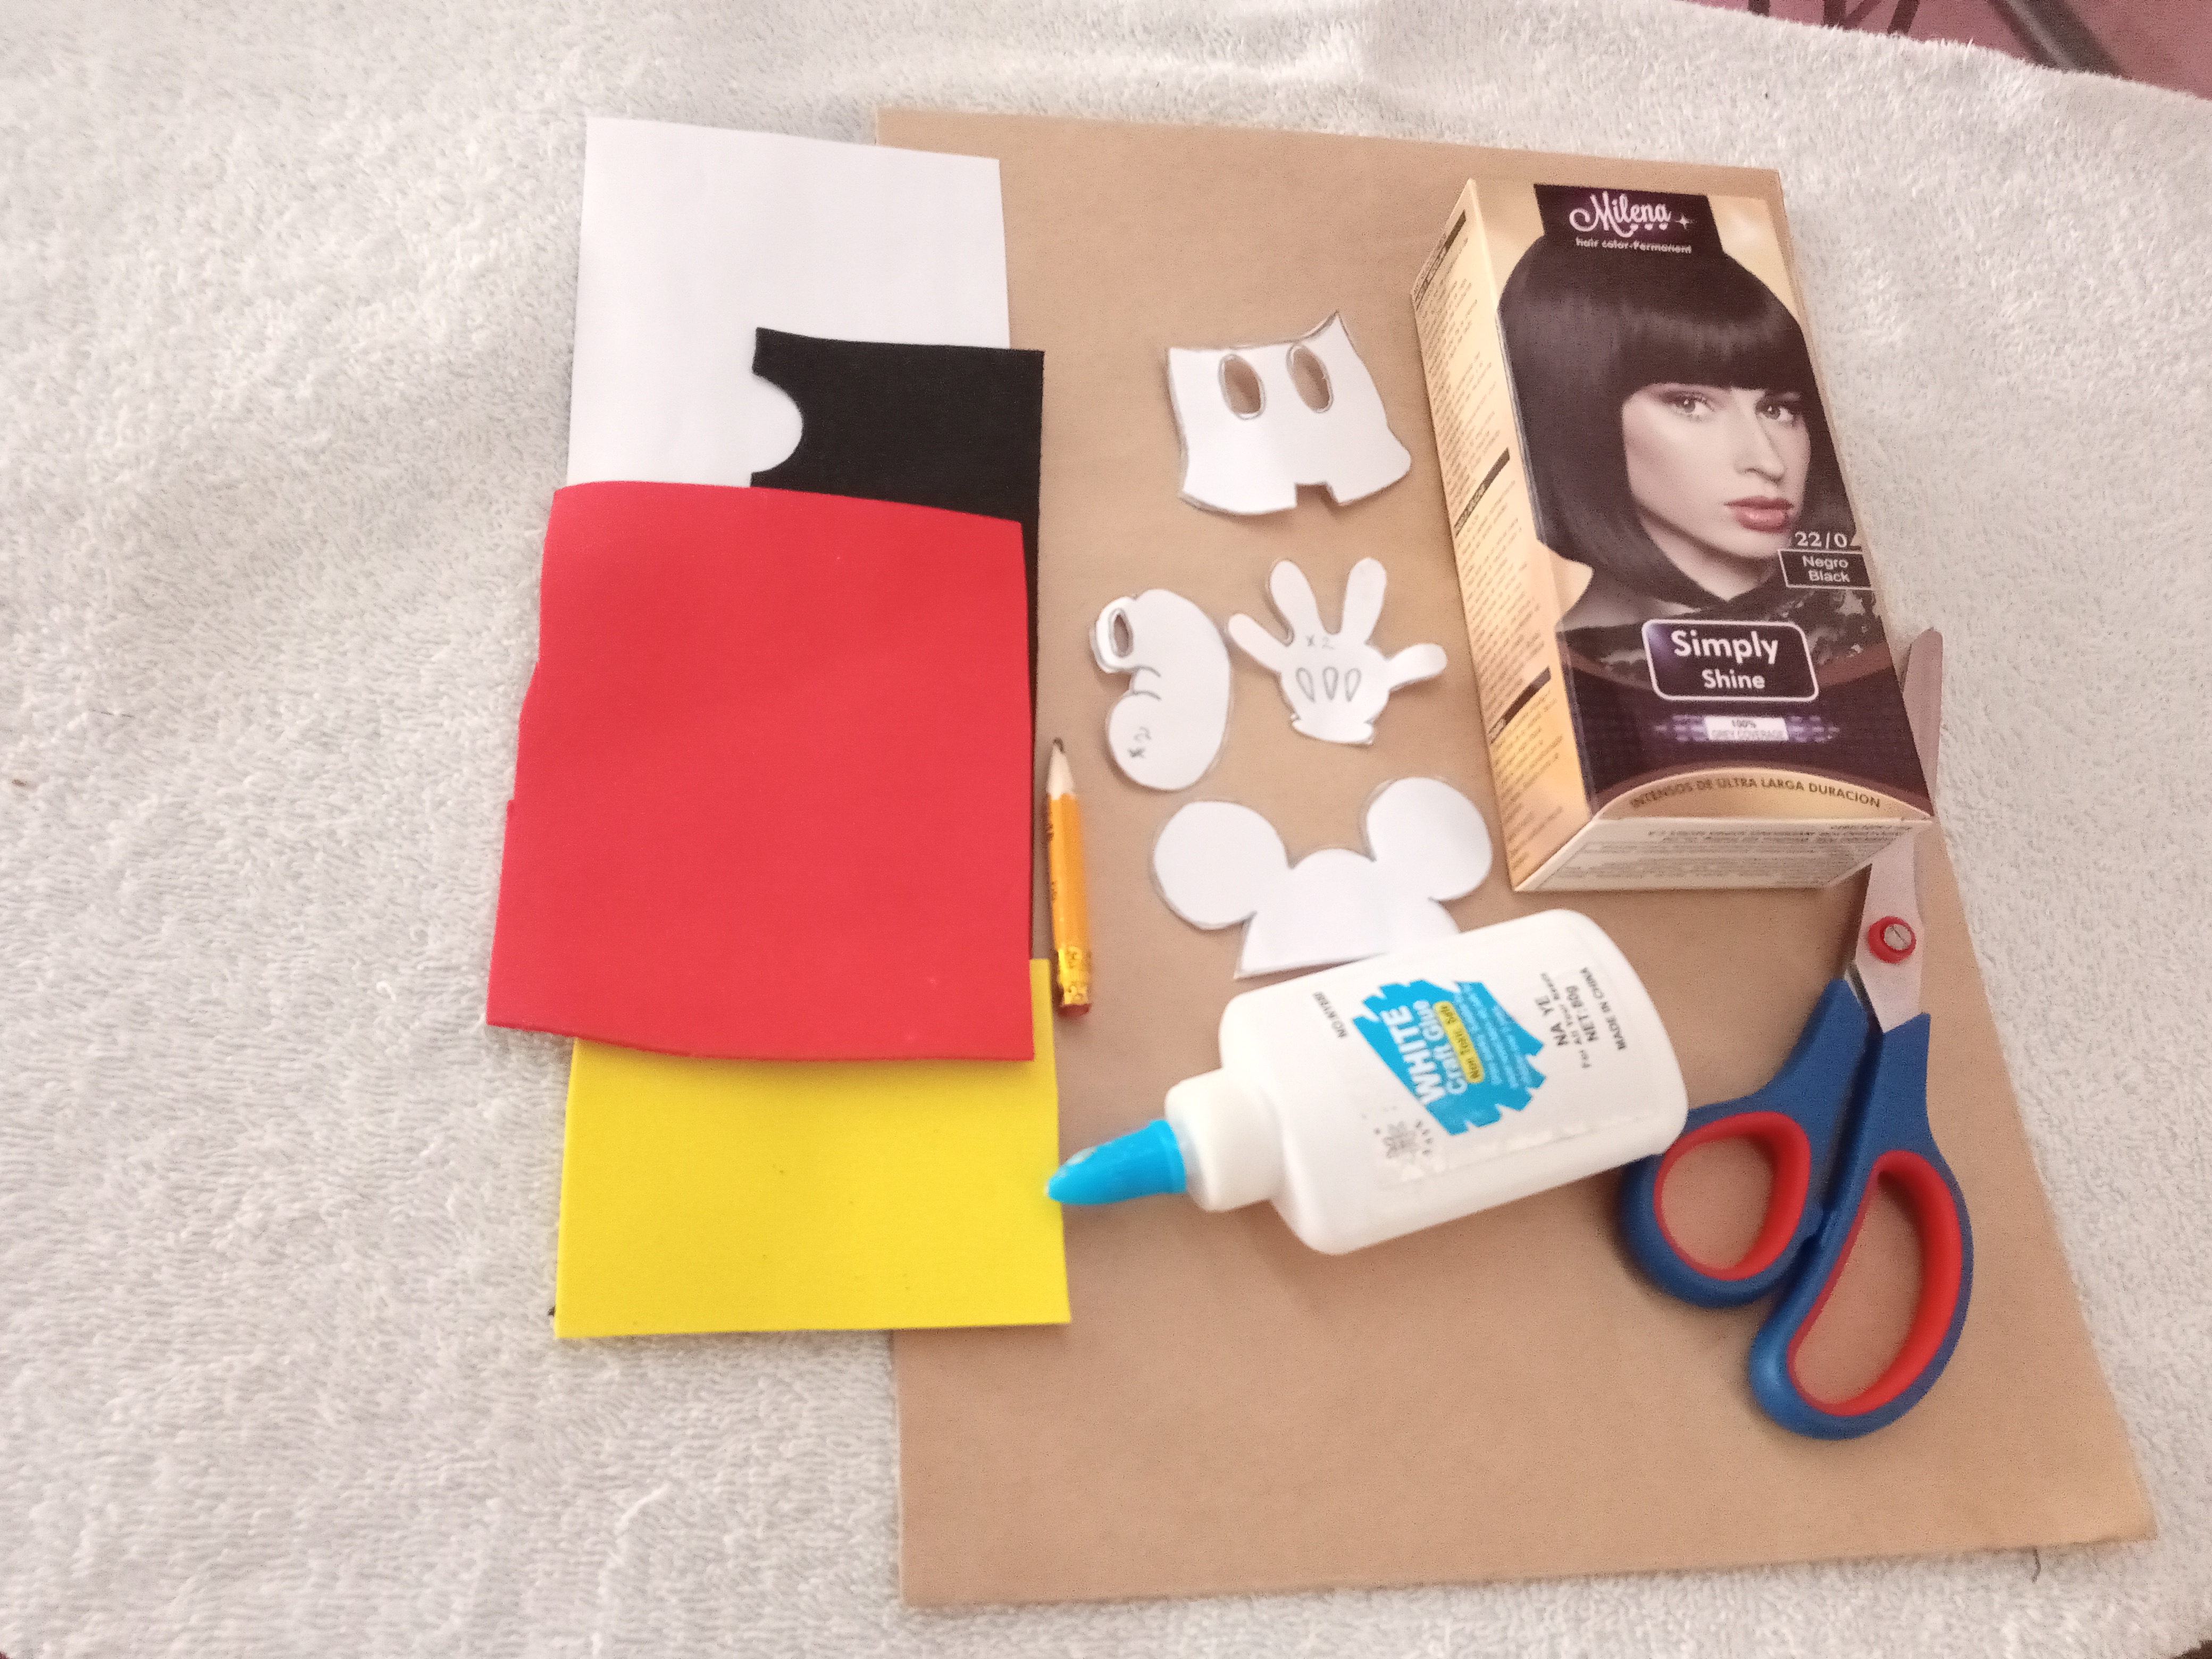
Materiales:
- Patrones.
- Tijera.
- Pegamento.
- Retazo de foami rojo,amarillo, negro y blanco.
- Sobre manila.
- Caja reciclada de tinte. (20cm de alto por * 6cm de ancho).
Materials:
- Patterns.
- Scissor.
- Glue.
- Piece of foami red, yellow, black and white.
- About manila.
- Recycled dye box. (20cm high by 6cm wide).
Step by Step || Pasó a paso:
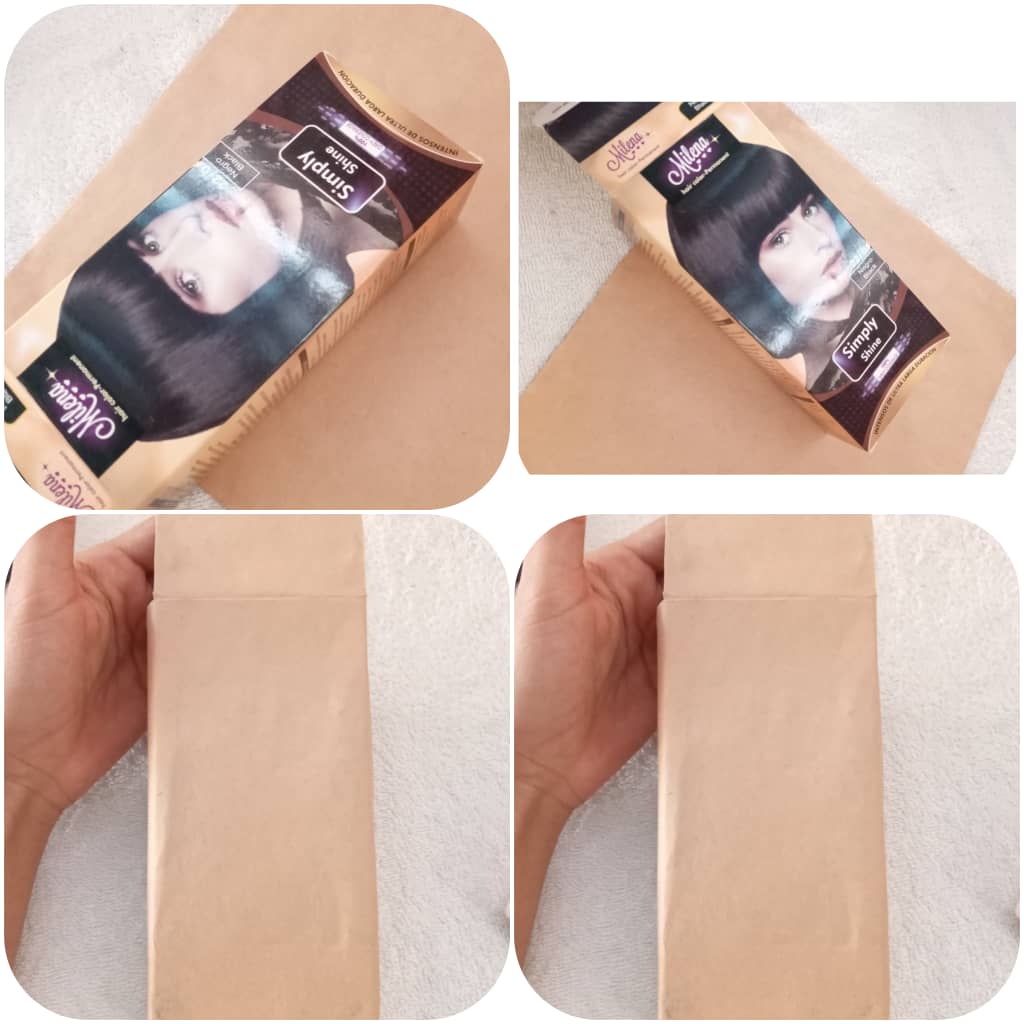
1er paso: Lo primero que haremos amigos es con ayuda del sobre de manila forrar la caja reciclada por ambos lados.
1st step: The first thing we will do, friends, is with the help of the manila envelope, cover the recycled box on both sides.
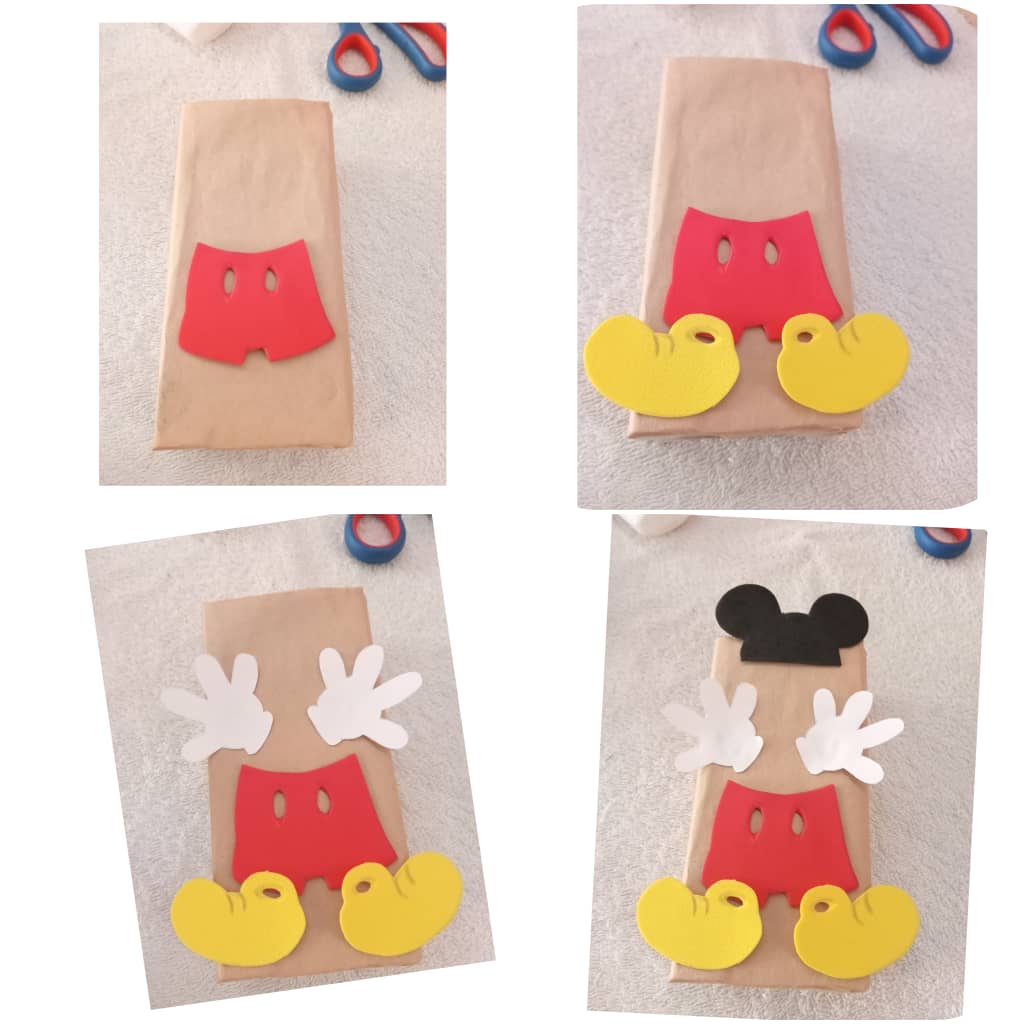
2do paso: Luego comenzar en los retazos de foamis a marcar las figura en este caso de las orejas, manos, pantalón y zapatos de nuestro Mickey mouse como se puede apreciar en las imágenes, recortamos.
2nd step: Then start on the pieces of foamis to mark the figure in this case of the ears, hands, pants and shoes of our Mickey mouse as can be seen in the images, we cut.
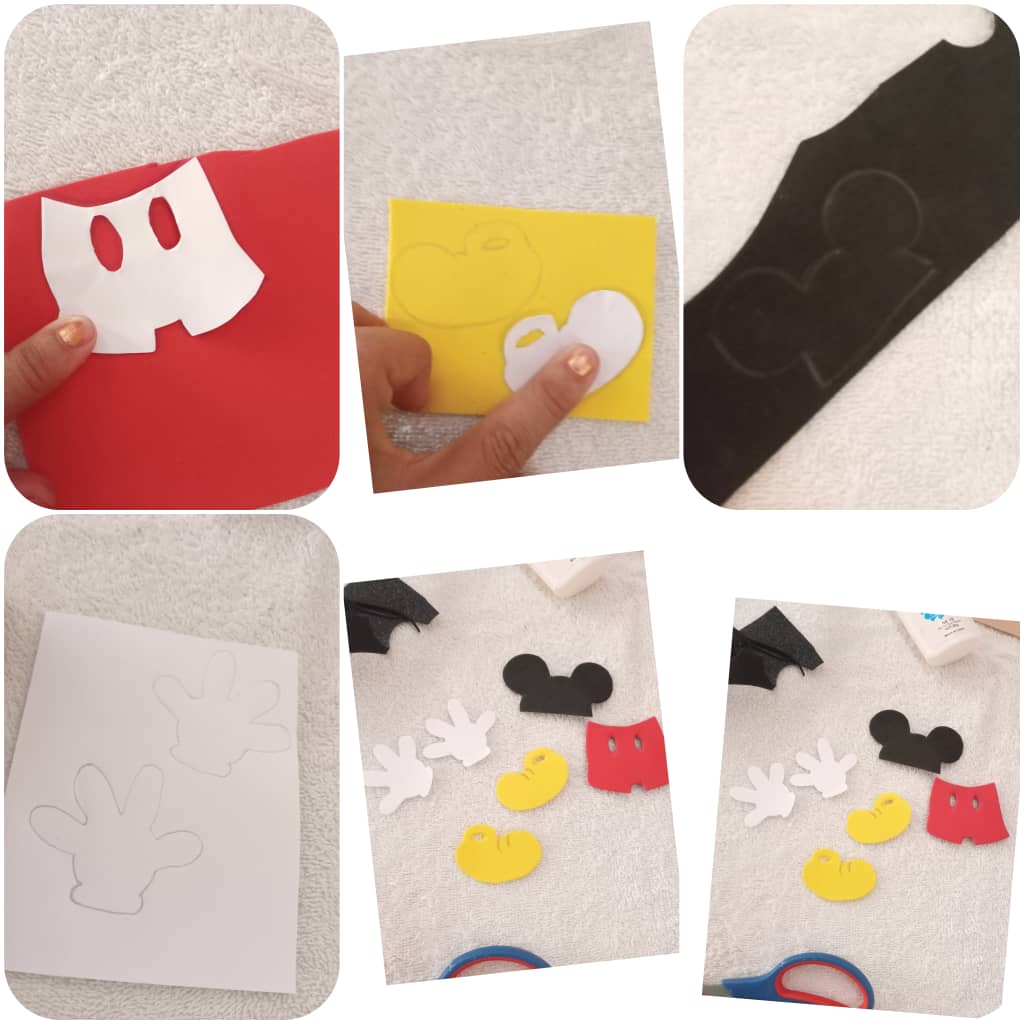
3er paso: Seguidamente proceder a pegar ambas piezas de la siguiente manera primero el pantalón, Zapatos, manos y orejas como se puede apreciar en la imagen.
3rd step: Then proceed to glue both pieces in the following way: first the pants, shoes, hands and ears as can be seen in the image.
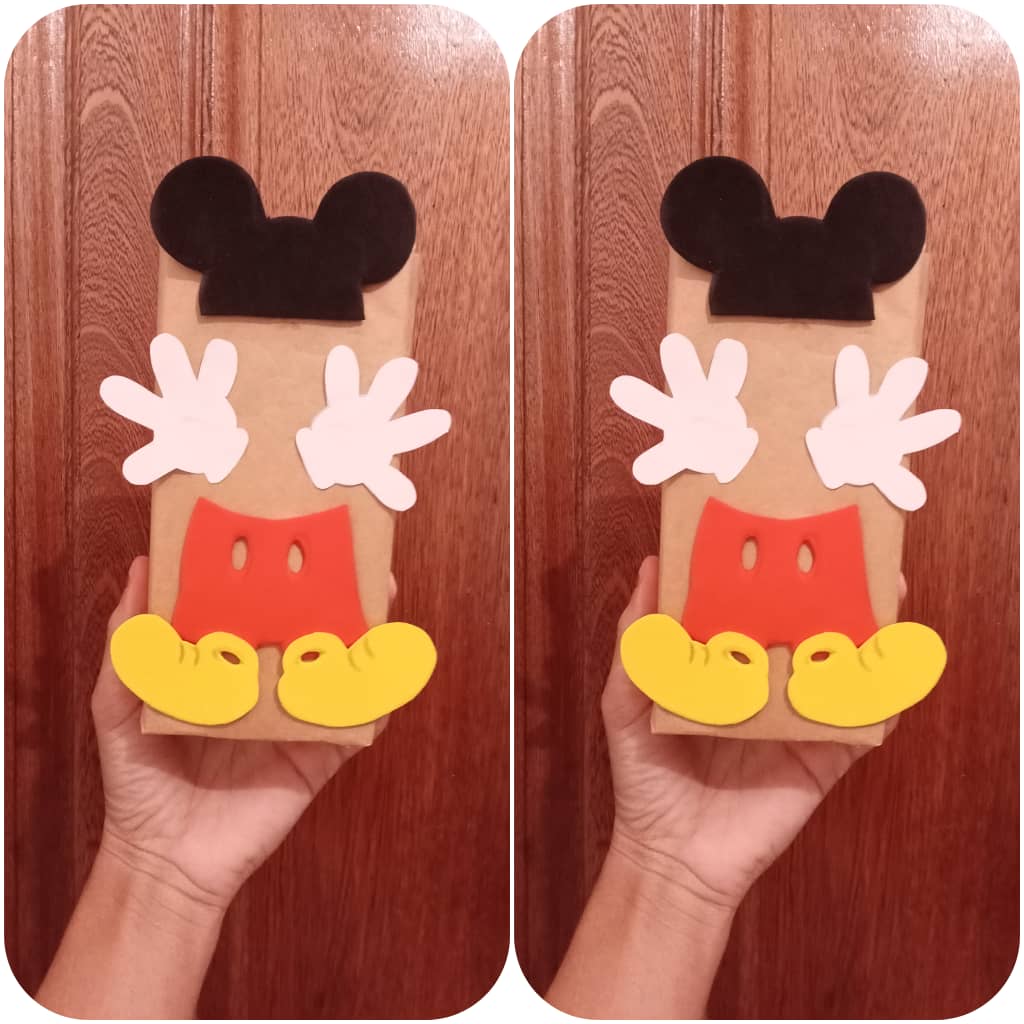
Resultado final mis amigos Hivers, es muy sencillo pero lindo el momento de hacerlo de seguro les gustará amimate también pueden elegir el motivo de su preferencia darle un nuevo uso a esas cajas recicladas que tenemos en casa. Lo mejor de todo sin grandes gastos. ¡¡Saludos!!
Final result my friends Hivers, it is very simple but nice the moment to do it for sure you will like it amimate you can also choose the reason of your preference give a new use to those recycled boxes that we have at home. The best of everything without big expenses. Greetings!!
Muchas gracias por visitar mi Blog
Thank you very much for visiting my Blog

Muy bello y original 👏🏼👍🏼🤗☺️😉😃😊
Muchas gracias!! @chacald.dcymt 🌟 Saludos 🤗💖