Buenas noches. Hoy decidí volver y quiero mostrarles el paso a paso de como hice esta libreta con hojas recicladas y materiales que tenía y decidí reutilizarlos.
- Good night. Today I decided to return and I want to show you the step by step of how I made this notebook with recycled sheets and materials that I had and decided to reuse them.
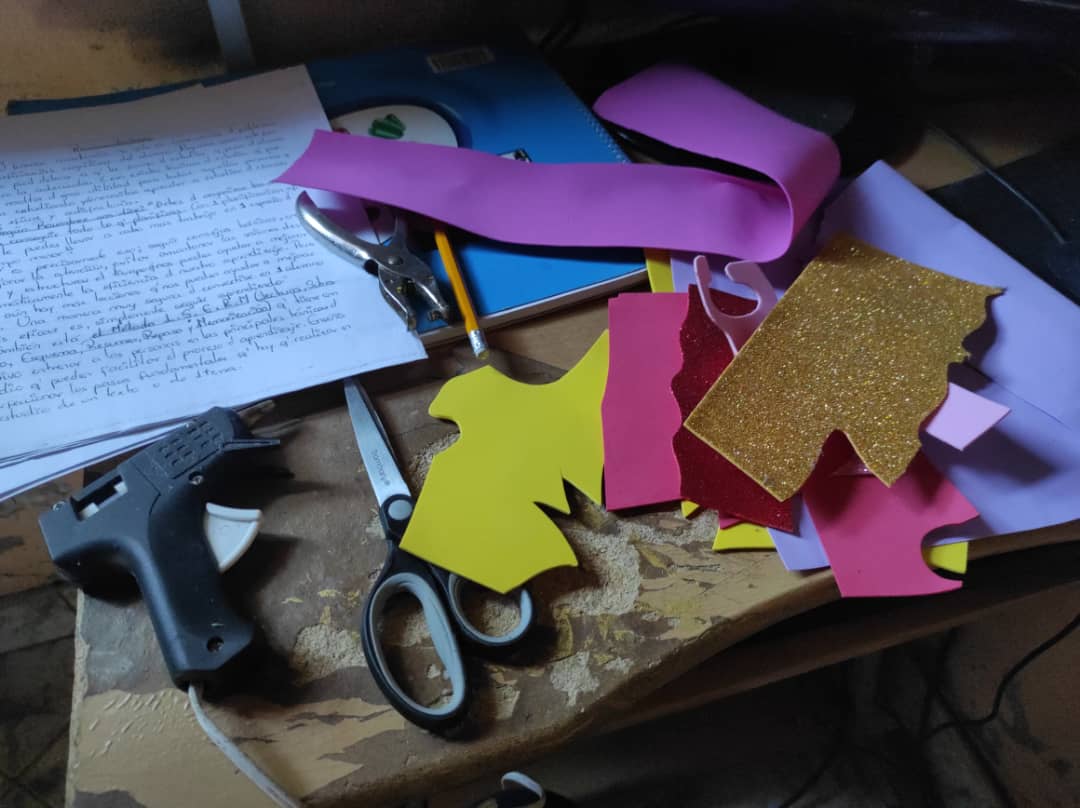
Para hacer está libreta necesitamos:
- hojas recicladas.
- cartulina escolar.
- lápiz.
- foami.
- pistola de silicón.
- tijera.
- pintura de uña.
To make this notebook we need:
- recycled paper.
- school cardboard.
- pencil.
- foami.
- silicone gun.
- scissor.
- nail painting.
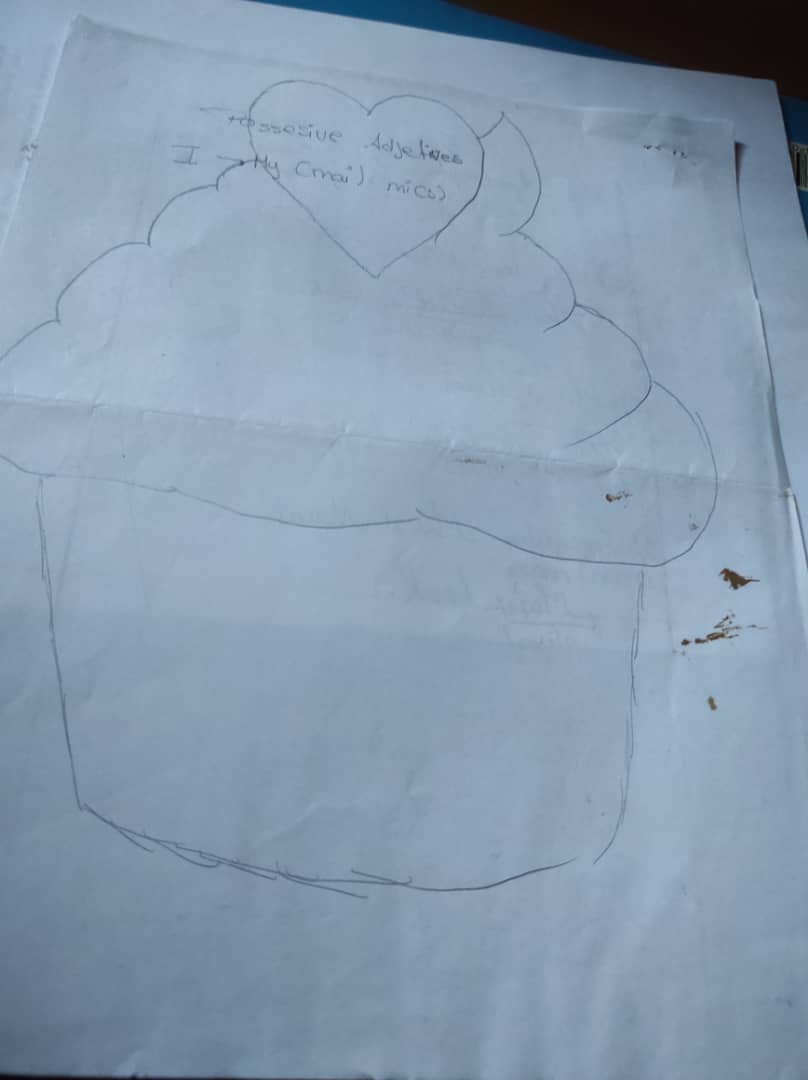
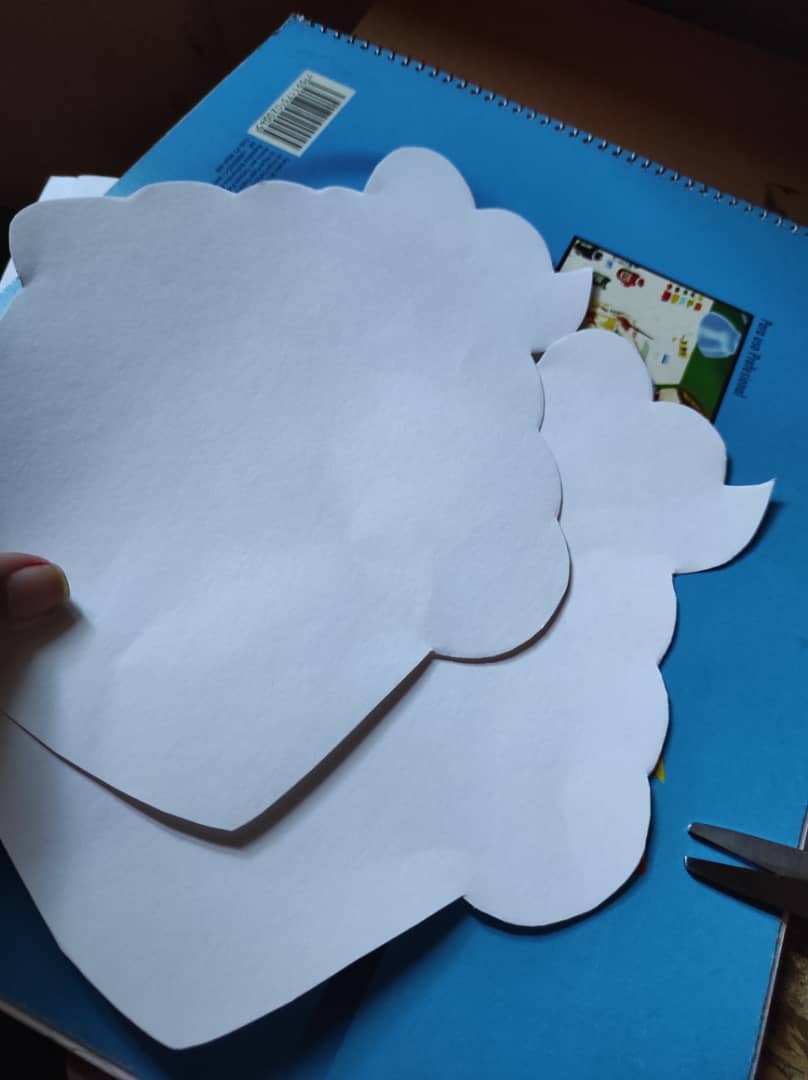
Lo primero que hice fue sacar el molde del cupcake ya que quería hacer la libreta en forma de cupcake.
- The first thing I did was take the mold out of the cupcake since I wanted to make the notebook in the shape of a cupcake.
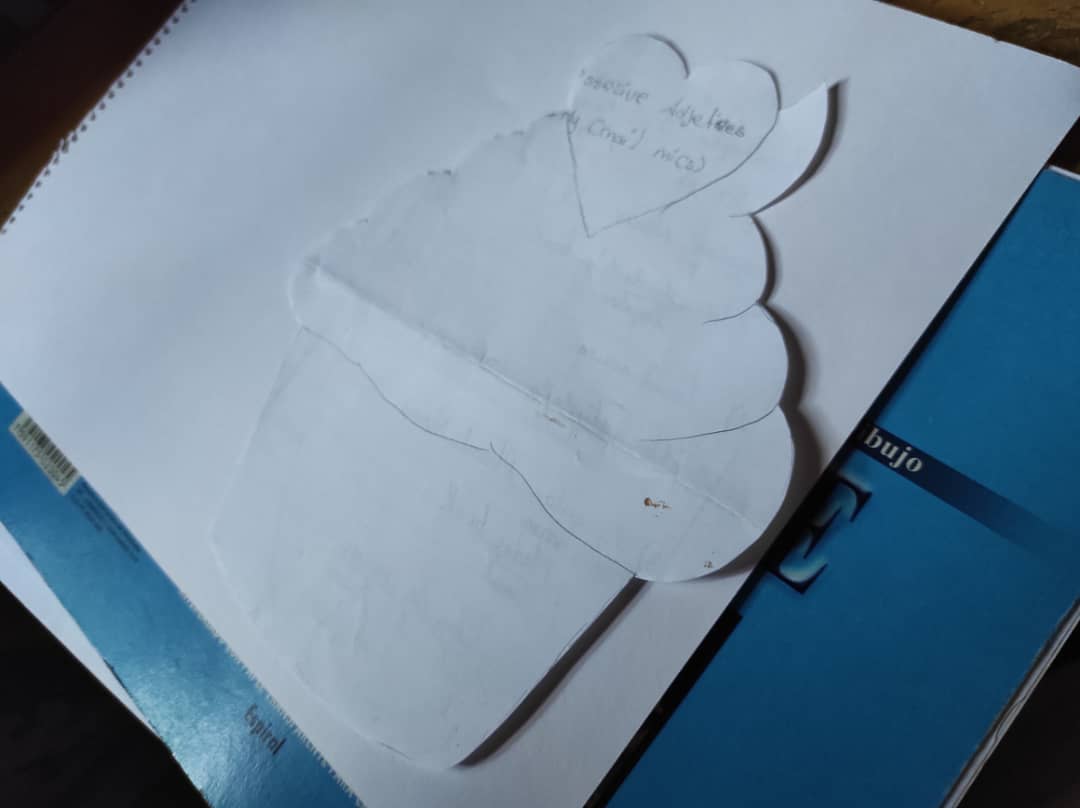
Ahora con el molde lo vamos a marcar en las dos cartulinas que serán las caras de nuestra libreta.
Now with the mold we are going to mark it on the two cards that will be the faces of our notebook.
Ahora también vamos a ir marcando la forma de cupcake en las hojas que vamos a colocar en nuestra libreta.
Now we are also going to mark the cupcake shape on the sheets that we are going to place in our notebook.
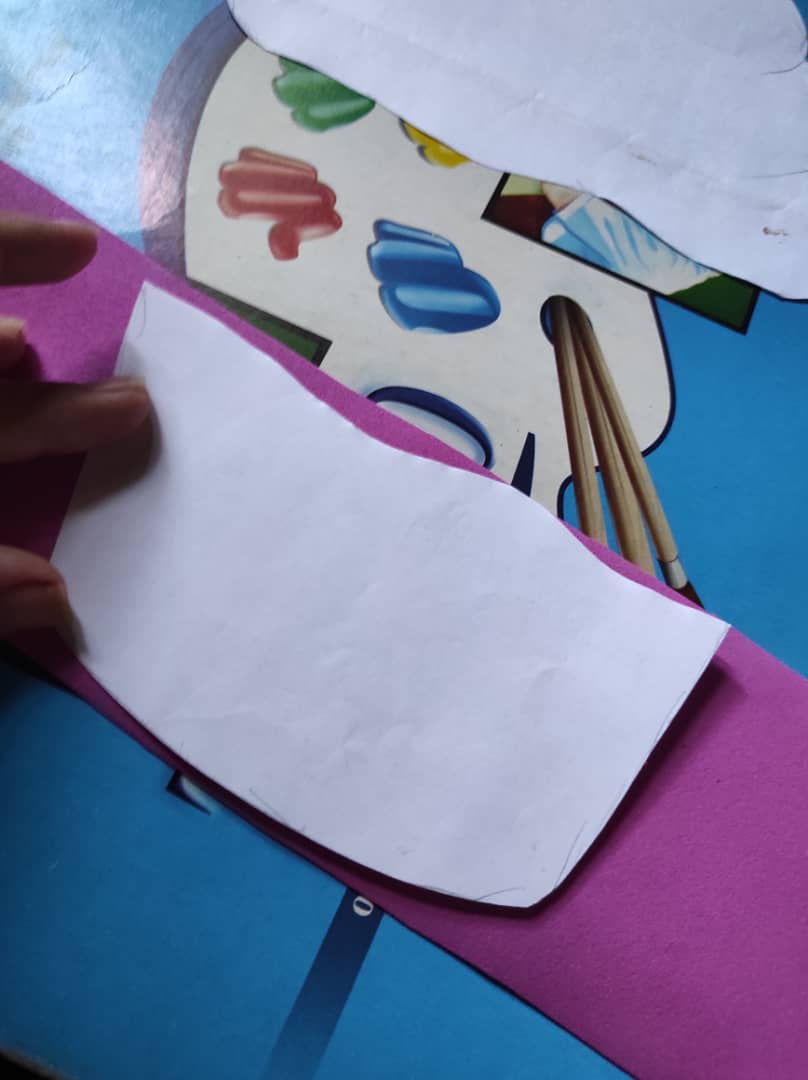
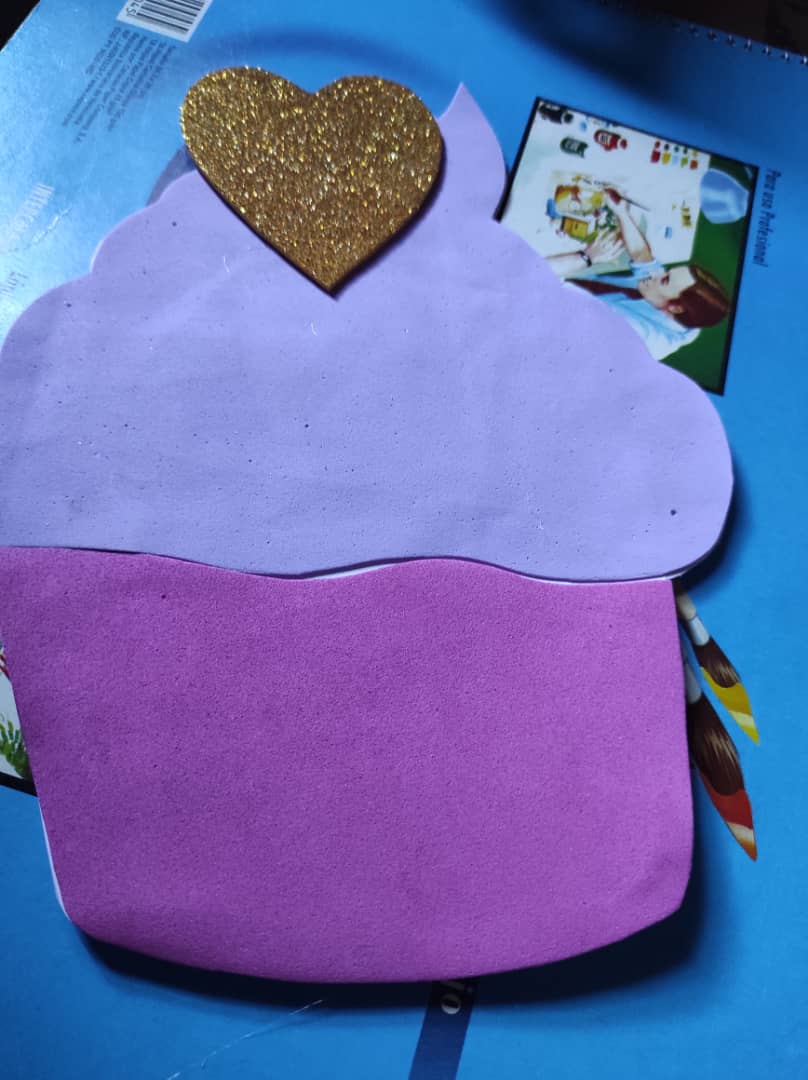
Ahora vamos a cortar la forma del cupcake en el foami que vamos a colocar en la portada de nuestra libreta.
Now we are going to cut the shape of the cupcake in the foami that we are going to place on the cover of our notebook.
Aquí ya tenemos todo el foami recortado. Para luego pegarlo en la cartulina.
Here we already have all the foami cut out. To then stick it on the cardboard.
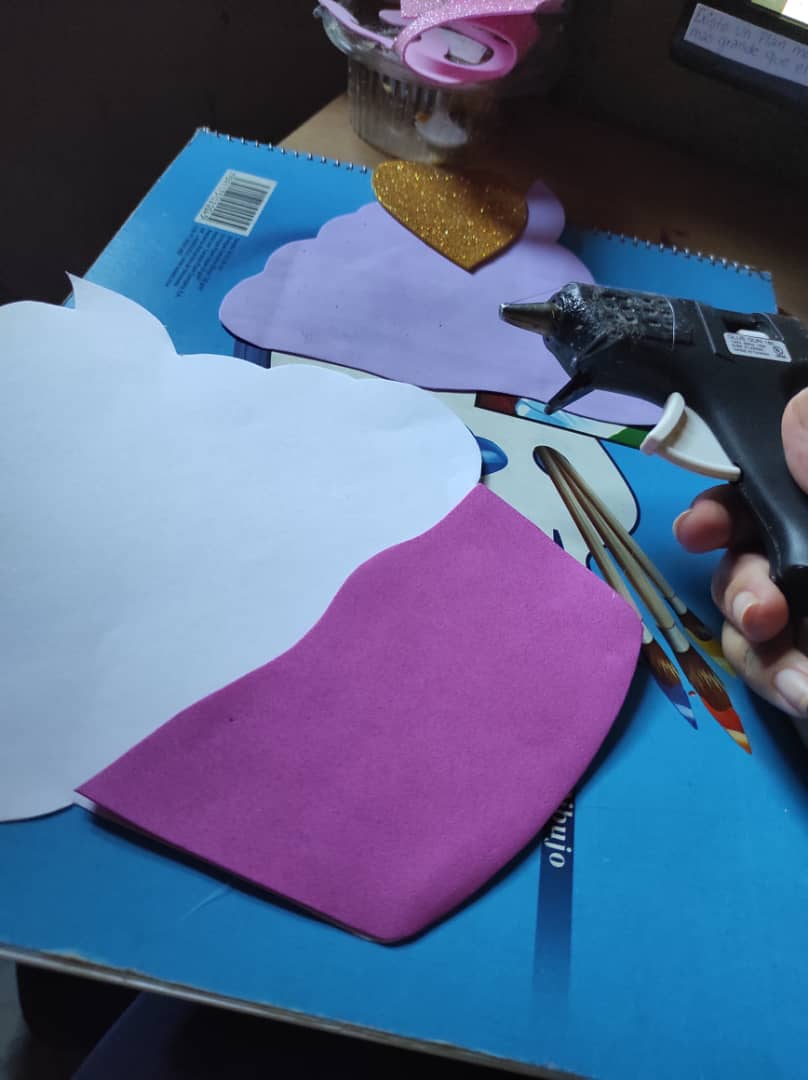
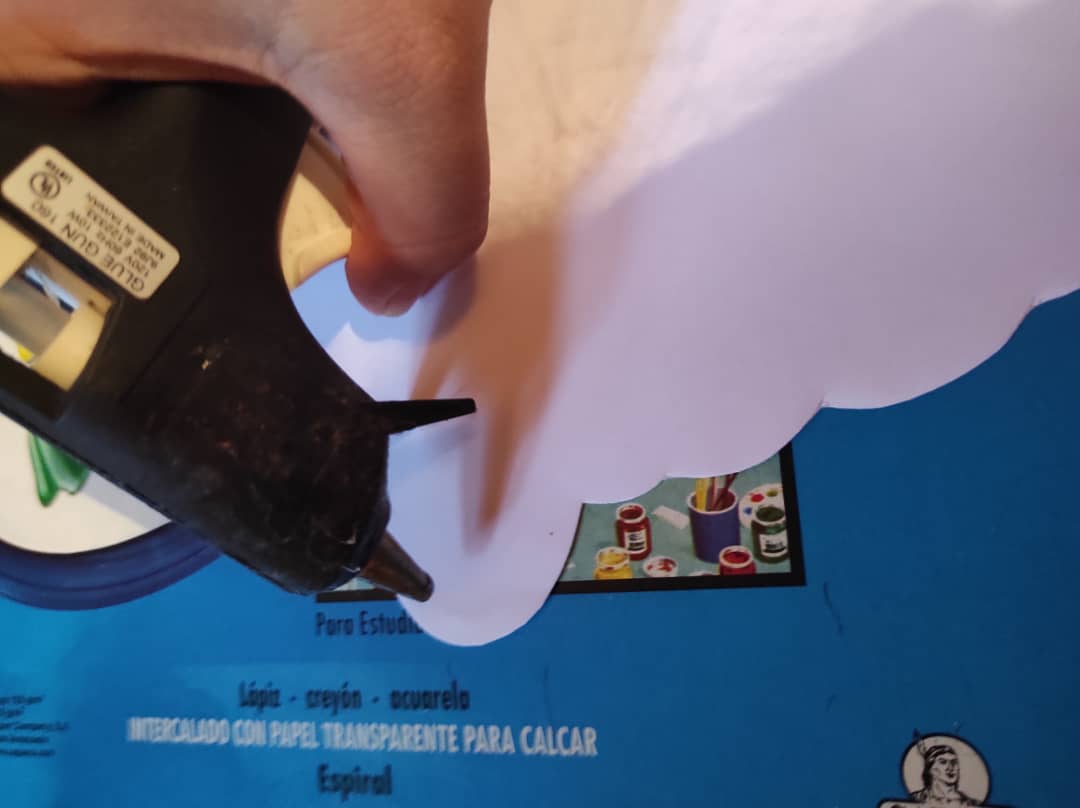
Ahora vamos a ir pegando en foami en la cartulina.
Now we are going to glue the foam onto the cardboard.
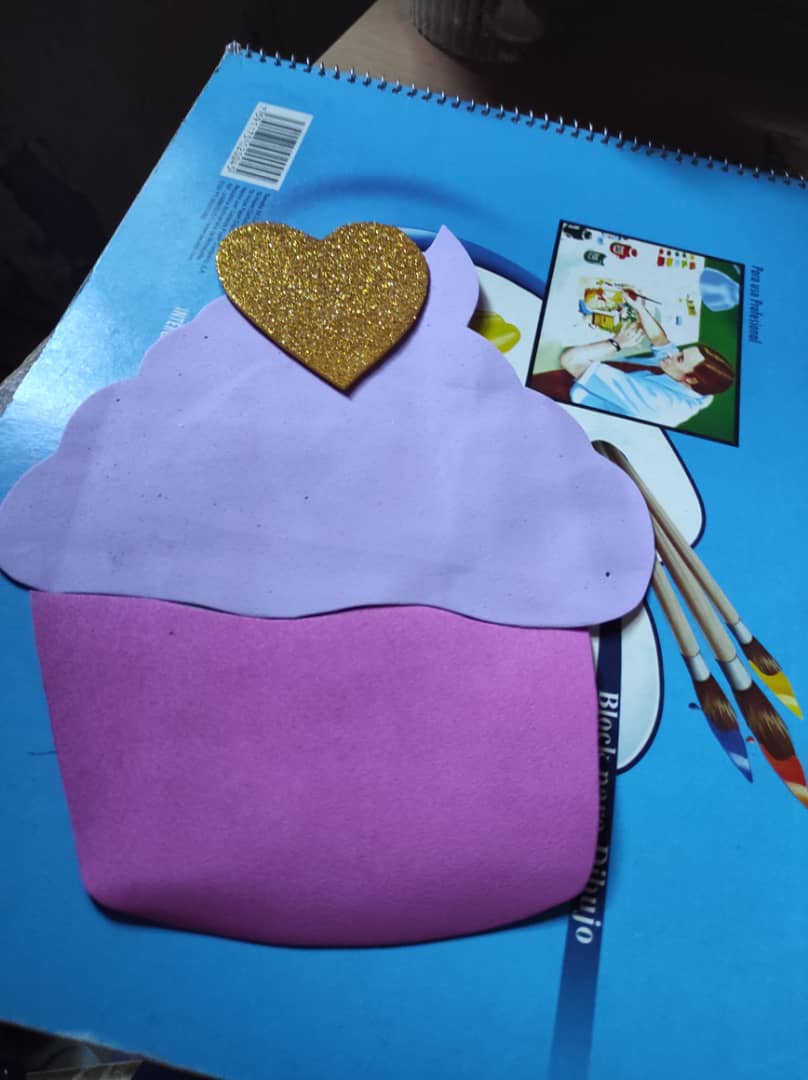
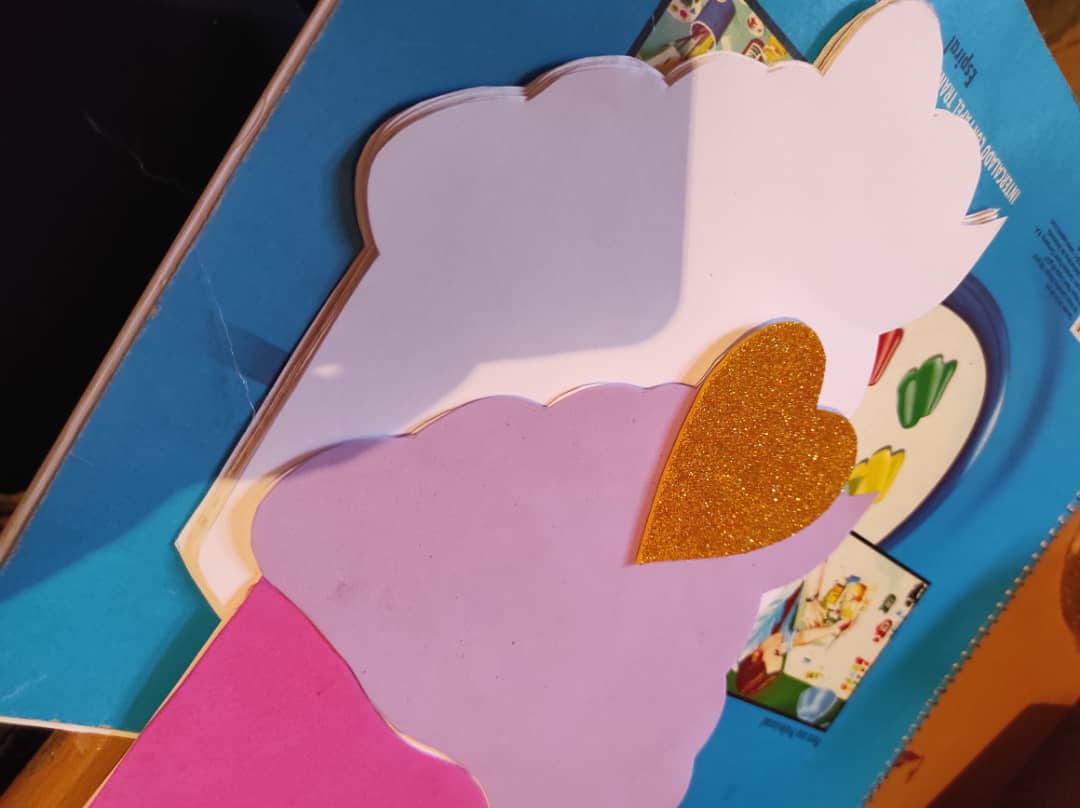
Aquí ya tenemos la carátula de nuestra libreta.
Here we already have the cover of our notebook.
Ahora vamos a ir pegando las hojas de nuestra libreta.
Now we are going to paste the pages of our notebook.
Y ahora vamos a pegar la carátula de nuestra libreta.
And now we are going to paste the cover of our notebook.
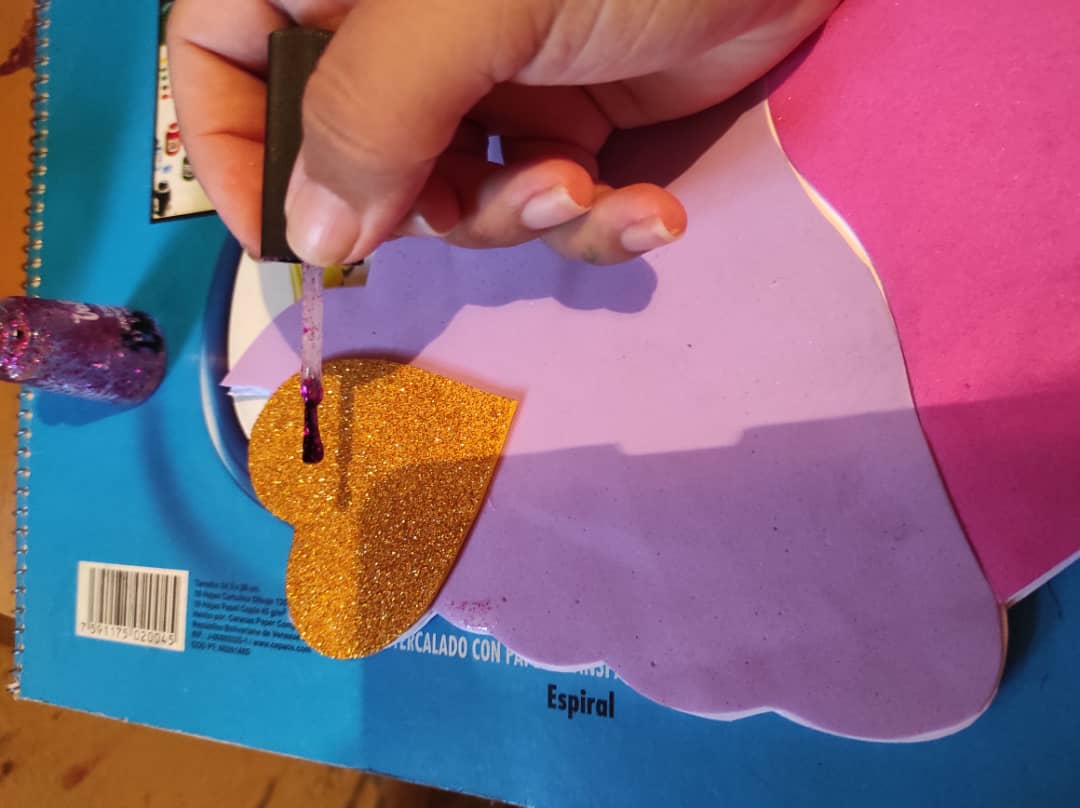
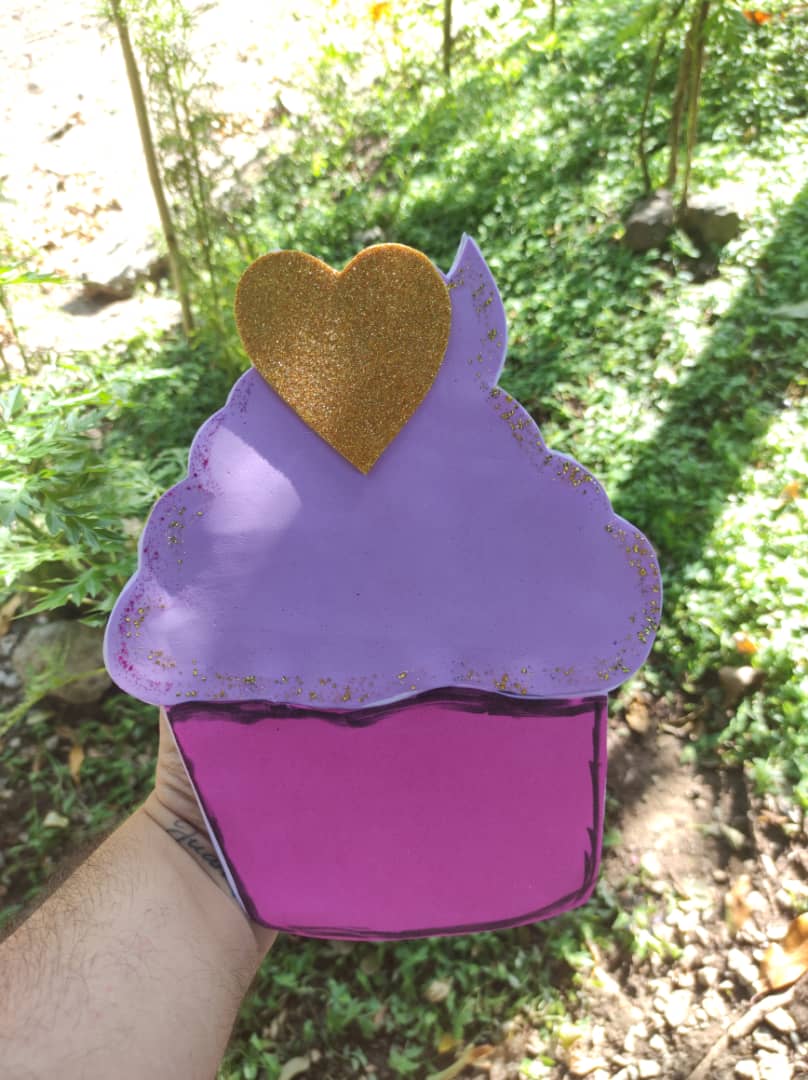
Ahora le vamos a dar un poco más de brillo a nuestra libreta. Por todo el borde vamos a agregar brillo escarchado. Yo tenía pintura de uña y esa fue la que coloque por el borde.
Now we are going to give our notebook a little more shine. All over the edge we are going to add frosty glitter. I had nail paint and that was the one I placed on the edge.

Y por último con un marcador vamos a remarcar por el borde del cupcake.
And finally with a marker we are going to mark the edge of the cupcake.