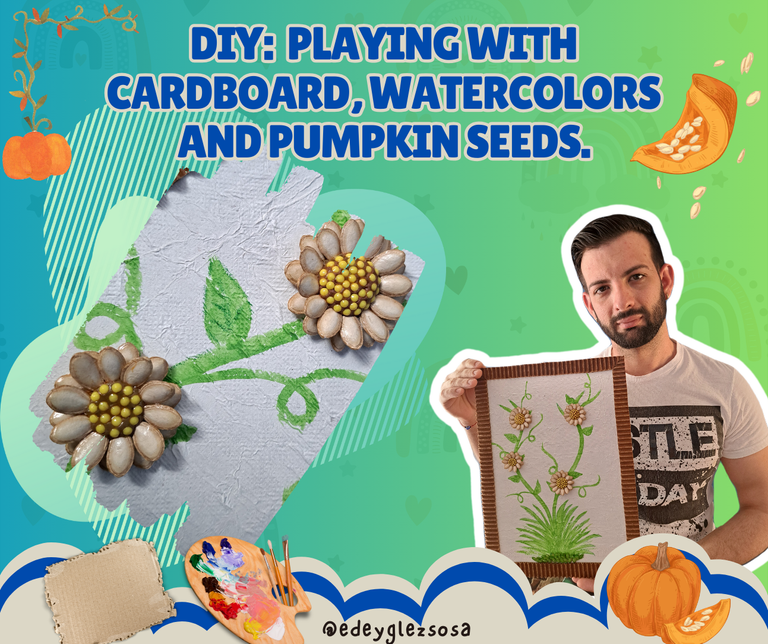
Saludos, mis amigos creativos. Para mí es un placer estar nuevamente creando contenido de manualidades para ustedes. El día de hoy me levanté con ganas de crear manualidades al más puro estilo infantil. Nada de técnicas refinadas ni materiales complejos. Hoy estaremos haciendo un cuadro con cartón, acuarelas y semillas de calabaza. Y sí, oíste bien, son semillas de calabaza común que bien puedes comprar en el mercado o cultivarlas en tu propio jardín. Si te parecen interesantes estos materiales no le demos más vueltas al asunto y comencemos.
Greetings, my creative friends. It is a pleasure for me to once again be creating craft content for you. Today I woke up with the desire to create crafts in the purest children's style. No fancy techniques or complex materials. Today we will be making a painting with cardboard, watercolors and pumpkin seeds. And yes, you heard right, they are common pumpkin seeds that you can either buy at the market or grow them in your own garden. If you find these materials interesting, let's not beat around the bush and let's get started.
|
|
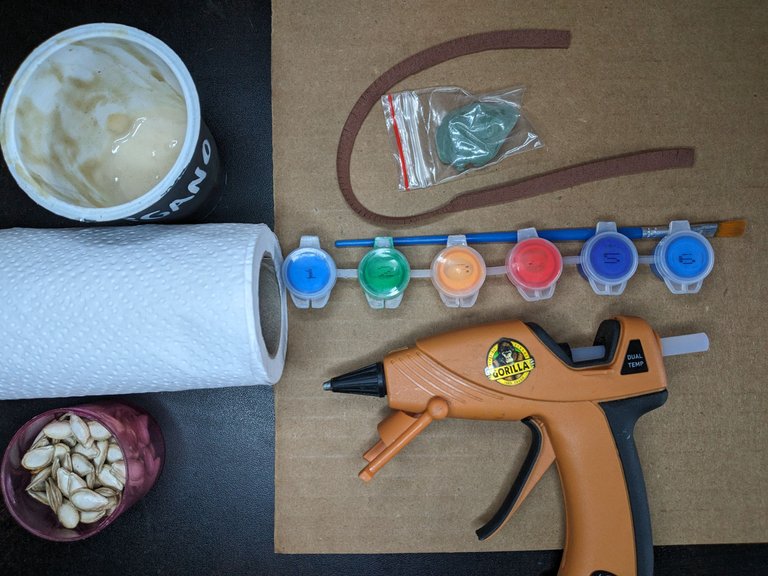
Materiales // Materials
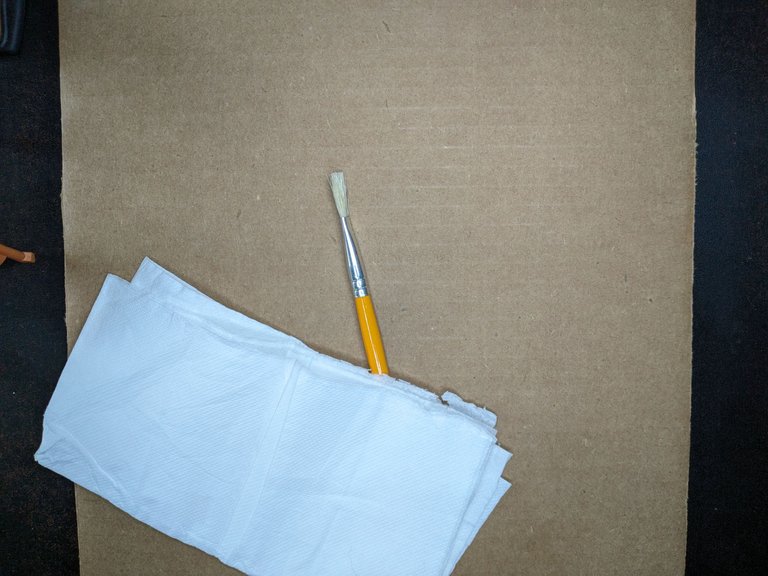
✔️ Cartón // Cardboard.
✔️ Papel de cocina // Paper towel.
✔️ Arcilla para modelar o plastilina // Clay for modeling or playdough.
✔️ Silicona caliente y pegamento líquido // Hot silicone and liquid glue.
✔️ Acuarelas y Pinceles // Watercolors and Brushes.
Paso a Paso // Step by step
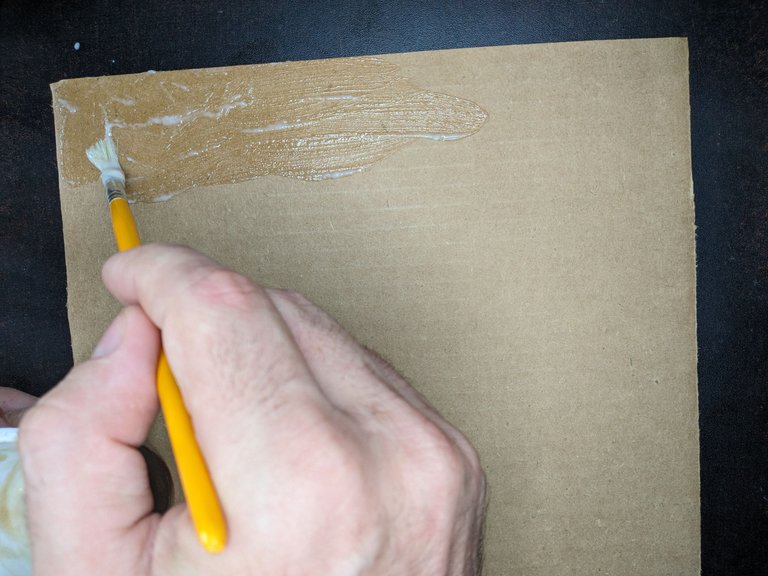
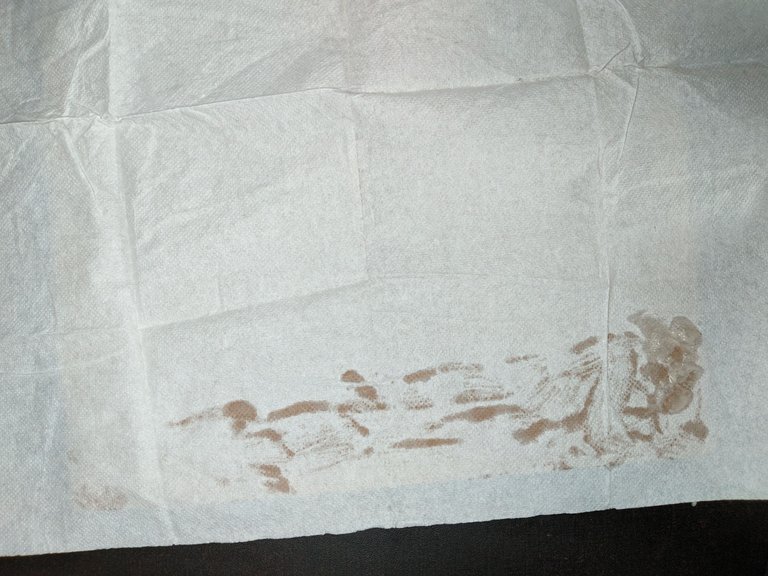
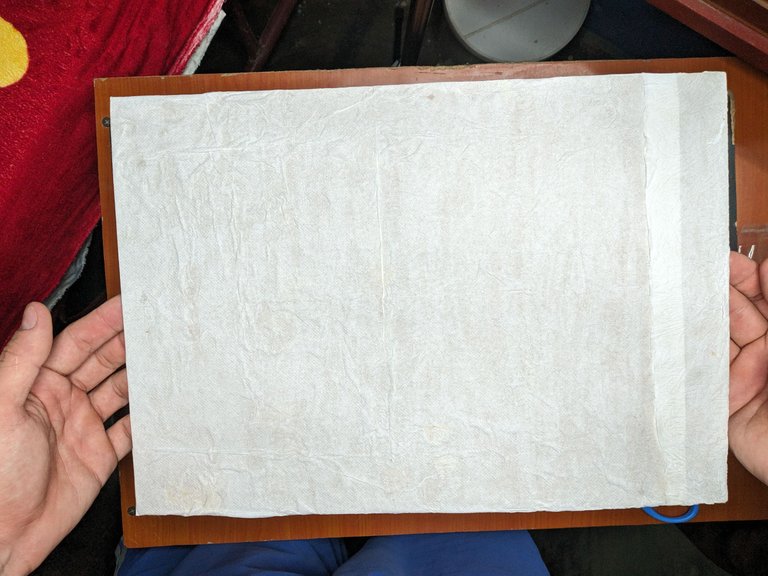
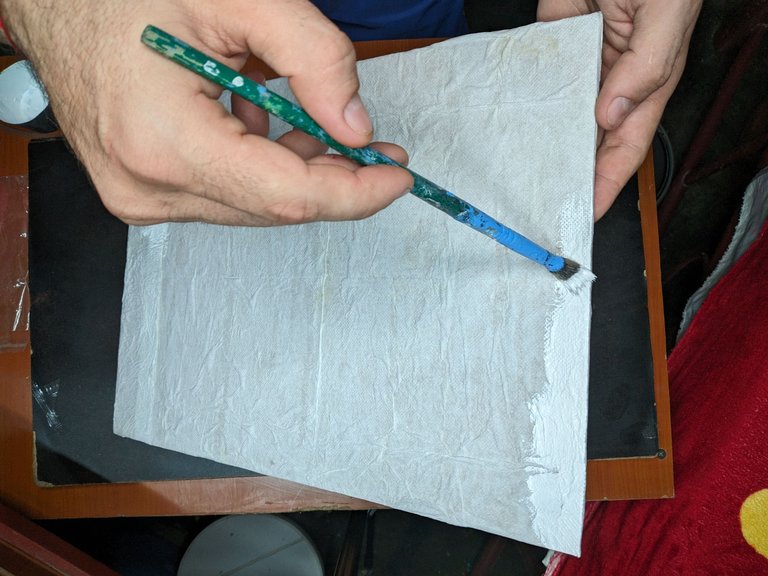
1️⃣ Para empezar recortamos una pieza de cartón de aproximadamente el tamaño de una tapa de una caja de zapato. Puede ser más grande si así lo desean. Recubrimos la superficie del cartón usando pedazos de papel de cocina y el pegamento líquido. Esto se hace con el objetivo de crear una superficie porosa en el cartón, permitiendo una mejor absorción de la pintura y creando una especie de textura semejante a la de un lienzo.
To start we cut out a piece of cardboard about the size of a shoe box lid. It can be larger if desired. We coat the surface of the cardboard using pieces of paper towel and liquid glue. This is done in order to create a porous surface on the cardboard, allowing a better absorption of the paint and creating a kind of texture similar to that of a canvas.
|
|
|
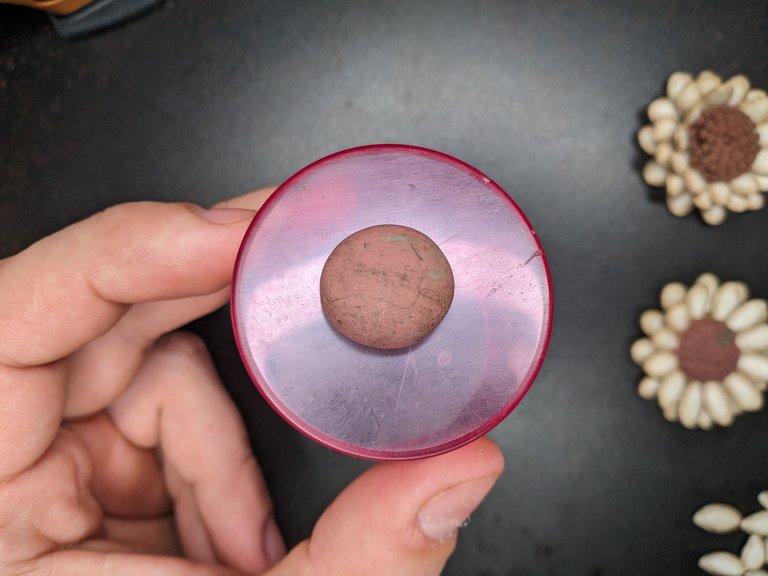
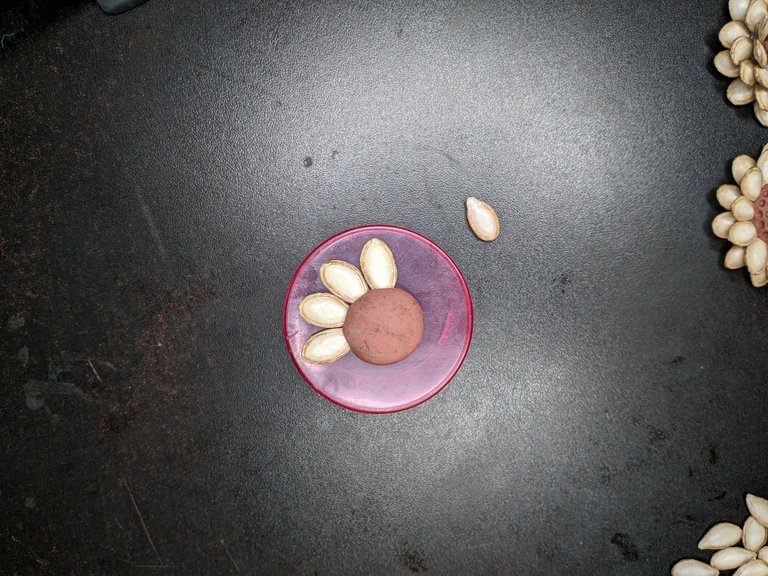
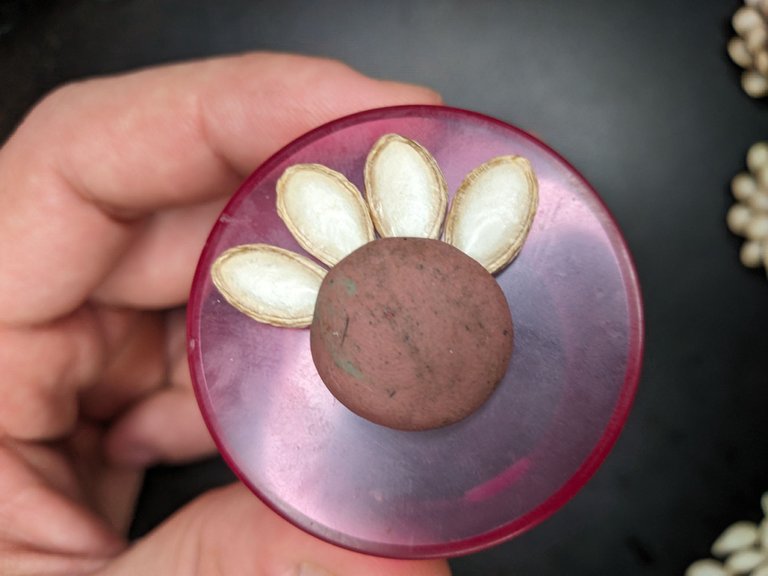
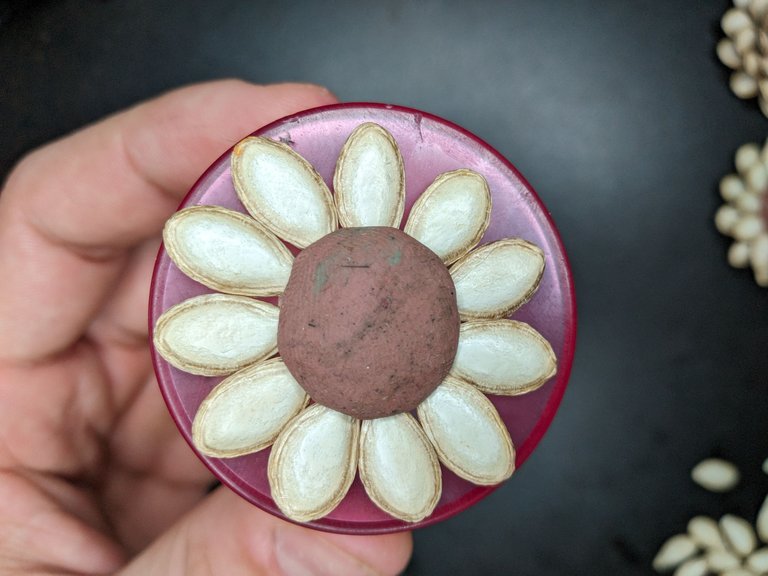
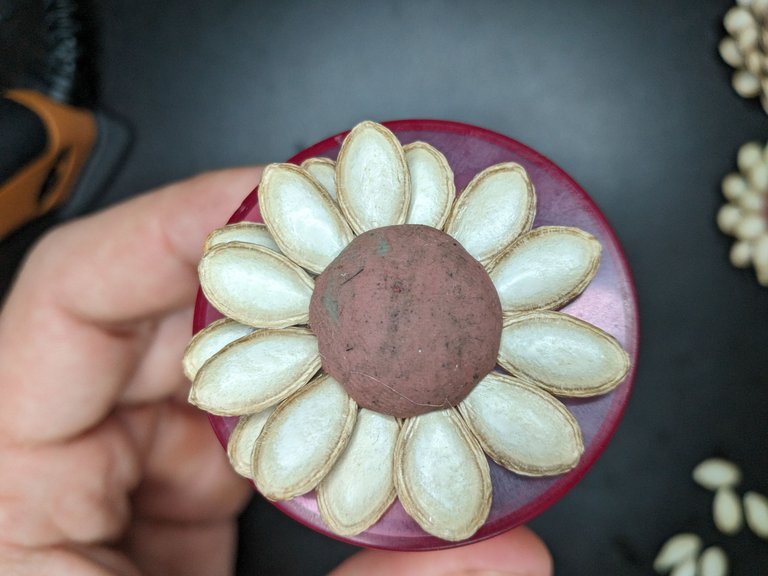
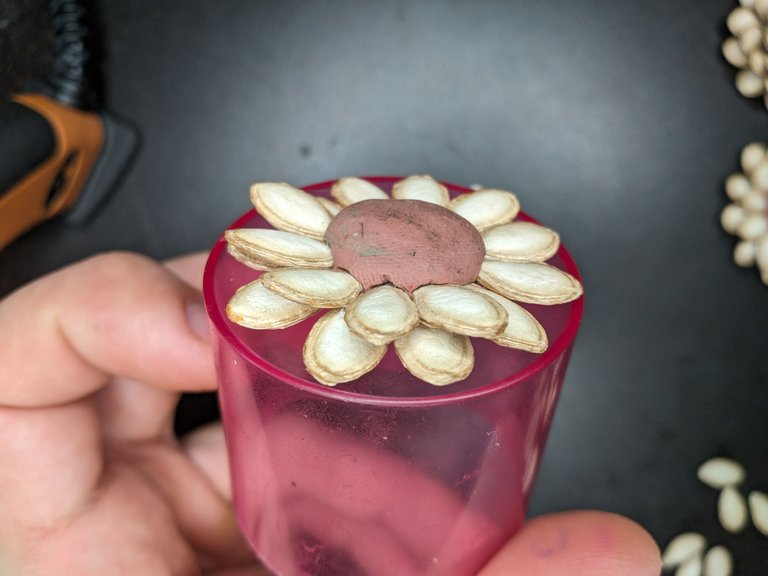
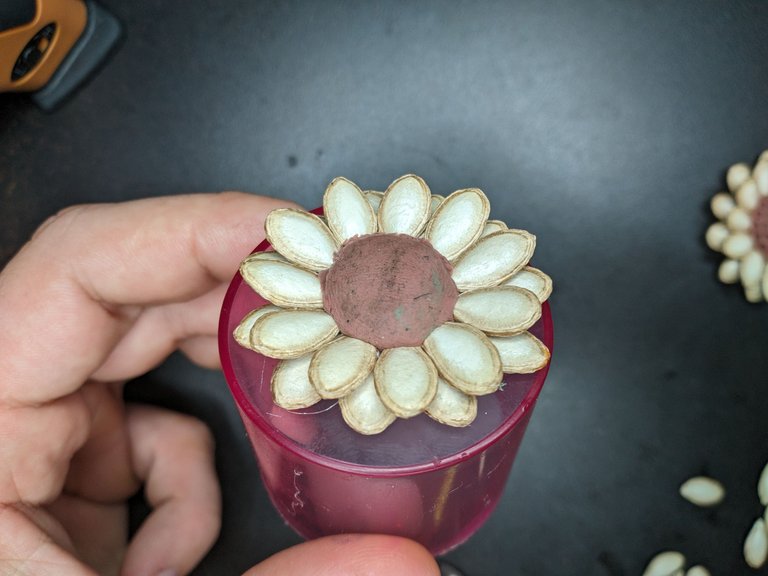
2️⃣ En lo que seca de cartón pondremos sobre una base una bola aplanada de arcilla para modelar o plastilina e iremos agregando las semillas de calabaza alrededor. Haremos dos hileras de semillas alrededor de la base y la segunda hilera le iremos pegando con silicona antes de incrustarla en el centro de arcilla.
In the dry cardboard we will put a flattened ball of modeling clay or plasticine on a base and we will add the pumpkin seeds around it. We will make two rows of seeds around the base and the second row will be glued with silicone before embedding it in the center of clay.
|
|
|
|
|
|
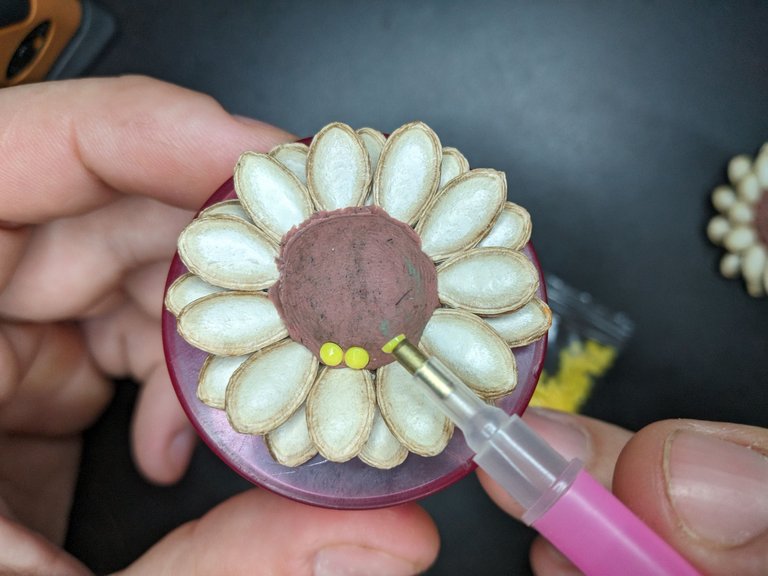
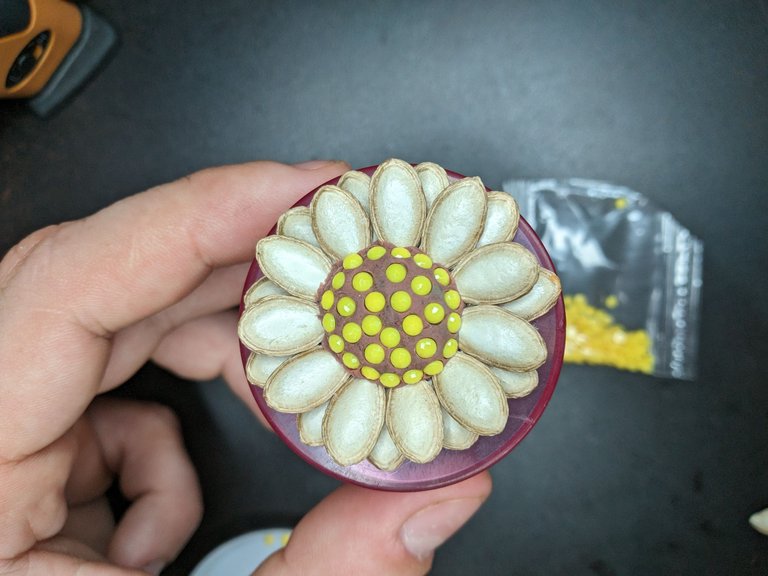
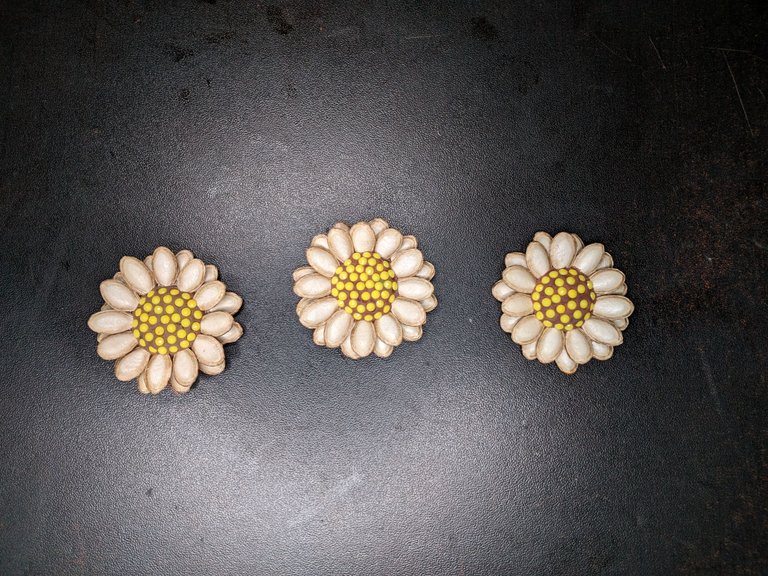
3️⃣ Con la punta del mango de un pincel iremos agujereando el centro de arcilla para crear la textura de la flor. Se pueden incrustar piedritas de colores en los agujeros en caso de tenerlas a mano.
With the tip of the handle of a paintbrush we will make holes in the center of the clay to create the texture of the flower. You can embed colored pebbles in the holes if you have them at hand.

|
|
|
|
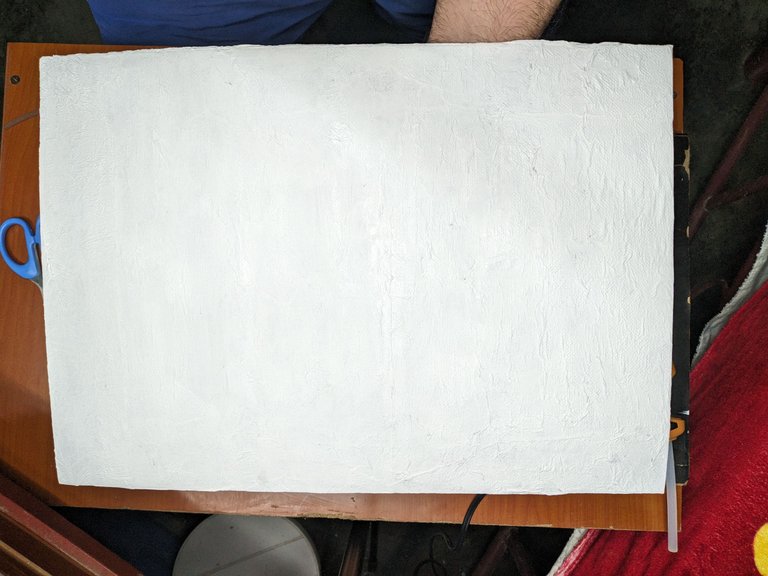
4️⃣ Cuando ya esté seco el cartón lo pintaremos con pintura blanca brillante para que resalte aún más el dibujo y lo pondremos a secar otra vez.
When the cardboard is dry, we will paint it with bright white paint to make the drawing stand out even more and we will let it dry again.
|
|
|
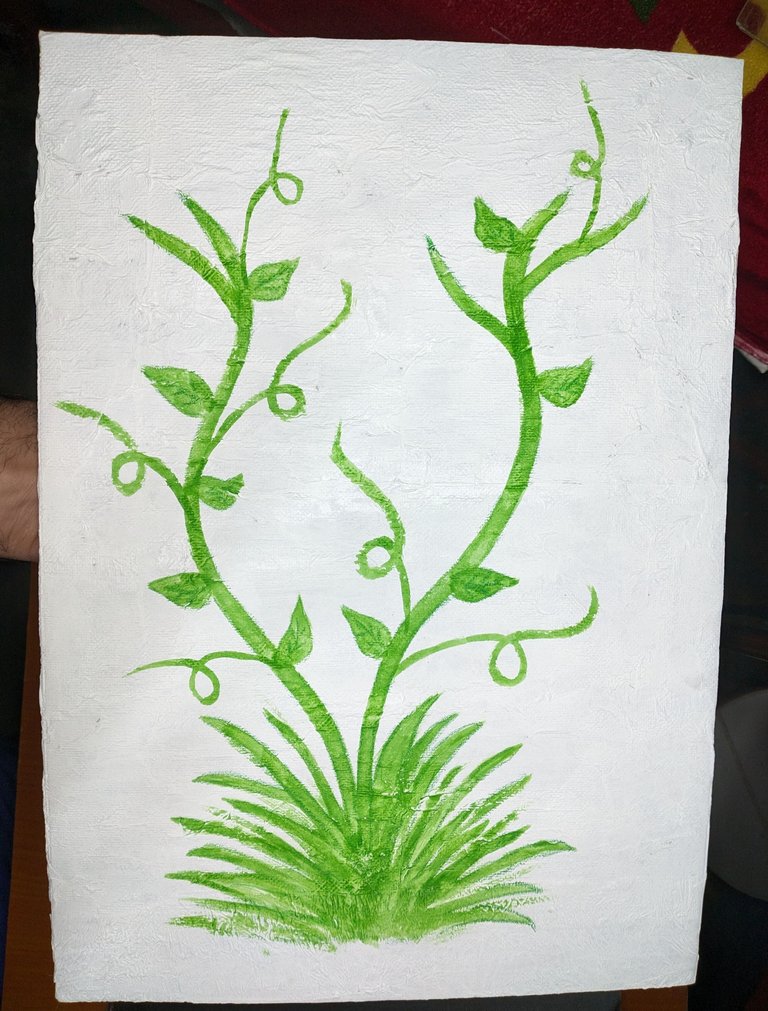
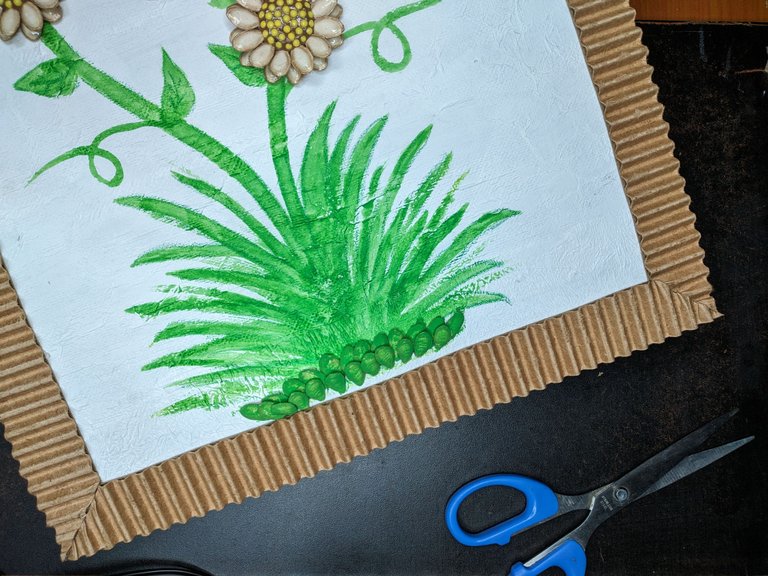
5️⃣ Este paso es el más divertido e infantil por así decirlo. Una vez seca la pintura blanca, seleccionamos un pincel y pintura verde. Dibujaremos una planta o un árbol. Aquí no importa la calidad del dibujo, la lógica e incluso ni la forma. Solo hay que dibujar un tallo y hojas que soporten nuestras flores. En mi caso lo hice todo rápido dando pinceladas fuertes sin precisión, esperando que saliera algo bueno de eso.
This step is the most fun and childish so to speak. Once the white paint is dry, we select a brush and green paint. We will draw a plant or a tree. Here it does not matter the quality of the drawing, the logic and even the shape. We only have to draw a stem and leaves that support our flowers. In my case I did everything fast giving strong strokes without precision, hoping that something good would come out of it.
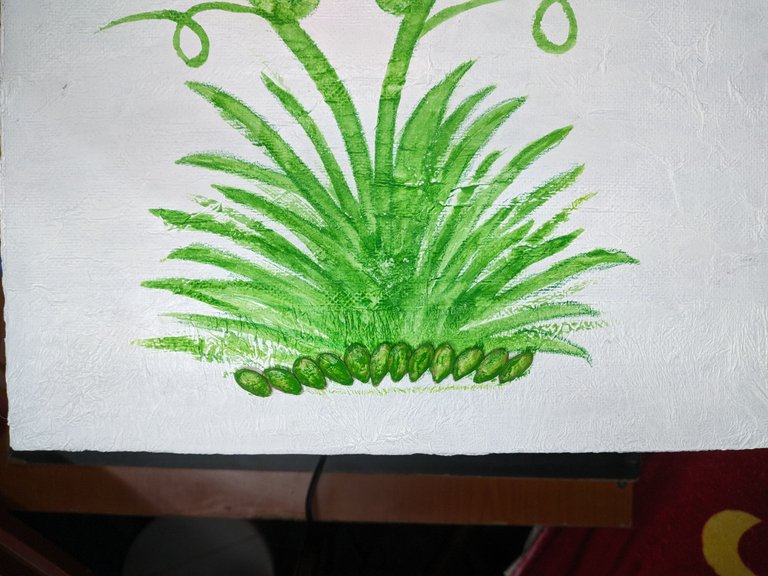
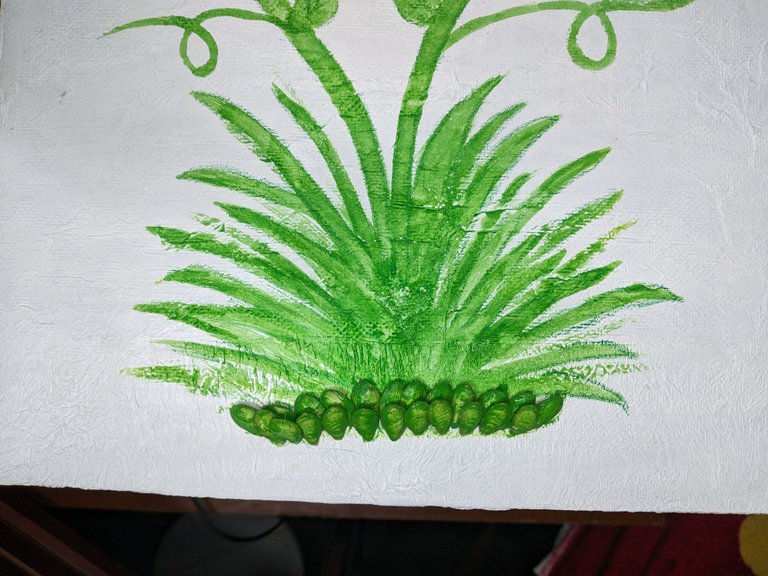
6️⃣ Una vez terminado el dibujo, pegaremos una hilera de semillas en la base de este y las pintaremos de verde. Cuando sequen repetiremos el proceso con otra hilera de semillas.
Once the drawing is finished, we will glue a row of seeds on the base of the drawing and paint them green. When they dry we will repeat the process with another row of seeds.

|
|

|
|
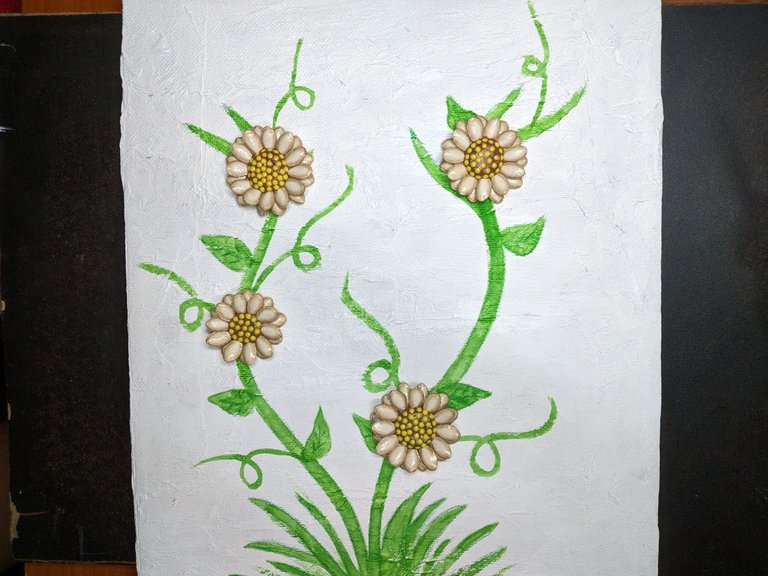
7️⃣ Ya con la forma de la base de la planta creada, colocaremos las flores encima de los tallos de la planta y las pegaremos. El número de flores y su posición es a gusto propio.
Once the shape of the base of the plant is created, place the flowers on top of the stems of the plant and glue them. The number of flowers and their position is up to your own taste.
|
|
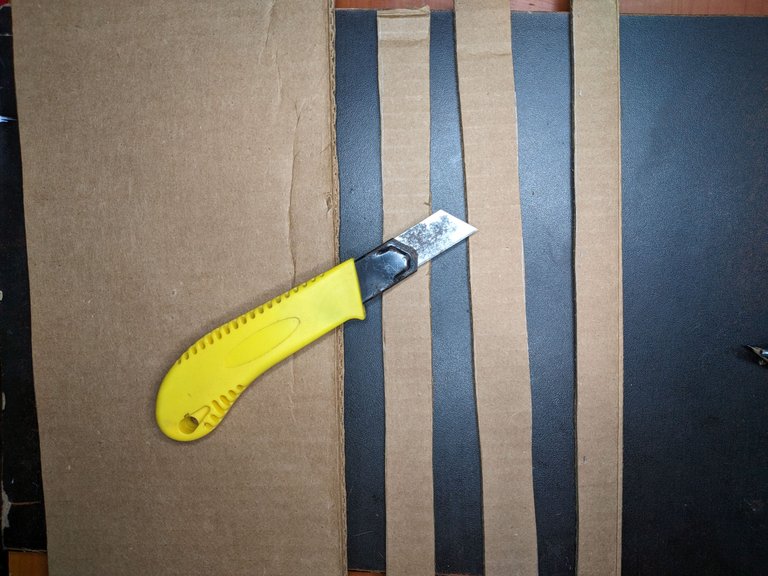
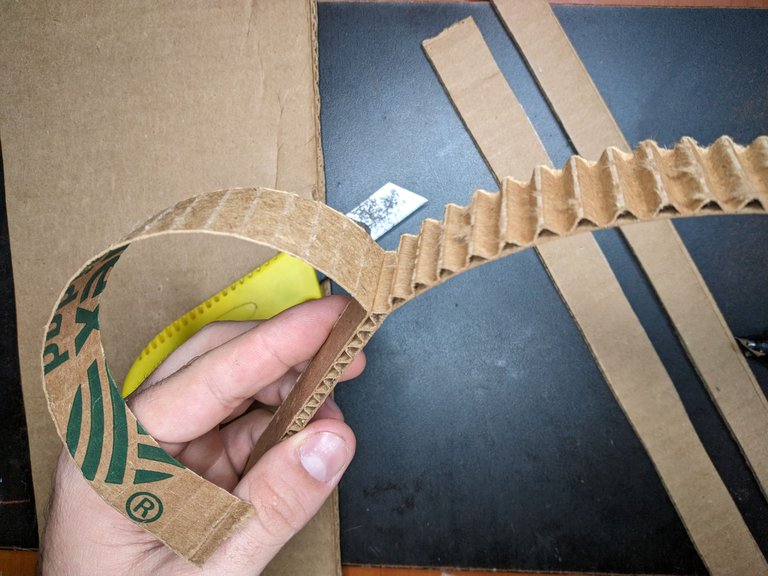
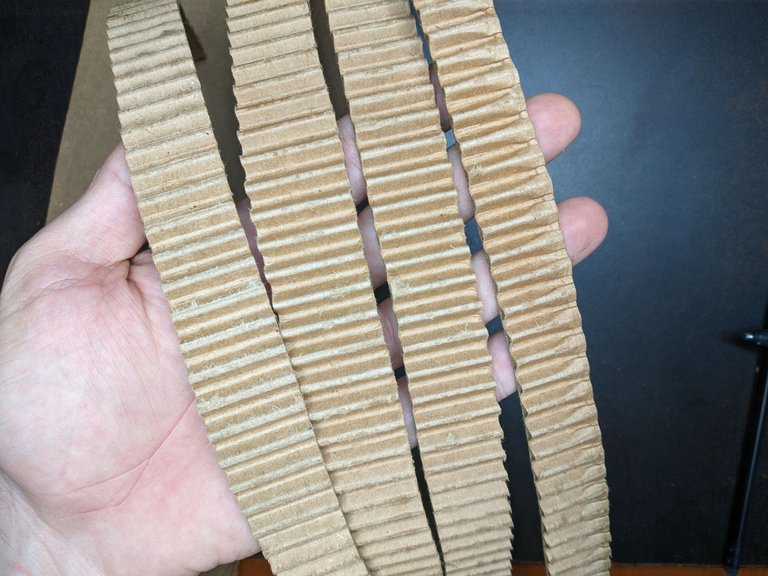
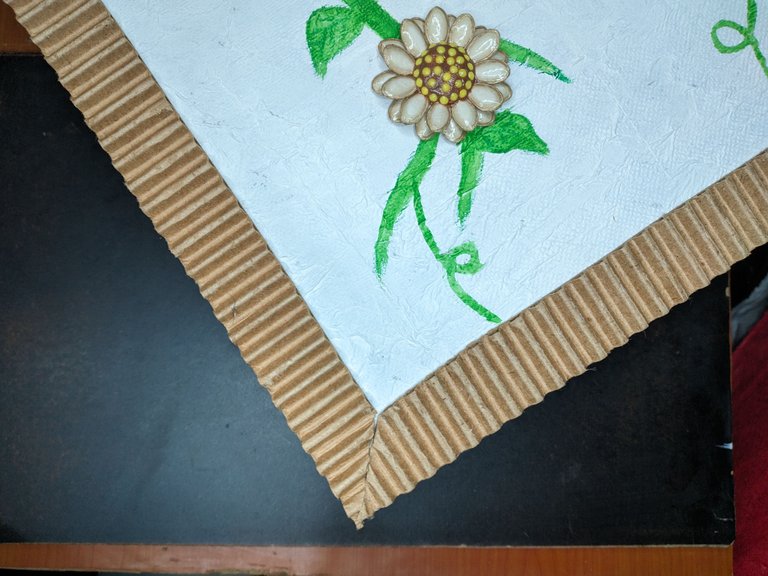
8️⃣ Como último paso haremos el encuadrado. Para ello recortaremos 4 tiras de cartón de 2.5 cm de ancho y retiraremos una de sus caras para exponer la textura arrugada.
As a last step we will do the framing. To do this we will cut 4 strips of cardboard 2.5 cm wide and remove one of its faces to expose the wrinkled texture.
|
|
|
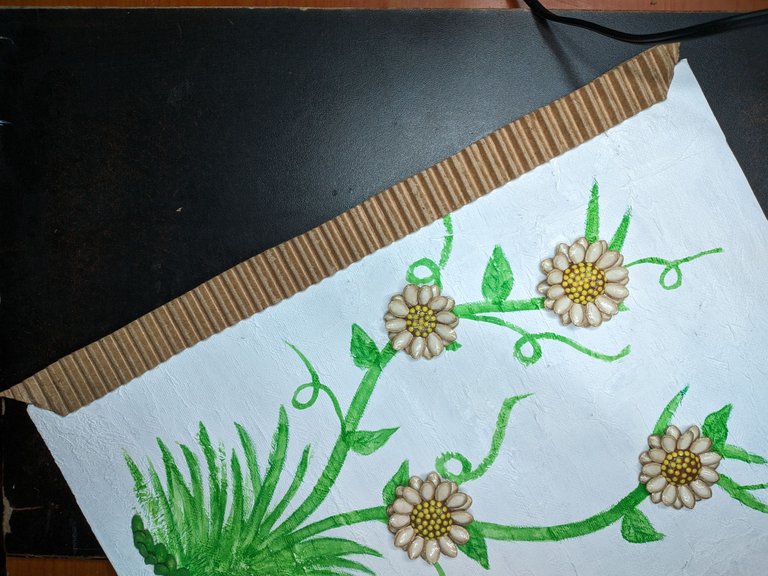
9️⃣ Luego recortaremos en diagonal las puntas de las tiras de formas tal que al juntarlas formen un ángulo de noventa grados. Y para finalizar pegaremos las cuatro tiras por los bordes de la obra.
Then we will cut diagonally the ends of the strips so that when we put them together they form a ninety degree angle. And finally we will glue the four strips along the edges of the work.

|

|
|
|
|
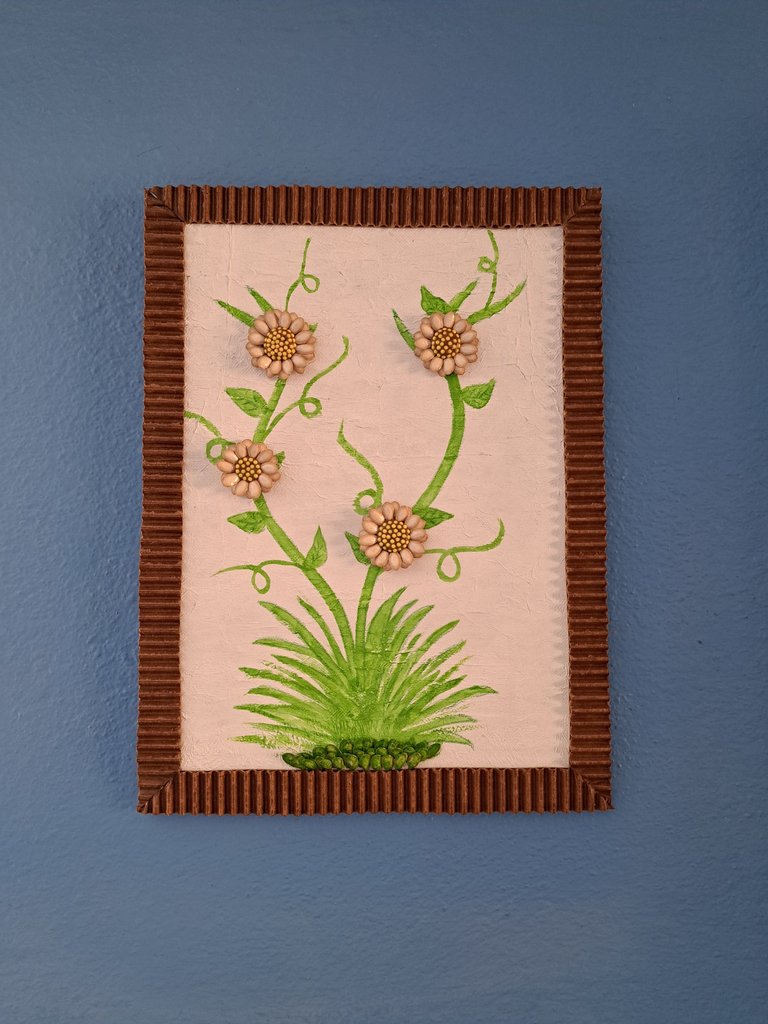
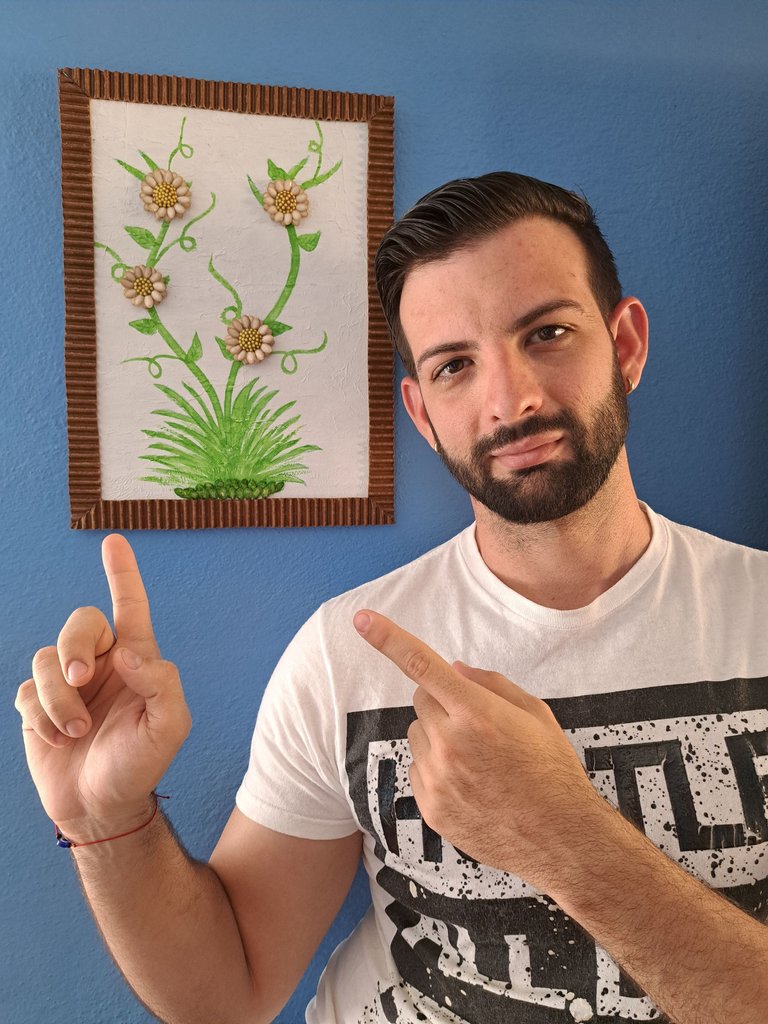
Y pues esto sería todo. A modo de autocrítica debo decir que el dibujo no me quedó nada profesional, pero aún así me gustó mucho porque me recordó a los dibujos que hacía cuando pequeño.
And that would be all. By way of self-criticism I must say that the drawing was not at all professional, but even so I liked it a lot because it reminded me of the drawings I did when I was a child.
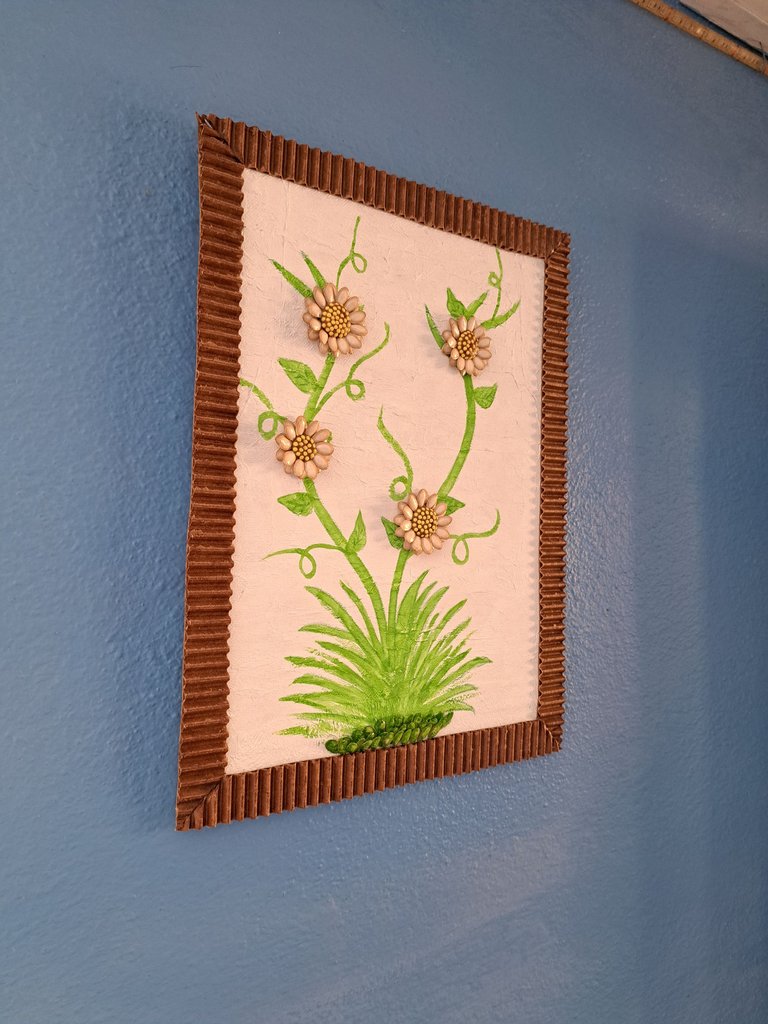
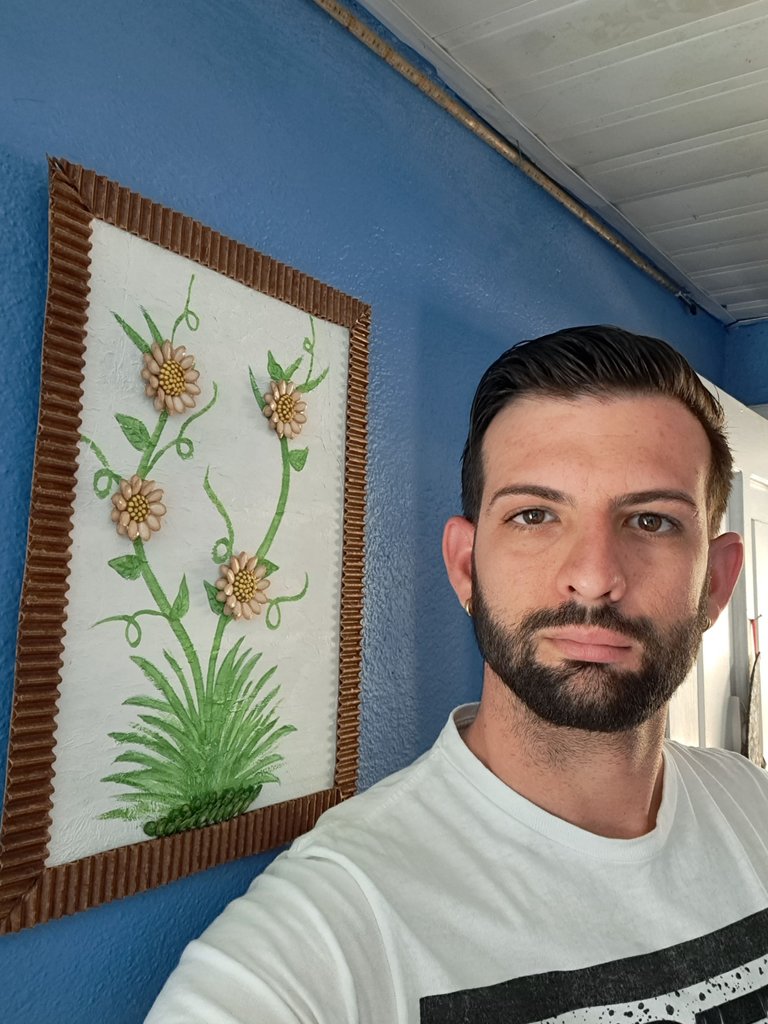
Resultado Final // Final Result
|
|

Muchas gracias por leer mi post. Si te gustó, por favor deja un comentario y considera seguirme para no perderte mis próximas publicaciones. Me encantaría saber tu opinión y tus ideas sobre el tema que traté en este post. ¡Nos vemos en el próximo!
Thank you very much for reading my post. If you liked it, please leave a comment and consider following me so you don't miss my next posts. I'd love to know your opinion and your thoughts about the topic I discussed in this post, see you in the next one!
Cover page created in Canva
Translated by DeepL


Gran trabajo Edey, con semillas de calabaza están escapado ustedes 😉👏
Poco a poco voy descubriendo nuevos materiales y nuevas técnicas. No es perfecto, pero es divertido hacerlo.
Excelente, que materiales creativos, sobre todo por las semillas jeje nunca las hubiera visto de esa forma y si no leia que eran semillas no me daba ni cuenta 😂
Me encanto el cuadro, quedo muy bien colgado en la pared y ademas esta muy bonito ❤️
Muchas gracias. Me encanta que te encante 🤗. En cuanto a las semillas, ni yo mismo sabía si quedarían bien, pero resulta ser que son buen material de trabajo. Gracias por comentar.
Yes, my friend introduced us to a wonderful Walmart. Which looks really awesome. You have mastered every step by practicing your skills. I think walmet is a sales worthy creator always expecting you to have all skills
Congratulations @edeyglezsosa! You have completed the following achievement on the Hive blockchain And have been rewarded with New badge(s)
Your next target is to reach 900 replies.
You can view your badges on your board and compare yourself to others in the Ranking
If you no longer want to receive notifications, reply to this comment with the word
STOPCheck out our last posts:
Yay! 🤗
Your content has been boosted with Ecency Points, by @edeyglezsosa.
Use Ecency daily to boost your growth on platform!
La verdad que muy creativo es cierto que se hace arte con lo q sea.
Gracias por comentar 🫂
¡¡¡Buen trabajo!!! Gracias por publicar tu excelente contenido en Hive Diy.