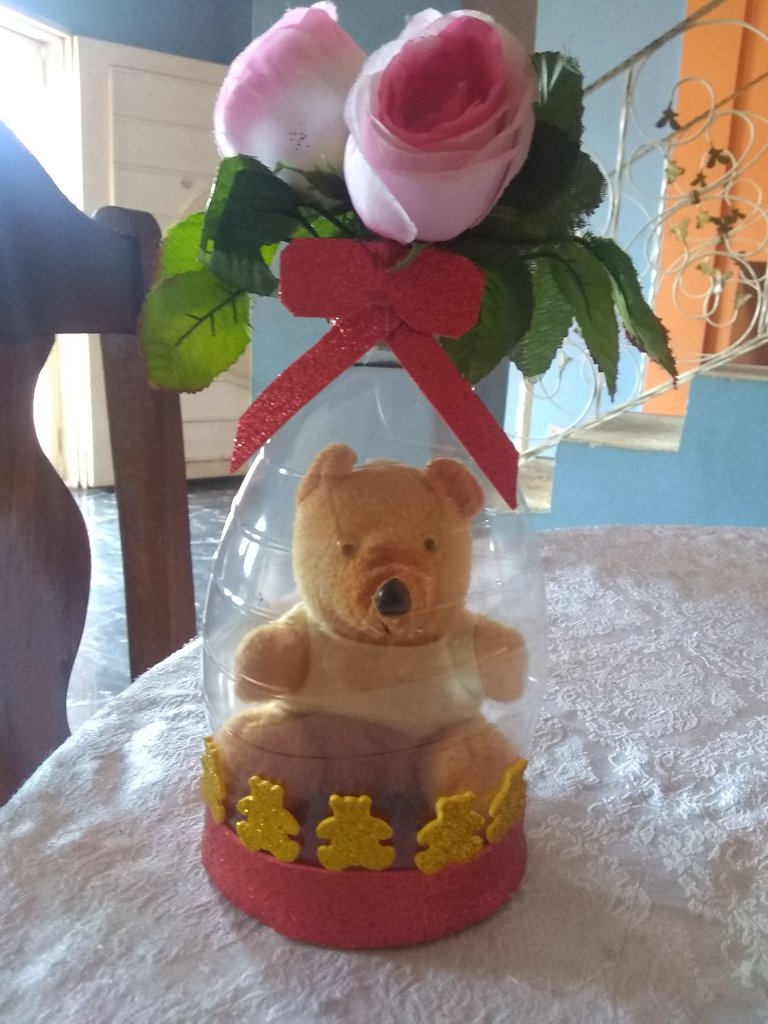

Hola querida comunidad de Hive, espero se encuentren bien de salud y colmados de mucho amor, como amante del reciclaje, hoy tengo el placer de compartir y celebrar para el día de San Valentin un mes especial para el amor y la amistad un tutoria creativo bastante fácil y económico con ustedes, hecho con mis propias manos un hermoso y bello regalo para sorprende a una persona amada en un día tan especial, elaborado con material de provecho y decorado con foami luminoso y unas flores diseño lleno de cariño y ternura que asombrara a mi pequeña hija, ese día ja ja ja espero que les guste.
Hello dear Hive community, I hope you are in good health and full of love, as a lover of recycling, today I am pleased to share and celebrate Valentine's Day a special month for love and friendship a creative tutorial quite easy and economical with you, made with my own hands a beautiful and beautiful gift to surprise a loved one on such a special day, made with useful material and decorated with bright foami and flowers design full of love and tenderness that will amaze my little daughter, that day ha ha ha ha I hope you like it.
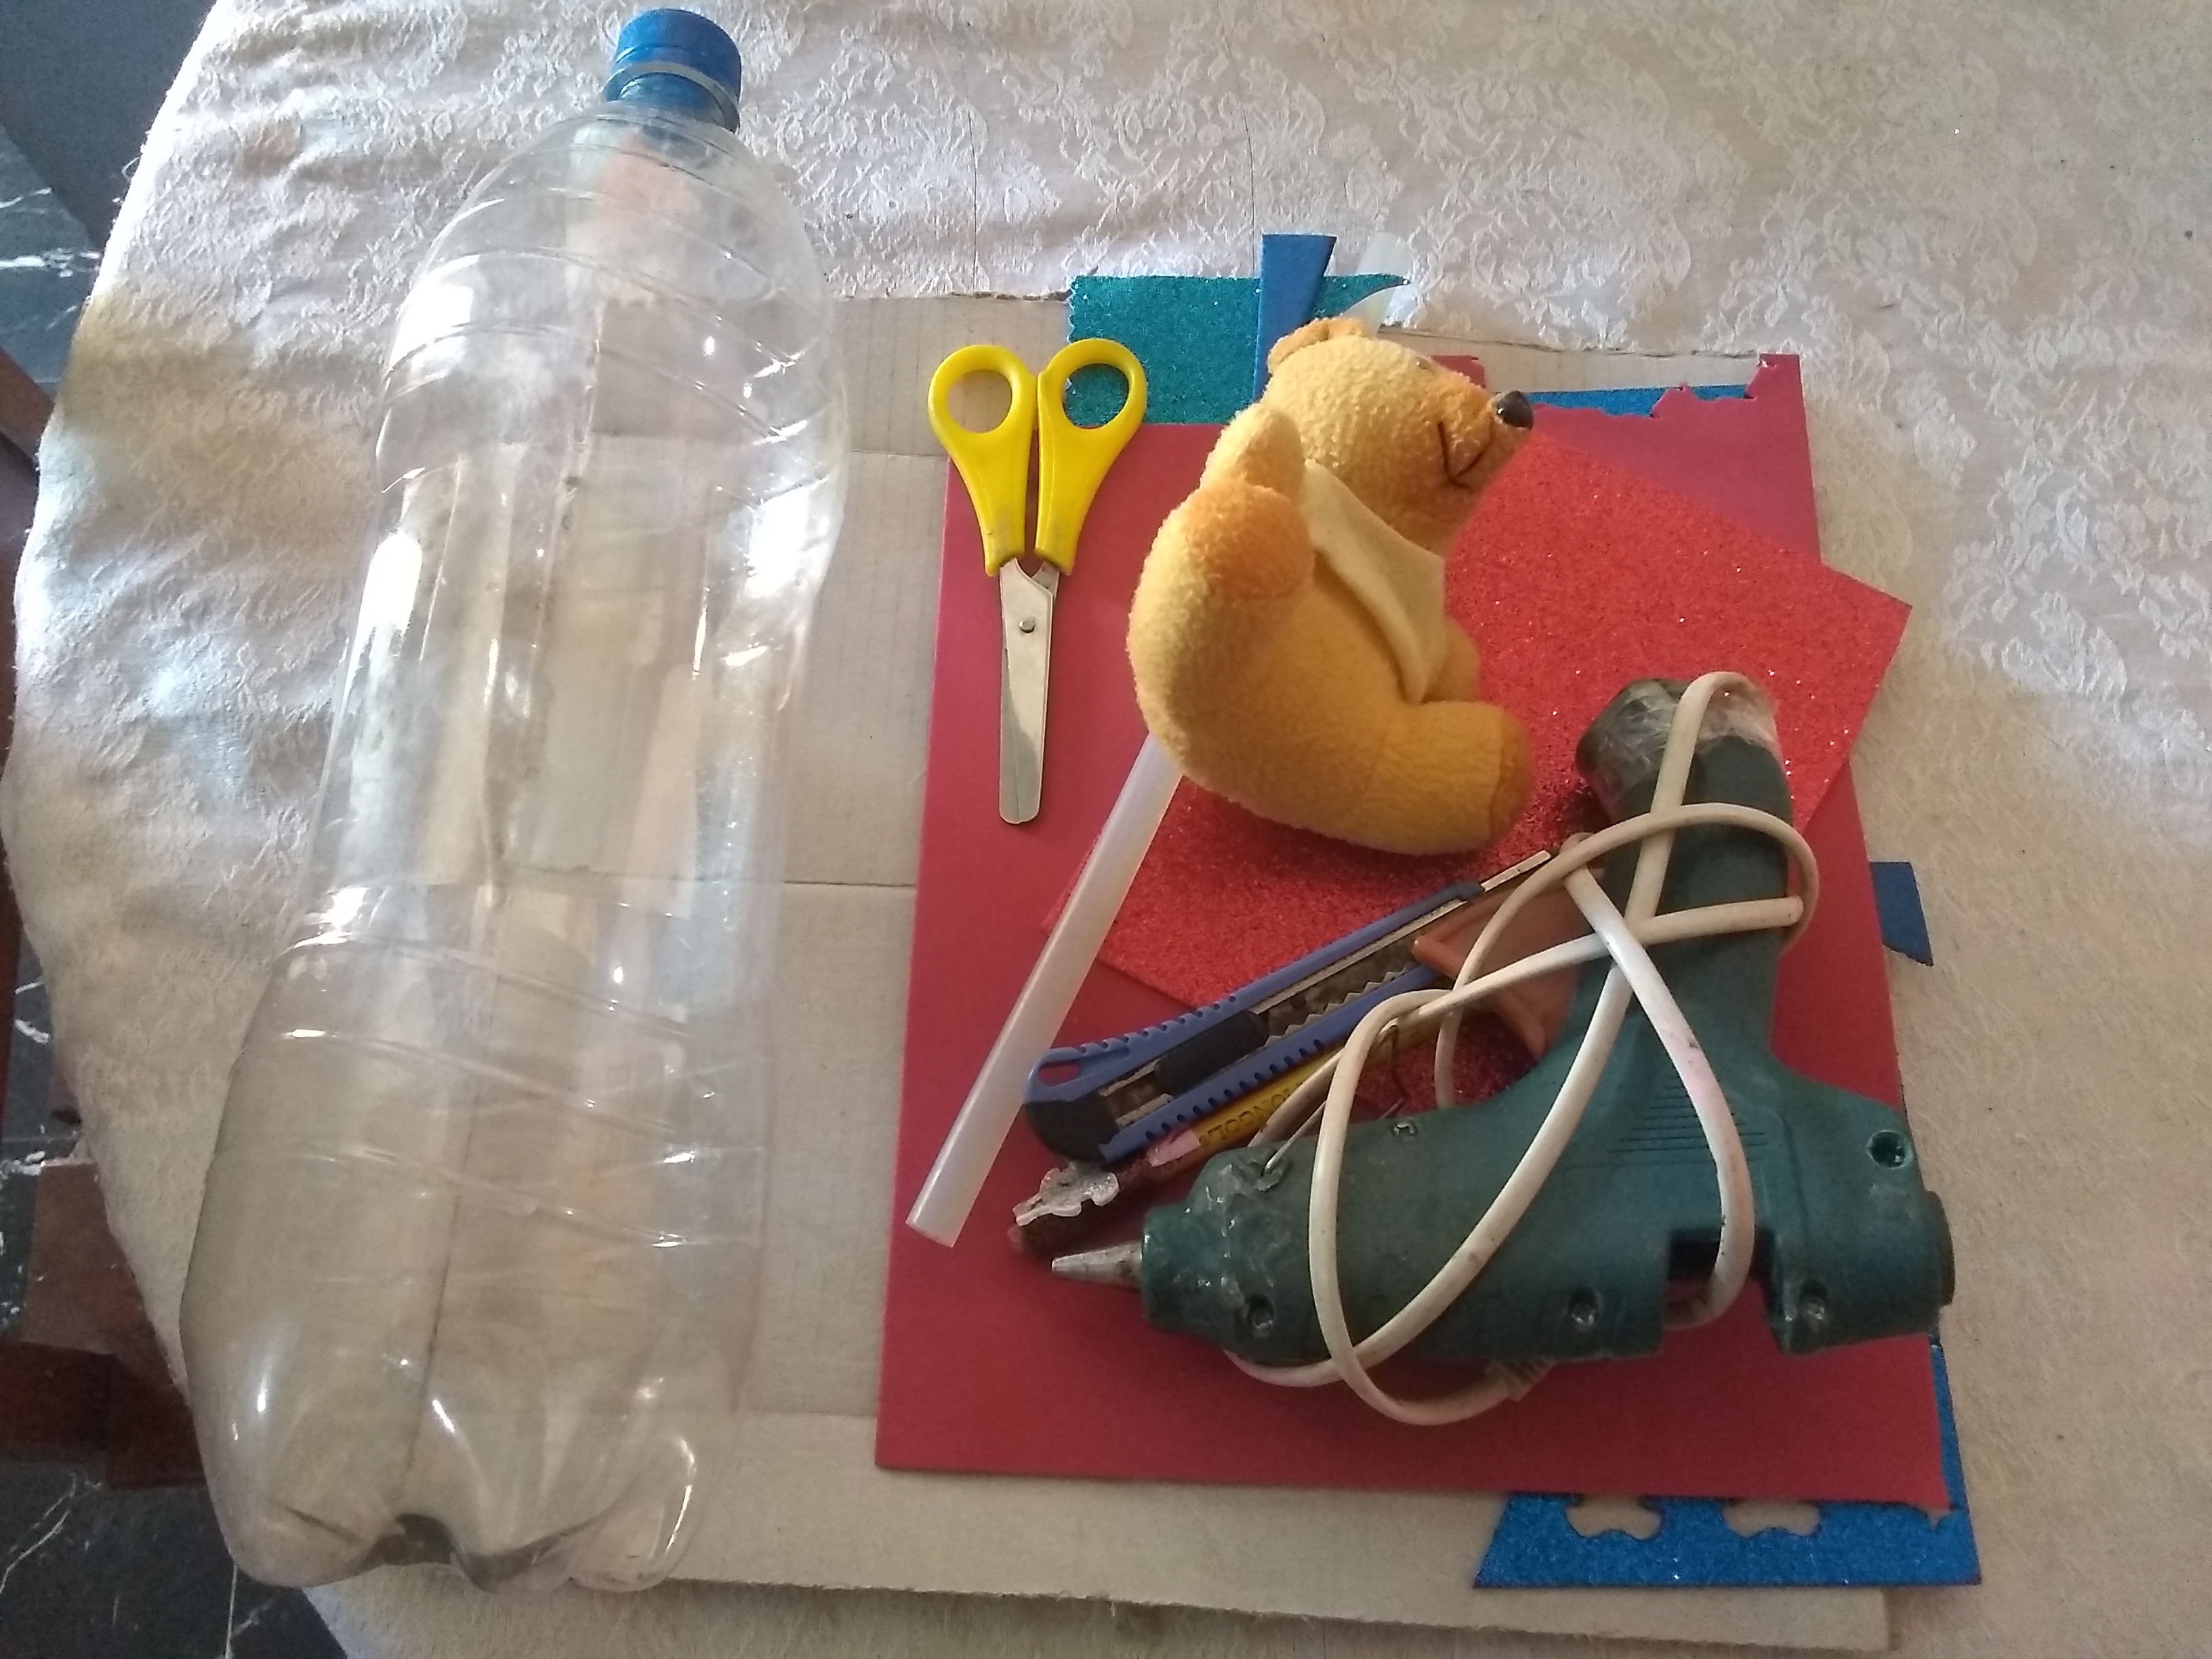

Materiales:
- Botella plástica.
- Foami.
- Tijera.
- Silicona.
- Cortador.
- Lápiz.
- Material decorativo.
Materials:
- Plastic bottle.
- Foami.
- Scissors.
- Silicone.
- Cutter.
- Pencil.
- Decorative material.

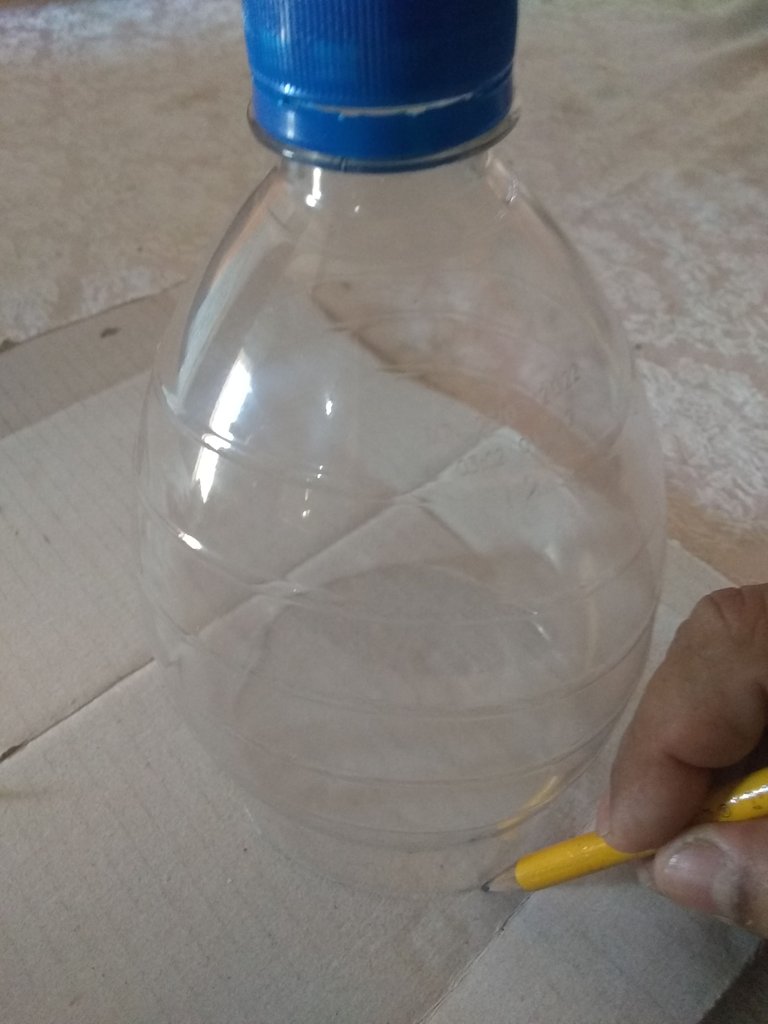
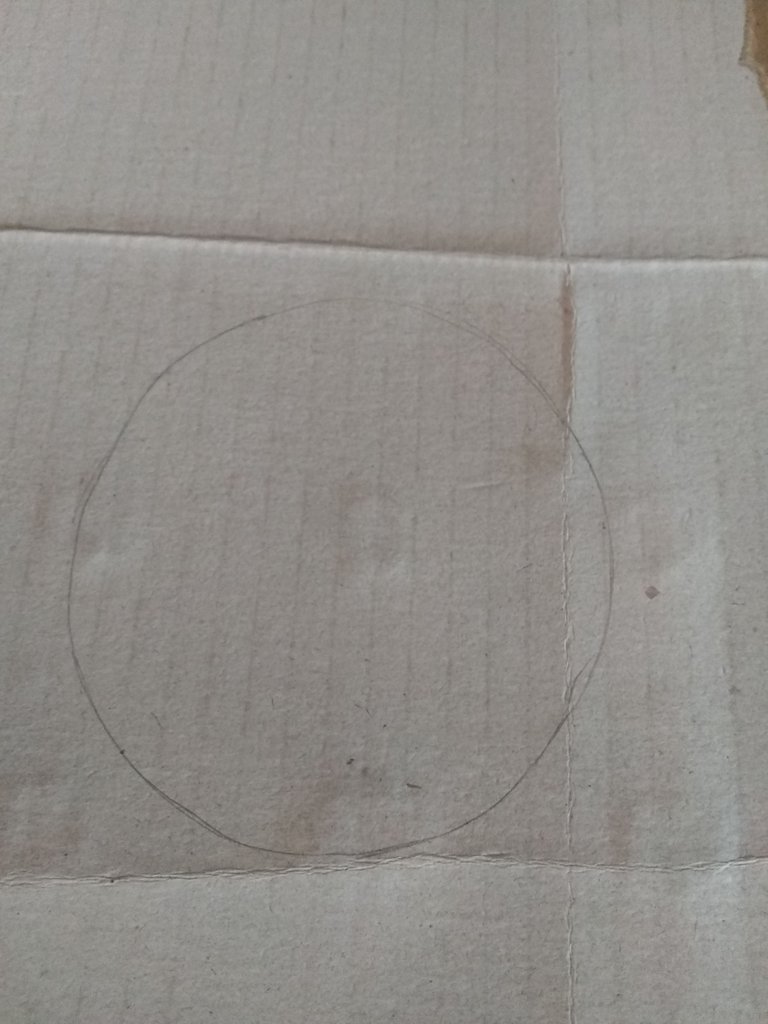
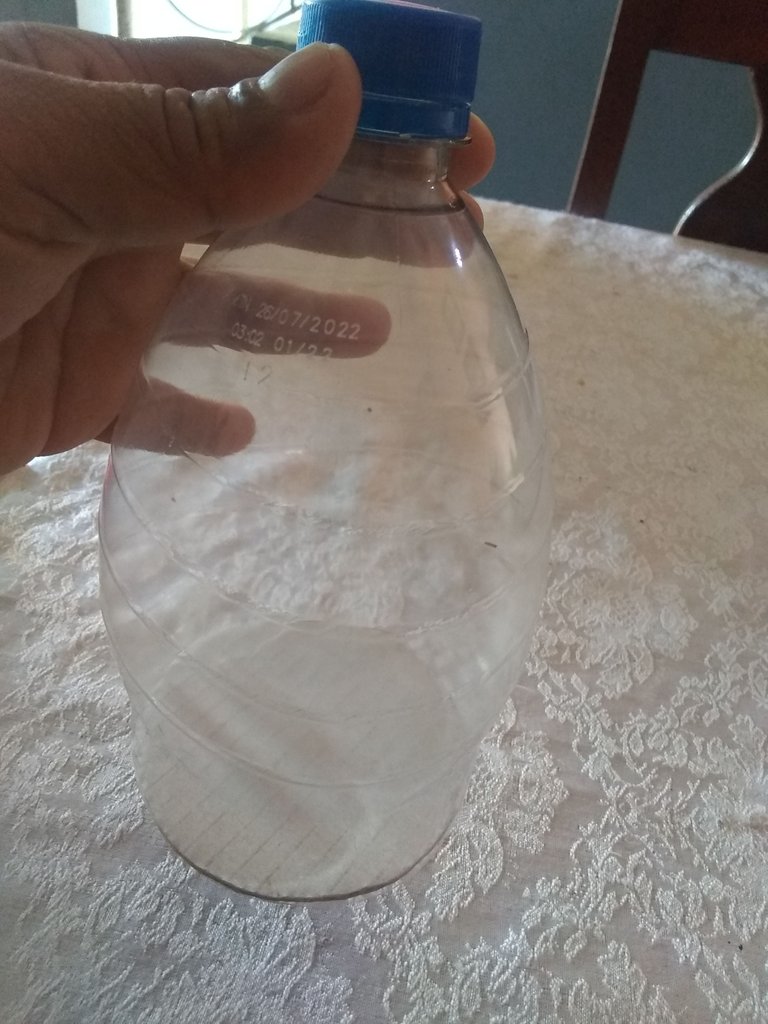
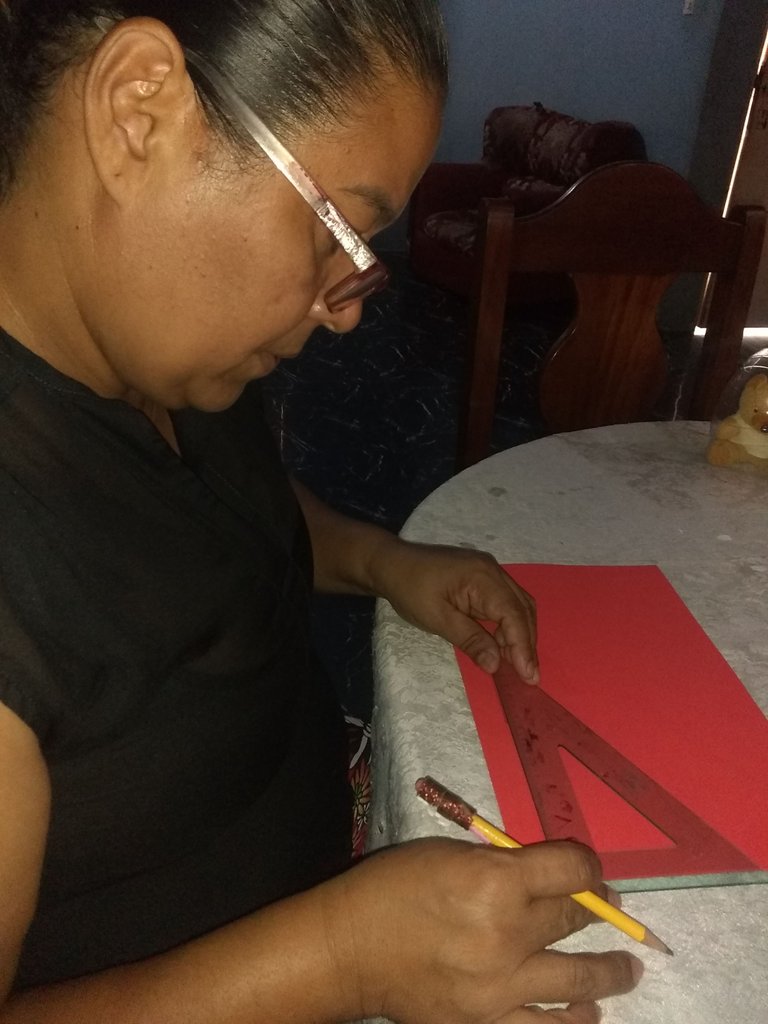
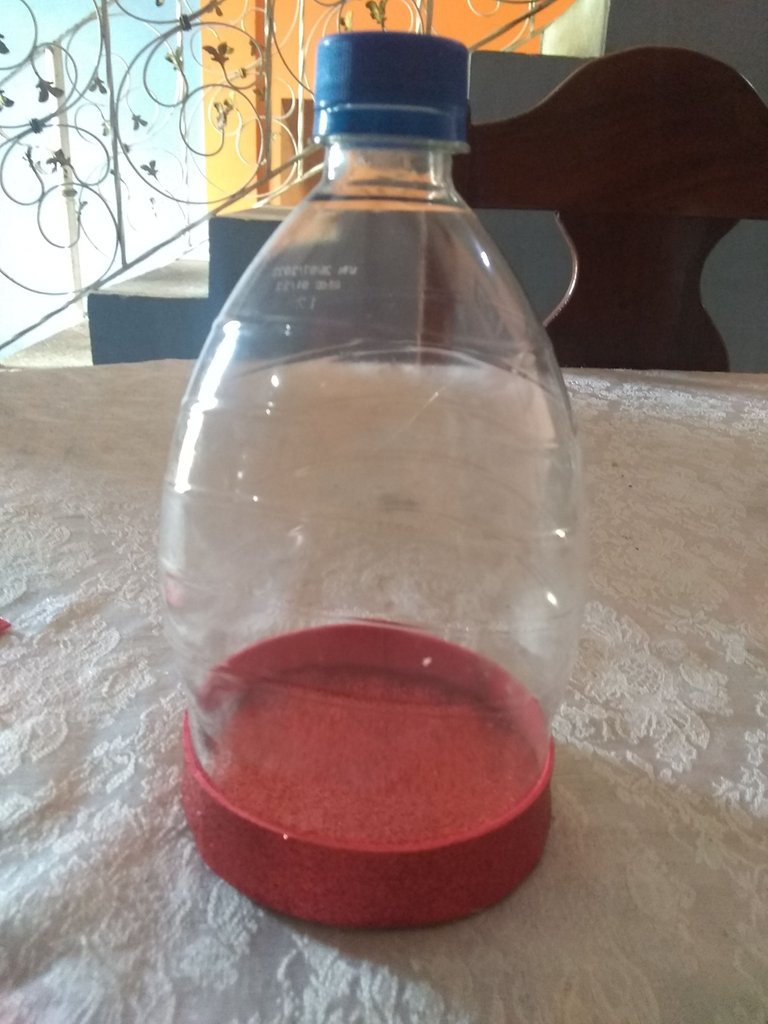
Paso # 1:Comenzamos con la botella plástica, vamos a medir 18 cm de la parte superior y cortamos con el cutter o con la tijera como se te sea mas fácil, luego coloca el trozo de botella encima del cartón y trazamos un circulo.
Step # 1: We start with the plastic bottle, we will measure 18 cm from the top and cut with the cutter or scissors as it is easier for you, then place the piece of bottle on top of the cardboard and draw a circle.
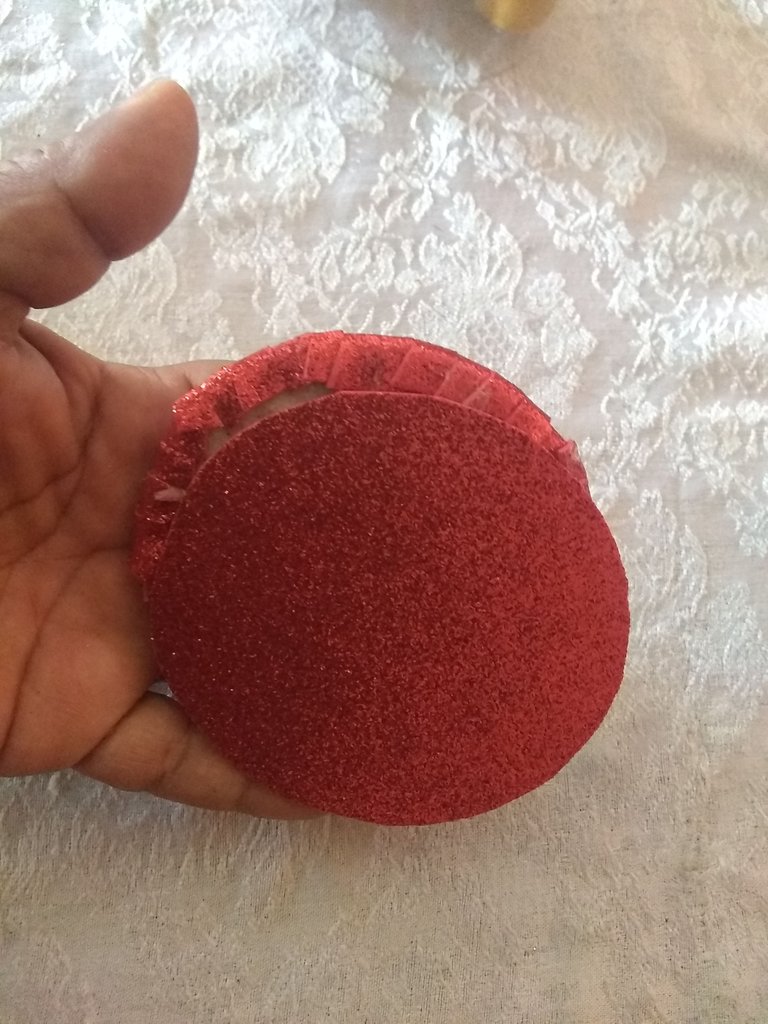
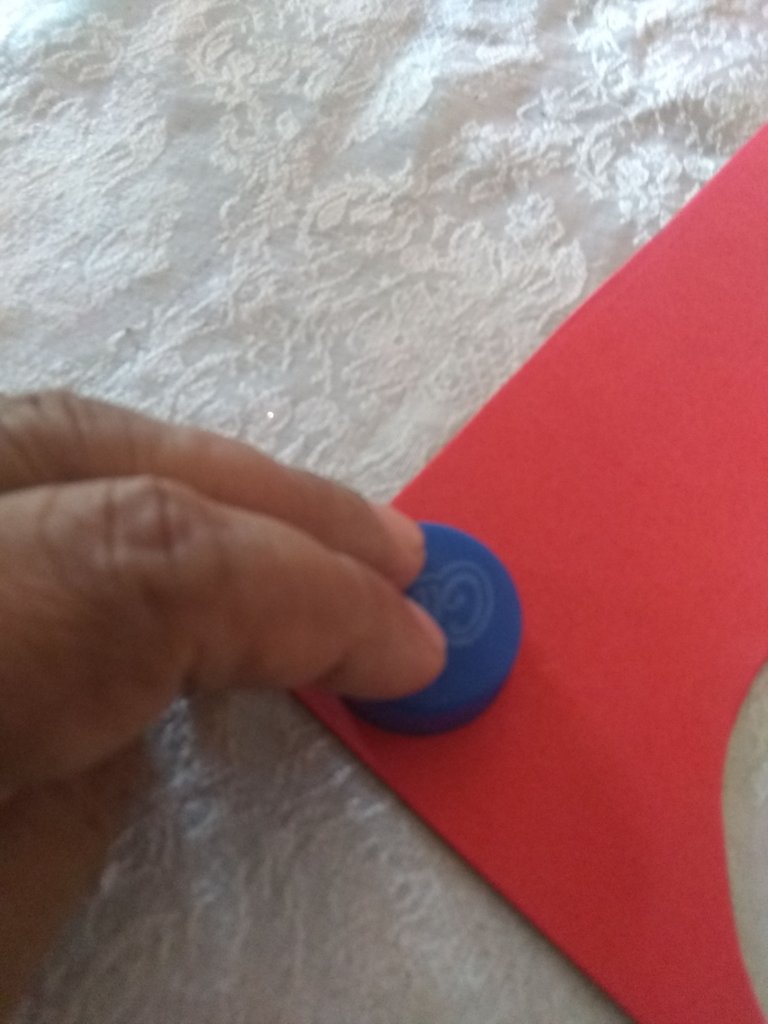
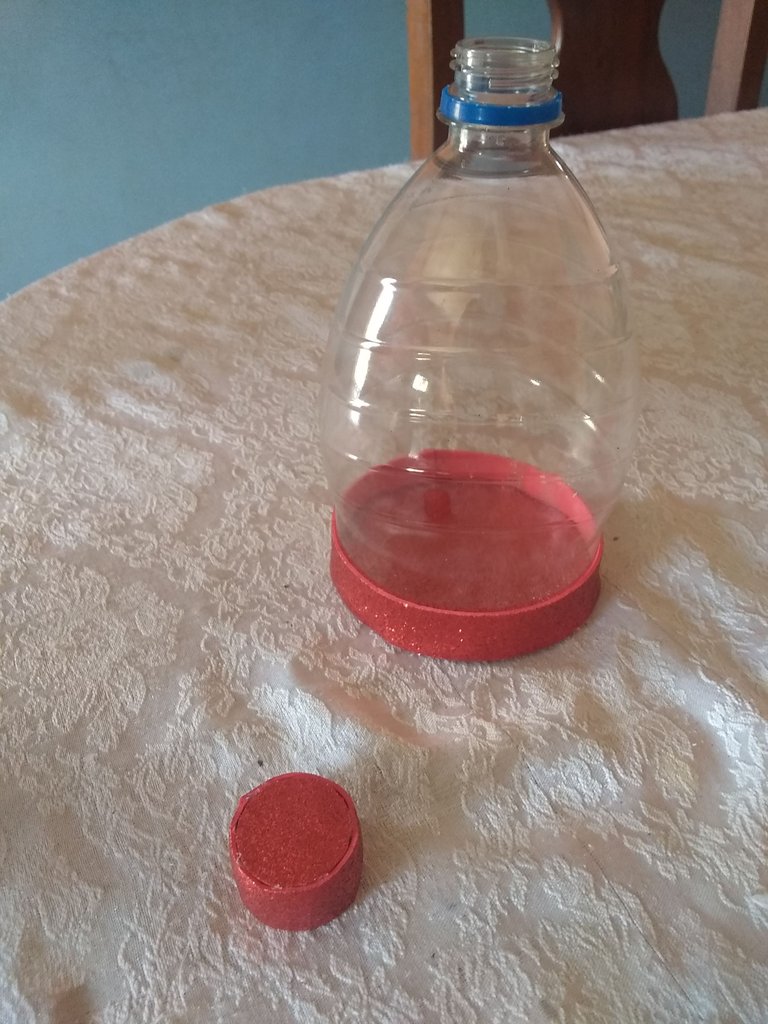
Paso # 2:Utilizamos la silicona para cubrir el circulo por ambos lados de foami luminoso, después corta tiras de 2 cm para pega en el borde del circulo, luego forramos la tapa.
Step 2: Use the silicone to cover the circle on both sides with luminous foami, then cut 2 cm strips to stick on the edge of the circle, then cover the lid.
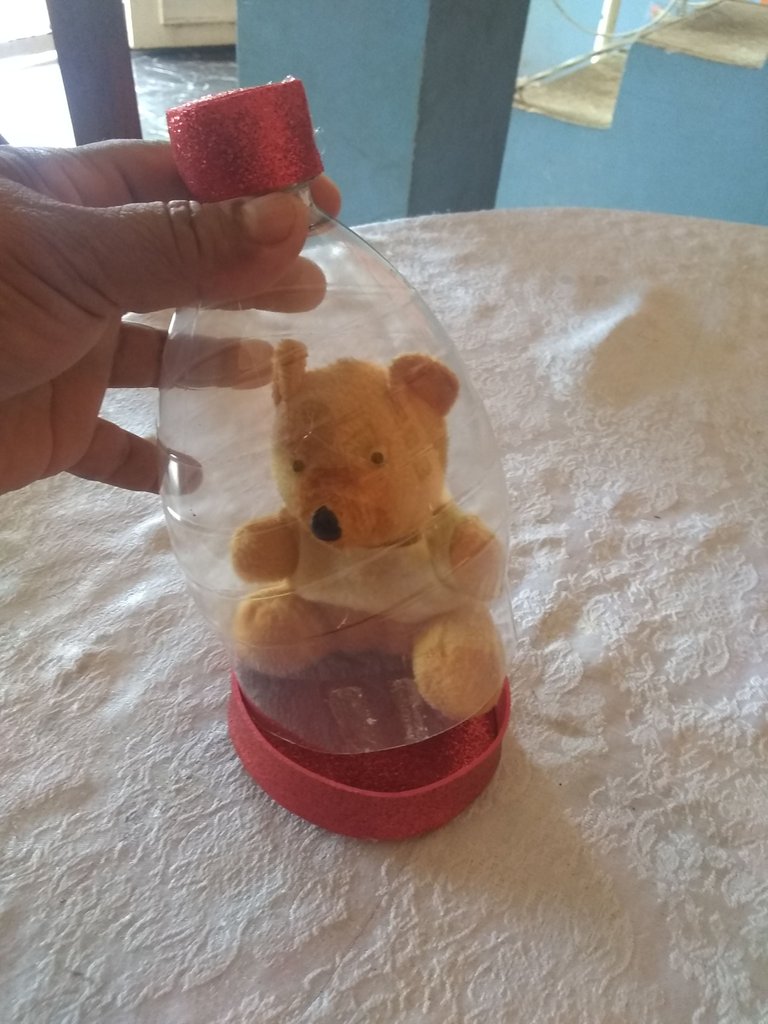
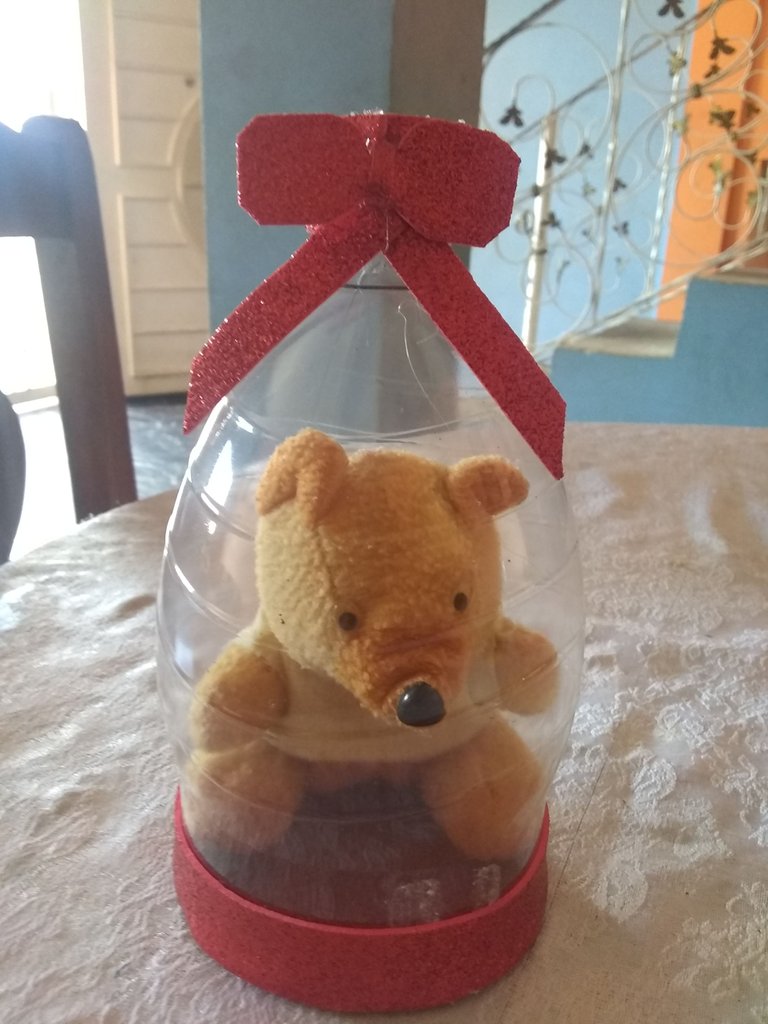
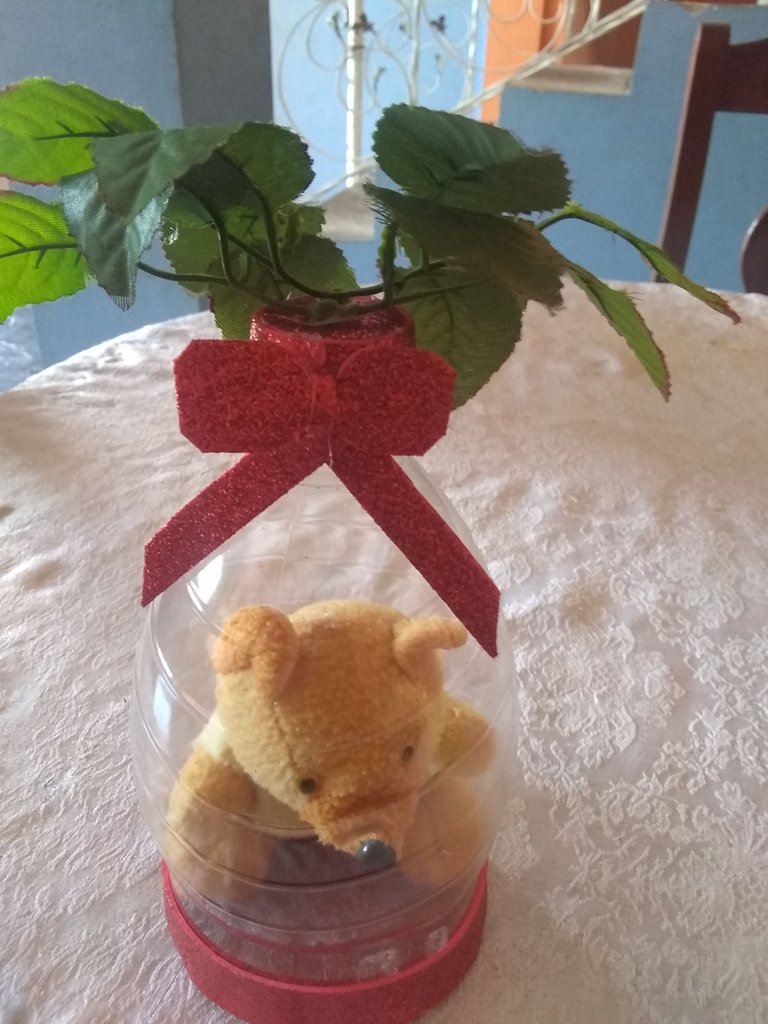
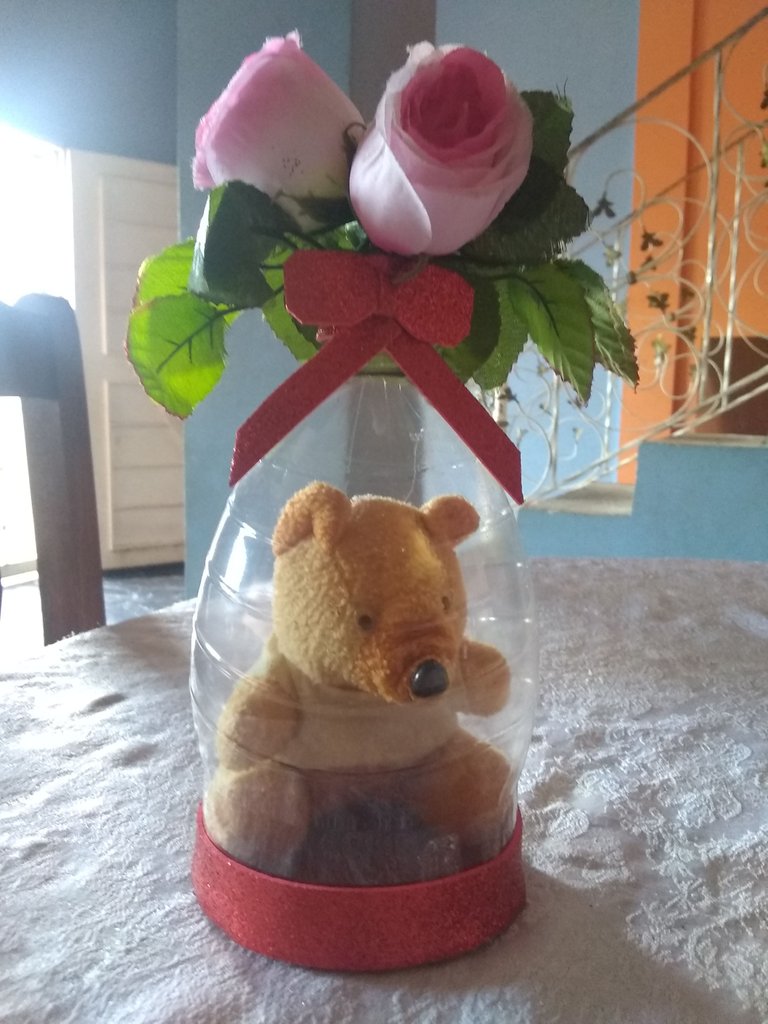
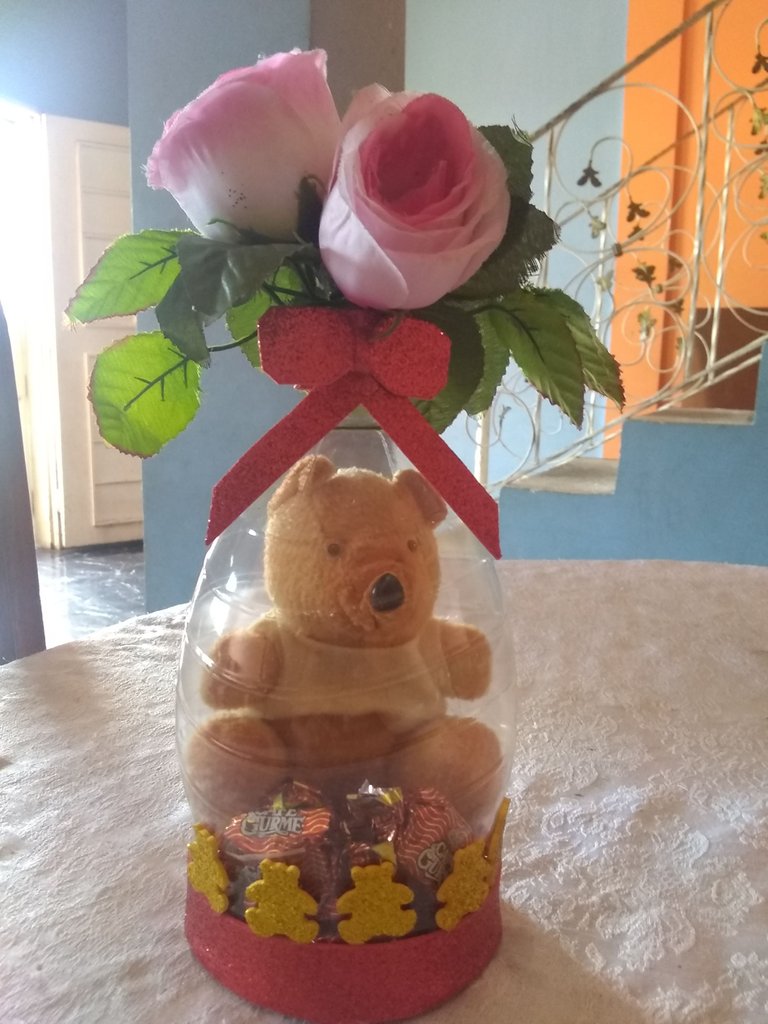
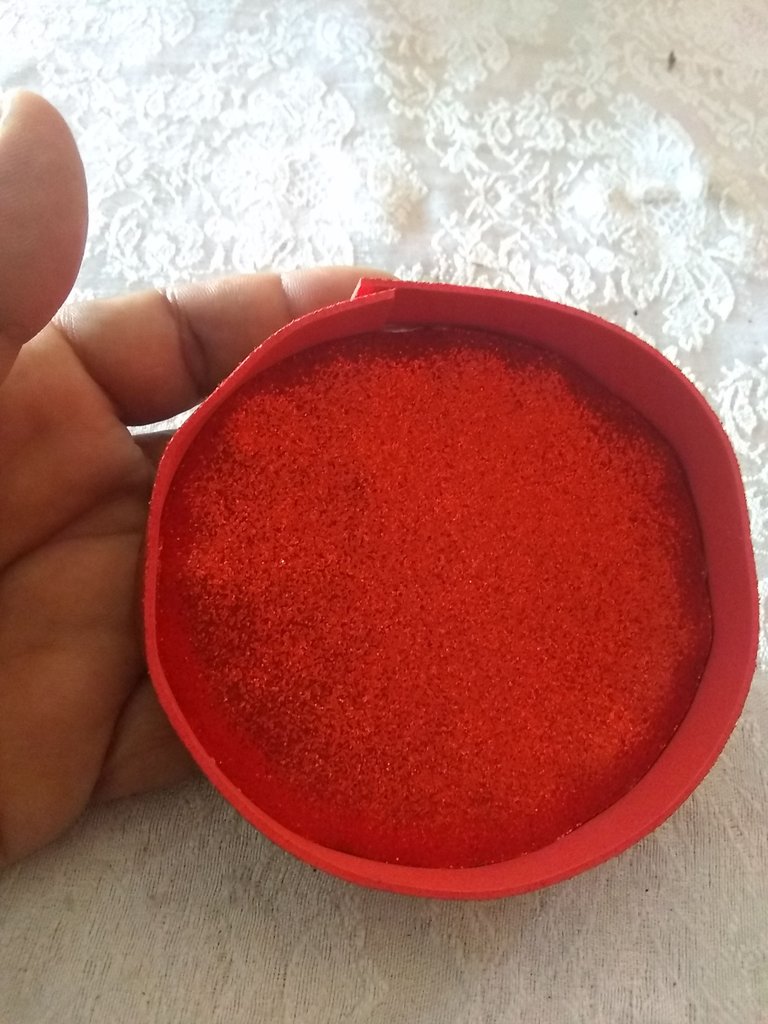
Paso 3:Ahora diseña con material decorativo tu caja de sorpresa o regalo, añade pequeños objetos, y también caramelos o chocolates etc.
Step 3:Now design with decorative material your surprise or gift box, add small objects, and also candies or chocolates etc.

Finished my creativity, I hope you liked it, thanks for watching my posts.
All photos are my own, taken from my Motorola e5 play smartphone.
Thank you for sharing this amazing post on HIVE!
Your content got selected by our fellow curator @rezoanulvibes & you just received a little thank you via an upvote from our non-profit curation initiative!
You will be featured in one of our recurring curation compilations and on our pinterest boards! Both are aiming to offer you a stage to widen your audience within and outside of the DIY scene of hive.
Join the official DIYHub community on HIVE and show us more of your amazing work and feel free to connect with us and other DIYers via our discord server: https://discord.gg/mY5uCfQ !
If you want to support our goal to motivate other DIY/art/music/homesteading/... creators just delegate to us and earn 100% of your curation rewards!
Stay creative & hive on!