Buenas noches queridos amigos y creadores que me visitan.
Bienvenidos a mi espacio preferido
Así que acompáñame a ver y aprender como se hace.
Los materiales que vas a usar son:
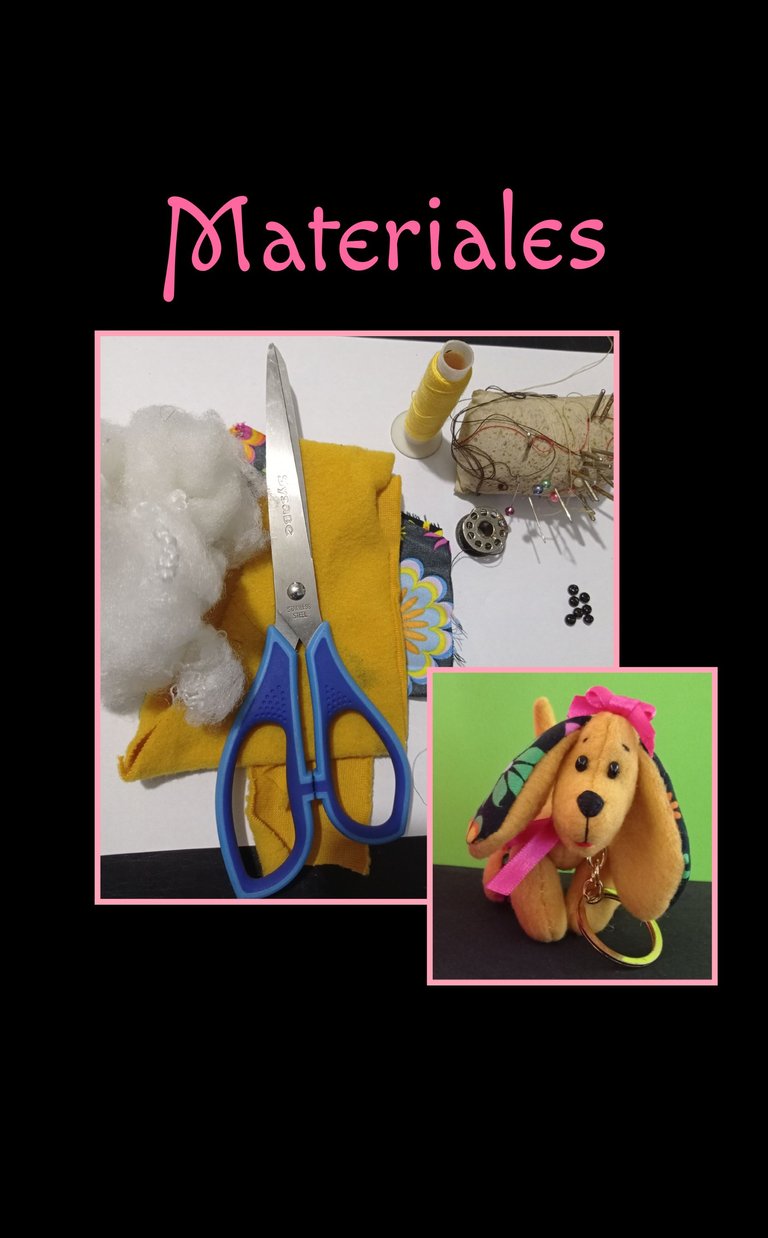
| Retazos de tela | Algodón de relleno |
|---|---|
| Tijera | hilos y agujas |
| Shakiras | Cinta de tela |
| Argolla de llavero | Palito |
Comencemos:
Paso 1:
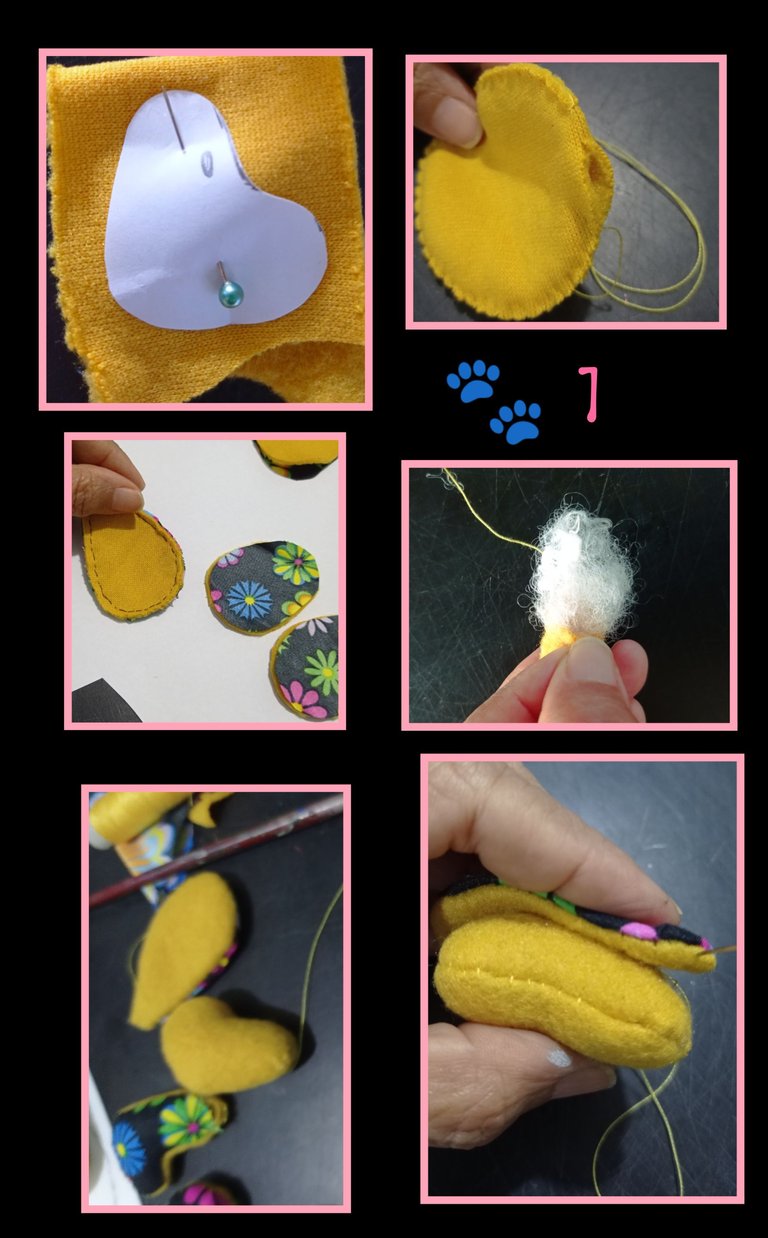
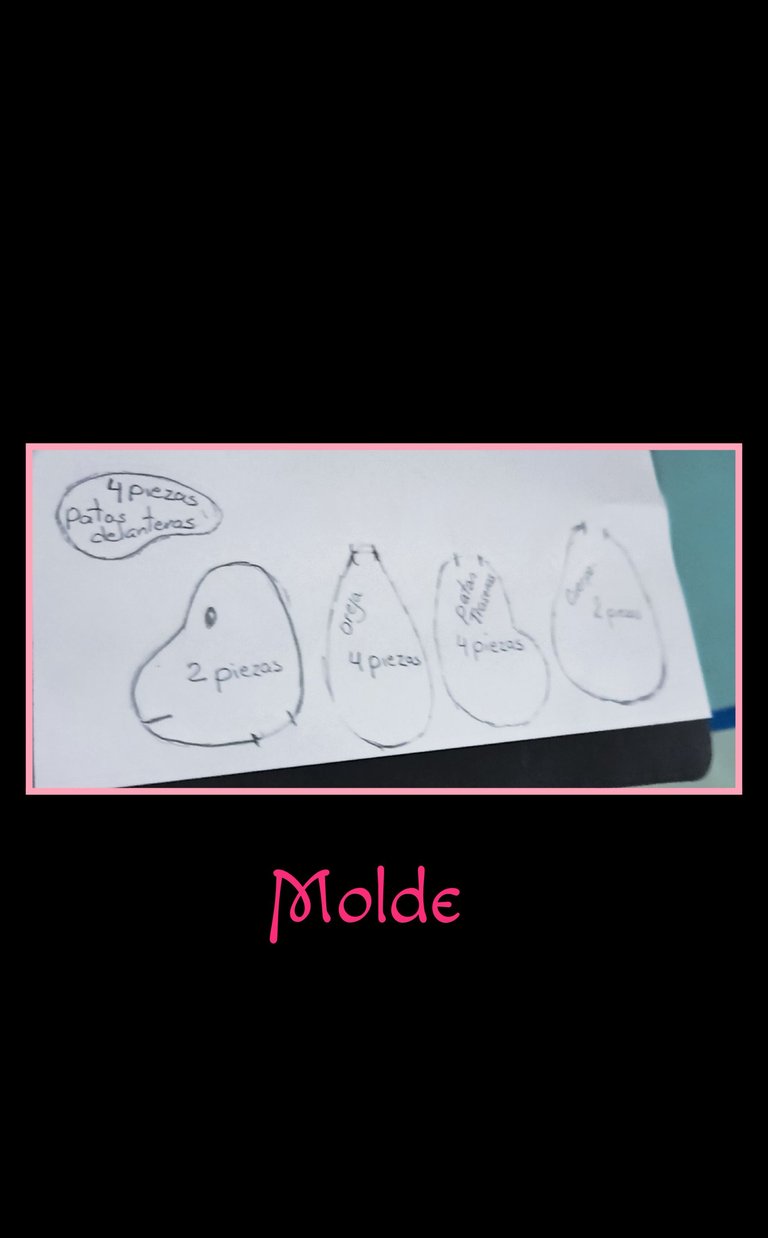
- Recorta las piezas de los moldes y coloca sobre la tela fijando con un alfiler para luego recortar, así harás con cada una.
-Luego cose por todo el borde cada una de las piezas y deja una pequeña abertura para voltear, si tienes máquina de coser puedes hacerlo aunque es un poco difícil por lo pequeño de las piezas. - Ahora rellena con algodón y cierra las aberturas.
- Luego comenzaremos a coser y armar, comenzamos por la cabeza a la que le pagaremos las orejas.
Paso 2:
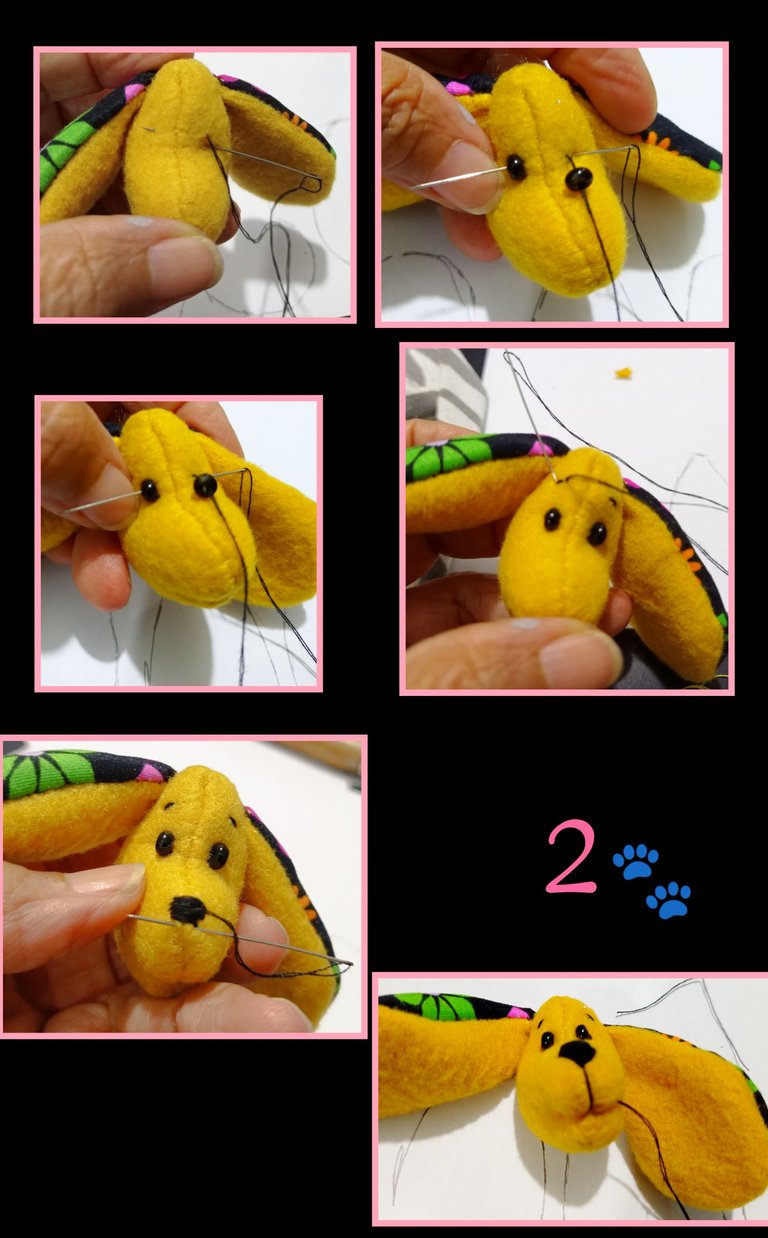
- Ahora con una aguja con hilo negro comenzaremos haciendo una puntada a cada lado para marcar donde coser los ojos, luego has varias puntadas para asegurarlos bien.
- Luego haz dos puntadas en la parte frontal para las cejas.
- Ahora borda la nariz haciendo puntadas de un lado a otro y disminuyendo tratando quede como un triángulo, después haz una puntada larga hacia abajo para hacer la boca.
Paso 3:
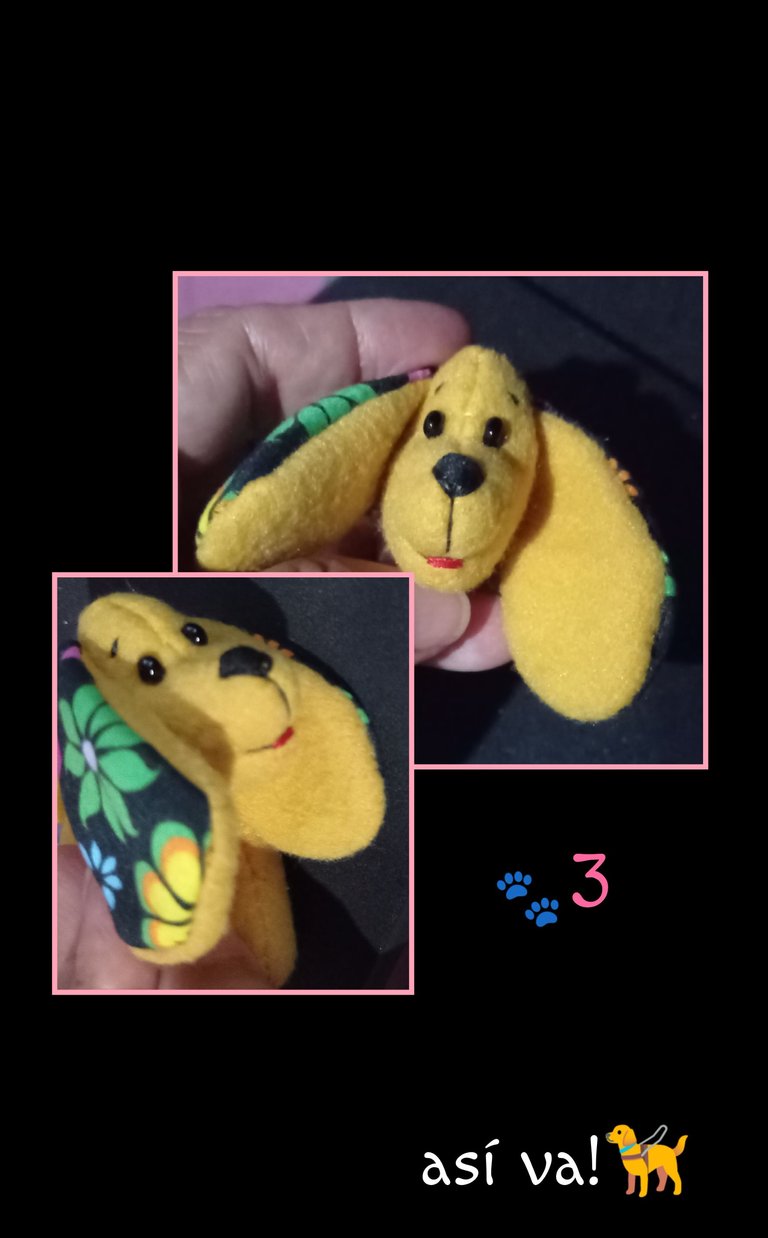
- Mira como va quedando!
Paso 4:
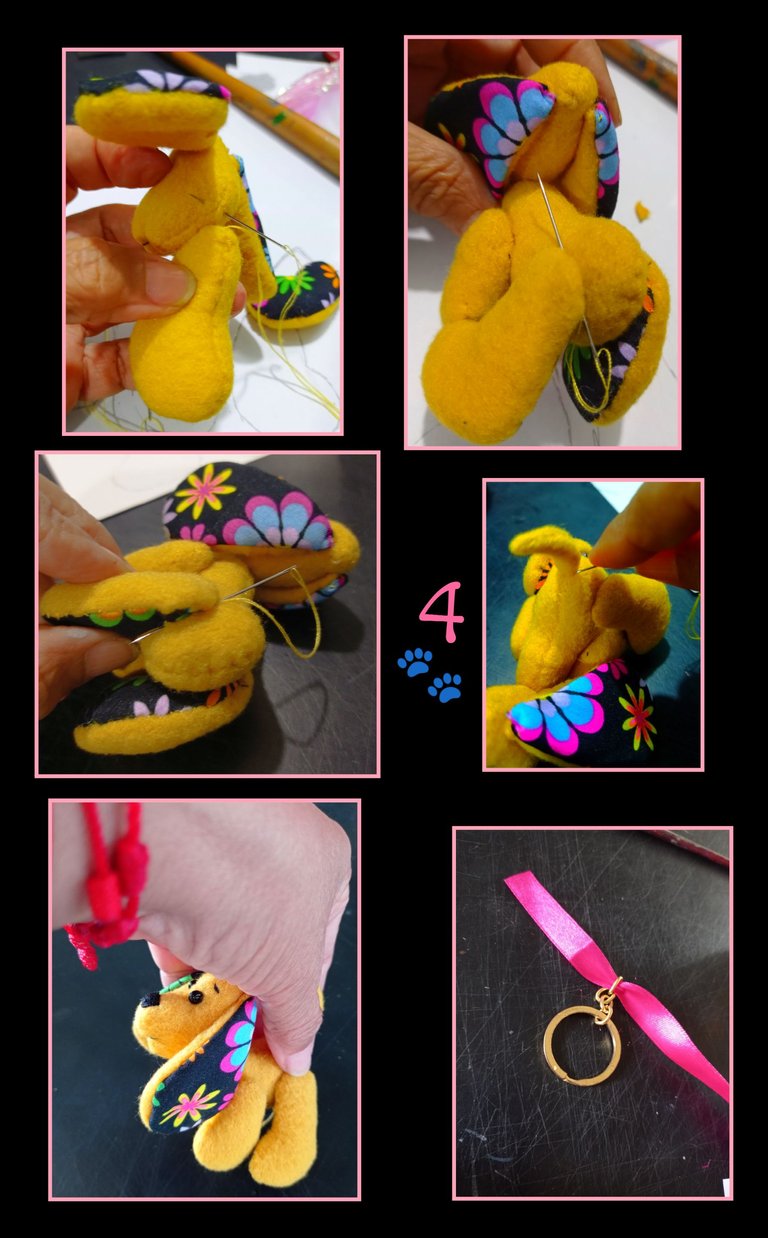
Cose la cabeza a la parte superior del cuerpo asegurando con varias puntadas, luego cose patas delanteras y traseras y por último cose la cola.
Luego pasa una cinta por la argolla del llavero y fija al cuello.
Paso 5:
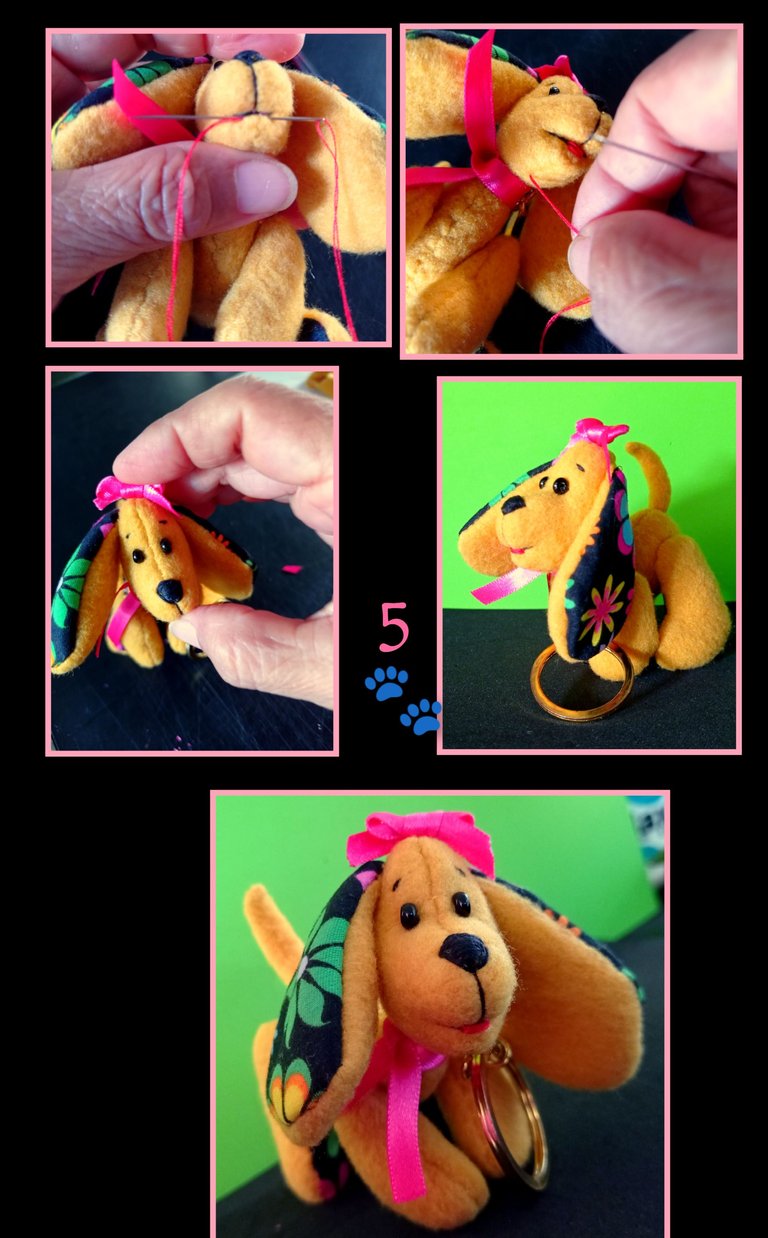
- Ahora con hilo rojo borda la boca y saca el hilo por la parte baja de la cabeza.
- Luego haz un lazo y cose o pega en el centro de la cabeza.
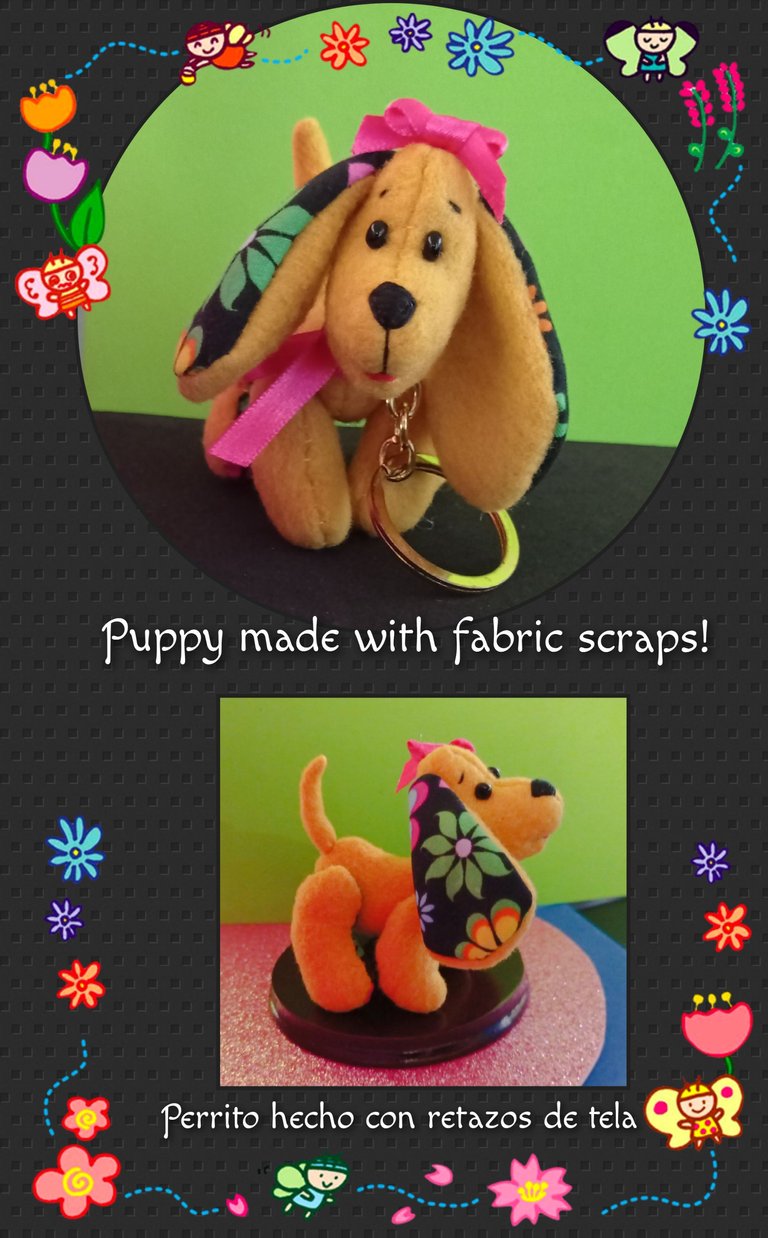
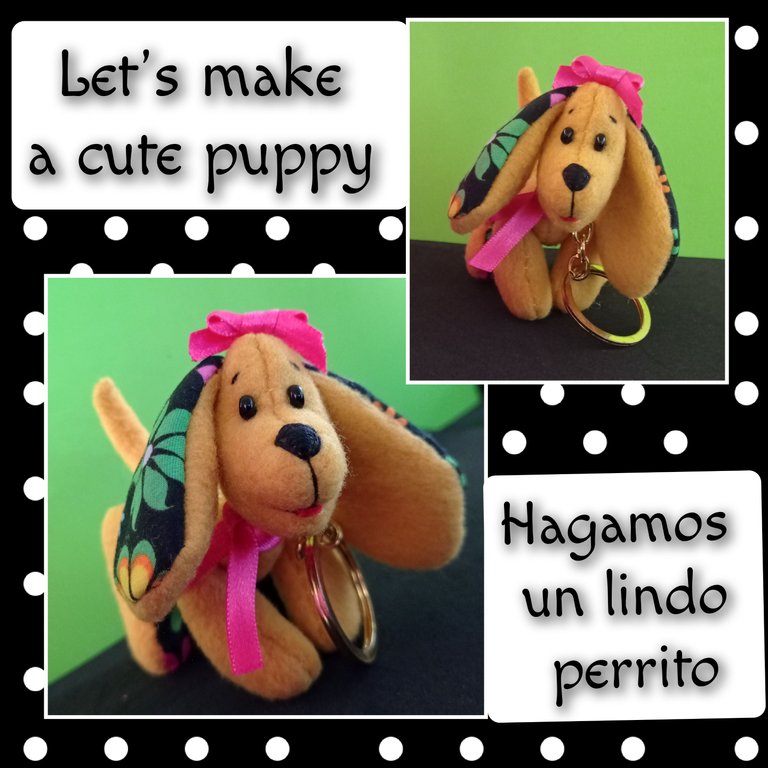
- Así de lindo se ve este pequeño perrito!
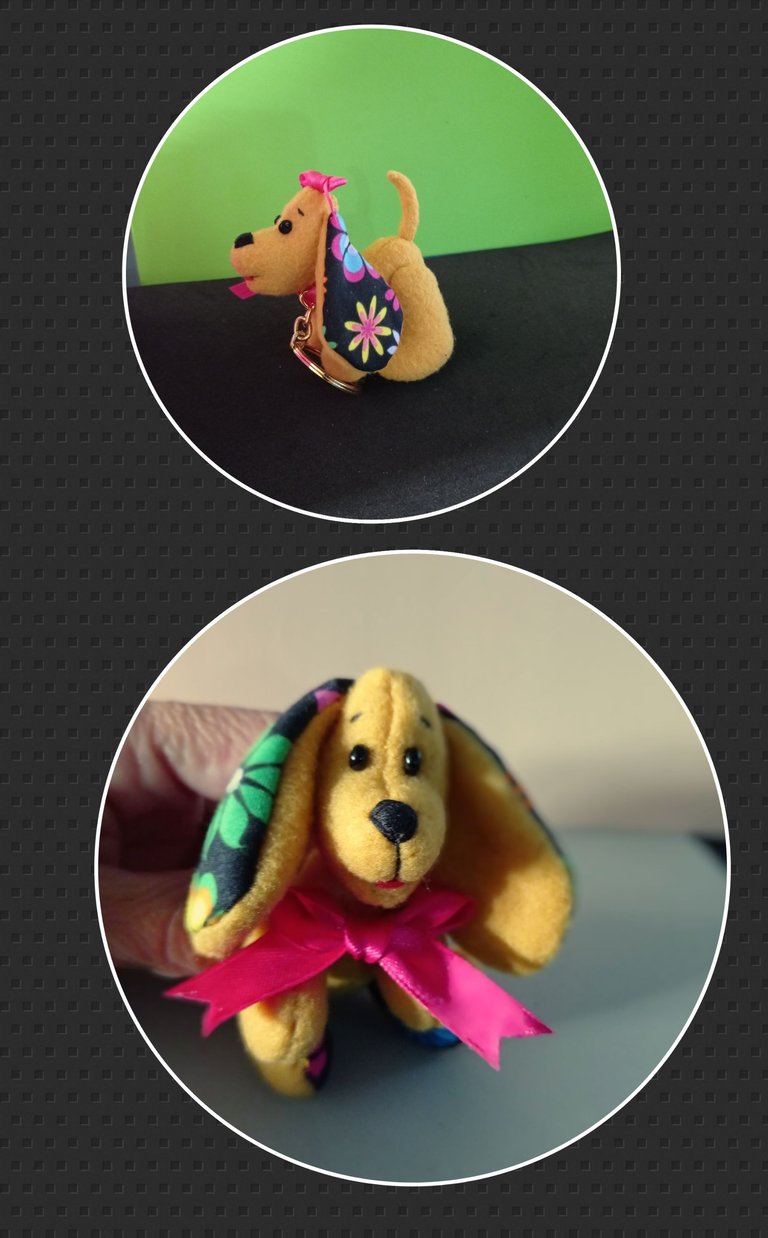
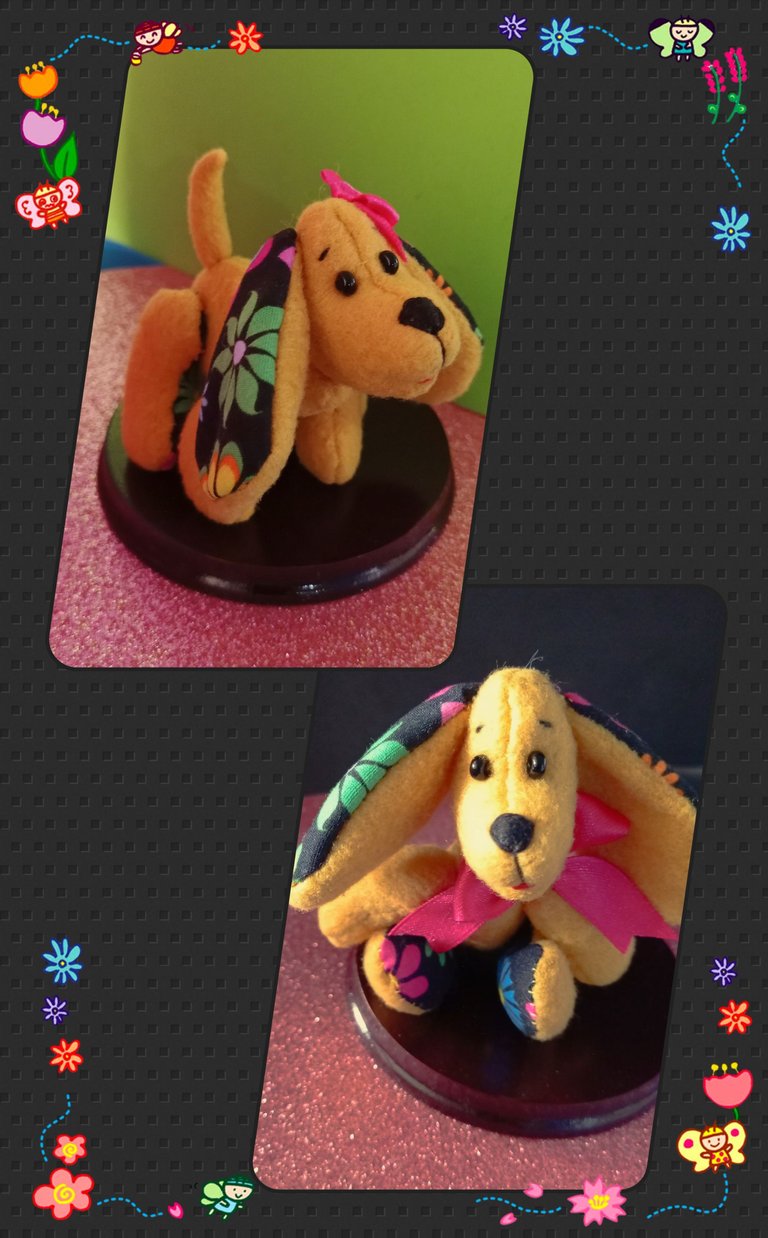
Ahora te mostraré unas fotos de mi trabajo el cual espero te haya gustado.
Traductor: DeepL
Editor de fotos: GridArt
Teléfono: Redmi Note 9
Ahora me despido esperando que te haya gustado mi tutorial.
Deseo que te animes y lo realices.
Saludos y hasta una nueva oportunidad.
English:
Good evening dear friends and creators who visit me.
Welcome to my favorite space
So join me to see and learn how it's done.
The materials you will use are:
| Cloth scraps | Cotton stuffing |
|---|---|
| scissors | threads and needles |
| Shakiras | Cloth ribbon |
| Key ring | Stick |
Let's get started:
Step 1:
- Cut out the pieces from the molds and place them on the fabric fixing them with a pin and then cut them out, this is how you will do with each one.
-Then sew all around the edge of each of the pieces and leave a small opening to turn over, if you have a sewing machine you can do it although it is a little difficult because of the small pieces. - Now stuff with cotton and close the openings.
- Then we will begin to sew and assemble, we start with the head to which we will pay the ears.
Step 2:
- Now with a needle with black thread we will start by making a stitch on each side to mark where to sew the eyes, then make several stitches to secure them well.
- Then make two stitches on the front for the eyebrows.
- Now embroider the nose making stitches from one side to the other and decreasing trying to make a triangle, then make a long stitch downwards to make the mouth.
Step 3:
- Look how it's coming along!
Step 4:
Sew the head to the upper part of the body securing with several stitches, then sew front and back legs and finally sew the tail.
Then thread a ribbon through the key ring and attach to the neck.
Step 5:
- Now with red thread embroider the mouth and pull the thread through the lower part of the head.
- Then make a loop and sew or glue in the center of the head.
- This is how cute this little doggie looks!
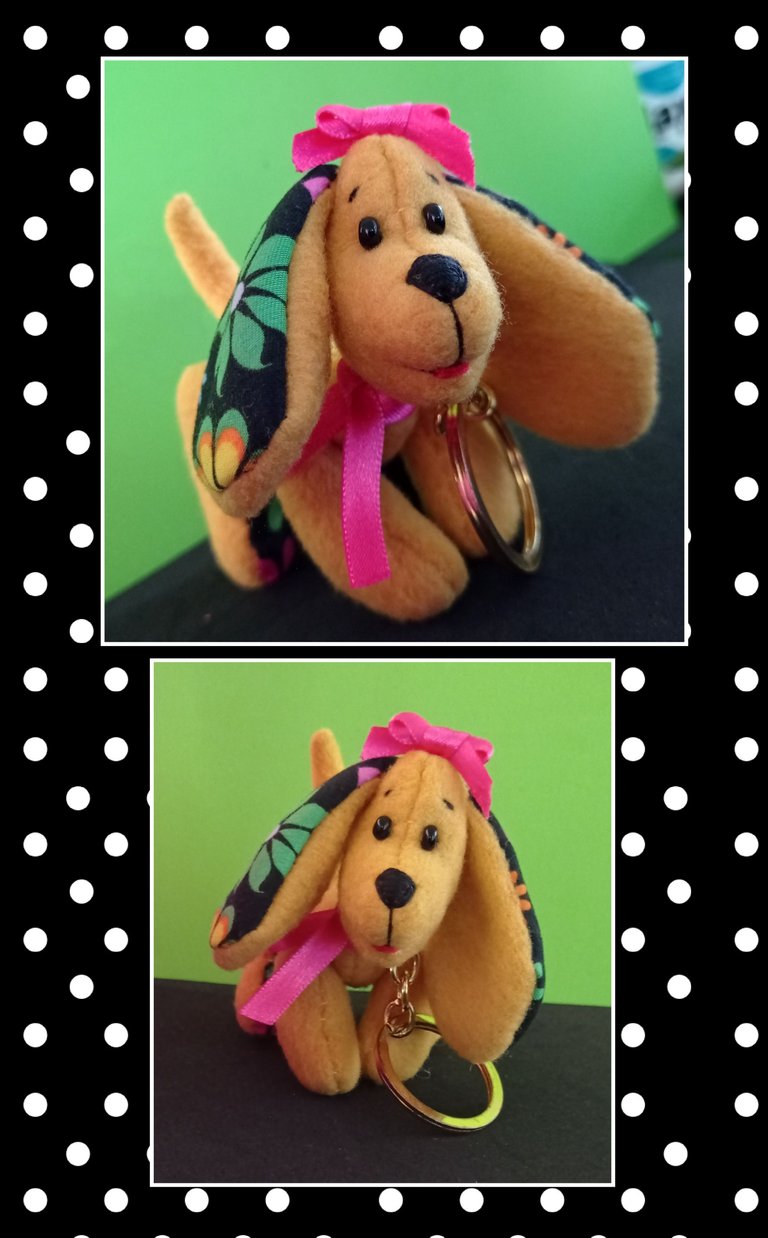
Now I will show you some pictures of my work which I hope you liked.
Translator: DeepL
Photo Editor: GridArt
Phone: Redmi Note 9
Now I say goodbye hoping you liked my tutorial.
I hope you are encouraged and you realize it.
Greetings and until a new opportunity.
Aww es demasiado tierno 😍 me recuerda a un conejito que tenia, con ese mismo estilo y tamaño, ya no lo tengo igual jaja pero es muy bonito y adorable, me encanta ❤️
Hola buhito! Que bueno que te gustó el perrito, y sí, se me olvidó comentar que con este molde, puedes realizar distintas figuras claro está adaptando el molde y o cambiando la forma de orejas, cola, cara,etc. y bueno ahora solo queda agradecerte por tu comentario y visita, saludos.
Está muy hermoso 👍
Muchas gracias y me alegra que te haya gustado.
Saludos.
Un trabajo verdaderamente hermoso. Gracias por compartir tu trabajo con nosotros.
Saludos y muy agradecida por tu comentario.
Un placer para mí hacerlo.
Hermosa ternura de perrito, esto significa saber aprovechar cualquier trocito de material y hacer magia, te quedo perfectamente elaborado, parece que lo sacaste de una tienda de cositas tiernas para regalar. Gracias por compartir tu grandioso trabajo, te felicito amiga.❤️🤗
Gracias linda por tan bonito comentario, feliz de que te haya gustado.
Siempre con mucho cariño para ustedes.
Congratulations @elmundodebetty! You have completed the following achievement on the Hive blockchain And have been rewarded with New badge(s)
Your next target is to reach 45000 upvotes.
You can view your badges on your board and compare yourself to others in the Ranking
If you no longer want to receive notifications, reply to this comment with the word
STOPCheck out our last posts:
Muchas gracias @hivebuzz por mi nueva insignia y el apoyo que siempre me brindan.
De nada @elmundodebetty
Apóyenos también y vote por nuestro testigo.
Recibirá una insignia adicional y un voto más fuerte de nuestra parte cuando le notifiquemos.
!diy
!discovery 40
Gracias por el apoyo
This post was shared and voted inside the discord by the curators team of discovery-it
Join our Community and follow our Curation Trail
Discovery-it is also a Witness, vote for us here
Delegate to us for passive income. Check our 80% fee-back Program
You can query your personal balance by
!DIYSTATSMuchas gracias @diyhub
a community encouraging first-hand content, and each individual living their best life.
Muchas gracias @bloques internos y @dayadam por el apoyo.
@tipu curate
Upvoted 👌 (Mana: 65/75) Liquid rewards.
Gracias por su apoyo
Gracias por el apoyo @astrocreator