Buenas noches queridos amigos, bienvenidos todos a mi Blog.
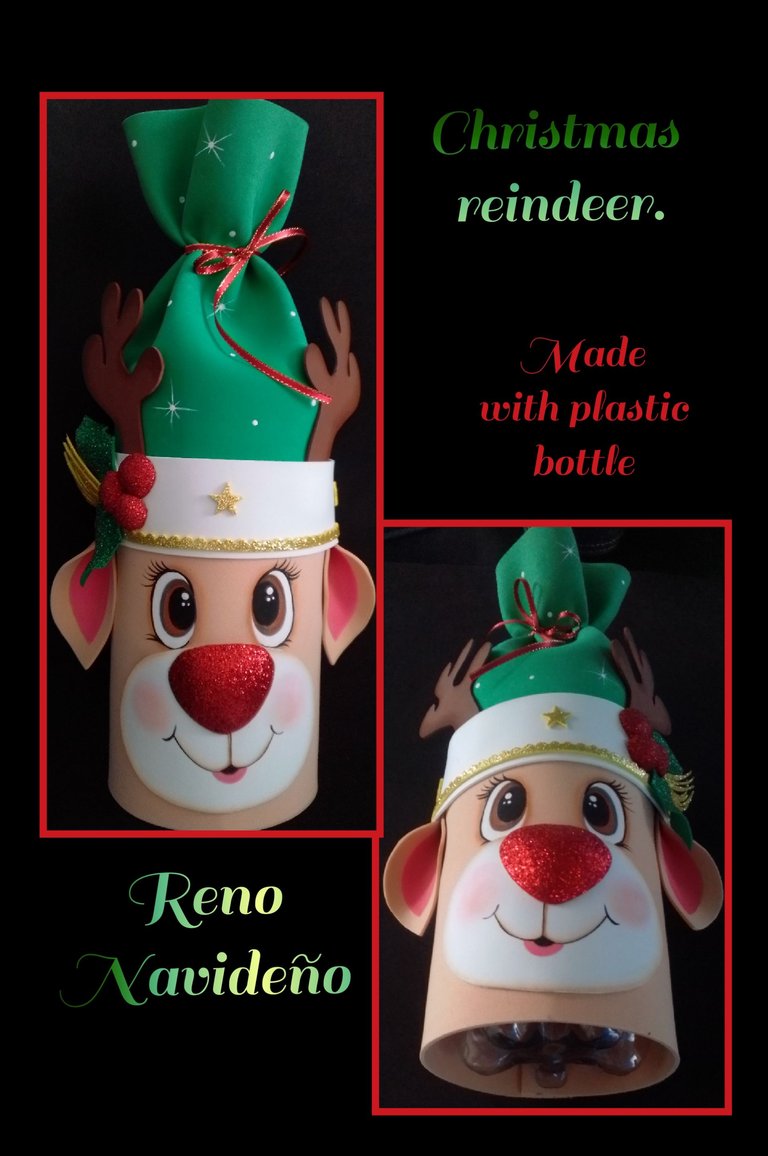
Entonces te invito a que me acompañes a realizar este bonito Reno.
Para esto vas a necesitar:
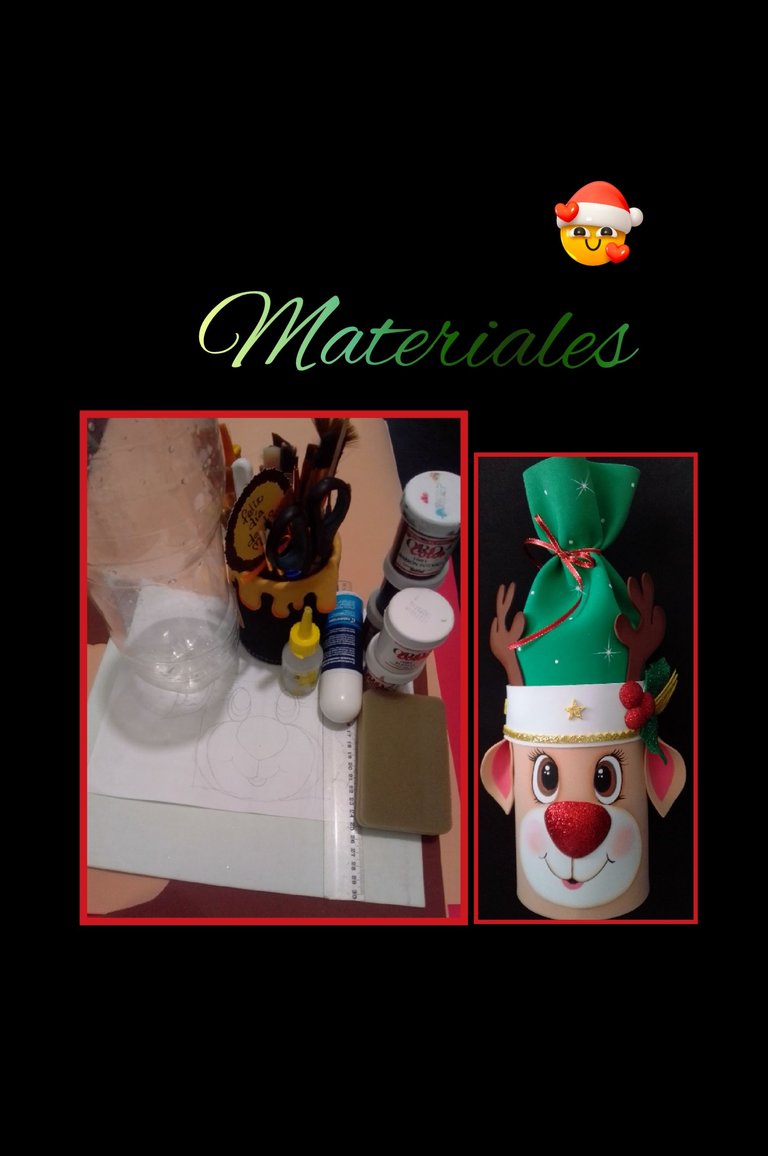
| Botella desechable | Foami de colores y escarchados |
|---|---|
| Pinturas y pinceles | Tijeras y regla |
| Lápiz | Esponja |
| Silicón | Cartulina blanca |
| Cinta de tela | Molde |
| Plancha eléctrica | Acocador u objeto redondo |
| Pistola de silicón |
Procedimiento:
Paso 1:
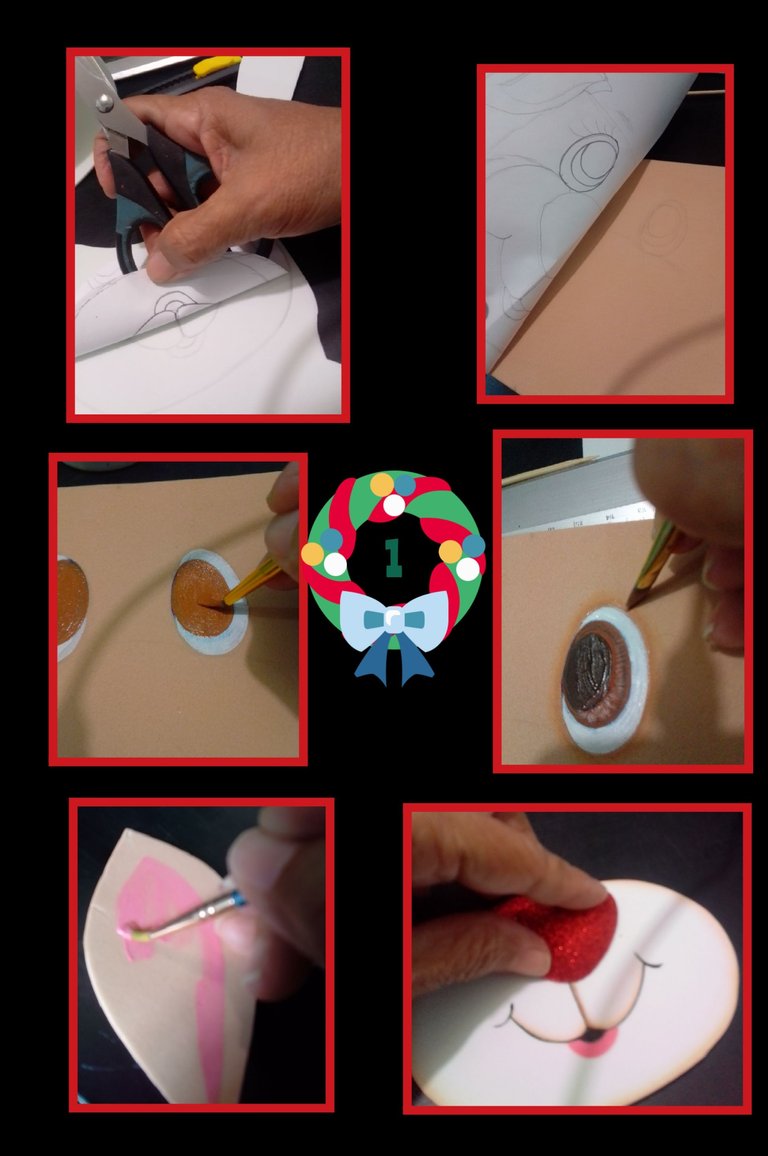
- Mide el contorno de la botella y en foami recorta dos rectángulos aumentando dos o tres centímetros al largo tomado, recorta uno en color piel de 14cm de altura y otro en verde de 18cms de altura.
- Ahora, coloca el dibujo en el centro del foami carne y remarca el dibujo con lápiz de mina blanda, luego coloca sobre el foami y con los anillos de la tijera frota haciendo presión sobre el papel, luego levanta un lado sin soltar el papel y asegúrate de que esté todo la pieza transferida, esto los harás en los colores correspondientes y luego recorta.
- Comienza a pintar los ojos rellenando con pintura blanca, luego rellena con el color que desees y deja secar un poco, después rellena el iris con pintura negra y cuando ya esté seca la parte blanca, sombrea la orilla con pintura piel canela y deja secar, luego rellena las orejas con pintura rosada y así pinta y delínea todas las piezas.
Luego recorta la nariz y asegúrate quede bien en el hocico.
Paso 2:
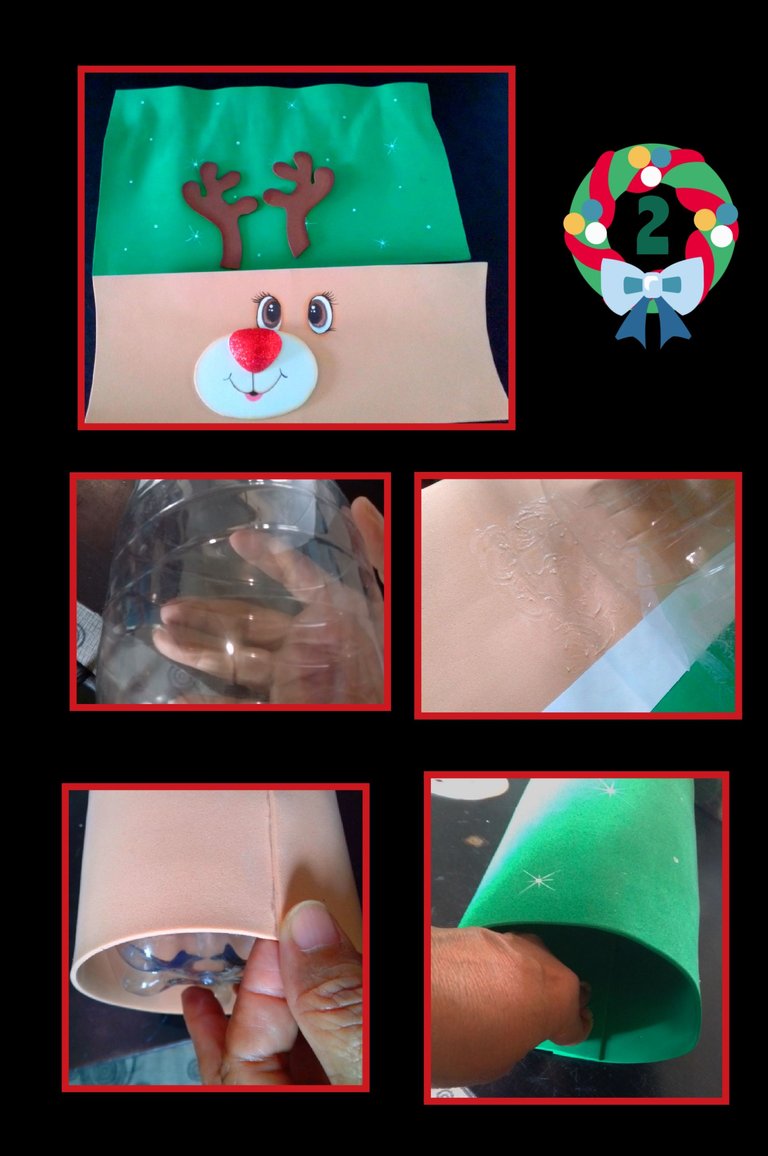
- En el rectángulo de foami verde pinta puntos blancos y decora con estrellitas o simplemente pinta o decora a tu gusto y deja secar.
- Teniendo las piezas principales listas, ahora recorta la botella un poco más de la mitad y une los rectángulos de foami por la parte posterior pegando una tira de cartulina blanca, deja secar y luego aplica silicón a las piezas de foami y pega a la botella, fija los extremos inferiores y luego los superiores (ver foto)
Paso 3:
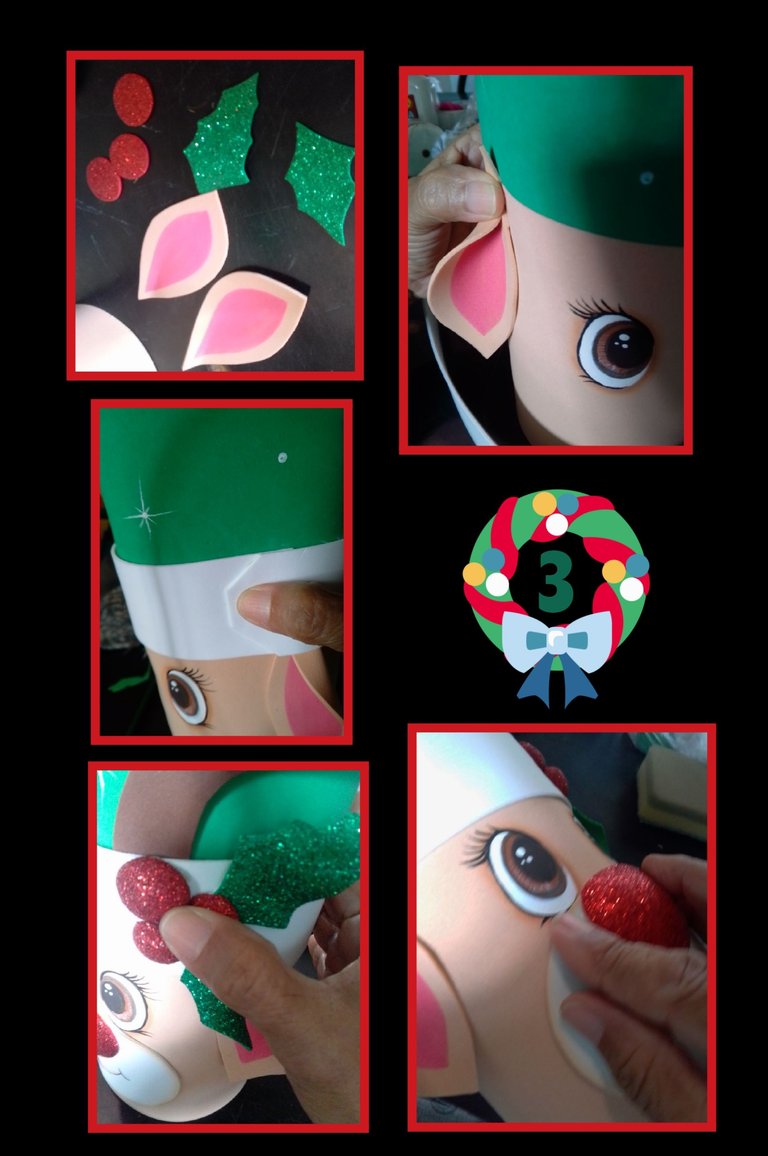
- Ahora pegamos las orejas con silicón caliente uno a cada lado y luego recorta otra tira de foami blanco y pega en la unión de los dos rectángulos y asegúrate que la unión quede arriba de la oreja-
- Calienta la plancha y coloca la nariz, los círculos y las hojas y cuando tomen volumen, aplica silicón y pega tapando la unión de la tira, luego pega la nariz al hocico, deja secar y después pega el hocico debajo de los ojos.
Paso 4:
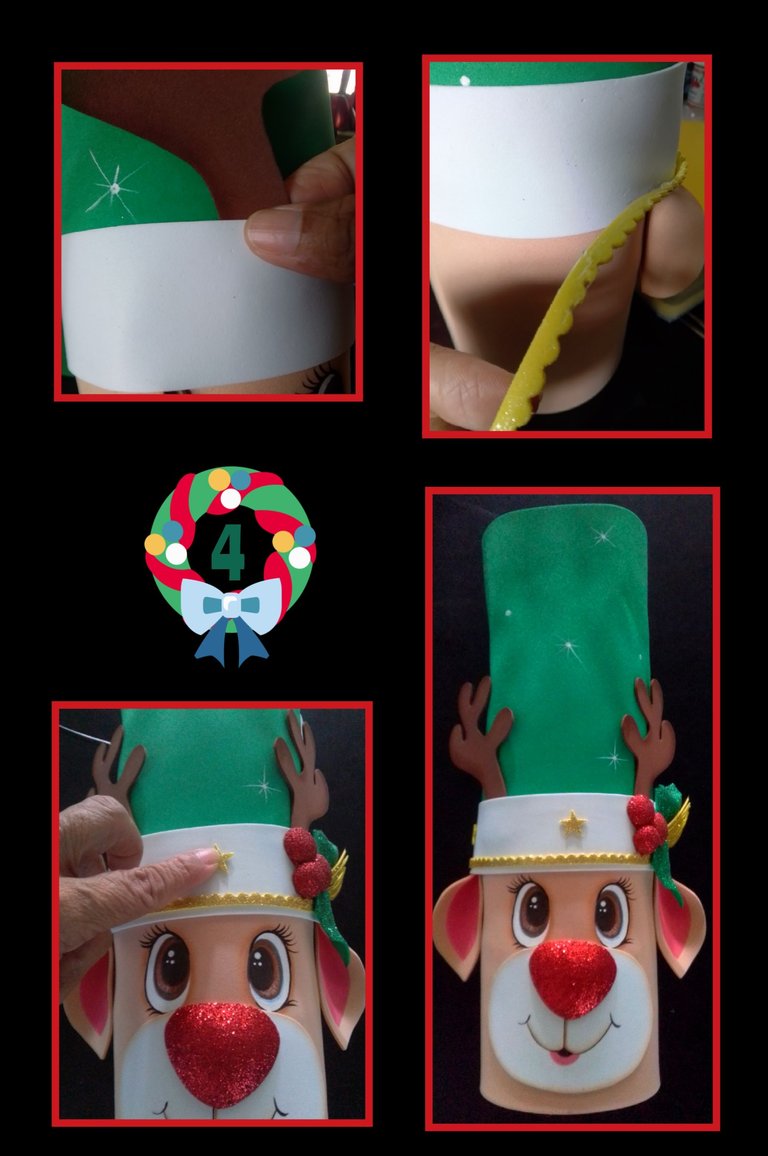
- Ahora pega los cuernos a cada lado, recorta una tirita dorada y pega en la tira blanca, también puedes recortar estrellitas y pegar, como siempre te digo pon tu mente y creatividad a volar.
- Que tal va quedando?
Paso 5:
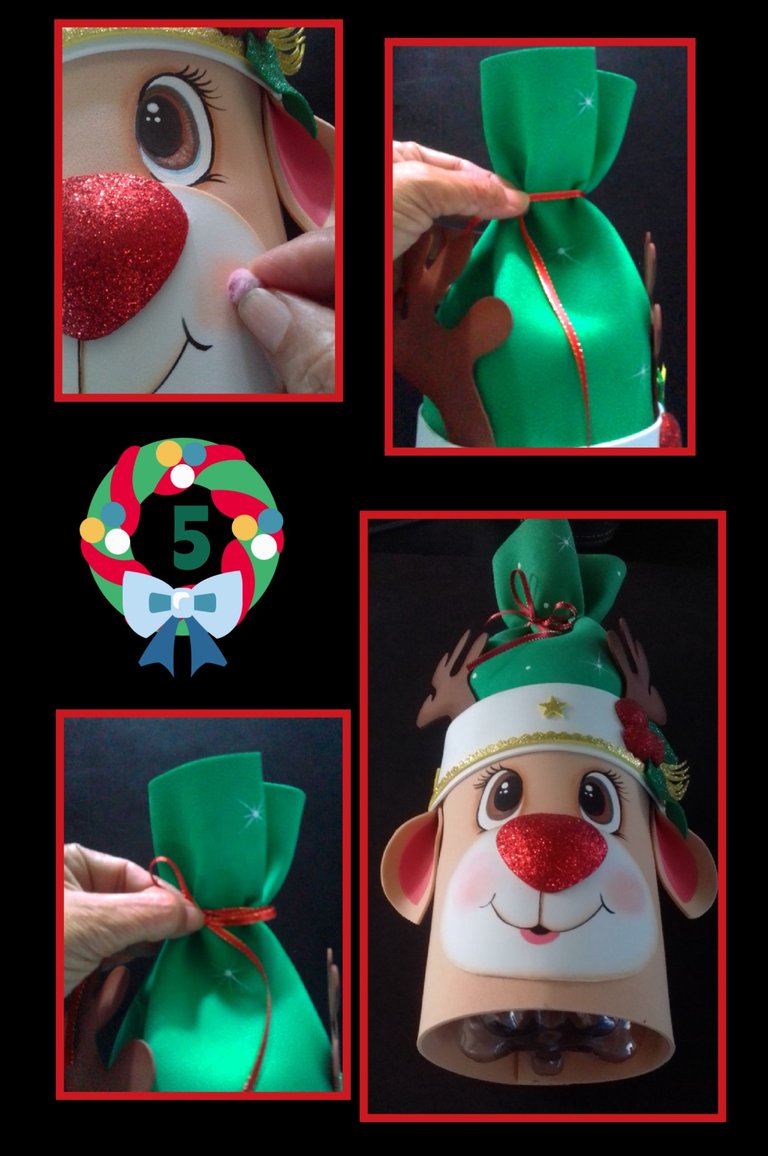
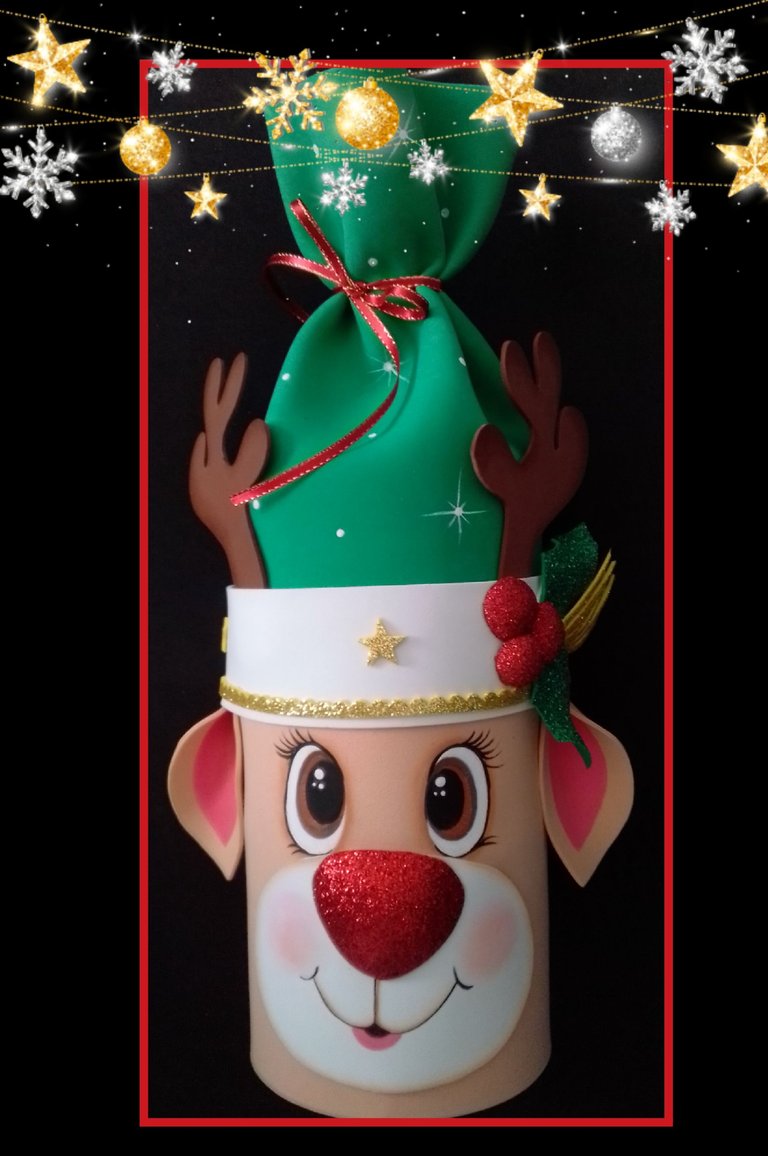
- Ahora con un poco de tiza o rubor, pinta los cacheticos y por último recoge o riza la parte de arriba y amarra con un pedazo de cinta y haz un lacito de zapatos.
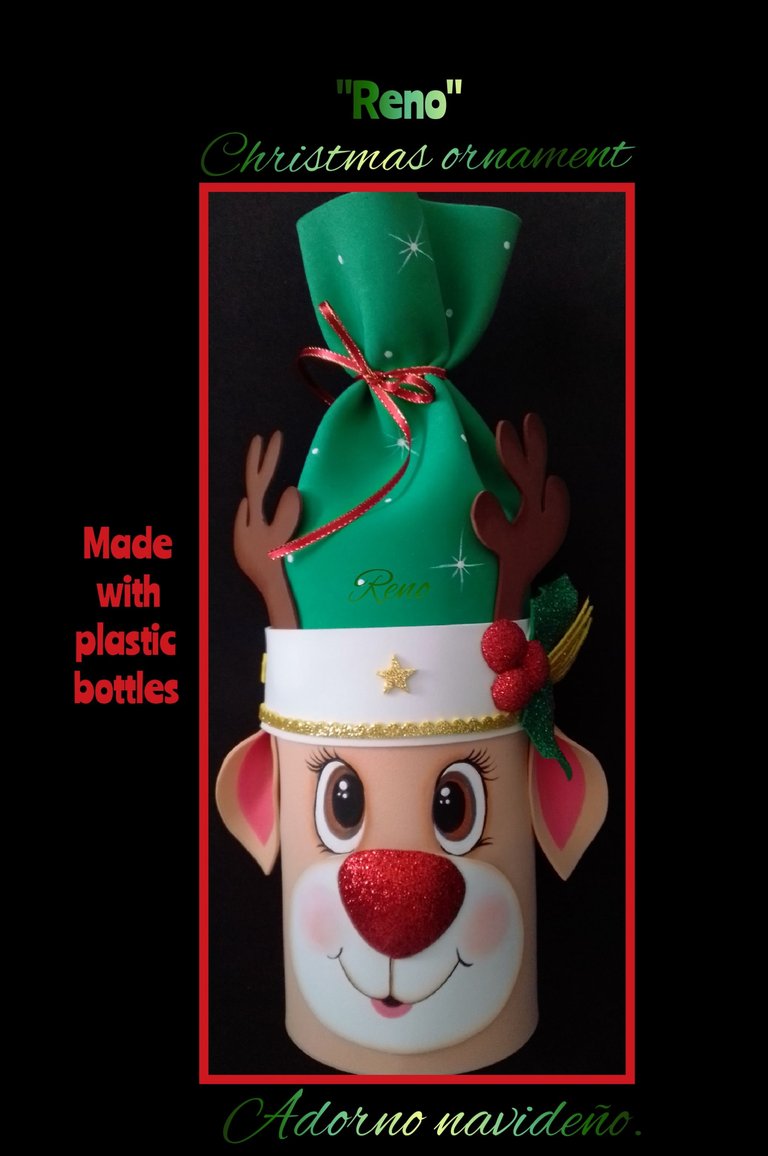
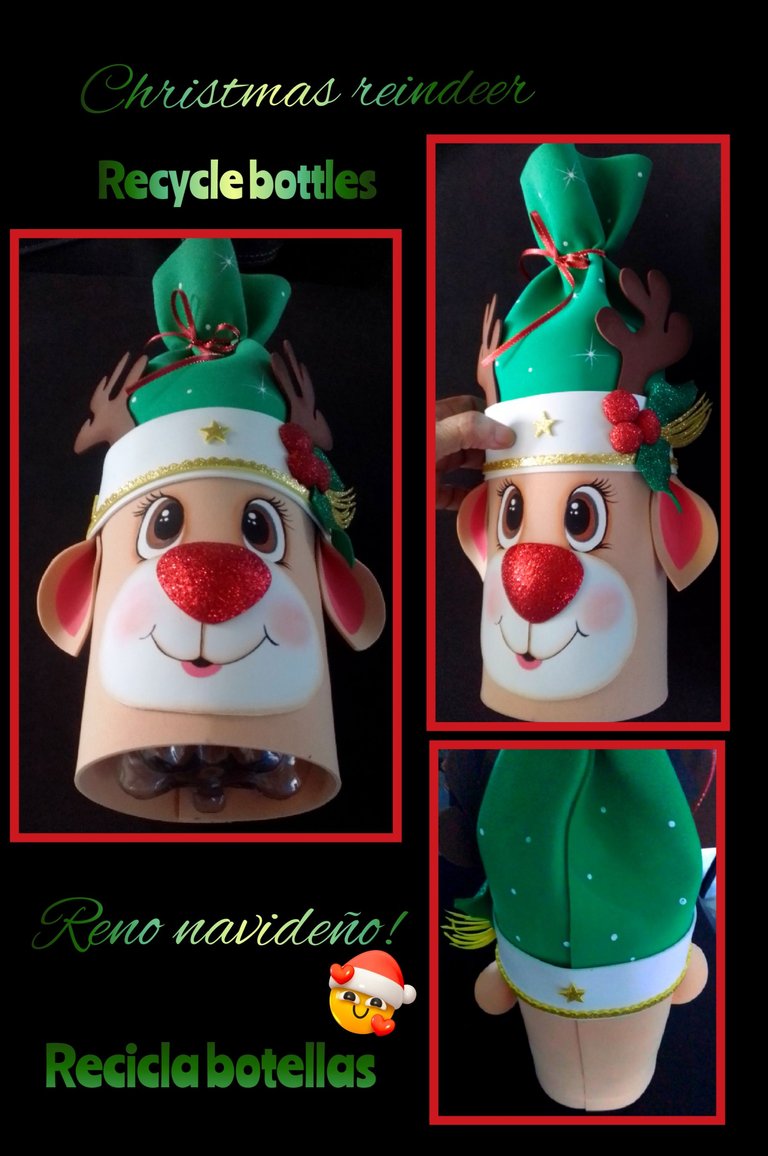
- Y así quedó mi Reno navideño, espero al igual que yo, hayas disfrutado de este tutorial y lo más importante que lo hayas realizado conmigo y que ya sepas como se hace...
Y te dejo aquí otras fotos para que te animes y lo realices.
Aquí te dejo la fuente:
https://www.pinterest.es/pin/476255729359981559/
Ahora me despido feliz de haber compartido contigo este tutorial, recuerda reciclando, ayudamos a nuestro planeta!
Gracias por tu apoyo y por haber llegado hasta aquí.
English:
Good evening dear friends, welcome to my Blog.
For this you will need:
| Disposable bottle | Colorful and frosted Foami |
|---|---|
| Paints and paintbrushes | Scissors and ruler |
| Pencil | Sponge |
| Silicone | White cardboard |
| Cloth tape | Mold |
| Electric iron | Acocador or round object |
| Silicone gun |
Procedure:
Step 1:
- Measure the contour of the bottle and cut out two rectangles in foami increasing two or three centimeters to the length taken, cut one in skin color of 14cm in height and another in green of 18cms in height.
- Now, place the drawing in the center of the flesh foami and mark the drawing with a soft lead pencil, then place it on the foami and with the rings of the scissors rub by pressing on the paper, then lift one side without releasing the paper and make sure that the whole piece is transferred, this will be done in the corresponding colors and then cut it out.
- Start painting the eyes by filling with white paint, then fill with the color you want and let dry a little, then fill the iris with black paint and when the white part is dry, shade the edge with cinnamon skin paint and let dry, then fill the ears with pink paint and so paint and outline all the pieces.
Then cut out the nose and make sure it fits well on the snout.
Step 2:
- On the green foami rectangle paint white dots and decorate with stars or simply paint or decorate as you like and let dry.
- Having the main pieces ready, now cut the bottle a little more than half and join the foami rectangles on the back side by gluing a strip of white cardboard, let dry and then apply silicone to the foami pieces and glue to the bottle, fix the lower ends and then the upper ones (see photo).
Step 3:
- Now glue the ears with hot silicone one on each side and then cut another strip of white foami and glue at the junction of the two rectangles and make sure that the junction is above the ear.
- Heat the iron and place the nose, circles and leaves and when they take volume, apply silicone and glue covering the junction of the strip, then glue the nose to the snout, let dry and then glue the snout under the eyes.
Step 4:
- Now glue the horns on each side, cut out a golden strip and glue on the white strip, you can also cut out stars and glue, as I always say put your mind and creativity to fly.
- How is it looking?
Step 5:
- Now with a bit of chalk or blush, paint the cheeks and finally gather or curl the top and tie with a piece of ribbon and make a little bow of shoes.
- And so was my Christmas reindeer, I hope like me, you enjoyed this tutorial and most importantly that you have done it with me and that you already know how to do it ....
And I leave here other pictures so that you can make it.
Here I leave you the source:
https://www.pinterest.es/pin/476255729359981559/
Now I say goodbye happy to have shared with you this tutorial, remember recycling, we help our planet !
Thank you for your support and for having made it this far.
Wow, me encanta la manera que has hecho los ojos, está precioso
Hola amiga, muchas gracias por tan lindo comentario.
Saludos.