Hello Hive Diy friends...
☺☺☺
Next I mention the materials used: white paper, mechanical pencil 0.5, eraser and colors.
Hola amigos de Hive Diy…
☺☺☺
Bueno ya llego nuevamente el fin de semana, hoy voy a compartirles un nuevo arte kawaii, en esta ocasión se trata de un pequeño gato disfrutando la luz de luna. Antes de continuar les quiero comentar que muchos de mis aprendizajes los desarrollo mediante vídeos que buscamos en YouTube por lo que al final les dejare el enlace que use en esta ocasión. A continuación menciono los materiales utilizados: Papel blanco, portaminas 0.5, borrador y colores.
Los gatos son animales asociados a lo misterioso y a lo espiritual, me encantan porque tienen una mirada penetrante y es como si te estuviesen analizándonos. Tengo una vecina que tiene varios gatos y me he puesto a observarlos en la noche y se percibe algo diferente en su mirada; en el día te miran normal, simplemente pasan voltean te miran y continúan su camino en cambio en las noches se detienen y se quedan mirándote y pasa algo como que se pierden es sus pensamientos y luego reaccionan y salen huyendo.
Escuche una leyenda del pueblo tailandés que me gustó mucho; esta leyenda cuenta que en la antigüedad tenían una práctica muy curiosa, cuando las personas fallecían se enterraban en una cripta acompañado de un gato vivo, pero la cripta tenía un agujero por donde el gato podía salir y cuando el animal saliera, daban por sentado que el alma de la persona fallecida ya estaba en el interior del noble gato. De esta forma alcanzaba la libertad y ese sendero de calma y espiritualidad capaz de preparar esa alma para el camino hacia la ascensión. (Al final les dejo el enlace del vídeo donde escuche este relato.)
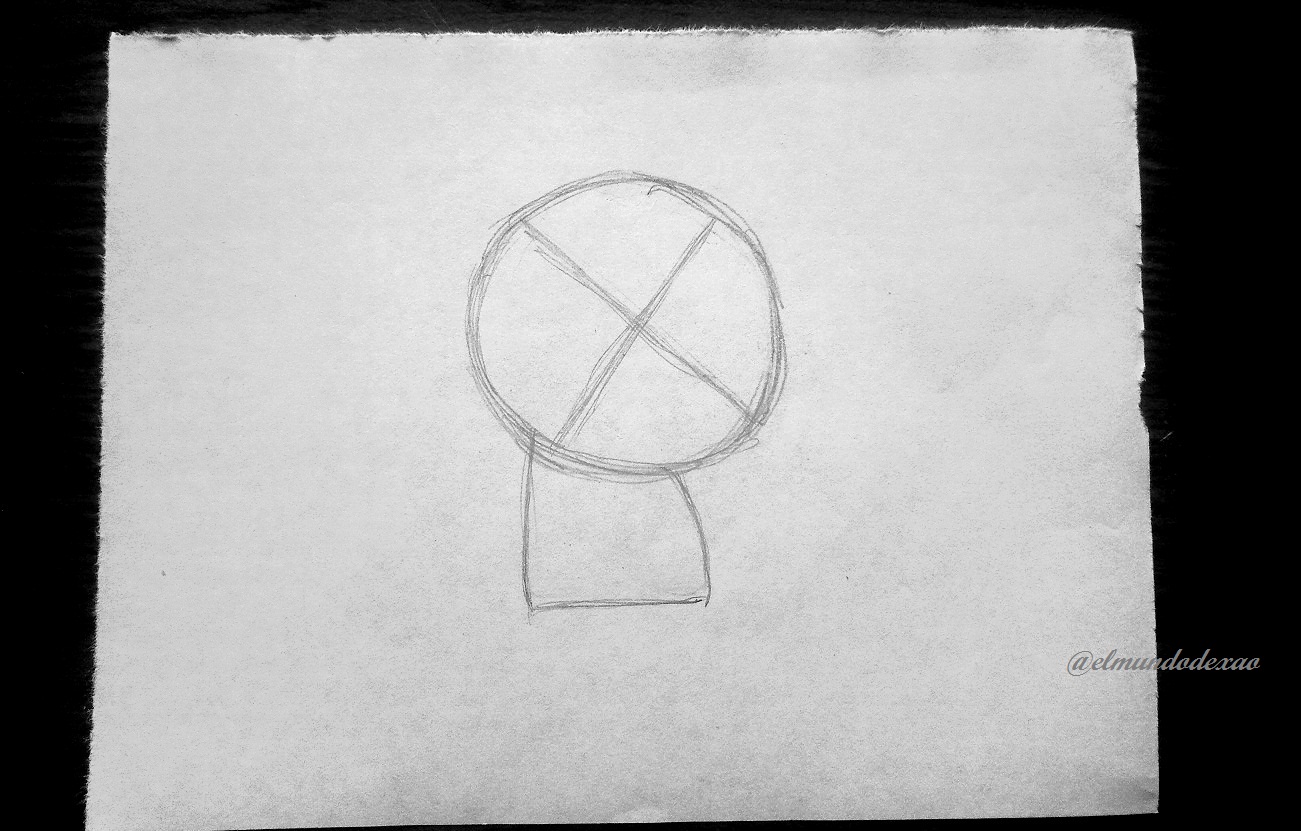
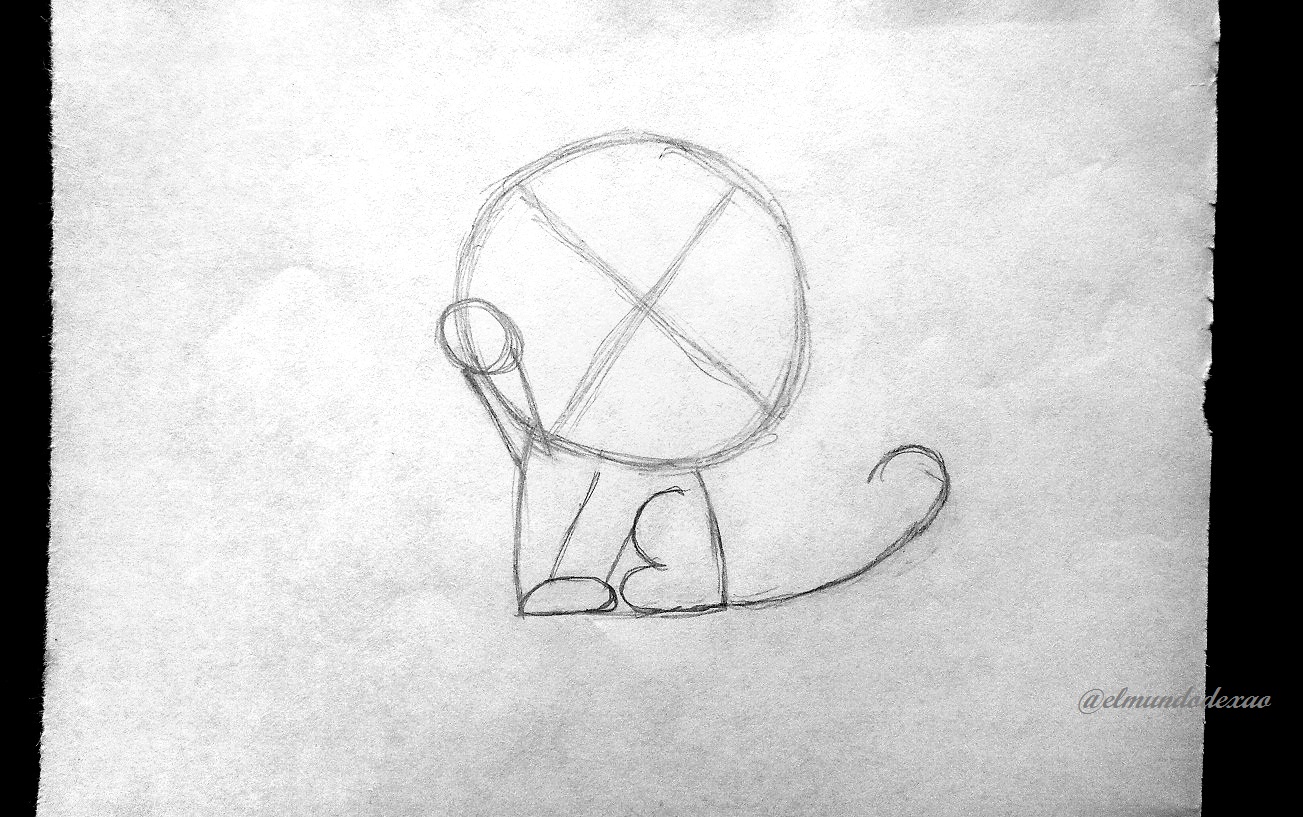
Step # 01: I draw a circle and inside I place an X, or rather a cross, but it is sideways since I will make the cat's face a little turned; like when they are analyzing something. I also make a small bulge that seems to hold the circle, this will be the body; keep in mind that on the left side the line is straight while on the right side the line tends to curve a little.
Comencemos con el paso a paso del dibujo: Paso # 01: Dibujo un círculo y en su interior coloco una X, o más bien una cruz, pero está de lado ya que haré la cara del gato un poco girada; como cuando están analizando algo. También hago un pequeño bulto que parece sostiene el circulo, este será el cuerpo, tengamos en cuenta que en el lado izquierdo la línea es recta mientras que en el derecho la línea tiende a curvar un poco.
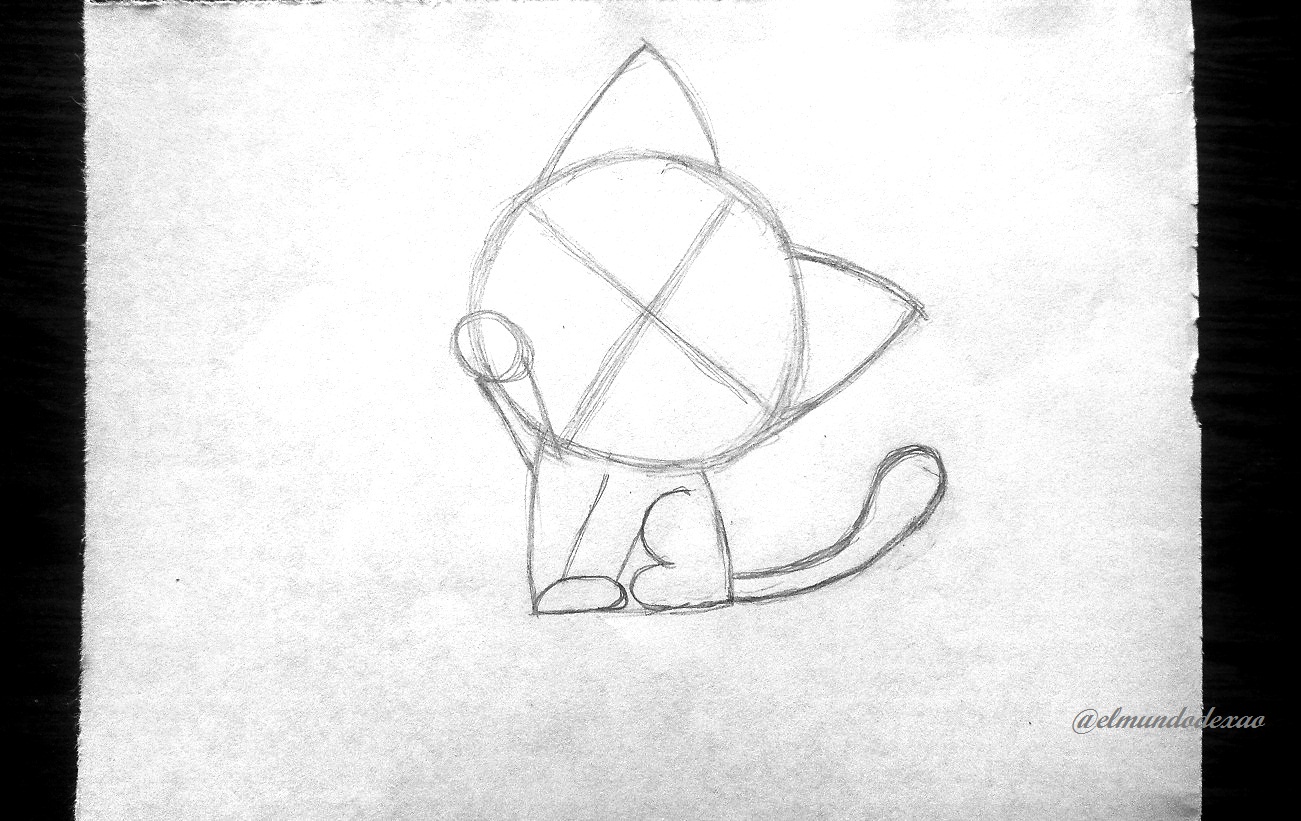
Paso # 02: Con curiosidad y detalle voy agregando círculos, líneas y óvalos que me ayuden a detallar las patas, además agrego una línea simulando un bastón que me servirá para definir la cola.
Paso # 03: Defino la cola y agrego las orejas. Por cierto, sabias que los gatos tienen un sentido del oído bastante desarrollado, su capacidad auditiva es mucho mejor que la de nosotros.
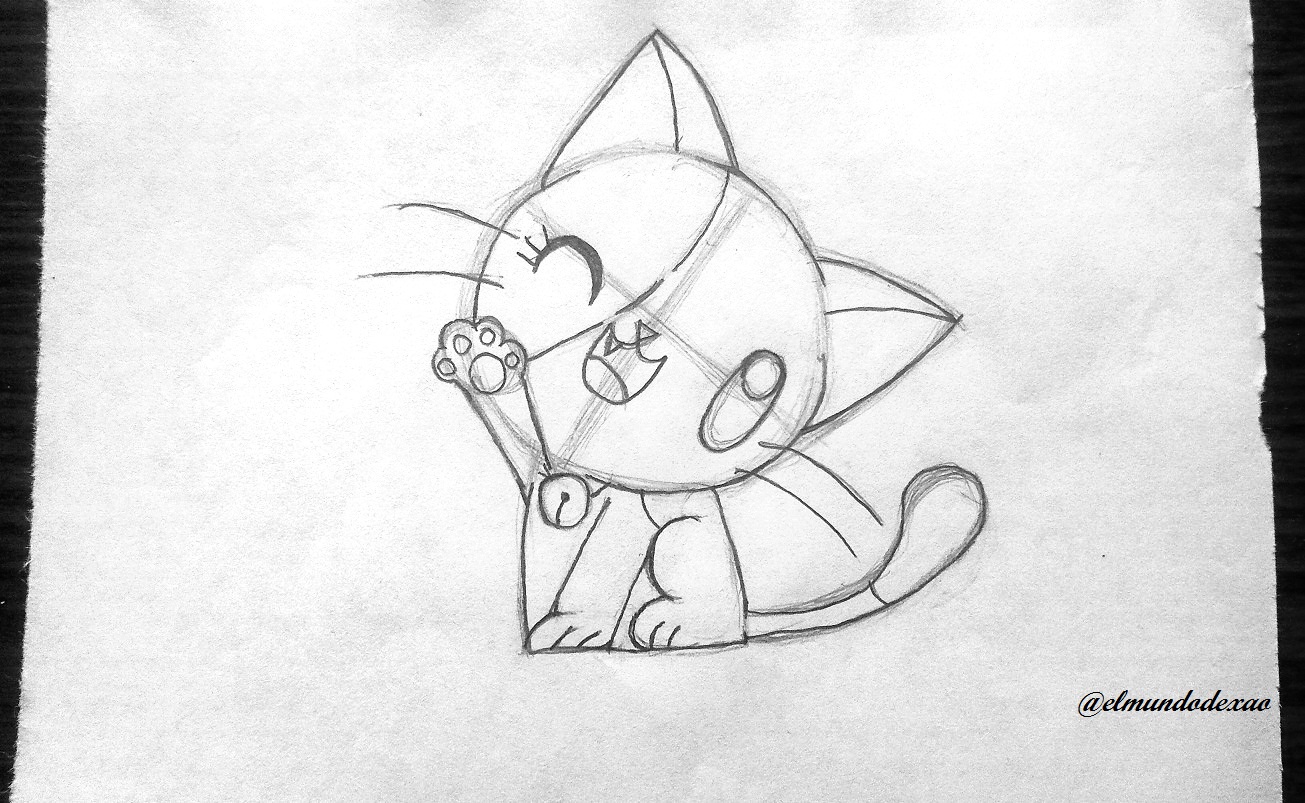
Paso # 04: Le coloco todos los detalles de la cara como ojos, hocico, bigotes y otros.

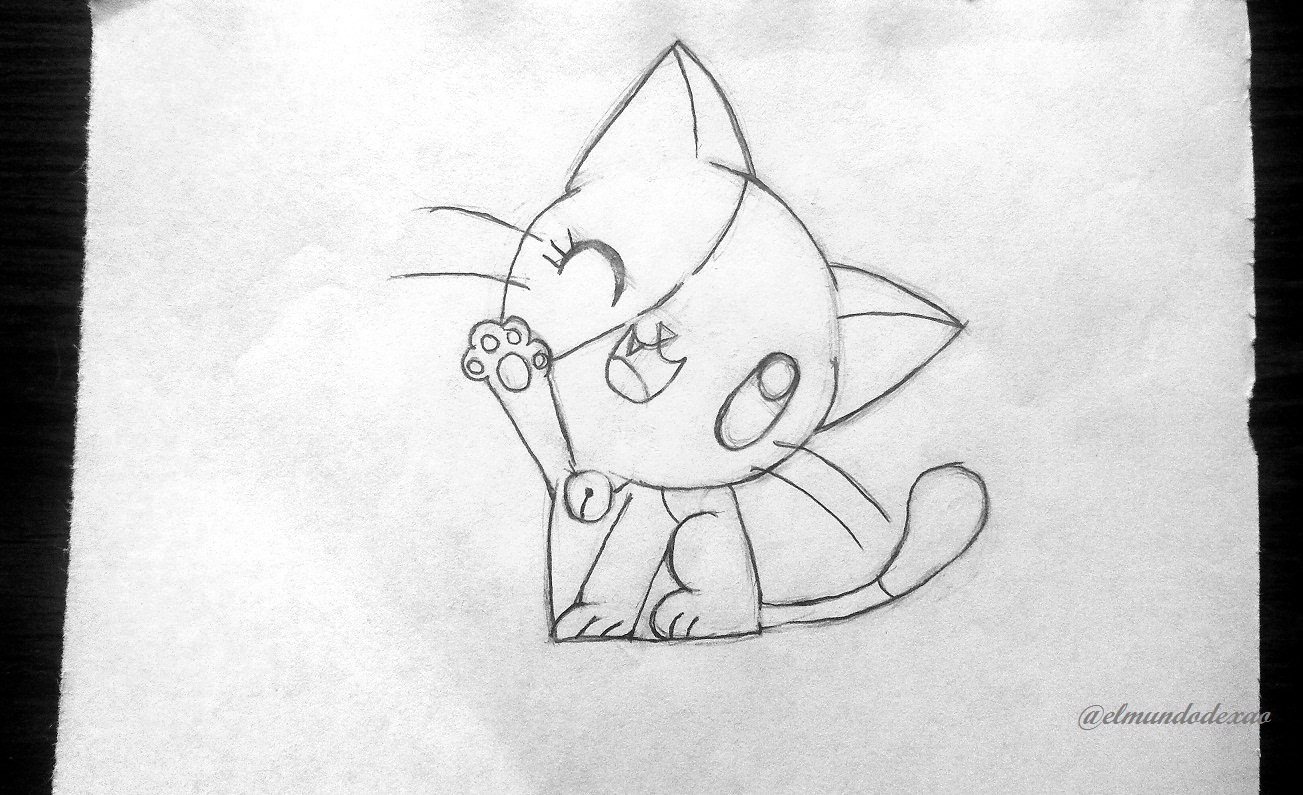
Paso # 05: Borro todos los trazos sobrantes y limpio.
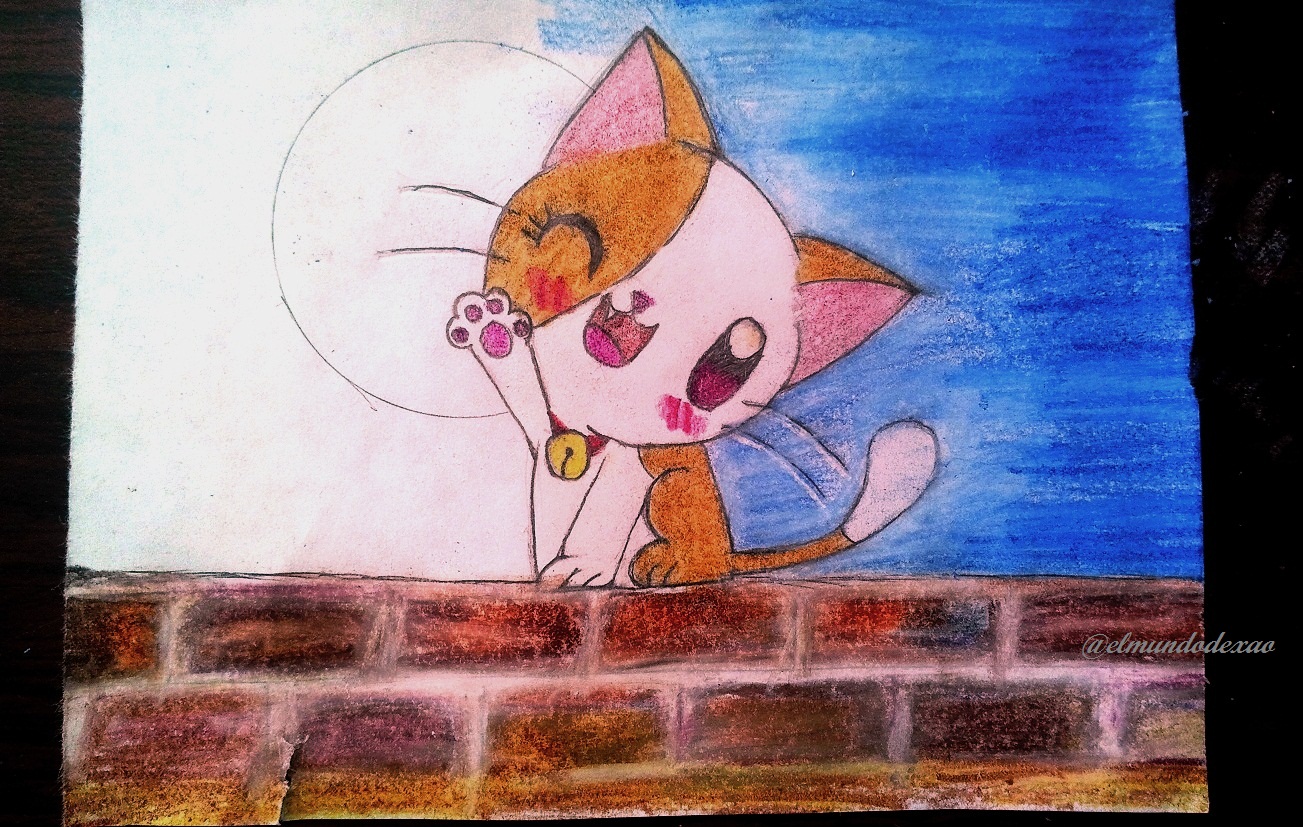
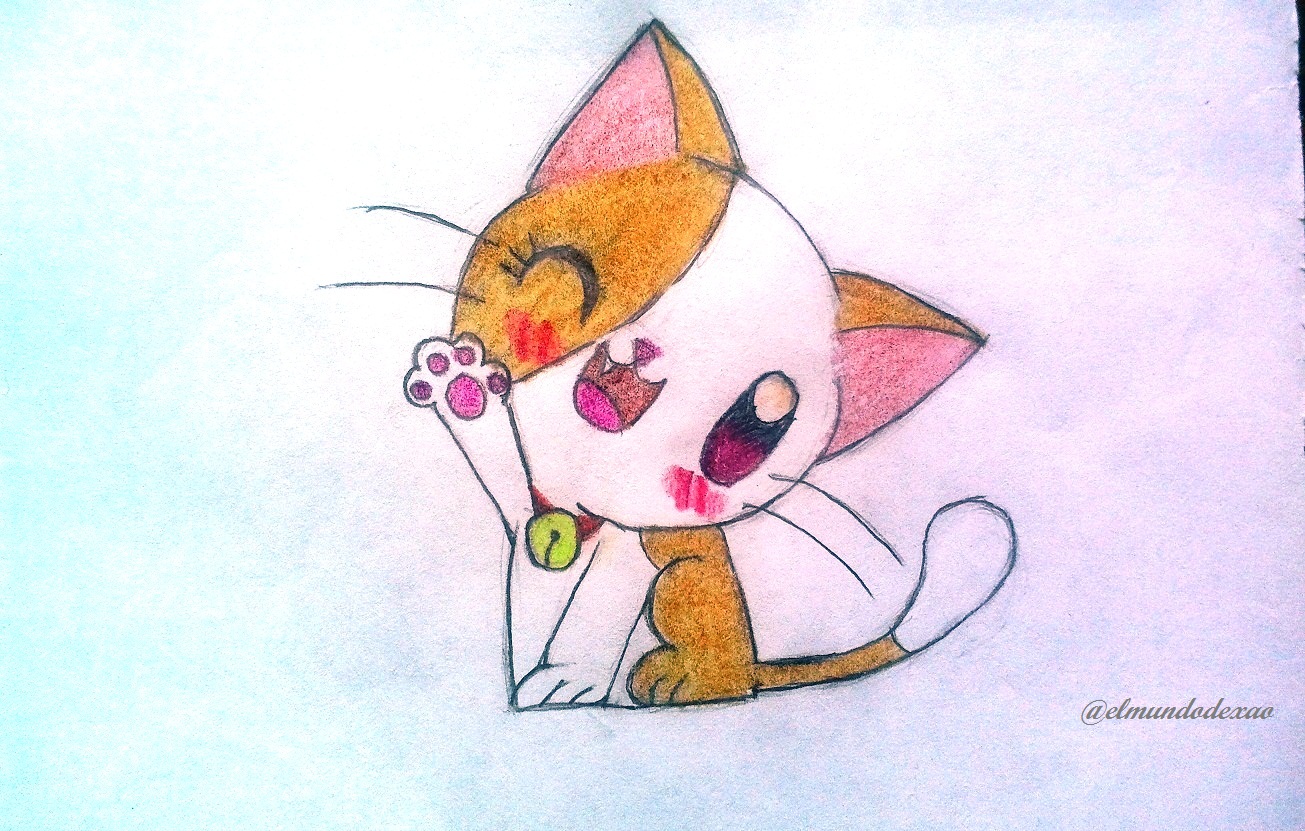
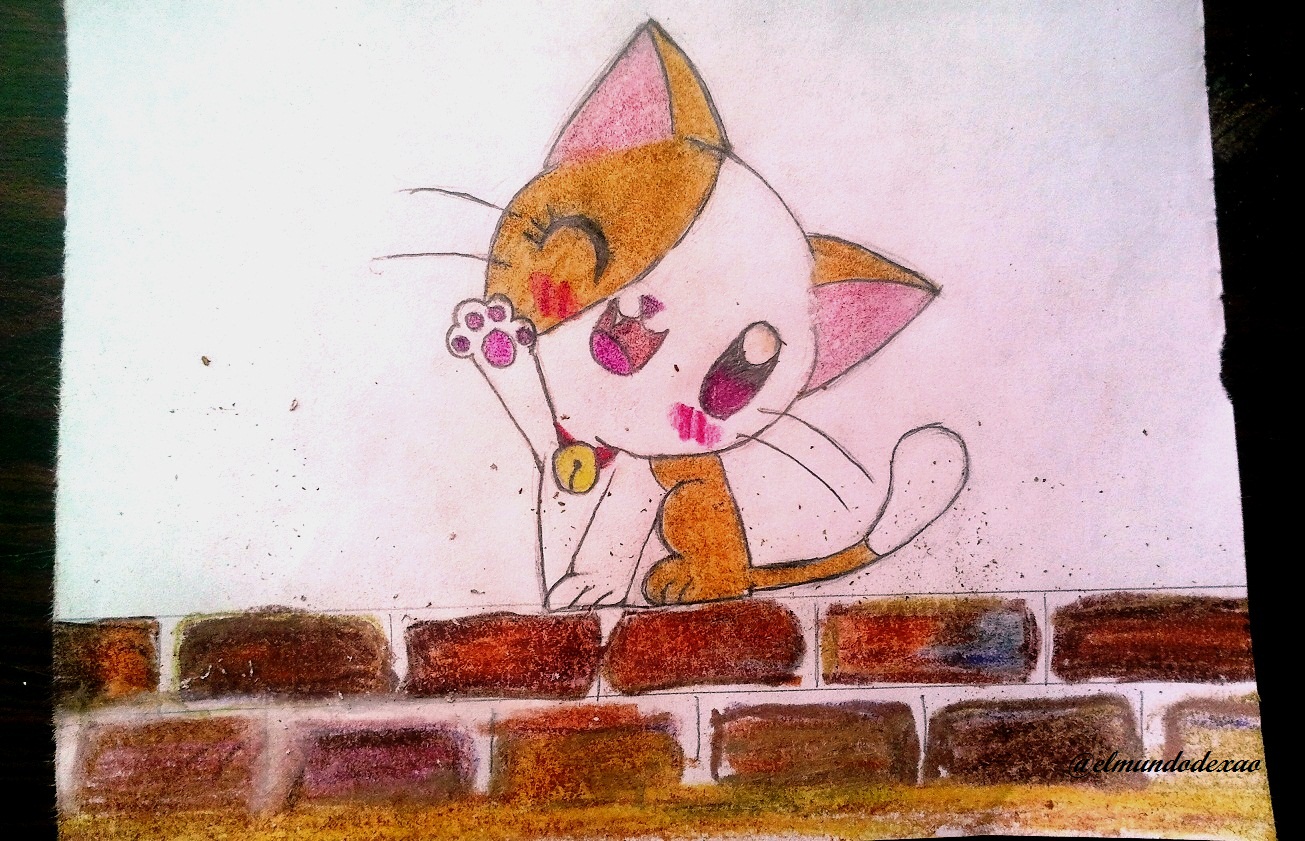
Paso # 06: Coloreo; escogí colores suaves para que se vea tierno.

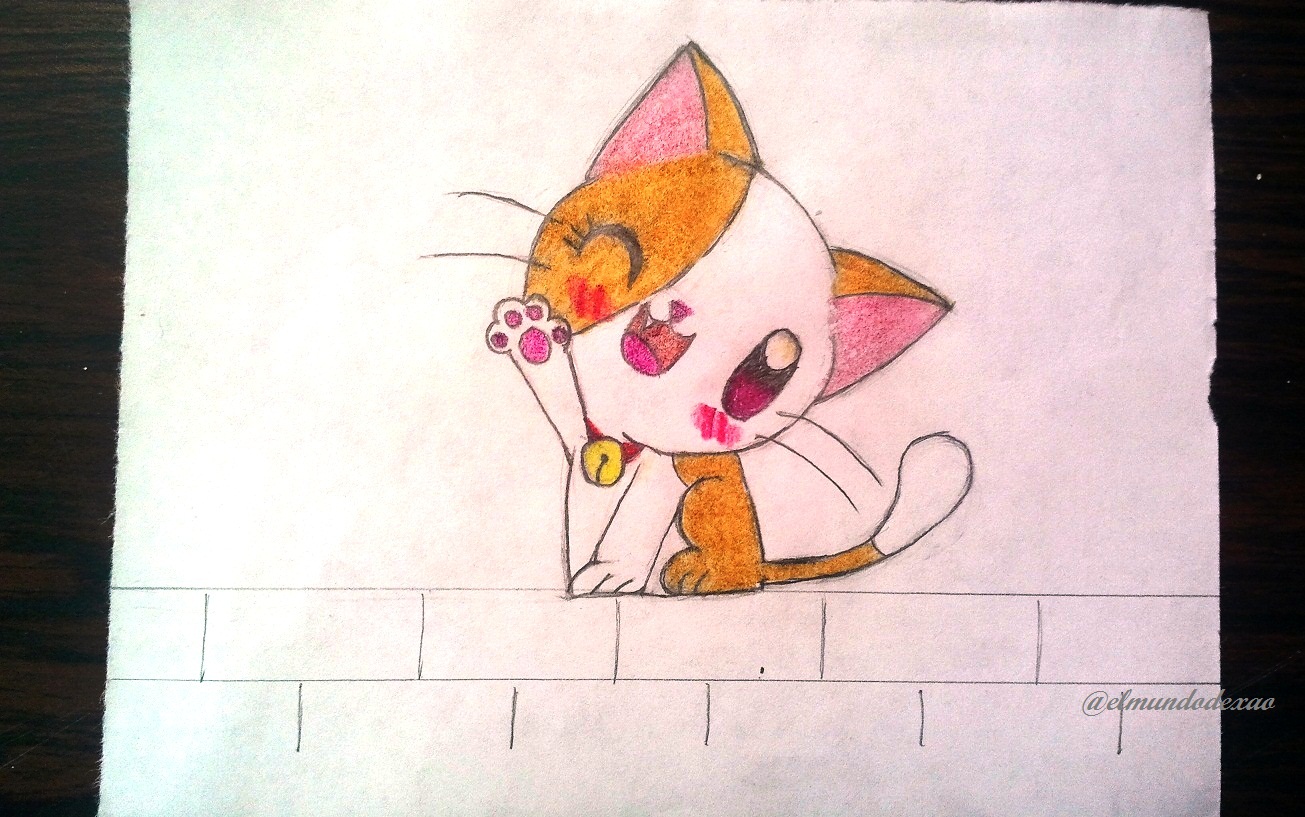
Paso # 07: Escoger el entorno; como lo mencione al principio ya tenía en mente un entorno nocturno y como he podido apreciar a los mininos les gusta disfrutar de la noche maullando en los muros.
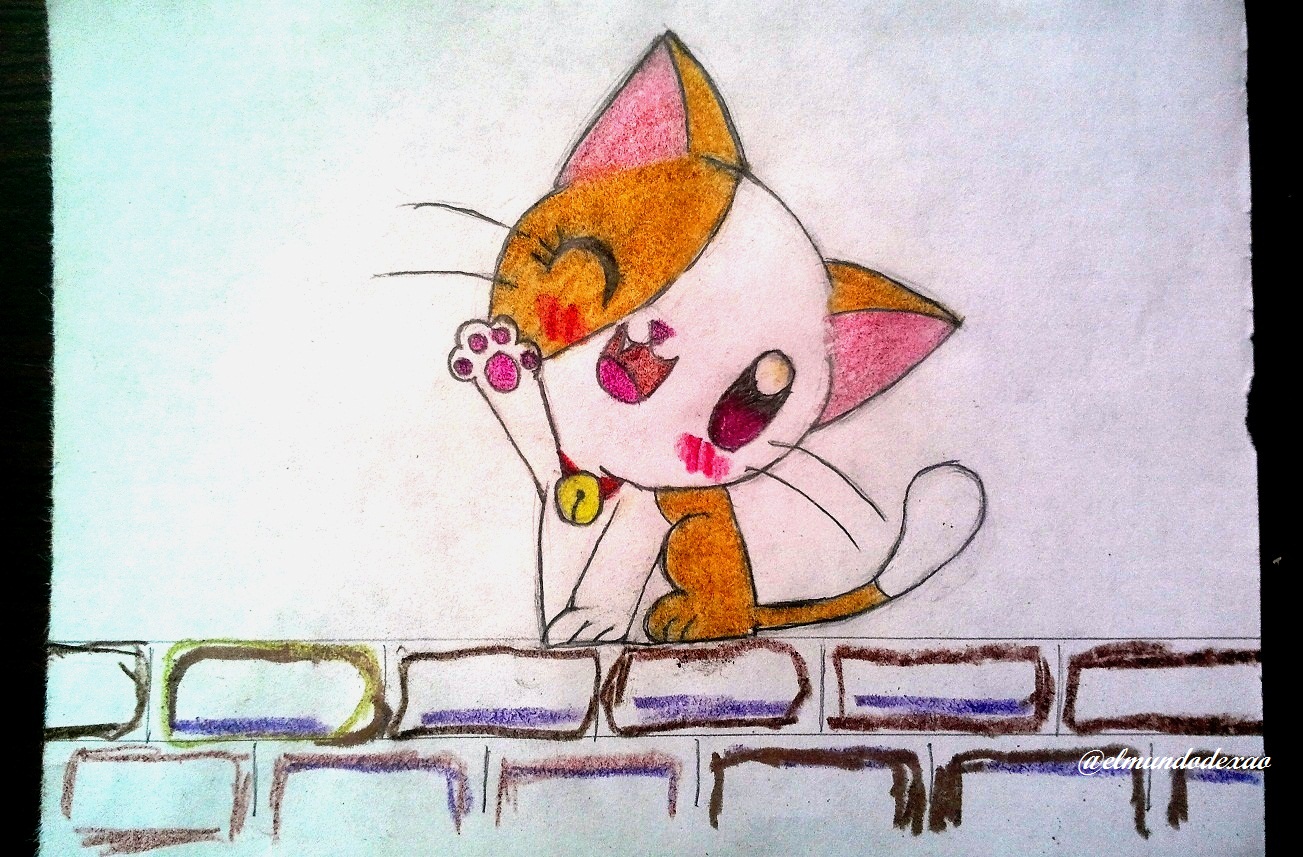
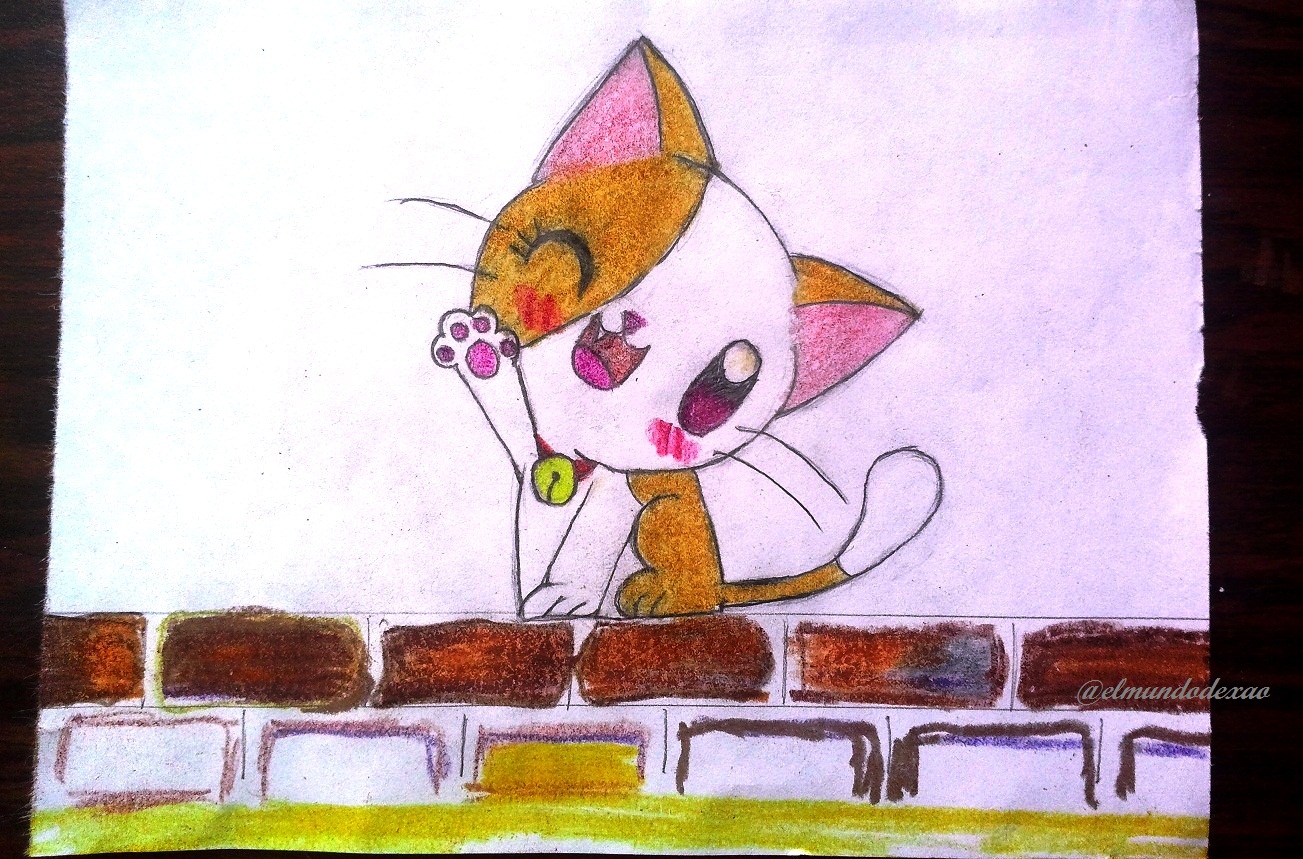
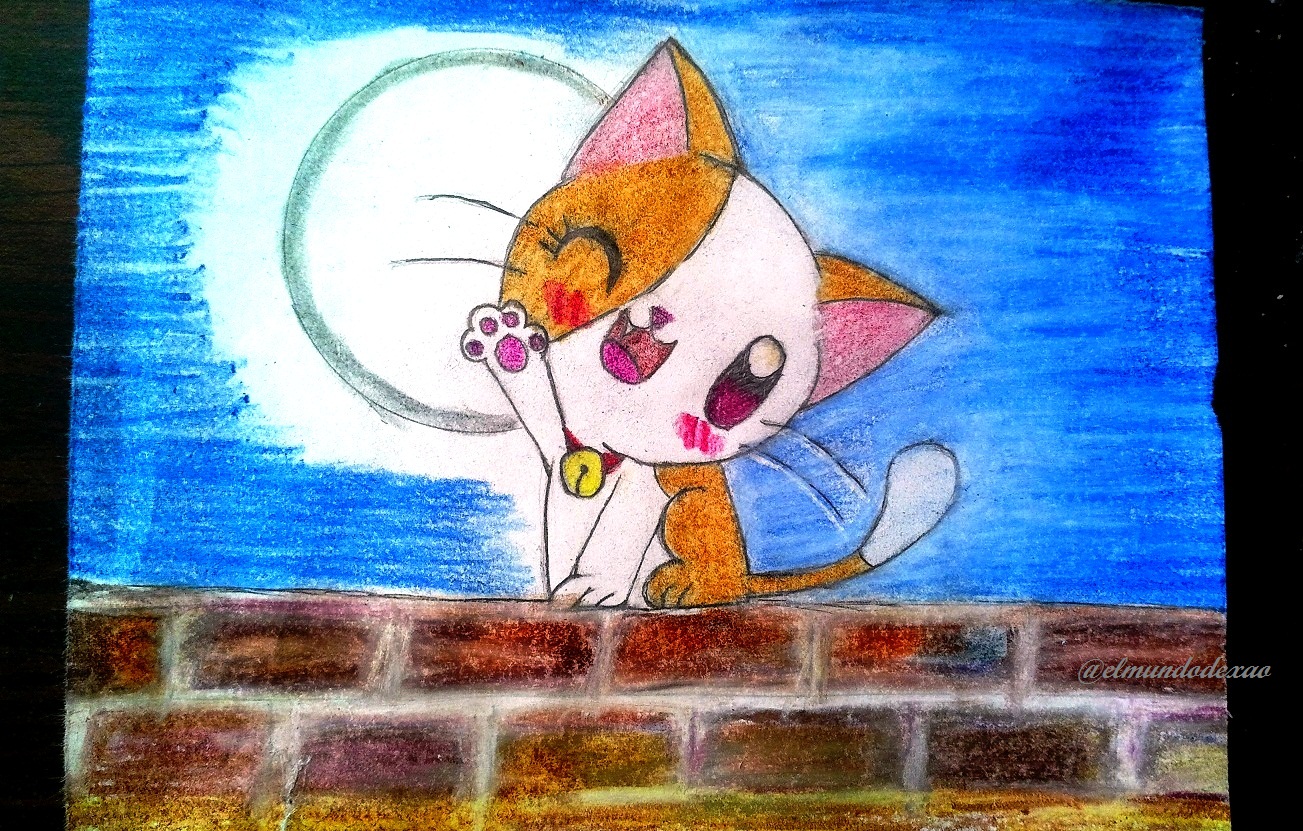
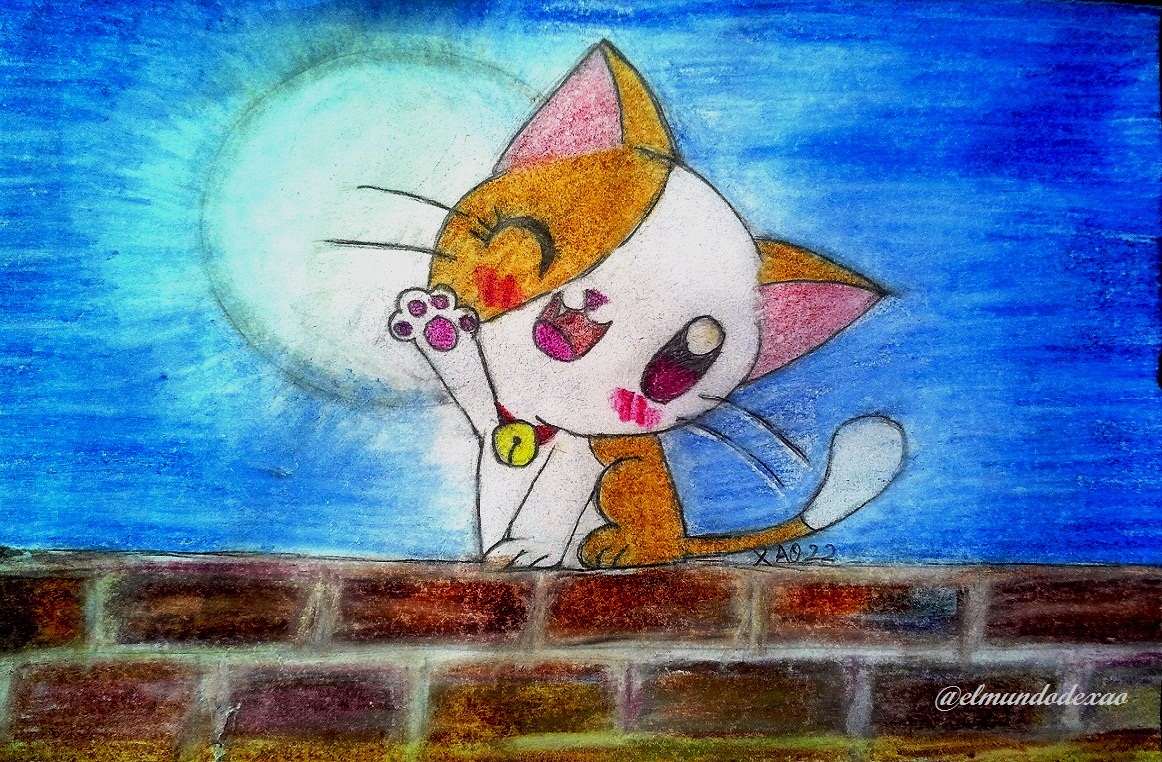
Paso # 08: El muro; aquí puse en práctica una técnica que aprendí en clases de arte y creatividad, coloco oscuros y claros y luego los aclaro con blanco; mientras lo voy aclarando puedo añadir otros colores que les de contraste y relieve.
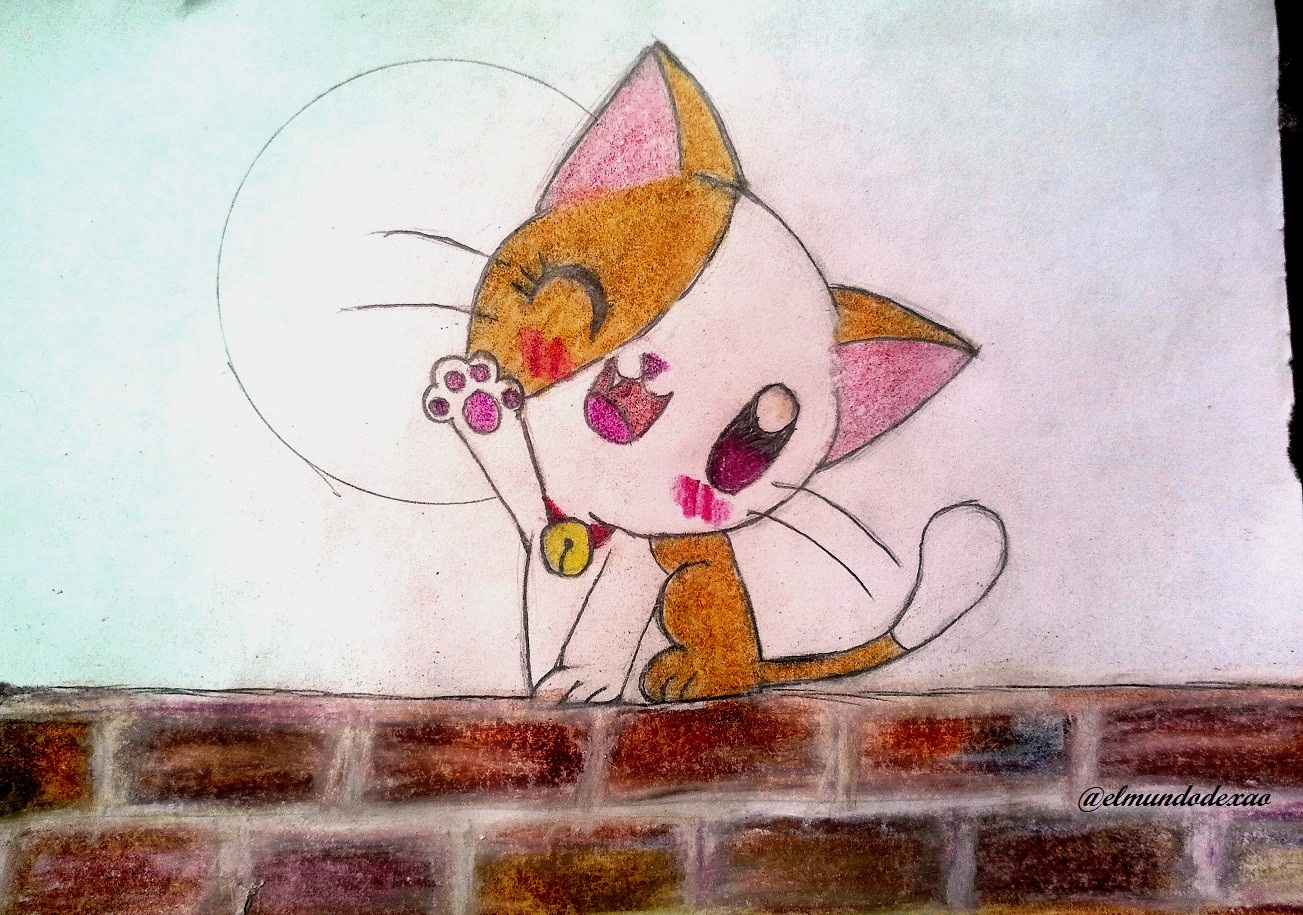
Paso # 09: El cielo; utilizando azul oscuro y un blanco para suavizarlo le voy dando el tono adecuado, en cambio para la luna utilizo gris y blanco y dejando un espacio alrededor de la luna le paso blanco como si estuviese coloreando un sol.