Hello Hive Diy friends...
☺☺☺
Welcome to my blog once again, I hope you are having a great day. Today I will show you my most recent kawaii drawing which is about a little gorilla, you may not notice the difference between this drawing and the previous ones for this reason I will tell you about this new advance that I have achieved; the previous drawings as I always told you, besides leaving you the link, I made them observing the step by step instead now I looked for a finished drawing and I myself was making the step by step, thus testing what I have learned so far.
Here are the materials used: 52 g white bond paper, 0.5 mechanical pencil, 0.5 marker, eraser and colors (Variety of brands).
 Let's start with the step by step drawing:
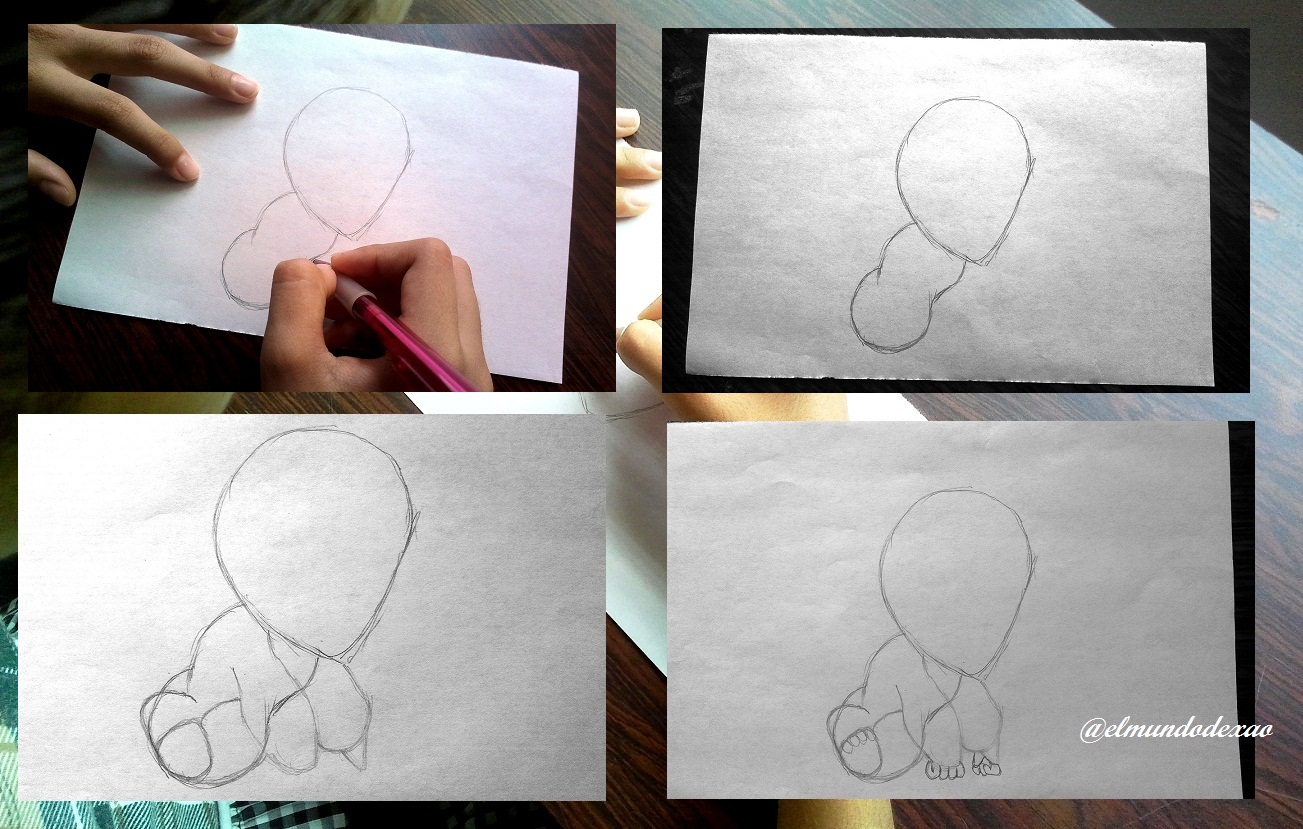
Step # 01: To achieve the head I made a circle with one of the sides pointed like a drop of water, and then the body, I drew it remembering the peanut shell; as you will see until this point I still could not distinguish what I wanted to draw. Until I placed the arms and fingers and then it was quite obvious what I wanted.
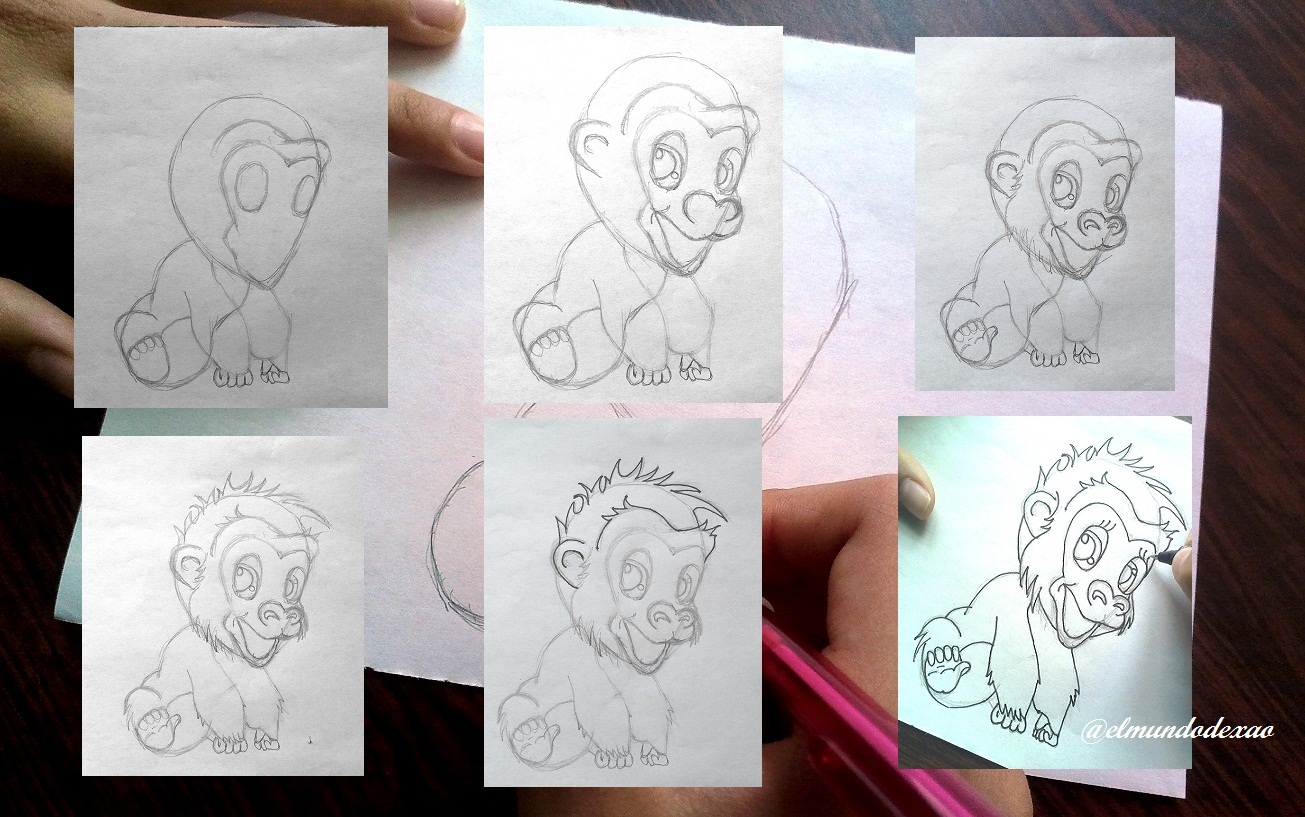
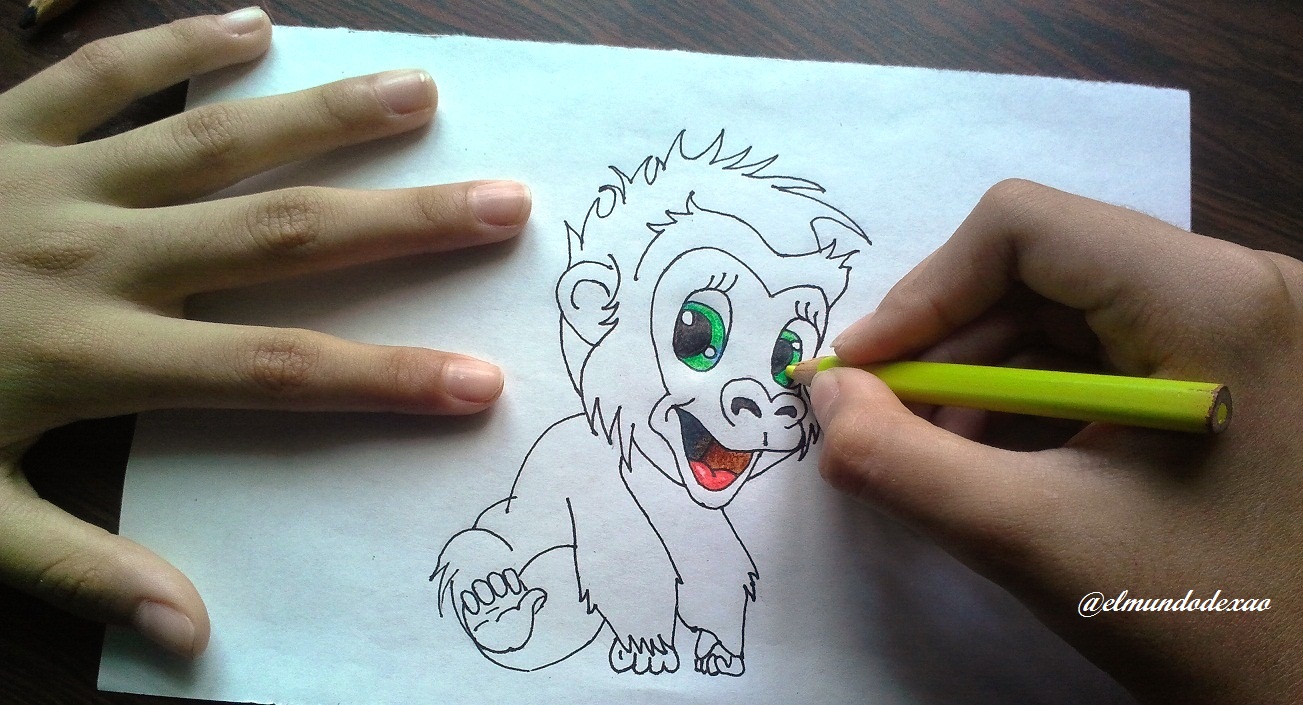
 Step # 02: in this part I will work the face, I started with the eyebrows and then define the face, I did this by marking a heart since that was what I could see with the naked eye on his face; that is the technique I use, I try to compare with a geometric figure each part of the body although sometimes it is a little difficult to see it. Then I drew the eyes, mouth and nose, the good thing about how I did it before is that you learn to do the strokes and after so much practice you don't forget them. Although it seems that I did it the first time, it was a little difficult to do the mouth and nose, in fact I had to erase many times. Once the drawing was finished I proceeded to ink it.
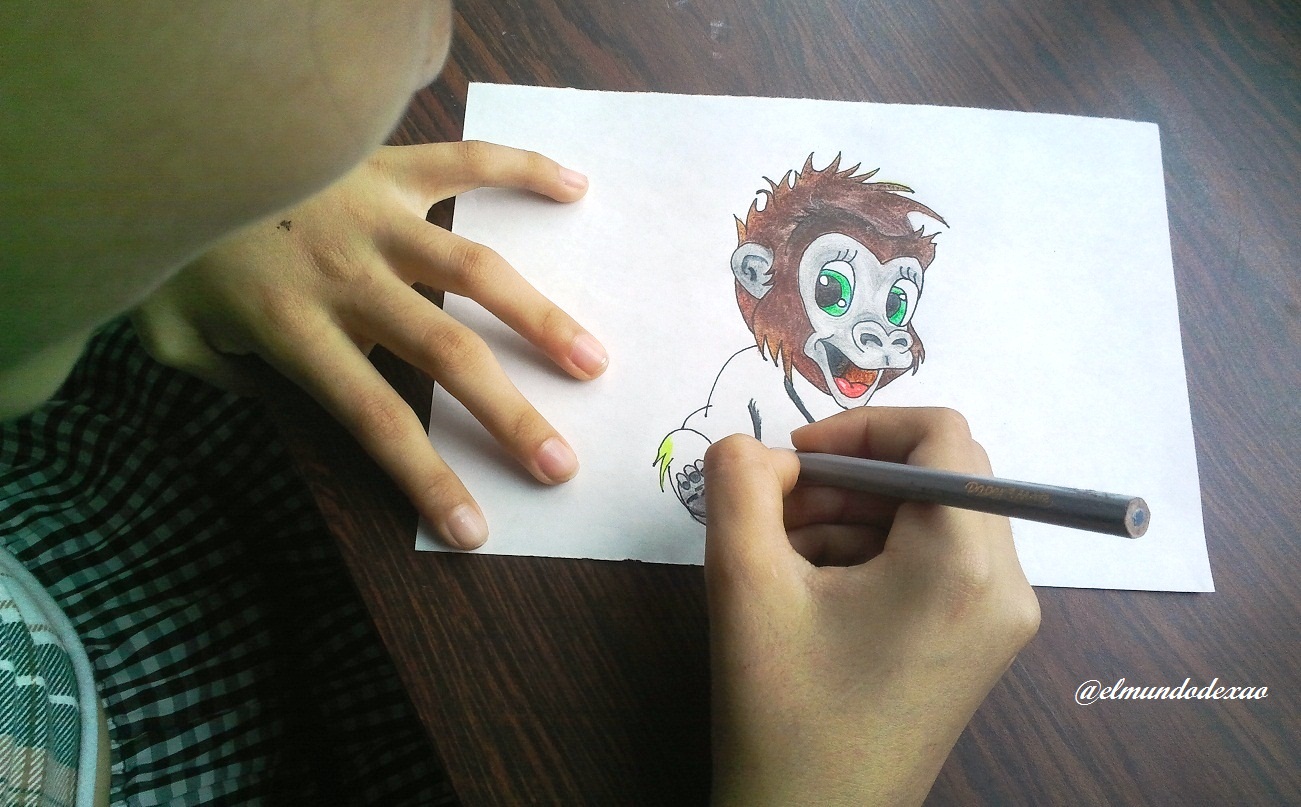
 Step # 03: After inking and erasing all the graphite, I begin to color for which I started with the eyes and mouth. In the eyes I used blue and green and then retouched it with yellow. On the face I used gray in two different tones, a light one to define the most illuminated parts and a slightly darker gray for the rest. For the fur use yellow on the tips and a little lower a light brown and then start with the darker tone.
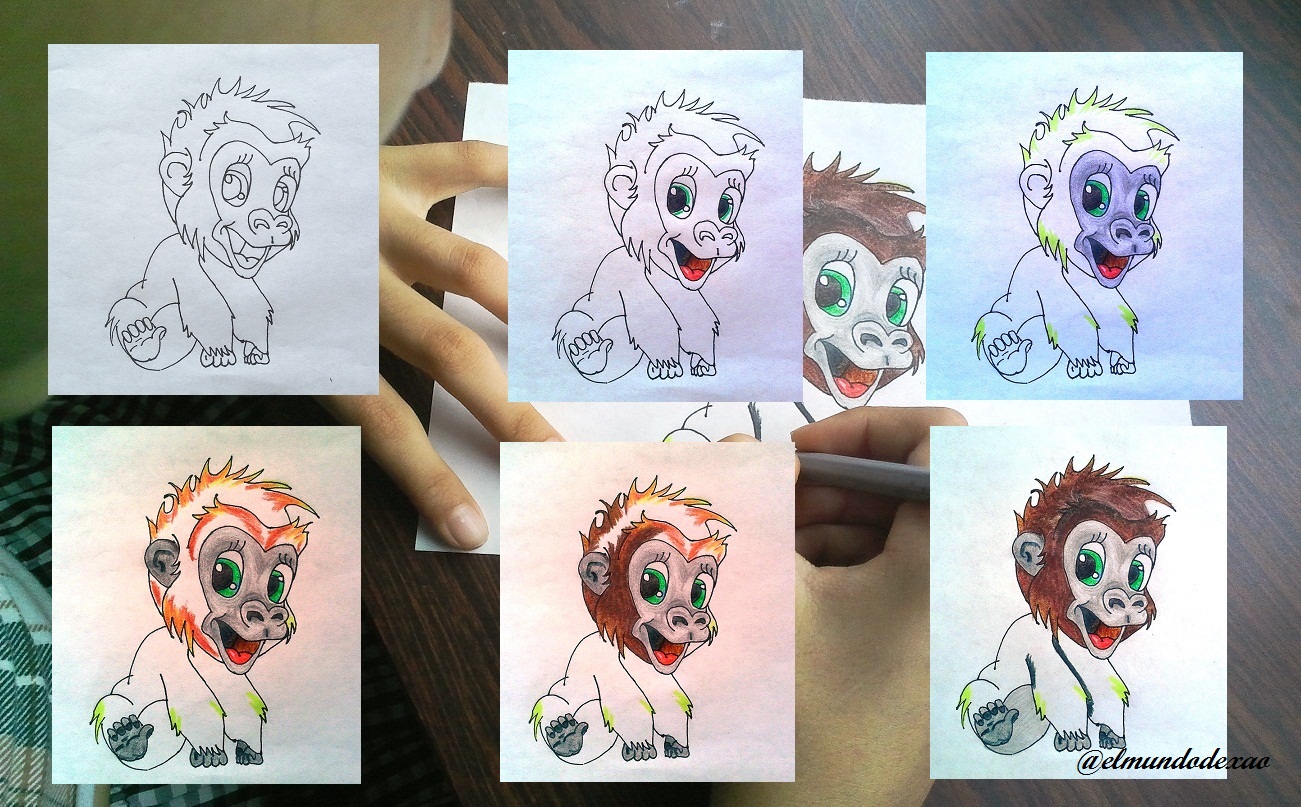
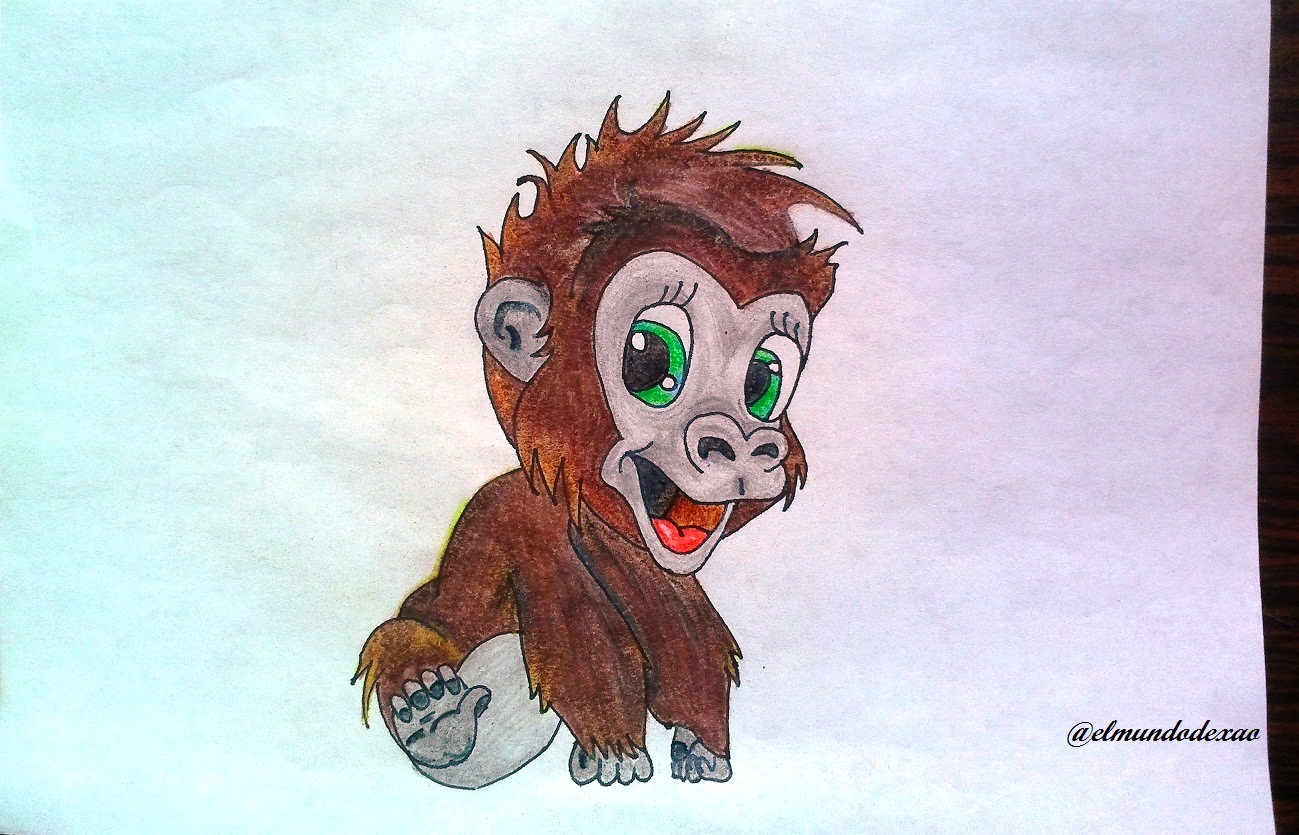
 Step # 04: Paint the body, here it is very important the tonalities since I have to make the difference between the arms, legs and body and for this I used a dark gray before starting to use the brown and for the legs a light gray.
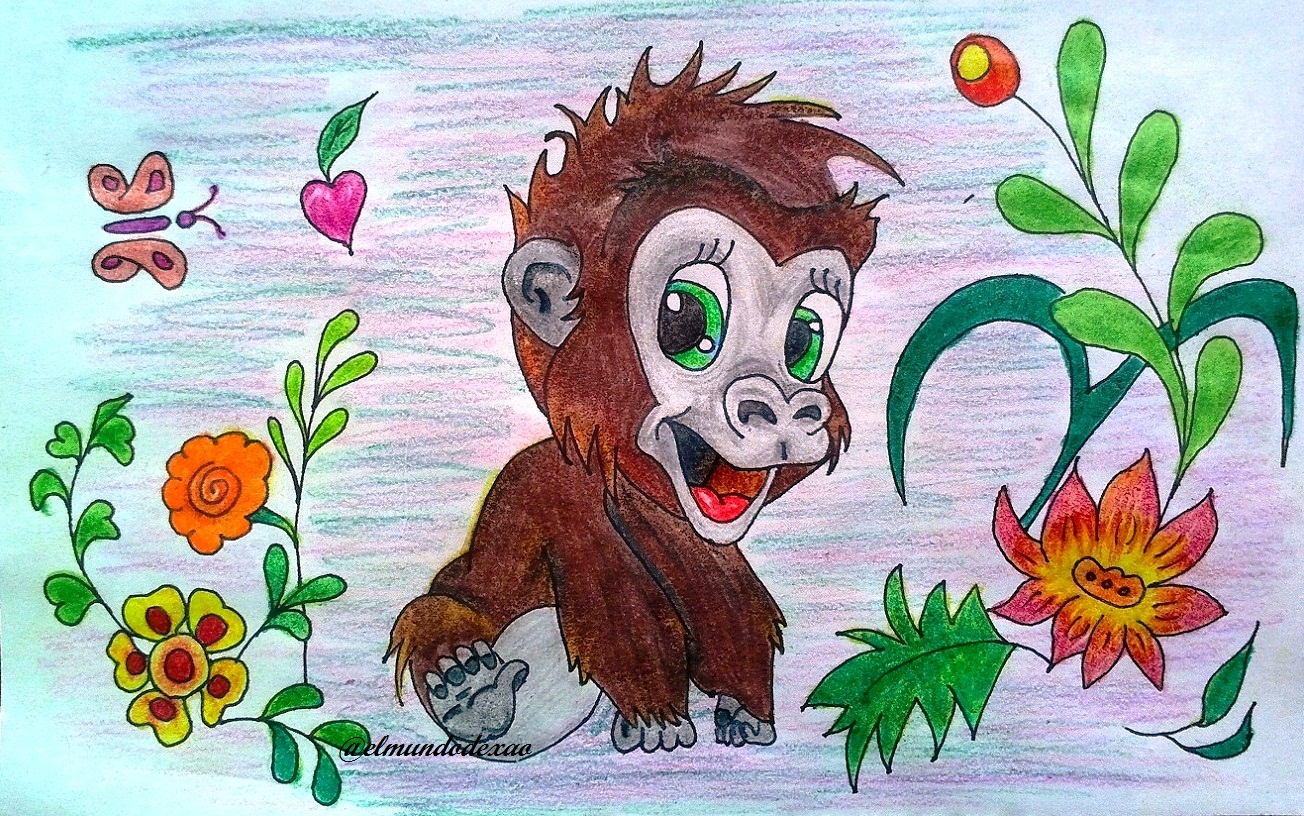
 Step # 05: The environment; the most common is a jungle so trying to find something suitable I remembered a jewelry box in the shape of a chest with some ornaments like these and decided to make them like this, I drew flowers, leaves and a butterfly and then added the colors in the most varied way I could.
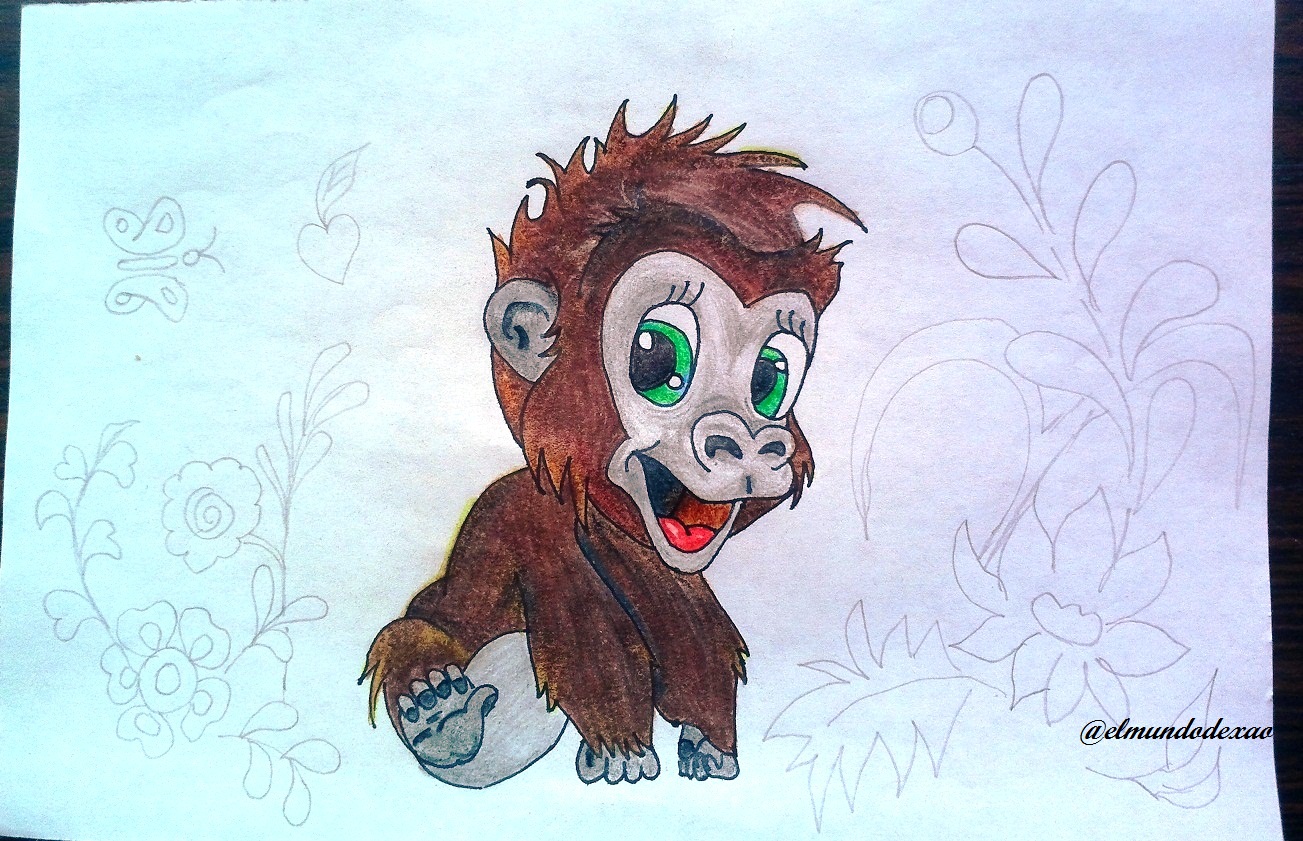
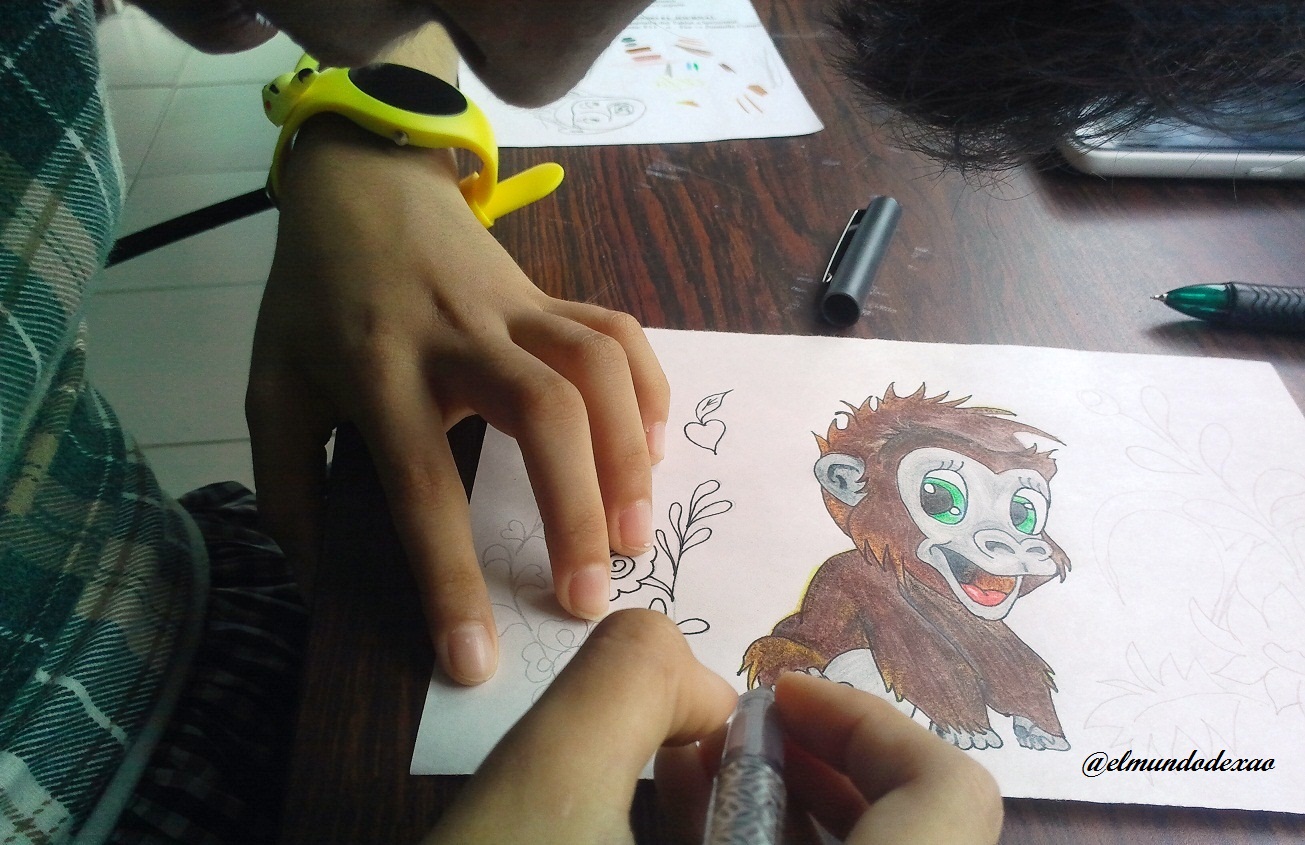
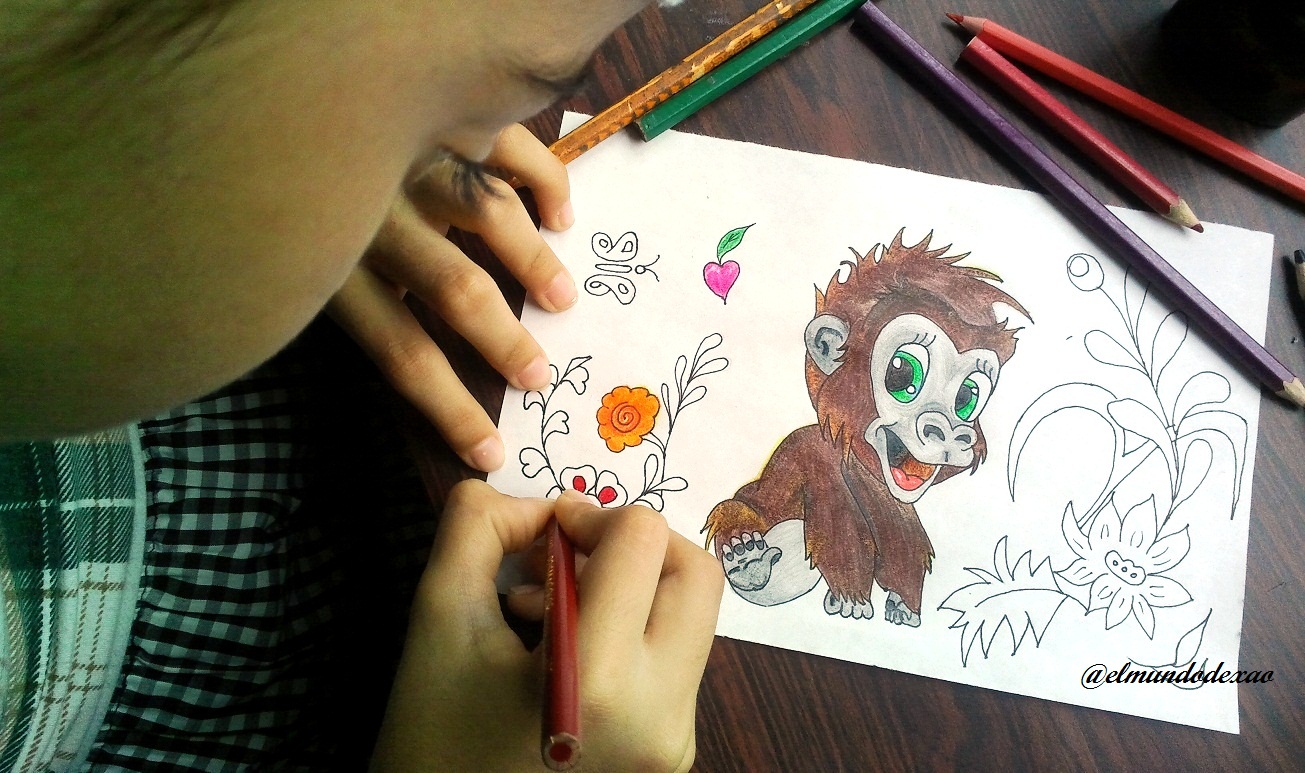
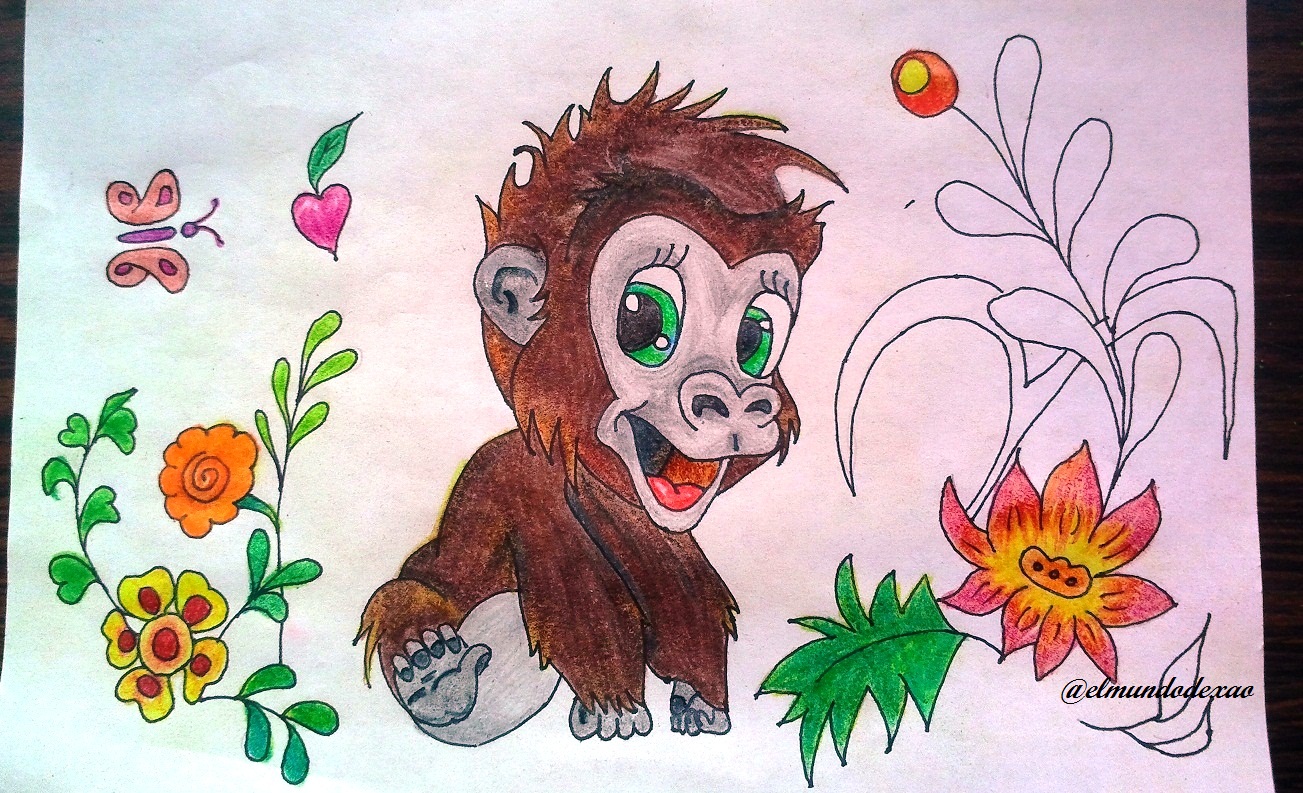
Photo Source: Own photos captured with a Síragon camera.
Modified size: With the Paint Program.
Thanks for visiting my Blog… AH! Don't forget to vote, reblogear, and comment.
Translated with:

www.DeepL.com/Translator (free version)

Hola amigos de Hive Diy…
☺☺☺
Bienvenidos a mi blog una vez más, Espero estén pasando un gran día. Hoy les mostrare mi más reciente dibujo kawaii el cual trata de una pequeña gorila, posiblemente ustedes no noten la diferencia entre este dibujo y los anteriores por esta razón les contare este nuevo avance que he alcanzado; los dibujos anteriores como siempre les comente, además de dejarles el enlace, los realizaba observando el paso a paso en cambio ahora busque un dibujo terminado y yo misma fui realizando el paso a paso, poniendo así a prueba lo que he aprendido hasta ahora.
A continuación menciono los materiales utilizados: Papel bond blanco de 52 g, portaminas 0.5, rotulador de 0.5, borrador y colores (Variedad de marcas).
Comencemos con el paso a paso del dibujo:
Paso # 01: Para lograr la cabeza hice un circulo con uno de los lados puntiagudo como una gota de agua, y luego el cuerpo, lo dibuje recordando la cascara de maní; como verán hasta este punto todavía no se podía distinguir que quería dibujar. Hasta que coloque los brazos y los dedos y entonces ya era bastante obvio lo que quería.
Paso # 02: en esta parte trabajare la cara, empecé con las cejas para luego definir la cara esto lo hice marcando un corazón ya que eso era lo que podía observar a simple vista en su cara; esa es la técnica que uso, trato de comparar con una figura geométrica cada parte del cuerpo aunque en ocasiones es un poco difícil verla. Luego dibuje los ojos, boca y nariz, lo bueno de cómo lo hacía anteriormente es que se aprende hacer los trazos y después de tanta práctica no se olvidan. Aunque parece que lo hice a la primera, resulto un tanto difícil hacer la boca y la nariz, de hecho tuve que borrar muchas veces. Una vez terminado el dibujo procedo a entintarlo.
Paso # 03: Luego de entintar y haber borrado todo el grafito, comienzo a colorear para lo cual comencé con los ojos y la boca. En los ojos coloque azul y un verde para luego retocarlo con amarillo. En la cara utilice gris en dos tonos distintos, uno claro para definir las partes más iluminadas y un gris un poco más oscuro para el resto. Para el pelaje utilice amarillo en las puntas y un poco más abajo un marrón claro para después comenzar con el tono más oscuro.
Paso # 04: Pintar el cuerpo, aquí es muy importante las tonalidades ya que debo hacer notar la diferencia entre lo brazos, patas y cuerpo y para ello utilice un gris oscuro antes de empezar a usar el marrón y para la pansa un gris claro.
Paso # 05: El entorno; lo más común es una selva así que intentando buscar algo adecuado recordé un joyero en forma de cofre con unos adornos como estos y decidir hacerlos así, dibuje flores hojas y una mariposa para luego agregar los colores de la formar más variada que pude.
Fuente de Fotos: Propias capturadas con una cámara Síragon.
Modificado el tamaño: Con el Programa Paint.
Gracias por visitar mi Blog… ¡AH! No se olvide de votar, rebloguear y comentar.
Que Cuchi
Hola @jorgelissanchez, me alegra mucho que le gustara, gracias por leerme.

Le deseo un feliz inicio de semana.