Hello Hive Diy friends...
☺☺☺
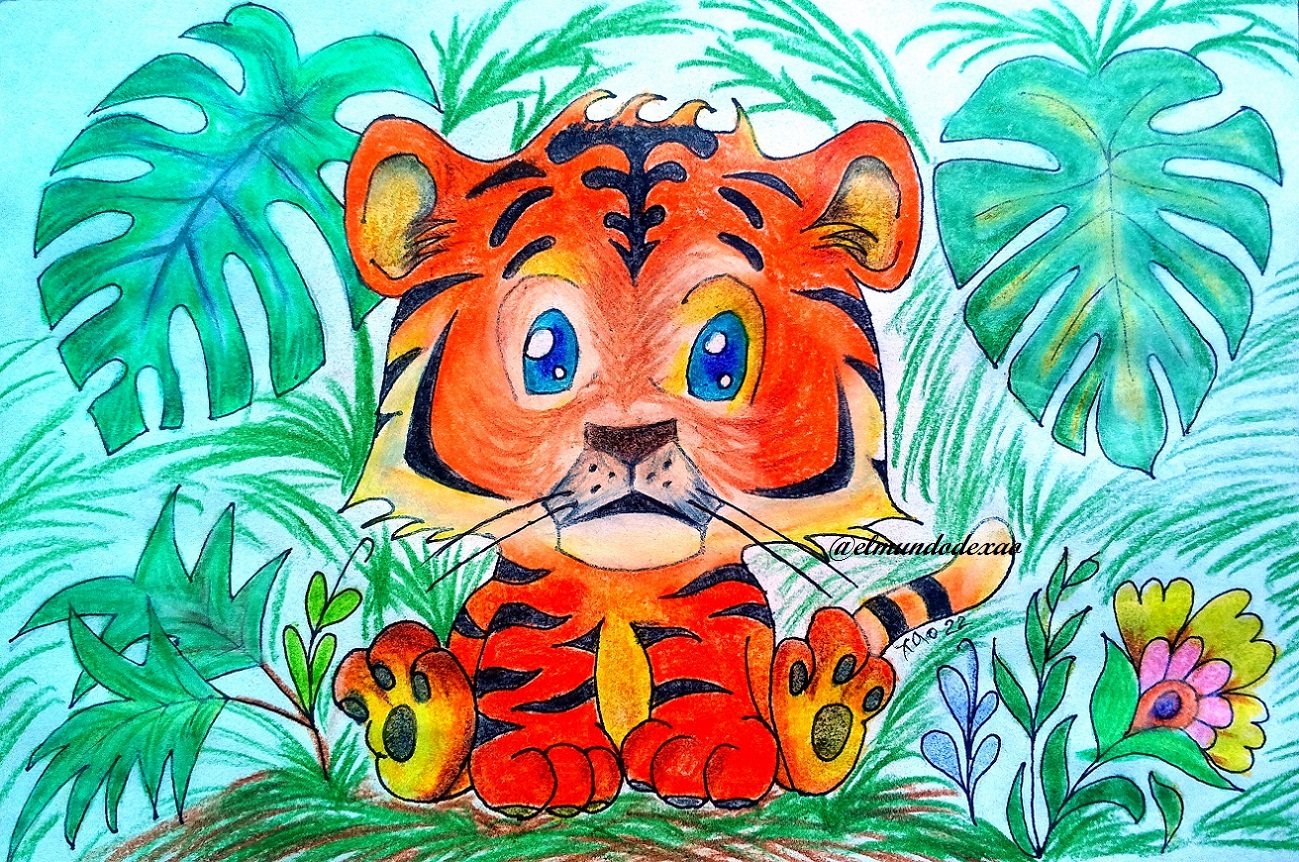
Welcome to my blog once again, I hope you are having a great time. Today I will show you my latest kawaii art, The tiger cub.
Here are the materials I used: 52 g white bond paper, 0.5 mechanical pencil, 0.5 marker, eraser and colors (Variety of brands).
Before I continue I want to tell you that many of my learning I develop through videos that we search on YouTube, so at the end I will leave you the link I used on this occasion.
Let's start with the step by step drawing:
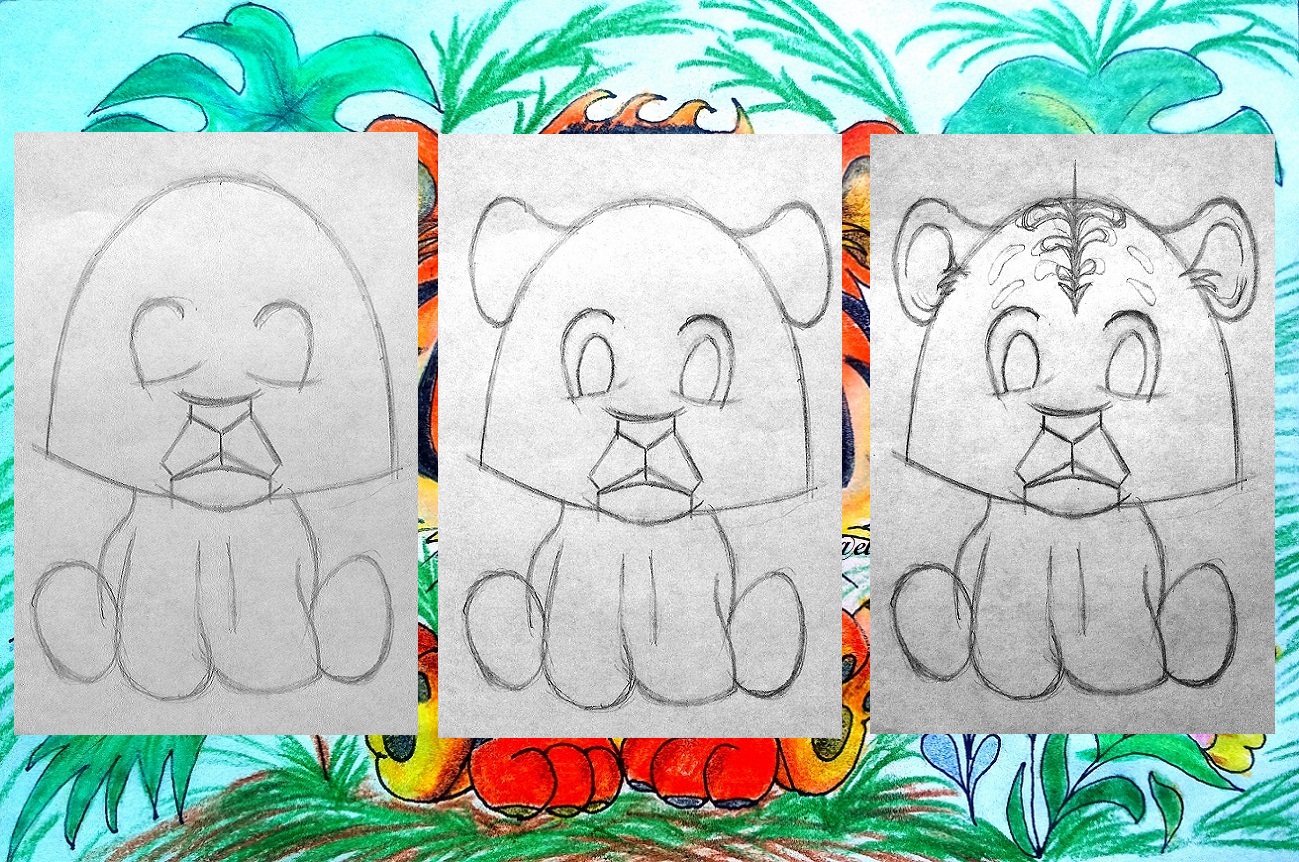
Step # 01: To start I draw half of an oval vertically, as you can see in the first image, now I draw a semi-curved line to close this figure, this will define the head of the tiger. Then I draw two lines at the bottom to define where the body will be located, they are two curved lines and I define one of the front paws to see if the size of the body is adequate with respect to the head.
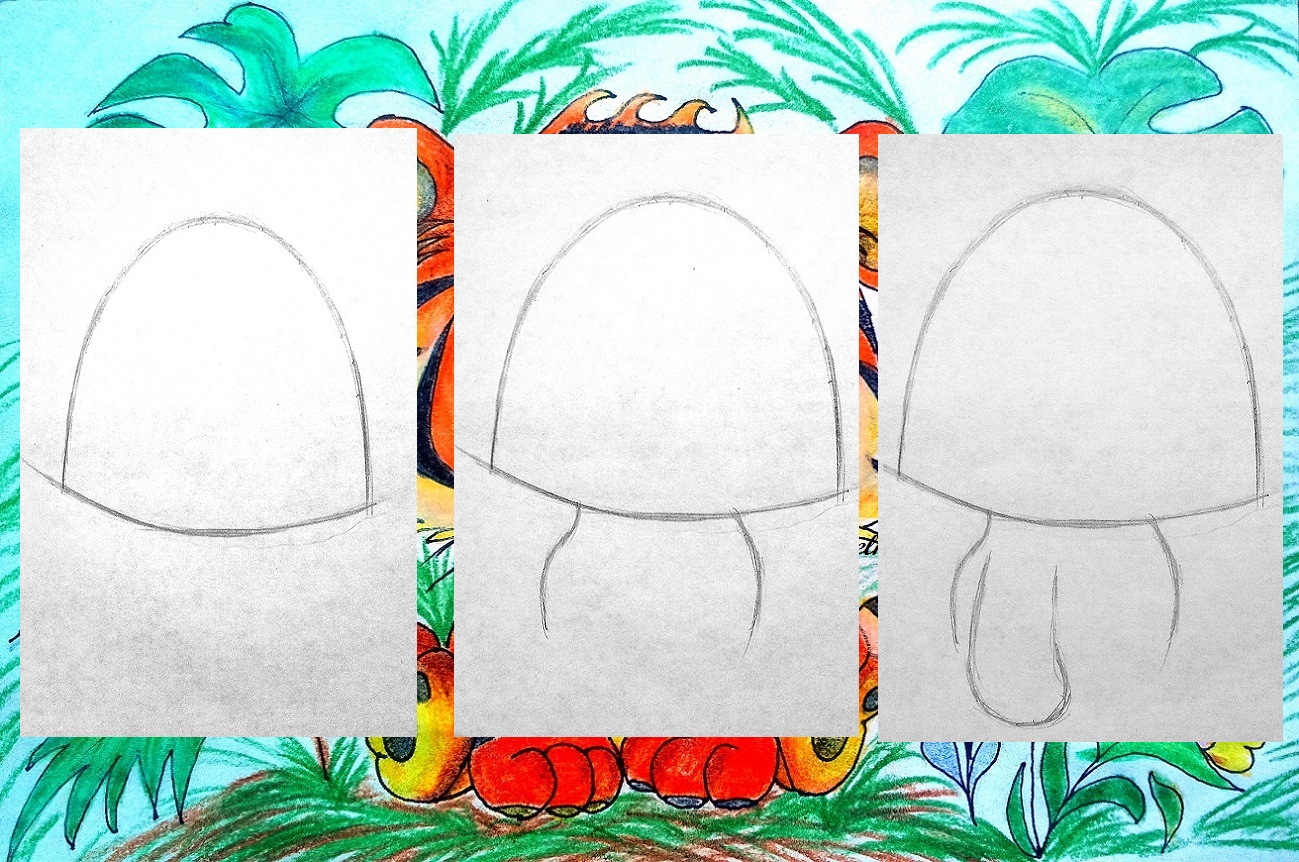 Step # 02: I draw a small vertical line to define where the second front leg will be located and then I draw two small ovals on the sides that will be the two back legs; as I consider that I have the sketch well defined I start with the details of the muzzle drawing first two small lines one on the right and one on the left then I draw a curved line like a smile and right in the middle but a little higher I draw another line and close with an angle.
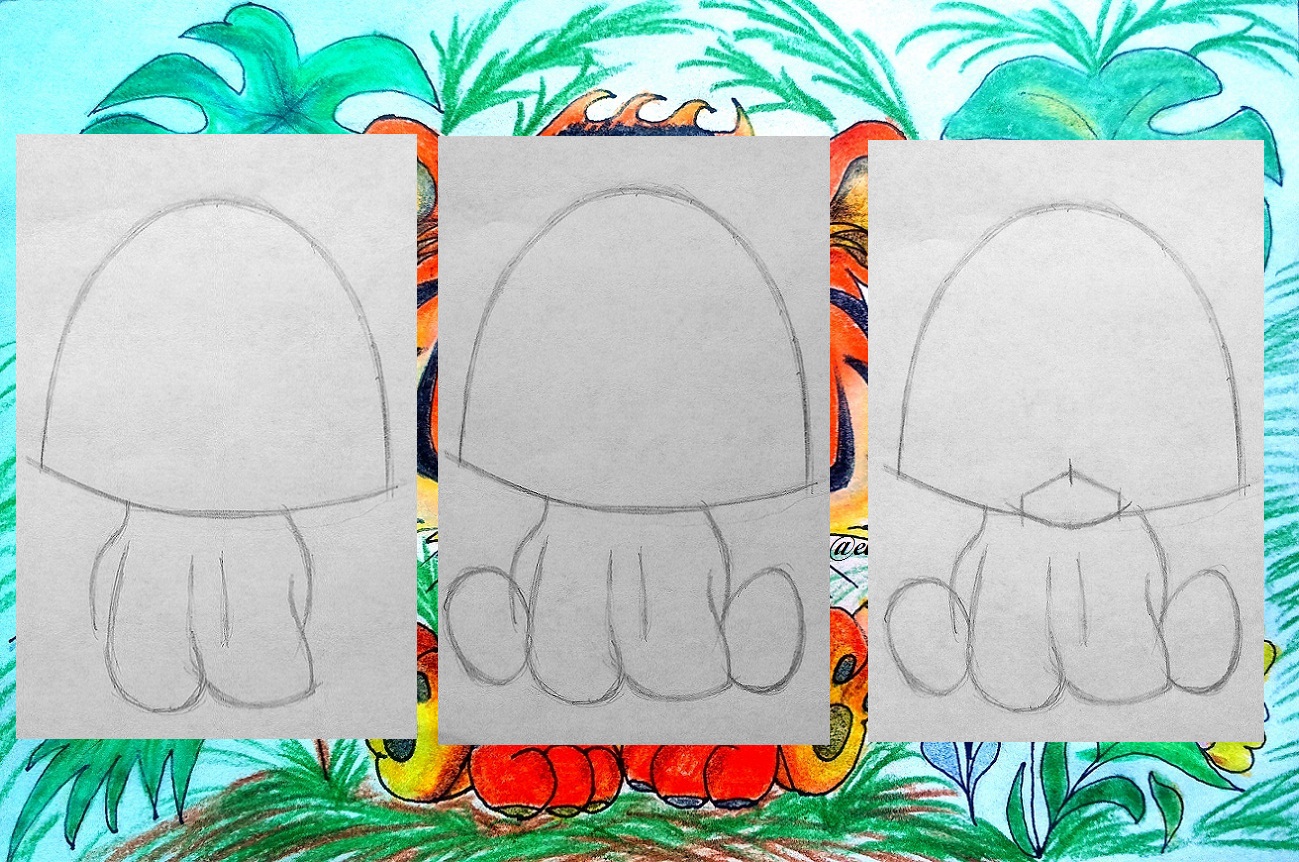 Step # 03: I place another curved line on top of the one that looks like a smile but this one looks sad because it is the other way around. Now I draw again three small stripes in each corner of the angle and in the middle I make a kind of Y and then saw this Y with the angle and finally I draw another curved line to close above.
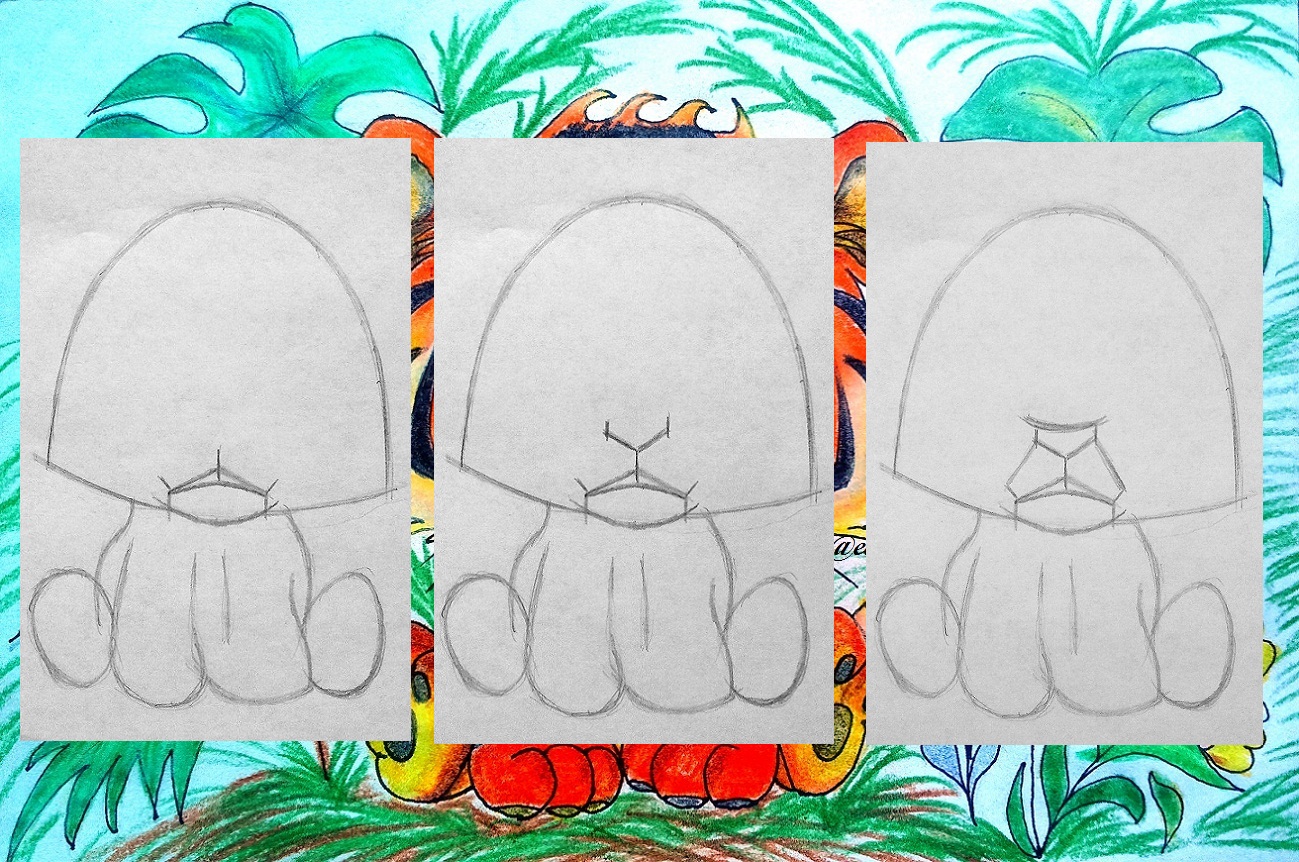 Step # 04: Once the muzzle is finished I make two ovals for the eyes but I draw them very softly and I only leave the part I need since there will be many stripes and I can make a mistake when inking. Inside the half ovals of the eyes I make two new ovals only a little bit smaller and then I start with the ears, which as you can see are also ovals since I find it easier to make them this way than circular.
 Step # 05: Now I draw the spots and the fur of the face and then define the two front legs, I use half circles to identify the toes and do the same with the hind legs.
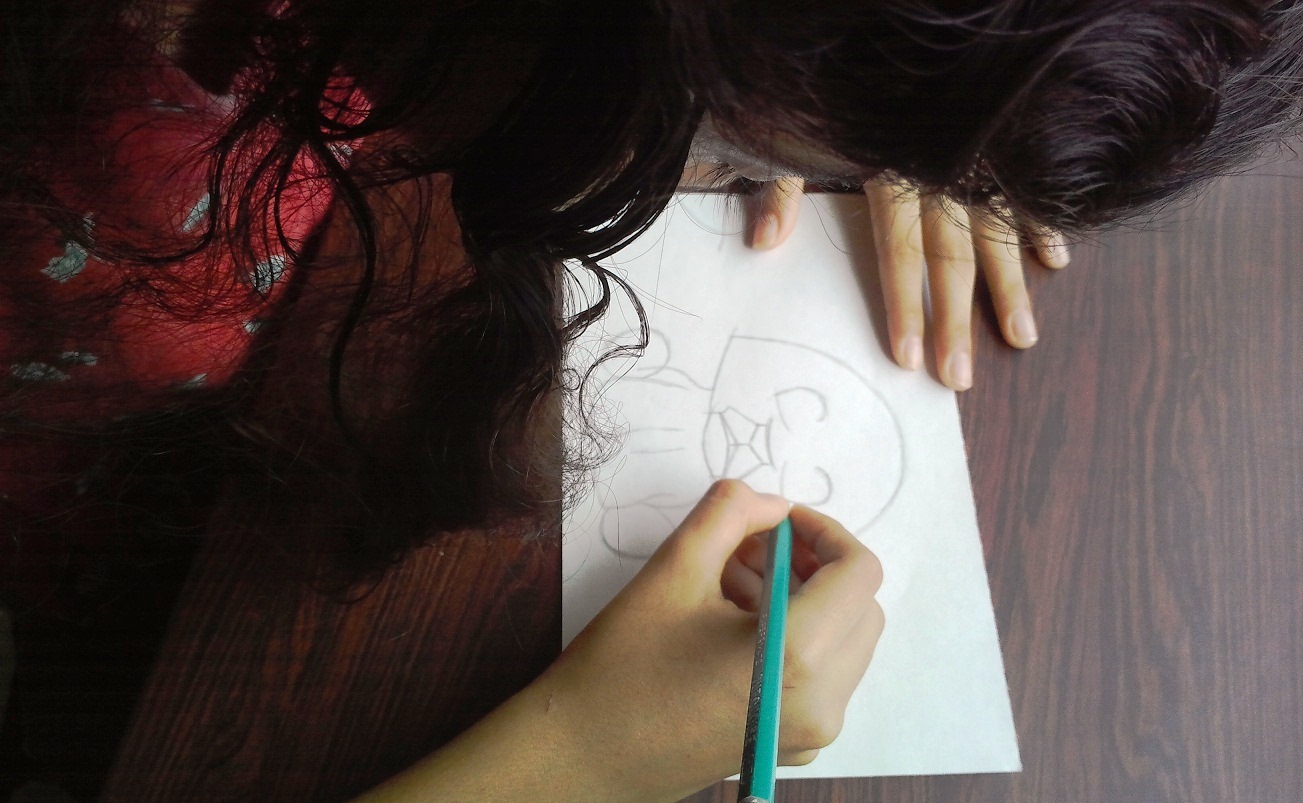
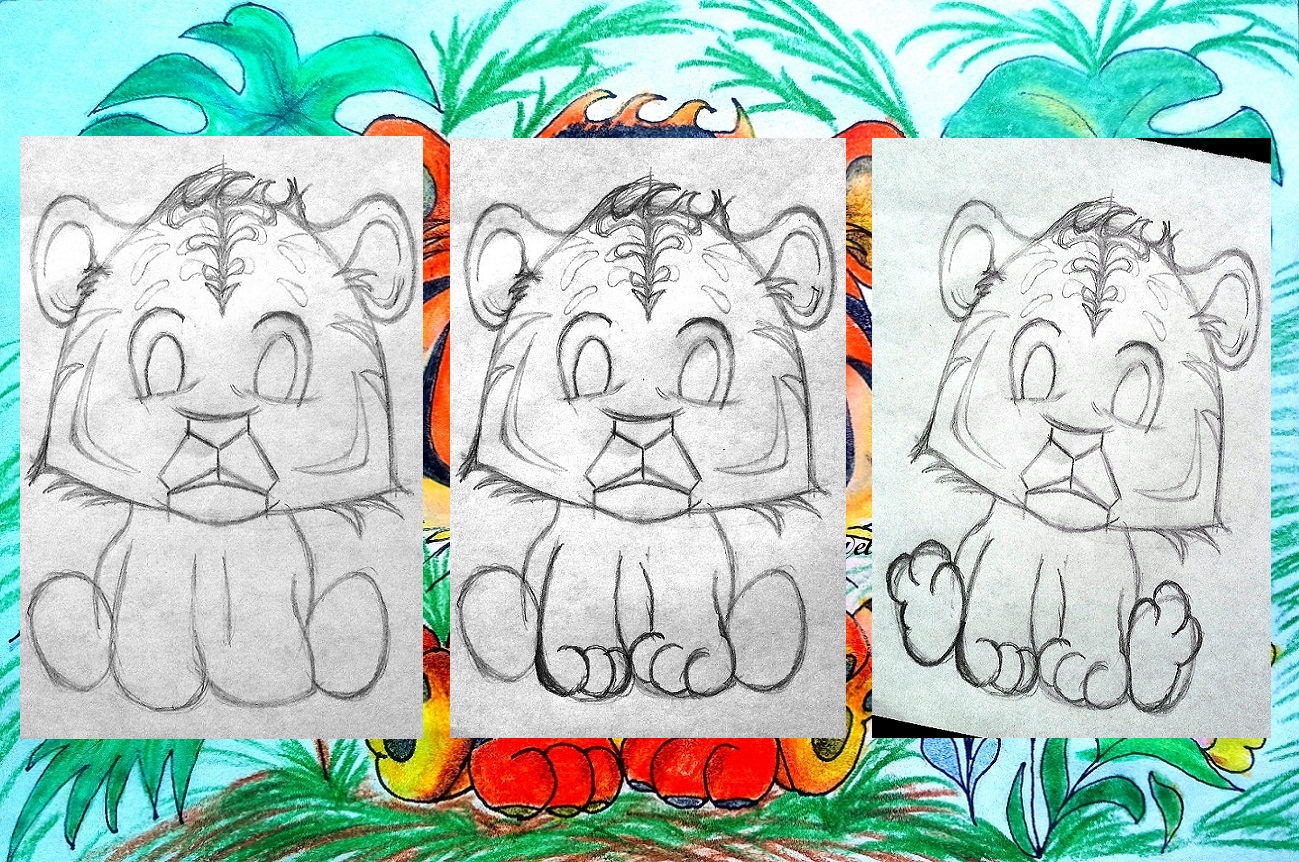 Step # 06: I finish defining the back legs with small circles, I make the tail and the stripes all over the body; ready the tiger is finished and now I proceed to ink it.
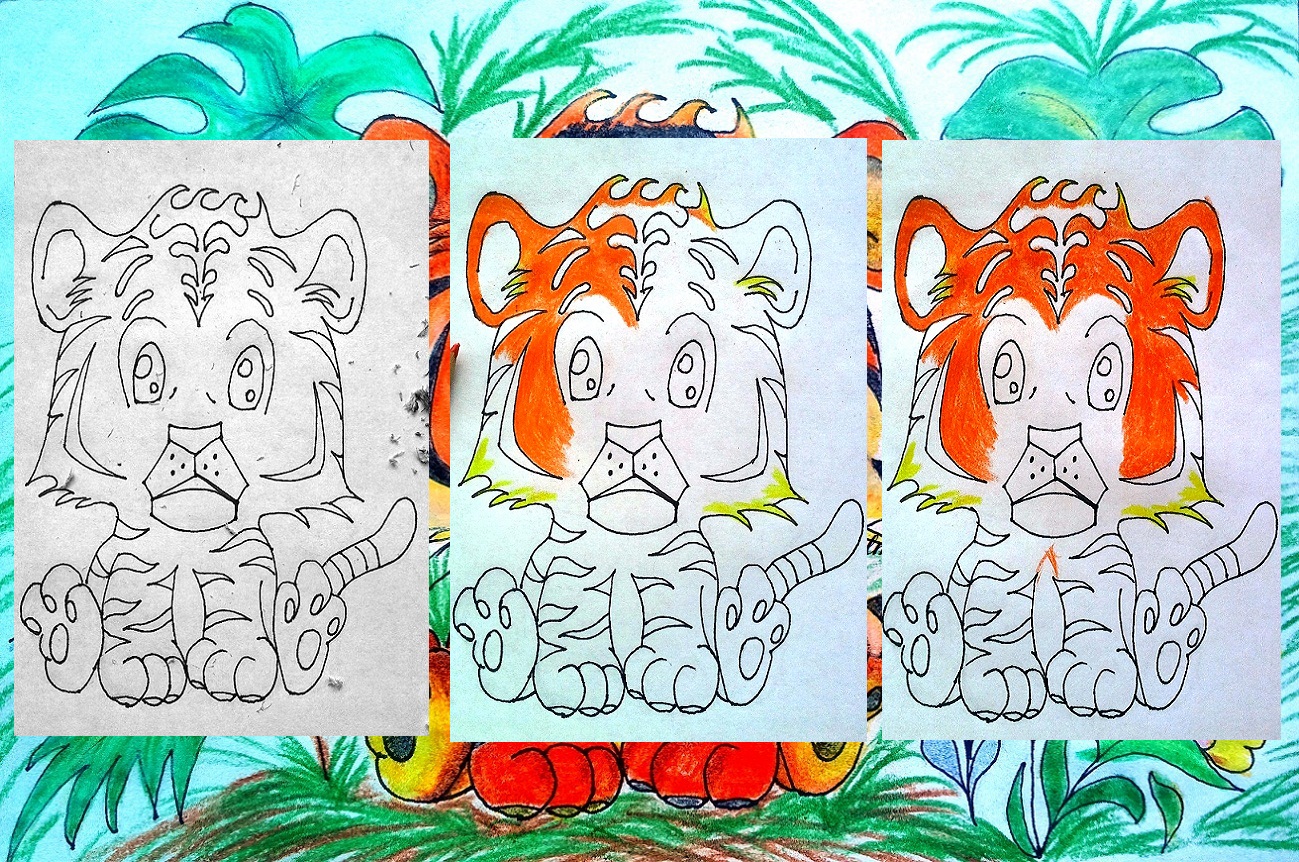
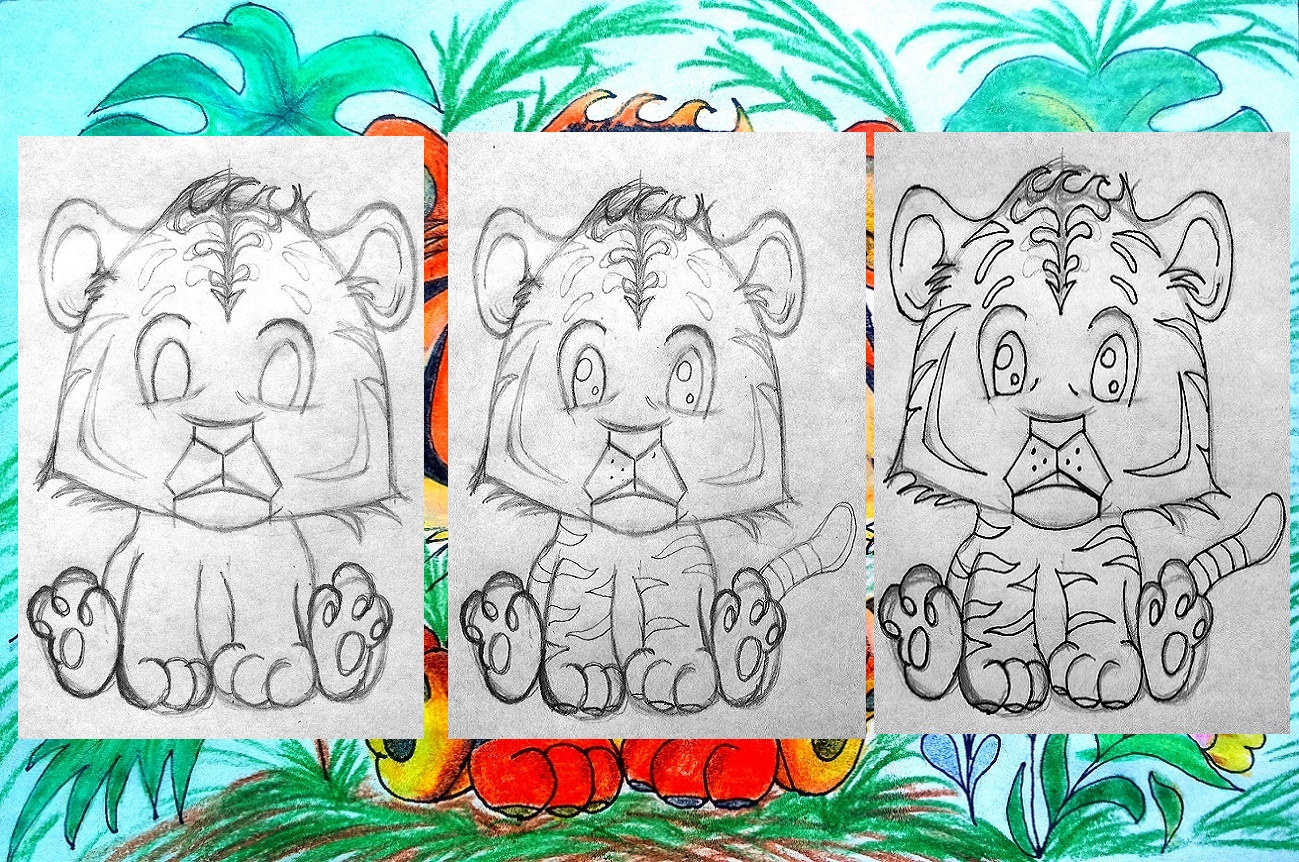 Step # 07: Once the ink is dry I use the eraser to remove all the graphite so I can start coloring. I start by placing yellow on the edges that should be clear and proceed to fill in all the orange part.
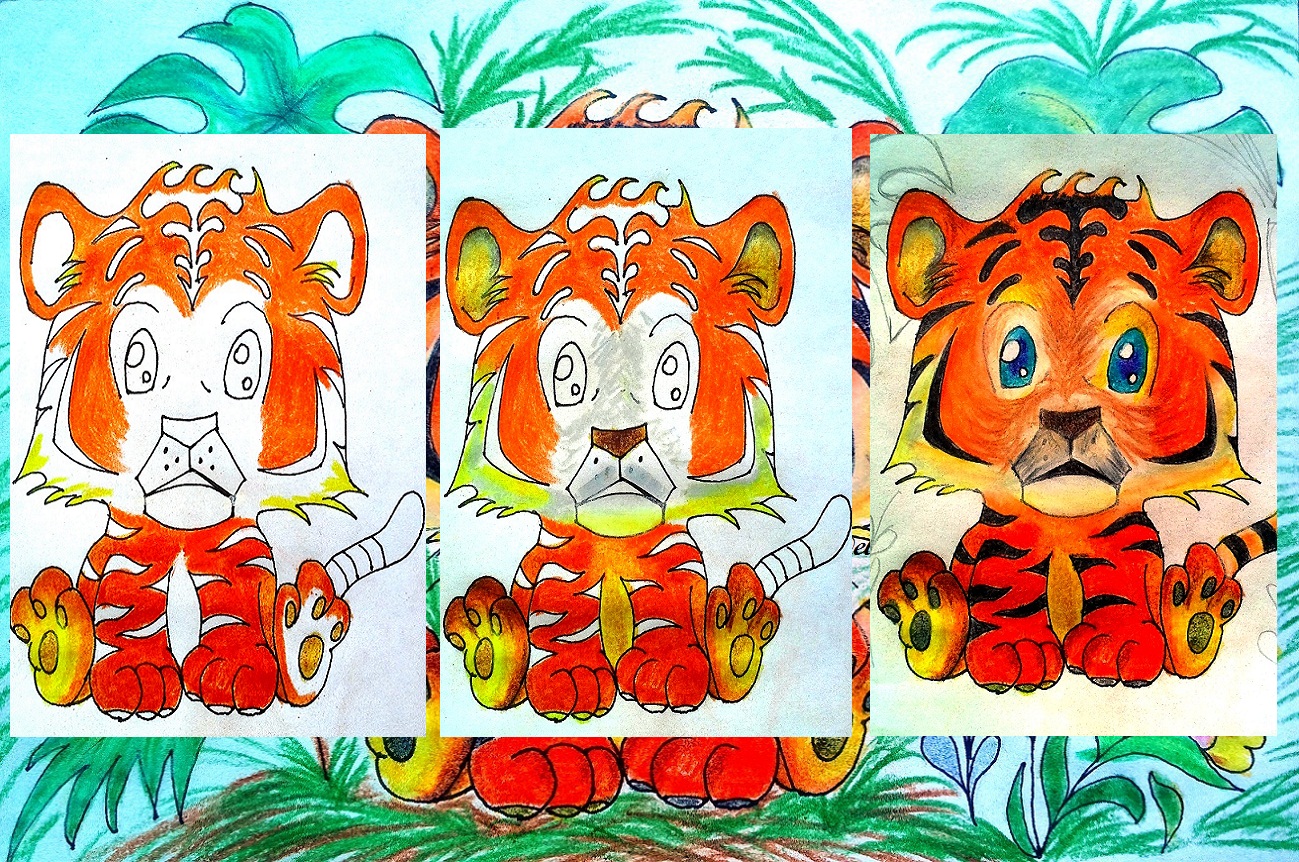
 Step # 08: After finishing with the orange color, I work on the hind legs blurring with yellow and adding some light brown; I fill in the stripes with black and color the eyes with blue and purple.
 Step # 09: The environment; with some leaves and flowers will be enough, but it should be something with a jungle style. Now I make the leaves, ink them and erase the graphite. At the end I leave you the link to the leaves.
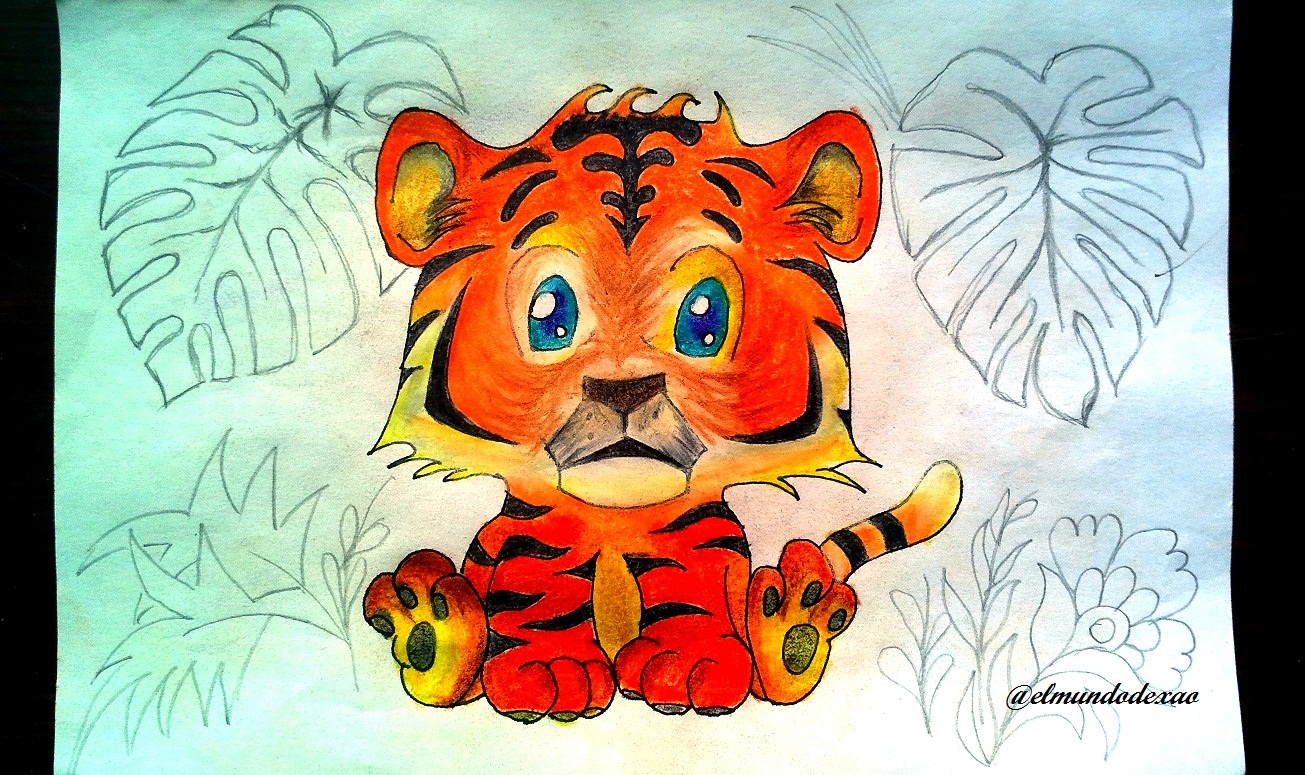
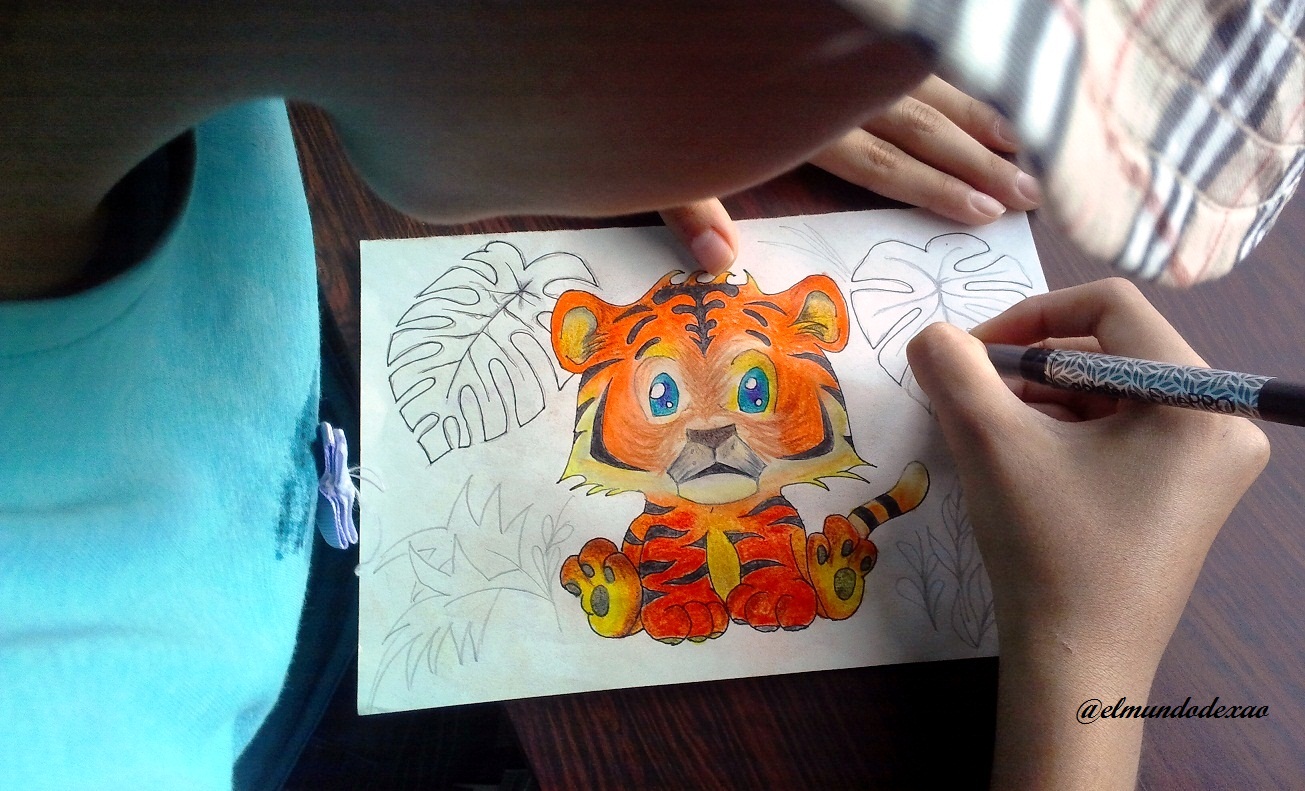
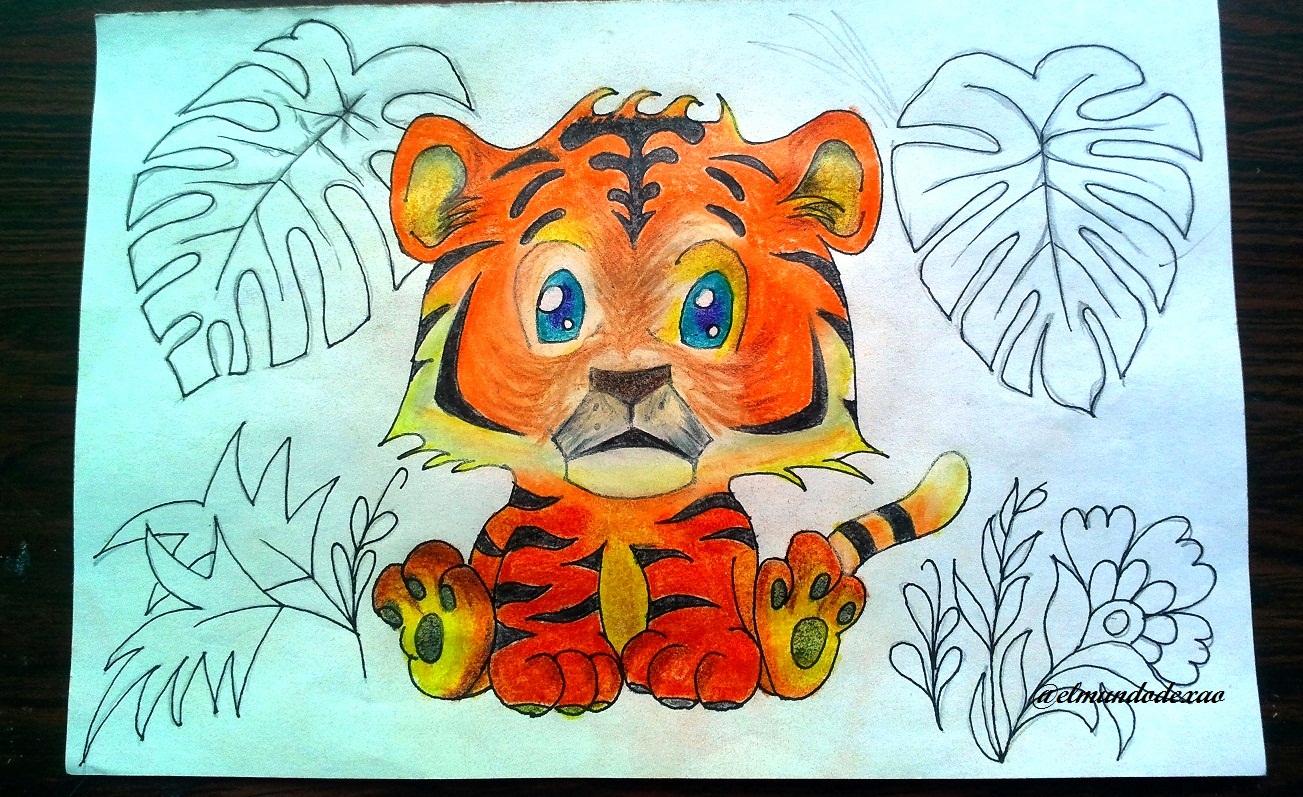 Step # 10: I color the vegetation and here we have our little tiger with a surprised face because his mother has left him alone for a moment. Well friend until here my publication I hope you like it.
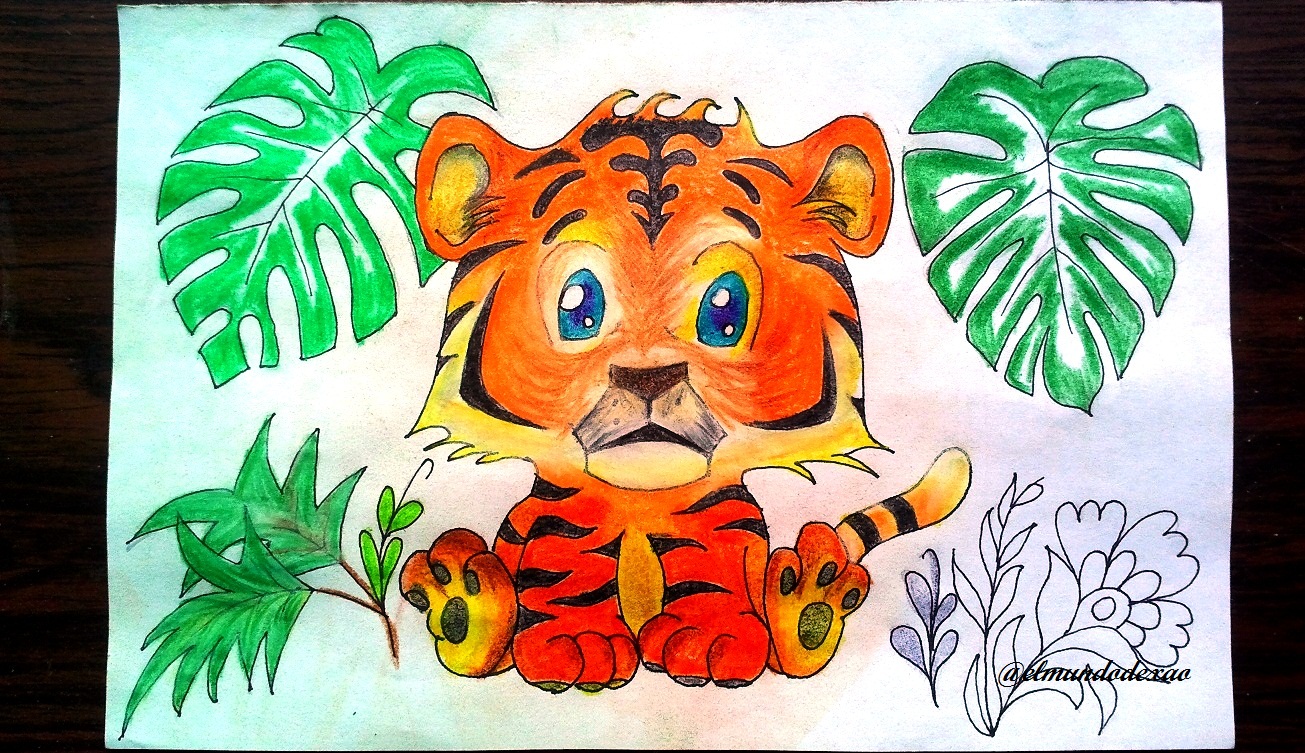

Photo Source: Own photos captured with a Síragon camera.
Modified size: With the Paint Program.
Thanks for visiting my Blog… AH! Don't forget to vote, reblogear, and comment.
Translated with:

www.DeepL.com/Translator (free version)

Hola amigos de Hive Diy…
☺☺☺
Bienvenidos a mi blog una vez más, Espero la estén pasando muy bien. Hoy les mostrare mi más reciente arte kawaii, El cachorro de tigre.
A continuación menciono los materiales utilizados: Papel bond blanco de 52 g, portaminas 0.5, rotulador de 0.5, borrador y colores (Variedad de marcas).
Antes de continuar les quiero comentar que muchos de mis aprendizajes los desarrollo mediante videos que buscamos en YouTube por lo que al final les dejare el enlace que use en esta ocasión.

Comencemos con el paso a paso del dibujo:
Paso # 01: Para comenzar dibujo la mitad de un ovalo en forma vertical, como puedes observarlo en la primera imagen, ahora trazo una línea semicurva para cerrar esta figura, con esto quedara definida la cabeza del tigre. Luego trazo dos líneas en la parte de abajo para definir donde estará ubicado el cuerpo, son dos líneas curvadas y defino una de las patas delanteras para ver si el tamaño del cuerpo es el adecuado con respecto a la cabeza.
 Paso # 02: Dibujo una pequeña línea vertical para definir donde estará ubicada la segunda pata delantera y luego hago dos pequeños óvalos a los lados que serán las dos patas traseras; como ya considero que tengo el boceto bien definido comienzo con los detalles del hocico dibujando primero dos rayitas una a la derecha y otra a la izquierda luego trazo una línea curvada como una sonrisa y justo en el medio pero un poco más arriba trazo otra raya y cierro con un ángulo.
 Paso # 03: Coloco otra línea curva encima de la que parece una sonrisa pero esta parece de tristeza ya que esta al contrario. Ahora vuelvo a trazar tres pequeñas rayas en cada esquina del ángulo y en el medio hago una especie de Y para luego serrar esta Y con el ángulo y por ultimo trazo otra línea curvada para cerrar arriba.
 Paso # 04: Terminado el hocico hago dos óvalos para los ojos pero los trazo muy suave y solo dejo la parte que necesito ya que serán muchas rayas y puedo equivocarme al momento de entintar. Dentro de los semi óvalos de los ojos hago dos nuevos óvalos solo que un poco más pequeño y luego me pongo con la orejas, que como pueden ver también son óvalos ya que hacerlas así me resulta más fácil que circulares.
 Paso # 05: Ahora dibujo las manchas y el pelaje de la cara para luego definir las dos patas delanteras, utilizo semi círculos para identificar los dedos y lo mismo hago con las patas traseras.

 Paso # 06: Termino de definir las patas traseras con pequeños círculos, hago la cola y las rayas de todo el cuerpo; listo el tigre está terminado y ahora procedo a entintarlo.
 Paso # 07: Una vez que seca la tinta utilizo el borrador para retirar todo el grafito y así poder comenzar a colorear. Comienzo colocando amarillo en los bordes que deben quedar claros y procedo a rellenar toda la parte anaranjada.
 Paso # 08: Después de terminar con el color naranja, trabajo en las patas traseras difuminado con amarillo y agregando un poco de marrón claro; relleno las rayas de negro y coloreo los ojos con azul y morado.
 Paso # 09: El entorno; con algunas hojas y flores será suficiente, pero debe algo con estilo de selva. Ahora hago las hojas las entinto y borro el grafito. Al final les dejo el enlace de las hojas.


 Paso # 10: Coloreo la vegetación y listo aquí tenemos a nuestro pequeño tigre con una cara de sorpresa porque su madre lo ha dejado un momento solo. Bueno amigo hasta aquí mi publicación espero les guste.


Fuente de Fotos: Propias capturadas con una cámara Síragon.
Modificado el tamaño: Con el Programa Paint.
Gracias por visitar mi Blog… ¡AH! No se olvide de votar, rebloguear y comentar.


Hola! .... te felicito, muy bueno tu trabajo, parece que hablamos el mismo idioma,... quizás usted un mas avanzado... saludos!...
Hola @mauro1993, Gracias, me gusta pintar aunque todavía falta mucho que aprender, me alegra le gustara y agradezco su comentario.

Le deseo una Feliz Tarde.
Congratulations @elmundodexao! You have completed the following achievement on the Hive blockchain and have been rewarded with new badge(s):
Your next payout target is 3000 HP.
The unit is Hive Power equivalent because post and comment rewards can be split into HP and HBD
You can view your badges on your board and compare yourself to others in the Ranking
If you no longer want to receive notifications, reply to this comment with the word
STOPTo support your work, I also upvoted your post!
Check out the last post from @hivebuzz: