Hello Hive Diy friends...
☺☺☺
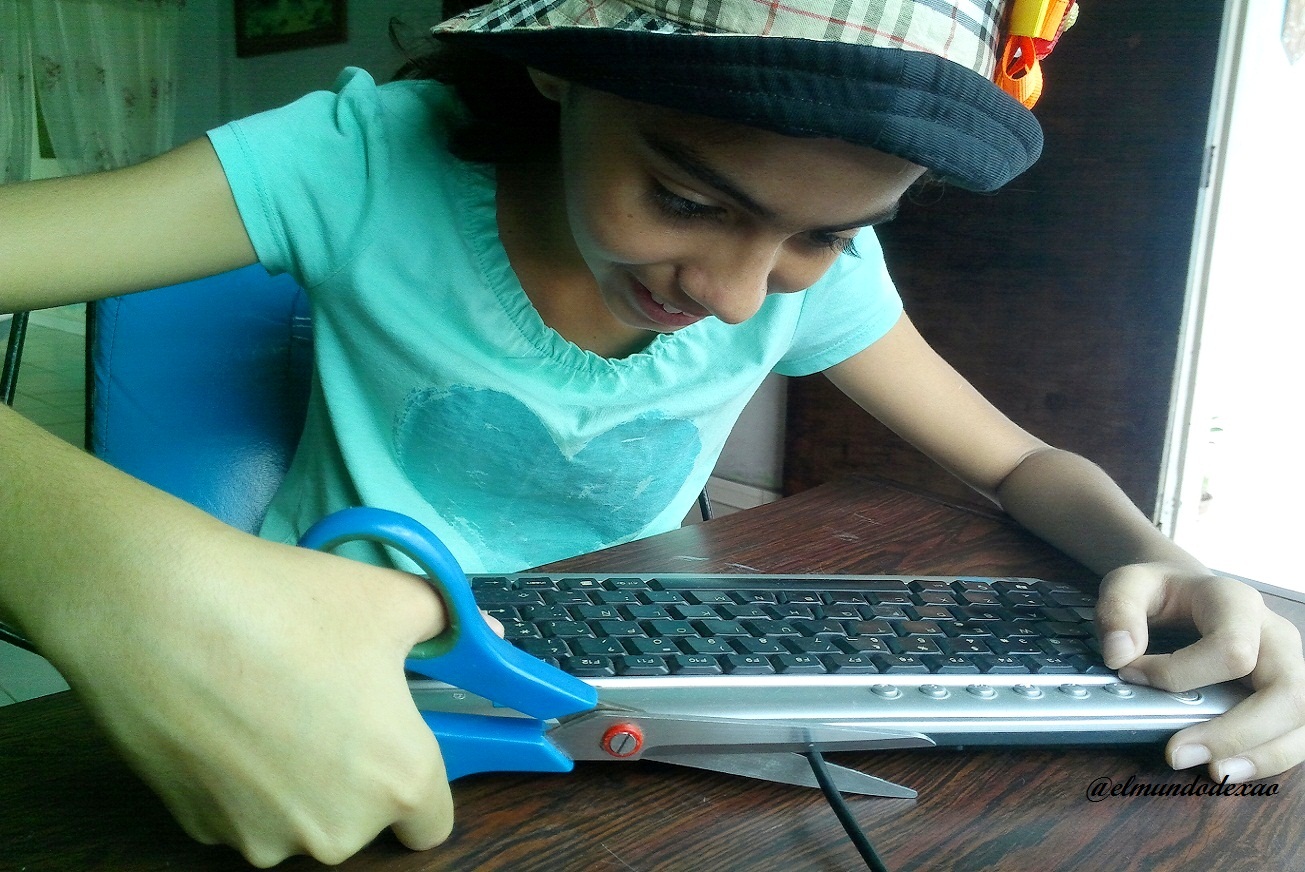
Welcome to my blog again, today I share one of those many tasks that we can do ourselves but we do not do it because we do not have a guide or do not risk damaging it, it is very true that in some cases we need trained people; but would you call an electrician to change a light bulb if you just have to turn it.
First I will tell you the facts and is that a few days ago the PC began to make a noise, something like tulunnn, tulunnn, tulunnn, tulunnn; as when we connect a USB device and gives error for not being able to read it. At first it only happened when turning it on but then it was more frequent, my father advised me to move each cable connected to a USB port and it turned out to be the keyboard, so I opted to move the cable every time this happened but the time came that it was useless and had to be removed, not having a keyboard that I liked, since this is small and comfortable, plus it is the one I have always used; I asked my father if he would have repair. His answer was yes, what you have to do is to cut the cable and remove the damaged part.
Let's start with the step by step:
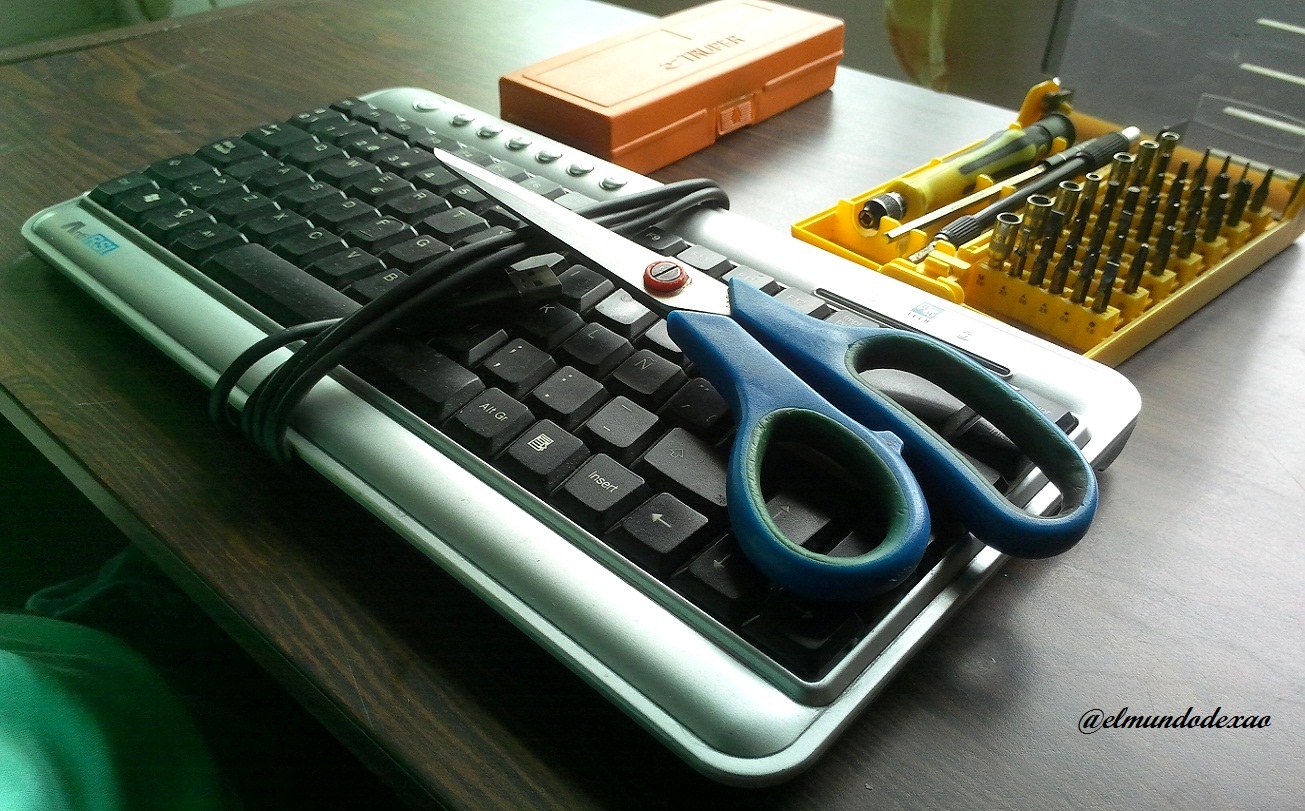
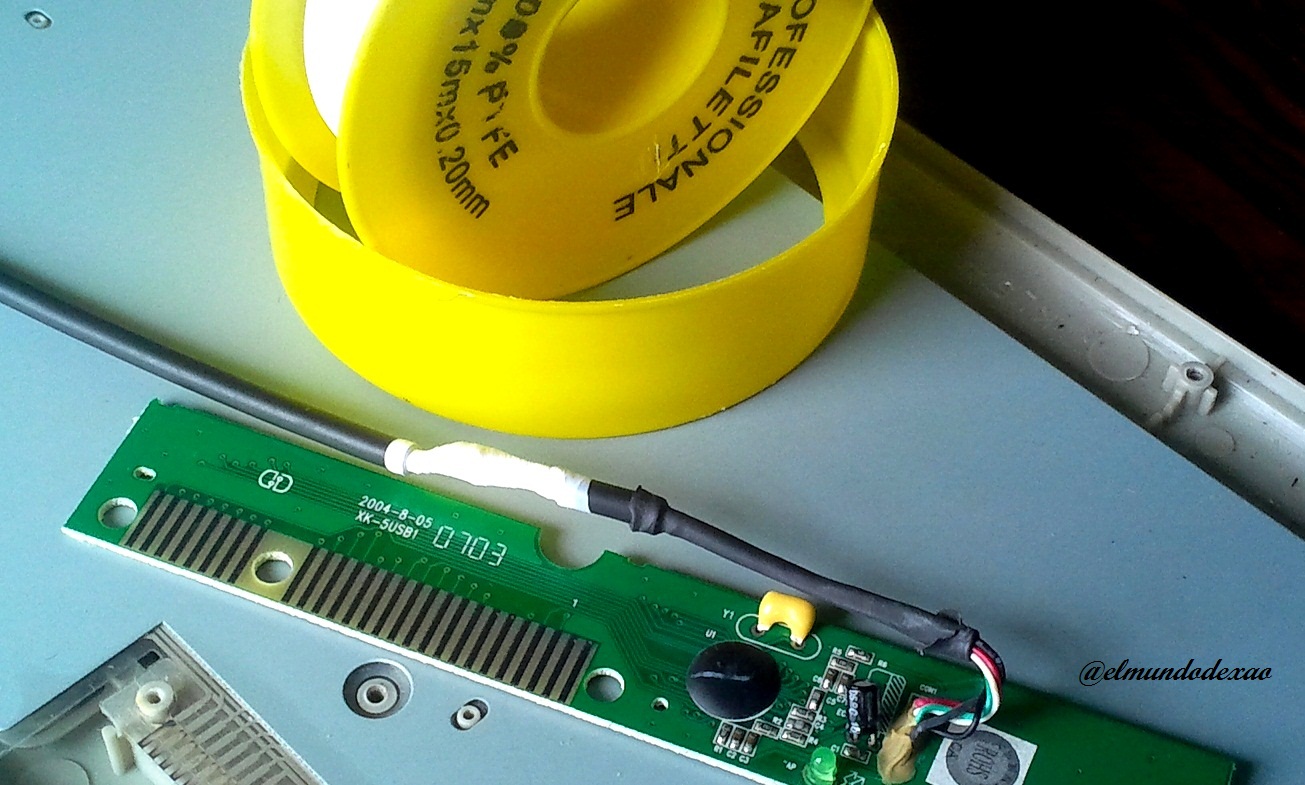
Step # 01: Gather all the tools I will need such as: screwdrivers, scissors and tweezers if something else is needed, then I will let you know. I tell you that I move the keyboard a lot, most of the time to draw looking at the monitor and that constant movement is deteriorating the cable.
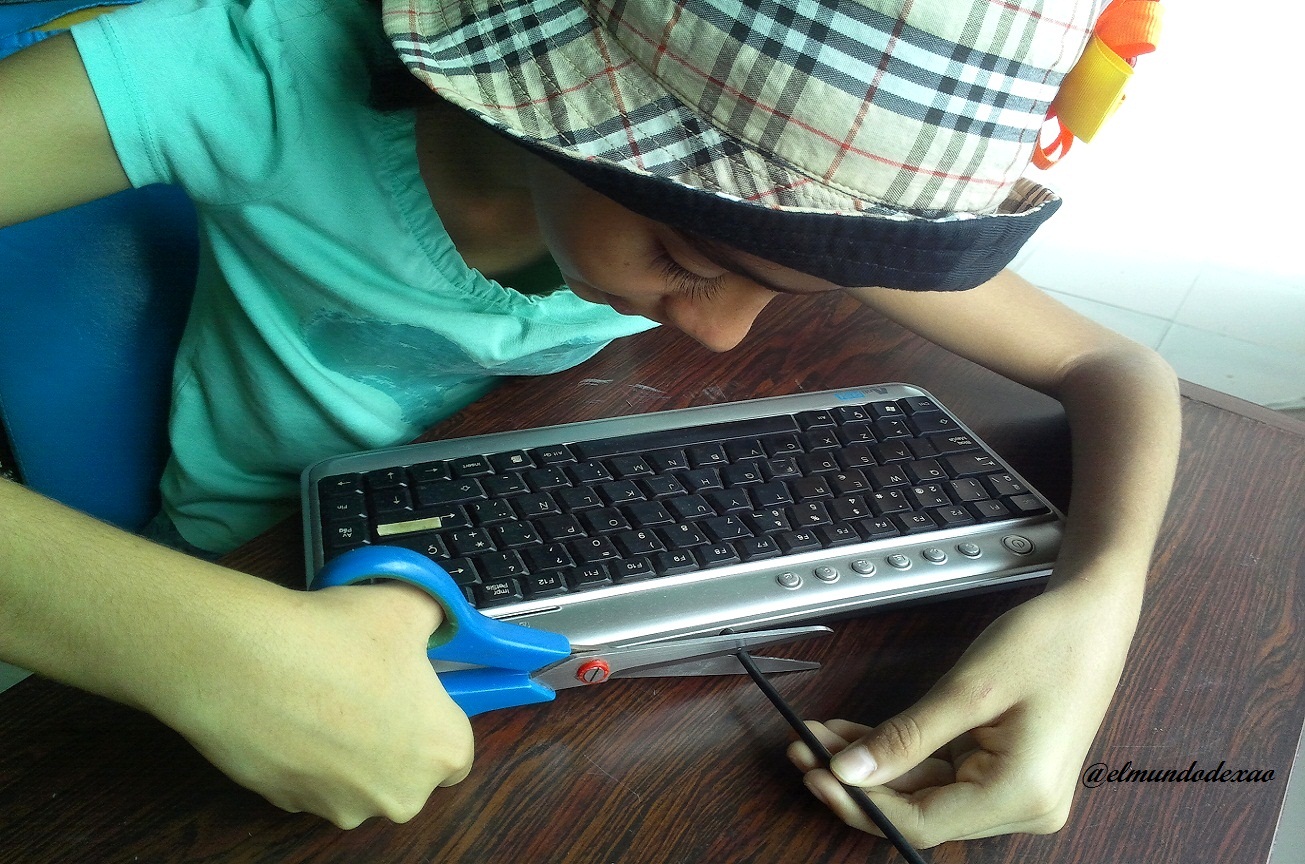
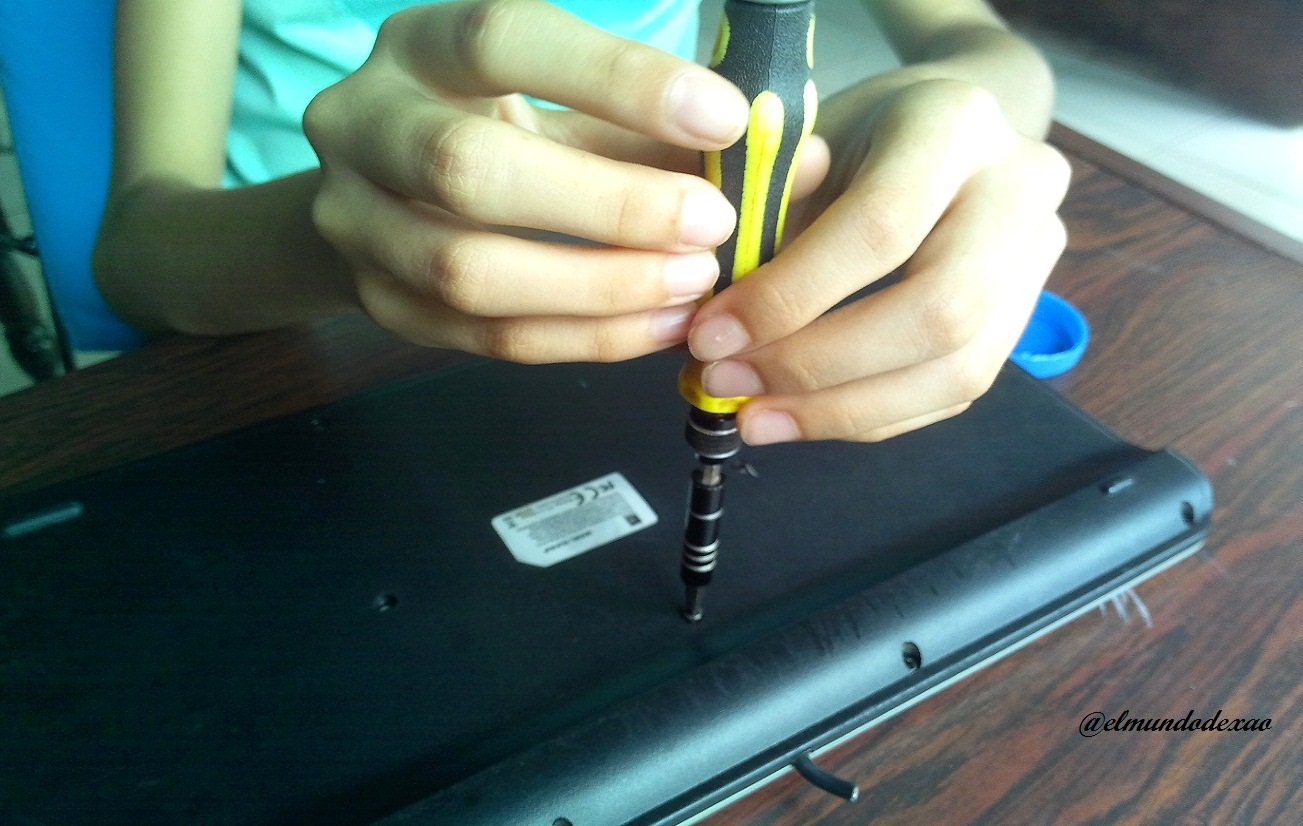
 Step # 02: I proceed to cut the cable, in this part I was doubtful because I didn't know what to expect.
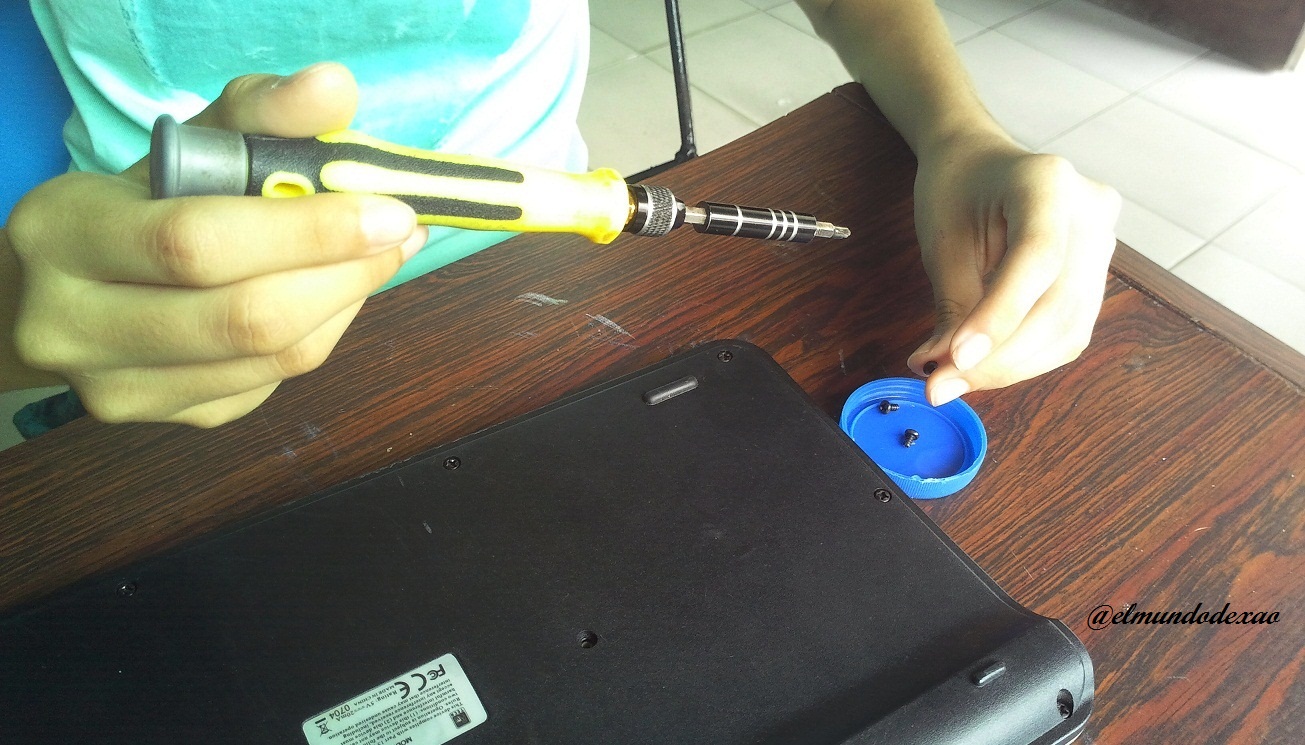
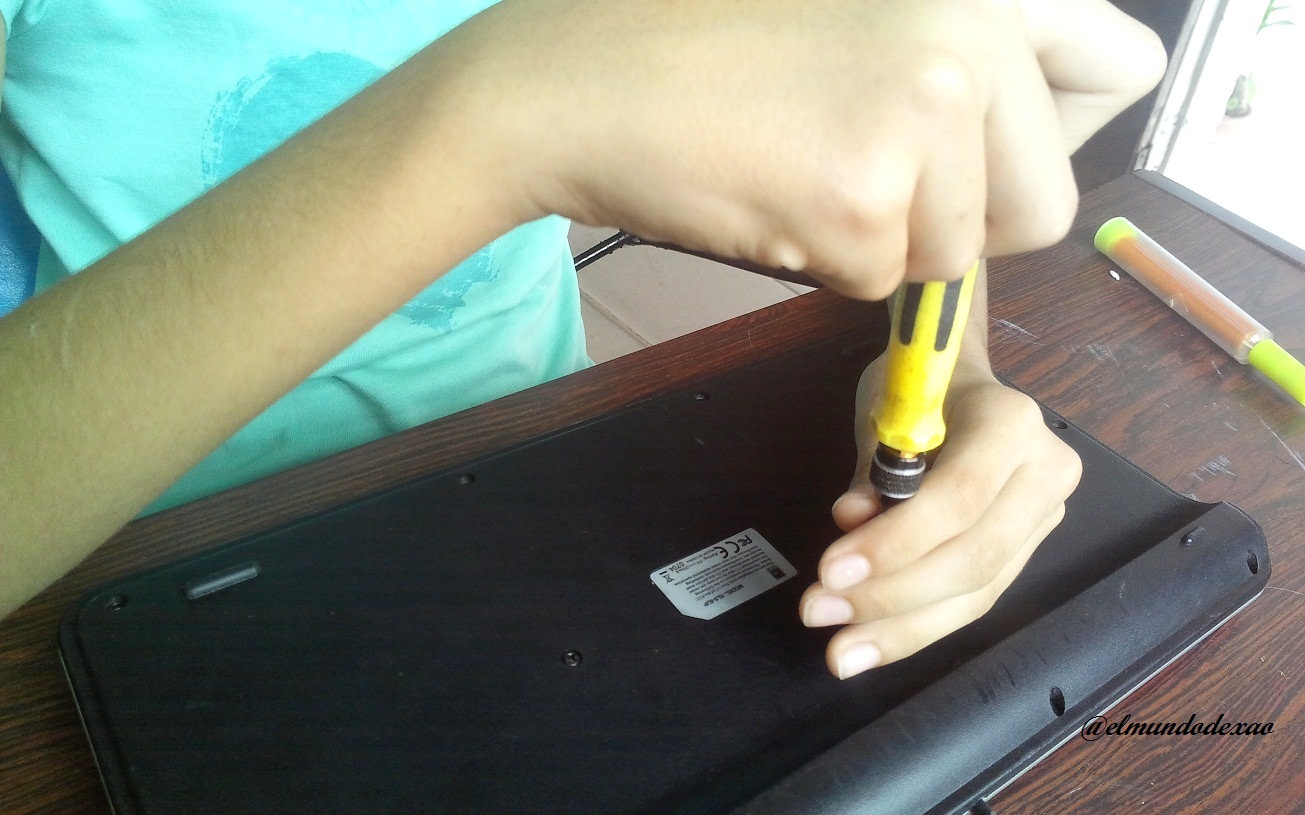
 Step # 03: Remove all screws from the keyboard base.
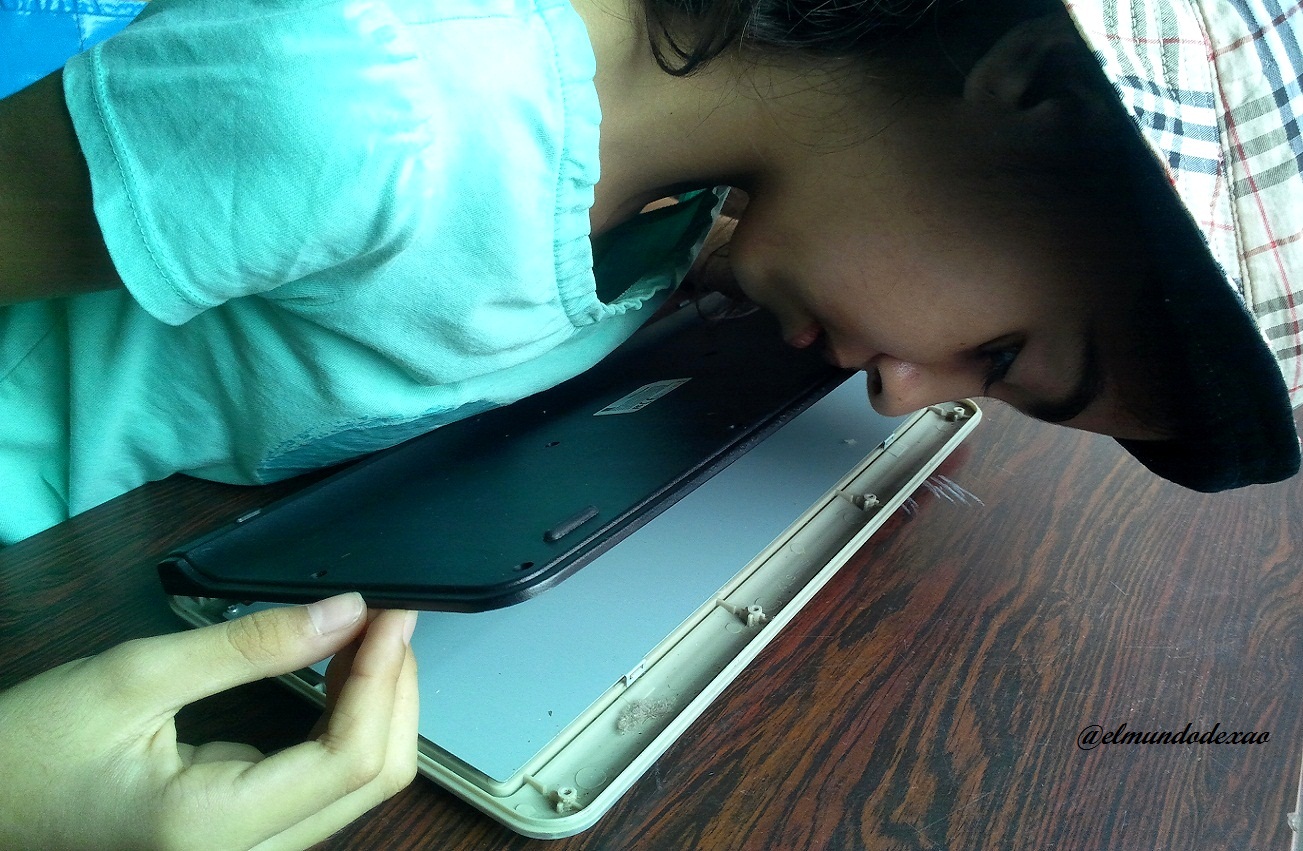
 Step # 04: Carefully remove the base of the keyboard, in this case I am lucky that the keys have a support and do not water, something that some keyboards do not have.
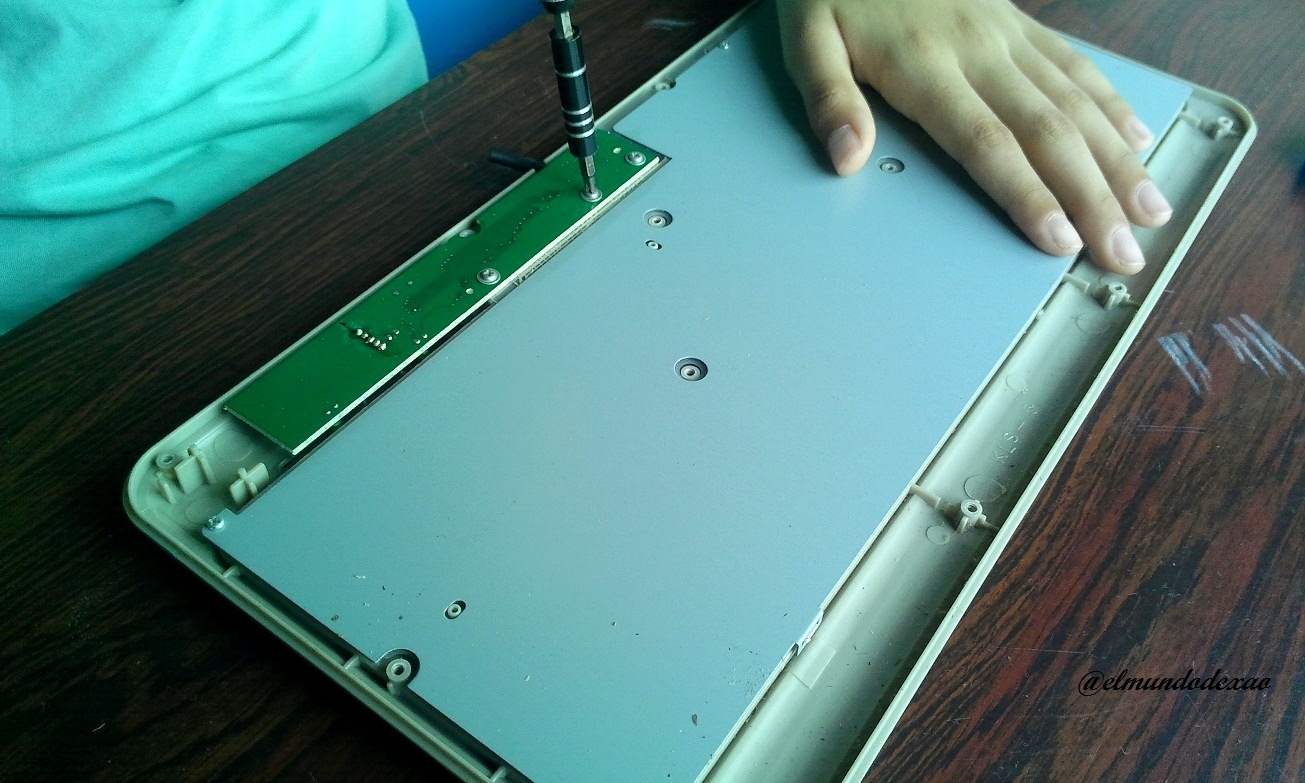
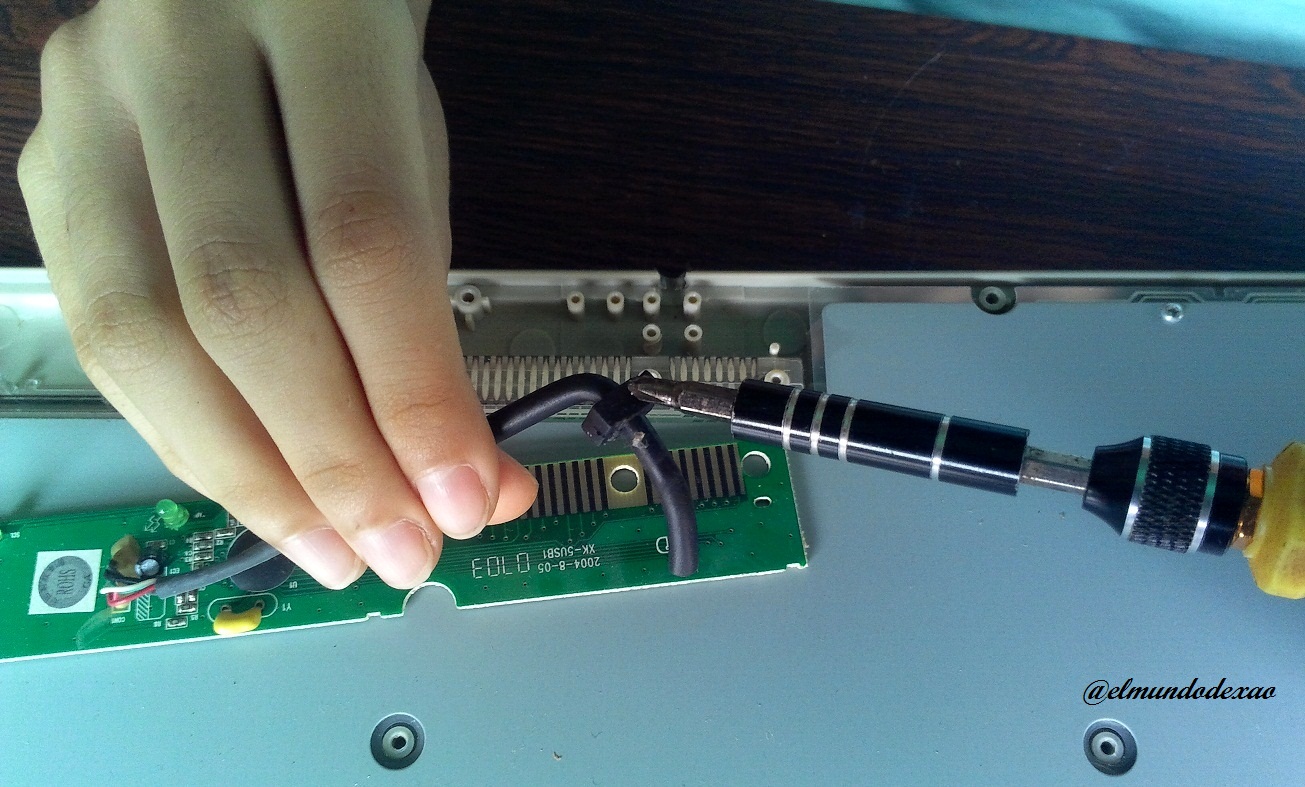
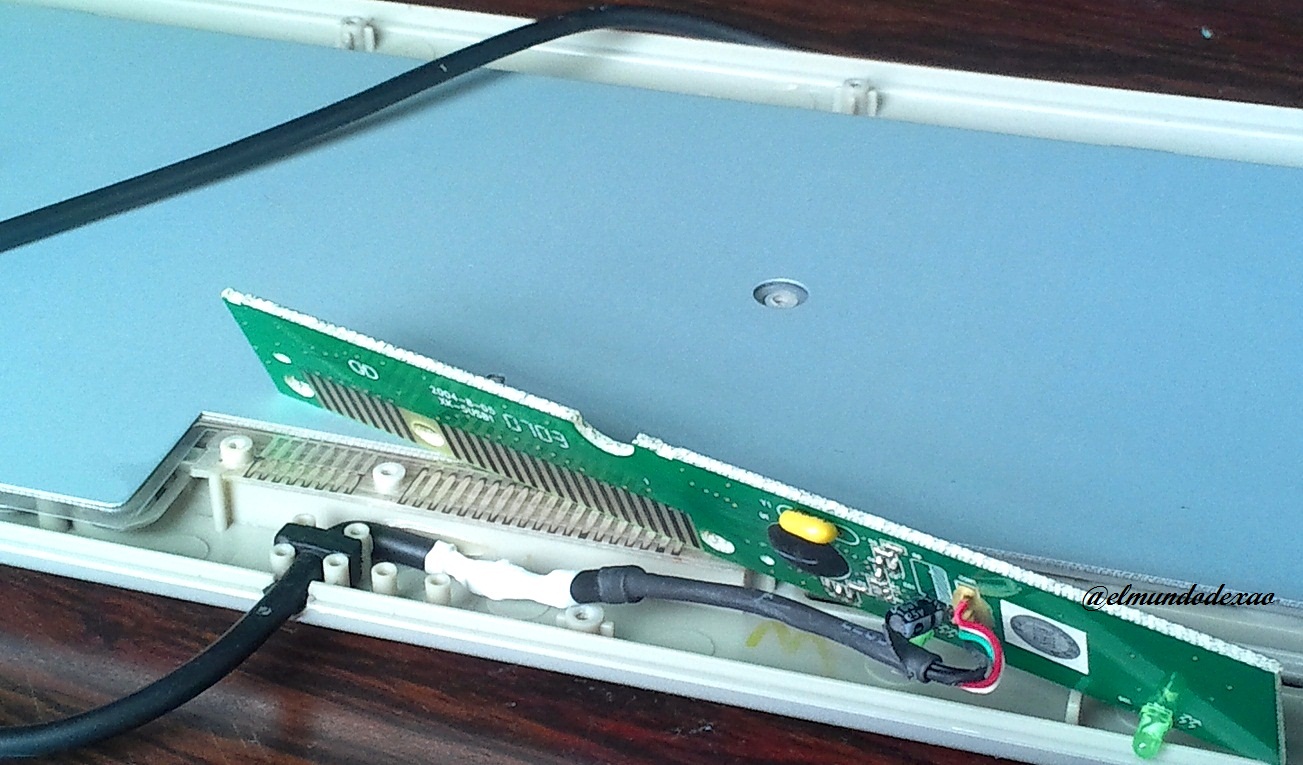
 Step # 05: Now I must remove the panel where the cable is connected. You can see that the cable is soldered. If the work is done by a professional or someone who knows how to solder, he would remove all this piece of cable; but in my case I will just cut the damaged part and reattach cable by cable.
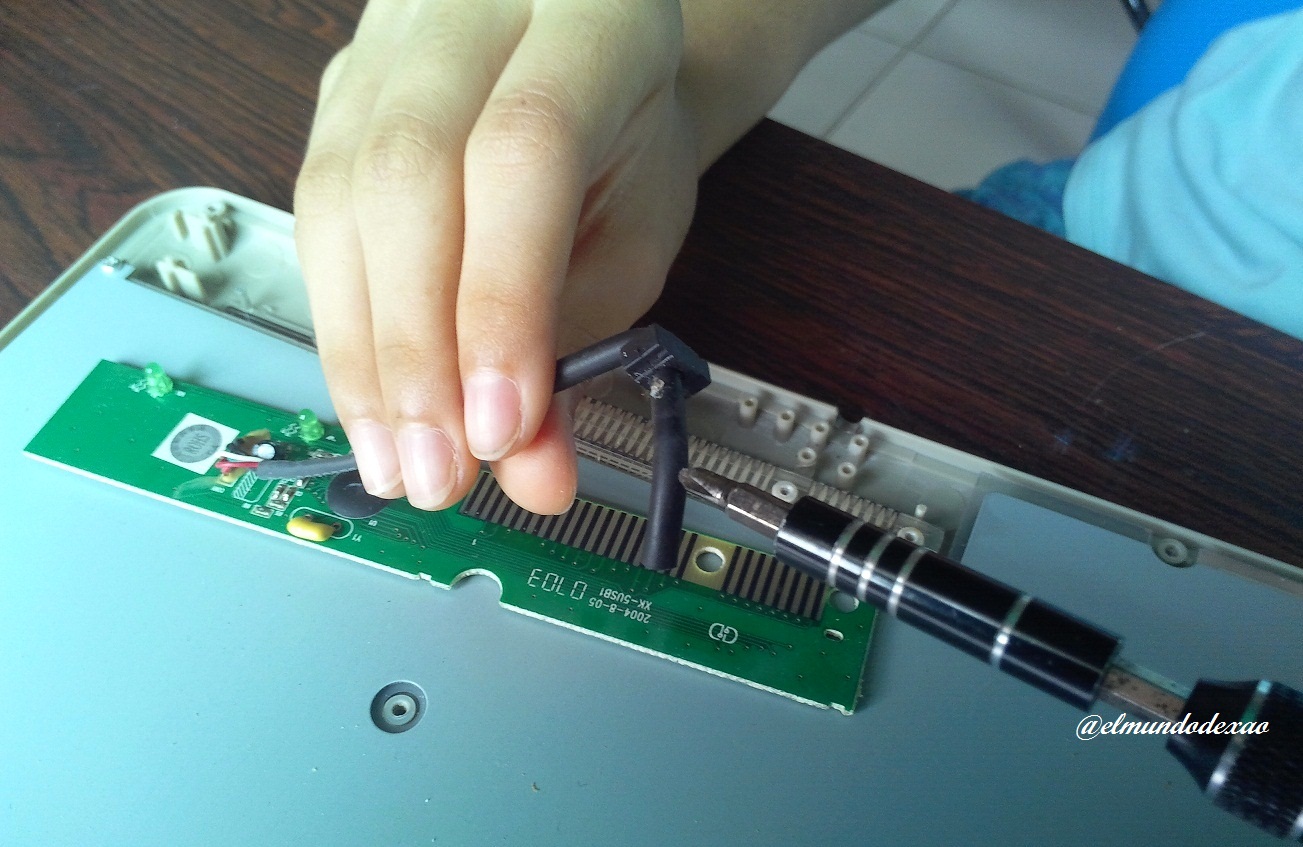
 Step # 06: Remove the bracket, this prevents the cable from getting caught on the inside when moving the keyboard. Some keyboards have only one knot that fulfills this function.
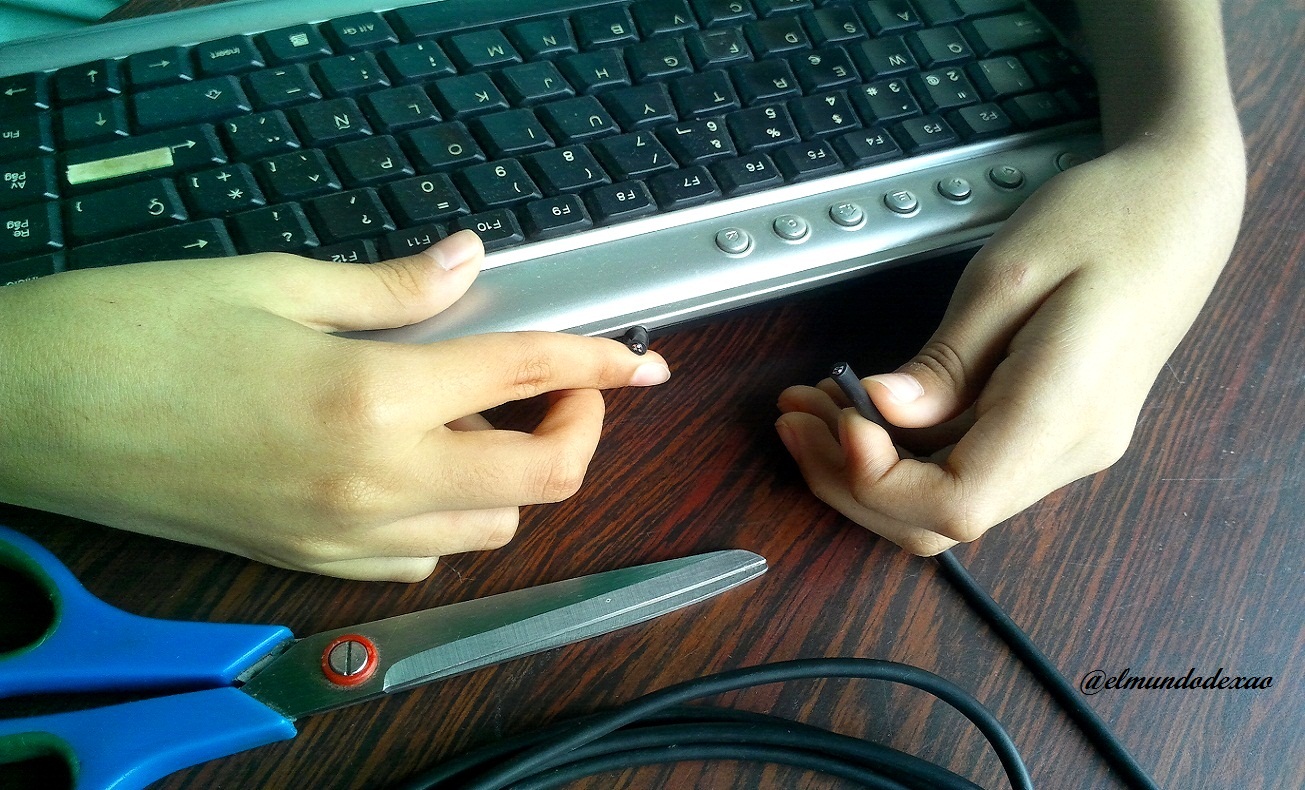
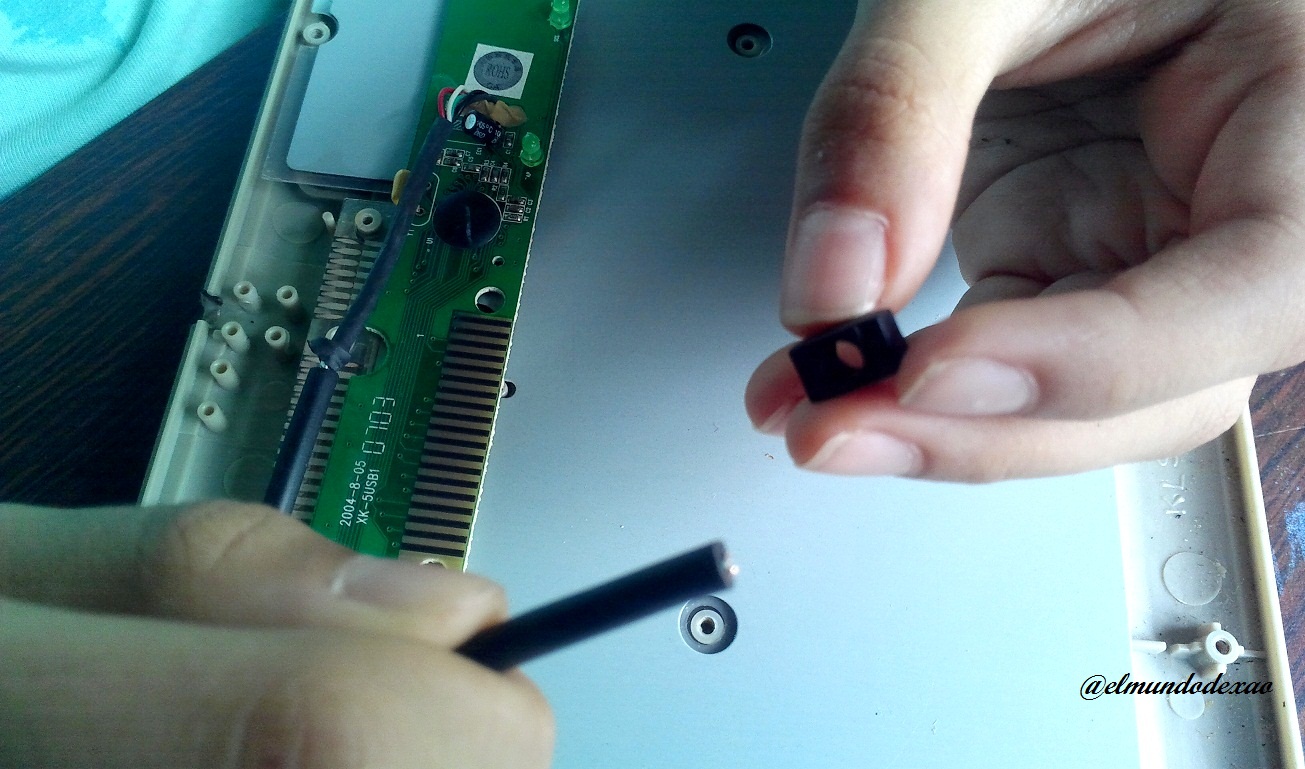
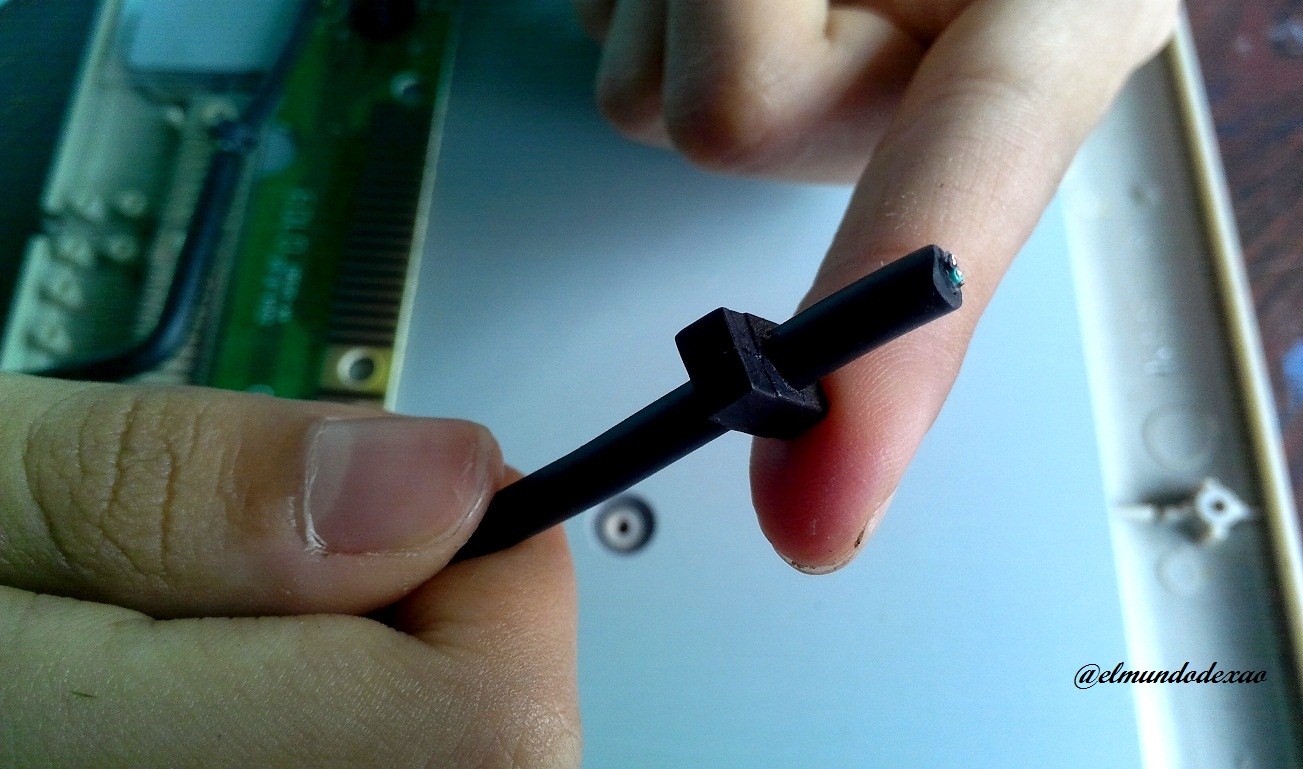
 Below you can see the damaged part to be removed.
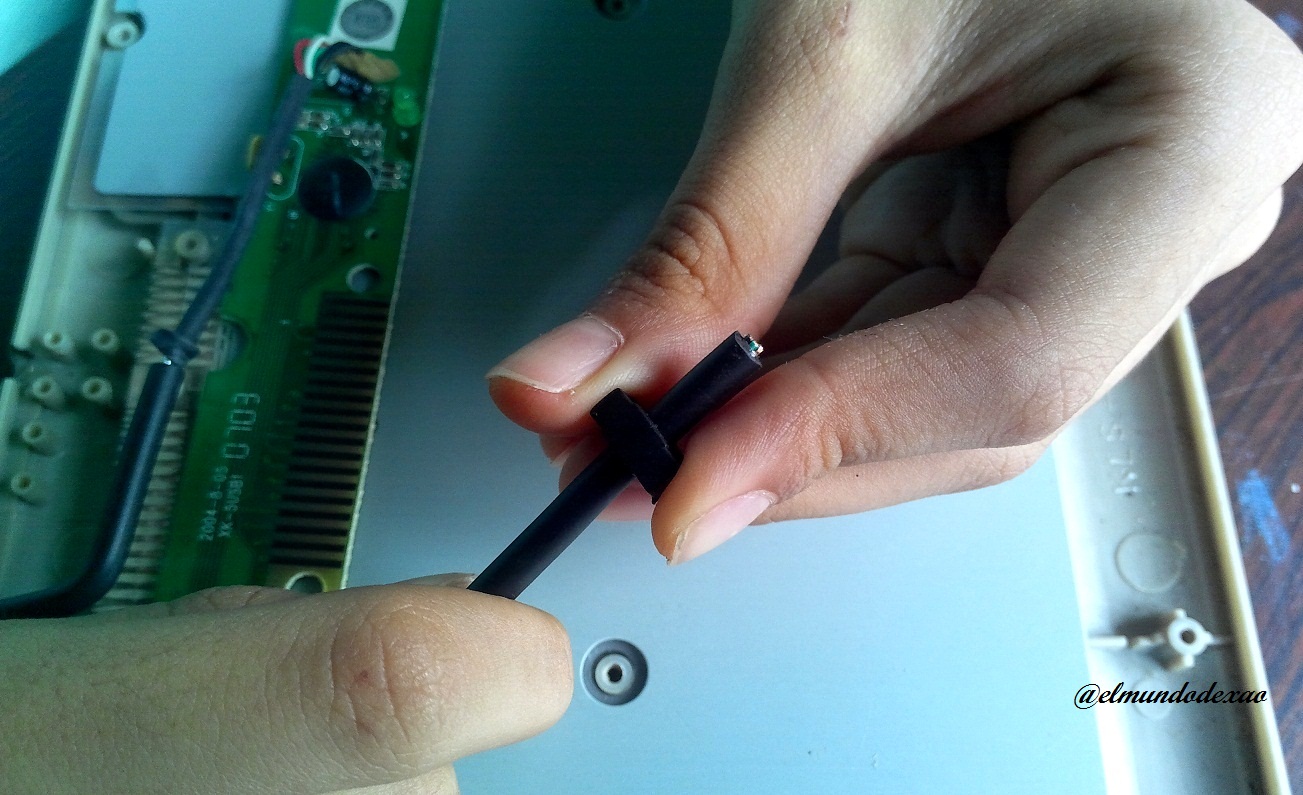
 Step # 07: Very important; you have to place the bracket we just removed on the long cable, otherwise there will be no way to place it after joining the cables.

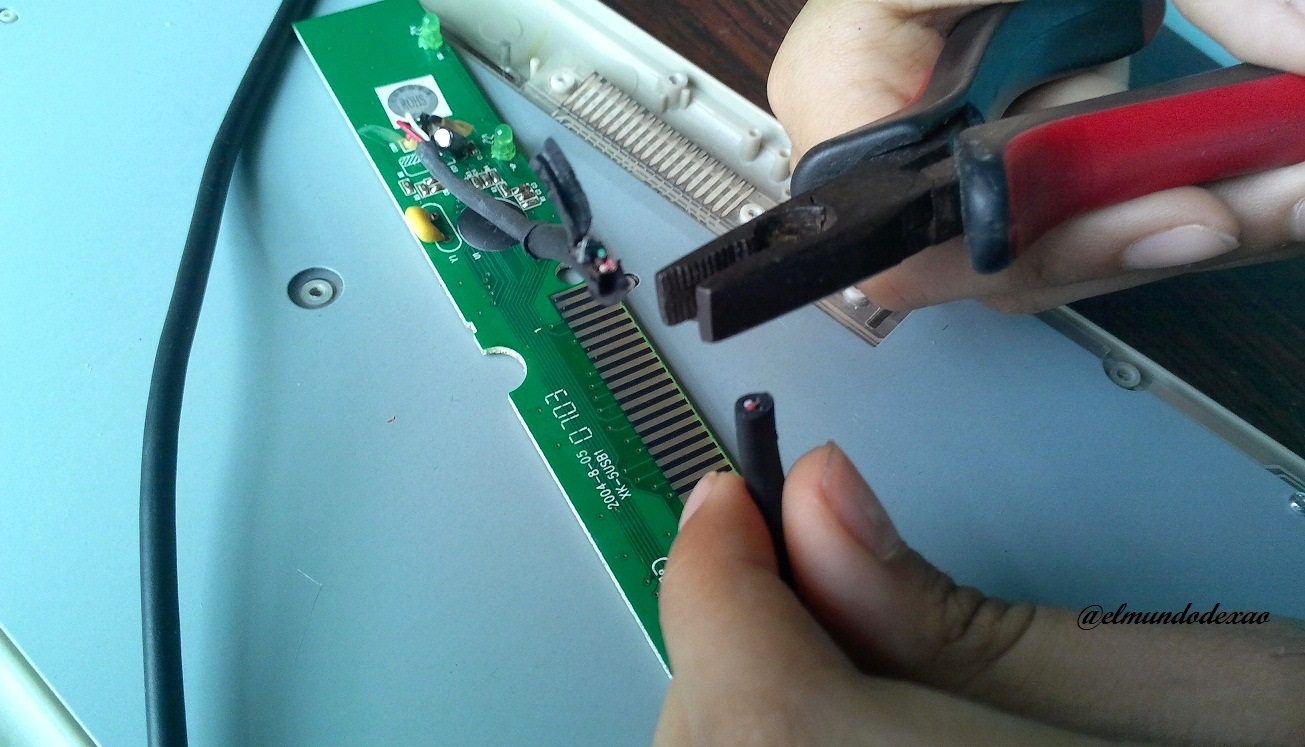
 Step # 08: I cut the damaged part and remove the protective rubber to expose the wires.
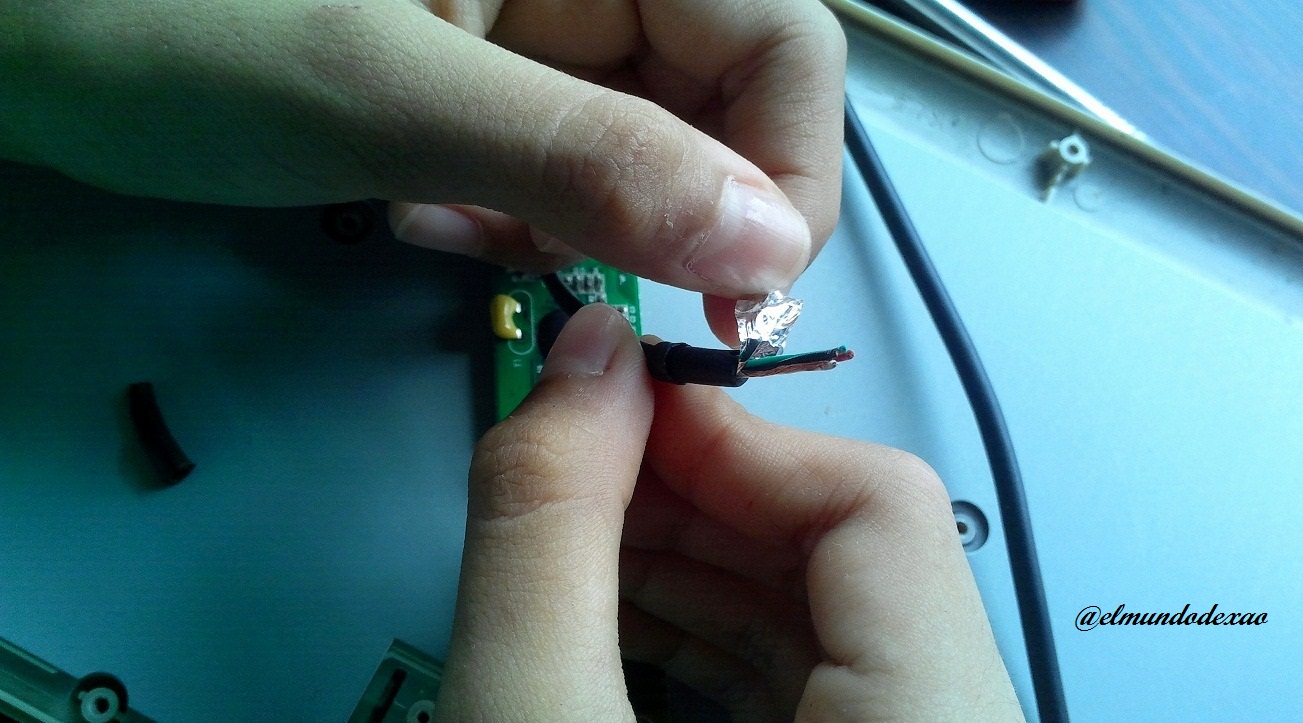 Step # 09: Once I have the colored wires in sight, I remove the coating only at the ends to be able to join them, each one with its corresponding color.
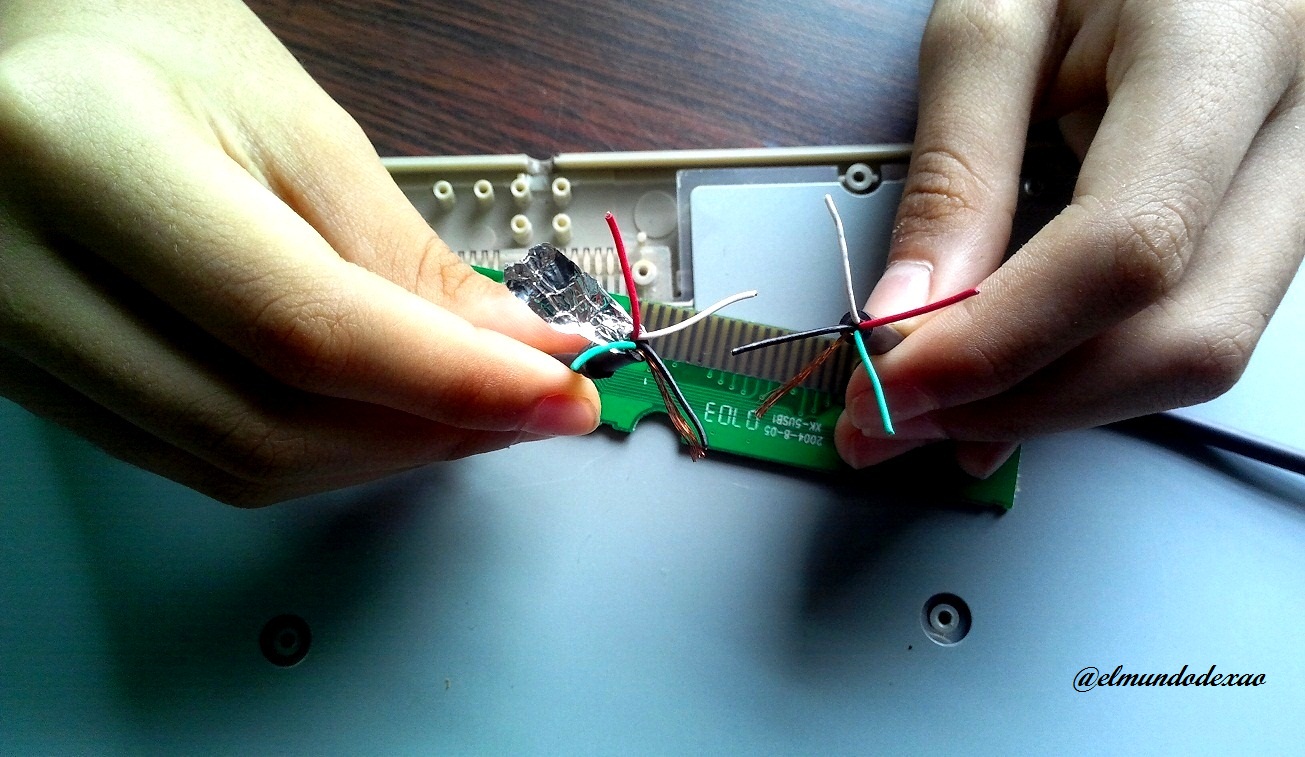
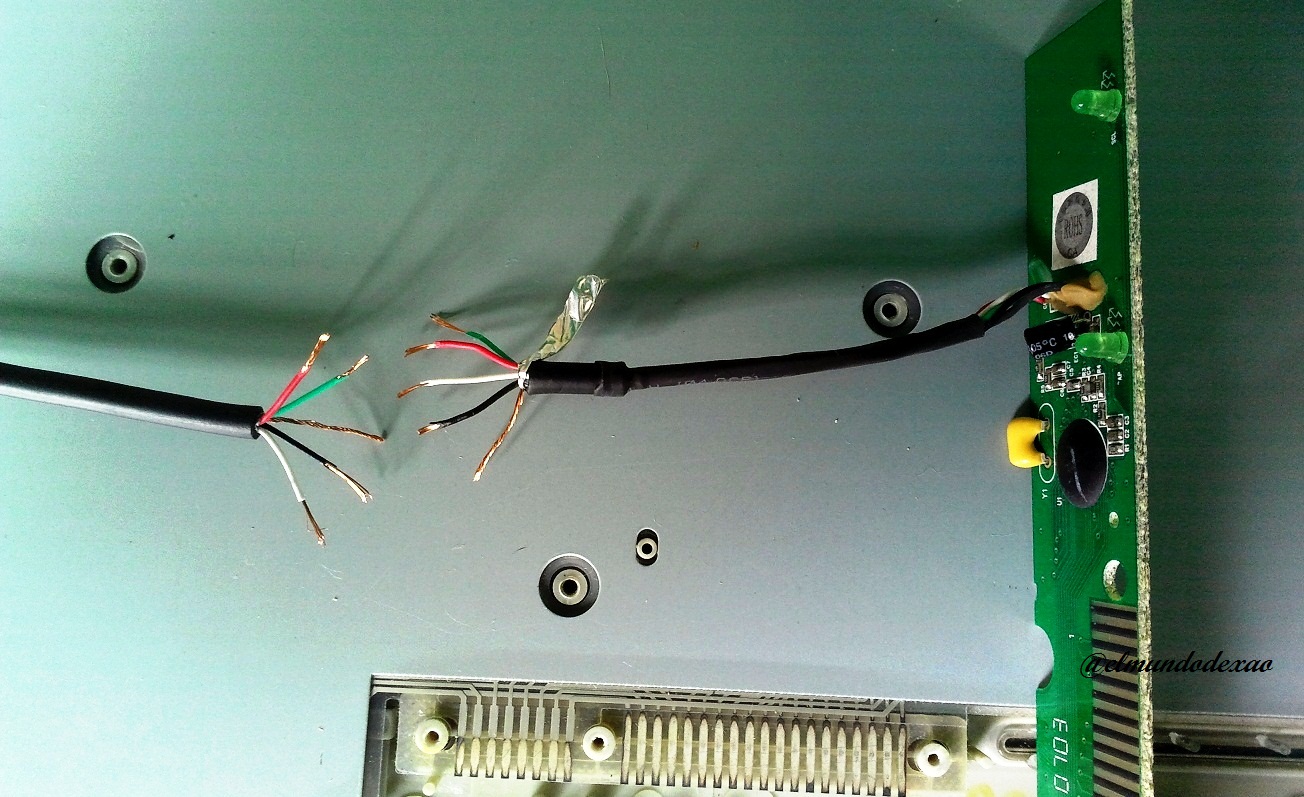 Step # 10: You have to join each one independently so that there is no contact between them. I recommend leaving the colored wires longer so that you can work with peace of mind.
 Step # 11: Now I just need to place the cable in the right place, remember to roll the support to the position it had at the beginning, then I place the panel and ready I can saw the keyboard.
 And once the keyboard is closed you can see that it has been left as it was, without any detail and the most important thing is that it is working very well. I hope this tutorial will be useful at some point.
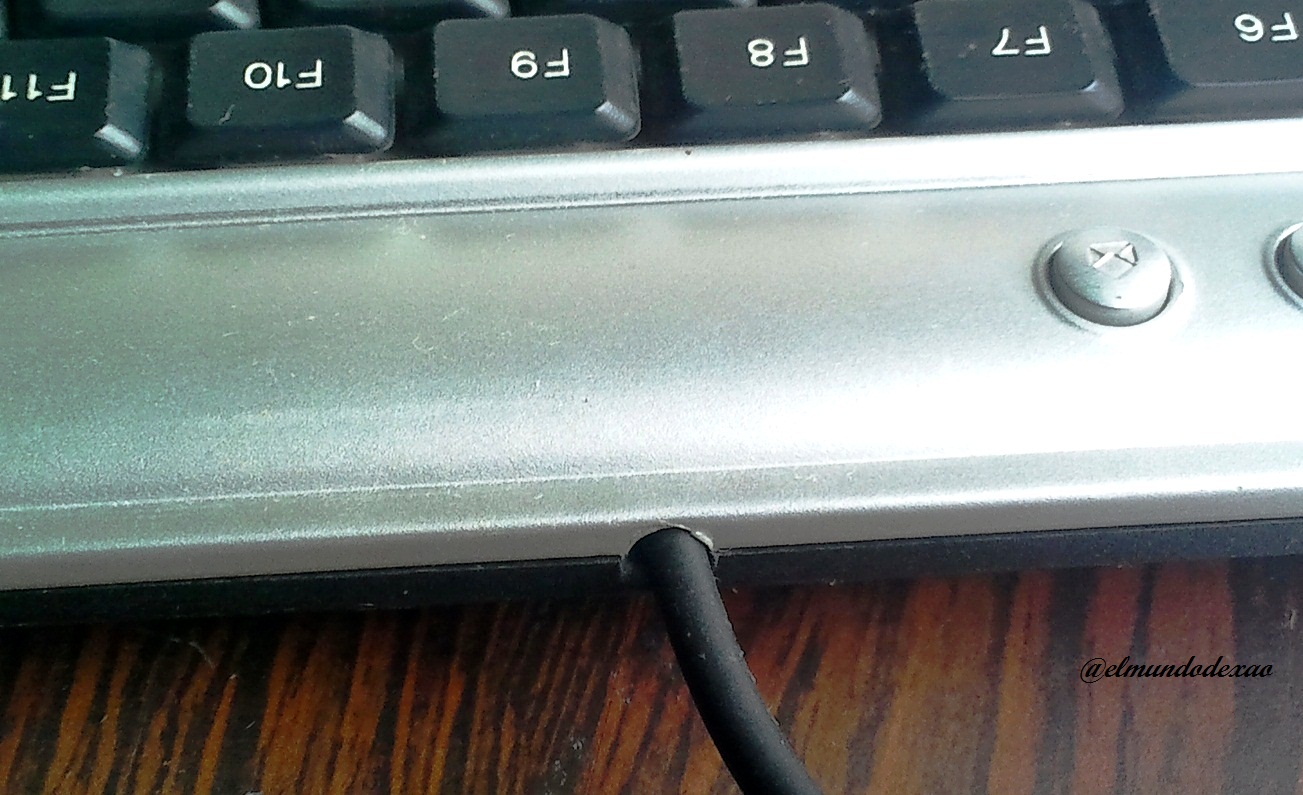
Photo Source: Own photos captured with a Síragon camera.
Modified size: With the Paint Program.
Thanks for visiting my Blog… AH! Don't forget to vote, reblogear, and comment.
Translated with:

www.DeepL.com/Translator (free version)

Hola amigos de Hive Diy…
☺☺☺
Bienvenidos a mi blog nuevamente, hoy comparto una de esas tantas tareas que podemos realizar nosotros mismos pero no lo hacemos por no tener una guía o por no arriesgarnos a dañarlo, es muy cierto que en algunos casos necesitamos personas capacitadas; pero llamarías a un electricista para cambiar un foco si solo tienes que girarlo.
Primero les contare los hechos y es que hace algunos días la Pc comenzó hacer un ruido, algo así como tulunnn, tulunnn, tulunnn; como cuando conectamos algún dispositivo USB y da error por no poder leerlo. Al principio solo pasaba al encenderla pero después fue más frecuente, mi padre me aconsejo que moviera cada cable conectado a un puerto USB y resulto ser el teclado, así que opte por mover el cable cada vez que esto pasaba pero llego el momento que no sirvió de nada y hubo que retirarlo, al no tener un teclado que me agradara, ya que este es pequeño y cómodo, además es el que siempre he utilizado; le pregunte a mi padre si tendría reparación. Su respuesta fue si, lo que tienes es que cortar el cable y retirar la parte que se dañó.
Comencemos con el paso a paso:
Paso # 01: Reunir todas las herramientas que necesitare como: desarmadores, tijera y pinzas si hace falta algo más, luego les aviso. Les cuento que muevo mucho el teclado, la mayoría de las veces para dibujar mirando el monitor y ese constante movimiento va deteriorando el cable.
Paso # 02: Procedo a cortar el cable, en esta parte estaba dudosa por no saber que me esperaba.
Paso # 03: Retirar todos los tornillos de la base del teclado.
Paso # 04: Retirar con mucho cuidado la base del teclado, en este caso tengo suerte que las teclas tengan un soporte y no se riegan, cosa que no tienen algunos teclados.
Paso # 05: Ahora debo retirar el panel donde está conectado el cable. Se puede observar que el cable esta soldado. Si el trabajo lo hace un profesional o alguien que sepa soldar retiraría todo este trozo de cable; pero en mi caso solo me limitare a cortar la parte dañada y volver a unir cable por cable.
Paso # 06: Retirar el soporte, este evita se tiemple el cable en la parte interna cuando movemos el teclado. Algunos teclados solo tienen un nudo que cumple con esta función.
A continuación pueden ver la parte dañada que debo retirar.
Paso # 07: Muy importante; hay que colocar el soporte que acabamos de retirar en el cable largo, porque de lo contrario no abra manera de colocarlo después de unir los cables.
Paso # 08: Corto la parte dañada y retiro la goma protectora para exponer los cables.
Paso # 09: Al tener los cables de colores a la vista, les quito el revestimiento solo en las puntas para poder unirlos, cada uno con su color correspondiente.
Paso # 10: Hay que unir cada uno de manera independiente para que no haya contacto entre ellos. Les recomiendo dejar los cables de colores más largos para que puedan trabajar con tranquilidad.
Paso # 11: Ahora solo falta colocar el cable en el lugar que le corresponde, recuerden rodar el soporte a la posición que tenía al principio, después coloco el panel y listo ya puedo serrar el teclado.
Y una vez cerrado el teclado se puede ver que ha quedado como estaba, sin ningún detalle y lo más importante quedo funcionando muy bien. Espero les sea de utilidad en algún momento este tutorial.
Fuente de Fotos: Propias capturadas con una cámara Síragon.
Modificado el tamaño: Con el Programa Paint.
Gracias por visitar mi Blog… ¡AH! No se olvide de votar, rebloguear y comentar.
Qué ingeniosa eres! gracias por enseñarnos este truco, ya sabemos que si nuestro teclado presenta una falla igual, podremos repararlo.
Hola amiga @equipodelta me alegra que sea de utilidad para otros mis aprendizajes, gracias por leerme y apoyarme.

Te deseo un lindo día.
Ajajajjaja no supero la foto de portada, se veia la pasión y las ganas de desbaratar todo jaja, me recordó a cuando yo era pequeño y desarmaba las cosas a ver que tenían por dentro 😂
Hola @oscargonzalez123, tienes razón creo que la curiosidad y la emoción de destaparlo es más grande que la de arreglarlo.

Gracias por leerme, te deseo un gran día.
Dear @elmundodexao, sorry to jump in a bit off topic but may I ask you to support the HiveSQL proposal?
It lost its funding recently and your help would be much appreciated to keep the HiveSQL service free for the Hive community.
You can do it on Peakd, Ecency,
Thank you for your support!
Hi @arcange, ready, my support has been confirmed. Keep up the good work.


Happy weekend to the whole team.
☺☺☺
☺☺☺