
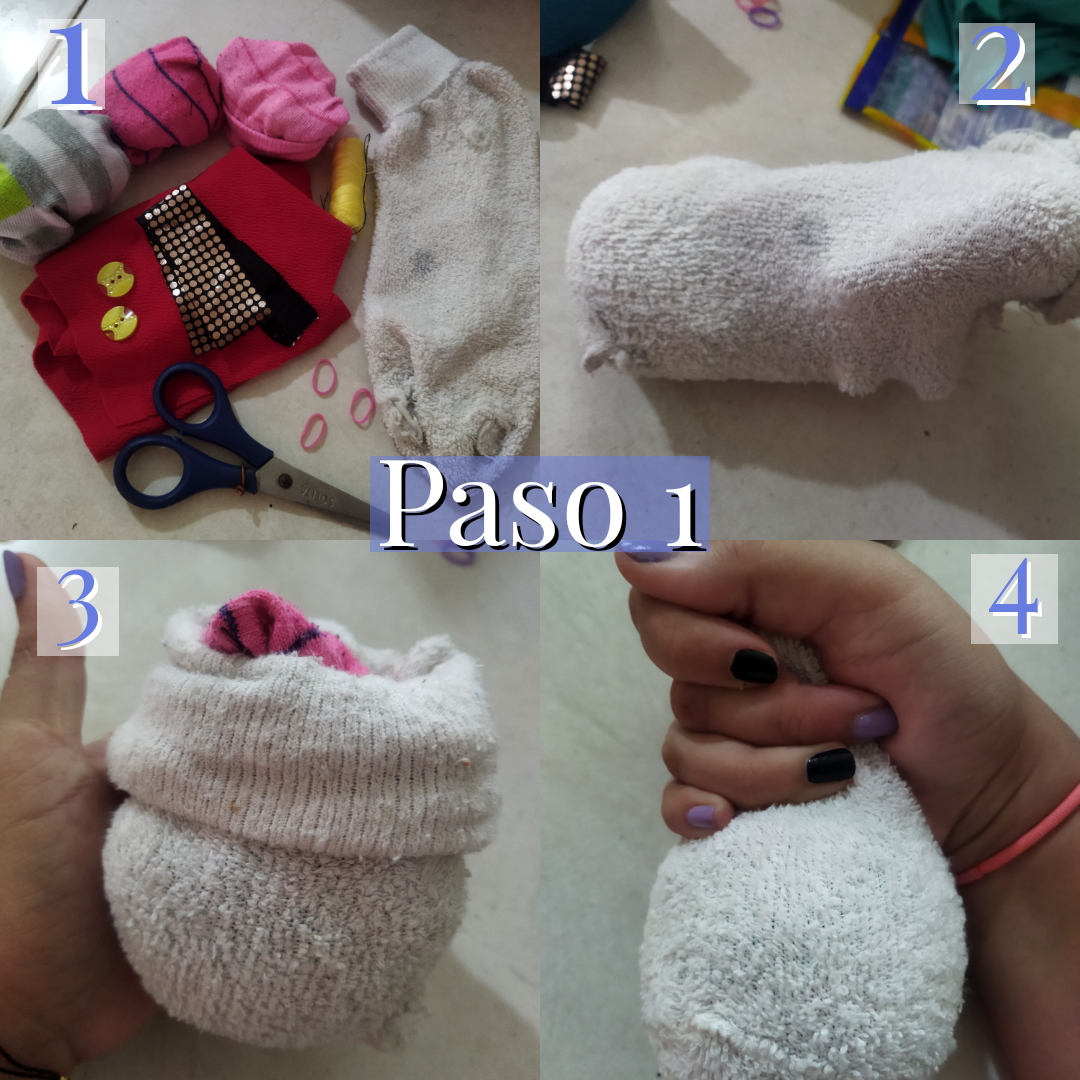
aso 1: Vamos a necesitar una media blanca y ya las demás que se usarán para el relleno pueden del de cualquier color, usaremos ligas de pelo, tijera, botones, aguja, hilo de coser, y telas para adornar. Lo primero que haremos será rellenar la primera parte de nuestro muñeco, la parte de abajo, recordemos que tiene que ser bien rellenito, luego de haberlo rellenado vamos al segundo paso.
Step 1: We will need a white stocking and the others that will be used for the stuffing can be of any color, we will use hair ties, scissors, buttons, needle, sewing thread, and fabrics to decorate. The first thing we will do is to stuff the first part of our doll, the bottom, remember that it has to be well stuffed, after stuffing it we will go to the second step.
.png)
Paso 2: Vamos a colocar la liga para dividir la parte de abajo con la de arriba, amarramos y luego vamos a rellenar la parte de arriba del muñeco y volveremos a amarrar, nosotros mismos debemos darle la mejor forma al muñeco recordando que estamos trabajando con material moldeable, y la parte sobrante de la media la vamos a enrollar hacia abajo para hacer el mismo gorrito que irá en la cabeza de nuestro muñeco.
Step 2: We will place the garter to divide the bottom with the top, tie and then we will fill the top of the doll and tie again, we ourselves must give the best shape to the doll remembering that we are working with moldable material, and the excess part of the stocking we will roll it down to make the same cap that will go on the head of our doll.
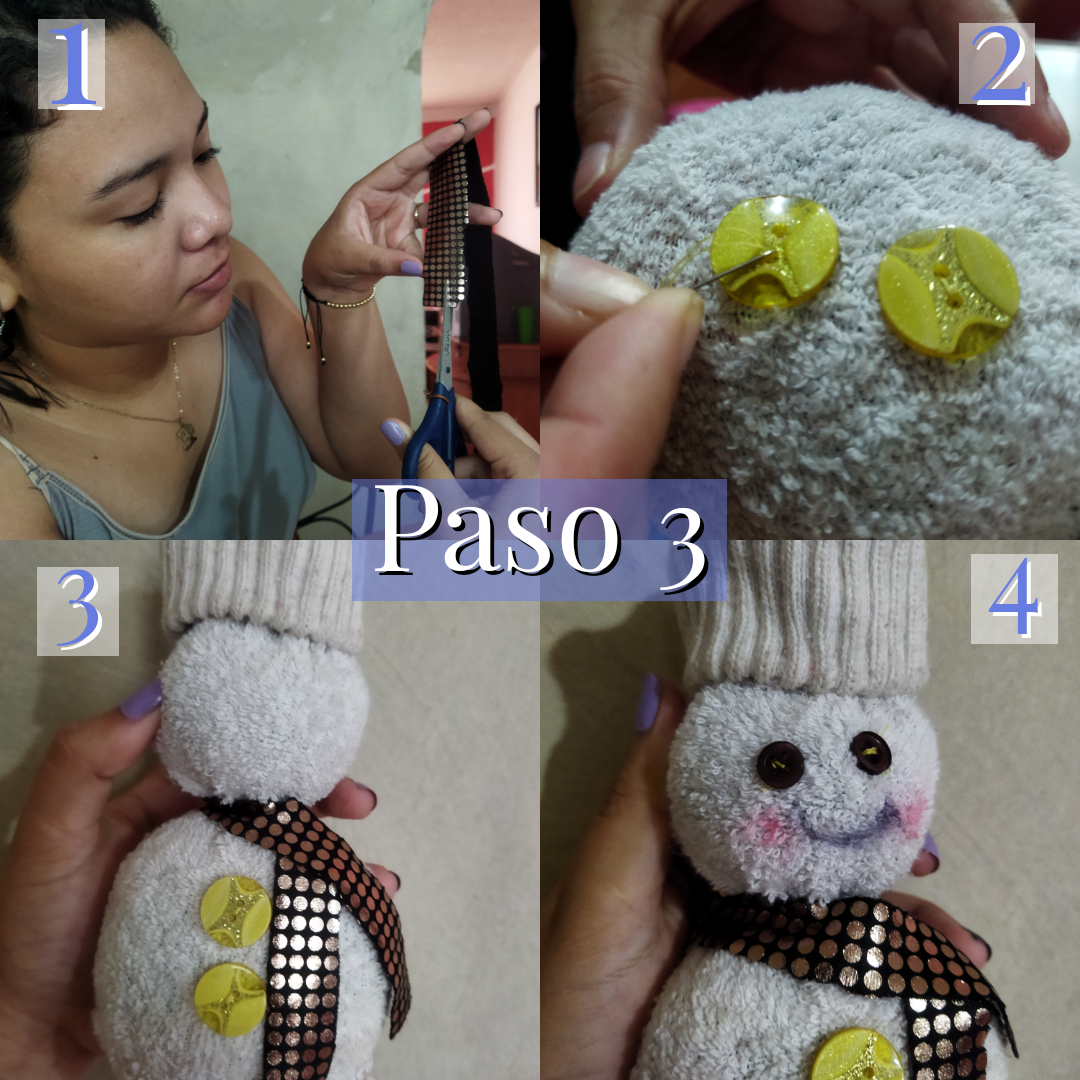
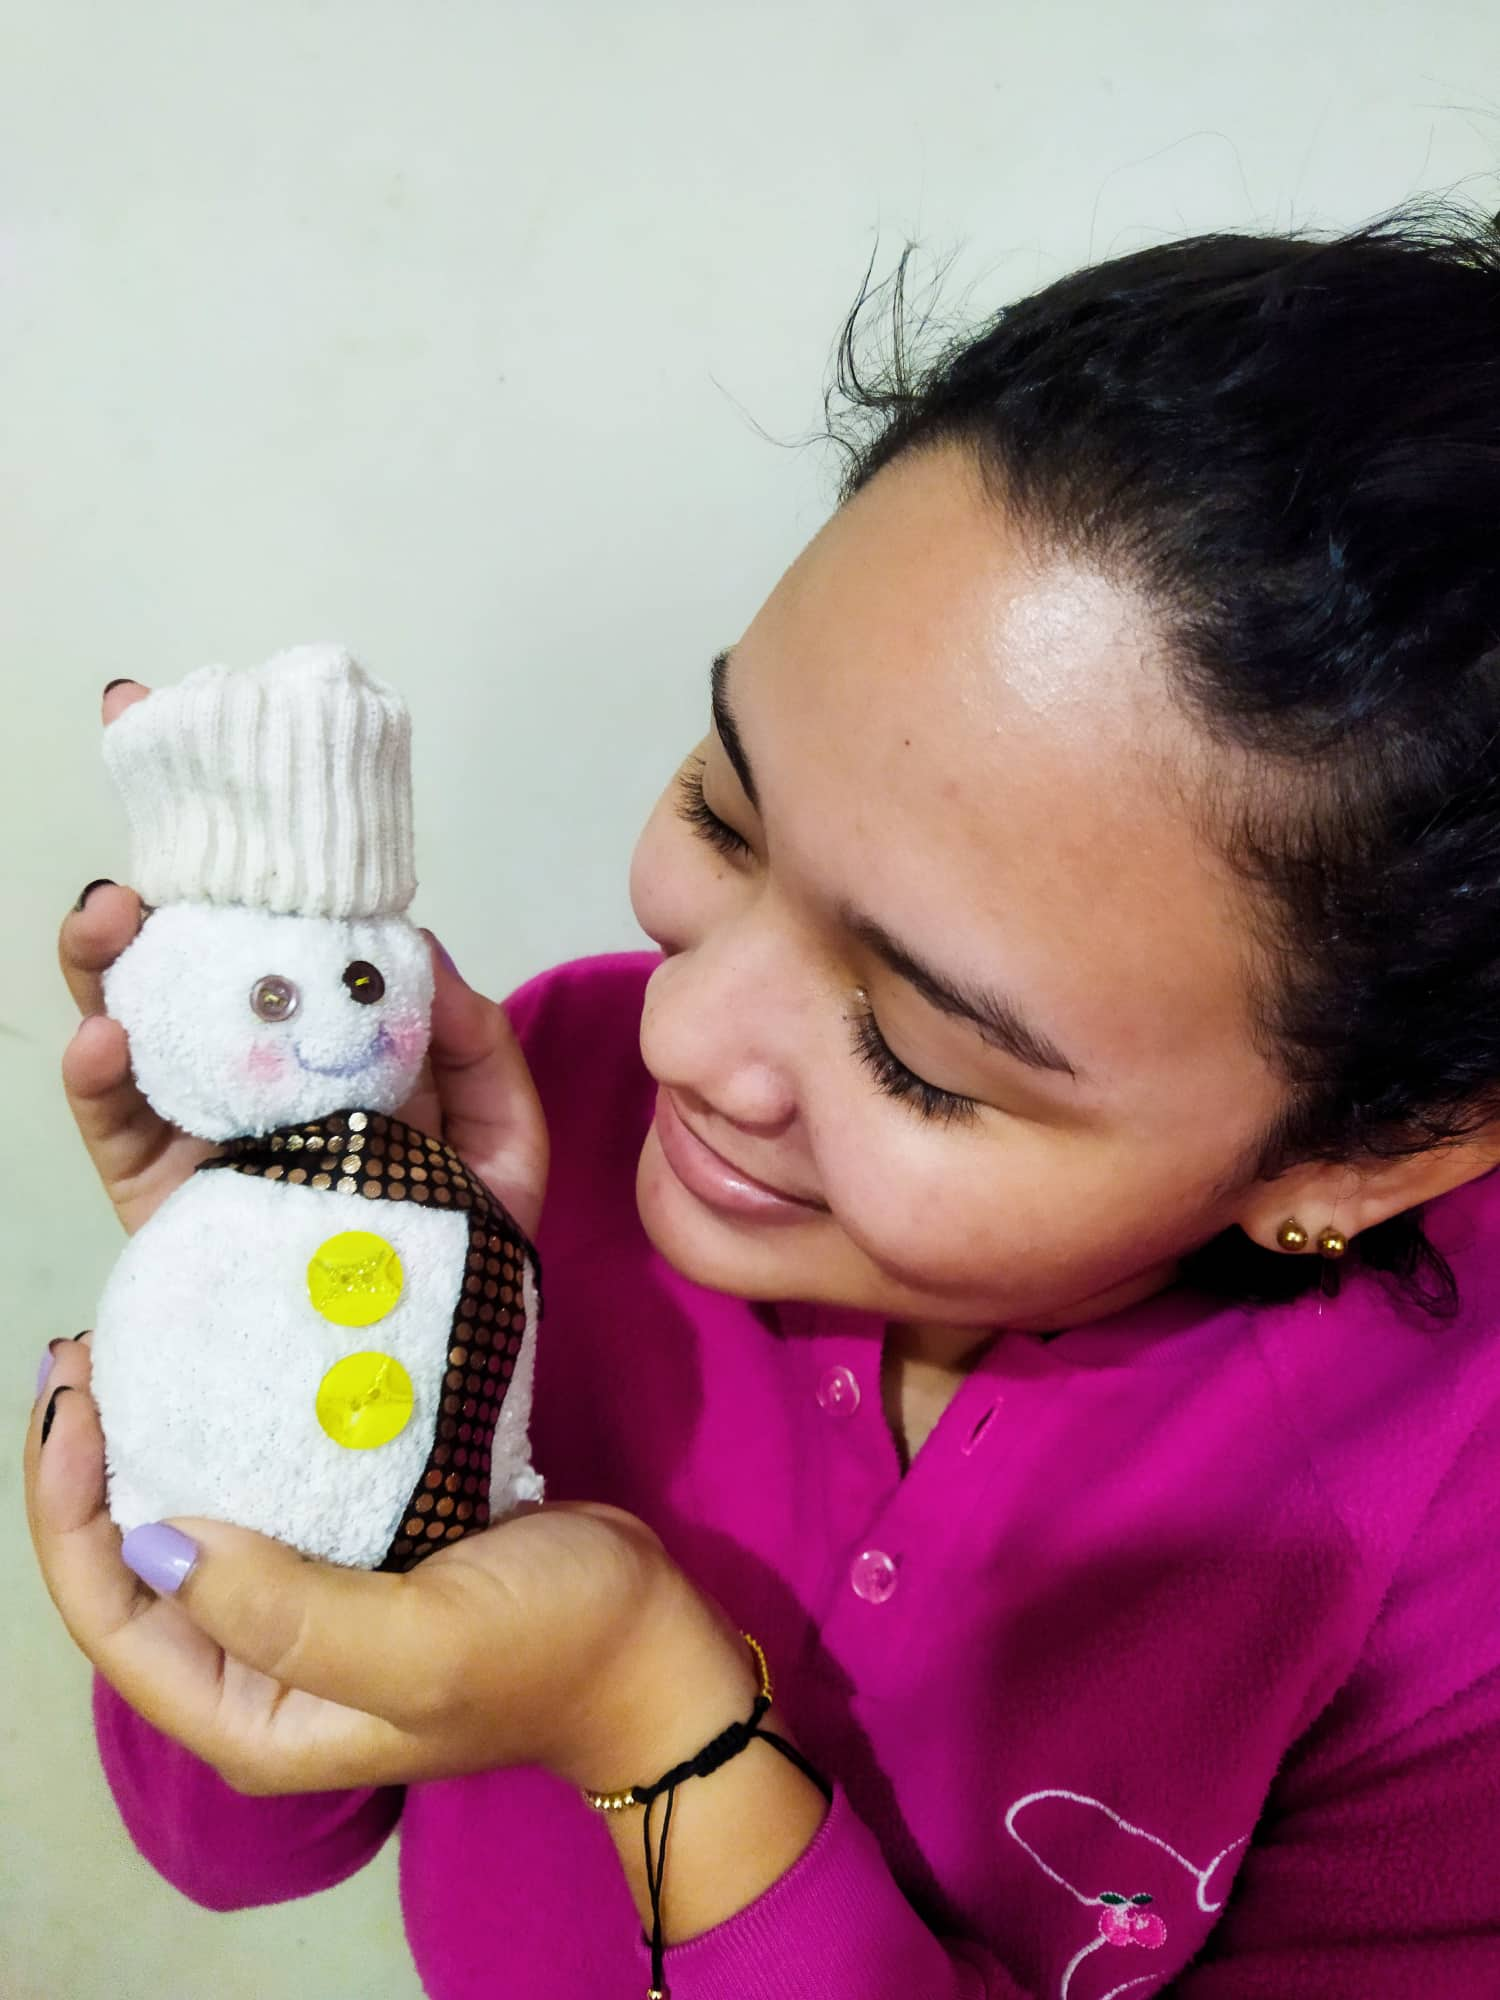
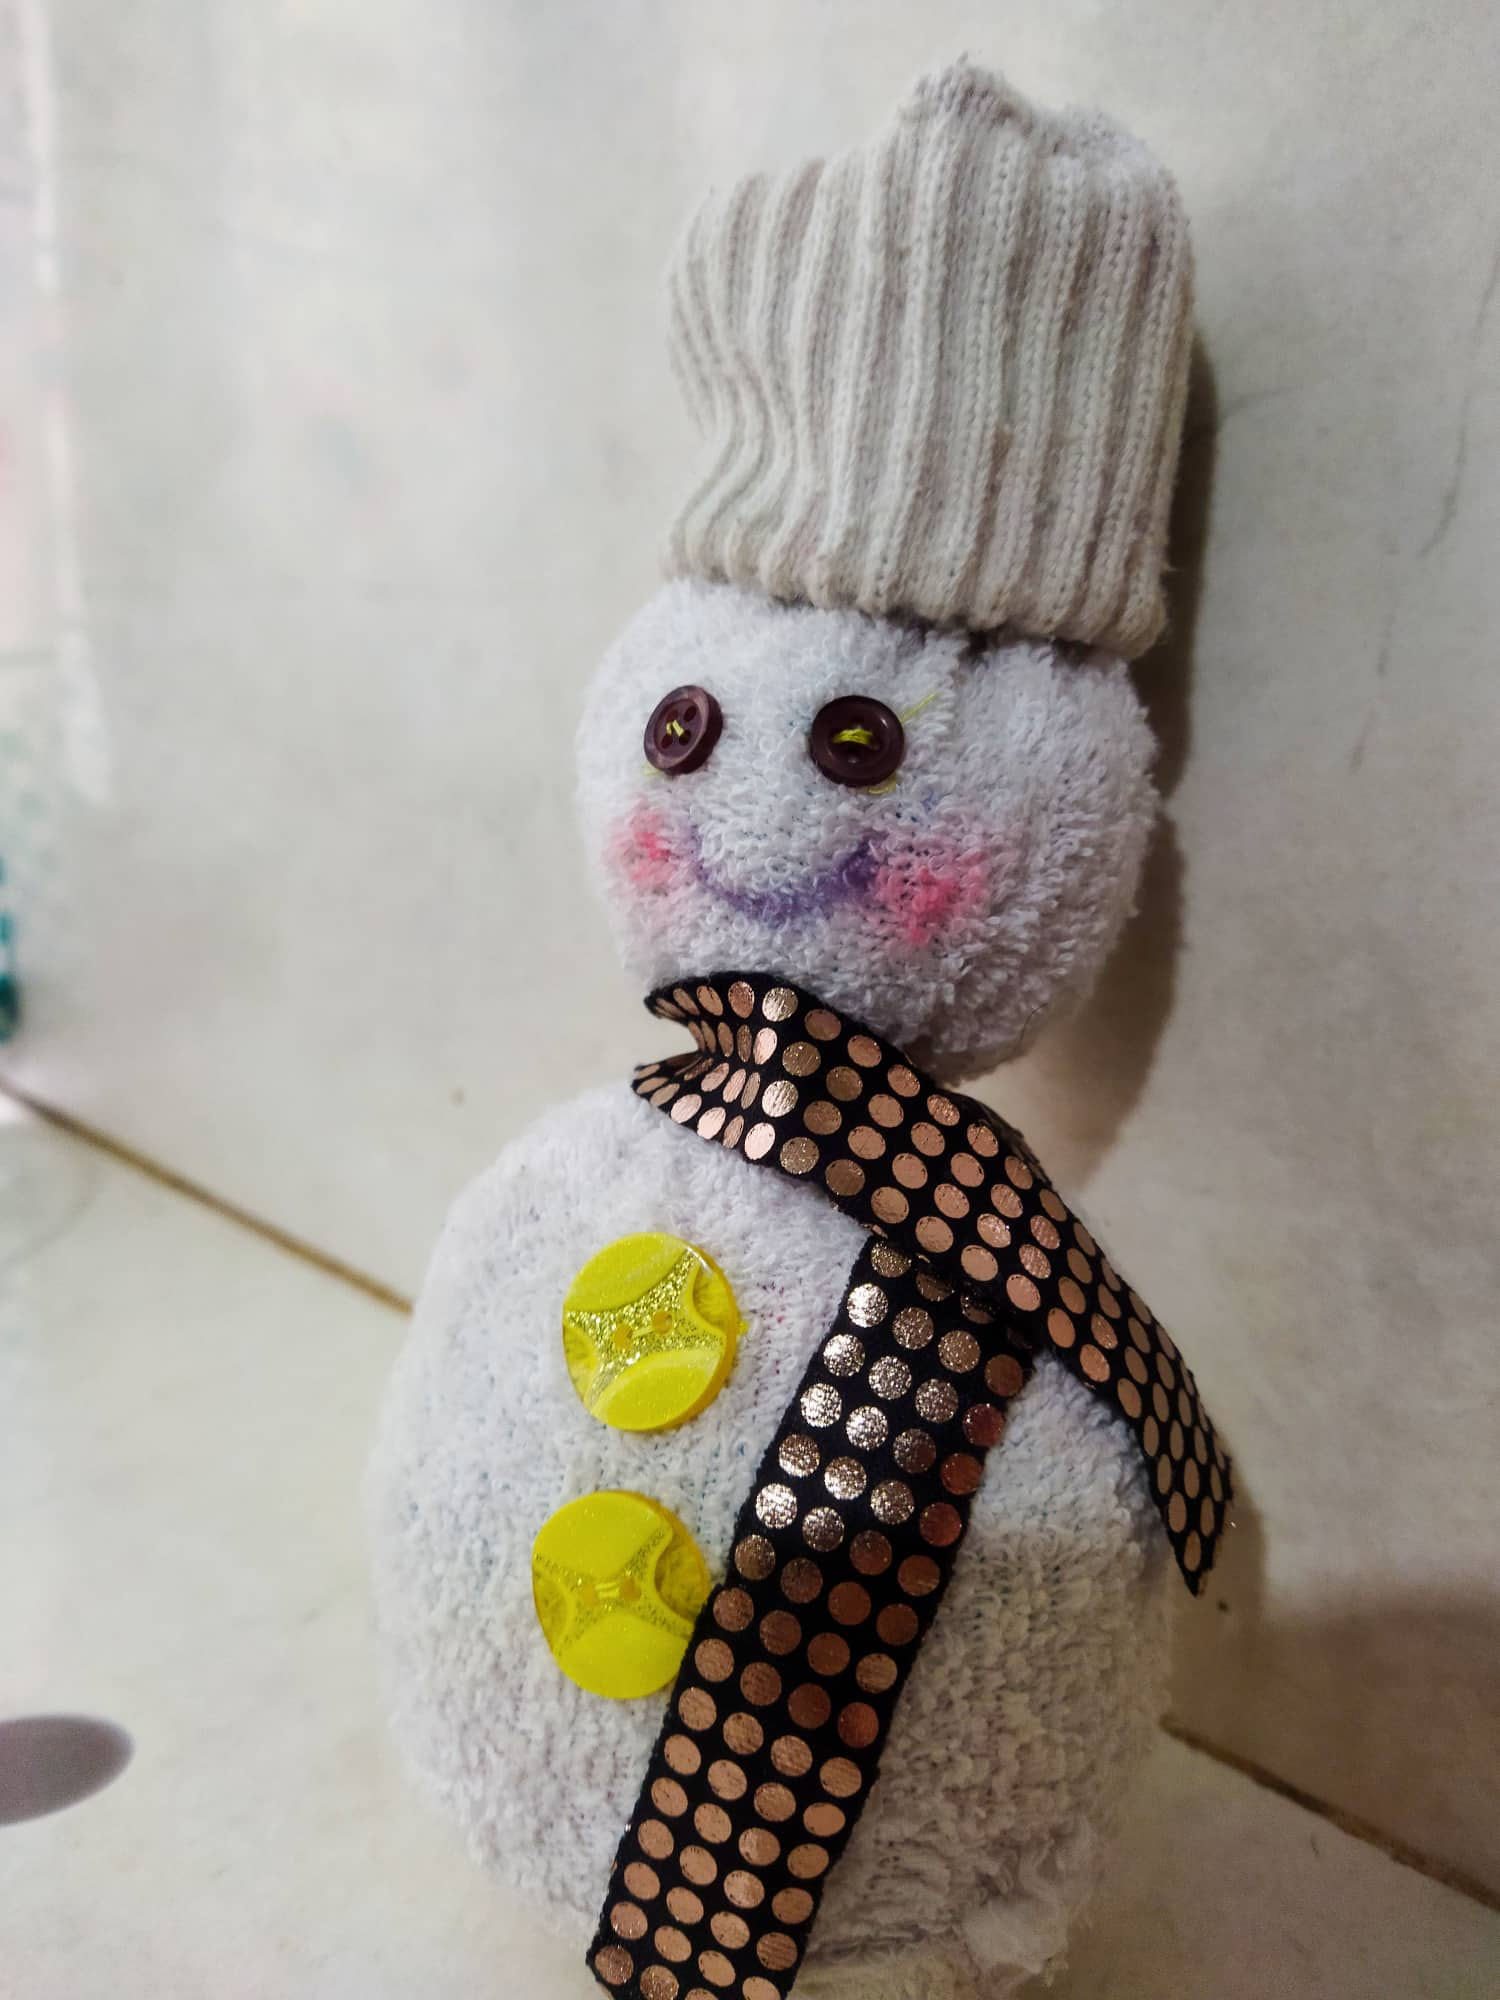
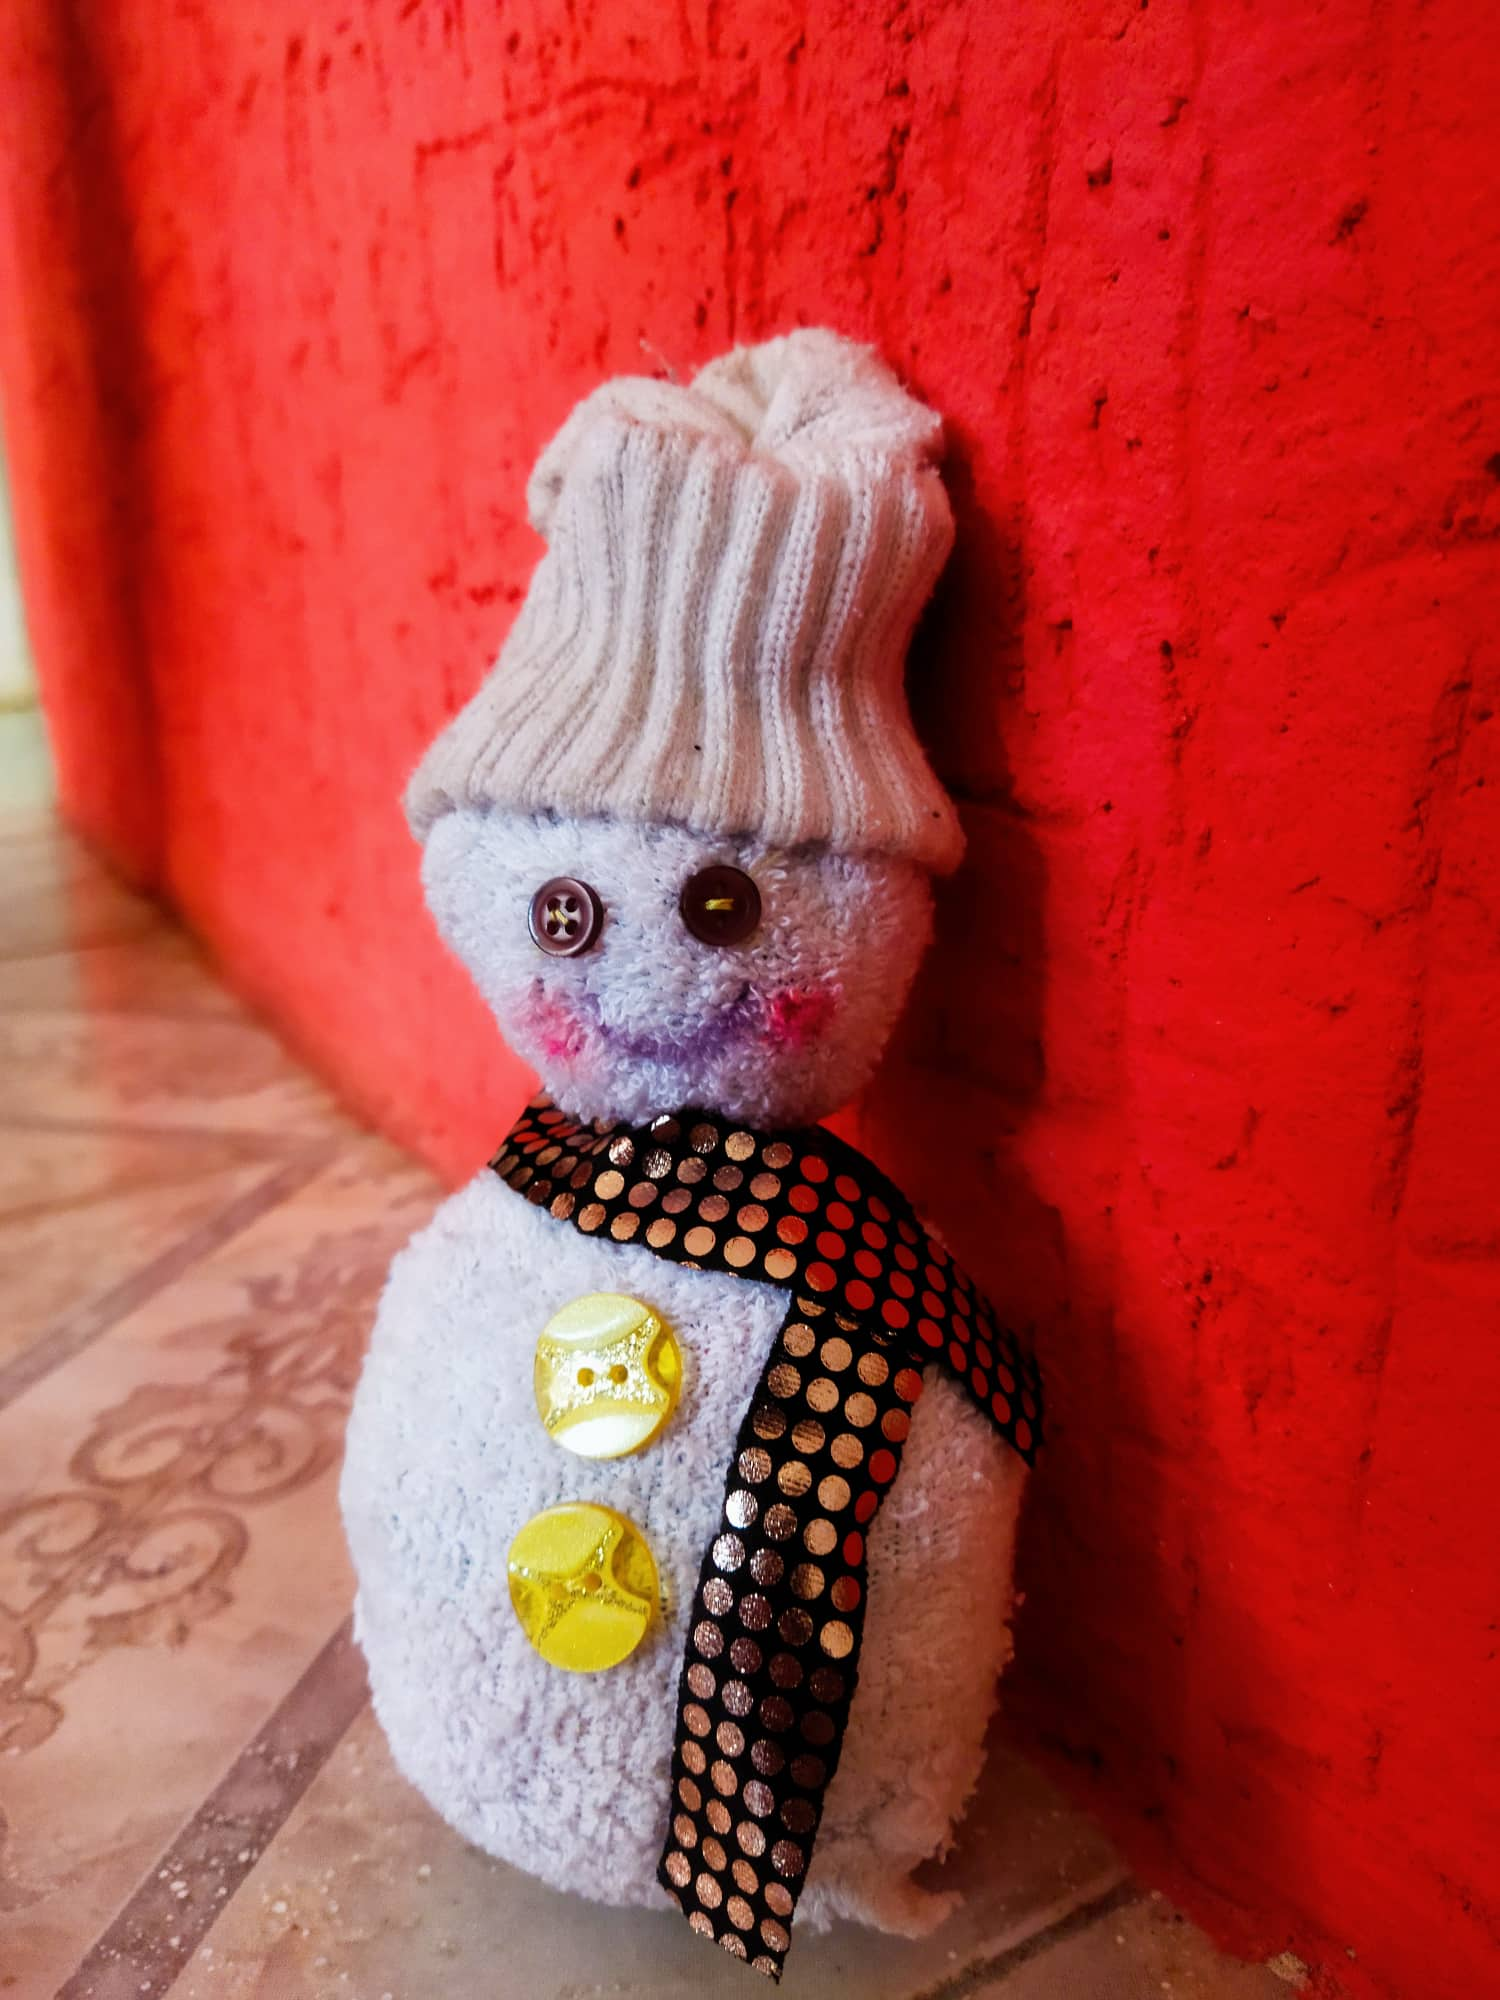
Paso 3: ya teniendo nuestro muñeco listo, vamos a cortar la bufanda de el y coseremos los botones que irán en la parte de la barriguita y también los que van como ojitos, le haremos la boca y un poco de rubor en las mejillas, así terminamos Nuestro lindo muñeco de nieve.
Step 3: once our snowman is ready, we will cut the scarf and sew the buttons that will go on the part of the belly and also those that go as eyes, we will make the mouth and a little blush on the cheeks, so we finish our cute snowman.
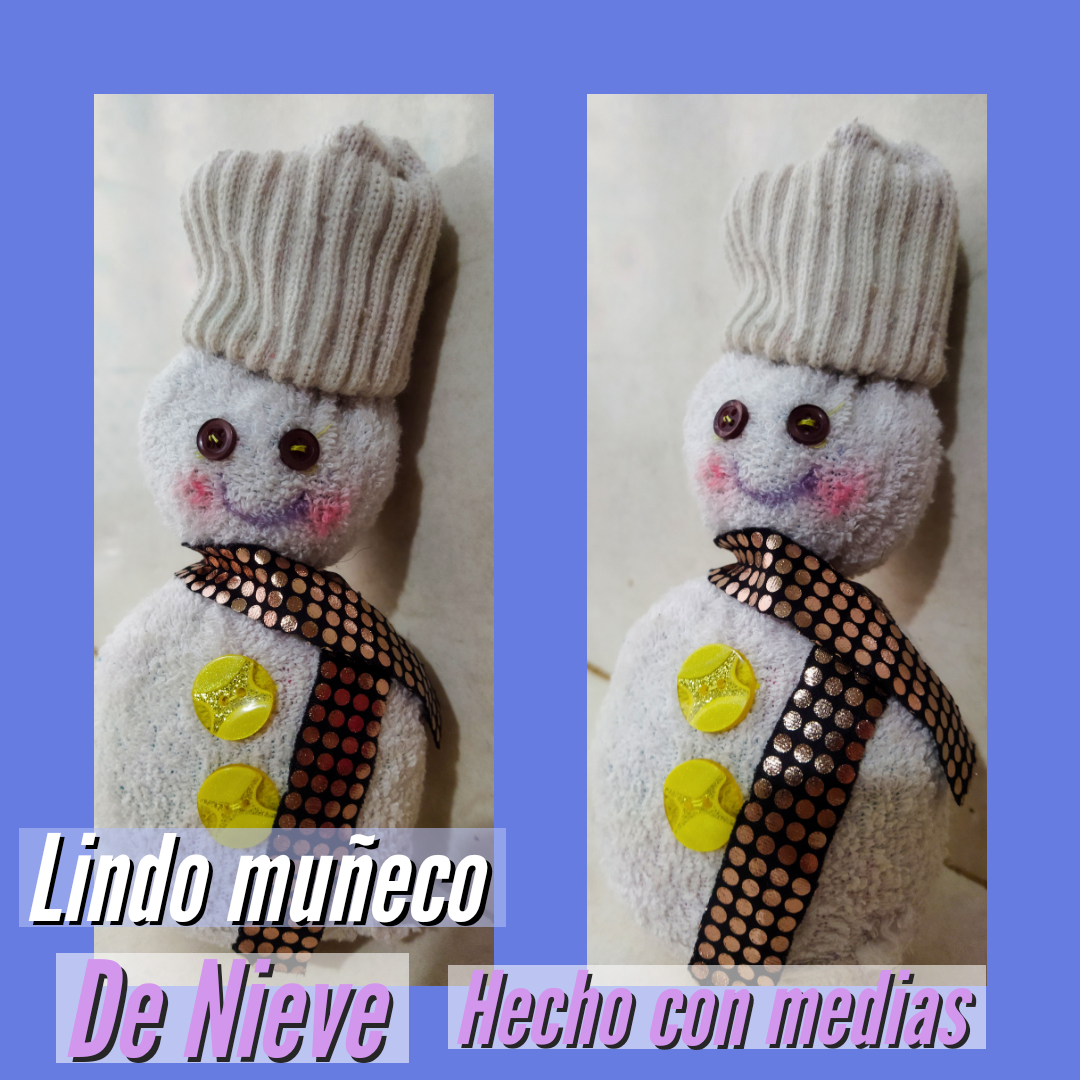
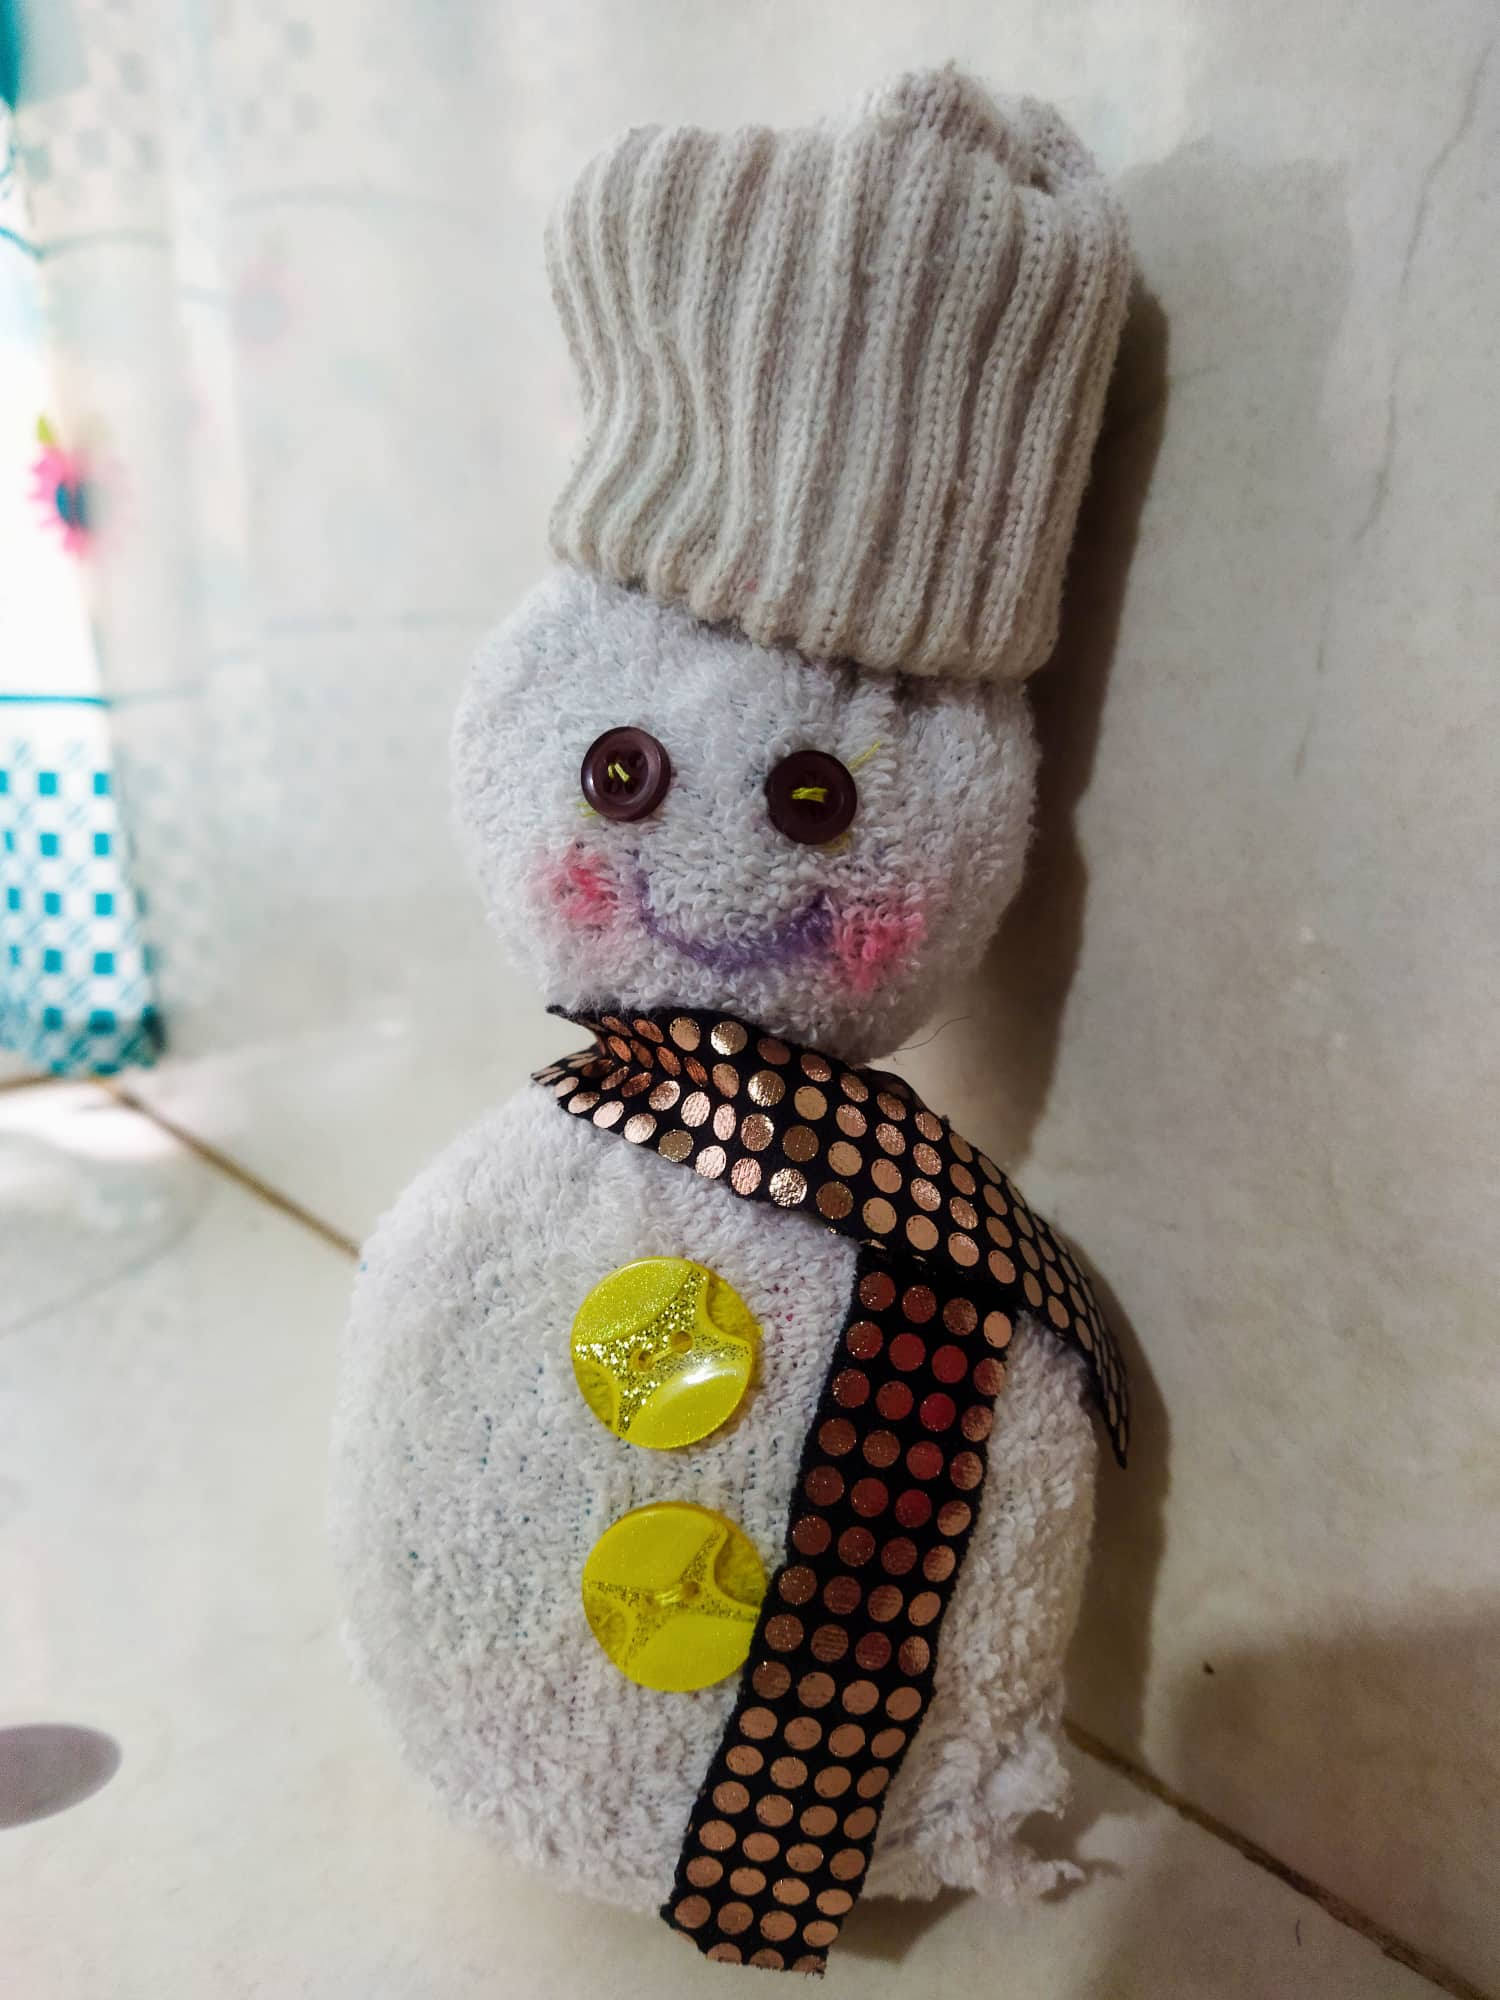
Final Result.
.png)
~~~ embed:1584362432641703936 twitter metadata:MTQyMjQxMzkxNTI3NTgxMjg2NHx8aHR0cHM6Ly90d2l0dGVyLmNvbS8xNDIyNDEzOTE1Mjc1ODEyODY0L3N0YXR1cy8xNTg0MzYyNDMyNjQxNzAzOTM2fA== ~~~
The rewards earned on this comment will go directly to the people( @equipodelta, @mariajcastro28 ) sharing the post on Twitter as long as they are registered with @poshtoken. Sign up at https://hiveposh.com.
Gracias por el gran apoyo que me dan, estoy realmente agradecida con cada uno de ustedes, es bueno que esto llegue a muchas personas y entre todos aprendamos cosas nuevas todos los dias.
Qué ternurita! Gracias por otorgarnos tus ideas, ya sé cómo decorar el pie de árbol en navidad, quedarían genial.
Muchas gracias querdia amiga, es super fáciel de hacer, y ahora que ya casi estamos mas cerca a nuestras vísperas navideñas.
Hermoso trabajo, el resultado es delicado y tierno, me lo imagino en grande para colocar en los muebles o hasta en un rincón, muy linda tu creación ♥️
Así es amiga, que bueno que te haya gustado, un placer poder compartir estas ideas con todos ustedes, saludos y muchas bendiciones.