
¡Hola Chicos!
Tener un sitio de trabajo lindo y cómodo es una de las metas que deseo lograr a corto plazo. Me dedico a crear contenido por lo que para mí es importante el sitio donde ocurre la magia.
Hace días hice un pequeño cambio con mi mesa cubriéndola con un fieltro de color amarillo y es increíble como esa renovación ha impulsado de manera positiva en mi motivación, además que hace lucir mucho mejor mis fotografías y trabajos.
Ahora quiero ir agregando accesorios y objetos que me permitan acomodar de una mejor manera mis herramientas de trabajo.
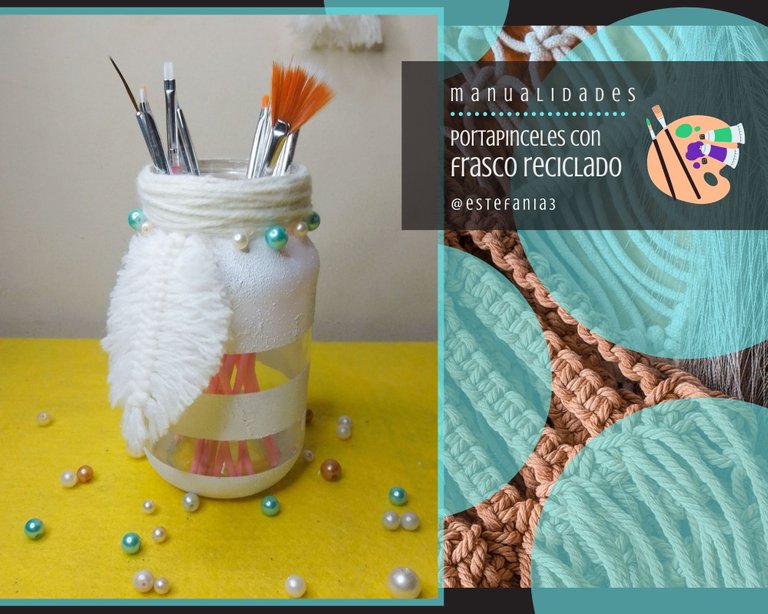
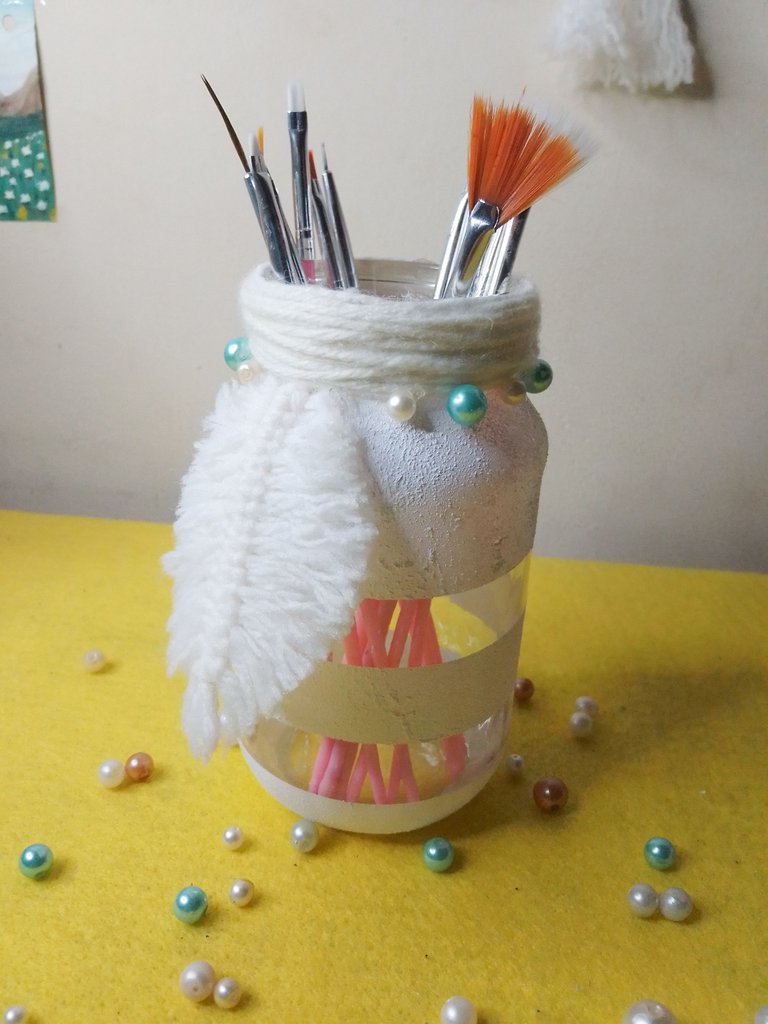
El proyecto que les traigo para el día de hoy es un portapinceles, hecho con un frasco de salsa reciclado al cual le di unos toques de pintura y con una linda pluma hecha en macramé logré este acabado rústico pero elegante.
Es súper sencillo de hacer y te aseguro que te divertirás tanto como yo al hacerlo.
Sin más que añadir, vamos con los materiales que vas a necesitar y el paso a paso para crear está manualidad. ♥
Hey guys!
Having a nice and comfortable workplace is one of the goals I want to achieve in the short term. I dedicate myself to creating content, so the place where the magic happens is important to me.
A few days ago I made a small change with my table covering it with a yellow felt and it is incredible how that renovation has positively boosted my motivation, plus it makes my photographs and work look much better.
Now I want to add accessories and objects that allow me to accommodate my work tools in a better way.
The project that I bring you today is a brush holder, made with a recycled sauce jar to which I gave a few touches of paint and with a beautiful macramé pen I achieved this rustic but elegant finish.
It is super easy to do and I assure you that you will have as much fun as I did when doing it.
Without further ado, let's go with the materials that you will need and the step by step to create this craft. ♥
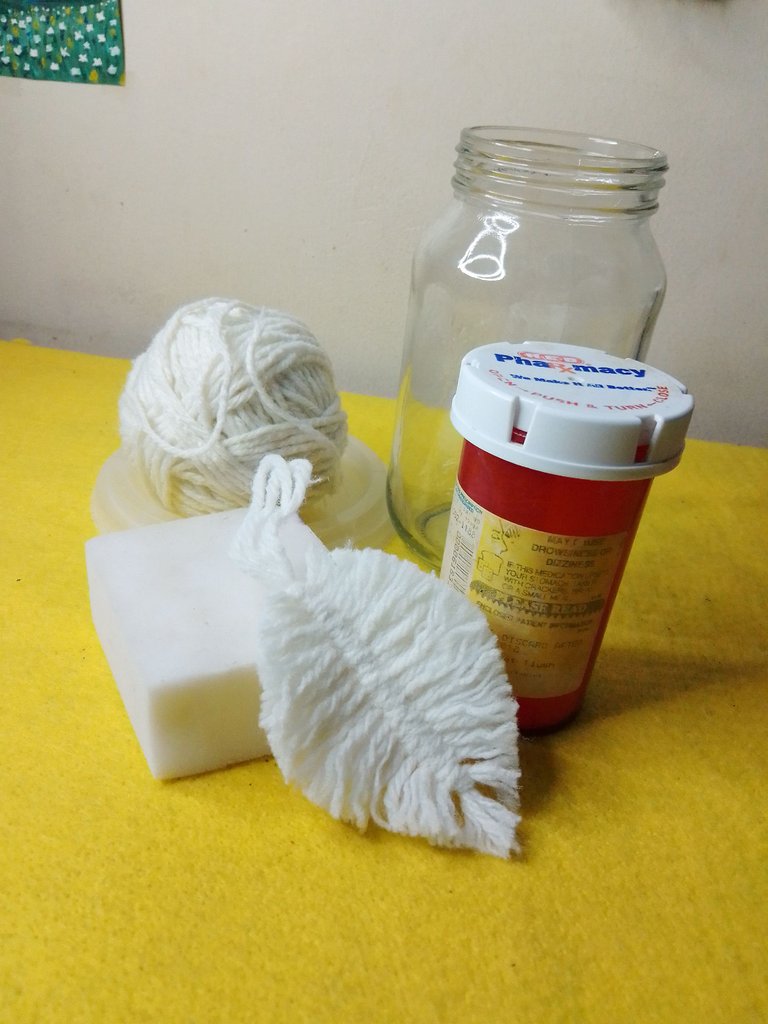
- Frasco de vidrio
- Pintura blanca
- Bicarbonato de sodio
- Estambre de color blanco
- Cinta adhesiva
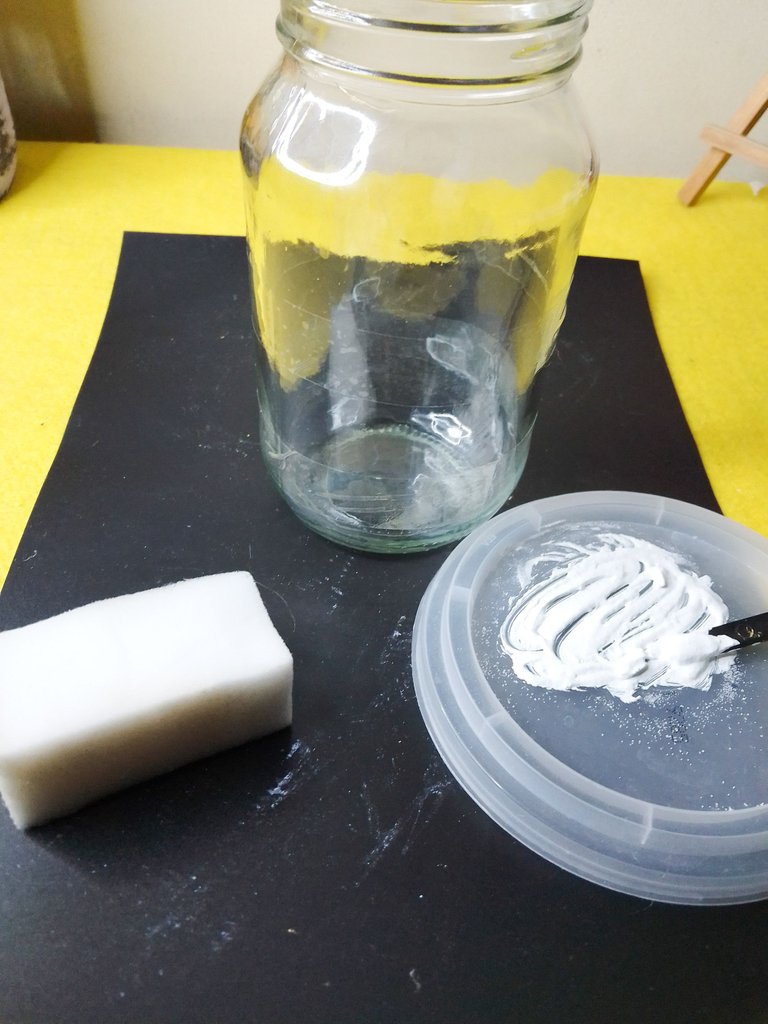
- Esponja
- Silicón
- Perlas de plástico
- Glass jar
- White paint
- Sodium bicarbonate
- White stamen
- Scotch tape
- sponge
- silicone
- plastic beads
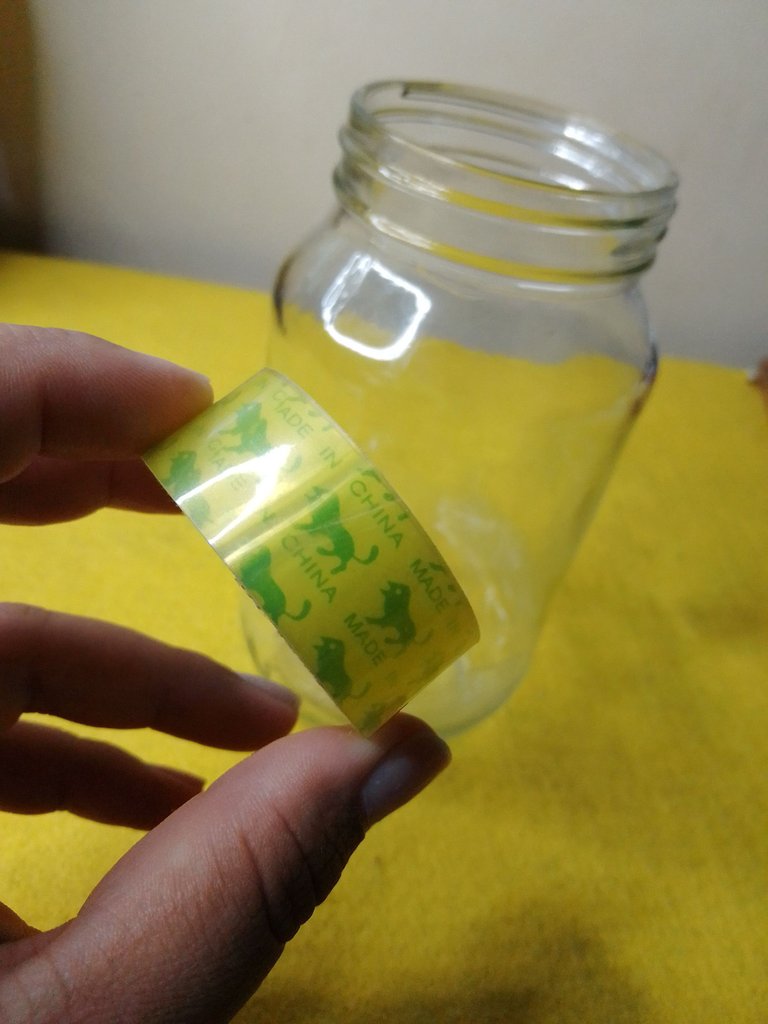
Lo primero que debemos es seleccionar el frasco de vidrio que vamos a usar, yo utilicé uno de mayonesa de unos 500 ml.
Lavamos y retiramos las etiquetas.
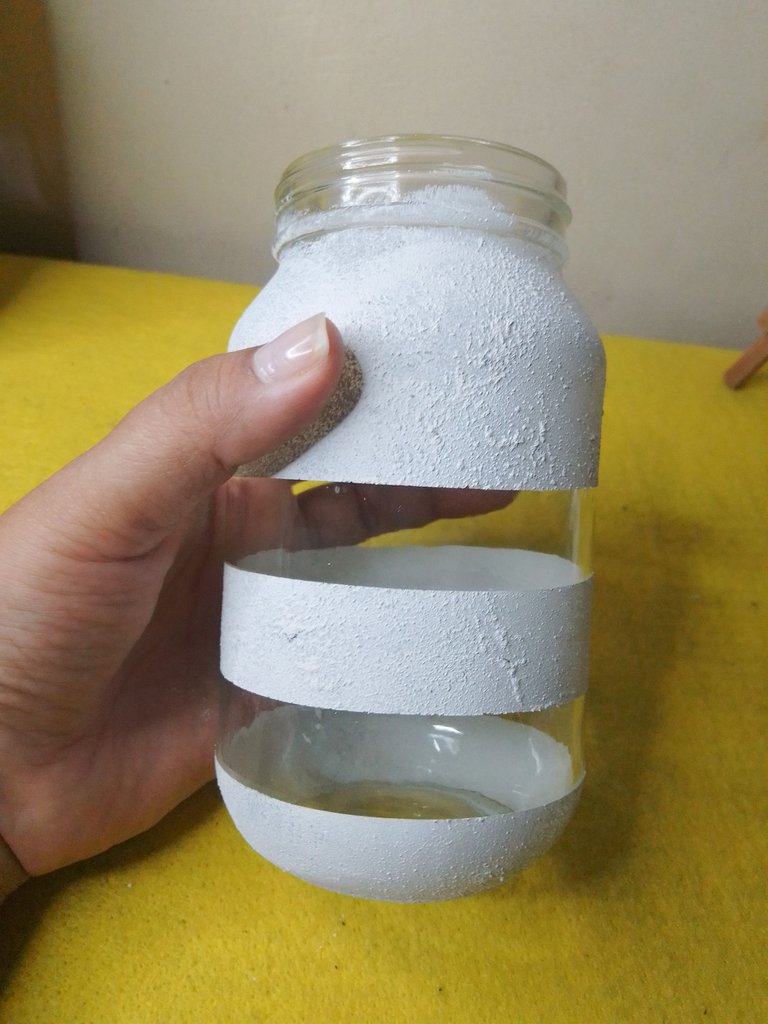
Al estar completamente seco, tomamos la cinta adhesiva y colocamos dos tiras en horizontal para dividir el frasco en 3 secciones.
Esta técnica la aplicamos en mi post anterior y la verdad que me ha encantado como lucen esas partes "limpias" en la decoración, por eso quise aplicarla a mi portapinceles.
The first thing we must do is select the glass jar that we are going to use, I used a mayonnaise jar of about 500 ml.
We wash and remove the labels.
Being completely dry, we take the adhesive tape and place two strips horizontally to divide the jar into 3 sections.
We applied this technique in my previous post and the truth is that I loved how those 'clean' parts look in the decoration, that's why I wanted to apply it to my brush holder.
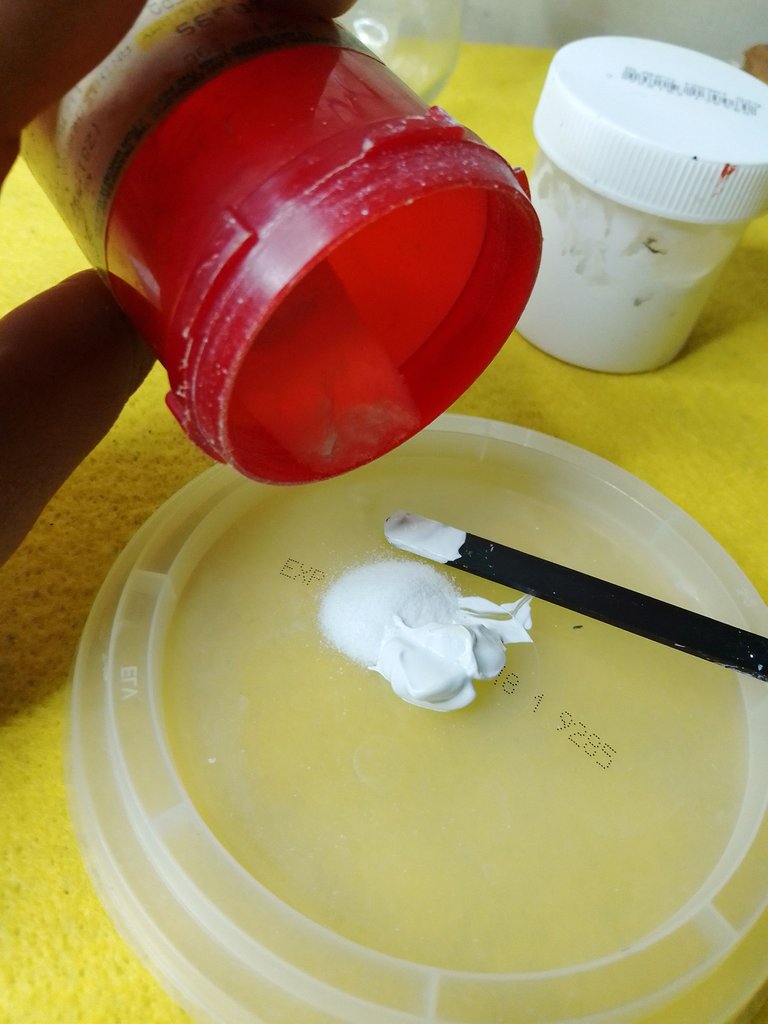
Ahora en un recipiente o como es mi caso una tapa reciclada, vamos a colocar partes iguales de pintura blanca (puede ser pintura al frío o acrílica) y bicarbonato de sodio.
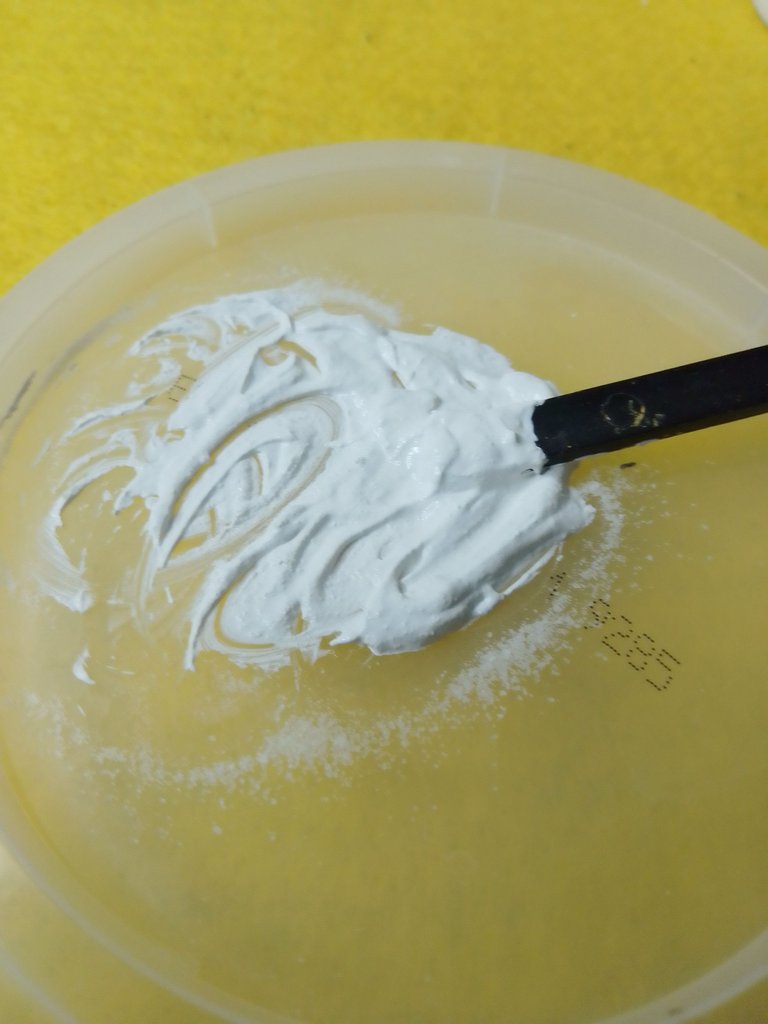
Now in a container or, as in my case, a recycled lid, we are going to place equal parts of white paint (it can be cold or acrylic paint) and baking soda.
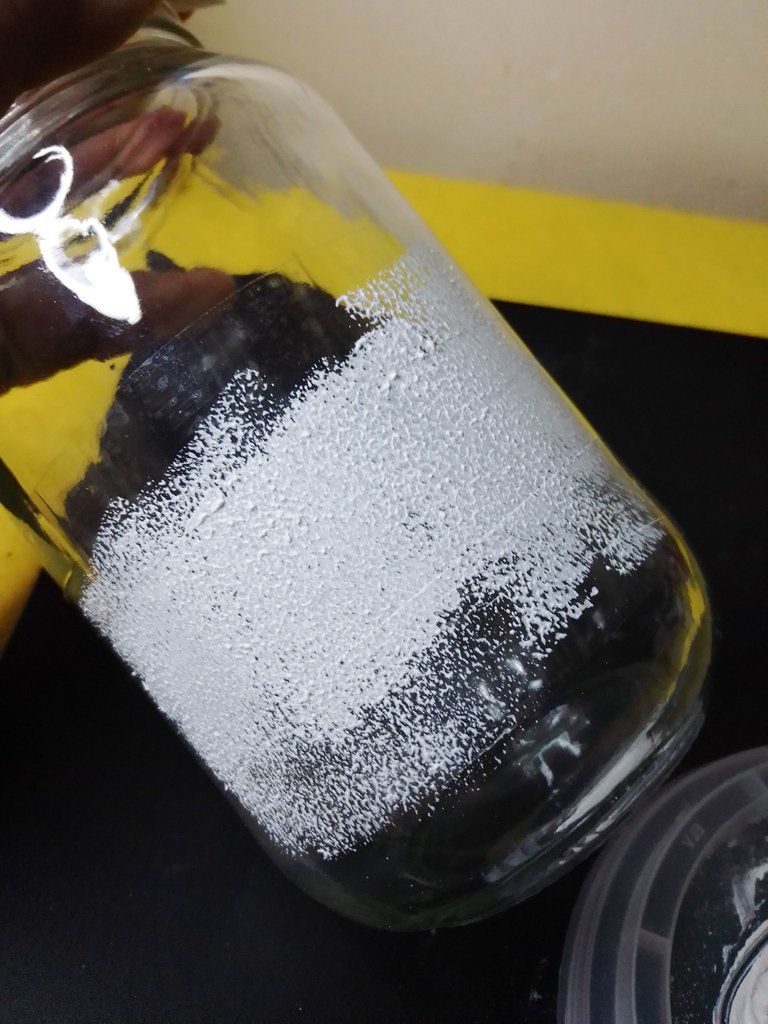
Con una esponja tomamos un poco de la mezcla y aplicamos sobre la superficie del frasco haciendo toques.
La superficie quedará con una linda textura, como si fuera una pared.
With a sponge we take a little of the mixture and apply it on the surface of the jar making touches.
The surface will be left with a nice texture, like a wall.
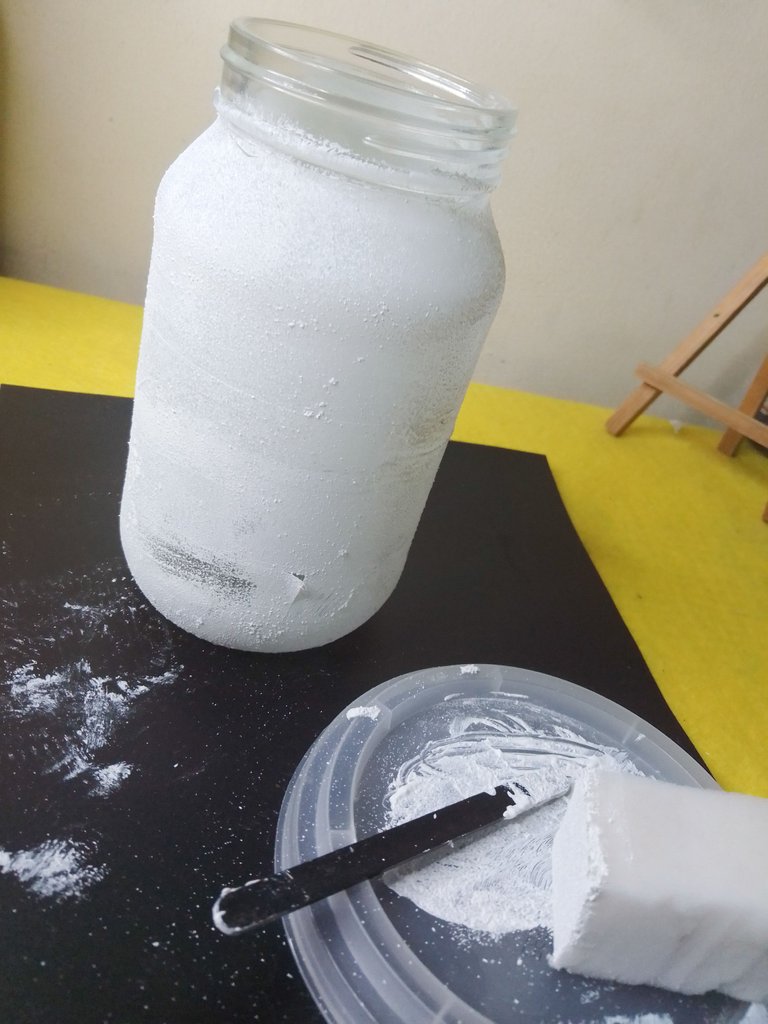
Cubrimos casi la totalidad del mismo, evitando la base y la parte donde está la rosca, pues finalmente lo vamos a cubrir con estambre.
Al secar la pintura retiramos la cinta adhesiva del frasco (mi parte favorita💕).
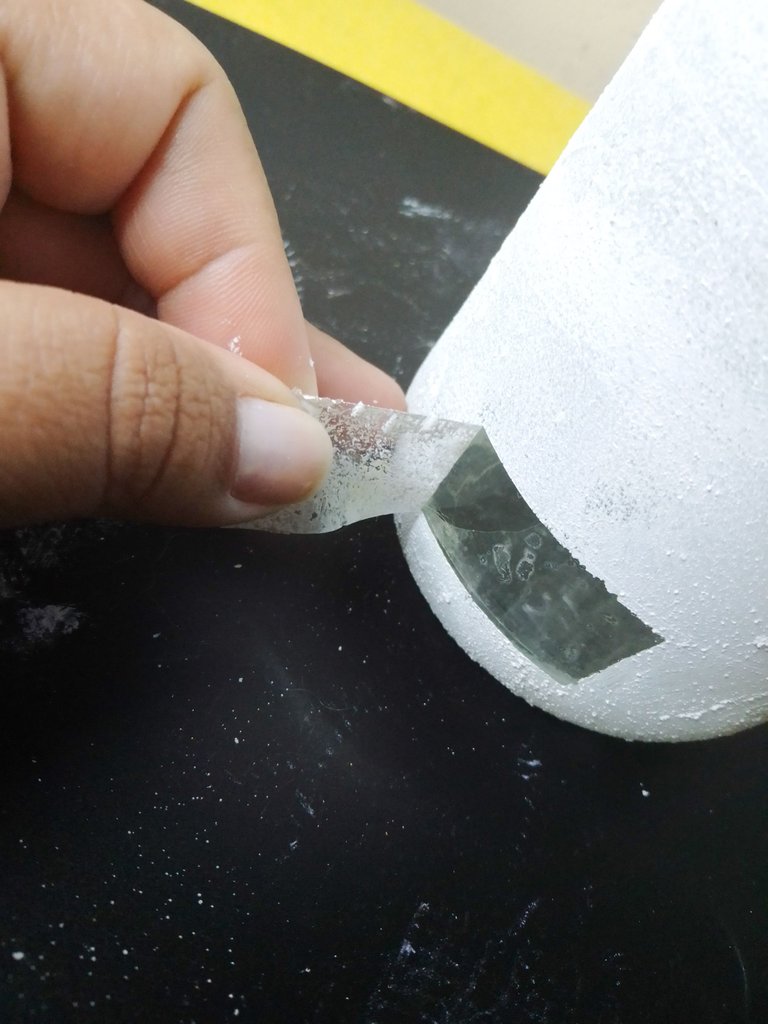
We cover almost all of it, avoiding the base and the part where the thread is, because finally we are going to cover it with yarn.
When the paint dries we remove the masking tape from the jar (my favorite part💕).
Ahora vamos a decorar. Previamente hice una pluma en macramé de color blanco para colocarla en la parte superior del frasco. Para no extendernos tanto con la explicación preferí saltarme estos pasos. Pero si no tienes ideas de como hacerla no te preocupes, acá te dejo el enlace para que vayas a mi tutorial. 😊
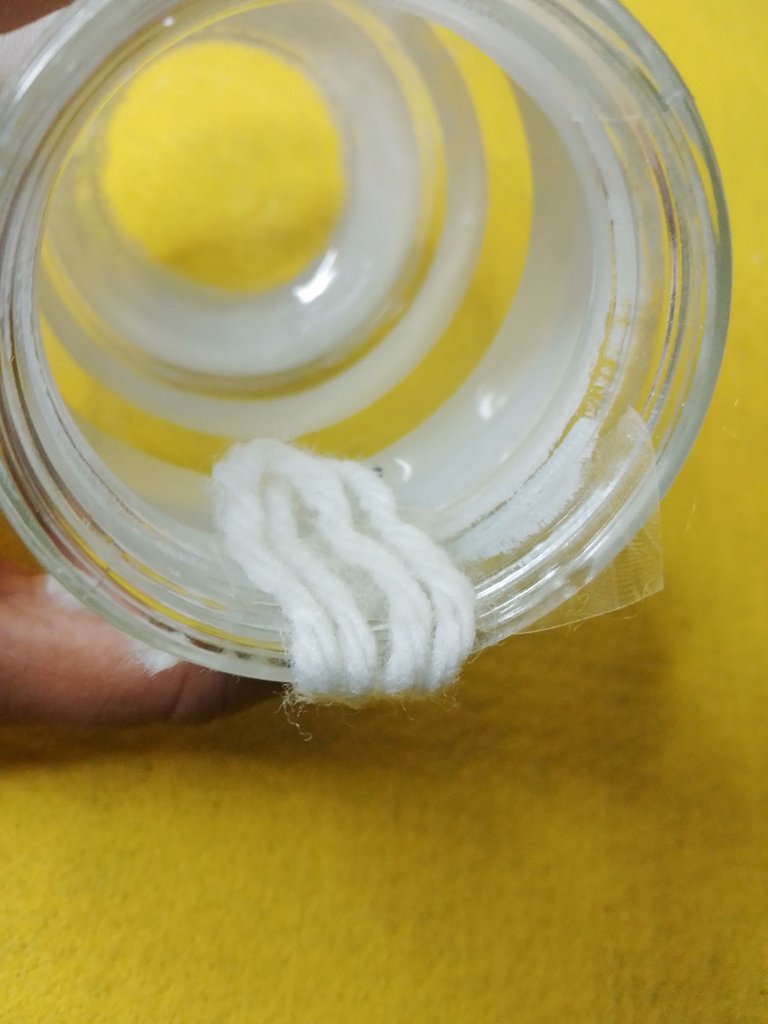
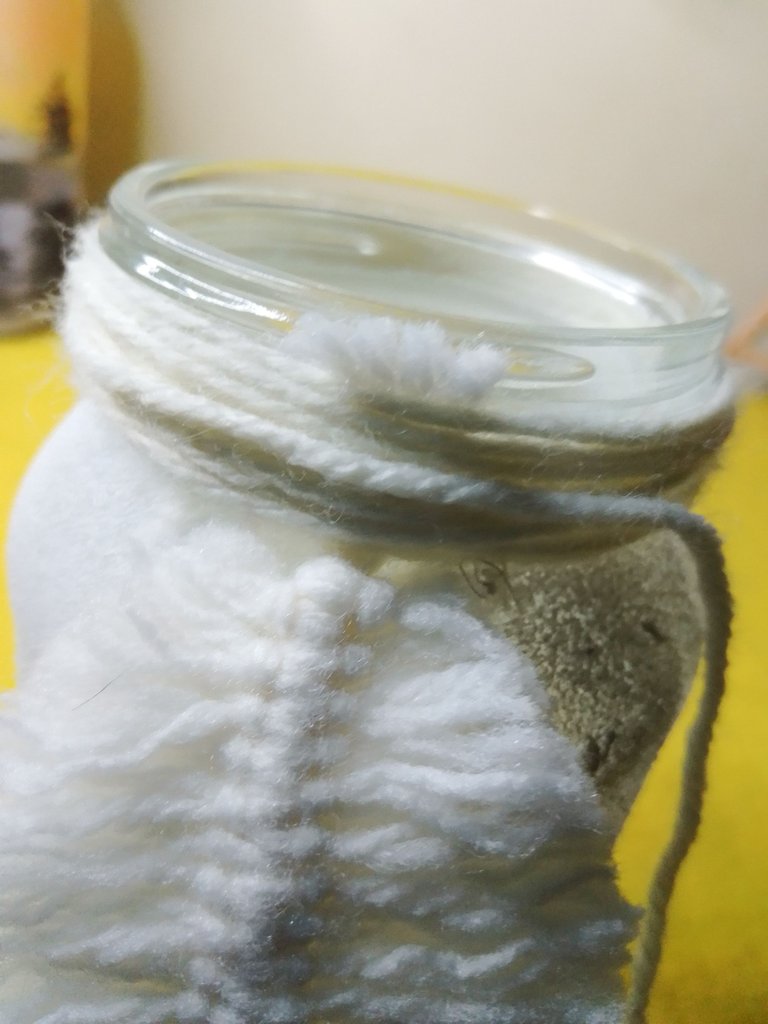
Fijamos con un trozo de cinta adhesiva la pluma al interior del frasco y con el estambre vamos a ir dando vueltas sobre los cordeles de la pluma. La idea es esconder estos hilos con el estambre en horizontal.
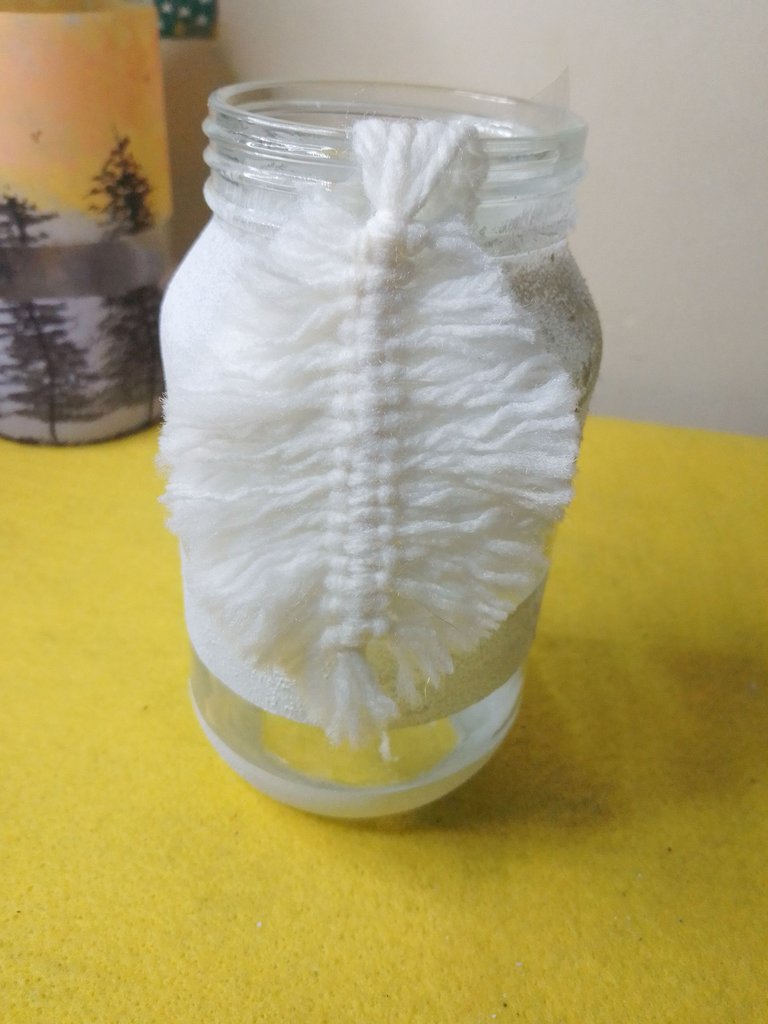
Cortamos el excedente de hilo de la pluma y seguimos dando vueltas con el hilo hasta cubrir por completo la parte de la rosca.
Now we are going to decorate. Previously I made a white macramé feather to place it on the top of the jar. In order not to extend ourselves so much with the explanation, I preferred to skip these steps. But if you don't have ideas on how to do it, don't worry, here is the link so you can go to my tutorial. 😊
We fix the pen inside the bottle with a piece of adhesive tape and with the yarn we are going to go around the pen strings. The idea is to hide these threads with the yarn horizontally.
We cut the excess thread from the pen and continue turning the thread until it completely covers the part of the thread.
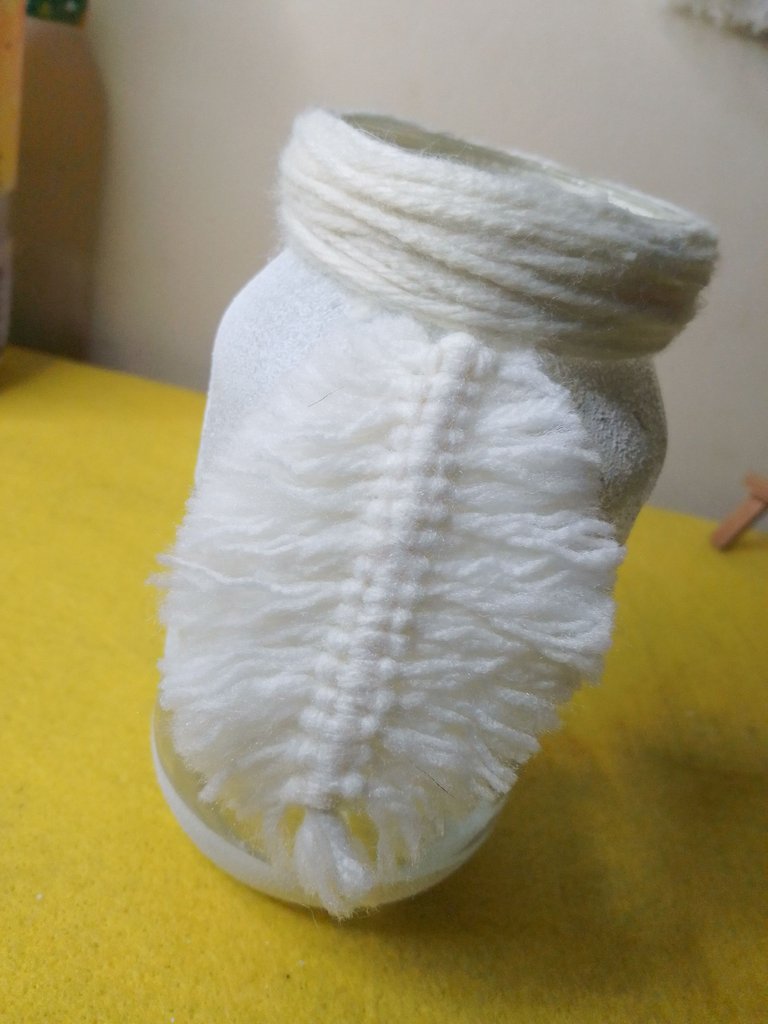
Es probable que el hilo se corra en la parte superior, por lo que vamos a aplicar pequeños puntos de silicón para asegurar el estambre.
Ya nuestro frasco luce muy bien, pero le hace falta un toquesito de color.
The yarn is likely to smear at the top, so we're going to apply small dots of glue to secure the yarn.
Our bottle already looks great, but it needs a touch of color.
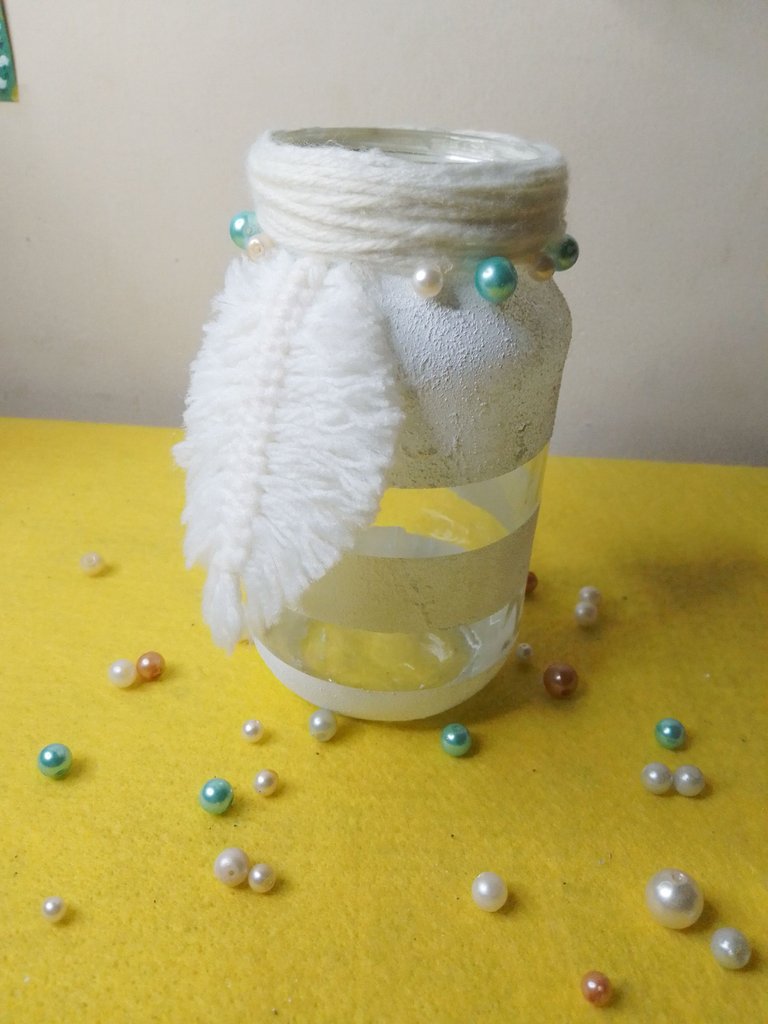
Pegamos algunas perlas plásticas en la parte inferior de la rosca. Yo use unas de color turquesa intercaladas con unas blancas.
Ahora sí, el portapinceles está terminado y listo para ser utilizado.
Dime qué te pareció la propuesta. Te animas a hacerla? Que otro uso le darías a este frasco decorado? Te leo en los comentarios. 😊💕
We glued some plastic pearls to the bottom of the thread. I used turquoise ones interspersed with white ones.
Now yes, the brush holder is finished and ready to be used.
Tell me what you thought of the proposal. Do you dare to do it? What other use would you give to this decorated jar? I read you in the comments. 😊💕


Espero haya sido de tu agrado y provecho.
Un gran abrazo a todos, y nos leemos en un próximo post
• Lakrearte en Hive •
Att: Estefania Garcia ♥

Imágenes y separadores de mi autoría
Portada editada en Canva
Your content has been voted as a part of Encouragement program. Keep up the good work!
Use Ecency daily to boost your growth on platform!
Support Ecency
Vote for new Proposal
Delegate HP and earn more
Thanks ♥
me gusto mucho esa idea, la voy a poner en practica con un frasco que tengo aqui. gracias
Me alegra que te sea de utilidad, espero poder ver como te queda. Saludos ♥
Bonito y práctico
Si, muchas gracias por el comentario 😊
Thank you for sharing this amazing post on HIVE!
Your content got selected by our fellow curator @rezoanulvibes & you just received a little thank you via an upvote from our non-profit curation initiative!
You will be featured in one of our recurring curation compilations and on our pinterest boards! Both are aiming to offer you a stage to widen your audience within and outside of the DIY scene of hive.
Join the official DIYHub community on HIVE and show us more of your amazing work and feel free to connect with us and other DIYers via our discord server: https://discord.gg/mY5uCfQ !
If you want to support our goal to motivate other DIY/art/music/homesteading/... creators just delegate to us and earn 100% of your curation rewards!
Stay creative & hive on!