
¡Hola Chicos!
Aquí continúo, creando adornitos de navidad que les sirvan para decorar su hogar, cualquier rinconcito que necesite un detalle lindo, también para llenar el árbol navideño de decoraciones hechas por nosotros mismos. Es algo que sin duda es una mejor opción que ir a la tienda y simplemente comprarlos hechos.
Me ha gustado mucho hacer cada una de las decoraciones que les he traído, me relaja mucho y me ayuda a salir por unas horitas de ese ajetreo de la rutina diaria.
Hoy quiero compartirles el tutorial para hacer estos lindos arbolitos de navidad tejidos en macramé. ♥ La idea la he encontrado en este video y me pareció chévere adaptarla a mis gustos y los materiales con los que cuento, por supuesto compartiéndoles mi paso a paso.
Así que si están listos, vayamos entonces con el proceso de elaboración.
Hey guys!
Here I continue, creating Christmas ornaments that can be used to decorate your home, any corner that needs a nice detail, also to fill the Christmas tree with decorations made by ourselves. It is something that is certainly a better option than going to the store and just buying them made.
I really liked making each of the decorations that I have brought you, it relaxes me a lot and helps me get out of that hustle and bustle of the daily routine for a few hours.
Today I want to share with you the tutorial to make these beautiful macramé knitted Christmas trees. ♥ I found the idea in this video and I thought it was cool to adapt it to my tastes and the materials I have, of course sharing my step by step. step.
So if you're ready, let's get down to the brewing process.
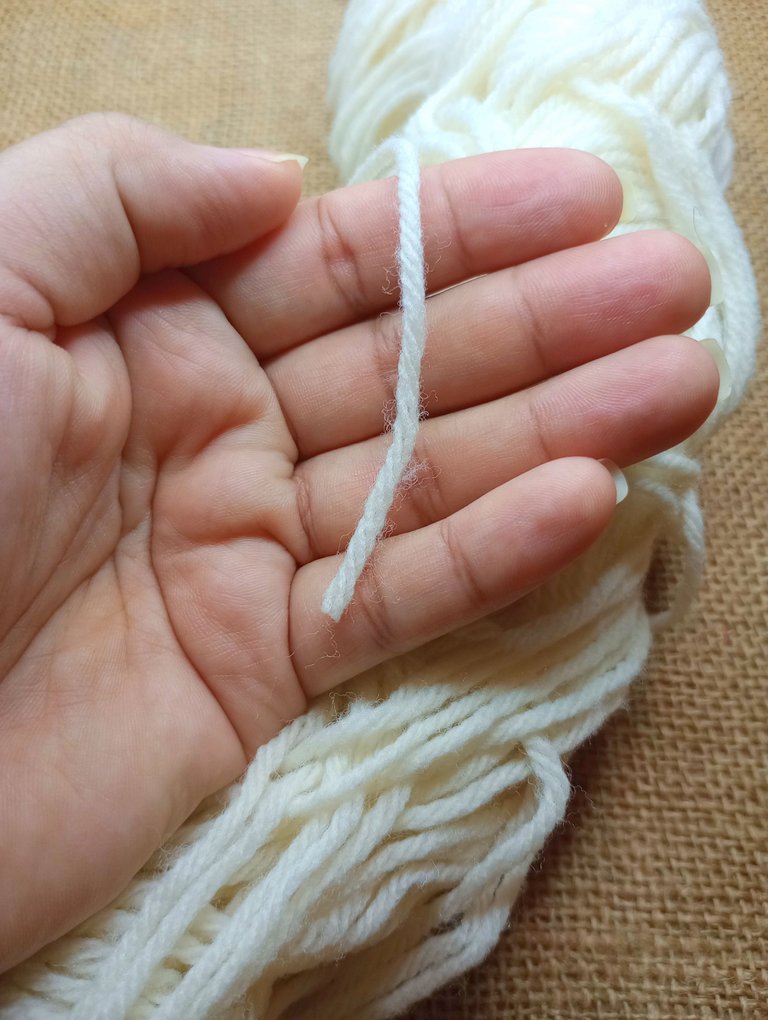
Lo primero es elegir el material que vamos a usar. El macramé se ve muy lindo cuando lo tejemos con un hilo de un grosor considerable, aunque en mi caso no cuento con tales materiales.
Debo aclarar que el grosor del hilo determinará el tamaño final de la decoración.
No me maté por eso y decidí utilizar una lana de 4 hebras en un color blanco crema. Aunque no es el grosor ideal, sé que quedará igualmente linda la decoración.
En caso de que el hilo que vayas a usar sea más fino que este, te recomiendo que utilices unas dos o tres vueltas por cada hilo, es decir, que lo coloques doble o triple, así aumentarás el grosor del tejido.
The first thing is to choose the material that we are going to use. Macramé looks very nice when weave it with a thread of considerable thickness, although in my case I do not have such materials.
I must clarify that the thickness of the thread will determine the final size of the decoration.
I didn't kill myself for it and decided to use a 4-strand yarn in a creamy white color. Although it is not the ideal thickness, I know that the decoration will be equally beautiful.
In case the thread you are going to use is finer than this, I recommend that you use about two or three turns for each thread, that is, that you place it double or triple, thus you will increase the thickness of the fabric.
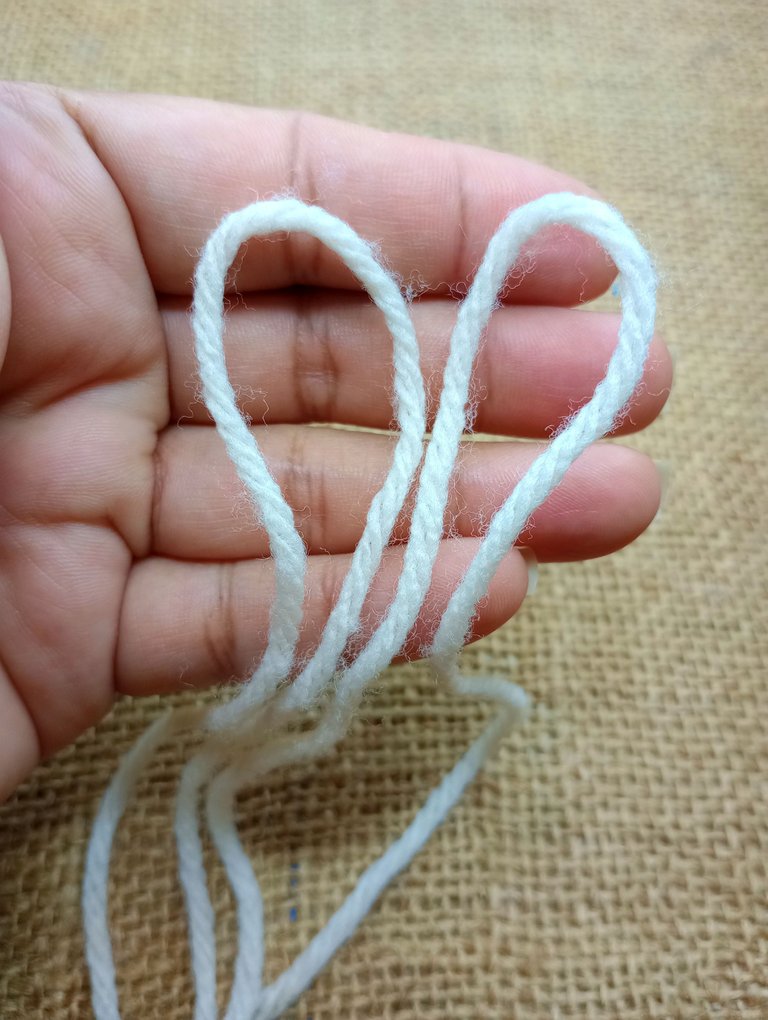
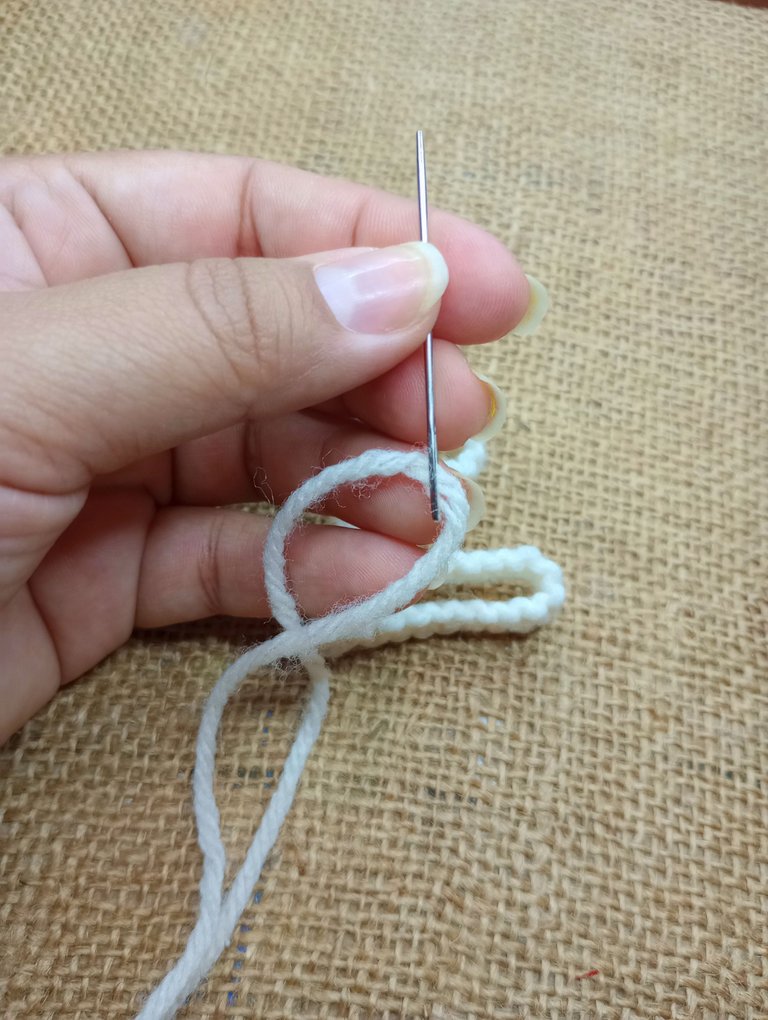
Corté dos tiras de 140 centímetros, las doblé a la mitad y las coloqué una al lado de la otra como se aprecia en la primera foto.
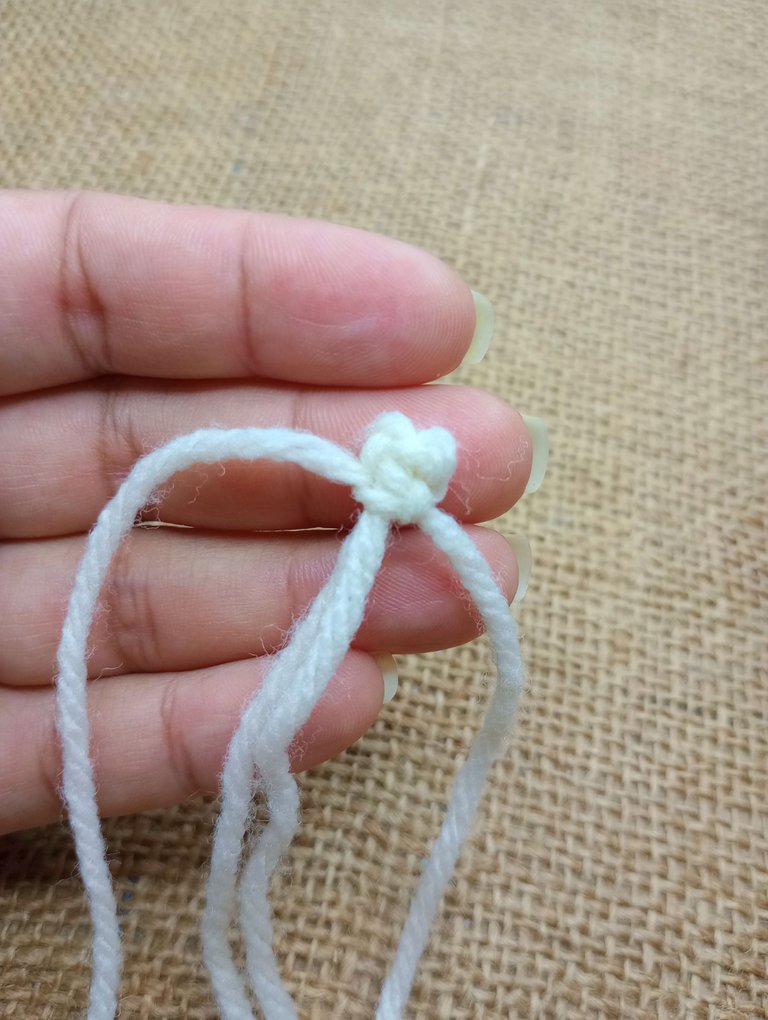
Luego tomé las tiras de los lados e hice un nudo plano macramé.
Esta es la manera en la que iniciamos el tejido sin necesidad de hacer un nudo. Pero si se te complica hacerlo puedes hacerle su nudito bien ajustado y pegado al extremo superior, como te muestro en la siguiente foto.
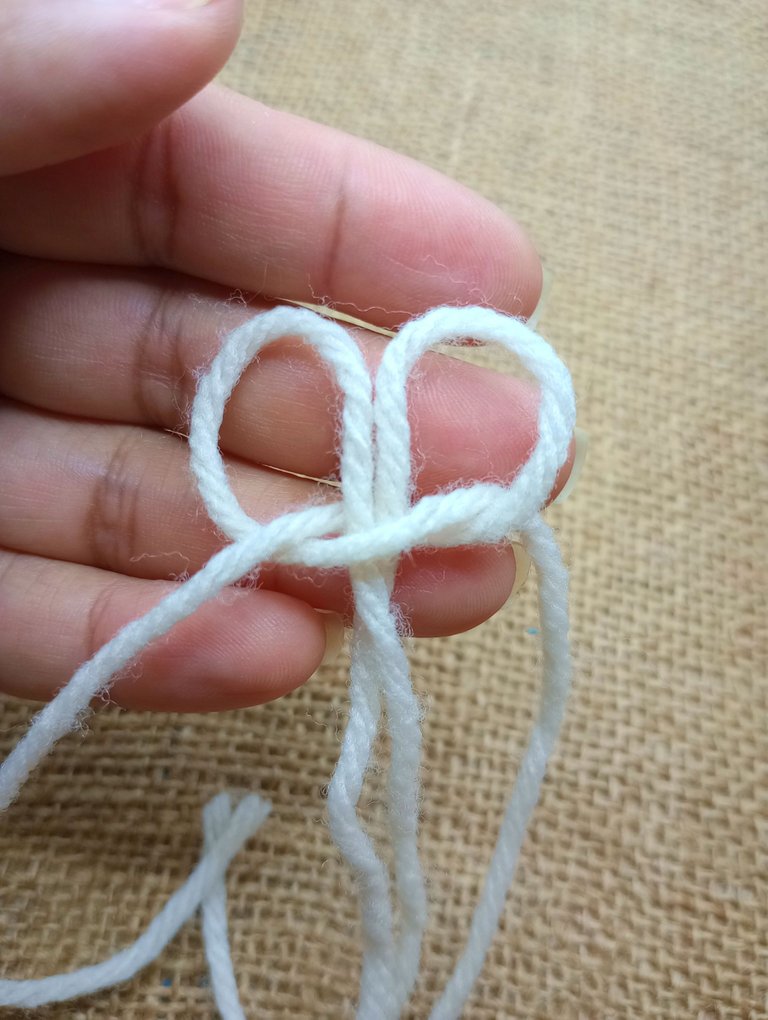
I cut two strips of 140 centimeters, folded them in half and placed them side by side as shown in the first photo.
Then I took the strips from the sides and made a flat macramé knot.
This is the way in which we start the weaving without the need to tie a knot. But if it is difficult for you to do so, you can make your knot well adjusted and attached to the upper end, as I show you in the following photo.
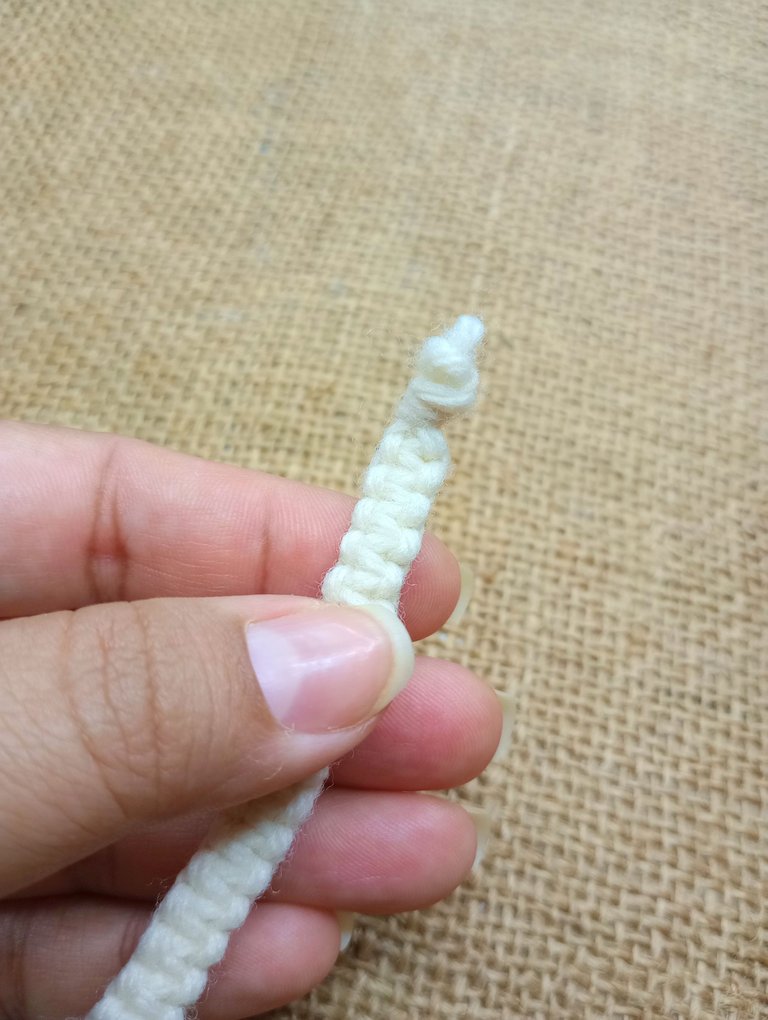
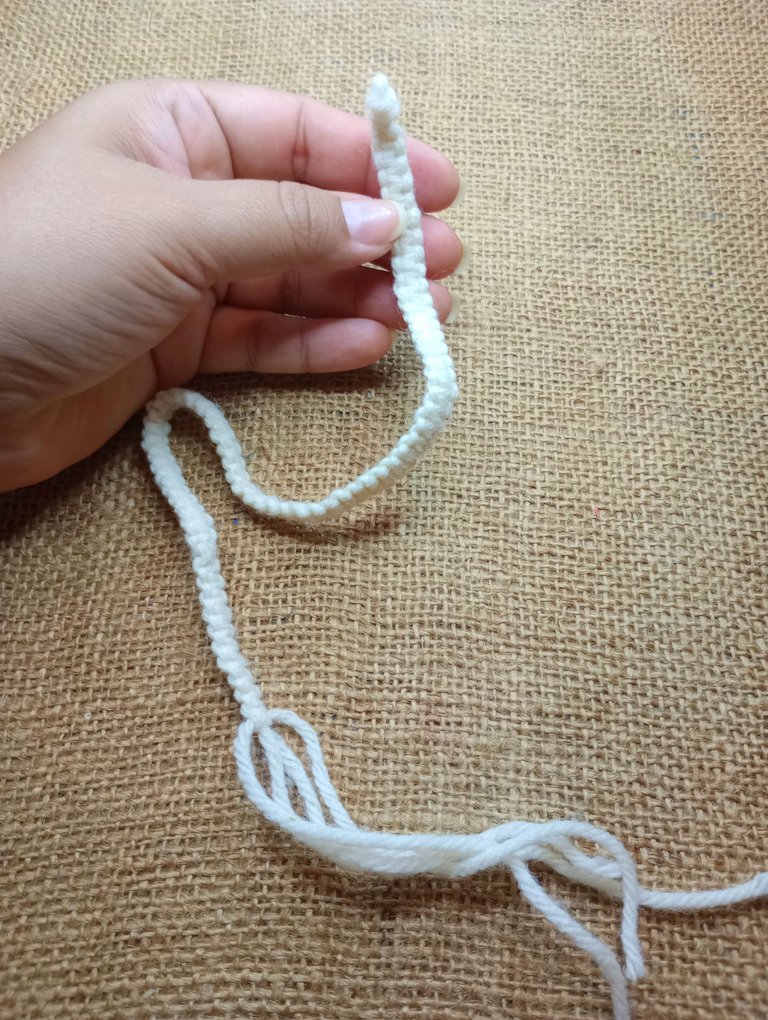
Así tejeremos toda la tira en nudos macramé hasta acabar con los hilos.
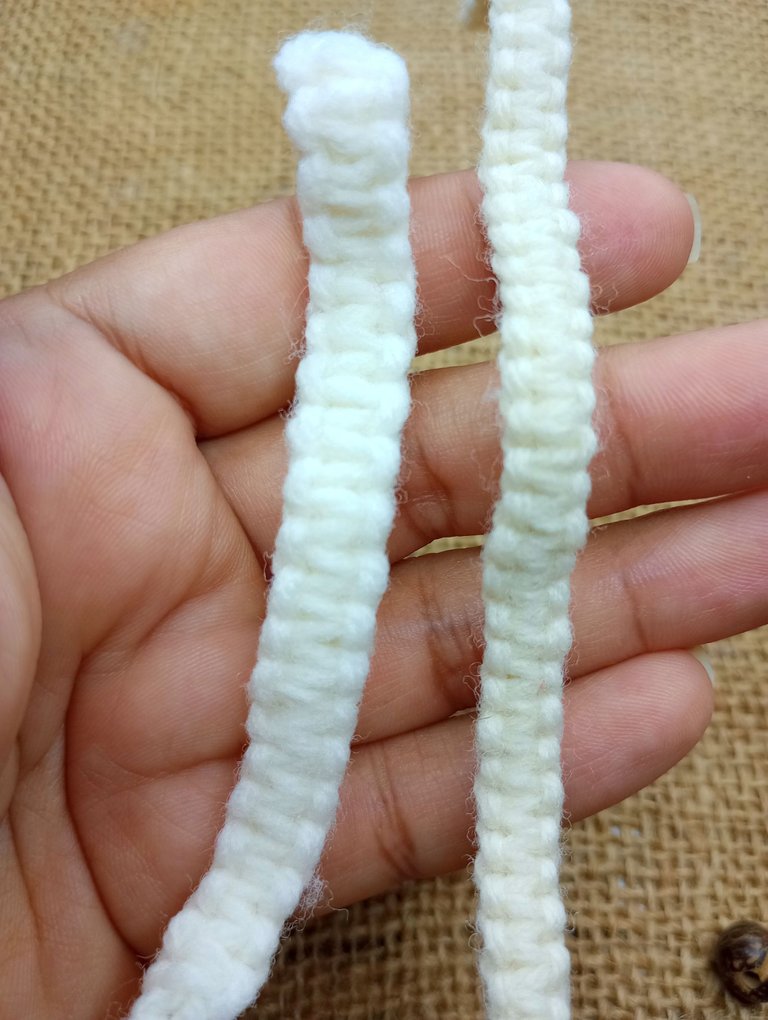
Aquí te enseño un ejemplo de como tejiéndola con hilos de diferente grosor, lograremos un tamaño mayor o menor en el adorno.
In this way we will weave the entire strip in macramé knots until the threads are finished.
Here I show you an example of how weaving it with threads of different thickness, we will achieve a larger or smaller size in the ornament.

Necesitamos asegurar el extremo inferior del tejido. Yo utilicé un poco de silicón y corté los excedentes de hilo.
Para darle forma al árbol necesitamos aguja e hilo del mismo color del tejido. Yo utilicé una aguja punta roma.
We need to secure the bottom end of the fabric. I used a bit of silicone and cut off the excess thread.
To shape the tree we need a needle and thread of the same color as the fabric. I used a blunt tip needle.
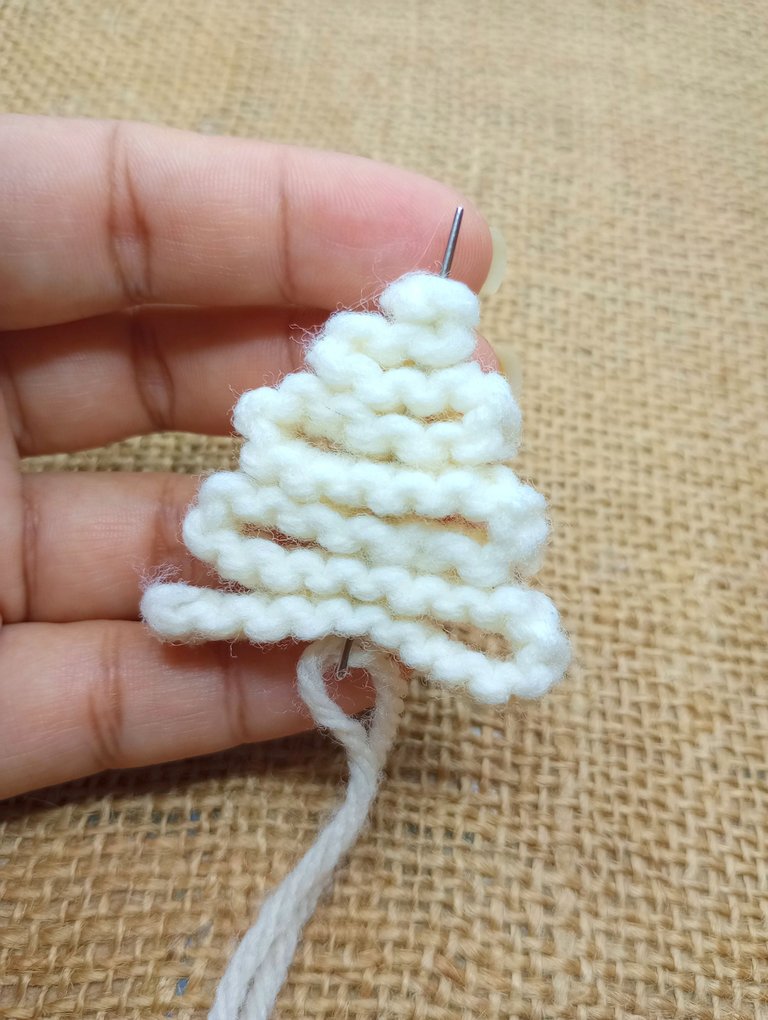
Hice un doblez en zig zag para darle forma al arbolito, les recomiendo que lo hagan de abajo hacia arriba, así se les facilitará darle la forma.
Luego con la aguja vamos a asegurar la parte media, introduciendola poco a poco de abajo hacia arriba.
Se deja un excedente de unos 8 centímetros y luego se cortan los hilos para retirar la aguja.
I made a zig zag fold to shape the tree, I recommend that you do it from the bottom up, this way it will be easier for you to shape it.
Then with the needle we are going to secure the middle part, introducing it little by little from bottom to top.
A surplus of about 8 centimeters is left and then the threads are cut to remove the needle.
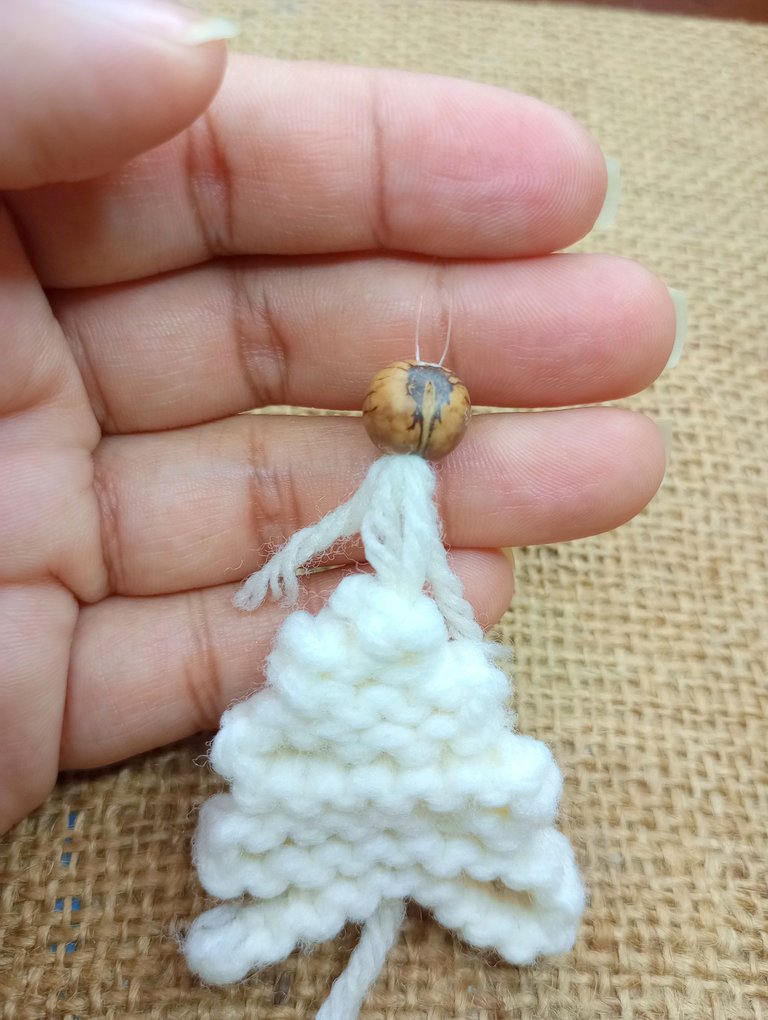
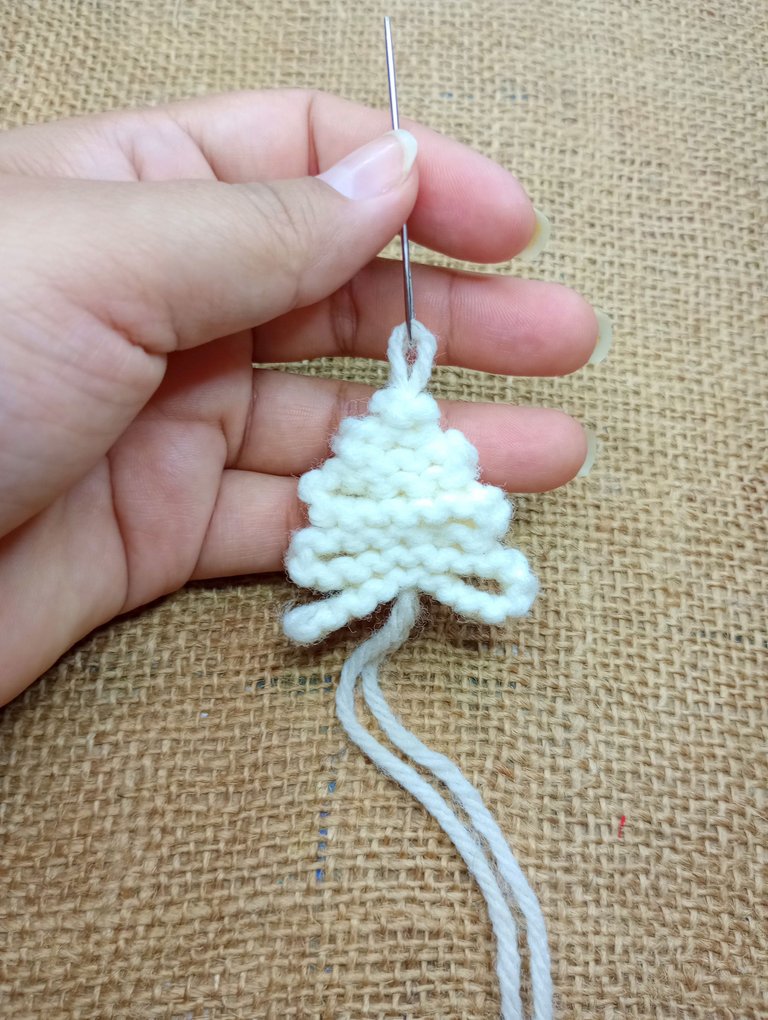
Con un nylon transparente introduje una esfera de madera en la parte superior. Este método ayuda a introducir los hilos en el agujero de las cuentas sin tener que pasar por la tortura que esto implica (quienes hacen manualidades y bisutería me entenderán 😂).
Luego hice un nudo en la parte superior y ahora solo resta hacer un nudo en la parte inferior del arbolito y colocar la otra esfera de madera.
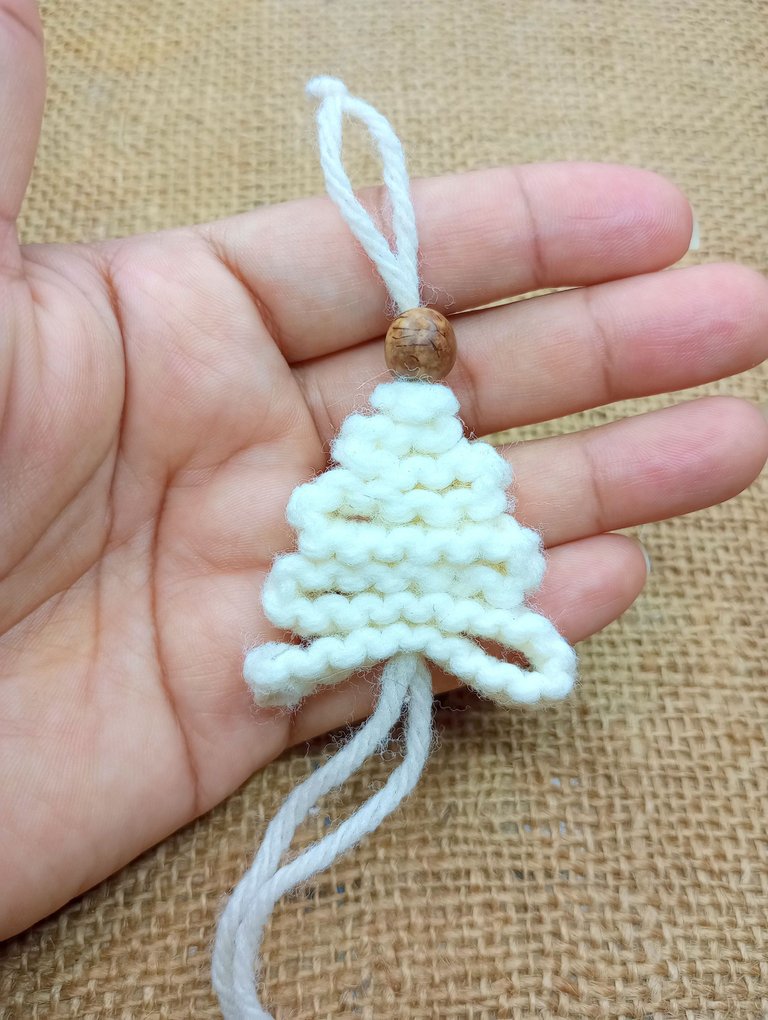
With a transparent nylon I introduced a wooden sphere in the upper part. This method helps to insert the threads into the hole of the beads without having to go through the torture that this implies (those who do crafts and jewelry will understand me 😂).
Then I made a knot in the upper part and now it only remains to make a knot in the lower part of the tree and place the other wooden sphere.

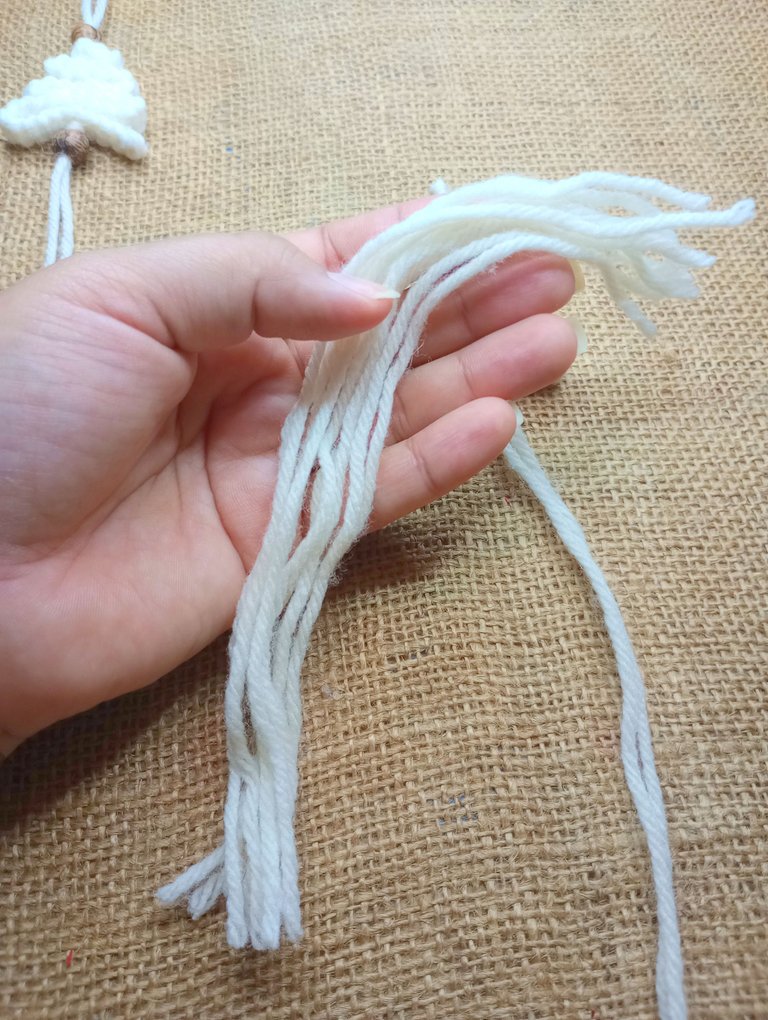
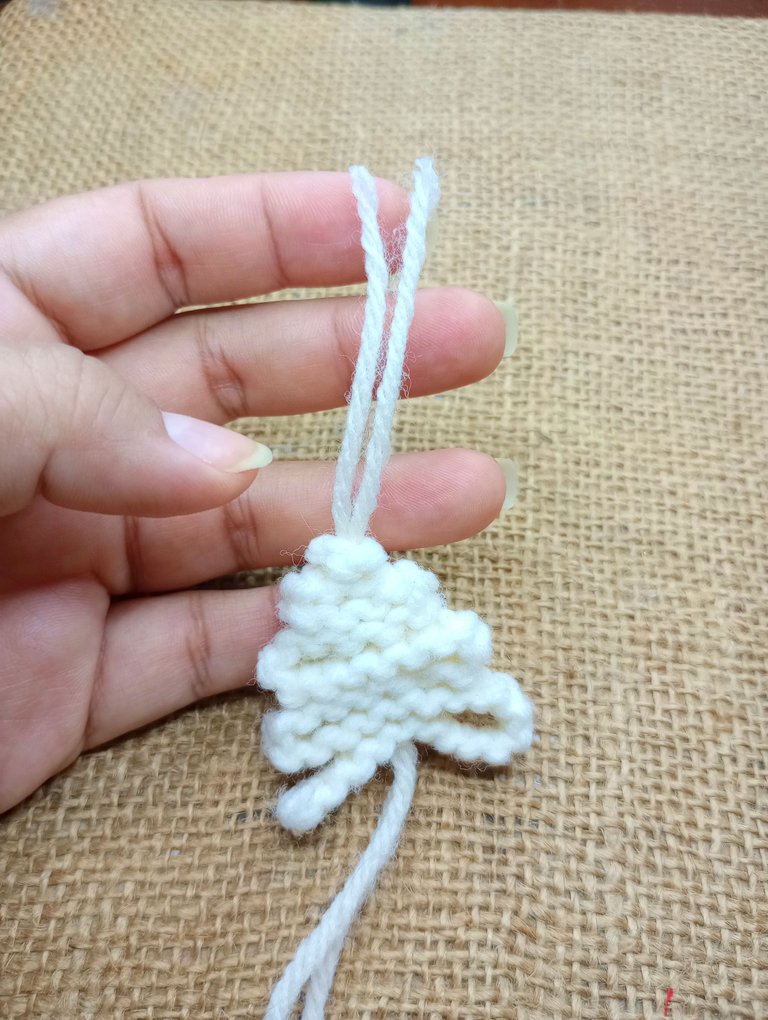
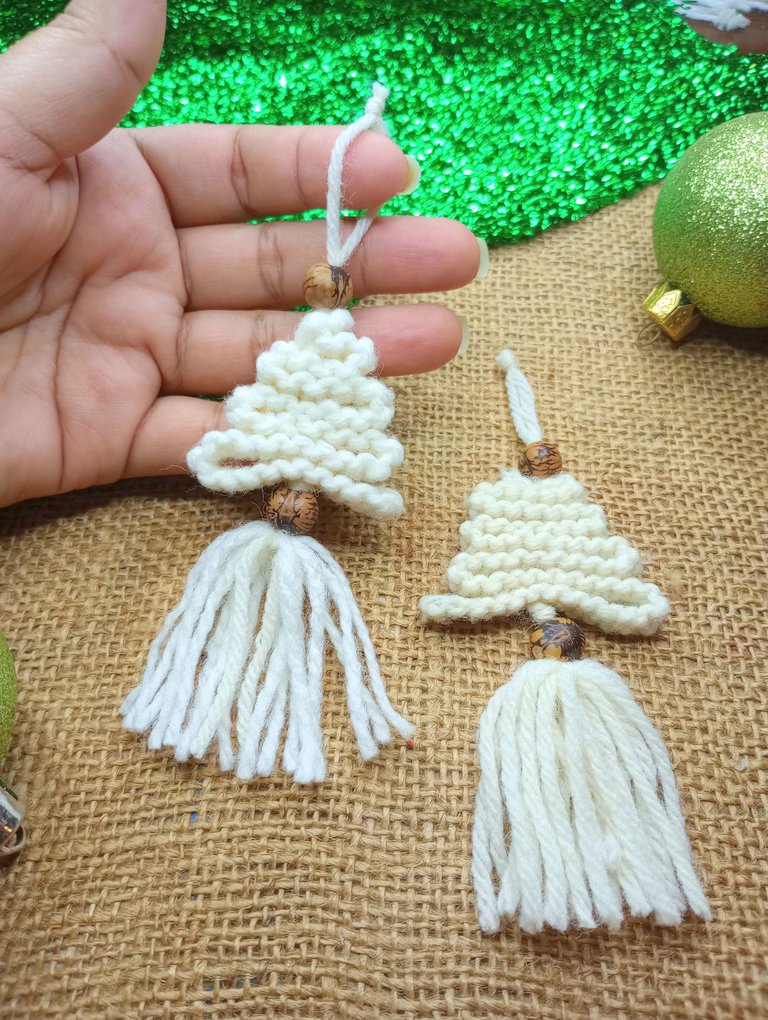
Para finalizar, vamos a cortar varias tiras de unos 15 centímetros de largo, doblamos a la mitad y las atamos con los dos hilos que están en la parte inferior del arbolito.
La idea es crear una borla con ellos.
Hacemos dos nudos bien ajustados y luego cortamos de forma pareja todos los hilos.
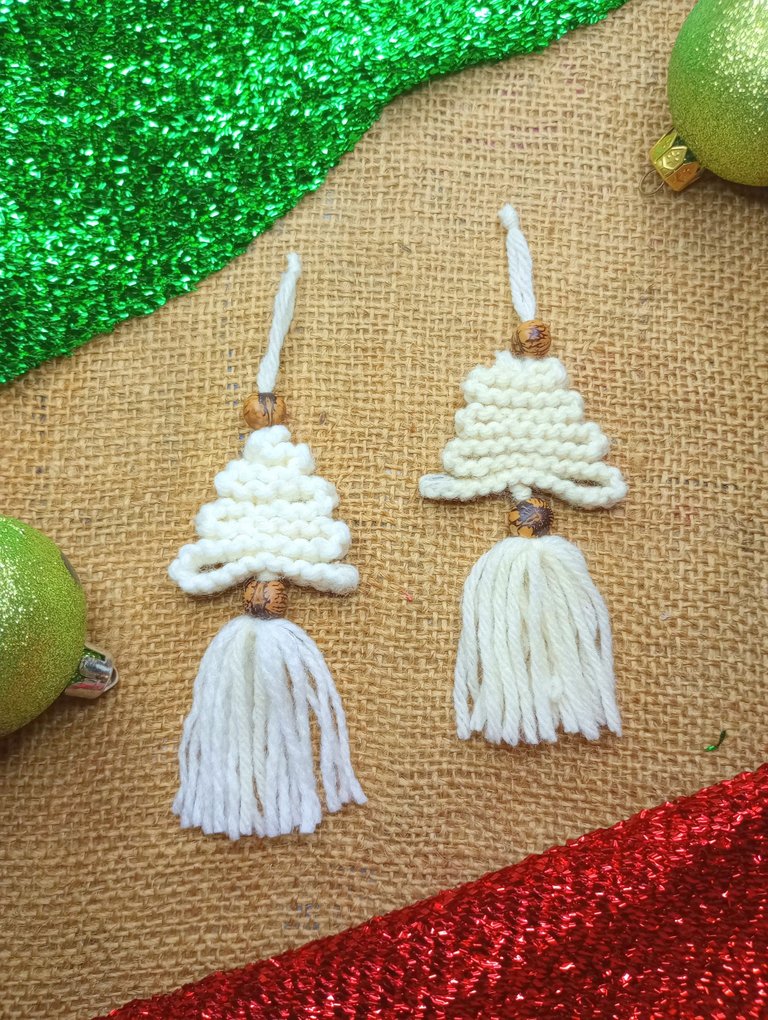
Así tendremos lista nuestro adorno de arbolito en macramé.
Sin dudas una manualidad bastante sencilla pero que queda súper linda.
Espero les haya gustado y nos vemos en un próximo tutorial. ♥
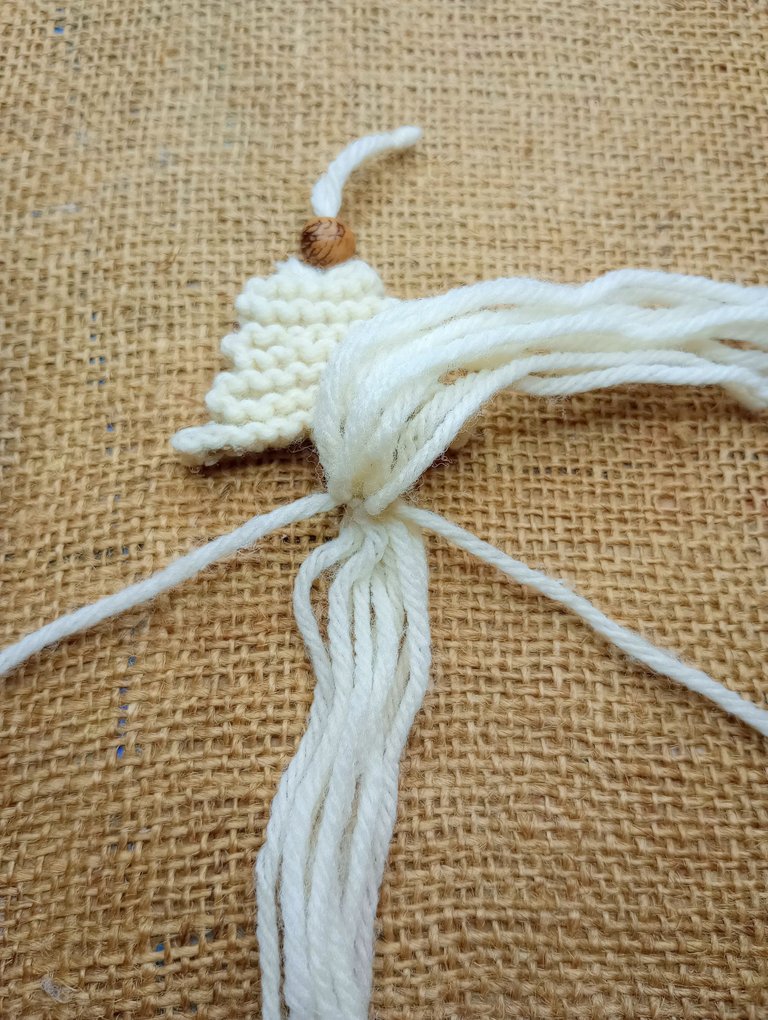
To finish, we are going to cut several strips about 15 centimeters long, fold them in half and tie them with the two threads that are at the bottom of the tree.
The idea is to create a tassel with them.
We make two tight knots and then cut all the threads evenly.
This way we will have our macramé tree ornament ready.
Undoubtedly a fairly simple craft but it is super cute.
I hope you liked it and see you in a next tutorial. ♥


Espero haya sido de tu agrado y provecho.
Un gran abrazo a todos, y nos leemos en un próximo post
• Lakrearte en Hive •
Att: Estefania Garcia ♥

Imágenes y separadores de mi autoría
Portada editada en Canva
Fotografías tomadas con un Moto G31
Texto traducido en Google ImTranslate v.14.27
Hermoso!