
¡Hola Chicos!
Desde hace ya varios días estoy creando bisutería para reactivar mis ventas y generar ingresos extras para la casa.
Cuando uno hace estas prendas es importante tener un orden en nuestros materiales para saber con qué contamos exactamente y al mismo tiempo esto nos sirve de inspiración, ya que podemos observar todos los materiales por encimita y creamos combinaciones mentalmente.
Yo hice estos arreglos hace varios meses, pero una de las cosas que me faltaba solucionar era el orden de mis abalorios de colores.
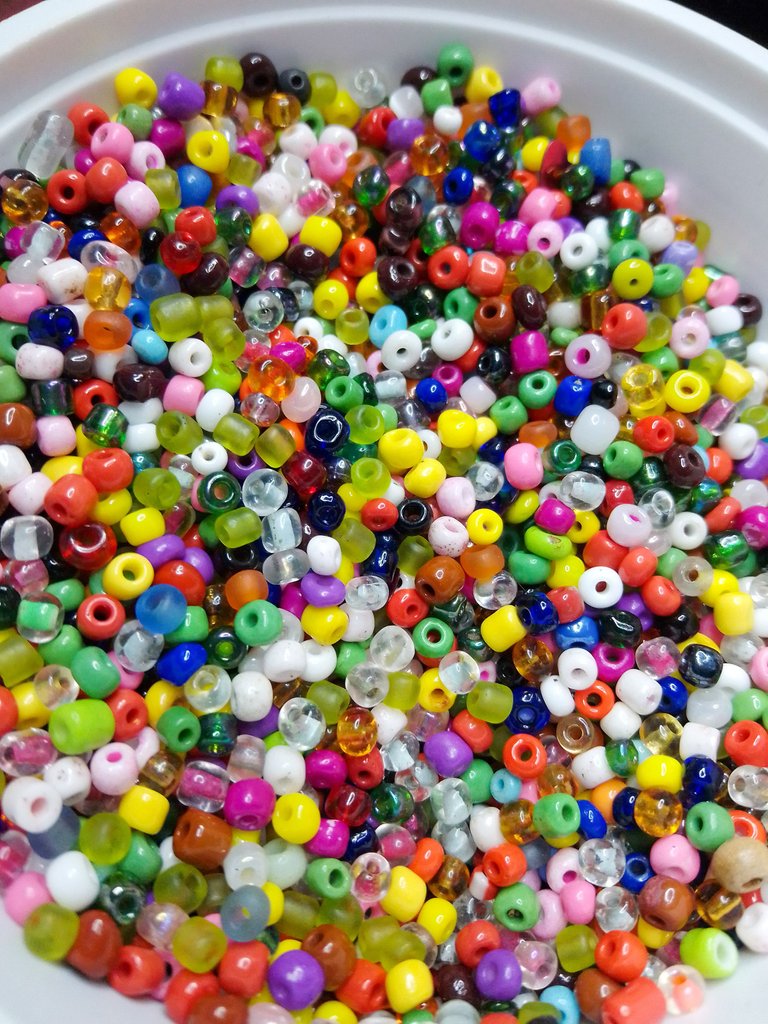
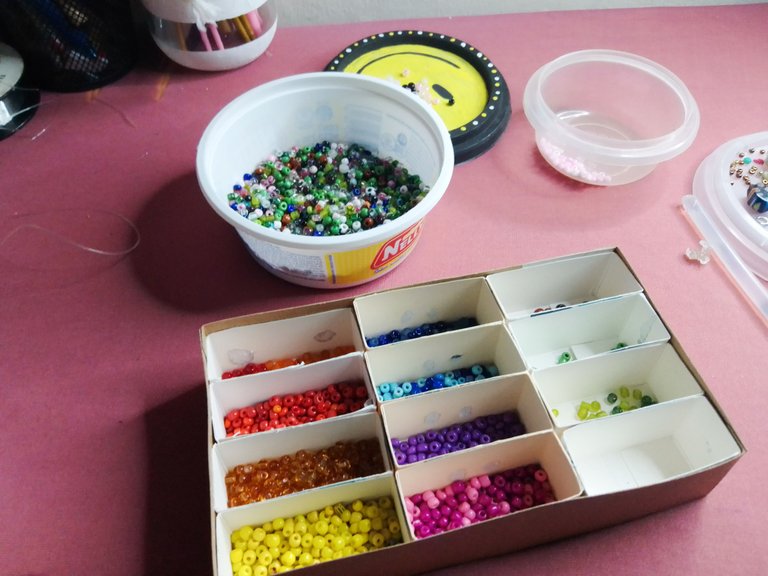
Los tenía así como ven, todos dentro de un envase de plástico. Cuando comencé a crear mis pulseras me di cuenta de que este desorden me estaba generando problemas y perdida de tiempo. Debía seleccionar uno a uno los abalorios y para completar, muchas veces pensaba que tenía muchos de un color y me quedaba corta de material, pues por el desastre no se notaba cuantas había.
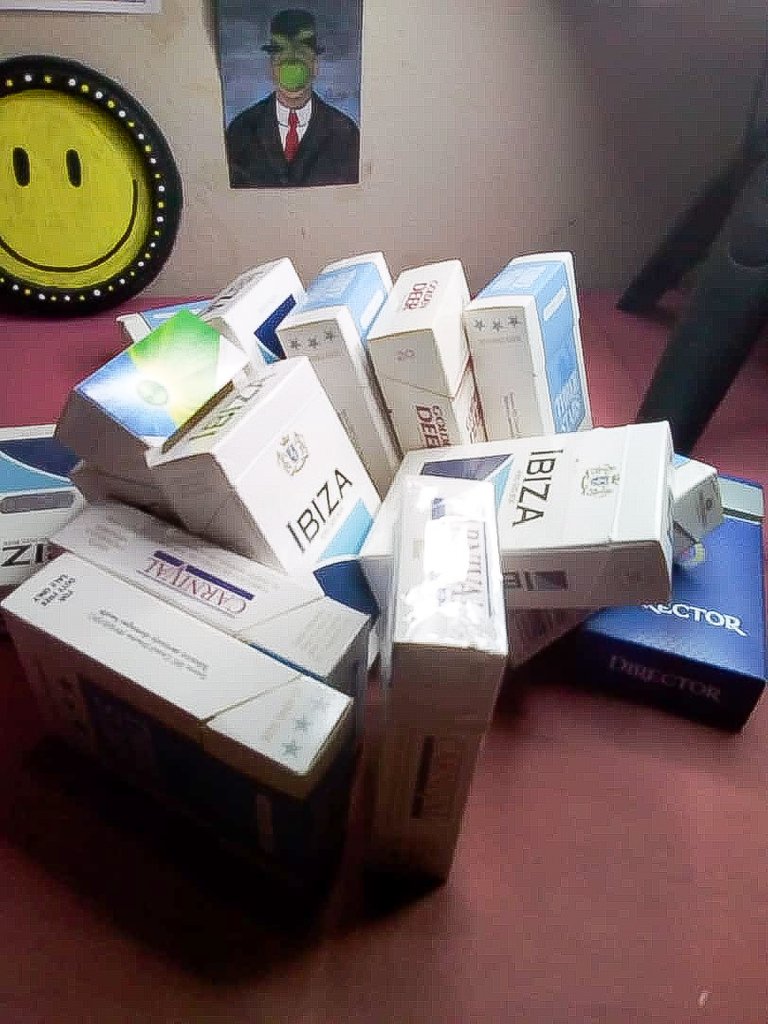
Así que me dije: "necesito un organizador", pero por los momentos no cuento con los recursos para adquirir uno, así que recordé unas cajas de cigarros que había guardado desde hace tiempo en el depósito y dije: "¡con esto me haré uno!". (Mi esposo es fumador y yo hace un tiempo guardé algunas cajitas de cigarrillos para reutilizarlas. Hoy es el día.)
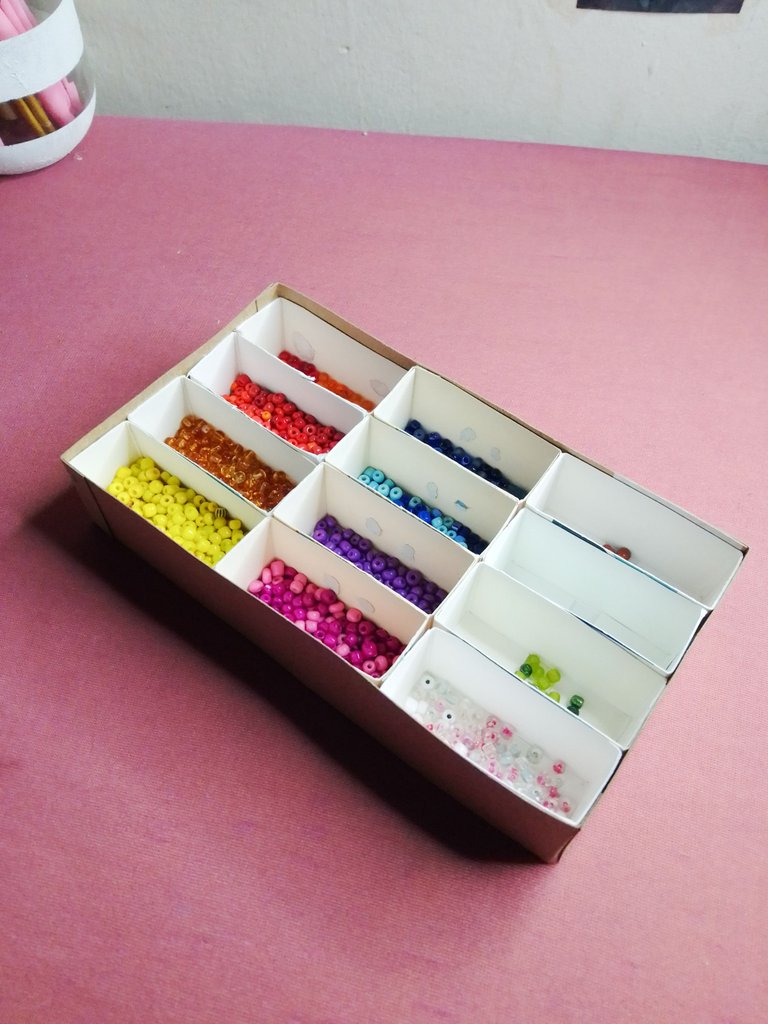
El resultado fue tal cual lo imaginé y quedó perfecto. Separándolas me pude dar cuenta de cuantas tengo de cada color y a partir de ahora todo será más sencillo.
Por supuesto, he documentado todo el proceso de creación para que puedas hacer uno tú también. ♥
Hey guys!
For several days now I have been creating jewelry to reactivate my sales and generate extra income for the house.
When one makes these garments it is important to have an order in our materials to know exactly what we have and at the same time this inspires us, since we can observe all the materials above and create combinations mentally.
I made these arrangements several months ago, but one of the things that I needed to solve was the order of my colored beads.
I had them just as you see, all inside a plastic container. When I started creating my bracelets I realized that this mess was causing me problems and wasting time. I had to select the beads one by one and to complete it, many times I thought I had many of one color and I was short of material, because due to the disaster it was not possible to notice how many there were.
So I said to myself: 'I need an organizer', but at the moment I don't have the resources to buy one, so I remembered some boxes of cigarettes that I had kept in the warehouse for a long time and said: 'I'll make one with these! !'. (My husband is a smoker and a while ago I saved some cigarette boxes to reuse them. Today is the day.)
The result was just as I imagined it and it was perfect. By separating them I was able to realize how many of each color I have and from now on everything will be easier.
Of course, I've documented the entire creation process so you can make one yourself. ♥
- 12 cajas de cigarrillos
- Un trozo de cartón grueso
- Un trozo de cartón fino
- Tijera
- Pegamento
- 12 cigarette boxes
- A piece of thick cardboard
- A piece of thin cardboard
- Scissors
- Glue
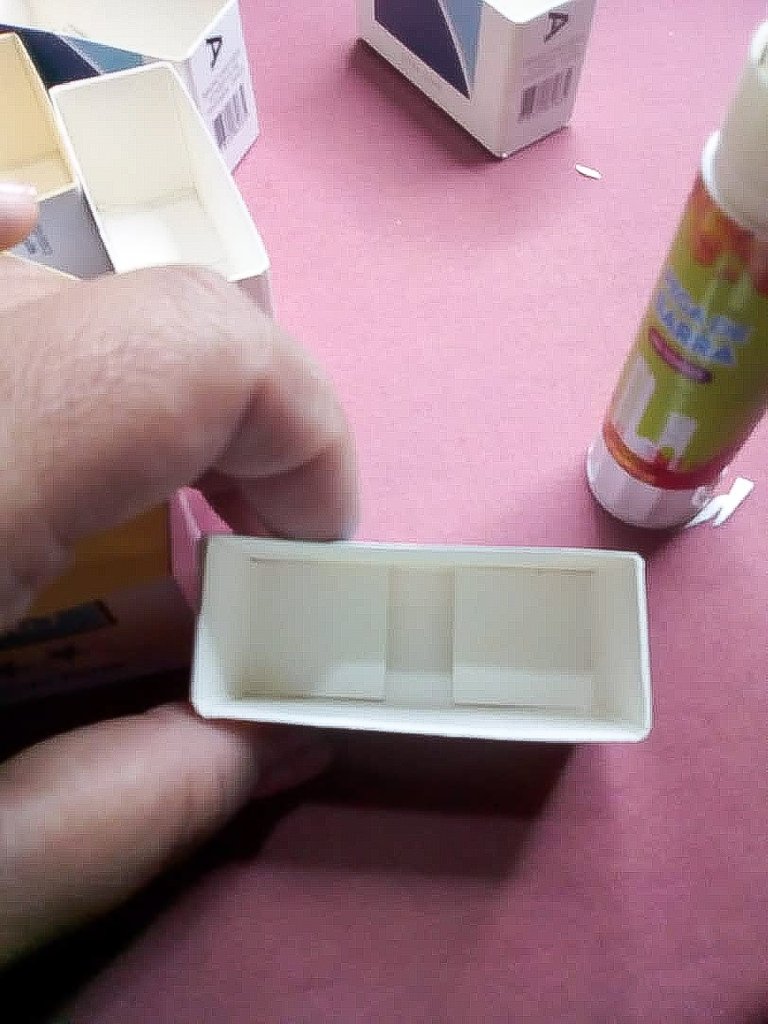
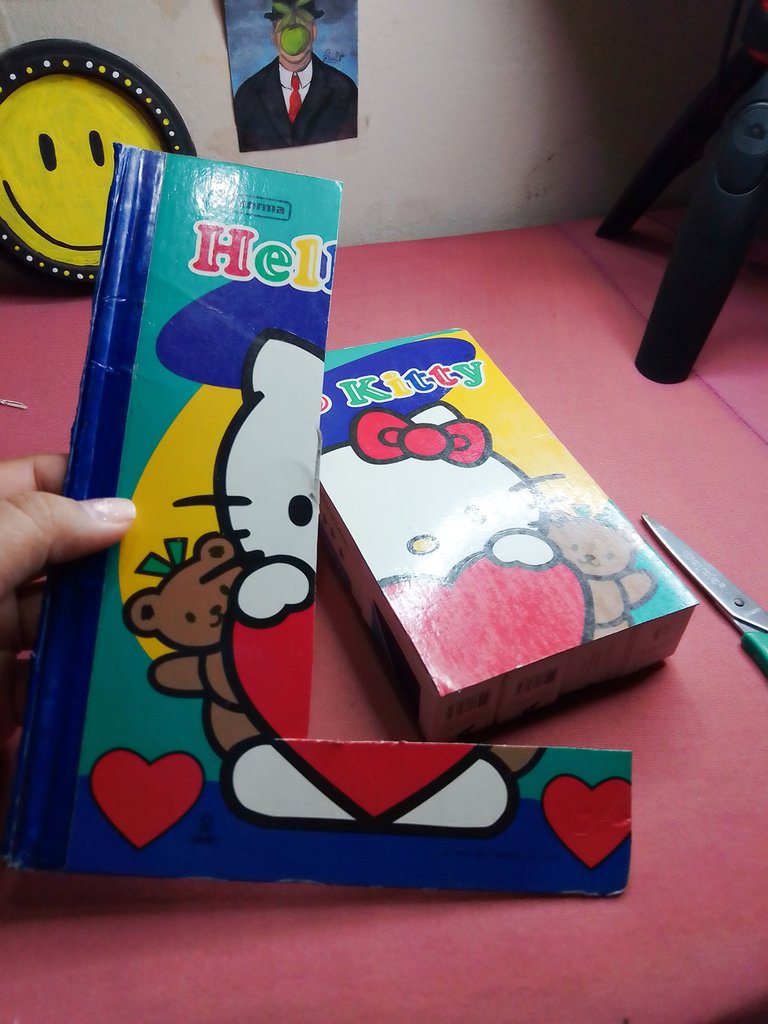
Primero vamos a cortar las cajas, todas a una misma altura. Yo las dejé con 3.5 centímetros de alto.
Con un poco de pegamento vamos a pegar las dos pestañas que tienen en su interior cada caja. Esto para evitar que nuestros abalorios se vayan a quedar ahí atorados.
First we are going to cut the boxes, all at the same height. I left them 3.5 centimeters high.
With a little glue we are going to glue the two tabs that each box has inside. This to prevent our beads from getting stuck there.
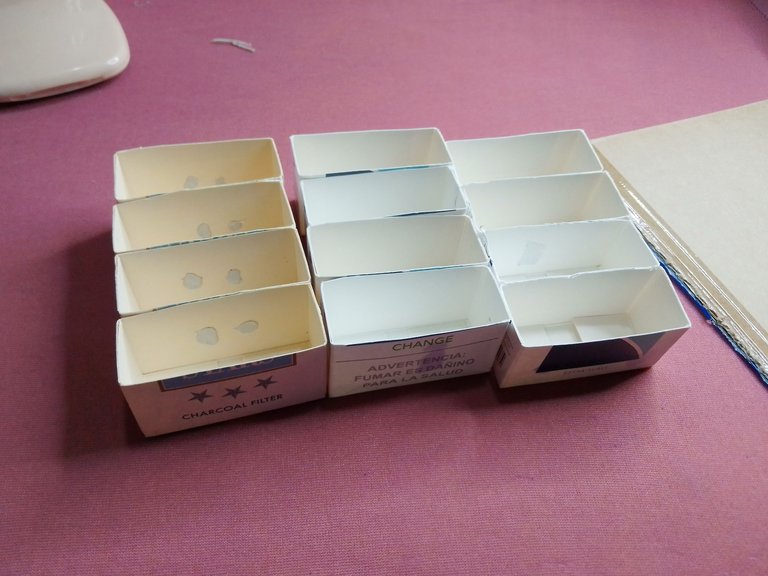
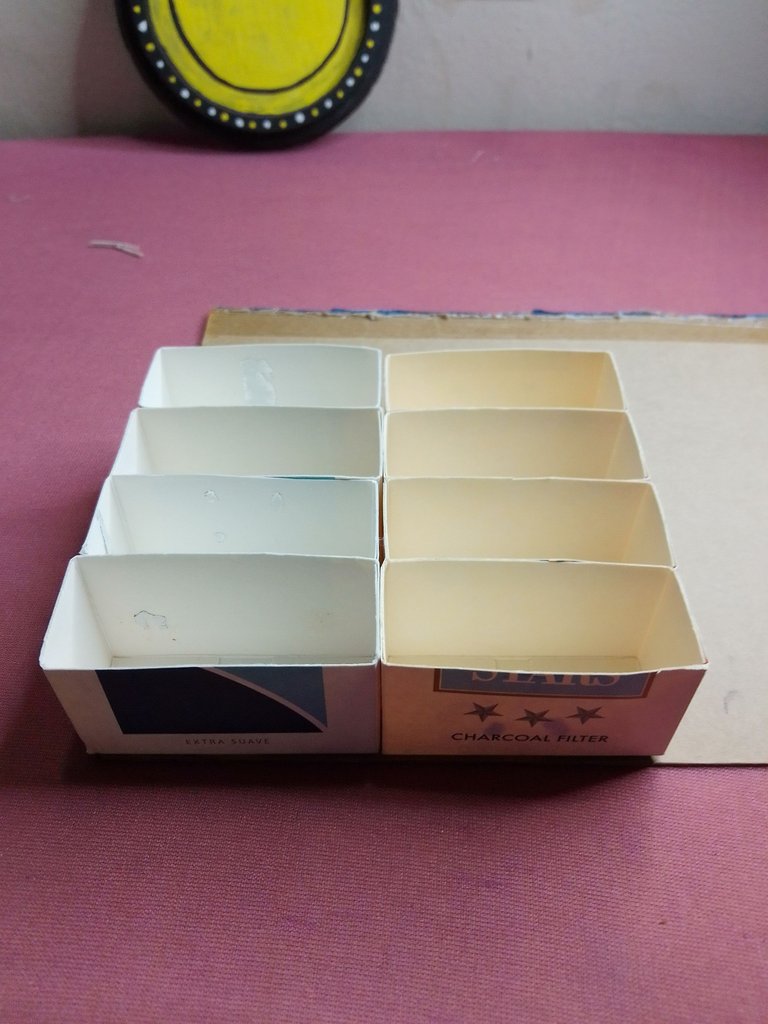
Cuando corté todas las cajas me di cuenta de que tenía 4 que eran de un cartón un poco más amarillo, así que se me ocurrió el colocarlas todas juntas en el centro para que se viera todo parejo (soy demasiado detallista con estas cosas😅).
When I cut all the boxes I realized that I had 4 that were made of a slightly more yellow cardboard, so it occurred to me to place them all together in the center so that everything would look even (I'm too detailed with these things😅).
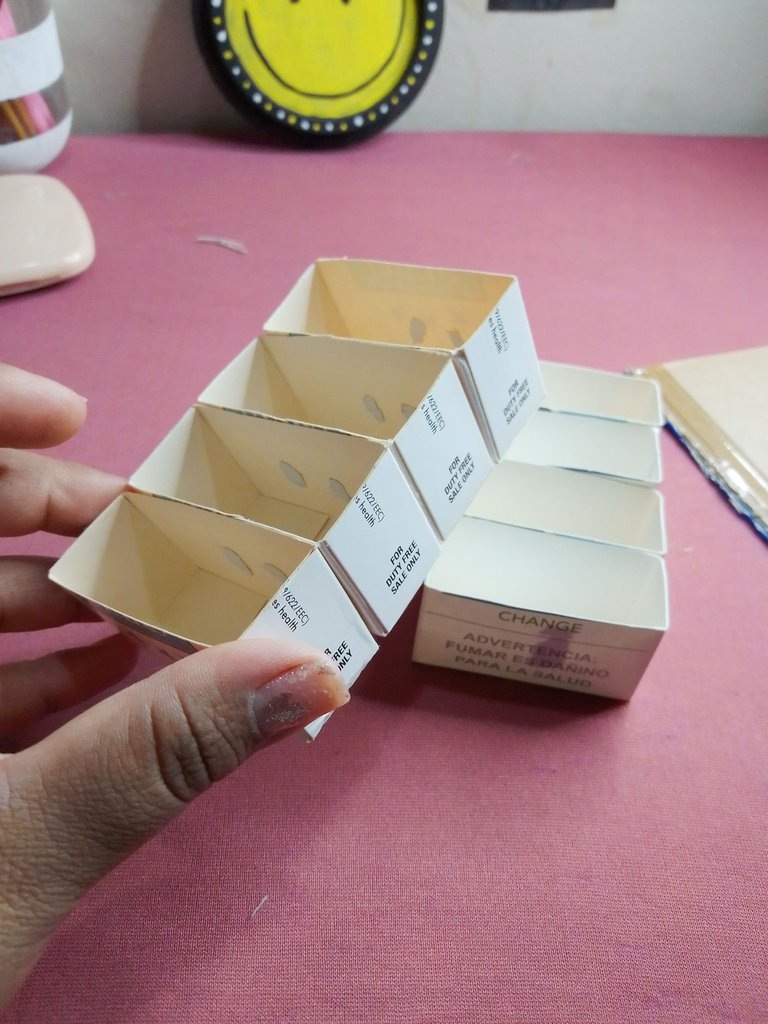
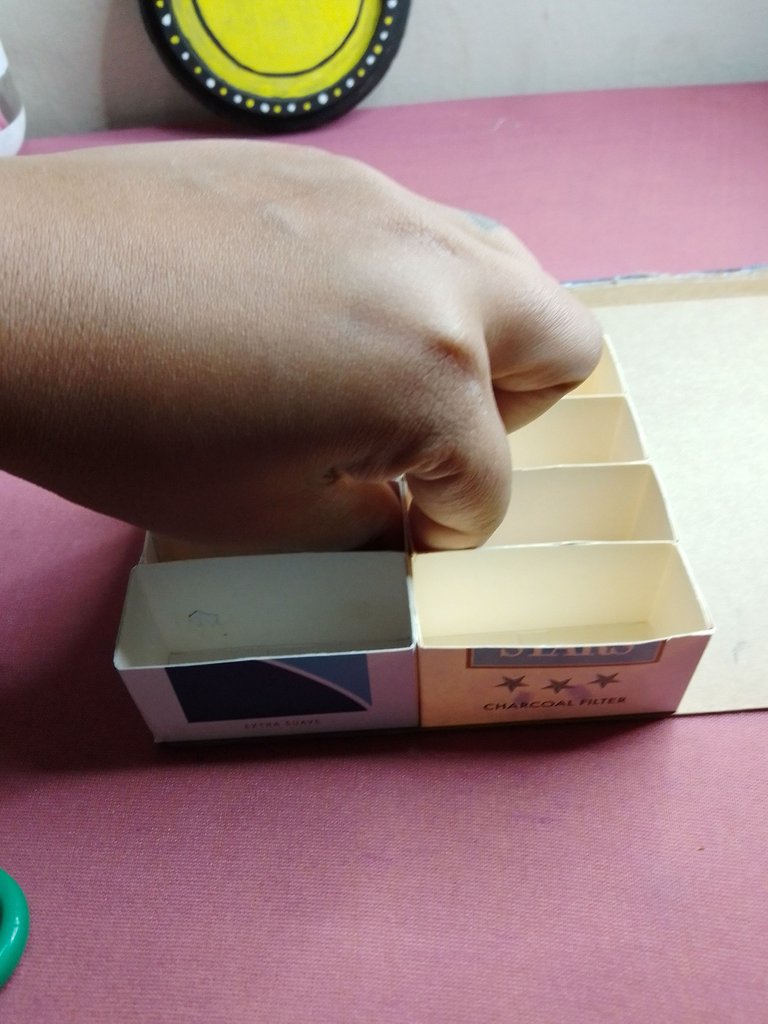
Con el pegamento fui uniendo las filas de 4 cajas cada una.
With the glue I joined the rows of 4 boxes each.
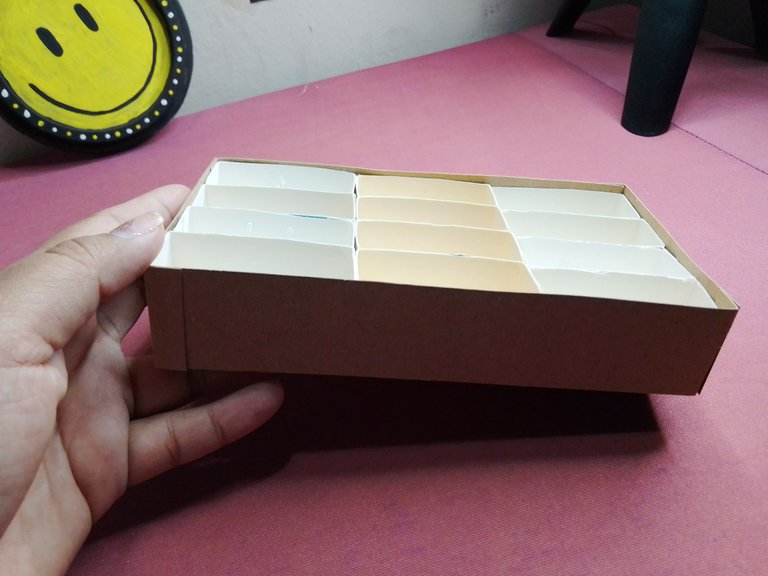
Era necesario hacer una base para colocar todas las cajas y que quedara como una bandeja. Corté un trozo de cartón que era de un viejo cuaderno mío (este cuaderno era de cuando yo tenía 5 años, tiene 25 años conmigo 😂♥).
Primero fui pegando todas las cajas al cartón. Uní todas las filas en los laterales y coloqué pegamento en la base de cada una.
Luego corté el trozo de cartón por todo el borde de las cajas para que quedara exacto.
It was necessary to make a base to place all the boxes and make it look like a tray. I cut a piece of cardboard that was from an old notebook of mine (this notebook was from when I was 5 years old, it's 25 years old with me 😂♥).
First I was gluing all the boxes to the cardboard. I joined all the rows on the sides and put glue at the base of each one.
I then cut the piece of cardboard all the way around the edge of the boxes to make it exact.
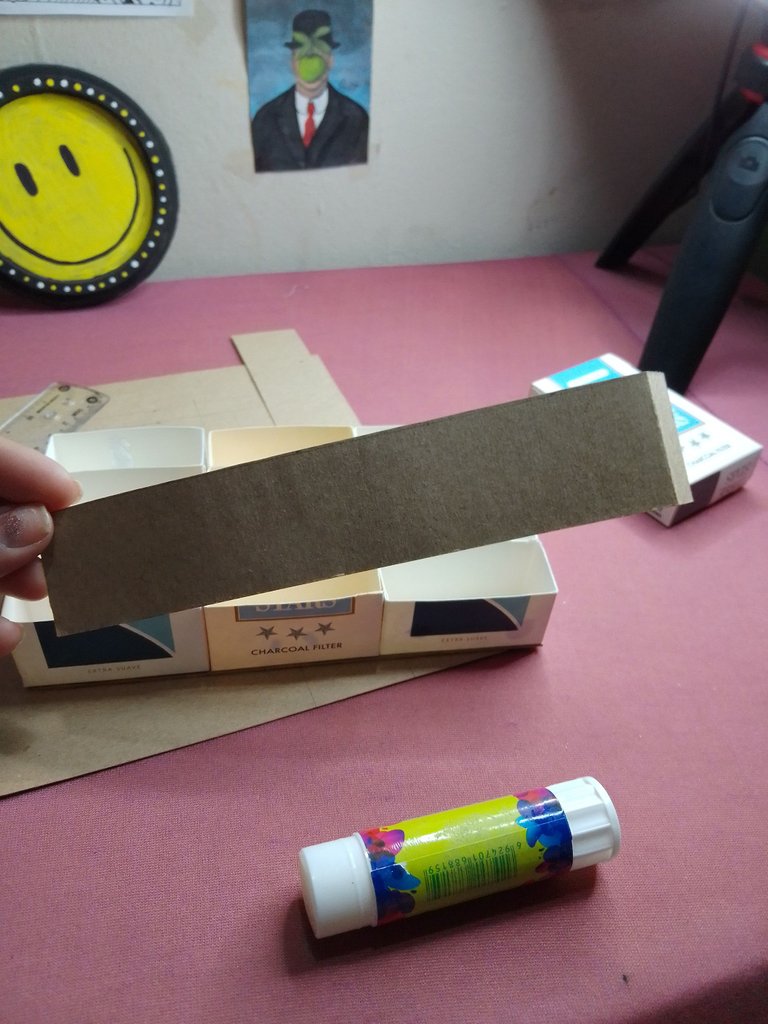
Luego con un cartón más fino hice tiras del mismo largo y ancho de toda la estructura con una pestaña adicional de 1 centímetro para pegarlas a los lados.
Con pegamento fui fijando los 4 lados.
Then with a thinner cardboard I made strips of the same length and width of the entire structure with an additional 1 centimeter tab to glue them to the sides.
With glue I was fixing the 4 sides.
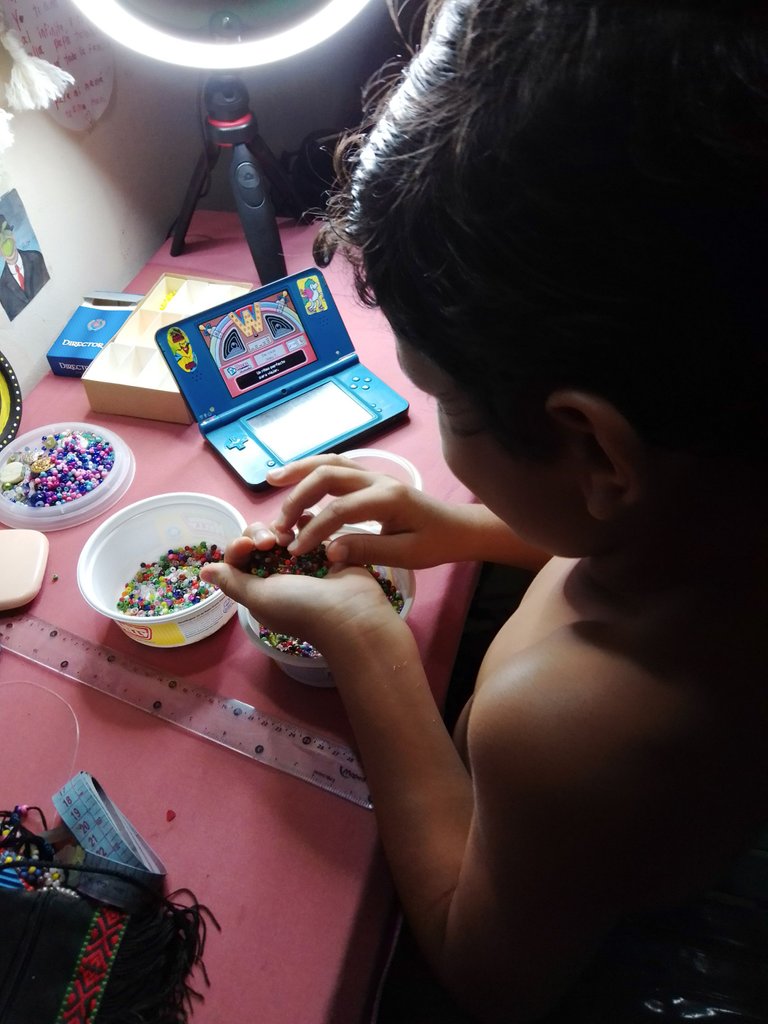
Ahora comienza el verdadero trabajo, separar cada uno de los abalorios por color. En esta parte tuve la ayuda de mi hijo quien muy contento se ofrecio a separarlas.
Ya luego yo fui colocando cada color en su lugar, lo mas organizado posible.

Now the real work begins, separating each of the beads by color. In this part I had the help of my son who, very happy, offered to separate them.
Then I was placing each color in its place, as organized as possible.
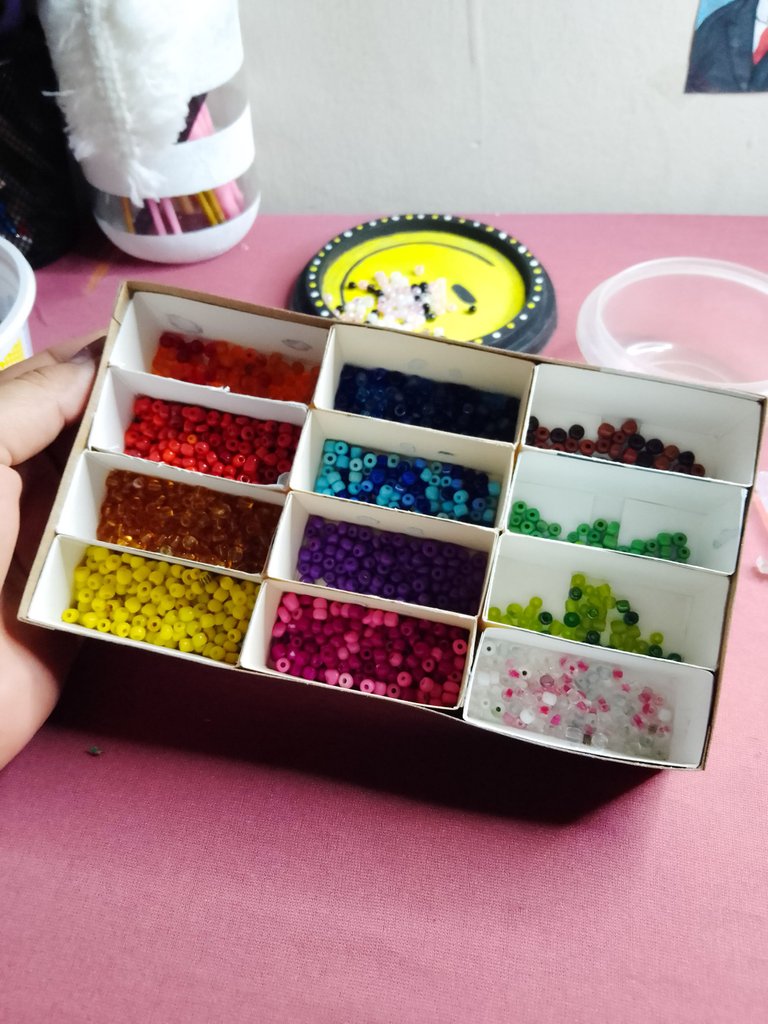
Y así vamos, todavía falta separa algunas y como sabrán no es algo que se haga en 10 minutos, pero ya en este punto siento un gran avance y veo como todas las ideas comienzan a tomar forma en mi mente.
Espero les haya gustado el proyecto y puedan hacerlo en casa. ♥
And so we go, there are still some to be separated and as you know it is not something that is done in 10 minutes, but at this point I feel a great advance and I see how all the ideas begin to take shape in my mind.
I hope you liked the project and can do it at home. ♥
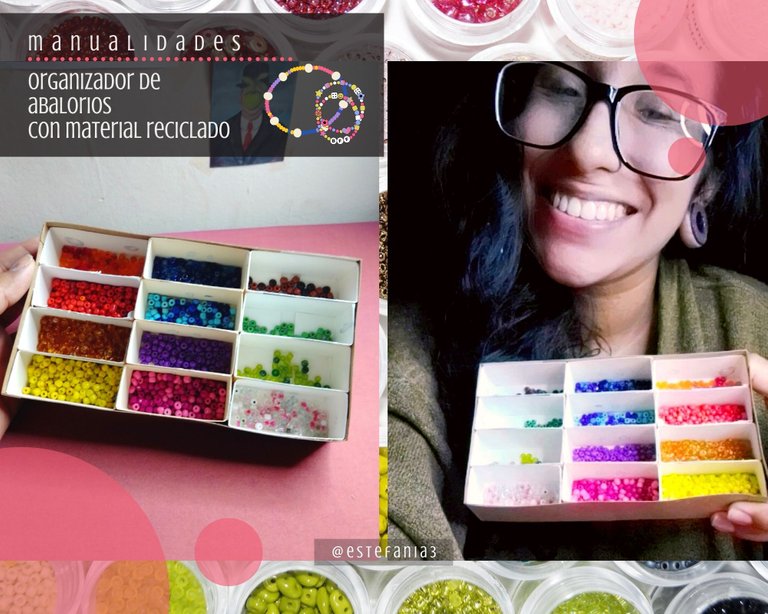
ANTES • BEFORE

DESPUÉS • AFTER

Espero haya sido de tu agrado y provecho.
Un gran abrazo a todos, y nos leemos en un próximo post
• Lakrearte en Hive •
Att: Estefania Garcia ♥

Imágenes y separadores de mi autoría
Portada editada en Canva
Fotografías tomadas con un Moto E7i power
Texto traducido en Google ImTranslate v.14.19