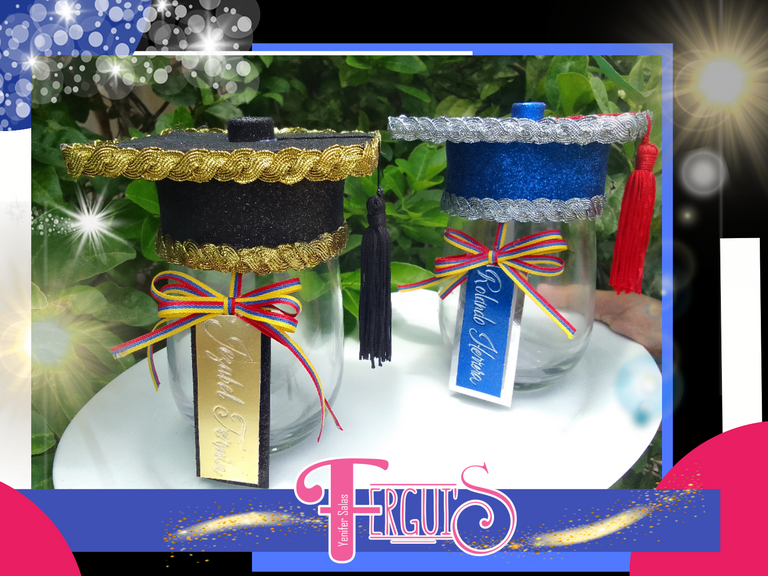
Hola hola creativos de HIVEDIY que la bendición de Dios nos acompañe siempre, me ausente un poco pero vengo con la energía recargada para compartir con ustedes el mejor contenido, en esta oportunidad les traigo una idea para elaborar un obsequio personalizado para una graduación, les cuento: Una nueva cliente se gradúa en dos carreras universitarias simultáneamente 🥳 y me pidió que le haga algunos obsequios para los jurados y asesores de tesis, es un compromiso bastante exigente porque son muchos años de estudio, este será uno de los últimos pasos antes de convertirse en profesional, después de tanto esfuerzo lo mínimo que puede esperar es que todo sea increíble. Ese es mi objetivo y por ello elabore estos pequeños birretes para adornar los envases que contendrán el presente que se les otorgará a los asesores y jurados de tesis, al final de este post sabrás hacerlo tú mismo. Acompañame...
Hello hello HIVEDIY creatives, may God's blessing be with us always, I was absent for a while but I come with recharged energy to share with you the best content, this time I bring you an idea to develop a personalized gift for a graduation, I tell you: A new client is graduating in two university careers simultaneously 🥳 and she asked me to make her some gifts for the jurors and thesis advisors, it is a quite demanding commitment because they are many years of study, this will be one of the last steps before becoming a professional, after so much effort the least you can expect is that everything is amazing. That is my goal and that is why I made these little birettas to decorate the containers that will contain the present that will be given to the thesis advisors and jurors, at the end of this post you will know how to do it yourself. Join me...
- Foami escarchado azul y negro.
- Cajas de cartón.
- Envases de vidrio.
- Borla negra y roja.
- Pasamanería dorada y plateada.
- Cartulina.
- Silicón en barra.
- Pistola de silicón.
- Regla o cinta metrica.
- Exacto.
- Lápiz.
- Tijera.
- Blue and black frosted Foami.
- Cardboard boxes.
- Glass containers.
- Black and red tassel.
- Gold and silver trimmings.
- Cardboard.
- Silicone stick.
- Silicone gun.
- Ruler or tape measure.
- Exact.
- Pencil.
- Scissors.

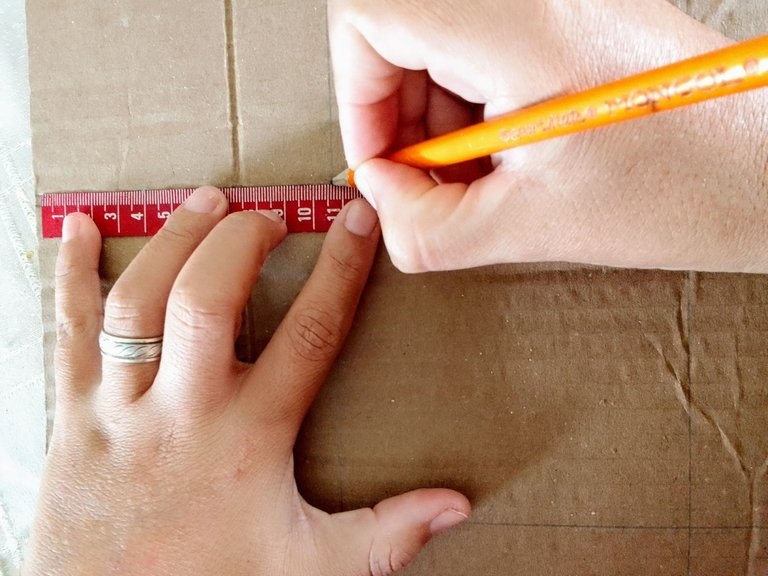
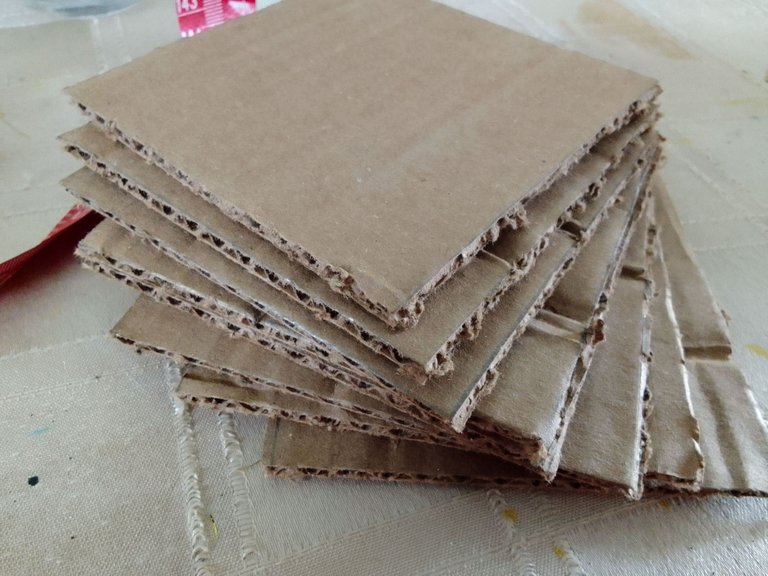
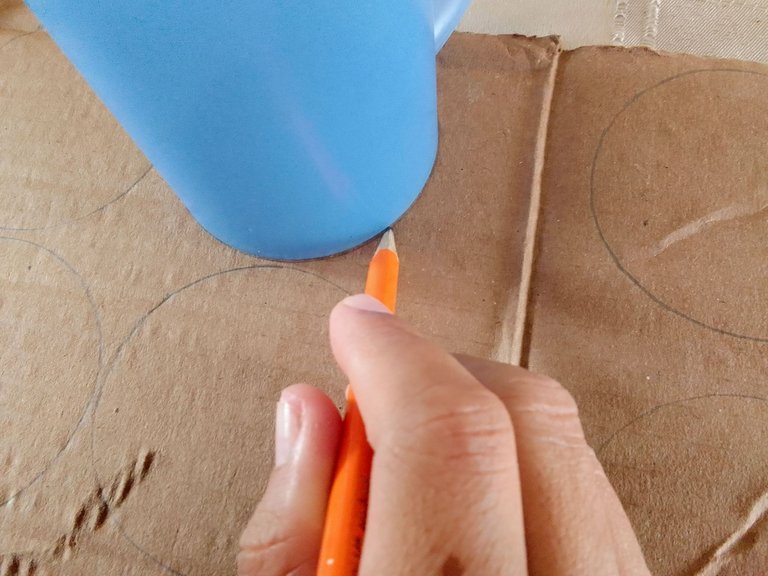
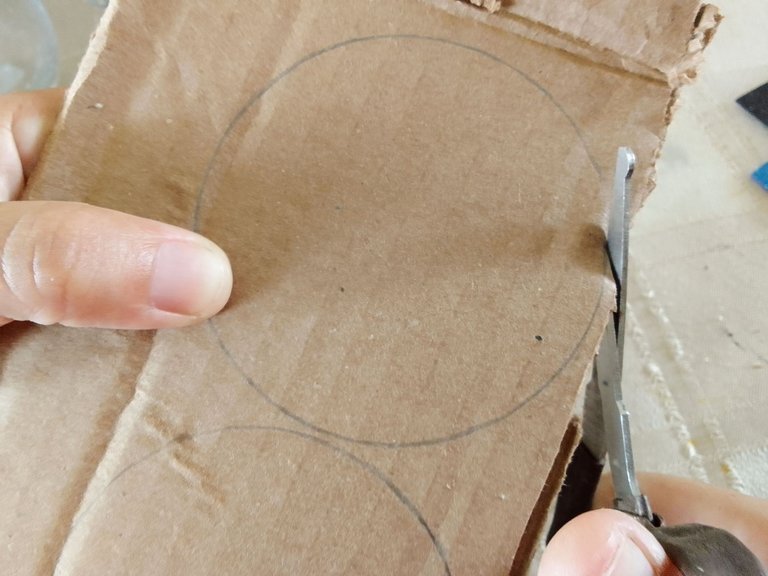
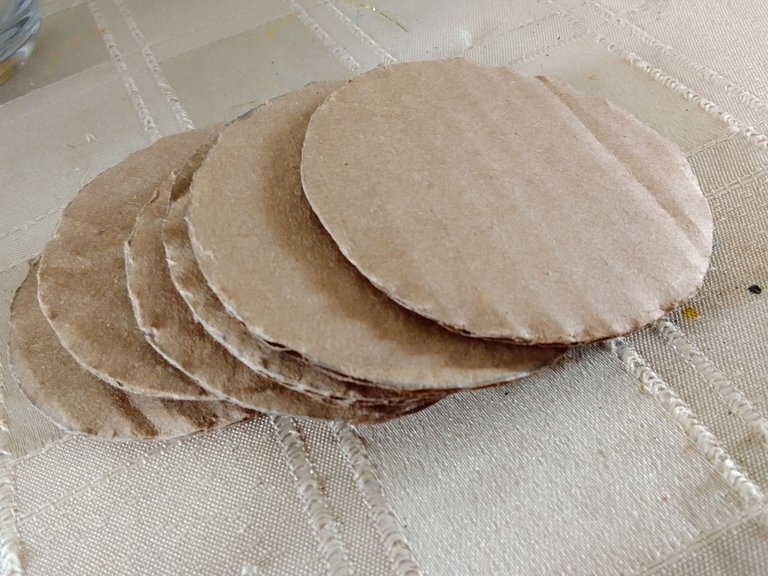
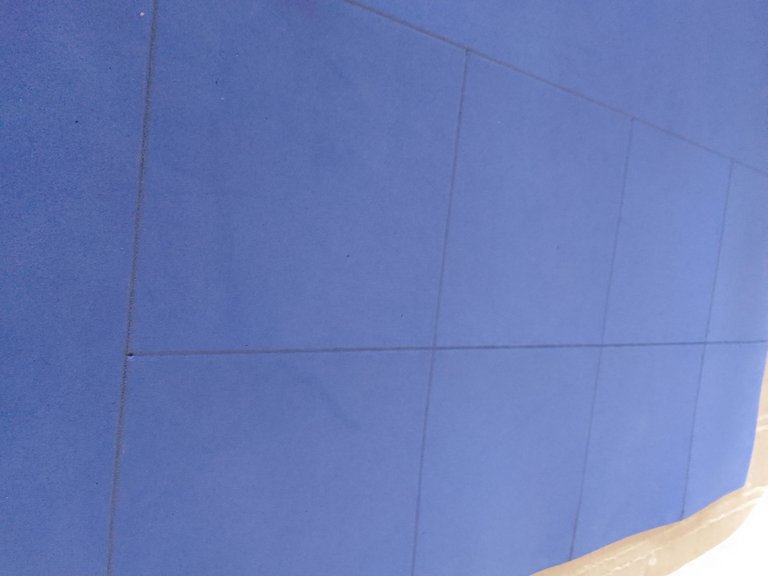
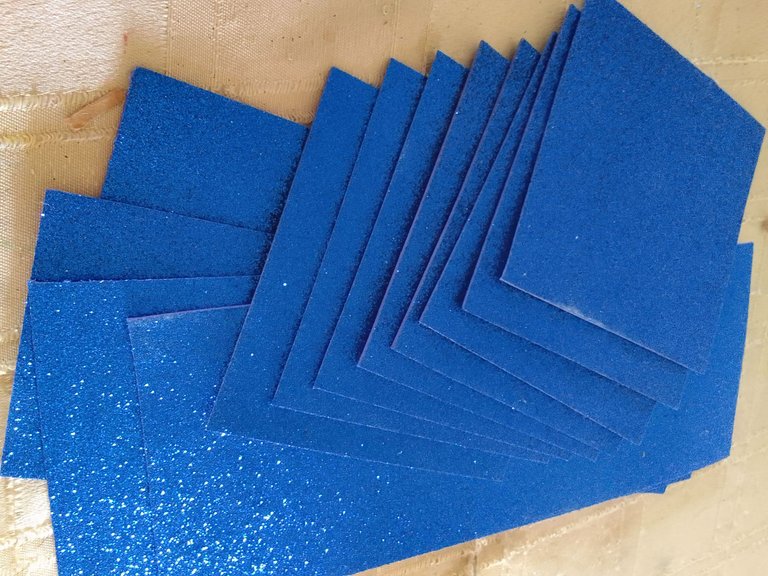
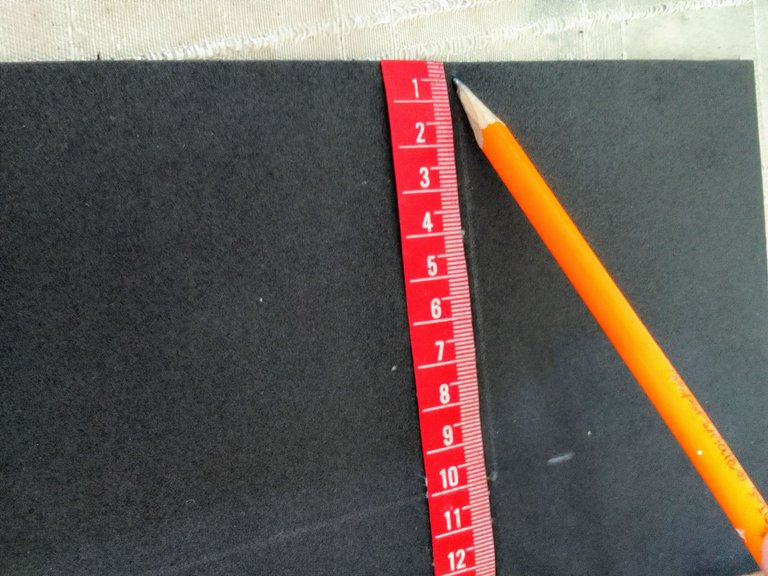
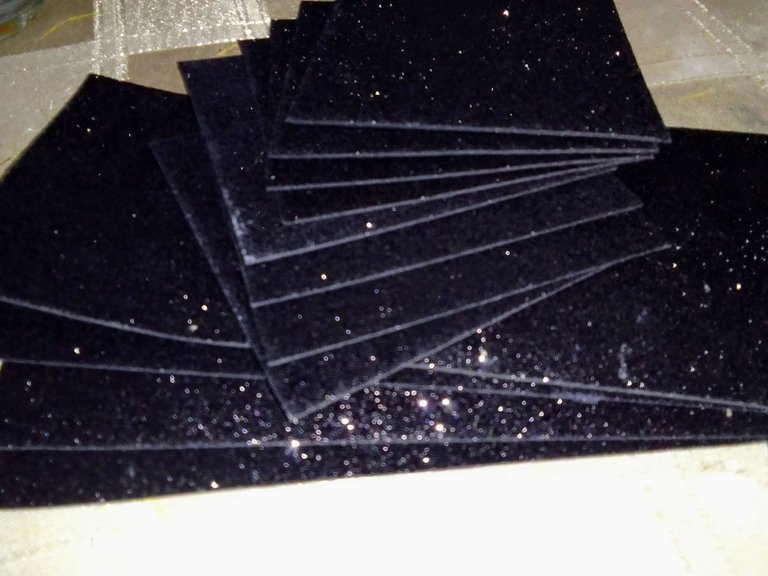
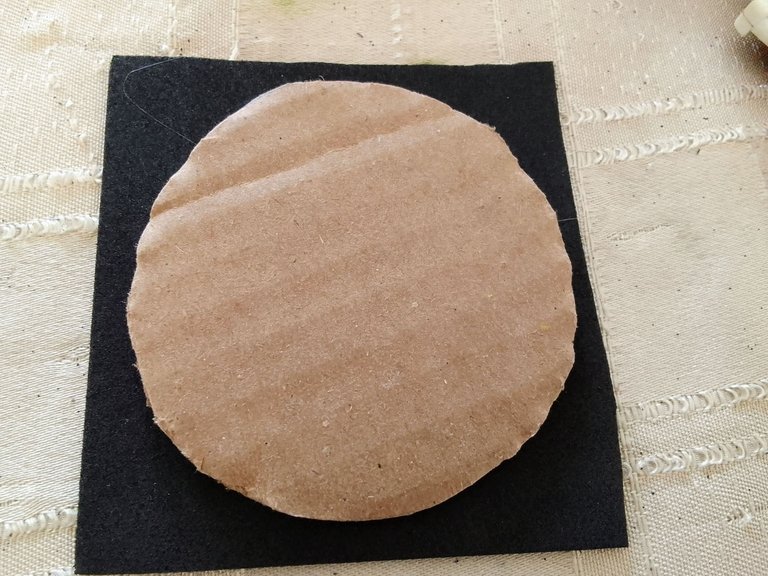
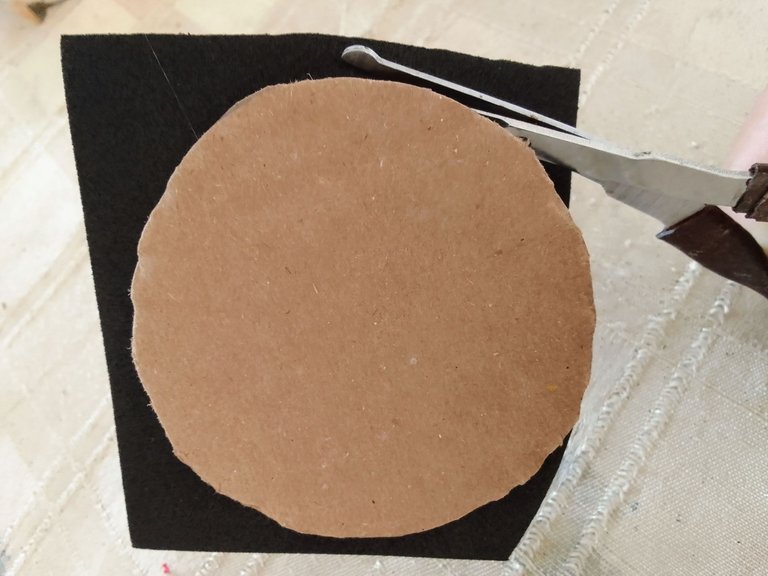
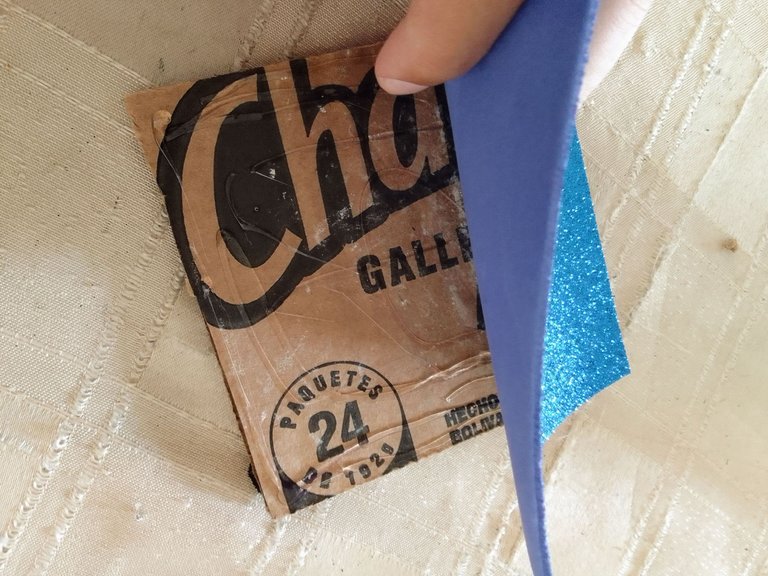
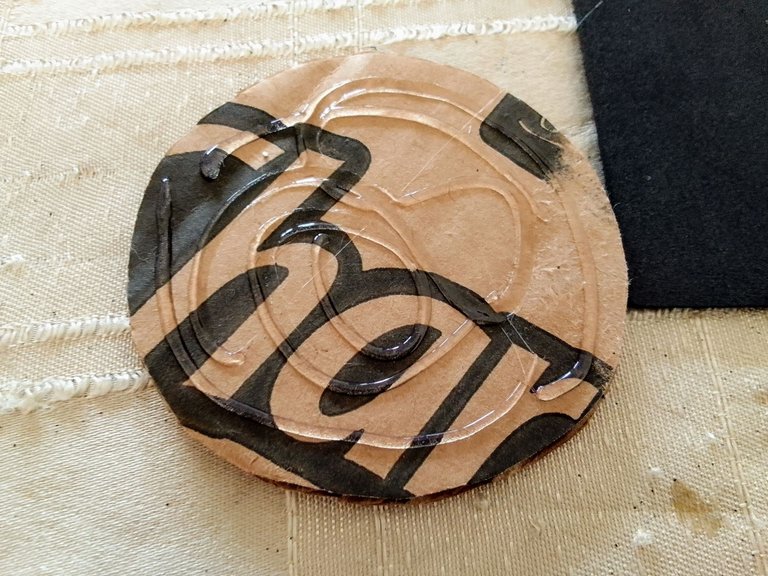
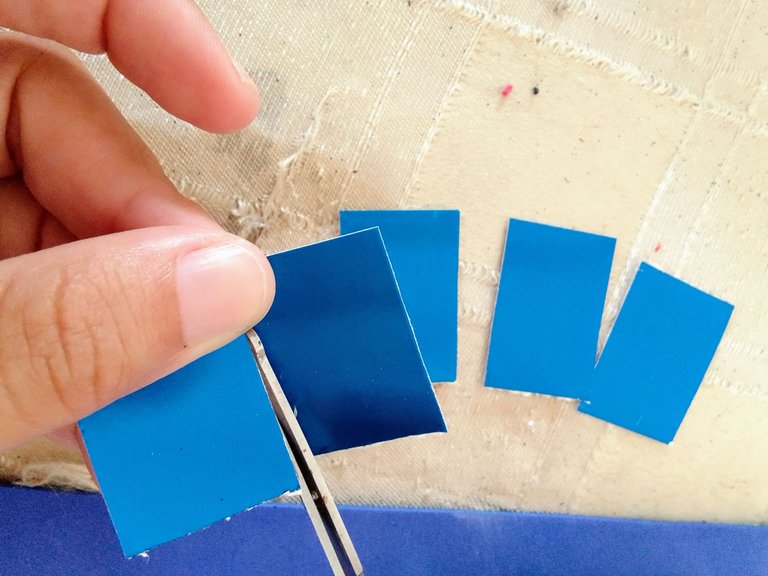
Procedí a medir con una cinta métrica figuras cuadradas de 11 centímetros sobre la superficie de una caja de cartón y sobre la cara trasera de un foami escarchado, Posteriormente marqué con un lápiz cada lado, tratando de ser lo más preciso posible, luego con la ayuda de una regla y un exacto corté cada cuadrado y los separe. Para las figuras circulares hice uso de la base de una taza plastica, la coloqué sobre la superficie del cartón y demarque la silueta con un lápiz. Luego corté con una tijera cada círculo y los separé, una vez tuve el primer círculo en cartón lo utilicé como patrón para cortar el foami.
I proceeded to measure with a tape measure square figures of 11 centimeters on the surface of a cardboard box and on the back side of a frosted foami, then I marked with a pencil each side, trying to be as accurate as possible, then with the help of a ruler and an exact cut each square and separate them. For the circular figures I used the base of a plastic cup, placed it on the cardboard surface and marked the silhouette with a pencil. Then I cut with a scissors each circle and separated them, once I had the first circle in cardboard I used it as a pattern to cut the foami.


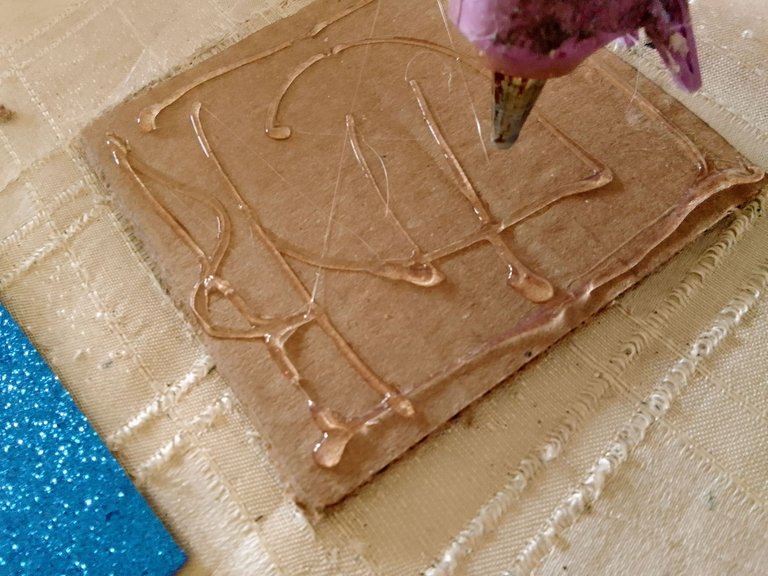
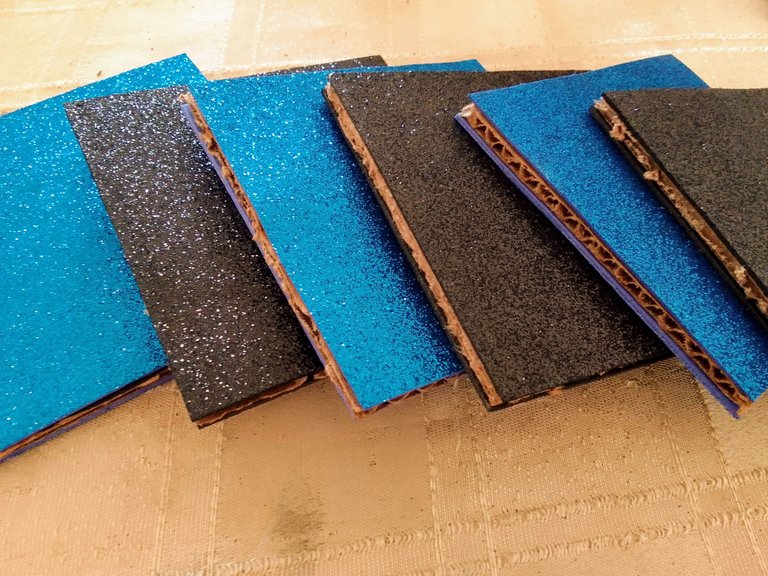
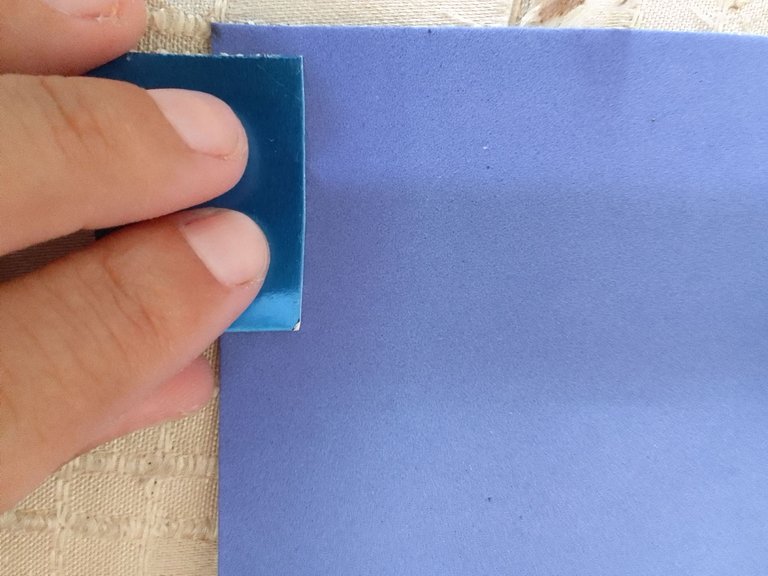
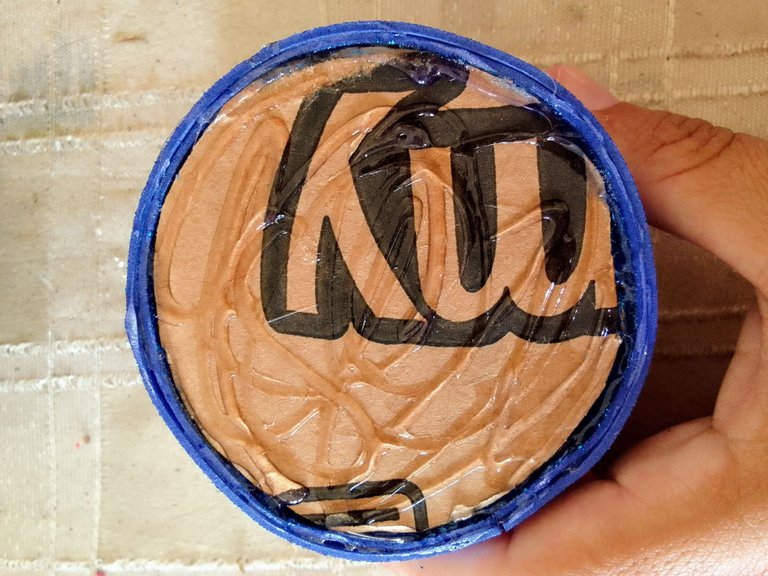
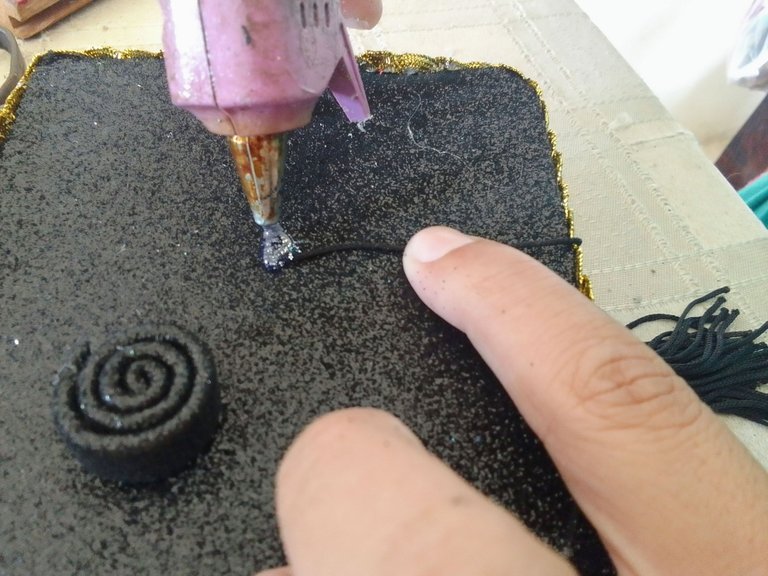
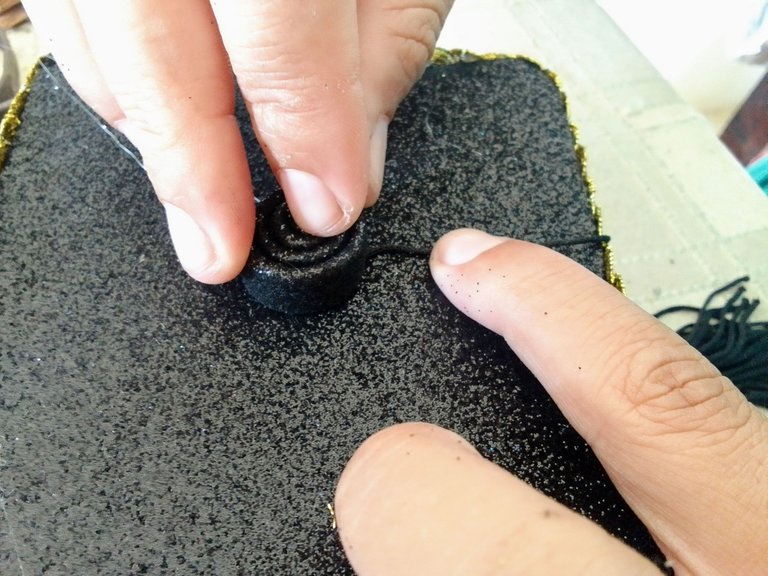
Una vez completado el paso anterior procedi a forrar el cartón que es la parte sólida del birrete (sin este el birrete sería muy blando y fácilmente puede romperse o deteriorarse, para esto apliqué silicón caliente sobre ambas caras del cartón (figuras cuadradas y circulares) y pegue sobre estás el foami escarchado.
Once the previous step was completed I proceeded to line the cardboard which is the solid part of the cap (without it the cap would be very soft and could easily break or deteriorate, for this I applied hot silicone on both sides of the cardboard (square and circular figures) and glued the frosted foami on top of it.

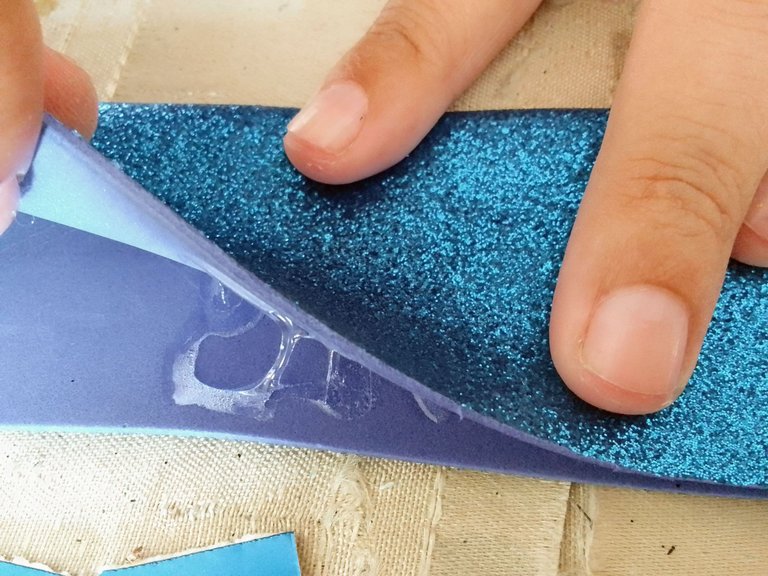
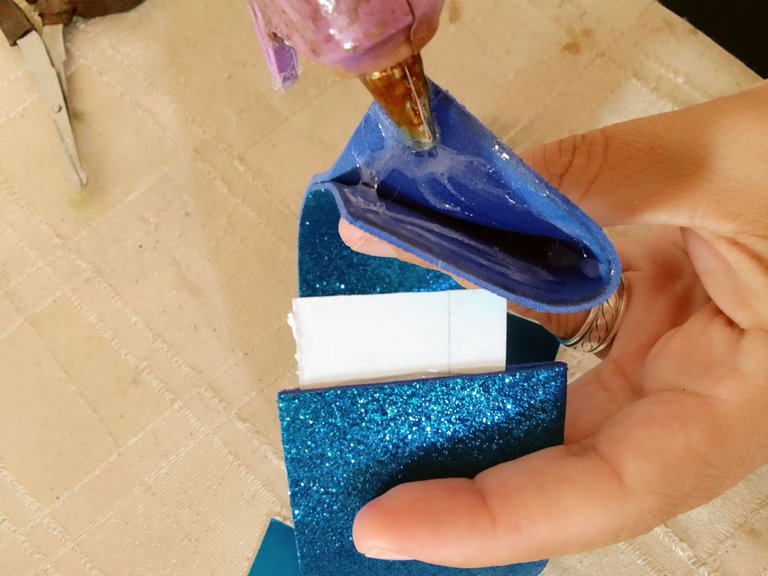
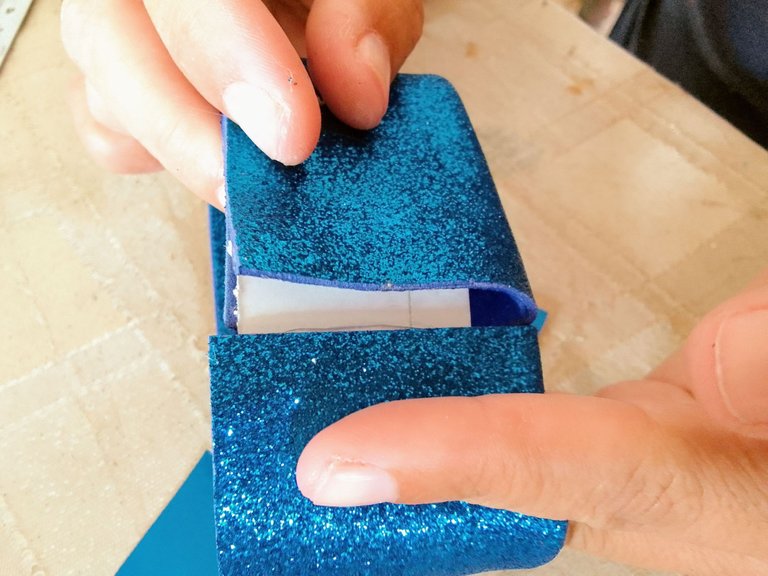
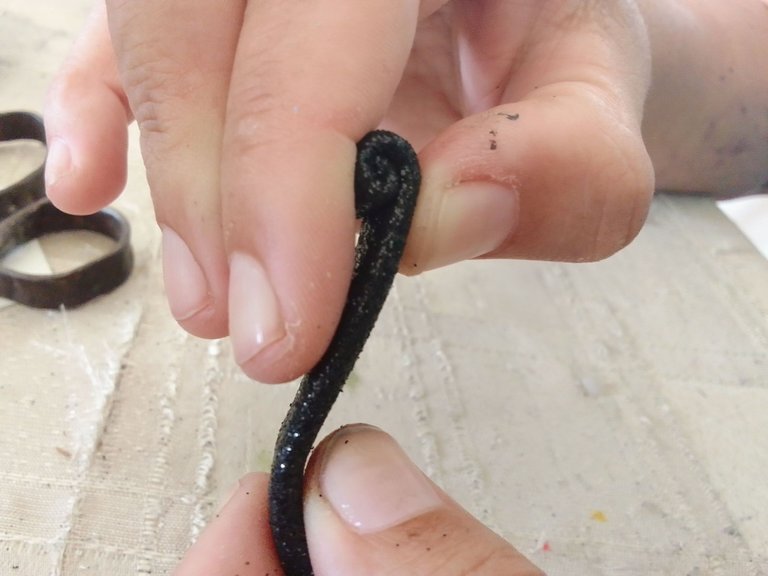
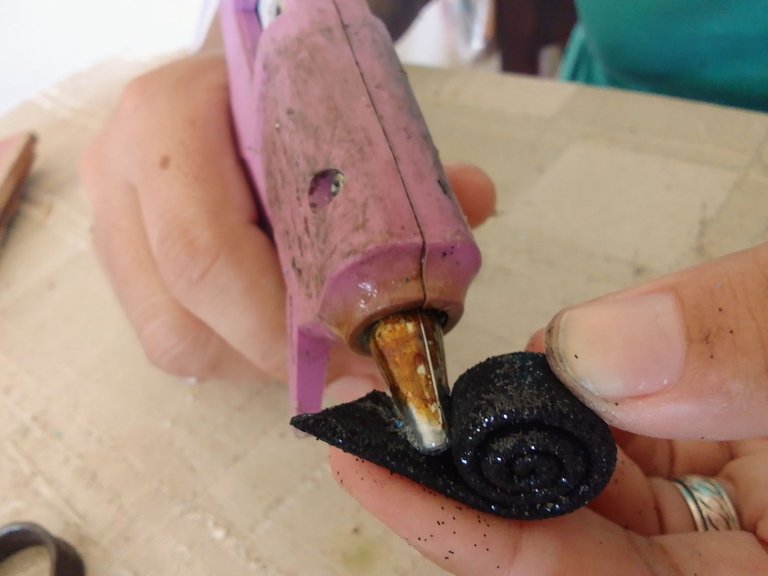
Para realizar la base del birrete, medi tiras en foami de 8 centímetro de alto por 25 centímetros de ancho, luego, con la ayuda de una regla y un exacto procedi a cortarlas. Doblé a la mitad las tiras y las pegué con silicón caliente dejando los extremos libres(sin pegar aún), posteriormente corte pequeñas pestañas de cartulina metalizada (para unir ambos extremos de las tiras de foami) y los pegue con silicon.
Nota: Pude haber pegado ambos extremos sin el uso de la pestaña de cartulina pero al hacerlo de esa manera la unión queda más frágil y al colocarlo sobre el envase puede despegarse. Por eso recomiendo utilizar la pestaña de cartulina.
To make the base of the biretta, I measured strips of foami 8 centimeters high by 25 centimeters wide, then, with the help of a ruler and an exacto I proceeded to cut them. I folded the strips in half and glued them with hot silicone leaving the ends free (not yet glued), then I cut small tabs of metallic cardboard (to join both ends of the foami strips) and glued them with silicone.
Note: I could have glued both ends without the use of the cardboard tab but doing it that way the union is more fragile and when placing it on the container it can come unglued. That is why I recommend using the cardboard tab.
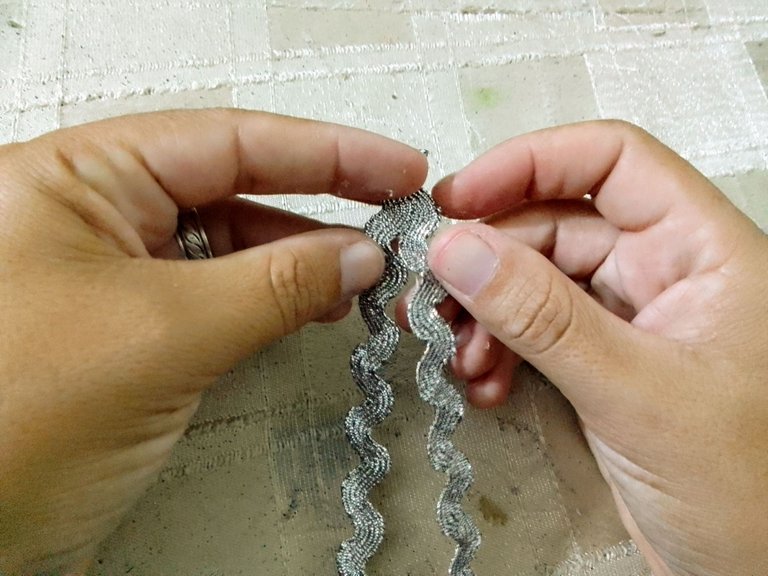
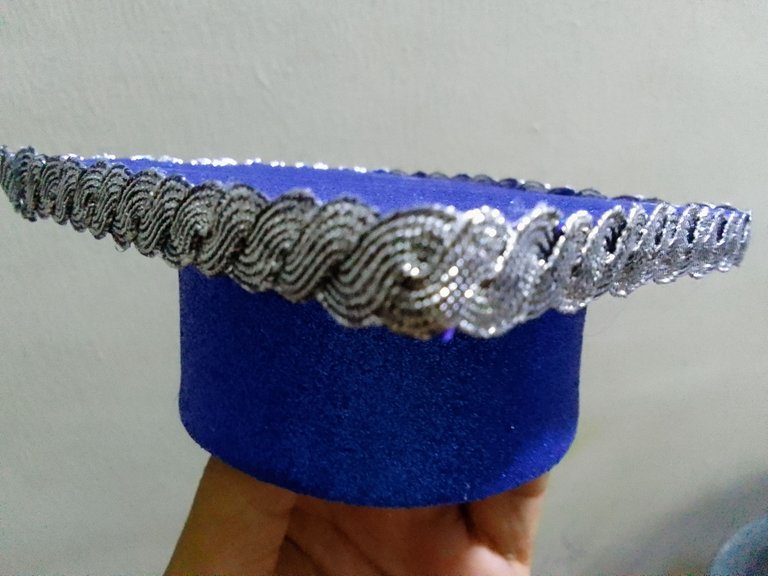
Al colocar la pasamanería en la parte superior del birrete (para ocultar el cartón) noté que era muy delgada y se veían muchos espacios vacíos por lo que me detuve a idear un plan para solventar la situación, intente con mucha ideas pero me pareció mucho mejor realizar trenzas con la misma pasamanería para aumentar su grosor y ocultar los espacios vacíos. Para esto corte a la mitad la tira de pasamaneria y procedi a entrelazar una sobre otra utilizando a mi favor la ranura natural de la pieza.
When placing the trimming on the top of the cap (to hide the cardboard) I noticed that it was very thin and there were many empty spaces so I stopped to come up with a plan to solve the situation, I tried many ideas but I thought it was much better to make braids with the same trimming to increase its thickness and hide the empty spaces. To do this I cut in half the strip of trimmings and I proceeded to weave one over the other using the natural groove of the piece to my advantage.

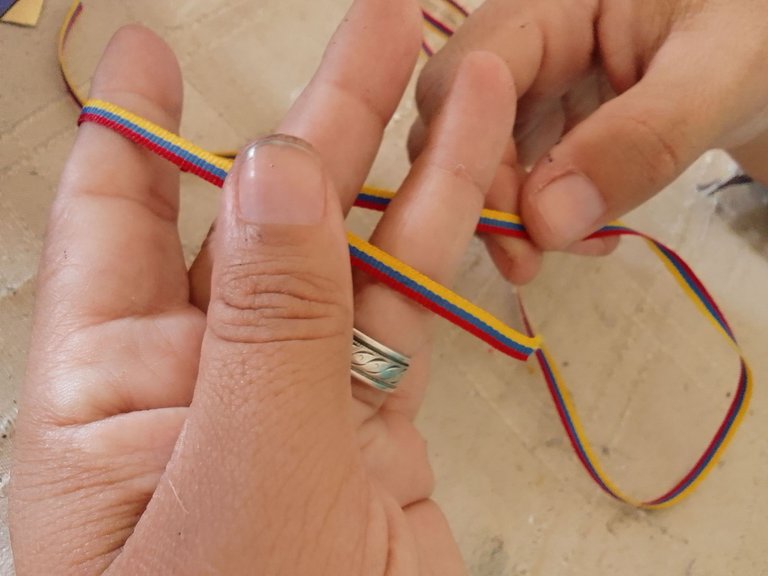
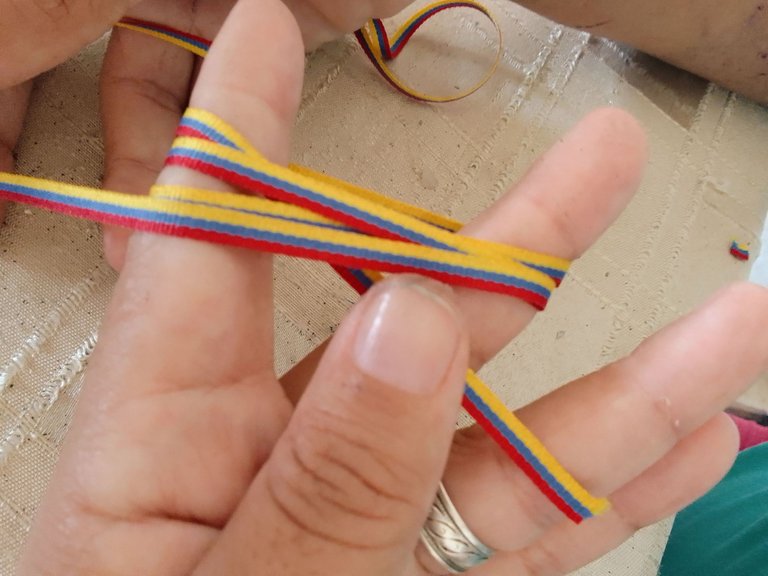
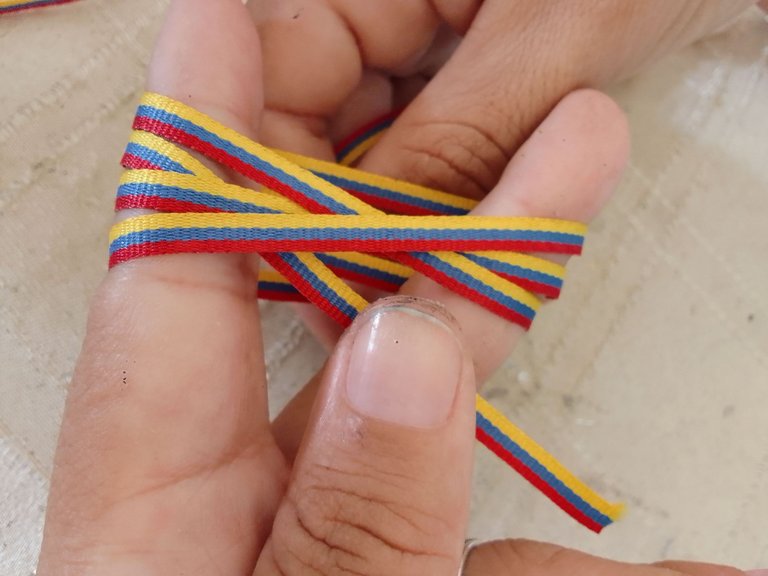
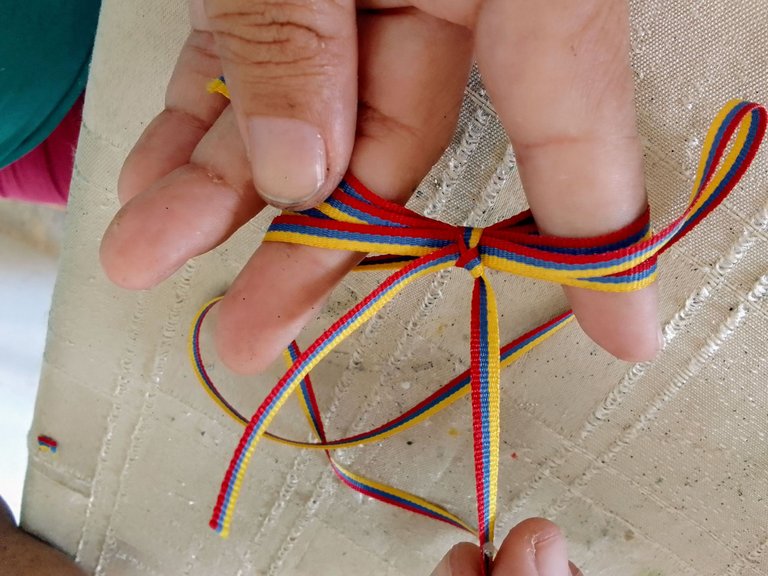
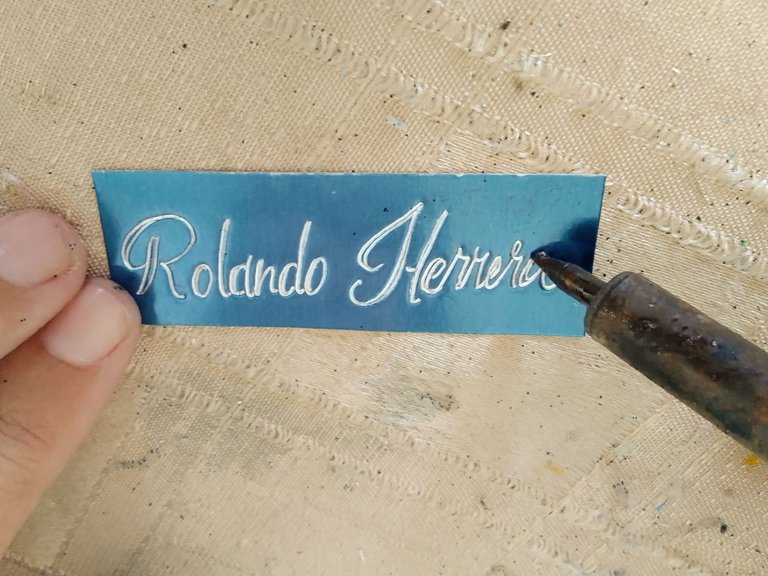
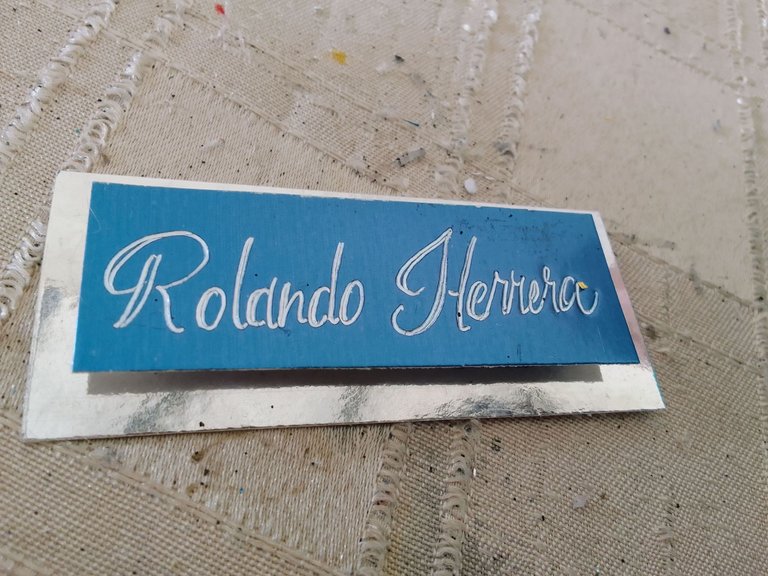
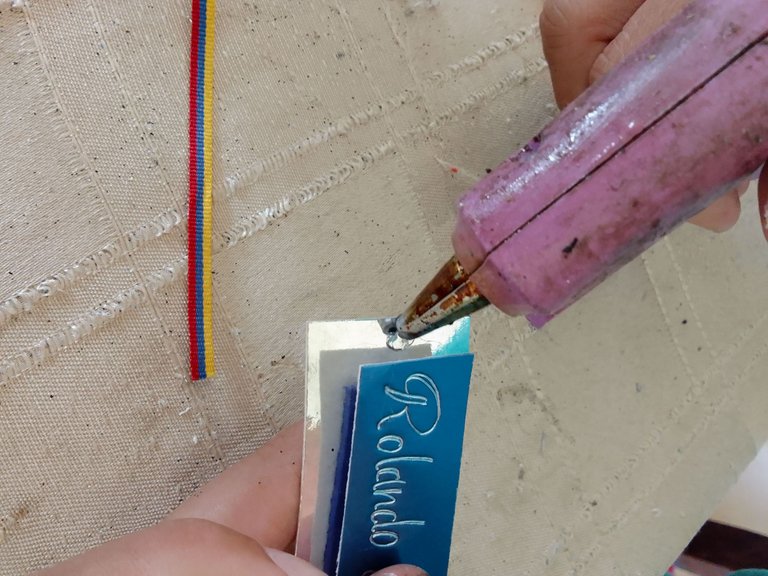
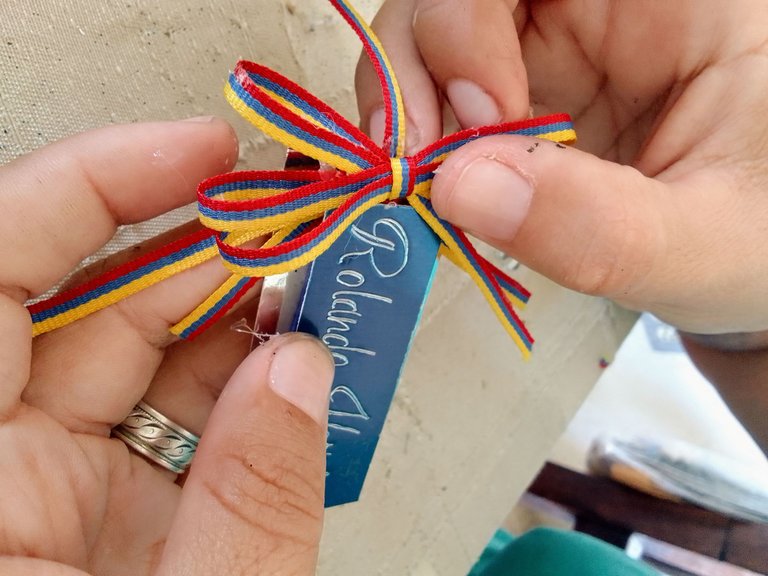
Para decorar el envase hice uso de una cinta tricolor, y elabore un lazo muy sencillo que consiste en dar tres vueltas entre los dedos indice y medio para posteriormente con un pequeño pedazo de cinta anudar a la mitad. También corte pequeños rectángulos de cartulina metalizada dónde con ayuda de un cautín procedi a colocar el nombre de cada jurado y asesor.
To decorate the container I used a tricolor ribbon, and made a very simple ribbon that consists of three turns between the index and middle fingers and then with a small piece of ribbon knotted in the middle. I also cut small rectangles of metallic cardboard where with the help of a soldering iron I proceeded to place the name of each juror and advisor.
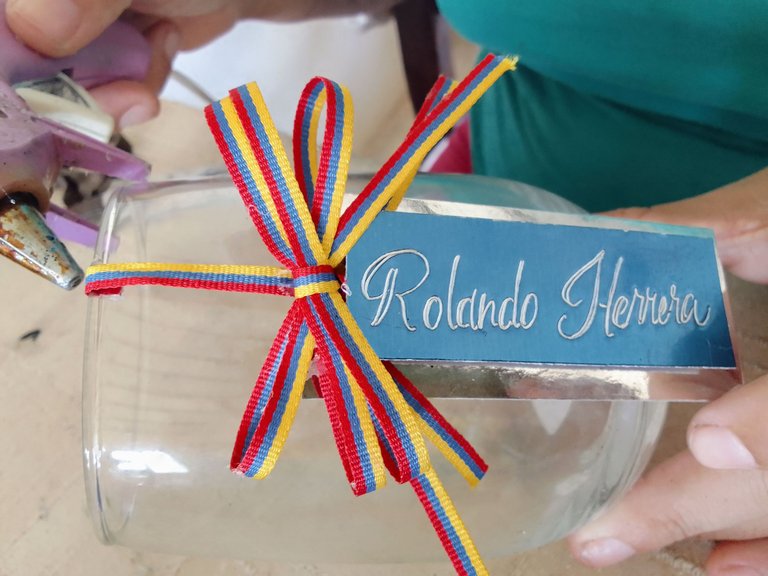
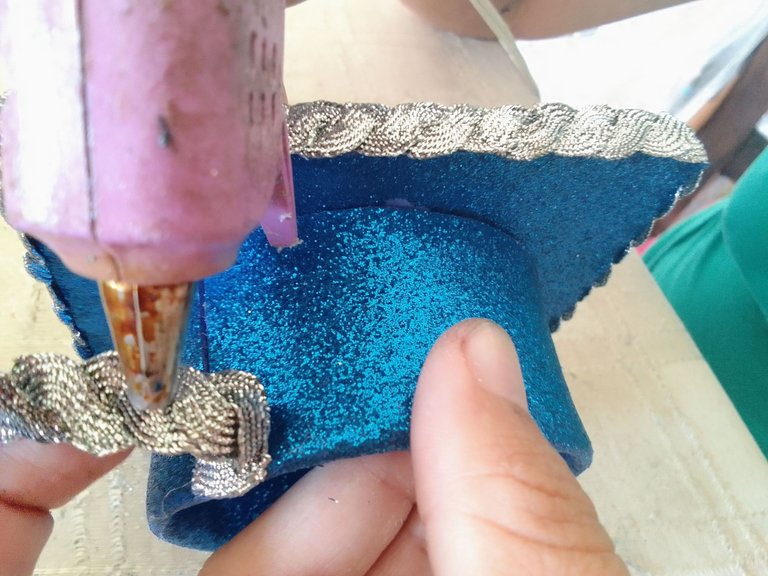
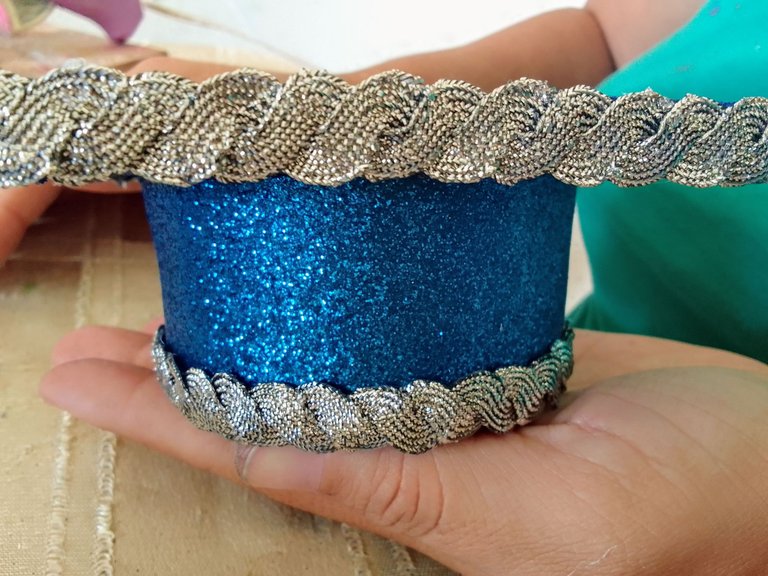
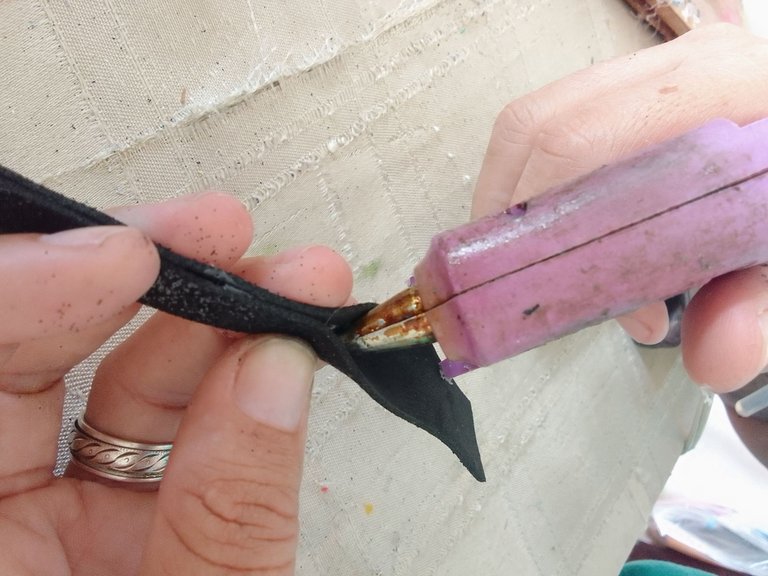
Lo primero fue fijar con silicón caliente la base circular en el tope del birrete ubicando previamente el centro del cuadrado, luego pegué la pasamaneria en el borde superior del birrete, seguidamente en la base. Posteriormente, ubique en el centro del envase el lazo con el nombre escrito en cartulina metalizada y lo fijé con una tira tricolor desde dentro del envase para evitar que se vea la punta, ya que una vez colocado el birrete está pasa desapercibida. Por último y no menos importante corte tiras de foami escarchado negro y azul para darle sostén a la borla, una vez cortada las pegue en la cara superior del birrete y listo.
The first thing I did was to fix the circular base on the top of the cap with hot silicone, previously placing the center of the square, then I glued the trimmings on the top edge of the cap, then on the base. Afterwards, I placed the ribbon with the name written on metallic cardboard in the center of the container and fixed it with a tricolor strip from inside the container to prevent the tip from being seen, since once the biretta is in place, it will go unnoticed. Last but not least I cut strips of black and blue frosted foami to support the tassel, once cut I glued them on the top side of the cap and that was it.


Espero les haya gustado tanto como a mí este proyecto y puedan animarse a realizarlo. Un excelente recuerdo para una ocasión inolvidable, que la bendición de Dios nos acompañe siempre.
I hope you liked this project as much as I did and that you will be encouraged to do it. An excellent souvenir for an unforgettable occasion, may God's blessing be with us always.
Las fotos de esta publicación son de mi propiedad y fueron tomadas desde mi celular Realme C11.
Las ediciones de Foto y el Banner lo realice con las aplicaciones: Poster Maker, Text Art e in shot descargadas desde Play Store.
Textos traducidos en deepL.
The photos in this publication are my property and were taken from my cell phone Realme C11.
The photo editions and the banner were made with the following applications: Poster Maker, Text Art and in shot downloaded from Play Store.
Translated texts in deepL.
Congratulations @ferguis-ve! You have completed the following achievement on the Hive blockchain And have been rewarded with New badge(s)
Your next target is to reach 30 posts.
You can view your badges on your board and compare yourself to others in the Ranking
If you no longer want to receive notifications, reply to this comment with the word
STOPTo support your work, I also upvoted your post!
Check out our last posts:
Muchas gracias por el apoyo ❤️
¡Eso es perfecto @ferguis-ve! ¡Eres un verdadero campeón de Hive! ¡Adelante hacia esa nueva meta!
Por cierto, también necesitamos tu ayuda. ¿Podemos pedirle que apoye nuestra propuesta para que nuestro equipo pueda continuar con su trabajo?
Todo lo que necesita hacer es hacer clic en el botón "soporte" en esta página: https://peakd.com/proposals/248.
Gracias!
Precioso trabajo @ferguis-ve 😍
Hola @dayanita2 fue hecho con mucho esfuerzo, pero valió la pena. Gracias por el apoyo..!🤗
🤗🙏
Hola! Esos vasos te quedaron muy hermosos, no había pensado en eso,..
Muchas gracias fue una mezcla entre las exigencias de la cliente y de mi creatividad. Gracias por leer.!🤗
Esta manualidad está perfecta para esta época que hay muchas graduaciones de familiares y amigos. Me encantó como quedó tu trabajo.
Felicitaciones!
Holaaa muchas gracias @rosana6, pues si estamos entrando a la temporada de las graduaciones y hay muchísimas ideas que pueden ser aplicadas, me alegra mucho que te encante mi trabajo🤗.
Te quedaron super lindos y se ven fáciles de hacer, que bonito✨
Muchas gracias @sylregne si son bastante sencillos diría que lo más complicado es concretar una idea con las exigencias del cliente. Pero por lo demás la creatividad fluye fácilmente. Gracias por leer.,🤗
Son encantadores estos recuerditos! Para mantenera una memoria de ese gran momento!
Muy hermoso detalle, muy bien explicado y muy bien elaborado, resultado final un recuerdo muy hermoso, ideal para elaborar en estos días que hay tantas graduaciones🤗
Hola @chironga67 gracias por leer, fue la idea aportar un contenido para esta temporada de graduación, 🤗🤗🤗🤗