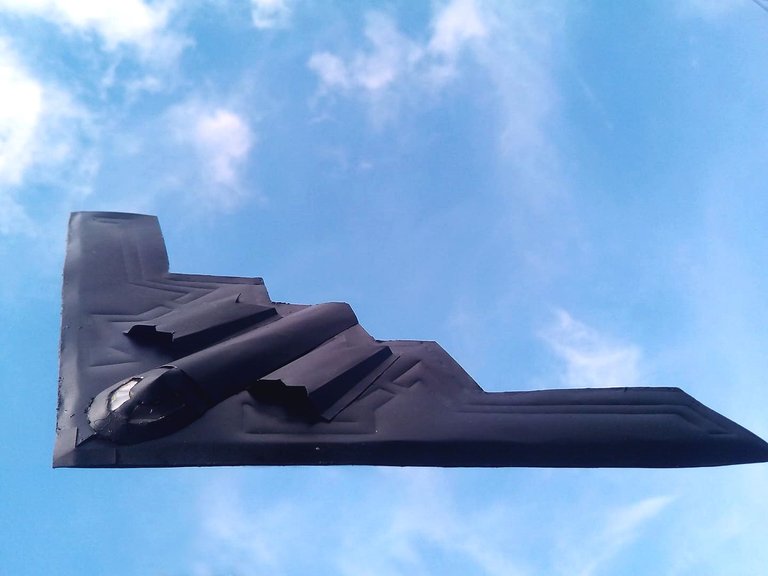
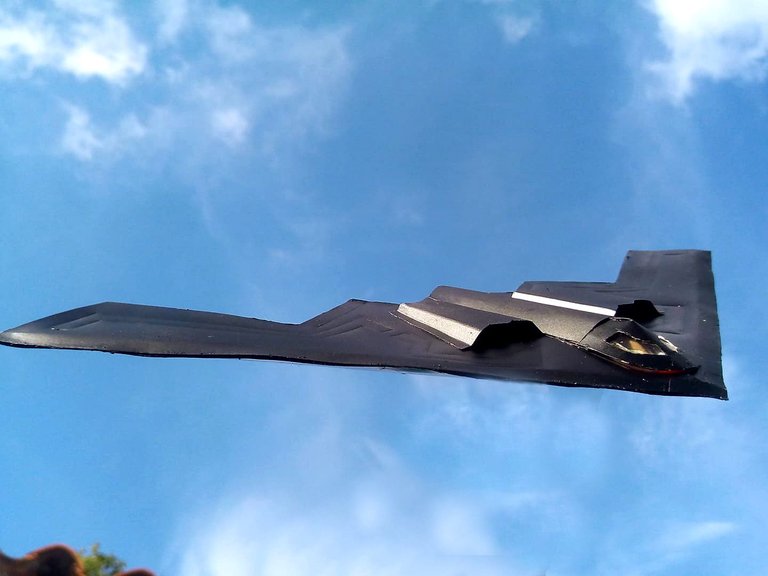
Hello friends of community creators, I hope you are very well. Already today Friday I wish you have a good weekend full of rest and blessings. Today I want to show you my latest recycling job. It is one of the masterpieces of military aviation engineering: The B-2 Spirit bomber. This bomber plane was conceived by the Northrop Grumman company, it has been the most expensive plane to produce and is capable of transporting more than 40 thousand pounds of fire, distributed in nuclear weapons and conventional weapons. With the fall of the Soviet Union, its manufacture was reduced to a few units that are still operational to this day. Due to its futuristic design, this plane has the most stealthy aesthetics, turning it into death that comes down from the sky. The model I made is made on a model scale, built with soda cans and recycled cardboard. Hope you like.
Hola amigos de creadores de la comunidad, espero que se encuentren muy bien. Ya hoy viernes deseo que tengan un buen fin de semana lleno de descanso y bendiciones. Hoy quiero mostrarles mi último trabajo de reciclaje. Se trata de una de las obras de arte de la ingenieria de la aviación militar: El bombardero B-2 Spirit. Este avión bombardero fue concebido por la compañía Northrop Grumman, ha sido el avión mas caro de producir y esta capacitado para transportar más de 40 mil libras de fuego, distribuidos en armas nucleares y armas convencionales. Con la caída de la Unión Soviética su fabricación se redujo a unas pocas unidades que hasta el día de hoy se encuentran operativas. Por su diseño futurista este avión cuenta con la estética mas sigilosa convirtiéndolo en la muerte que baja del cielo. El modelo que hice esta hecho en una escala modelo, construido con latas de soda y cartón reciclado. Espero que les guste.

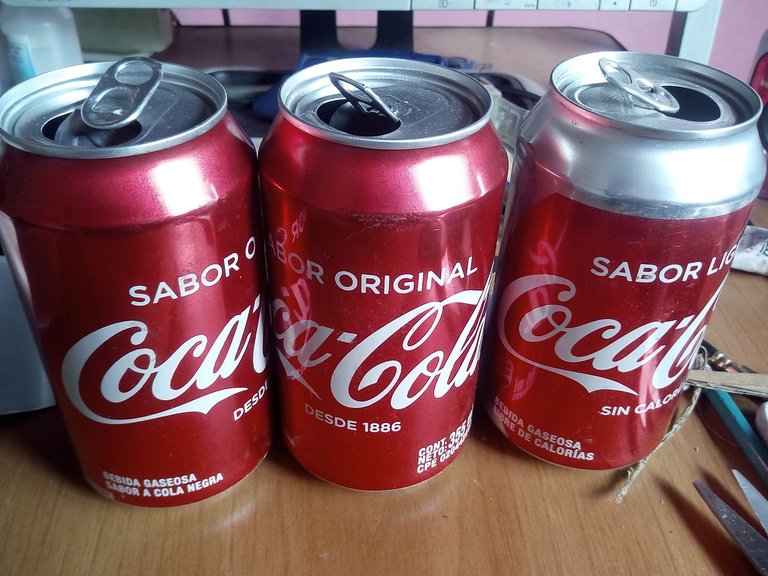
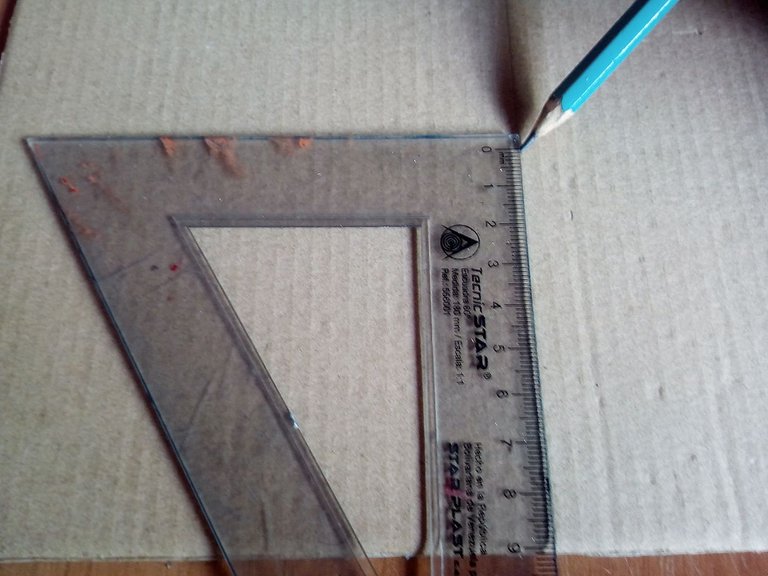
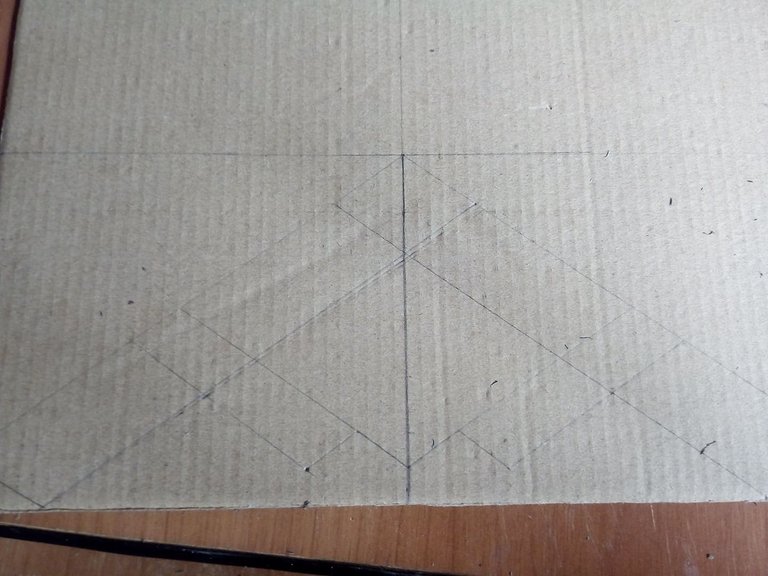
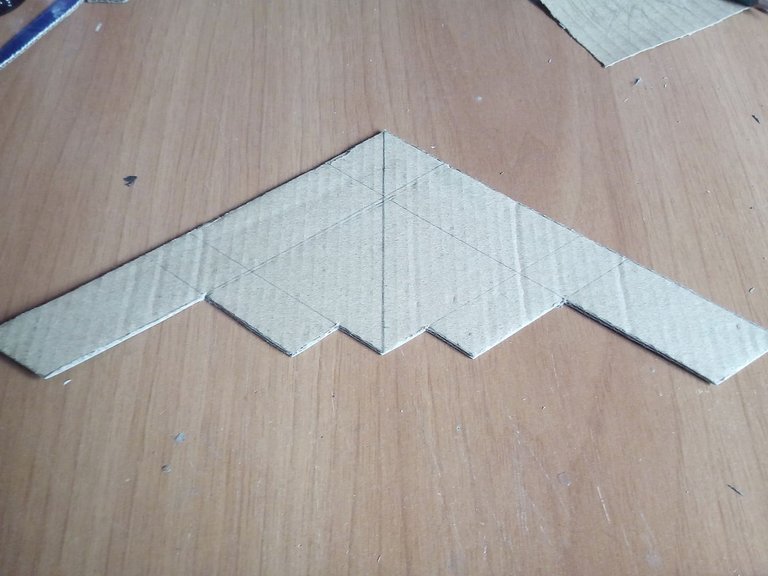
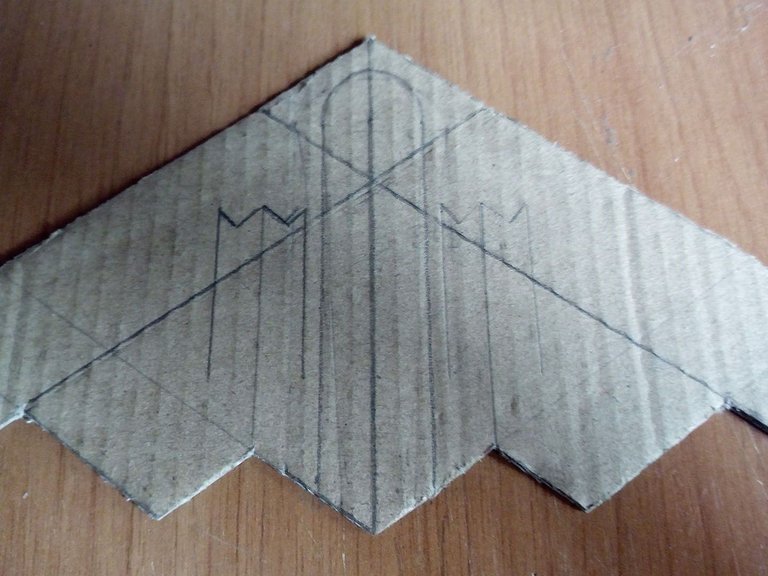
I have selected a carton of cardboard and cut one of its sides, also some cans of Coke. On the cardboard I draw the planes of the plane. Its wings are 27 centimeters wide and 11 centimeters long. Once we draw it, we cut out all the cardboard and on the inside we draw where the cabin and the turbines will go.
He seleccionado una carja de carton y recorte uno de sus lados, también algunas latas de coca cola. Sobre el cartón dibujo los planos del avión. Tiene una anchura por las alas de 27 centimetros y de largo tiene 11 centímetros. Una vez que lo dibujamos recortamos todo el cartón y sobre la parte interna dibujamos donde irá la cabina y las turbinas.

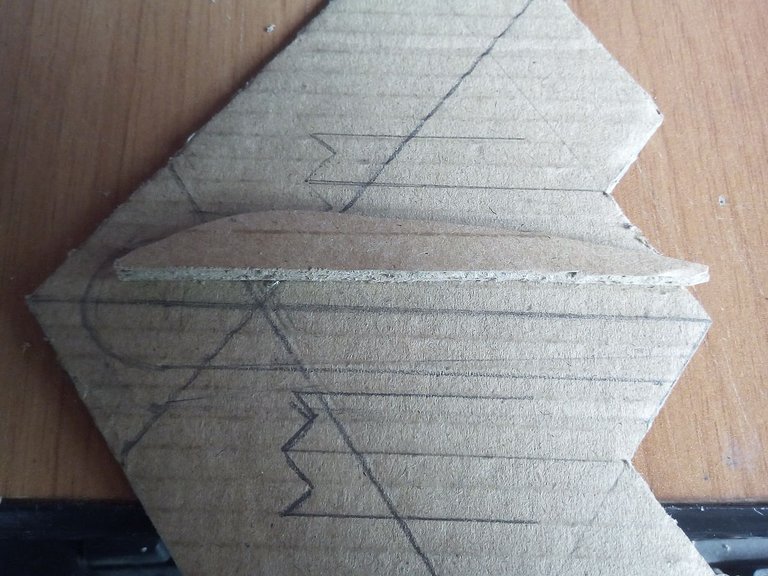
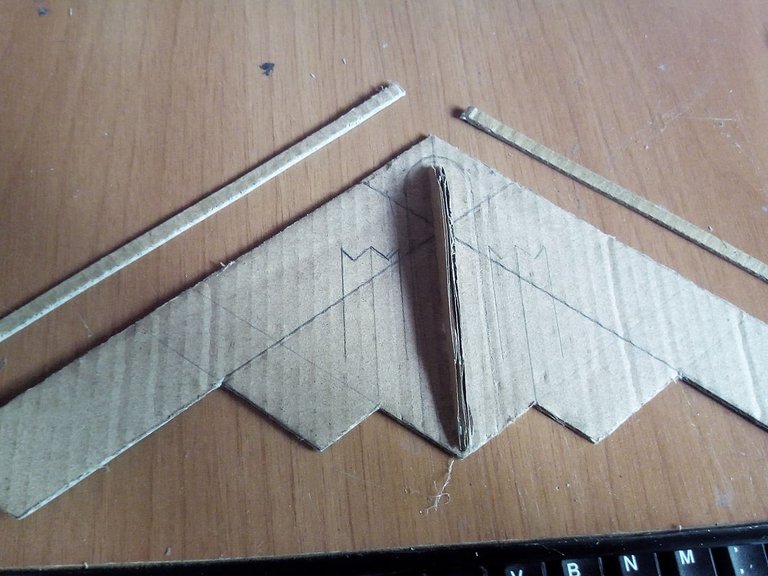
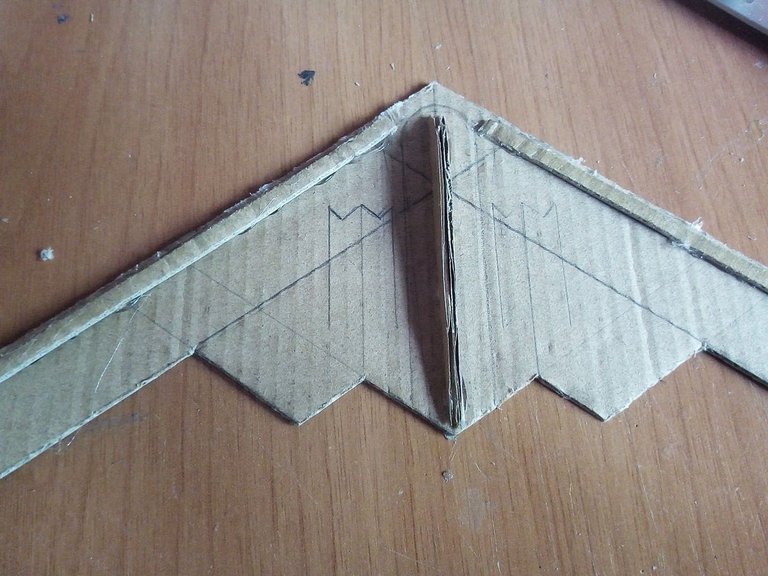
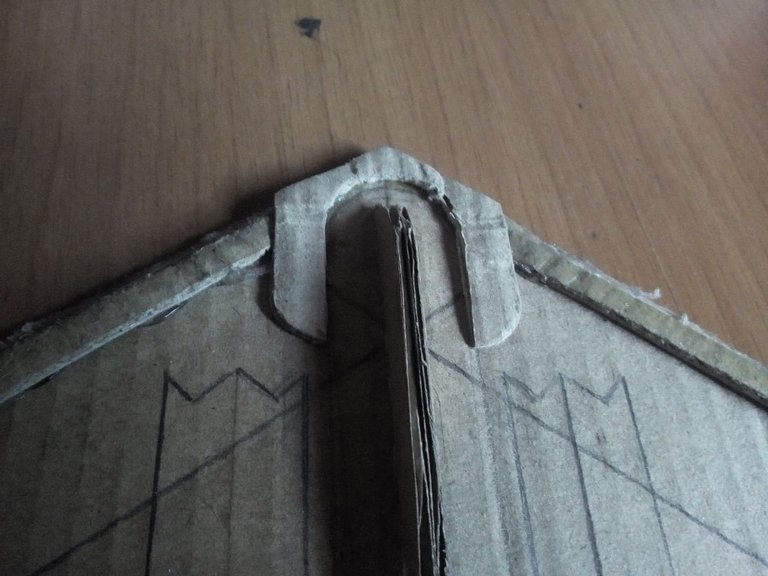
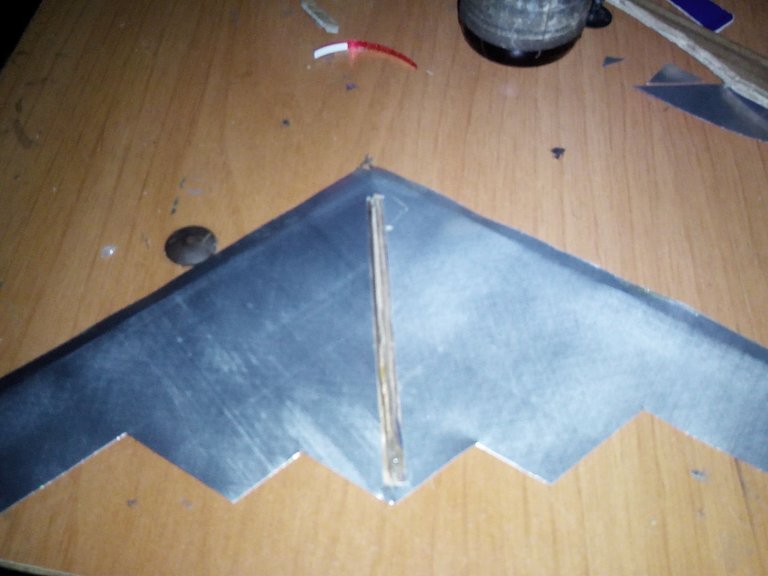
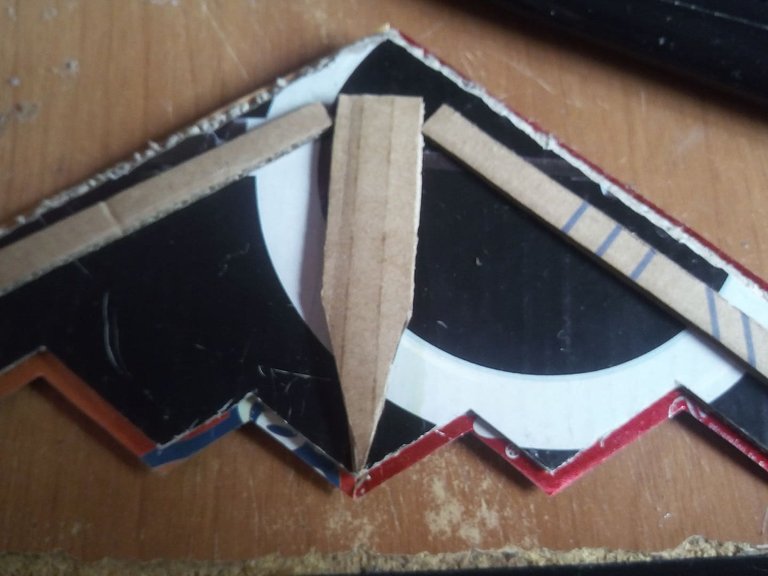
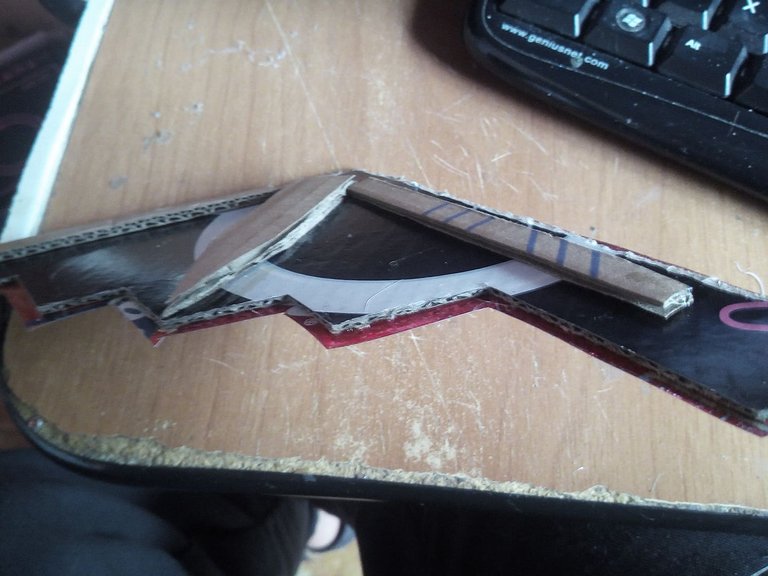
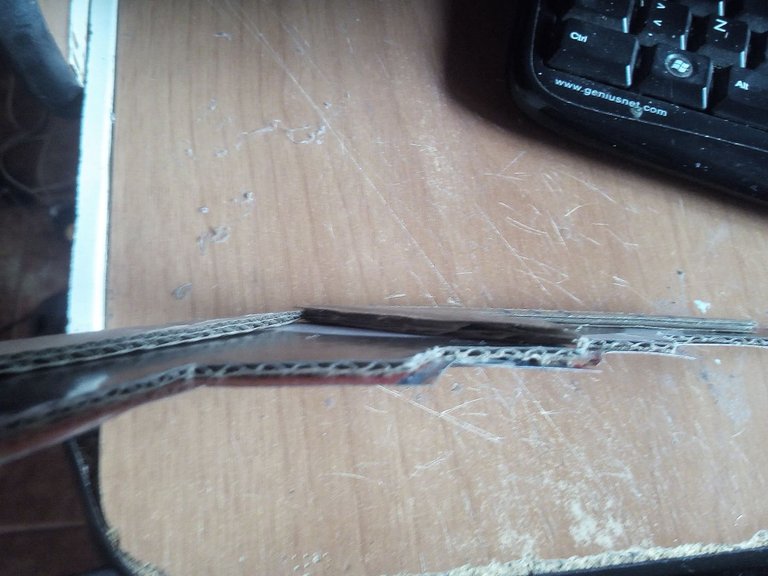
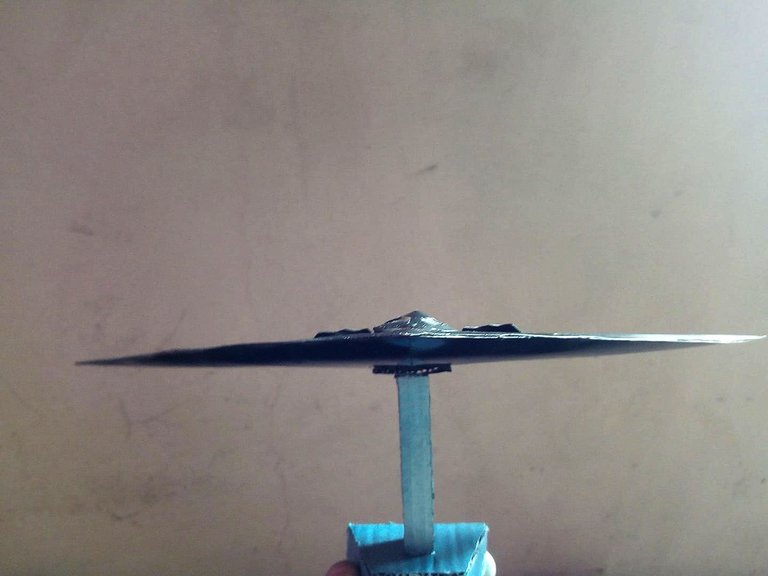
The next step is to shape the body of the plane as it is not entirely flat. So we cut a curved cardboard that will go in the middle of the template and that will help to make the booth, we will also place pieces of cardboard on the tip and on the wings to fill that place so that when we glue the cans the curvature is seen.
El siguiente paso es darle forma al cuerpo del avión ya que no es plano en su totalidad. Así que cortamos un cartón curvo que irá en la mitad de la plantilla y que ayudará a hacer la cabina, tambien colocaremos en la punta y en las alas retazos de cartón para rellenar ese lugar de manera que cuando peguemos las latas se vea la curvatura.
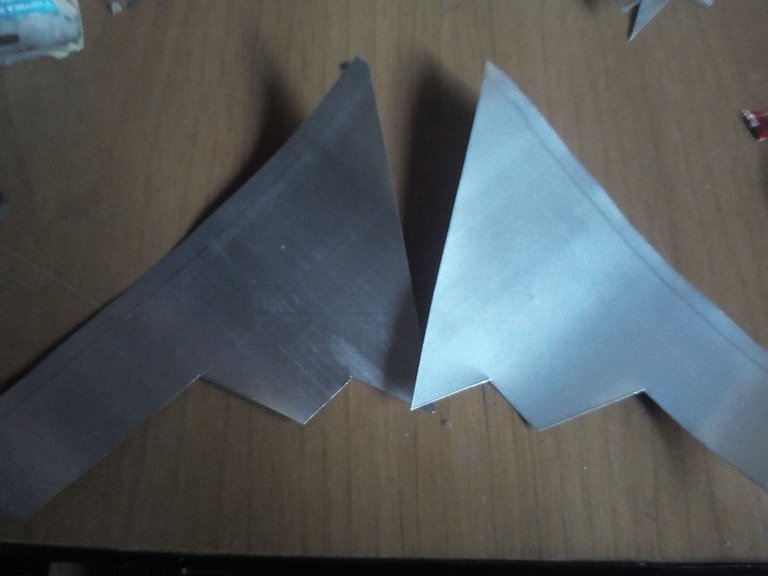
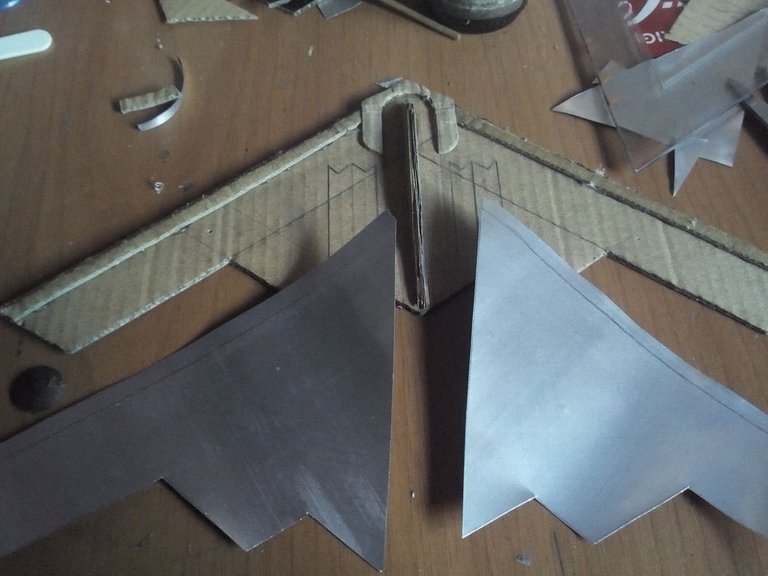
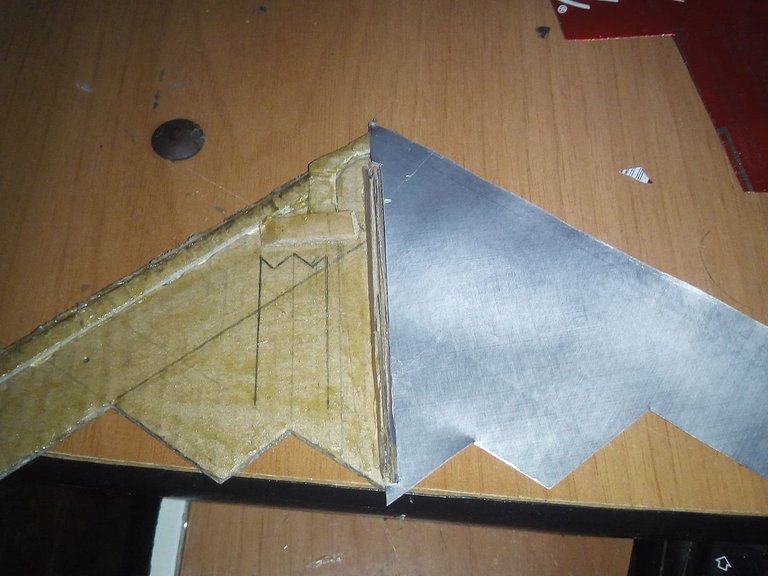
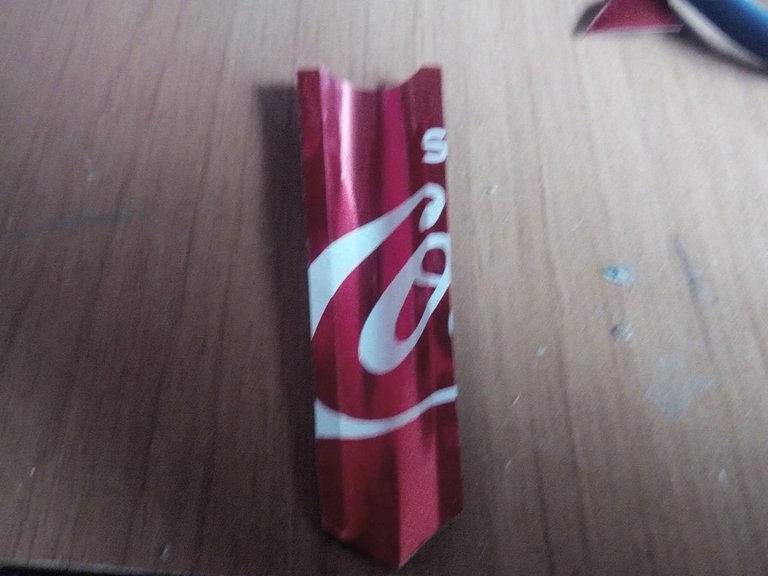
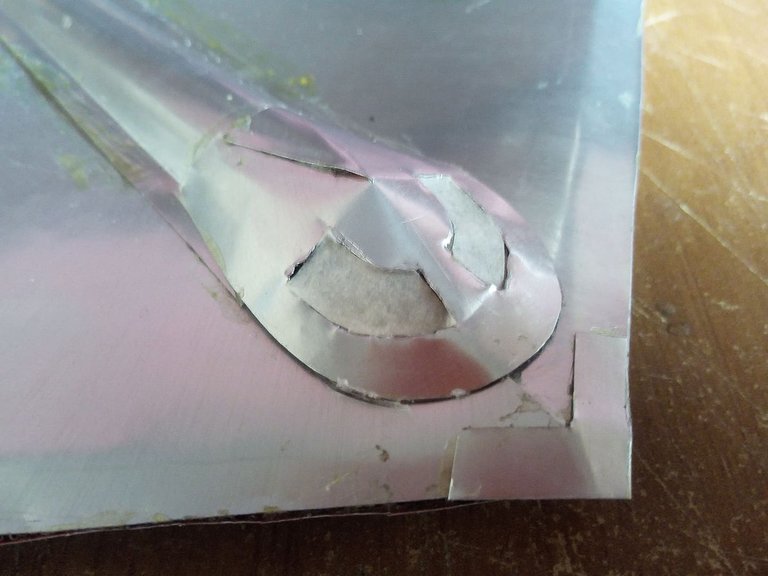
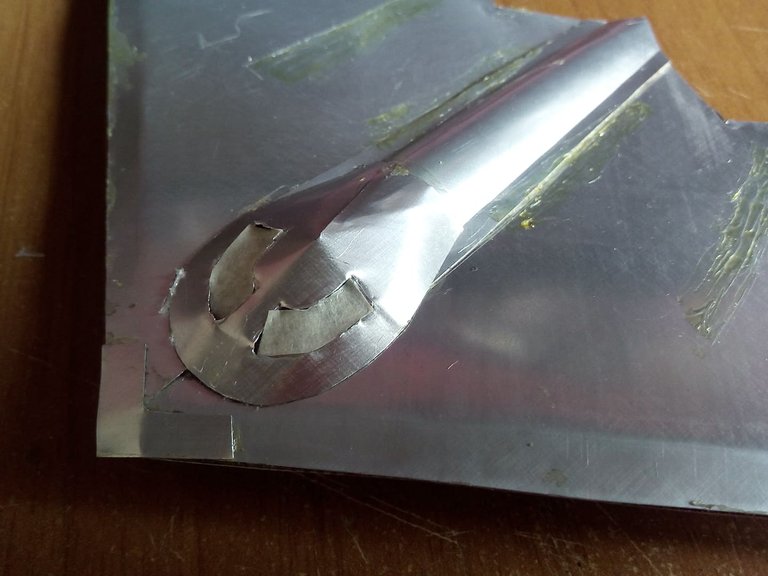
Using the same measurements with which we made the main template of the plane, we measured on top of the can and cut out two parts. I did this because the can is not big enough, so then we take both parts and put glue on it and in the same way we put glue on the cardboard, let it dry for a few minutes and little by little we will join each part very carefully so that it remains well aligned.
Utilizando las mismas medidas con las que hicimos la plantilla principál del avión, medimos encima de la lata y recortamos dor partes. Hice así porque la lata no es suficientemente grande, así que luego tomamos ambas partes y le ponemos pegamento y de la misma manera le ponemos pegamento al cartón, dejamos secar por unos minutos y poco a poco iremos uniendo cada parte con mucho cuidado para que quede bien alineado.

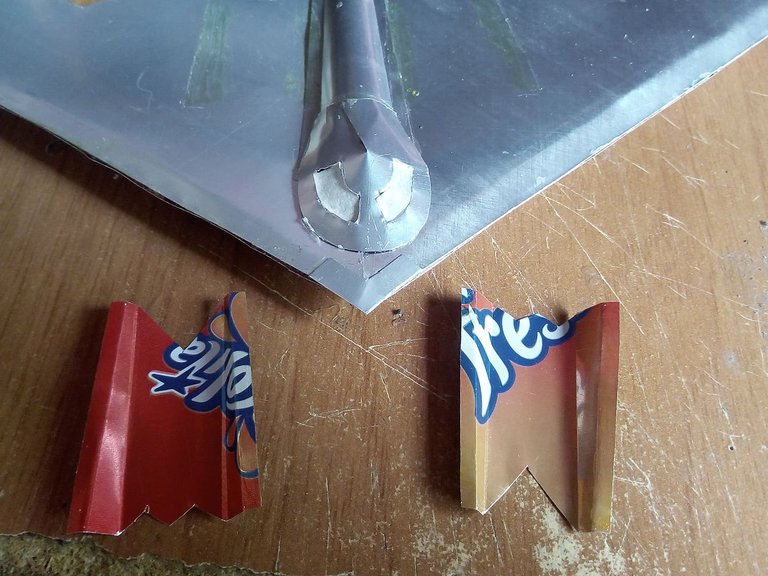
In the same way, we are going to coat the lower part of the plane with aluminum. We cut out the same pieces and also put pieces of cardboard to help us give the plane curvature. We place the glue and we are joining each piece.
De la misma manera vamos a revestir con aluminio la parte inferior del avión. Recortamos las mismas piezas y tambien colocamos retazos de cartón que nos ayude a darle curvatura al avión. Colocamos el pegamento y vamos uniendo cada pieza.
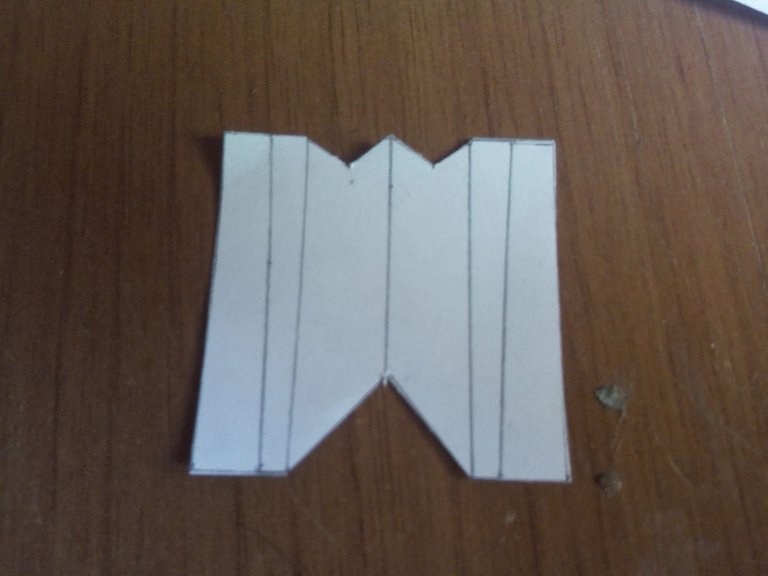
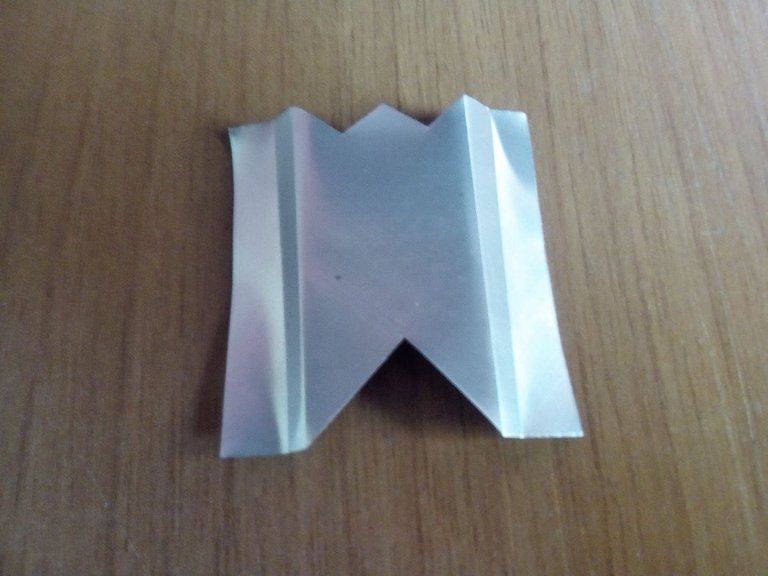
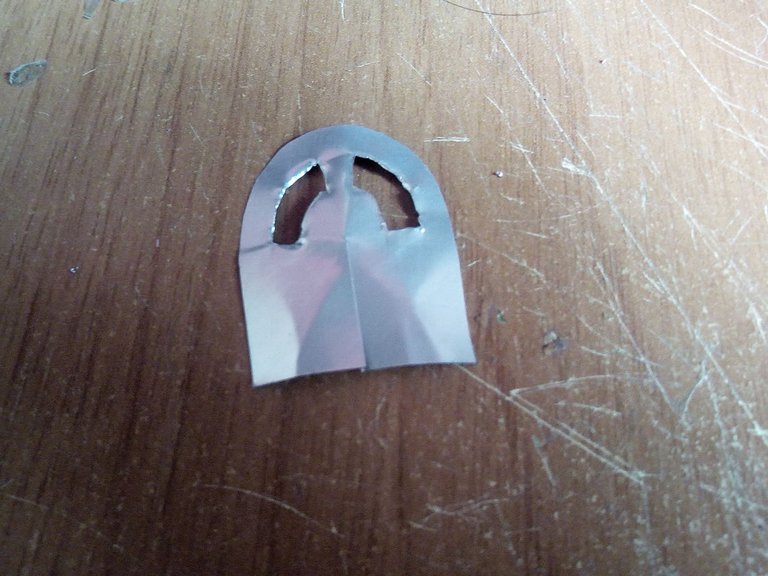
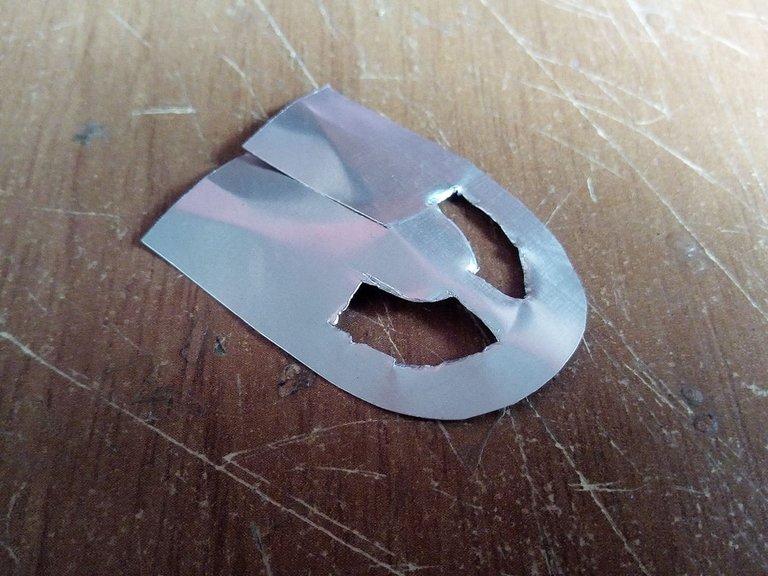
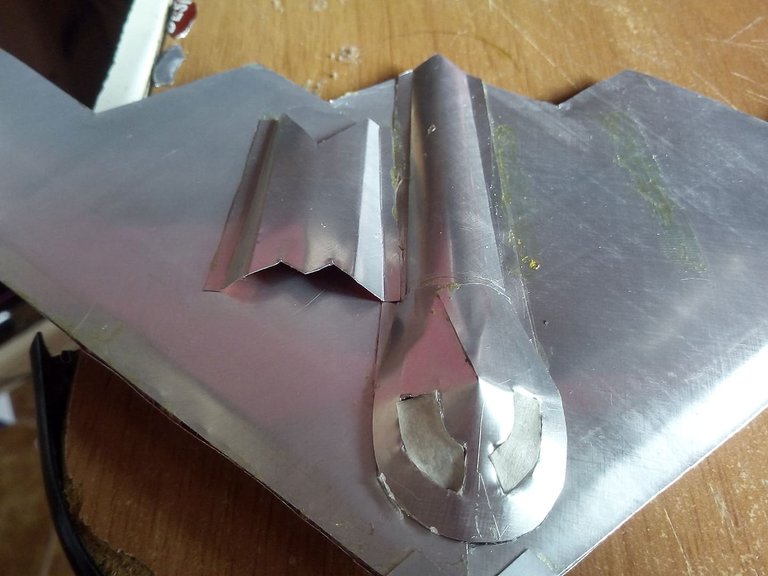
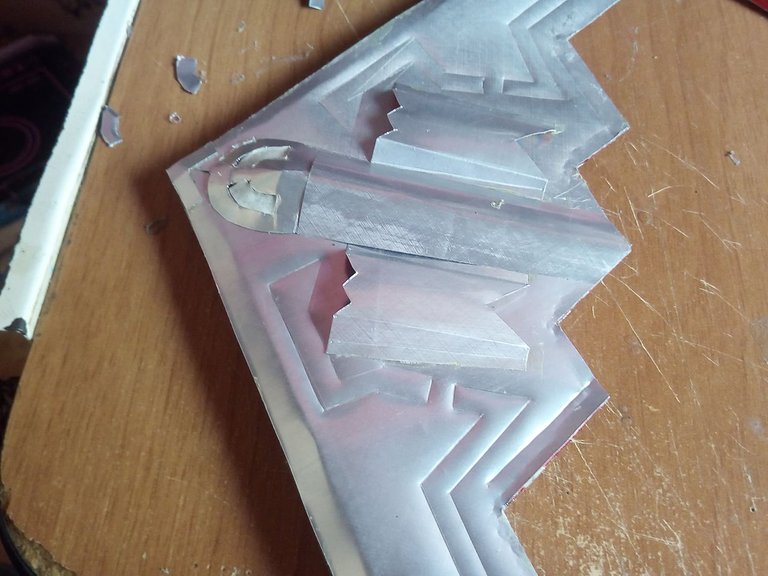
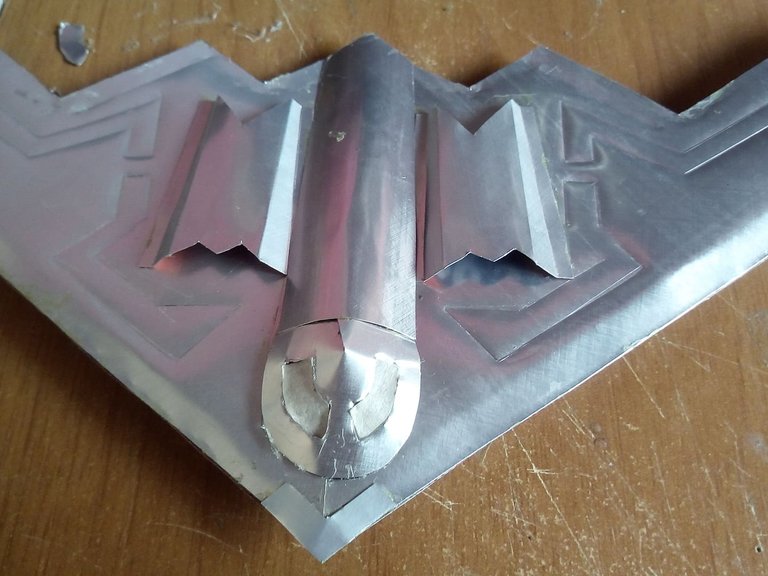
Then we will make the missing parts to complete the plane. We make a template to be able to make the turbines, we make a piece of corrugated aluminum for the cockpit and finally the cockpit itself, where the pilot goes.
Despues haremos las partes que nos faltan para completar el avión. Hacemos una plantilla para poder hacer las turbinas, hacemos un retazo de aluminio ondulado para la cabina y por último la cabina propiamente dicha, donde va el piloto.
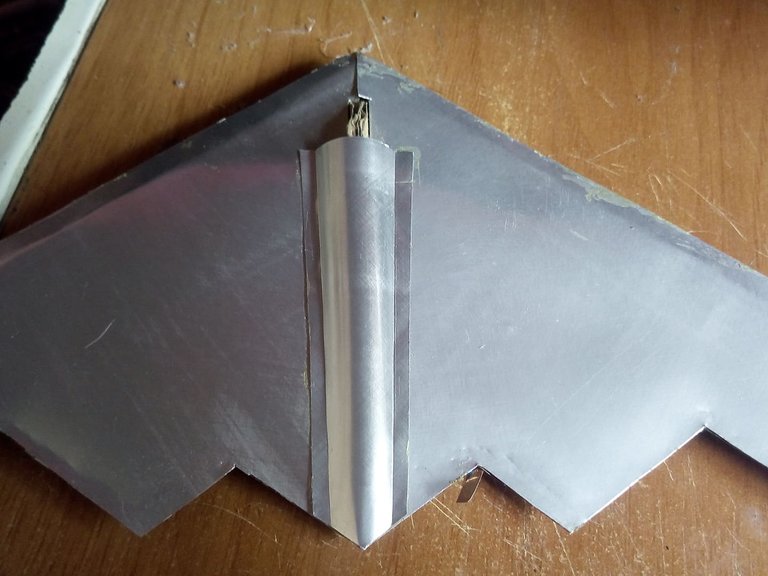
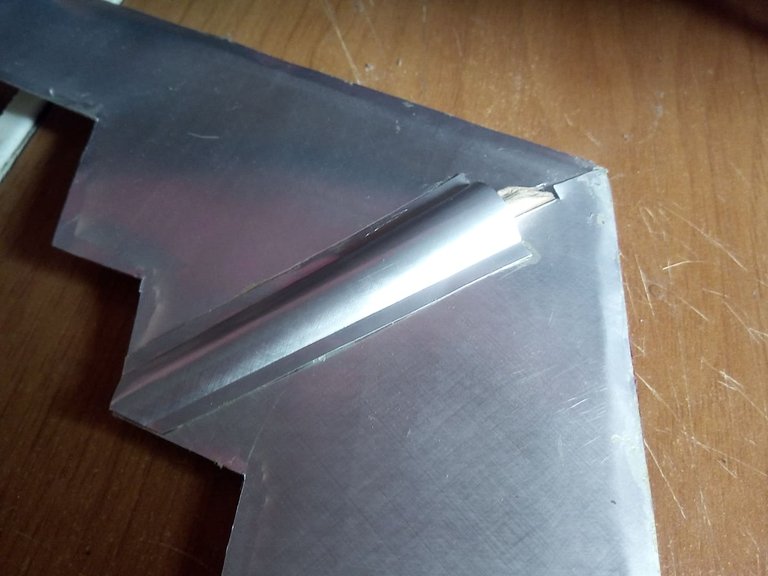
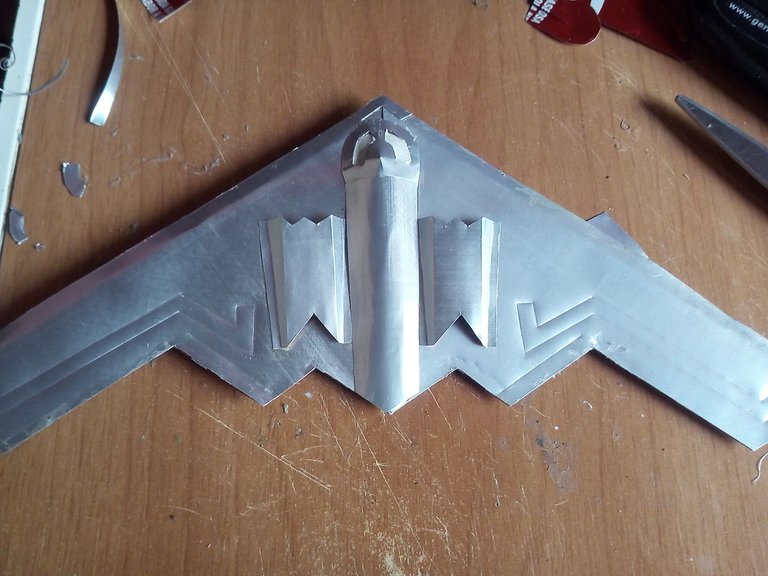
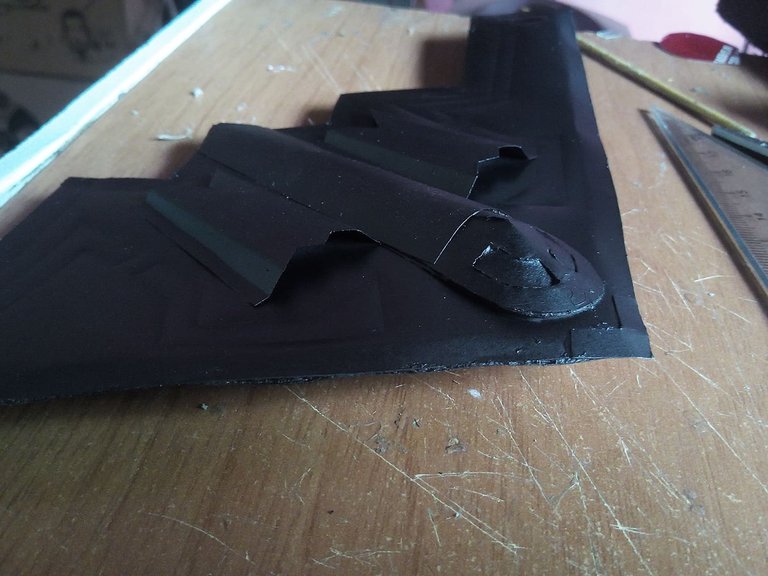
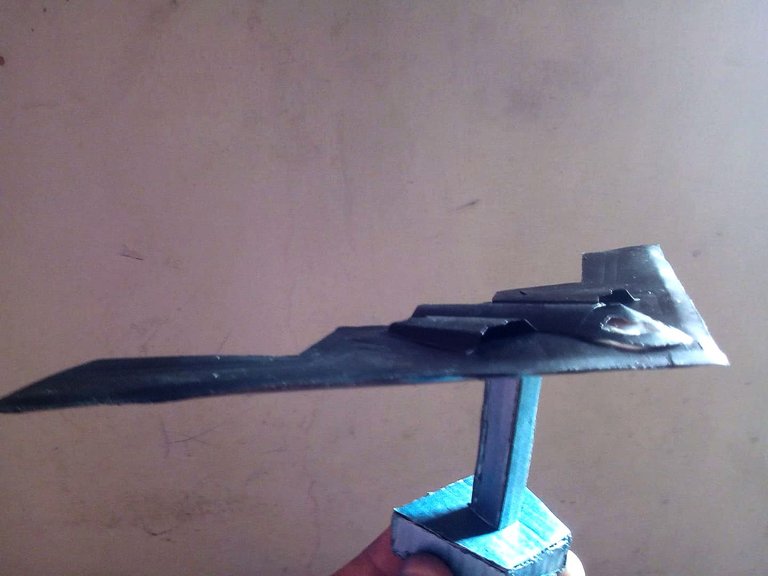
We proceed to place each piece in its place, we start at the back of the cockpit, then we put the cockpit itself where the pilot goes. Then we put glue to fix each of the turbines. We must highlight the distance well and have the exact measurements so that it is as aligned as possible.
Procedemos a colocar cada pieza en su lugar, comenzamos por la parte trasera de la cabina, luego ponemos la cabina en sí donde va el piloto. Luego colocamos pegamento pára fijar cada una de las turbinas. debemos remarcar bien la distancia y tener las medidas exactas para que quede lo mejor alineada posible.
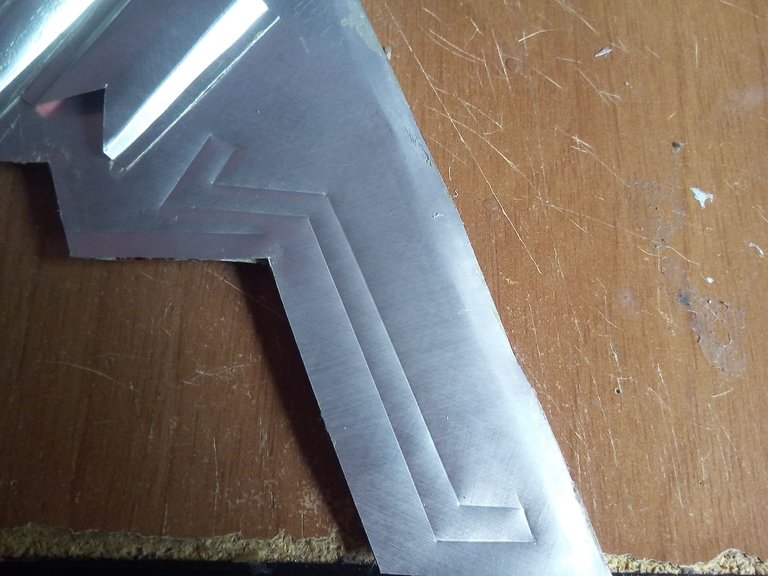
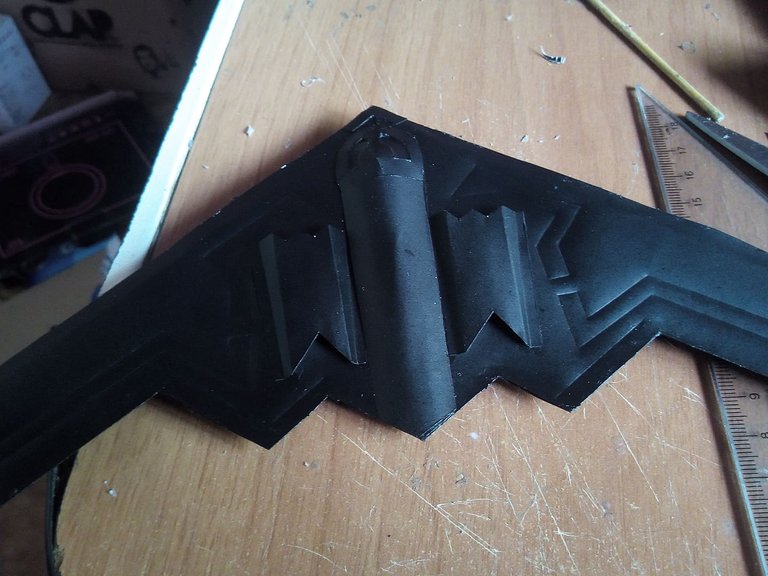
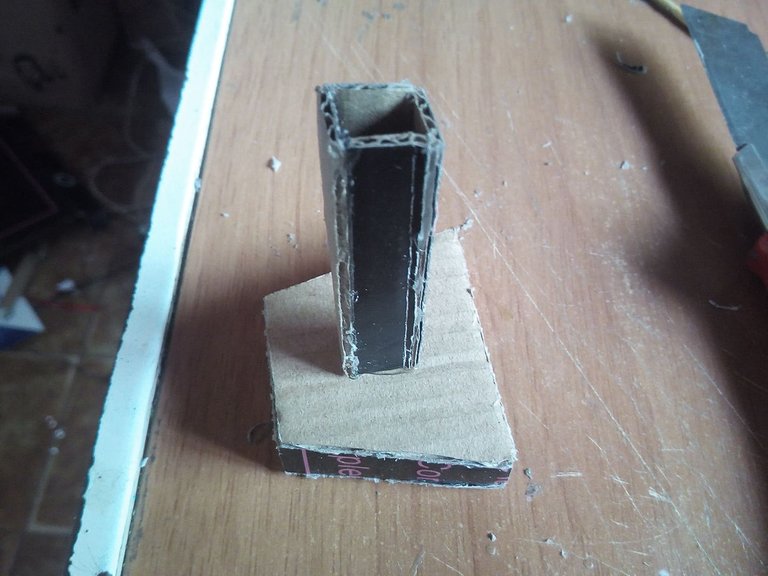
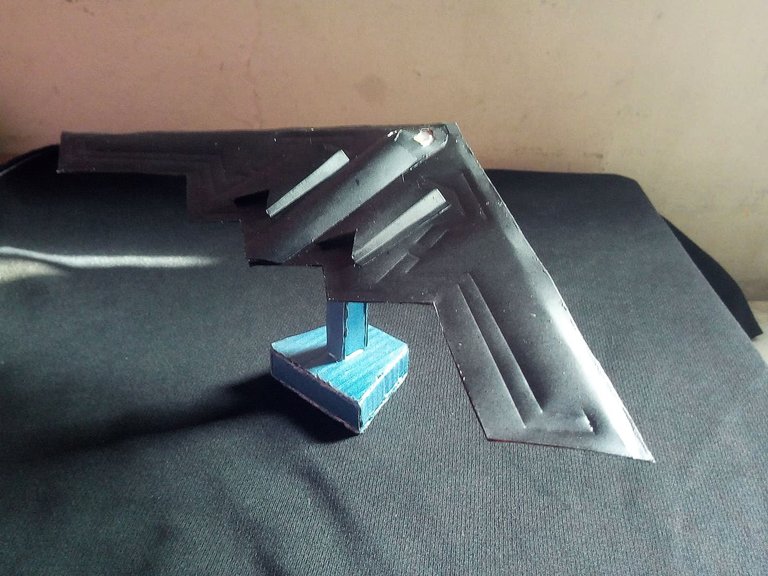
To finish with a spent pen we draw some stripes that this plane brings in the original paint. It is usually white, but I preferred to do it by sinking the aluminum with the tip of the pen. Then we apply paint, in this case a matte black color and we make a cardboard stand to fix the plane, we glue it and we are done.
Para finalizar con un bolígrafo gastado dibujamos unas rayas que este avión trae en la pintura original. Suele ser de color blanco, pero yo preferí hacerlo hundiendo el aluminio con la punta del bolígrafo. Despupes aplicamos pintura, en este caso color negro mate y hacemos un paral de cartón para fijar el avión, lo pegamos y así habremos terminado.
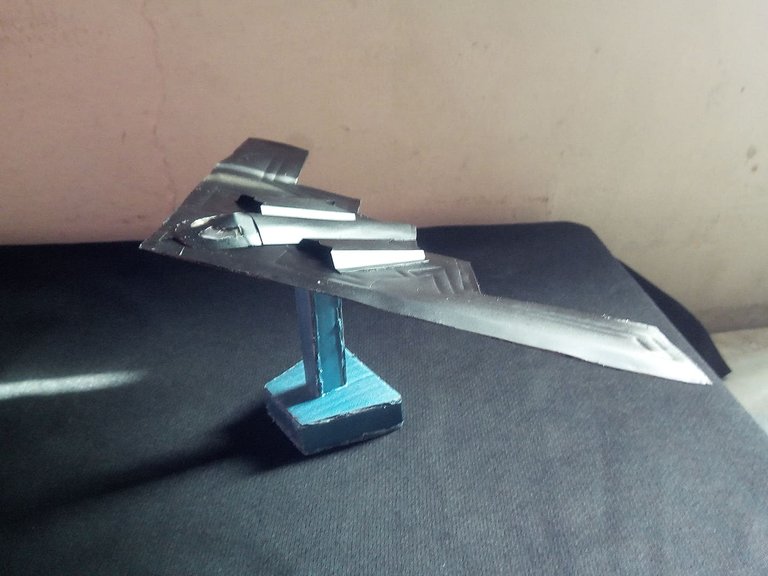
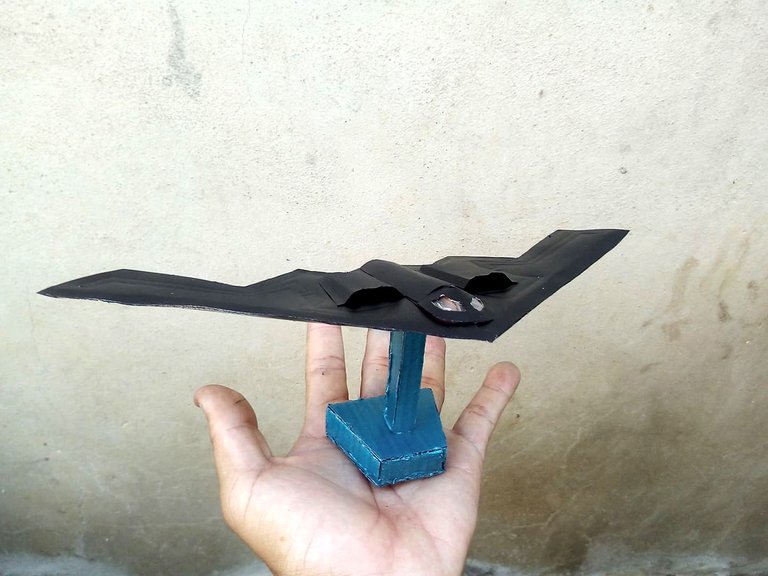
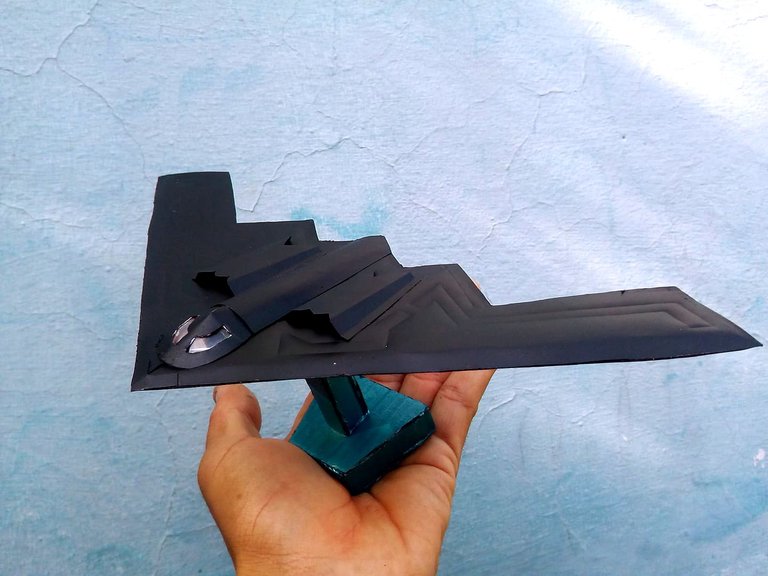

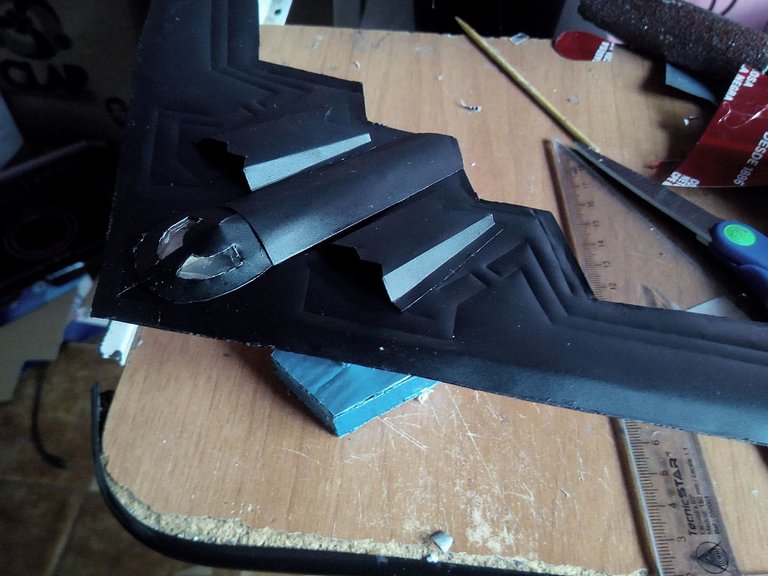
This is how this ship of war has been. The color of the real model is a green with a somewhat dark tone, however the matte black that I put on it I think it suits it very well, the turbines and the cabin look great, not to mention the lines. I tried the best possible way to give it a lot of realism, that's why I didn't let the model look totally flat, aluminum is difficult for this type of work, so placing the parts that were on top of the cardboard was a good idea. This has been my contribution of the day, I hope you liked it and had fun watching the process. Do you have a special request? could make any suggestion. Do not forget to comment and comment what you think, I say goodbye to you soon, and let's not stop recycling. Greetings.
Así ha quedado esta nave de la guerra. El color del modelo real es un verde con un tono algo oscuro, sin embargo el negro mate que le puse creo que le queda muy bien, las turbinas y la cabina se ven geniales, ni que decir de las lineas. Traté de la mejor forma posible de darle bastante realismo, por eso no dejé que el modelo se viera totalmente plano, el aluminio es dificil para este tipo de trabajos por eso colocar las partes que iban encima del cartón fue buena idea. Este ha sido mi aporte del día, espero que les haya gustado y se hayan divertido viendo el proceso. Tienen algun pedido especial? podría hacer cualquier sugerencia. No olviden comentar y opinar que les ha parecido, me despido hasta pronto, y no dejemos de reciclar. Saludos.
Esto me encanta, todo el proceso es fascinante, y las tomas finales.para la presentación es alucinante. Espero que algún día te animes a crear el Biplano Albatros del Barón Rojo, sería una genialidad en si misma 👏🦾
Esa es una buena sugerencia, ya esta anotado para un próximo proyecto.. Me alegra que te haya gustado el proceso y como quedo el resultado <3
Quedó muy genial bro, los resultados que logras siempre me han parecido fascinantes, un saludo, bendiciones, feliz fin de semana hermano!
ME alegra que te haya gustado, lo mas fascinante de esto y donde esta la verdadera dedicación son en esos pequeños detalles, trabajar en ellos para mi es la mejor parte, que bueno que te gustó. Feliz fin de semana para ti tambien!
The rewards earned on this comment will go directly to the person sharing the post on Twitter as long as they are registered with @poshtoken. Sign up at https://hiveposh.com.
Tienes demasiado talento para esto del reciclaje bro, te felicito, sigue asi
Saludos hermano, me alegra que te haya gustado mcomo quedó!
Gracias por su apoyo <3