
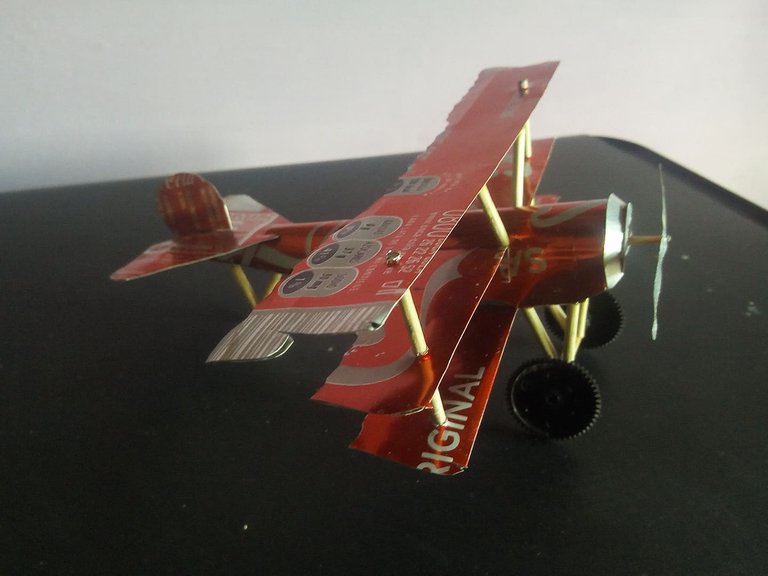
Hello friends, I hope you are very well. Returning again with the crafts I want to show you my latest work. It is the plane of the First World War, piloted by Manfred Von Richtofen, better known as the Red Baron, this model is known as the Fokker Dr1. This pilot obtained great victories in the battles that took place, being one of the most victorious on the German side. This scale model is made with coca cola cans to preserve the color. I made this plane as a suggestion from my dear friend @nestorgarcia who is always supporting my work, so with great pleasure I have done it. Hope you like!
Hola amigos espero que se encuentren muy bien. Volviendo de nuevo con las manualidades quiero mostrarles mi último trabajo. Se trata del avión de la Primera Guerra Mundial, pilotado por Manfred Von Richtofen, mejor conocido como el Barón Rojo, este modelo se conoce como el Fokker Dr1. Este piloto obtuvo grandes victorias en las batallas que se llevaron a cabo, siendo uno de los más victoriosos del lado aleman. Este modelo a escala está realizado con latas de coca cola para conservar el color. Hice este avión como sugerencia de mi querida amiga @nestorgarcia quien siempre esta apoyando mi trabajo, así que con mucho gusto lo he realizado. Espero que les guste!

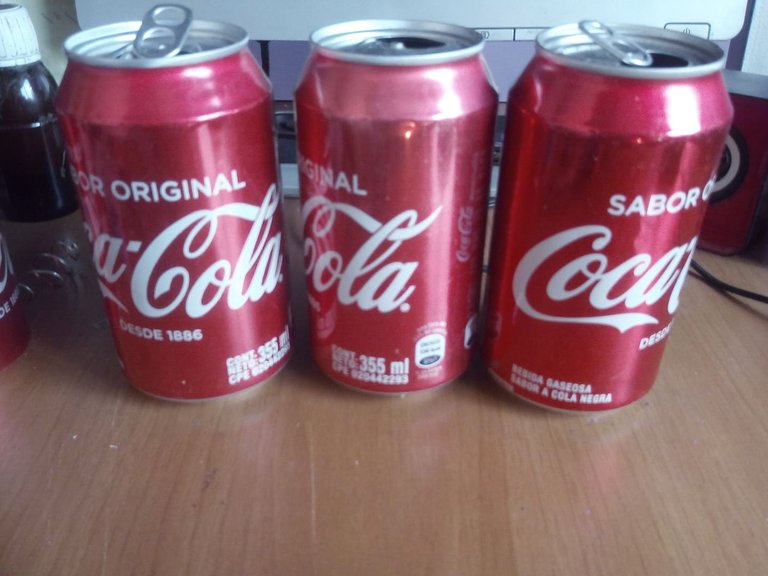
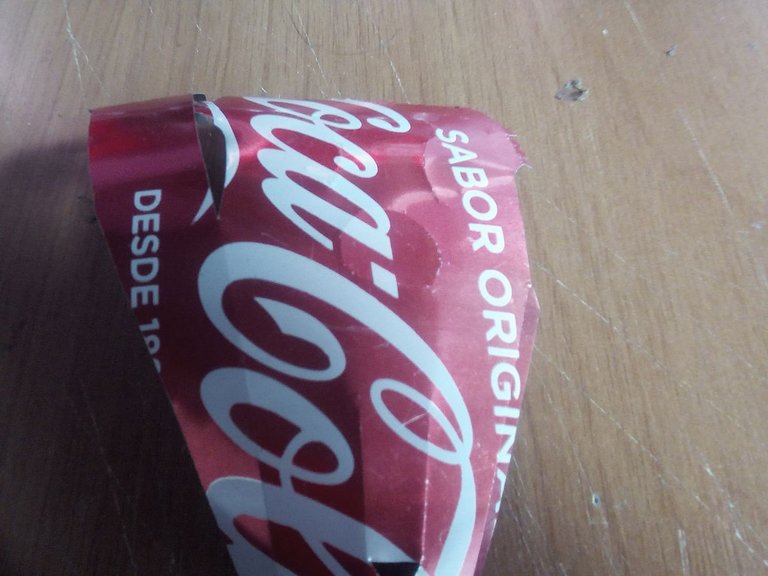
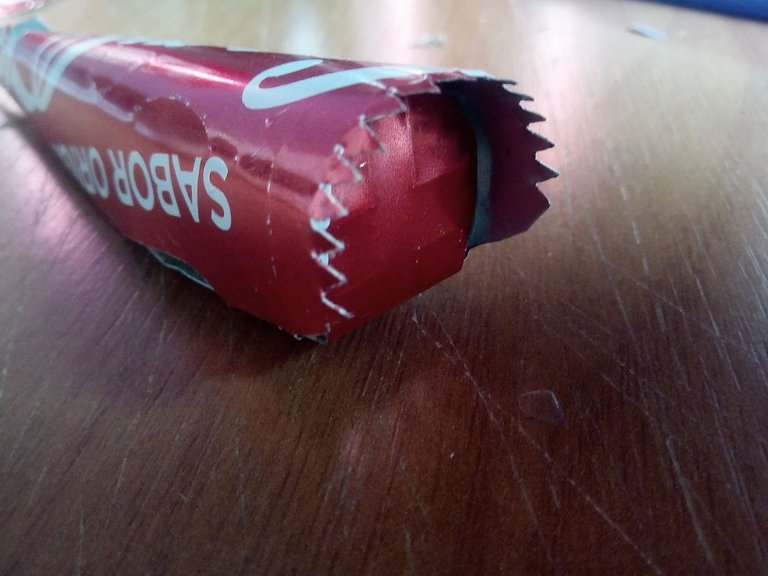
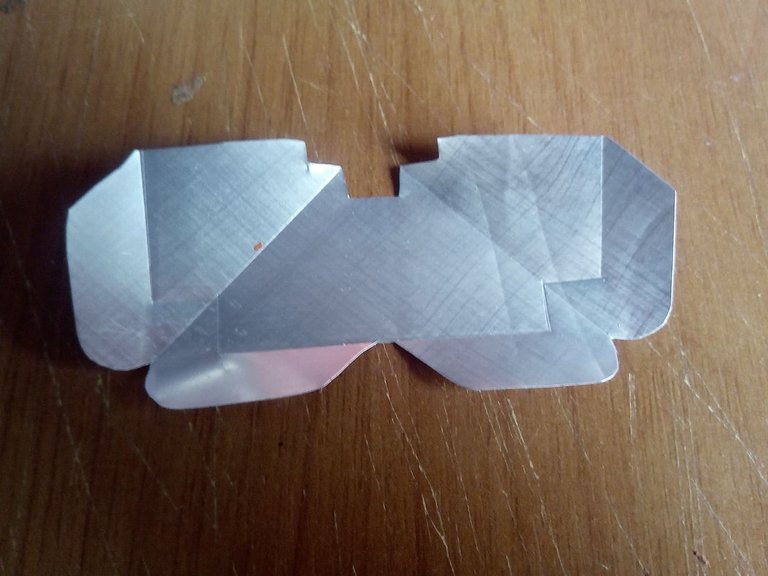
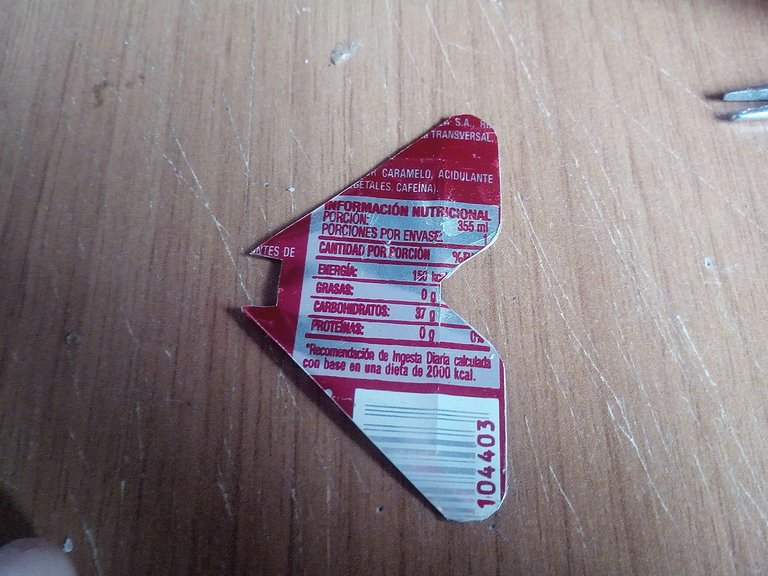
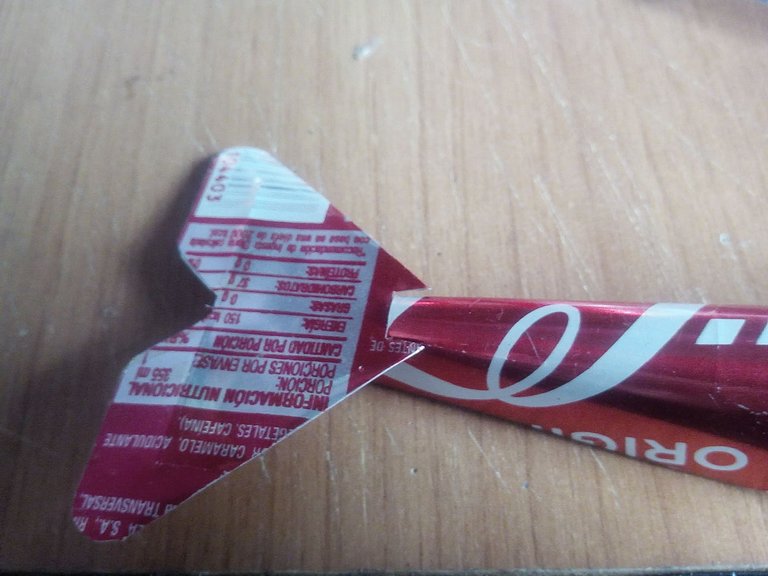
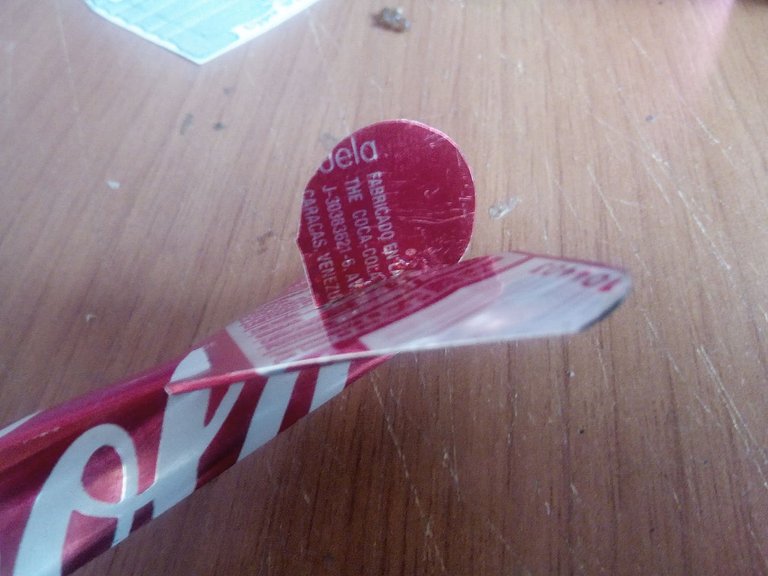
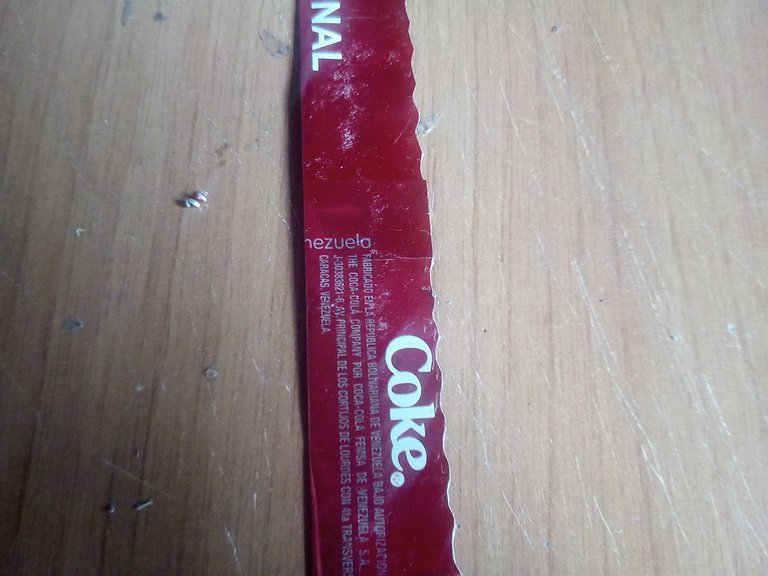
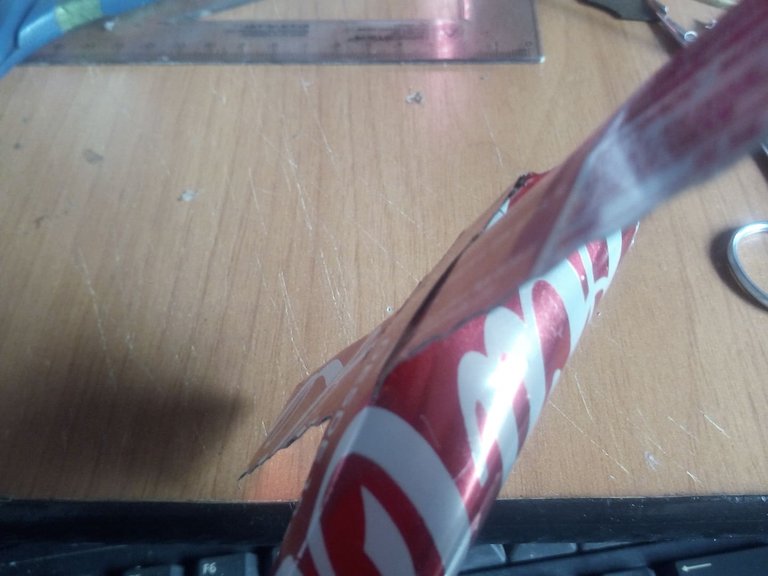
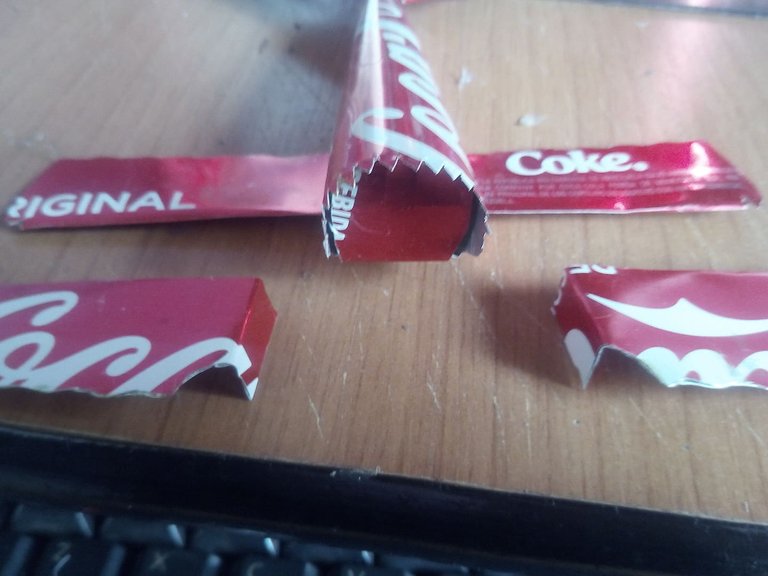
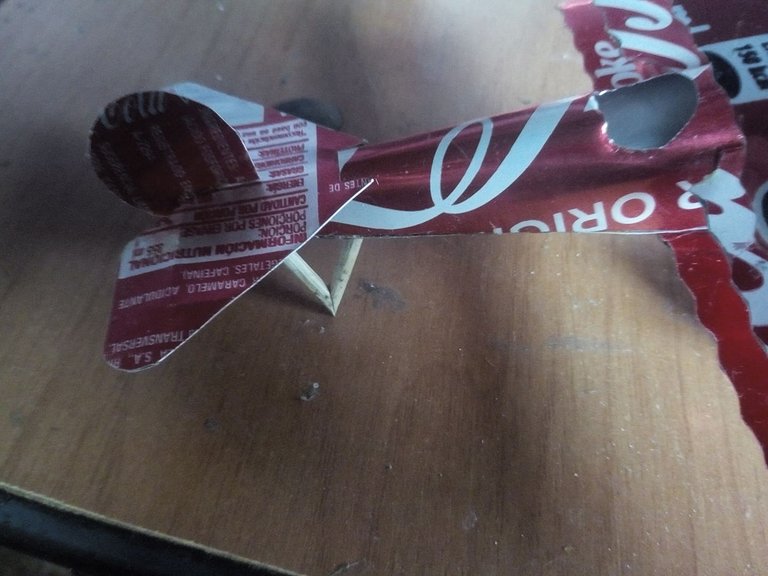
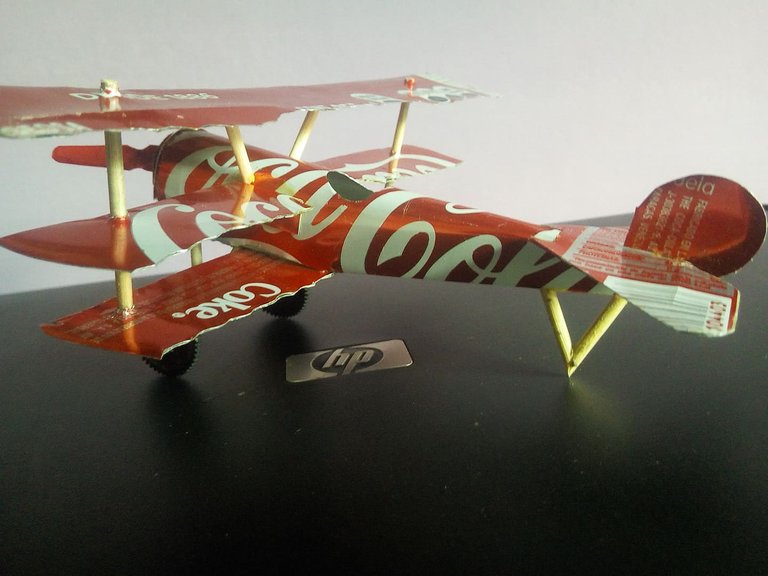
We choose the coke cans and cut them to make all the pieces. First we start by making the fuselage which is the central part of the plane, as it has a cone shape we can devise the way to make a cone. I designed a measure on top of the can following old models from old works. It has 3 cuts which we will join with glue.
Elegimos las latas de coca cola y las cortamos para hacer todas las piezas. Primero comenzamos haciendo el fuselaje que es la parte central del avión, al tener forma de cono podemos idear la manera de hacer un cono. Yo diseñé una medida encima de la lata siguiendo viejos modelos de antiguos trabajos. Tiene 3 cortes los cuales uniremos con pegamento.
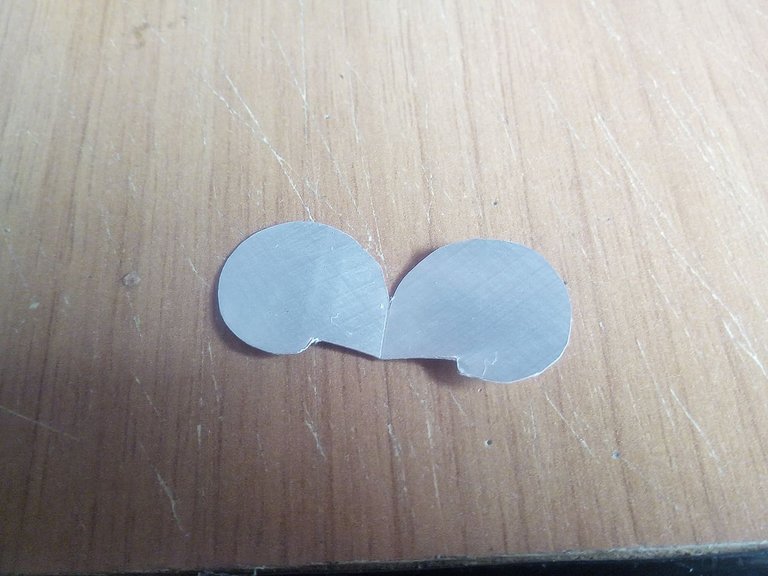
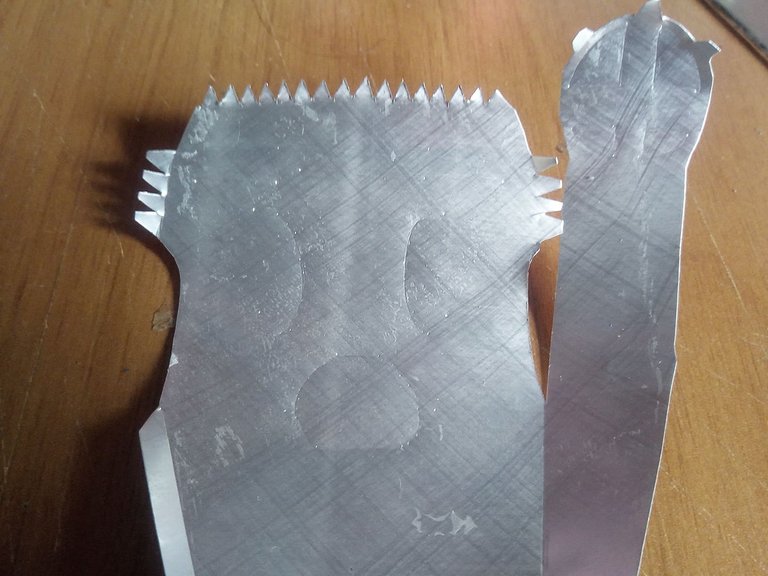
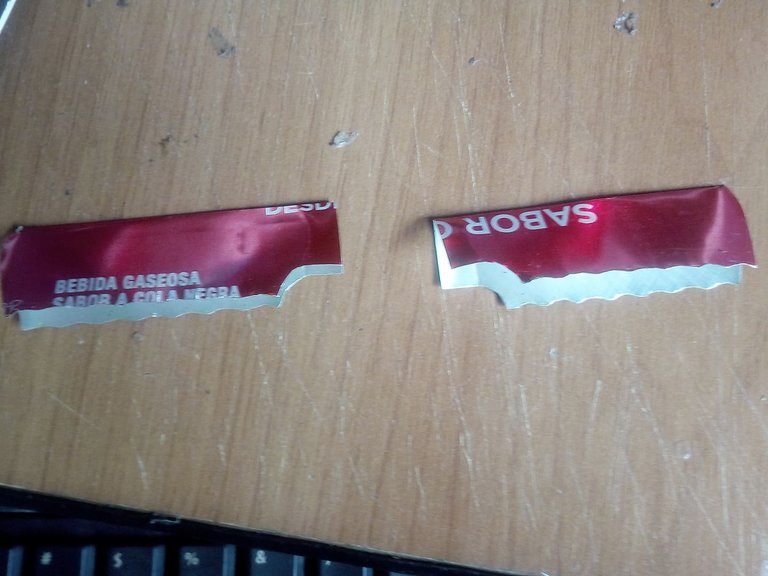
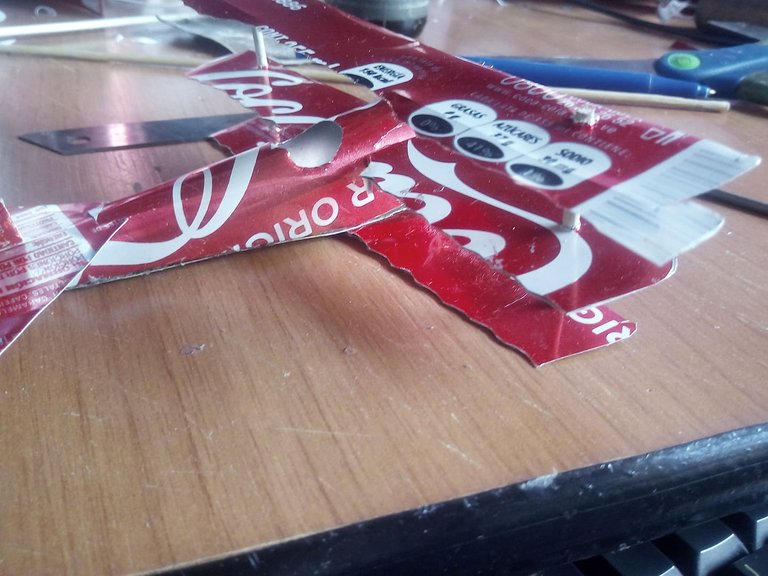
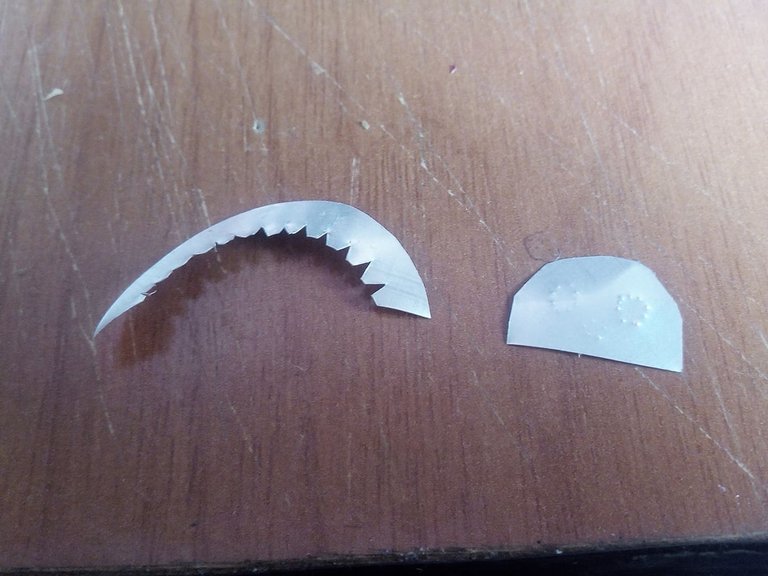
Then the next step is to make the stabilizers on the back. We cut the horizontal part as if it were the fin of a fish, but paying attention to the original model, then we make the one that goes vertically. We put both on the back with glue and fix very well.
Despues el siguiente paso es hacer los estabilizadores de la parte de atras. Cortamos la parte horizontal como si fuera la aleta de un pescado, pero fijándonos del modelo original, despues hacemos el que va de forma vertical. Colocamos ambos en la parte de atras con pegamento y fijamos muy bien.
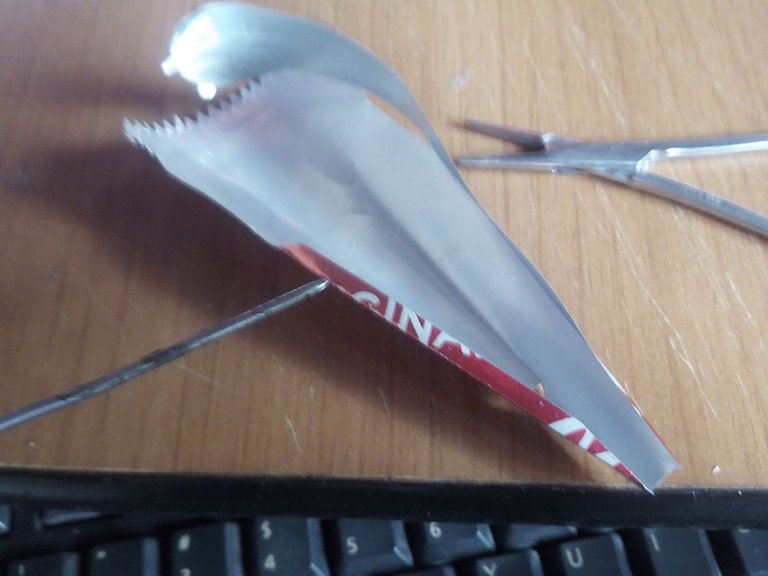
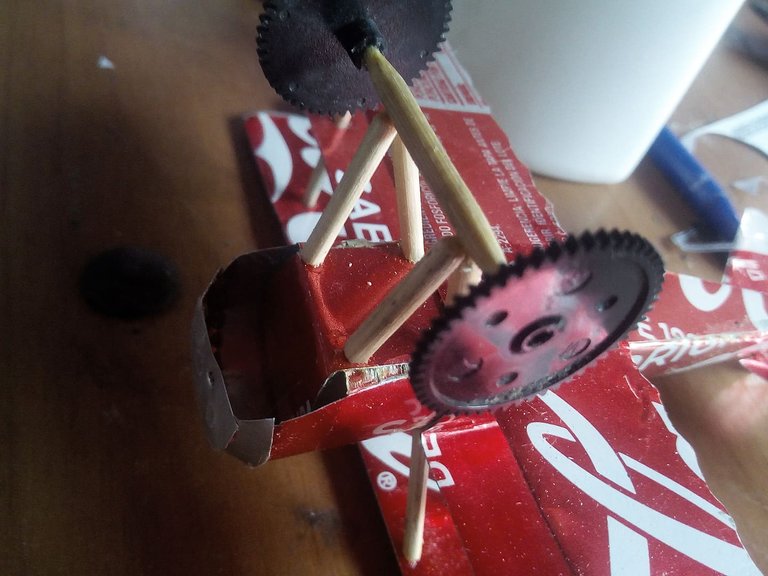
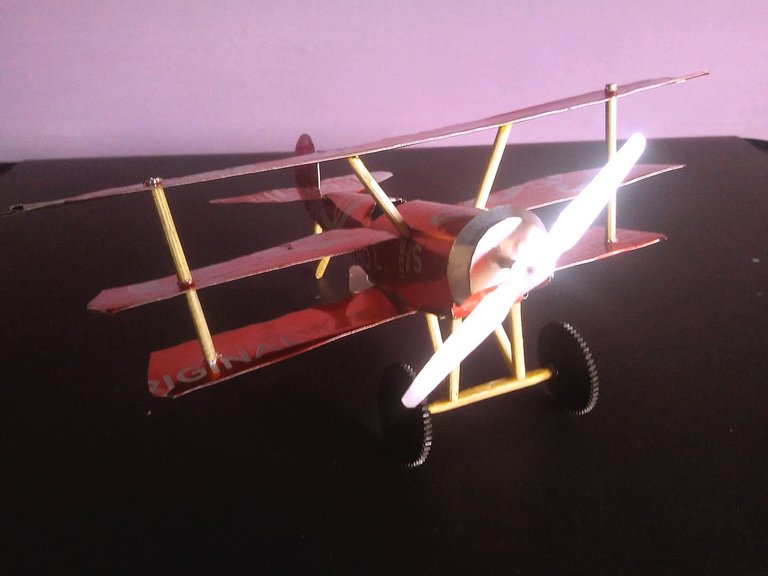
Now we will place the 3 characteristic wings of this fighter plane. we cut 3 models, the lower wings are the shortest, then the middle ones are a little longer but we cut 2 to glue them on the sides, and then the upper wing is the largest of all. As you can see, first we place the lower wing below the fuselage, then we glue the two wings to the sides.
Ahora colocaremos las 3 alas caracaterísticas de este avión de combate. cortamos 3 modelos, las alas inferiores son las mas cortas, luego las del medio son un poco mas largas pero cortamos 2 para pegarlas por los costados, y luego el ala superior es la mas grande de toodas. Como pueden observar primero colocamos el ala inferior por debajo del fuselaje, seguidamente pegamos las dos alas a los costados.
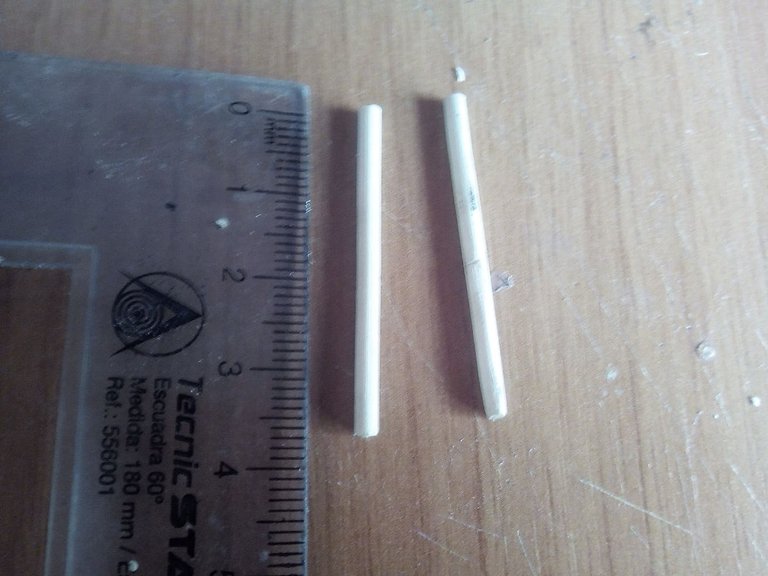
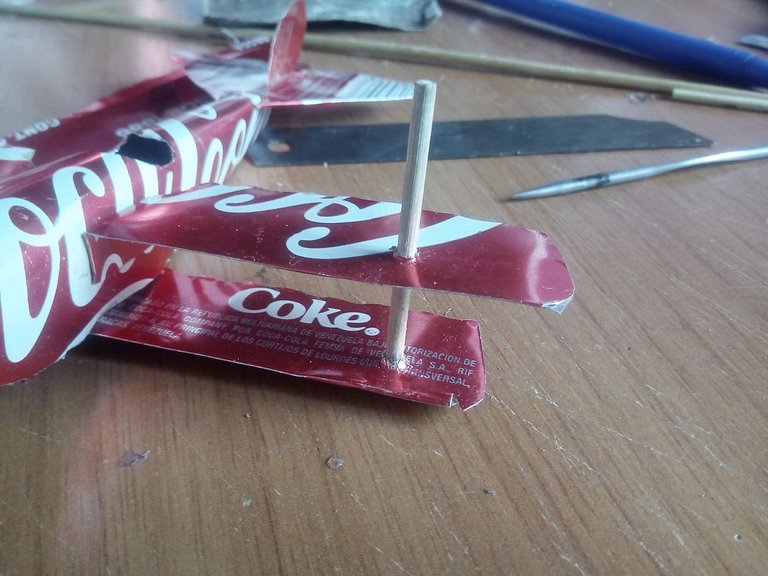
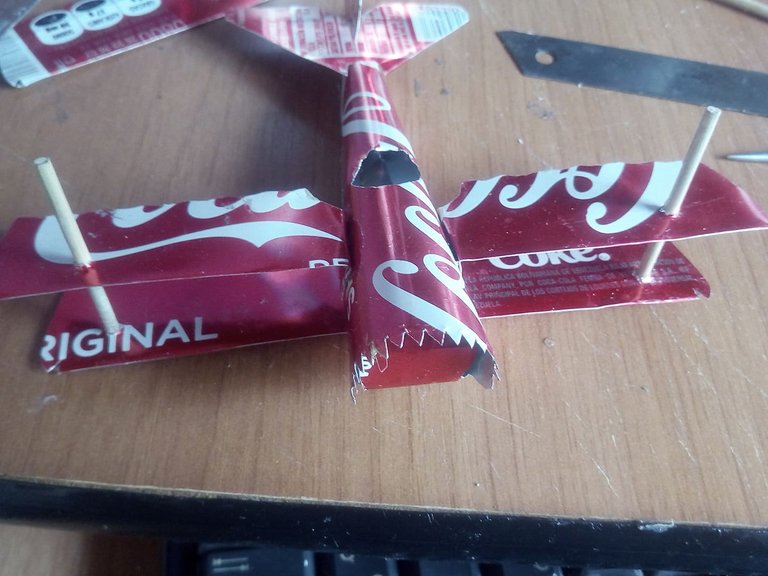
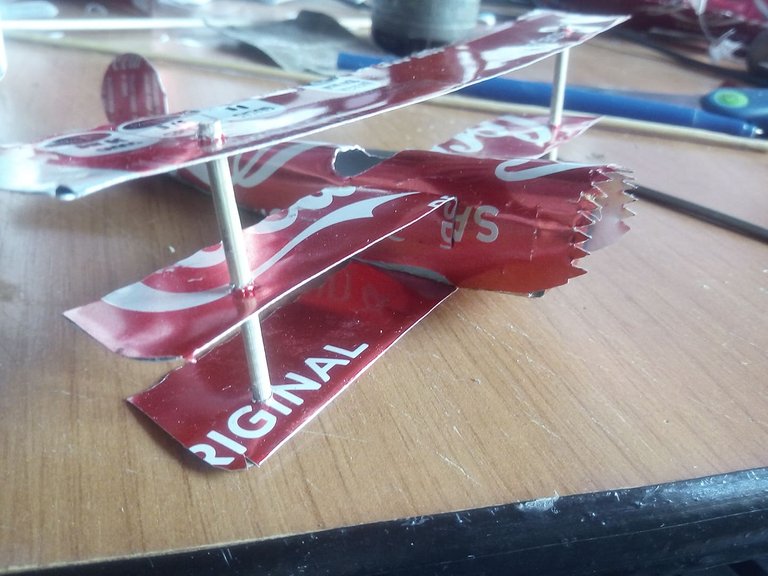
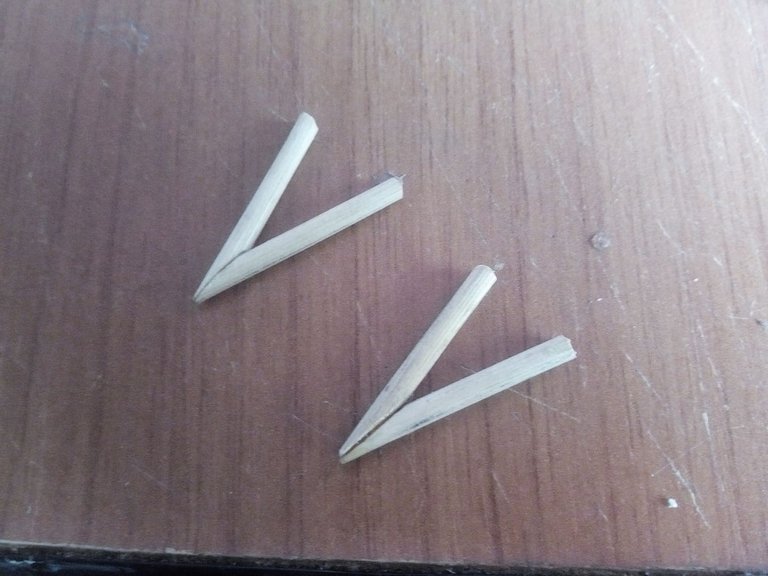
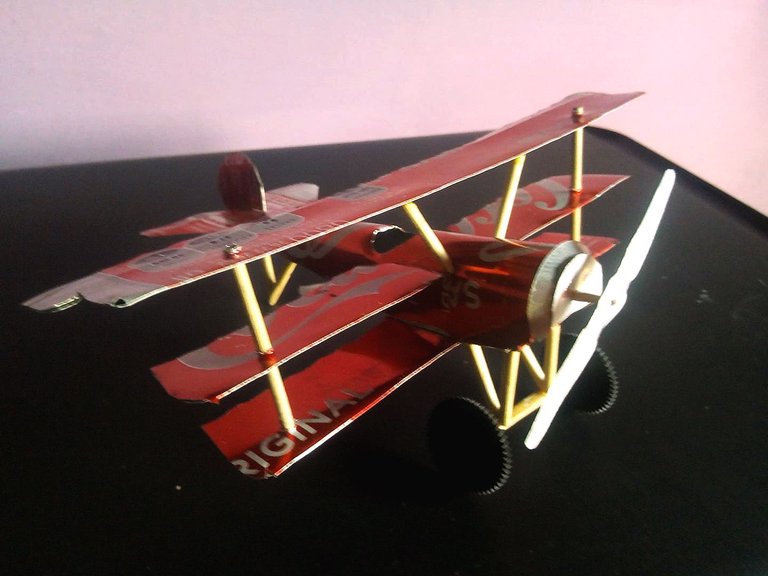
To place the upper wing we pause and cut 2 small pieces of wood in the shape of cylinders. These cylinders will help us to stabilize and join the 3 wings and it will be uniform. Once we have passed the two wings, finally we place the upper wing, we must measure the holes very well so that the cylinders enter without problems and are well fixed.
Para colocar el ala superior hacemos una pausa y cortamos 2 pequeños trozos de madera en forma de cilindros. Estos cilindros nos ayudarán a estabilizar y unir las 3 alas y quedará uniforme. Una vez que hayamos pasado las dos alas por último colocamos el ala superior, debemos medir muy bien los agujeros para que los cilindros entren sin problemas quede bien fijado.
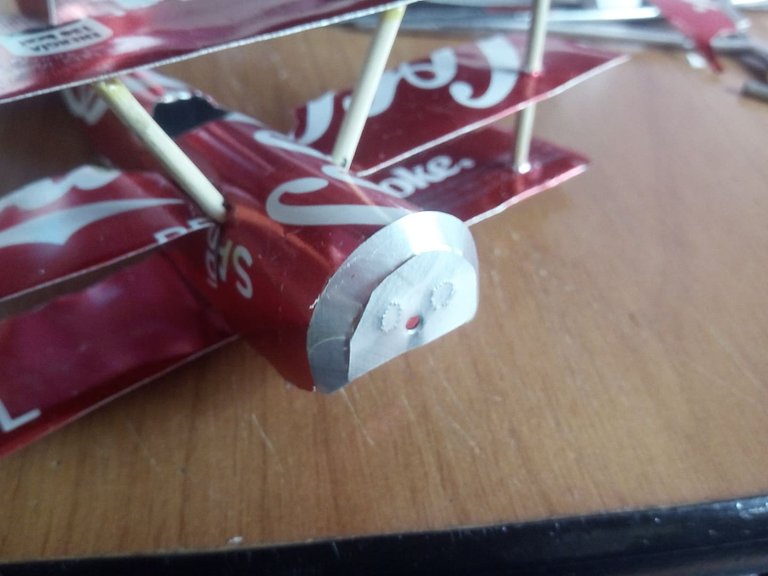

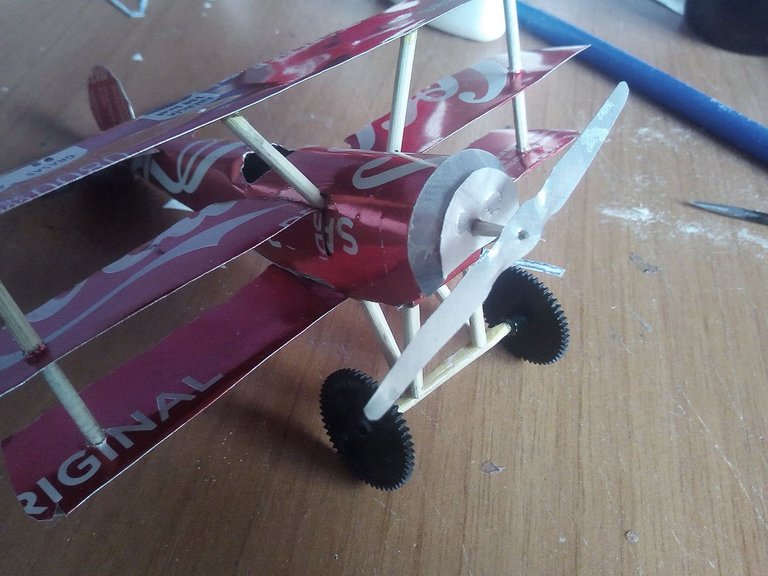
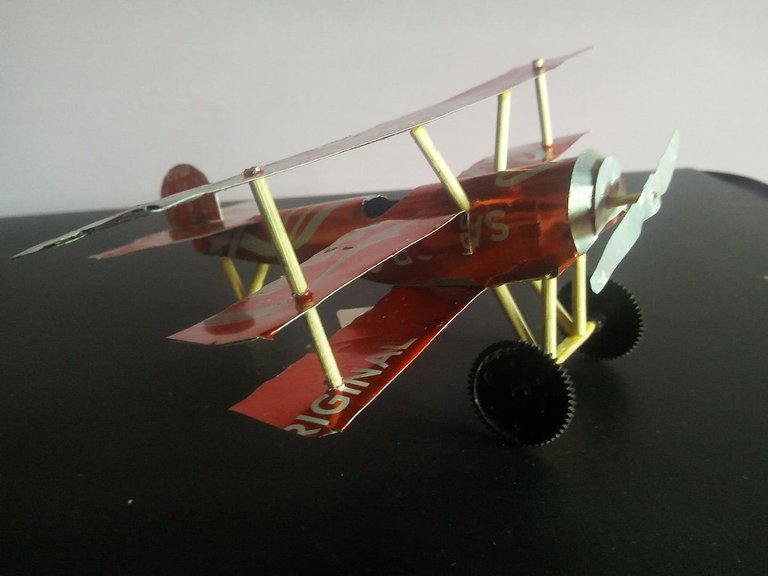
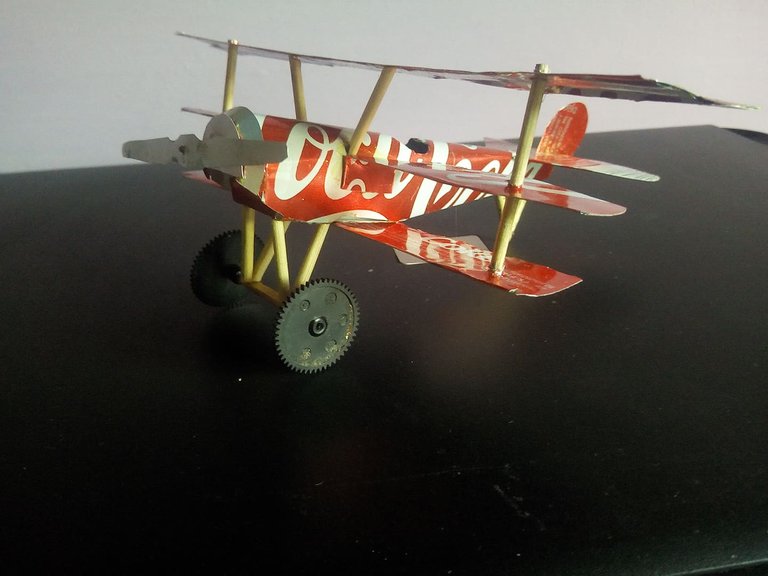
As we have done most of the plane, now it only remains to add the last details. We put the plane's engine protectors first, then we put the takeoff and landing gear, using wooden cylinders and plastic wheels. We cut the propeller from an aluminum can and put it in the corresponding place, and in the back of the plane we will also put a base using wooden cylinders. In this way we will have finished the Triplane of the Red Baron.
Como hemos realizado la mayor parte del avión ahora solo queda agregarle los último sdetalles. Colocamos en primer lugar los protectores del motor del avión, luego colocamos el tren de despegue y aterrizaje, utilizando cilindros de madera y ruedas de plástico. Cortamos de una lata de aluminio la hélice y la ponemos en el lugar que corresponde, y en la parte trasera del avión pondremos una base tambien usando cilindros de madera. De esta manera habremos finalizado el Triplano del Barón Rojo.
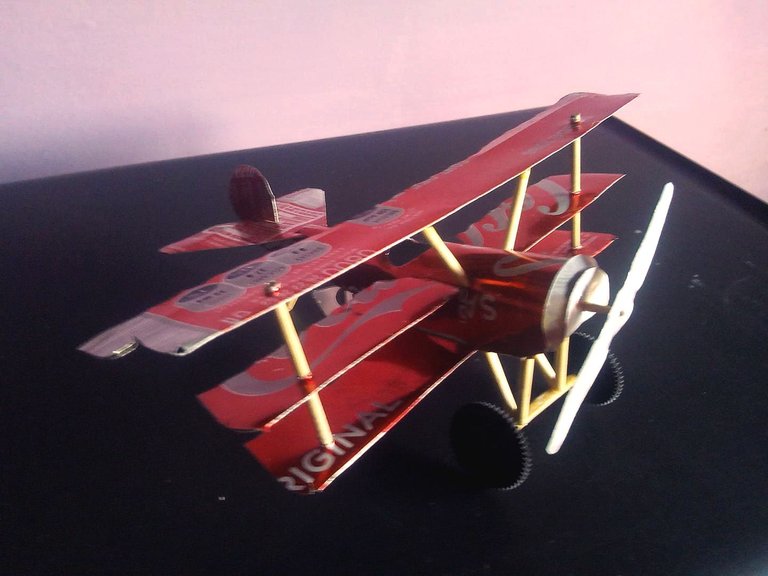
This is how the Fokker Dr1 made with coke cans has turned out. It should be noted that this model is not original to the Germans, this model is an evolution or improvement of the British model, the Germans were lucky that a British plane crashed in their domains, they recovered it, they did studies to modify and improve it his performance, his immortality came from the Red Baron and other famous pilots. I hope you liked the representation of this scale model, I had a lot of fun doing it, I hope to continue sharing more works on military vehicles and other artifacts. Do not forget to comment what you think, your opinion is very important. I say goodbye soon. Greetings.
Así es como ha quedado el Fokker Dr1 hecho con latas de coca cola. Cabe resaltar que este modelo no es original de los alemanes, este modelo es una evolución o mejora del modelo británico, los alemanes corrieron con la suerte de que un avión británico se estrelló en sus dominios, ellos lo recuperaron, hicieron estudios para modificarlo y mejorar su desempeño, su inmortalidad llegó de la mano del Barón Rojo y de otros célebres pilotos. Espero que les haya gustado la representación de este modelo a escala, me divertí mucho haciéndolo, espero poder seguir compartiendo más trabajos sobre vehículos militares u otros artefactos. No olviden comentar que les ha parecido, su opinión es muy importante. Me despido hasta pronto. Saludos.
The rewards earned on this comment will go directly to the person sharing the post on Twitter as long as they are registered with @poshtoken. Sign up at https://hiveposh.com.
Bueno, sí está bastante creativo. ¿Aprendiste a hacerlo de algún tutorial de YouTube o algo así?
no, lo hice directamente, ya tengo experiencia en hacer aviones a escala. eso si. me gusta ver modelos a escala real, ya sea en videos o fotos.
Excelente trabajo..
Muchas gracias!
Que gusto volver a observar tus manualidades amigo, volviendo con una avioneta icónica, el barón rojo, al que le termina ajustando perfecto el color rojo de esa lata de coca cola, siempre realizas modelos bastante elegantes, una muy buena sugerencia de tu amiga, saludos y bendiciones, excelente día hermano.!
Si hermano estoy volviendo otra vez a ponerme al corriente con las manualidades y nada mejor que con esta nave icónica. Seguiré trayendo nuevas naves ya que pude reunir más mayerial para trabajar, por eso estas latas se ven tan nuevas jeje. Saludos hermano!
Congratulations, your post has been upvoted by @dsc-r2cornell, which is the curating account for @R2cornell's Discord Community.
Muchas graciaspor su apoyo!
¡Wow! Nunca dejas de sorprenderme con tus grandiosas esculturas, eres super creativo, te quedó genial.
Muuuuchas gracis, que bueno que lo hayas encontrado interesante y que te haya gustado..
Ingenio y talento son palabras que te describen @fixie excelente trabajo. ☺️ 💯💯💯💯✨✨✨✨
!discovery 30
el ingenio hay que ponerle trabajo duro para que producza buenos frutos para compartir con la comunidad. Me alegra que te haya gustado,, gracias por apoyar!
This post was shared and voted inside the discord by the curators team of discovery-it
Join our community! hive-193212
Discovery-it is also a Witness, vote for us here
Delegate to us for passive income. Check our 80% fee-back Program
Thank you for sharing this amazing post on HIVE!
Your content got selected by our fellow curator @rezoanulvibes & you just received a little thank you via an upvote from our non-profit curation initiative!
You will be featured in one of our recurring curation compilations and on our pinterest boards! Both are aiming to offer you a stage to widen your audience within and outside of the DIY scene of hive.
Join the official DIYHub community on HIVE and show us more of your amazing work and feel free to connect with us and other DIYers via our discord server: https://discord.gg/mY5uCfQ !
If you want to support our goal to motivate other DIY/art/music/homesteading/... creators just delegate to us and earn 100% of your curation rewards!
Stay creative & hive on!