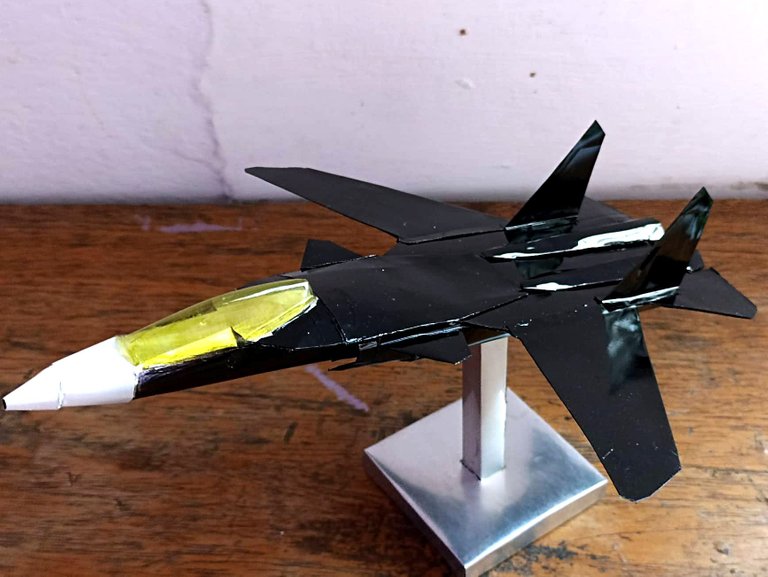
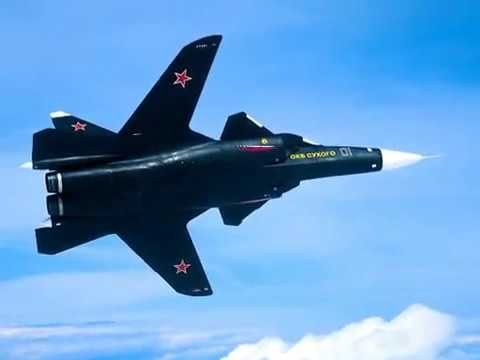
Hello friends, I hope you are very well, I went a long time without posting any manual work since I was a bit busy apart from the fact that I needed to gather work material. On a scale modeling page I am participating in a competition and for this purpose I built a particular fighter plane of the Russian army, it is the Sukhoi 47 called Berkut, that fighter has a somewhat futuristic design and came out of science fiction al having the wings inverted, it is built under the design of an old plane from the second world war that the Soviets found. However, this plane was never used in missions or in battles since it was only used for maneuvers and tests, even though it was always very striking. The scale plane is built with soda cans and also with cardboard, I hope you like it.
Hola amigos espero que se encuentren muy bien, estuve mucho tiempo sin publicar algún trabajo manual ya que etsuve un poco ocupado a parte de que necesitaba reunir material de trabajo. En una página de modelismo a escala estoy participando en una competencia y para tal propósito construí un particular avión de combate del ejército ruso, se trata del Sukhoi 47 llamado Berkut, ese caza cuenta con un diseño un tanto futurista y salido de la ciencia ficción al tener las alas invertidas, está construído bajo el diseño de un antiguo avion de la segunda guerra mundial que encontraron los soviéticos. Sin embargo este avión nunca fue utilizado en misiones ni en batallas ya que solo se utilizó para maniobras y pruebas, con todo y eso siempre fue muy llamativo. El avión a escala está construido con latas de refresco y también con cartón, espero que les guste.

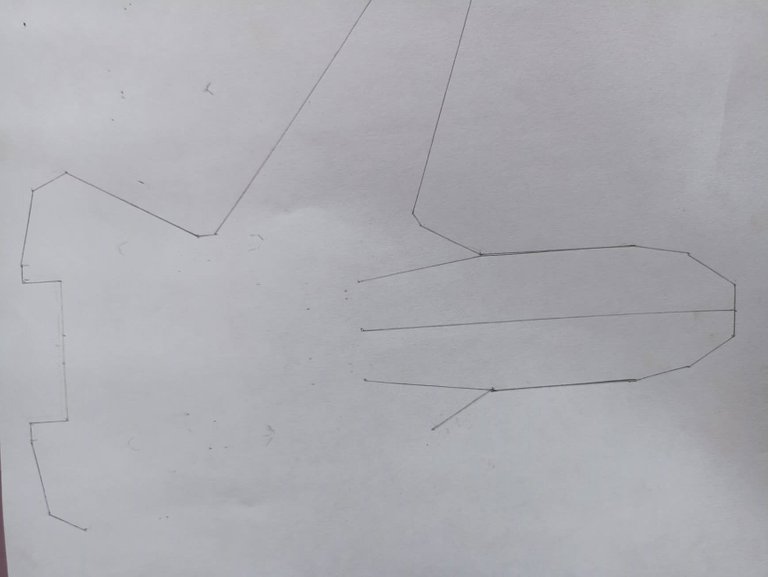
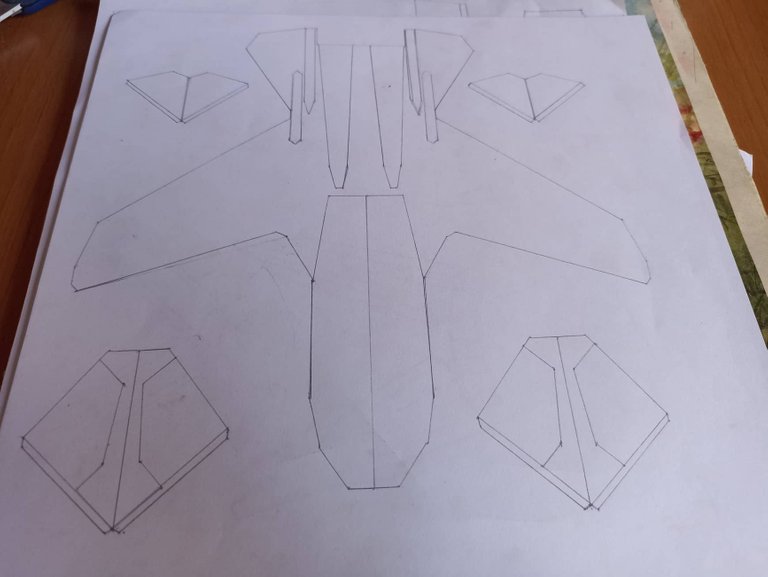
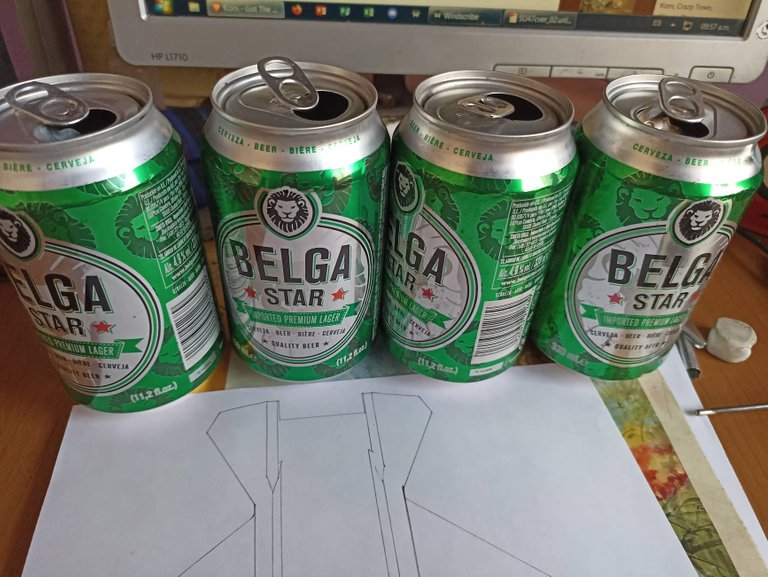
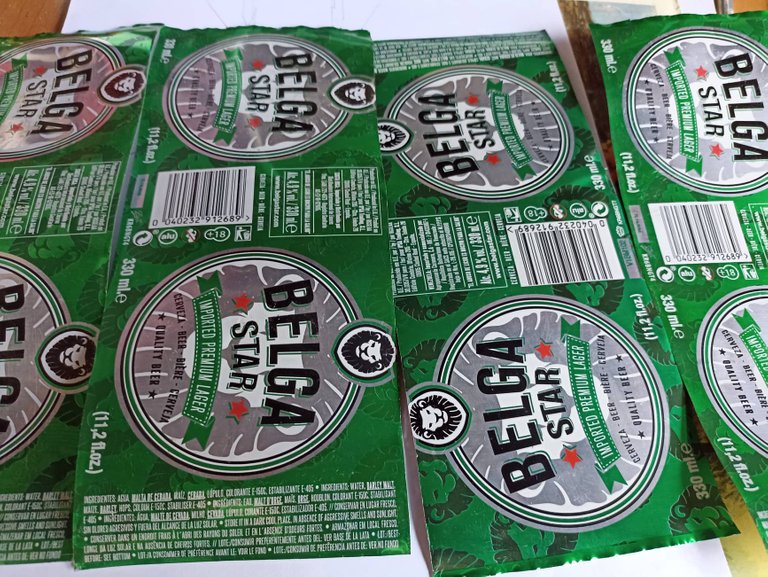
Using an image from the internet I was guided to make the templates and I discovered that it is a simple model, it does not have parts that are very complicated, I think that the parts that have more work to do are the turbines, however they did not represent any problem, I did everything the body of the plane in one piece, except for the tip. I also made the vertical stabilizers and the lower part of the plane, for this job I used 6 beer cans in total.
Utilizando una imagen de internet me guié para hacer las plantillas y descubrí que es un modelo sencillo, no tiene partes que sean muy complicadas, creo que las partes que tienen mas trabajo de hacer son las turbinas, sin embargo no representaron ningun problema, hice todo el cuerpo del avión de una sola pieza, a excepción de la punta. También hice los estabilizadores verticales y la parte baja del avión, para este trabajo utilicé 6 latas de cervezas en total.
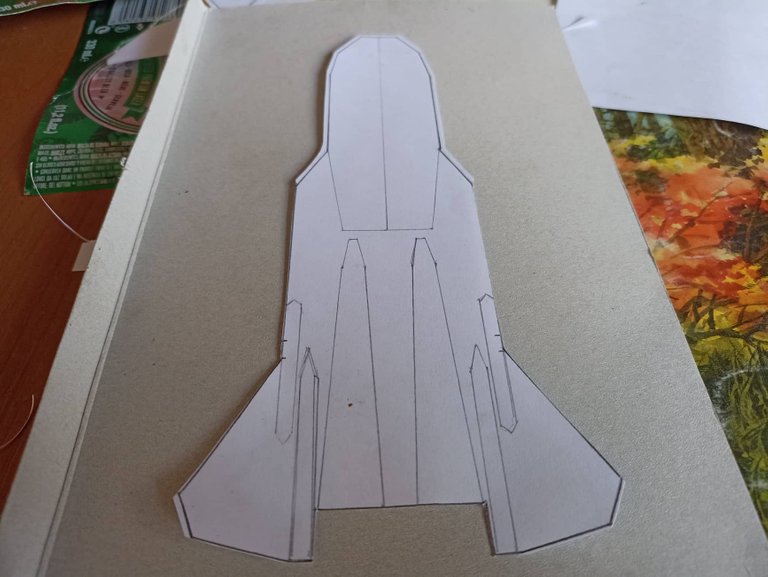
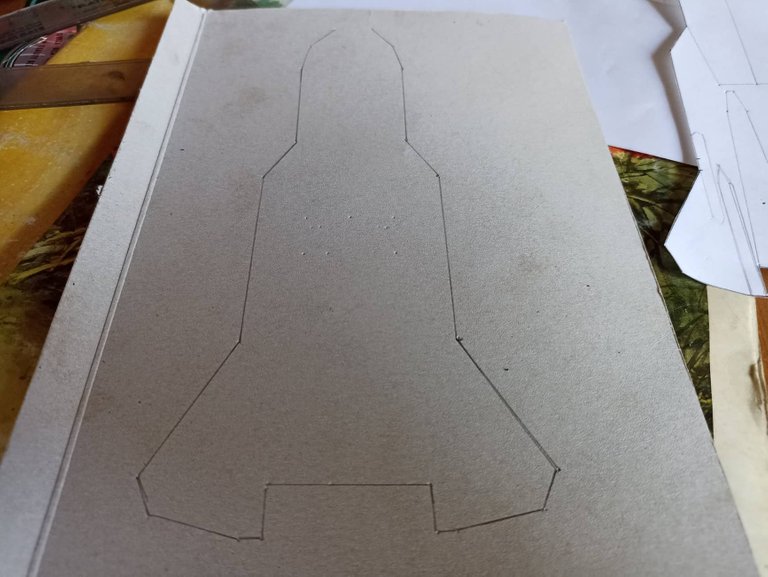
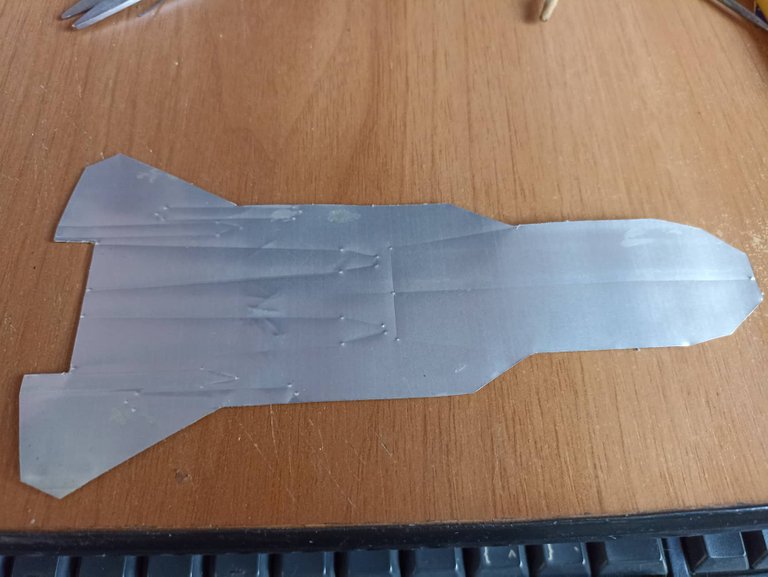
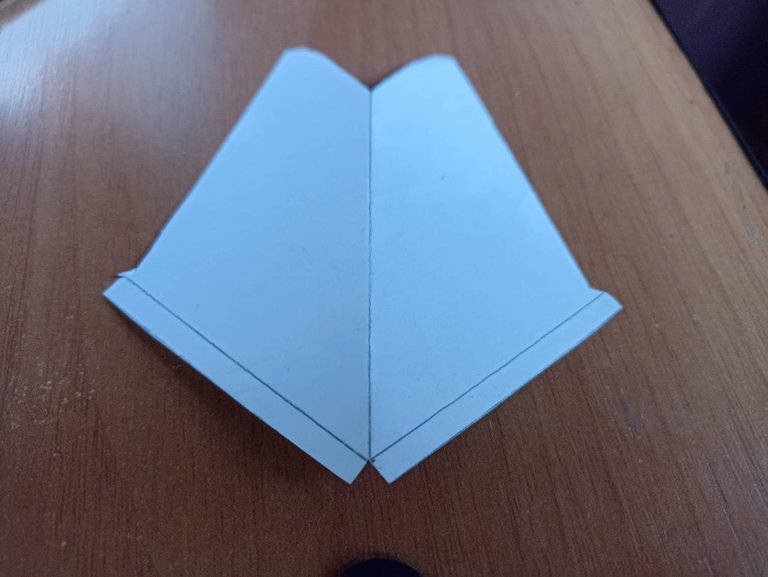
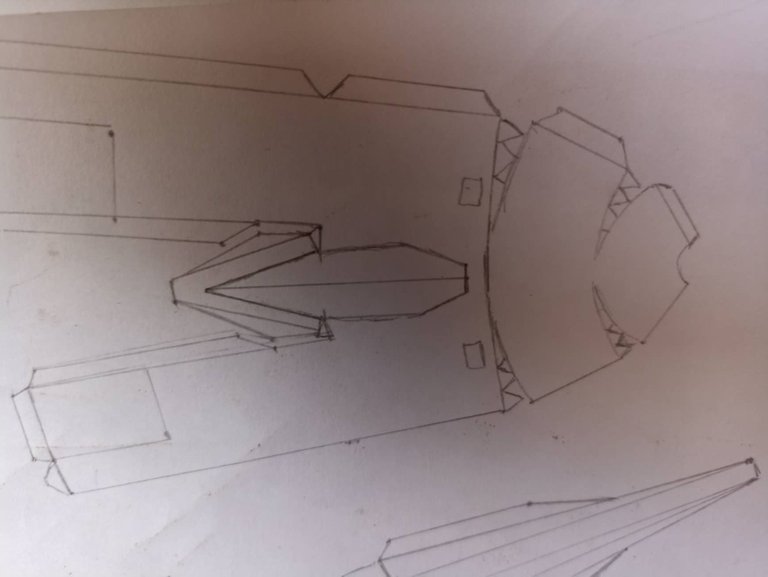
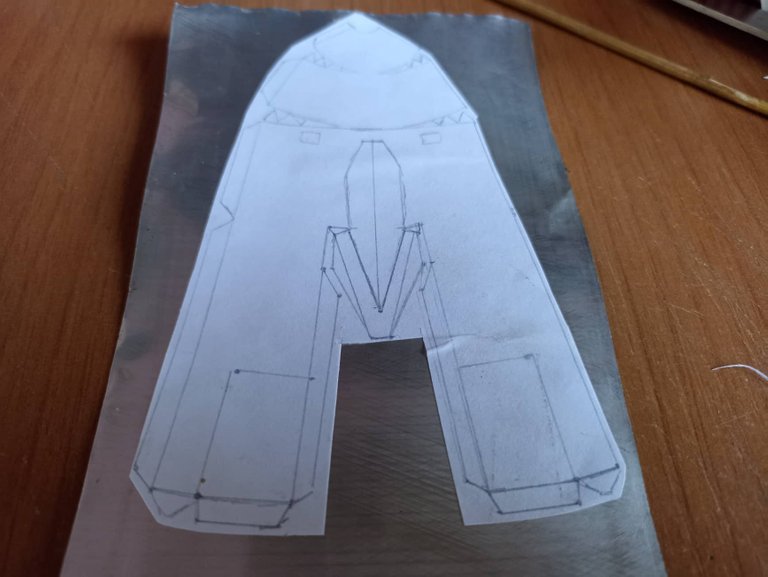
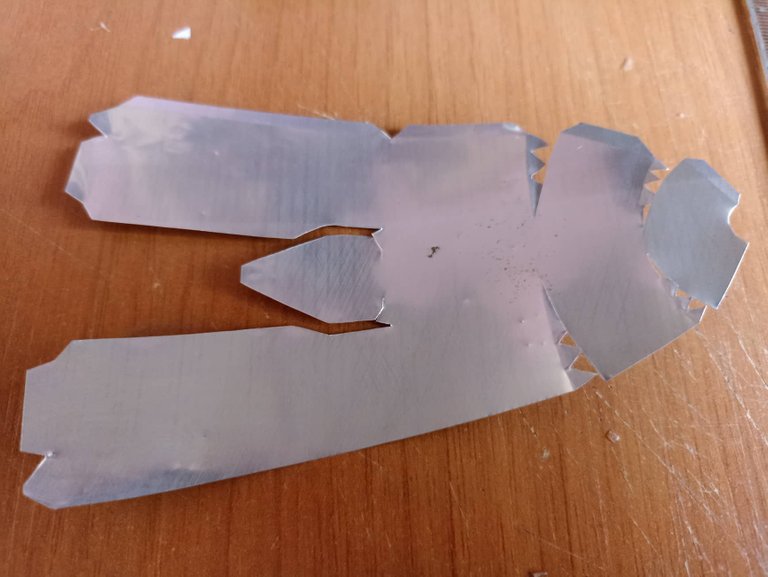
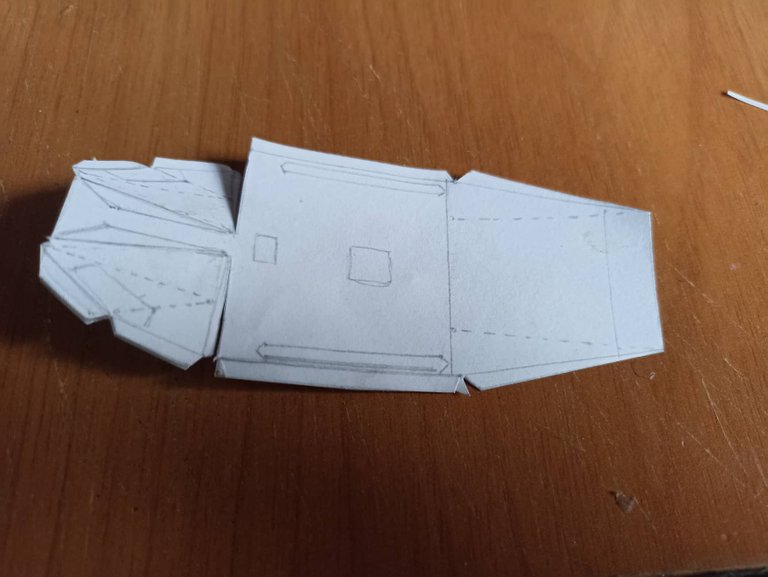
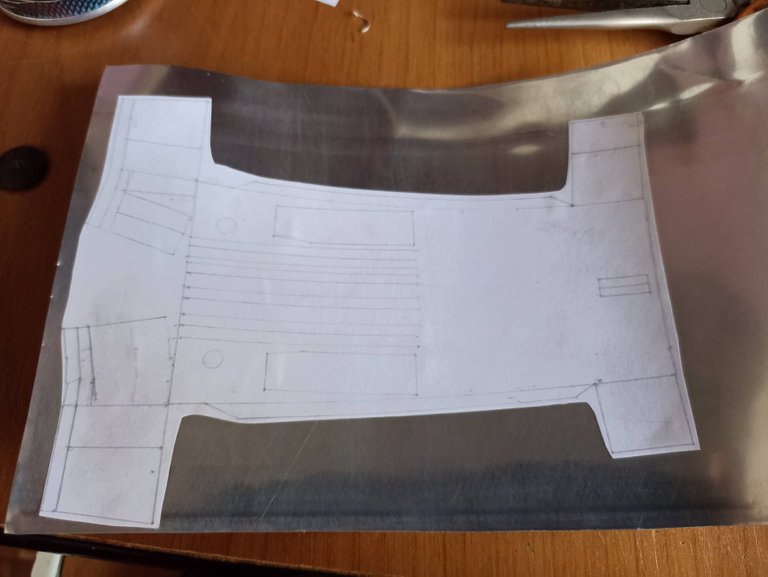
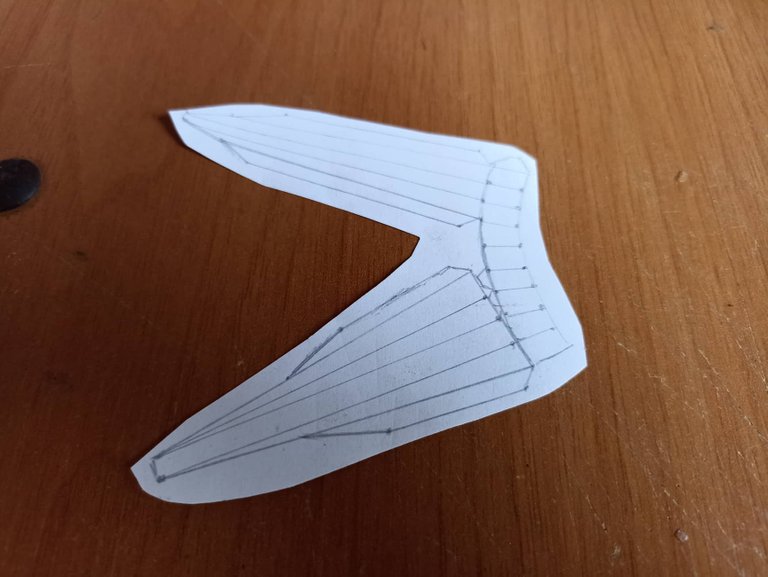
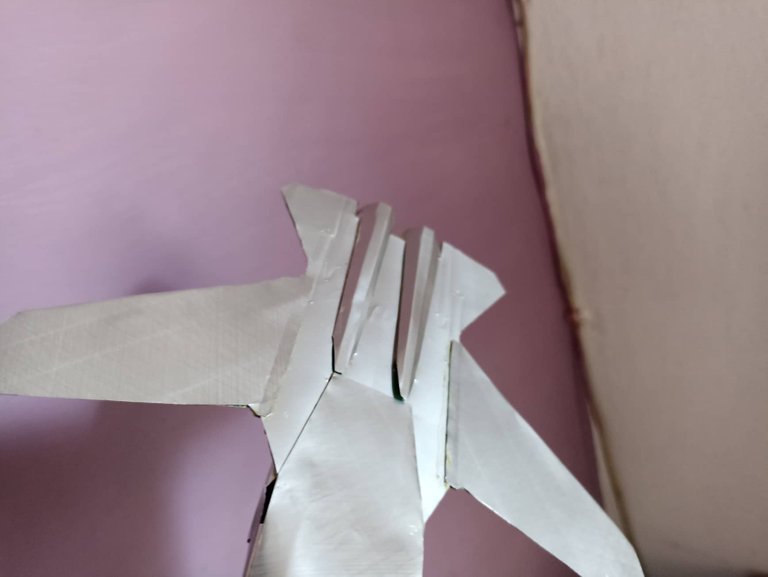
The first step was to make what I consider the central piece of the fighter, I thought I would do it directly on top of the can but then I chose to do it with cardboard, that would give it more strength, so I cut the wings from the template to make them separate. I then put the base of the plane on the cardboard and then cut to create the piece, I then covered said piece with the aluminum can both above and below, on top of it I made the signs where the turbines, the wings and the ailerons. Then I did the same process with the wings, I drew them with two sides to then fold them between them so they would be harder, the next step was to join them to the rest of the piece with glue.
El primer paso fue hacer lo que considero la pieza central del caza, pen´se hacerlo encima de la lata directamente pero luego opté por hacerlo con cartón, eso le daría más dureza, así que de la plantilla corté las alas para hacerlas a parte. Puse encontes la base dle avión sobre el cartón y luego corté para crear la pieza, dicha pieza la recubrí luego con la lata de aluminio tanto como por arriba y también abajo, encima de ella hice las señales donde irán las turbinas, las alas y los alerones. Después hice el mismo proceso con las alas, las dibuje con dos cara para luego doblarlas entre ellas y así quedara más dura, el paso siguiente fue unirlas al resto de la pieza con pegamento.
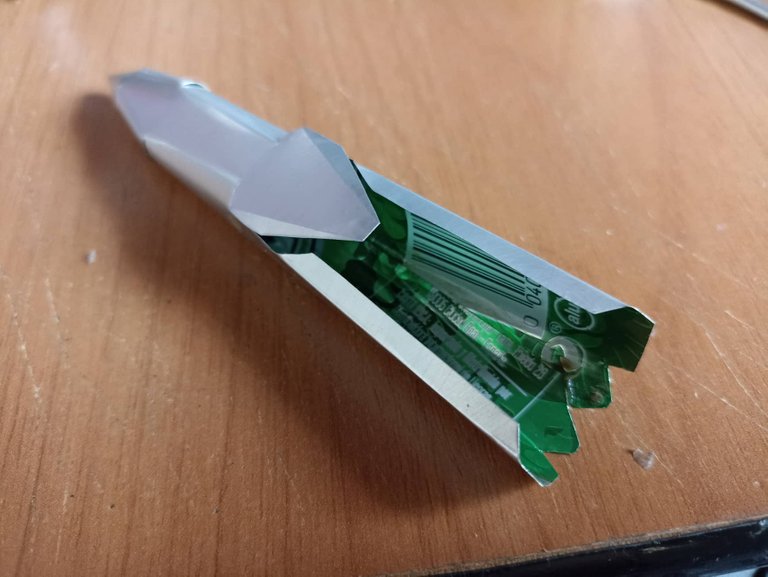
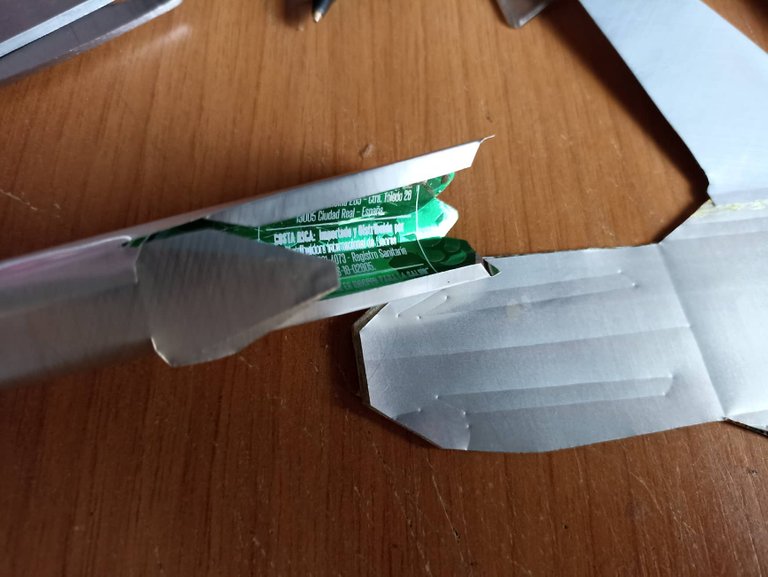
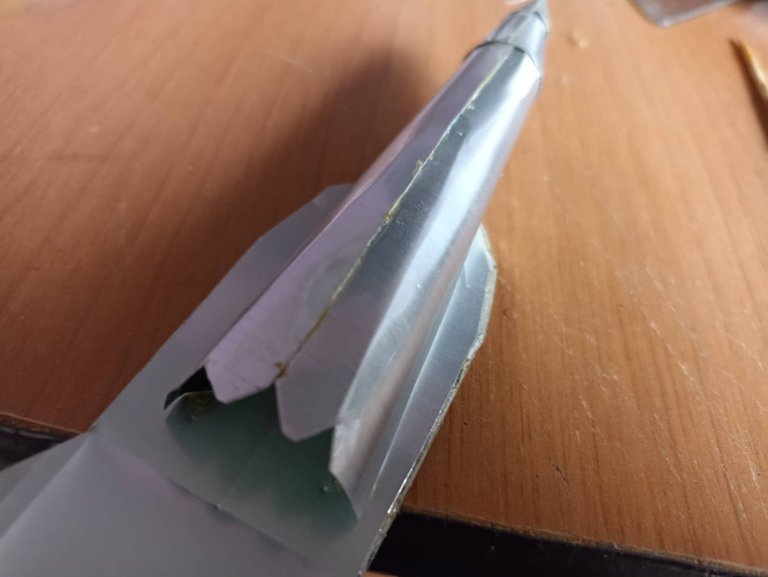
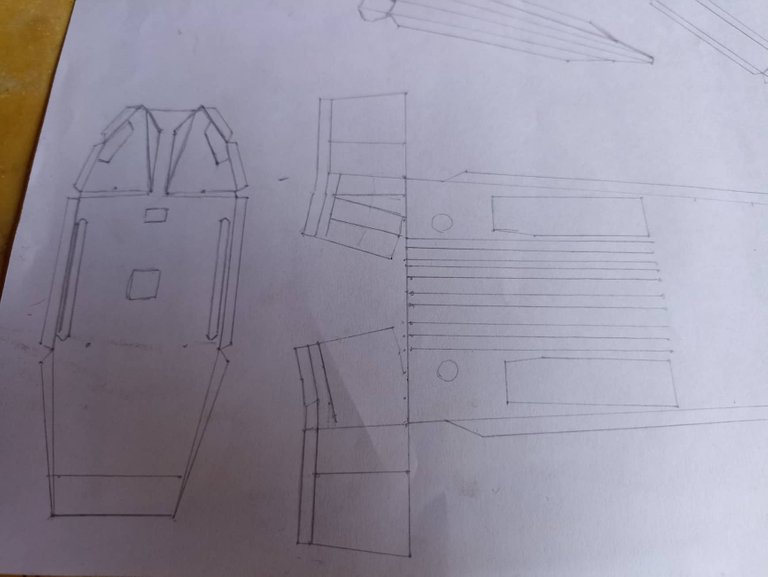
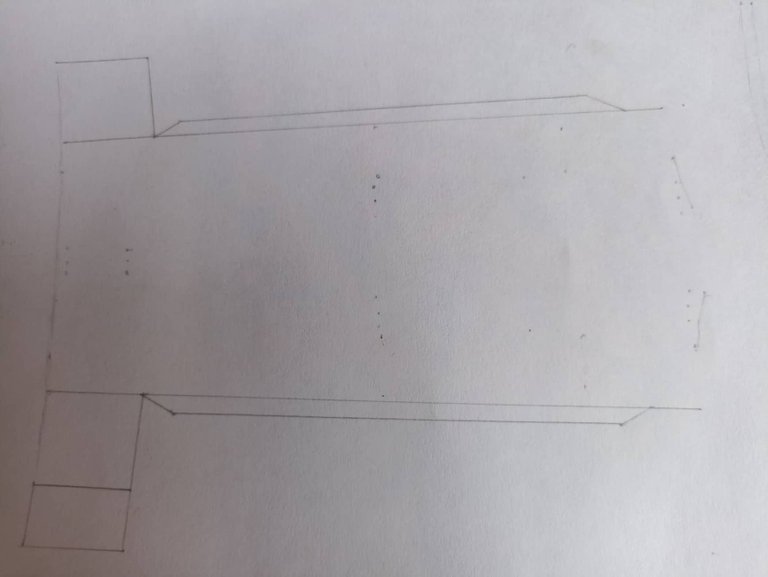
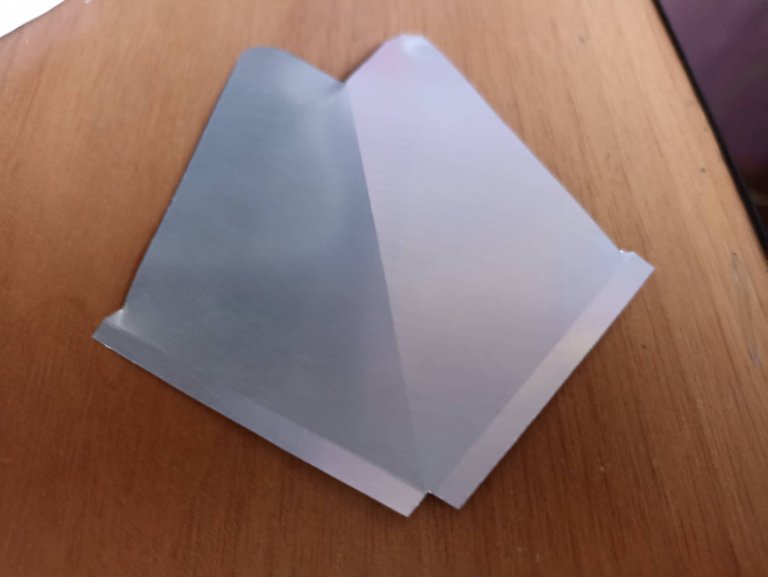
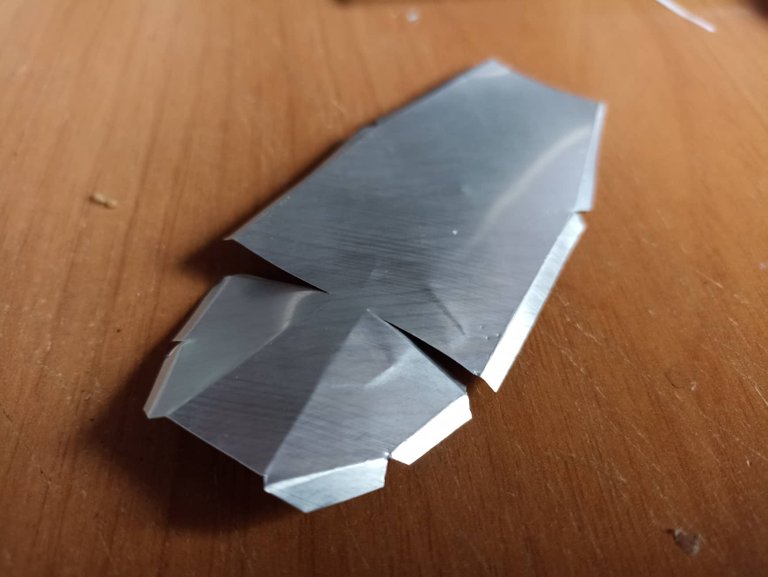
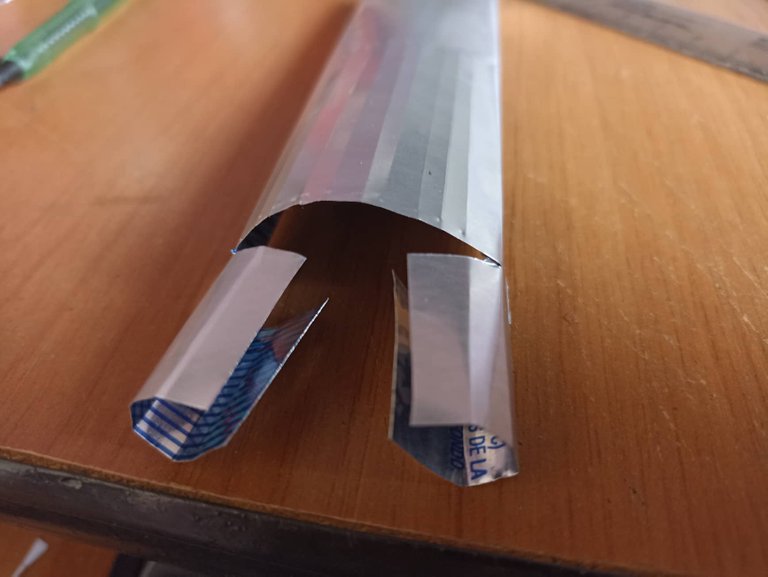
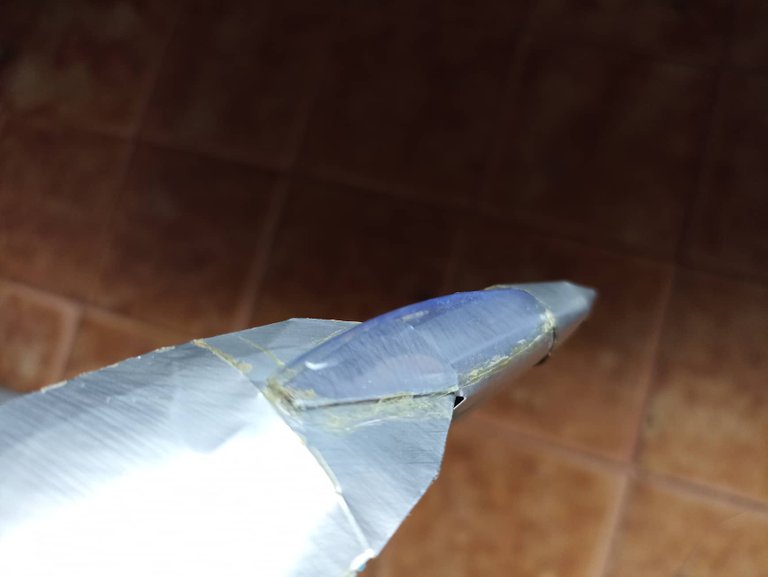
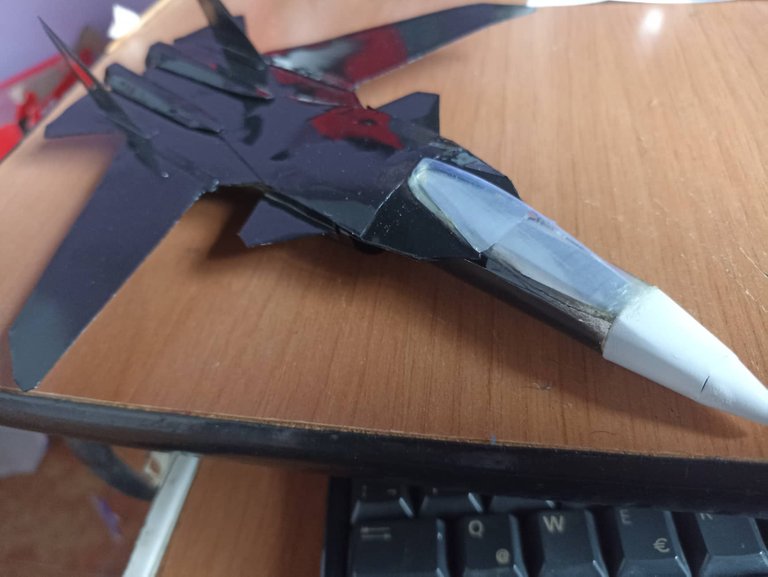
The model of this fighter continues with the tip and also the cockpit, I cut the template that I made and then I glued it on an aluminum sheet, I cut carefully with the scissors and then I shaped it with a ruler and tweezers. Once I have molded it, I put a little glue and thus fix it in the corresponding part, it is important to always mark very well the areas where we will put the glue, so everything will be well aligned and it will not come out with defects.
El modelo de este caza sigue con la punta y también la cabina del piloto, corté la plantilla que hice y luego la pegué sobre una lamína de aluminio, corté cuidadosamente con la tijera para luego moldearla con una regla y pinzas. Una vez la he moldeado, puse un poco de pegamento y asi fijarlo en la parte que corresponde, es importante siempre marcar muy bien las zonas donde pondremos el pegamento, así todo nos irá quedando bien alineado y no saldrá con defectos.
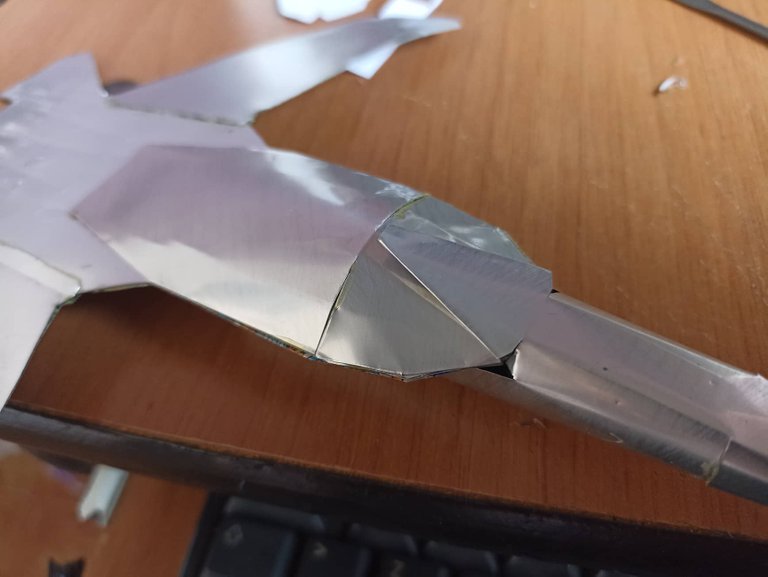
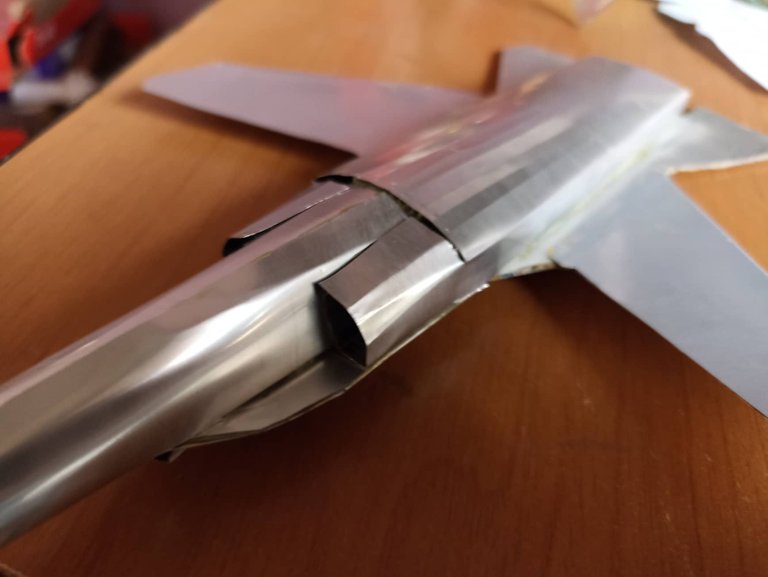
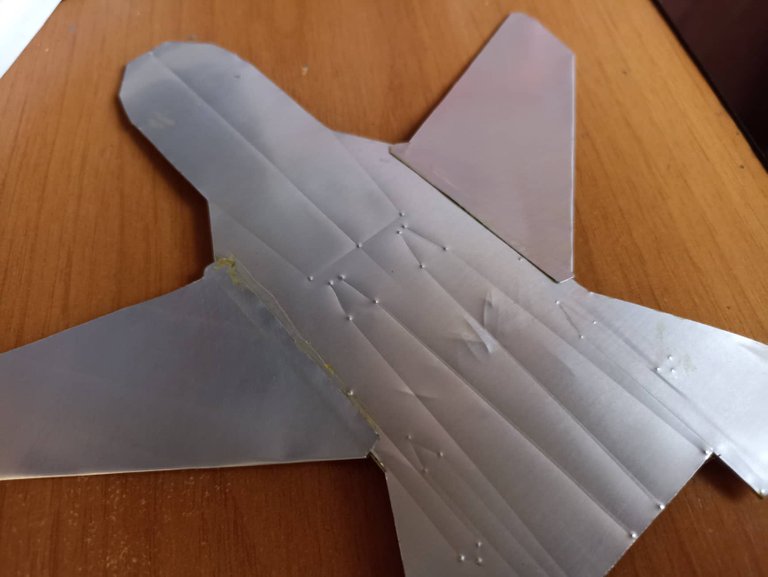
Then to continue completing the body of the fighter, I made the lower part, here are the vents that have the turbines that this type of aircraft uses. It was a bit difficult because I couldn't make it square but rounded, so with a pen I made strokes on the sheet and that's how it acquired that circular shape. Then with glue I fixed it in the corresponding part and now the Sukhoi 47 is taking better shape.
Luego para seguir completando el cuerpo del caza, hice la parte inferior, aquí estan los respiradores que tienen las turbinas que utilizan este tipo de aviones. Fue un poco dificil porque no podía hacerla de forma cuadrada sino redondeada, así que con un boligrafo fui haciendo trazos sobre la lámina y así fue adquiriendo esa forma circular. Luego con pegamento la fije en la parte que corresponde y ahora el Sukhoi 47 va tomando mejor forma.


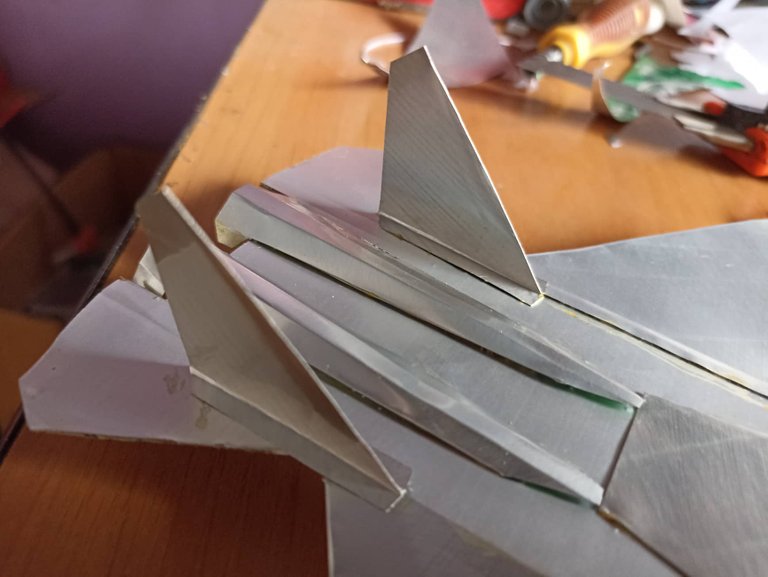
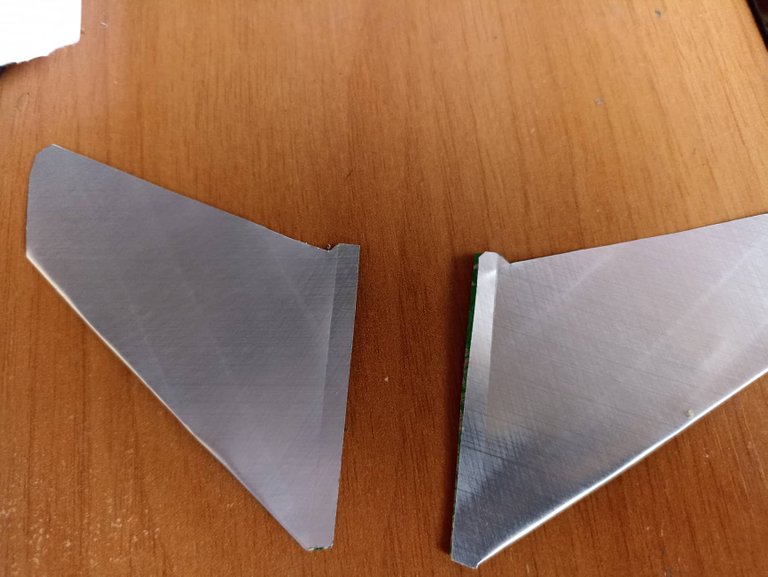
The next step was to add the turbines, I made a single template and from it I took two pieces, I also modeled them using a ruler and a pen so that when folding it would be better than doing it only with tweezers. I fixed them with glue and then I made the vertical stabilizers which are glued near the turbines.
El siguiente paso fue agregar las turbinas, hice una sola plantilla y de ella saqué dos piezas, las modelé tambien utilizando una regla y un boligrafo para que al doblar quedara mejor que hacerlo solo con pinzas. Las fijé con pegamento y despues hice los estabilizadores verticales los cuales van pegdos cercas de las turbinas.
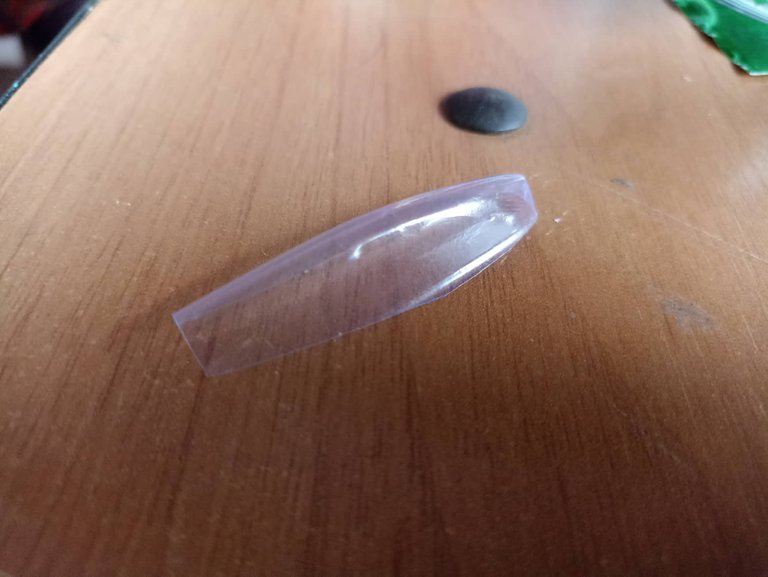
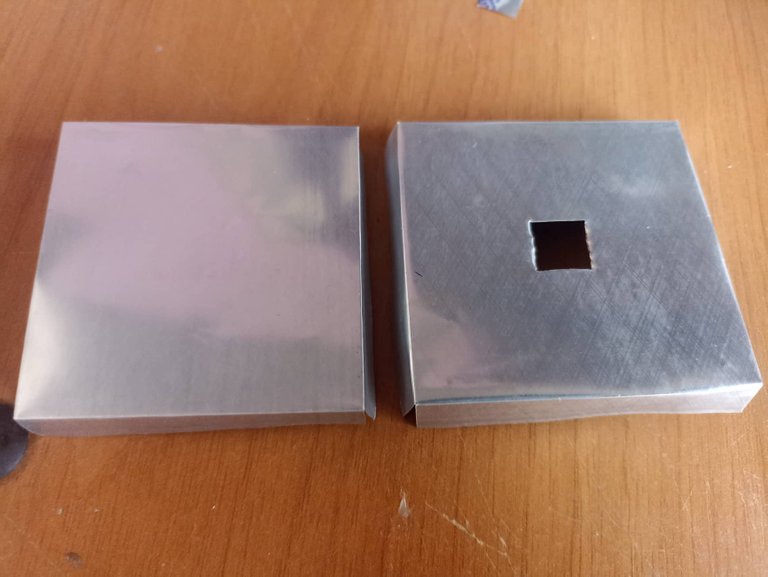
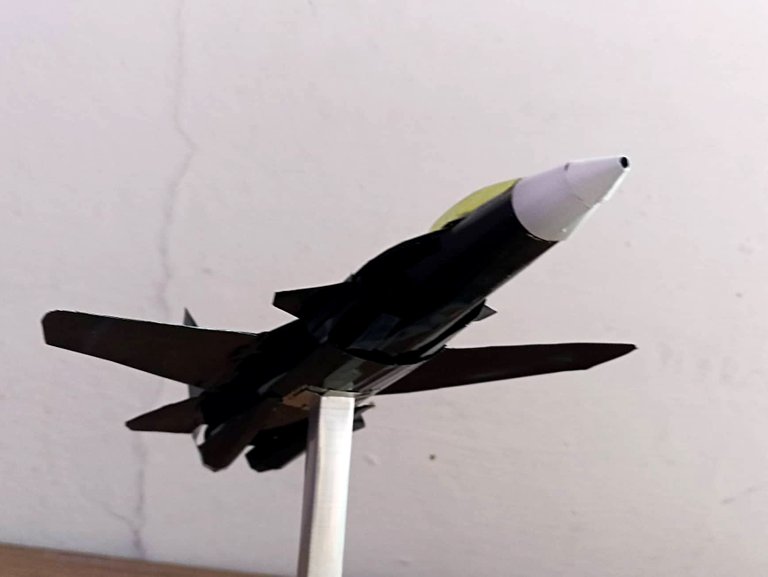
The last details were to place the glass of the cabin, for that I used a toothbrush packaging, I took the transparent part and painted it with a marker, as well as with black spray paint I painted the entire plane except for the tip which I painted white. Finally I made a base and fixed it to the bottom of the fighter and that's how it was finished.
Los últimos detalles fueron colocar el vidrio de la cabina, para eso utilicé un empaque de cepillo de dientes, tomé la parte transparente y la pinté con marcador, así también con pintura spray de color negro pinte todo el avión a excepción de la punta la cual pinté de color blanco. Por último hice una base y la fije por la parte inferior del caza y así quedó finalizado.


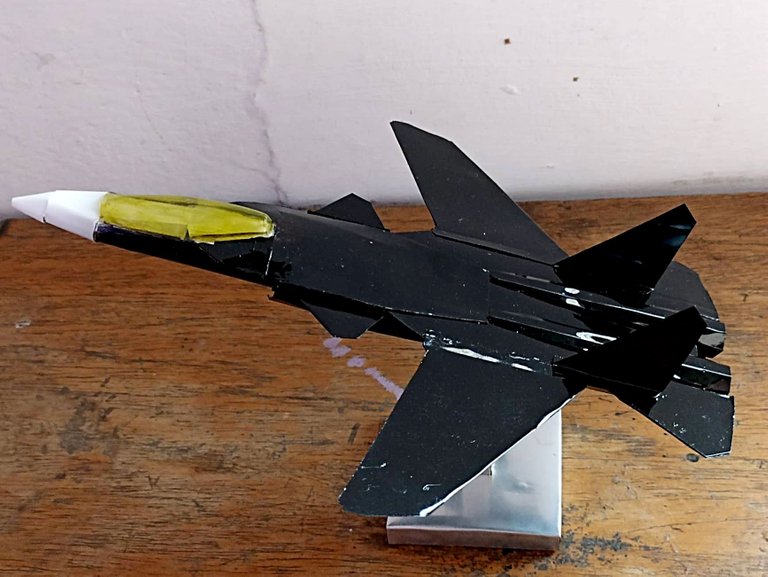

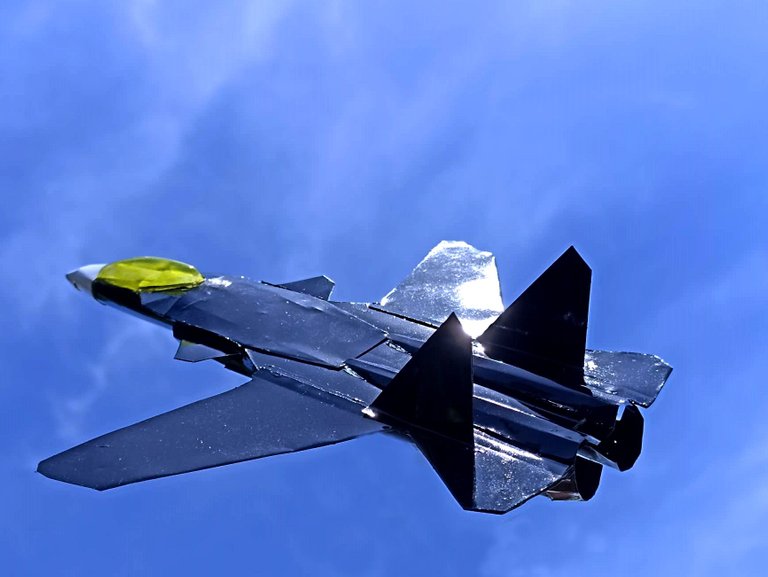
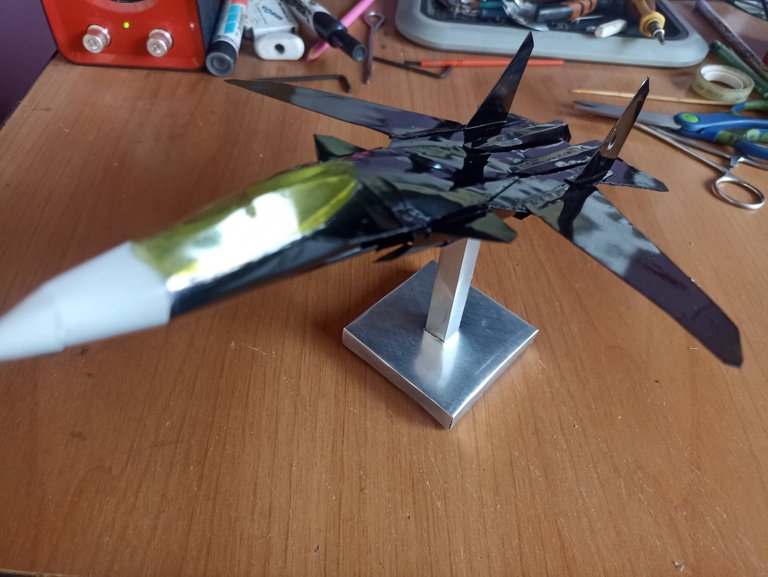
Then I added transparent varnish so that the paint is better preserved over time, this model has impressed me a lot, I think that its design, apart from being striking, is minimalist, without being an expert in military aircraft you can notice a lot the difference between the fighters Russian and American fighters, the concepts are different and you can see how much you study the parts. I hope you liked it, I am a fan of modeling, especially in military vehicles and ships, do not forget to comment what you think, I hope to have a good participation in the competition, I say goodbye until early, have a happy Saturday.
Luego le agregué barniz transparente para que la pintura se conserve mejor con el tiempo, este modelo me ha impresionado mucho, creo que su diseño a parte de llamativo es minimalista, sin ser un experto en aviones militares se puede notar mucho la diferencia entre los cazas rusos y los cazas americanos, los conceptos son diferentes y puede apreciarse cuanto uno va estudiando las partes. Espero que les haya gustado, soy fan del modelismo, especialmente en vehículos y naves militares, no olviden comentar que les ha parecido, espero tener una buena participación en la competencia, me despido hasta prono, que tengan un felíz día sábado.
The rewards earned on this comment will go directly to the people( @fixie ) sharing the post on Twitter as long as they are registered with @poshtoken. Sign up at https://hiveposh.com.
!discovery 30
This post was shared and voted inside the discord by the curators team of discovery-it
Join our community! hive-193212
Discovery-it is also a Witness, vote for us here
Delegate to us for passive income. Check our 80% fee-back Program
Maravilloso trabajo amigo. Me encantaron los colores, el acabado, pues todoooo como siempre. Las fotos espectaculares. Abrazos y bendiciones mi bello amigo artista @fixie 💕
Me huiera quedado más realista si hubiera utilizado un color negro mate en lugar del negro brillante, aun así quedó muy bien. Solo le falta volar. jejejeje. Que tengas un feliz día querida amiga <3
Thank you for sharing this amazing post on HIVE!
Your content got selected by our fellow curator @rezoanulvibes & you just received a little thank you via an upvote from our non-profit curation initiative!
You will be featured in one of our recurring curation compilations and on our pinterest boards! Both are aiming to offer you a stage to widen your audience within and outside of the DIY scene of hive.
Join the official DIYHub community on HIVE and show us more of your amazing work and feel free to connect with us and other DIYers via our discord server: https://discord.gg/mY5uCfQ !
If you want to support our goal to motivate other DIY/art/music/homesteading/... creators just delegate to us and earn 100% of your curation rewards!
Stay creative & hive on!
Excelente trabajo amigo, bueno como siempre!
Felicitaciones y gracias por compartir estas maravillas.