sw
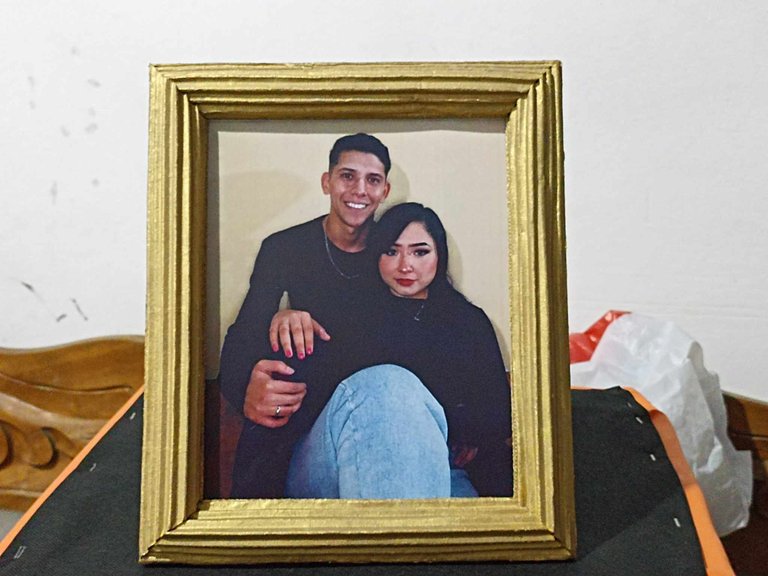
Hello dear friends, I hope you are all well, on this occasion I want to show how I made a photo frame for a desk or table. It is made entirely with cardboard and glue, I made this as a gift for my niece who is graduating from university, the photo frame measures 22 centimeters wide by 26 centimeters high. I will show below in a simple step by step how to do it at home. Let's get started!
Hola queridos amigos, espero que se encuentren todos muy bien, en esta oportunidad quiero mostrar como hice un portaretratos para escritorio o mesa. Está realizado enteramente con cartón y pegamento, este lo hice como obsequio para mi sobrina que se esta graduando de la universidad, el portaretratos tiene unas medidas de 22 centímetros de ancho por 26 centímetros de alto. Mostraré a continuación en un sencillo paso a paso como poder realizarlo en casa. Comencemos!

 |  | |
|---|---|---|
 | 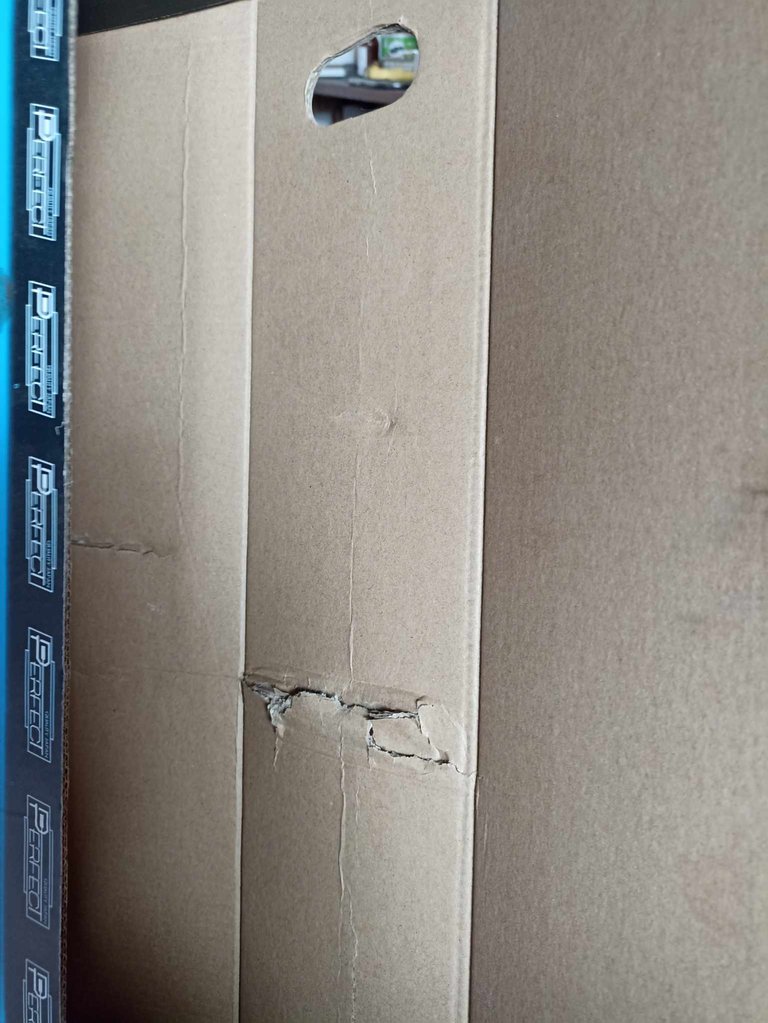 |
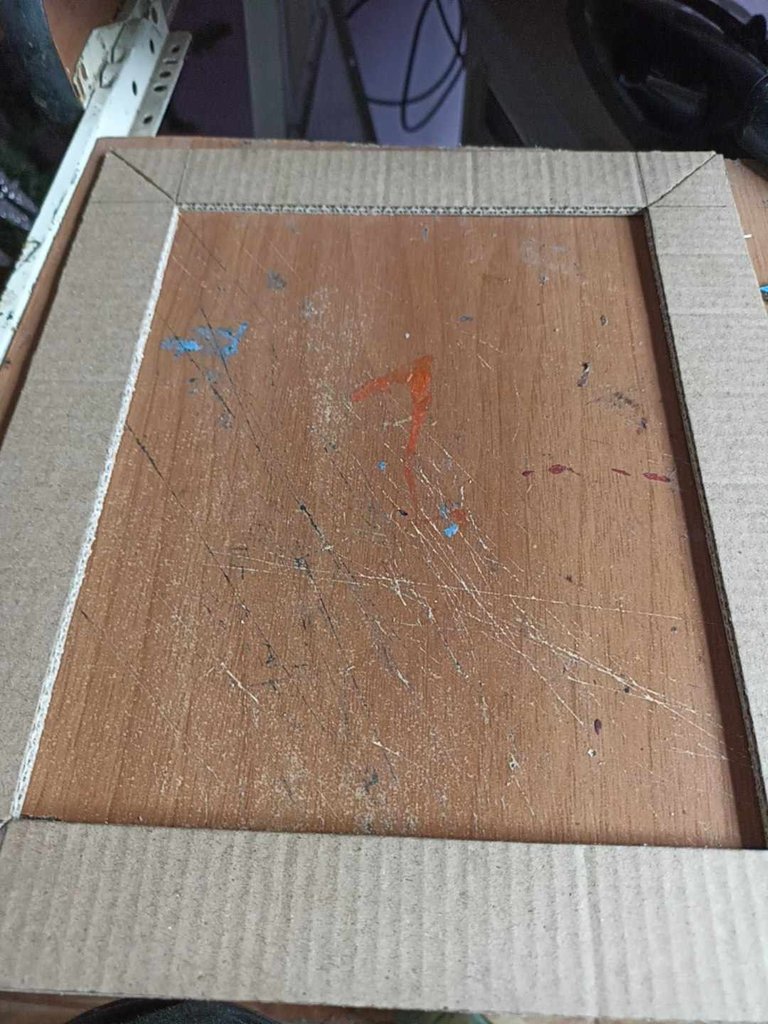
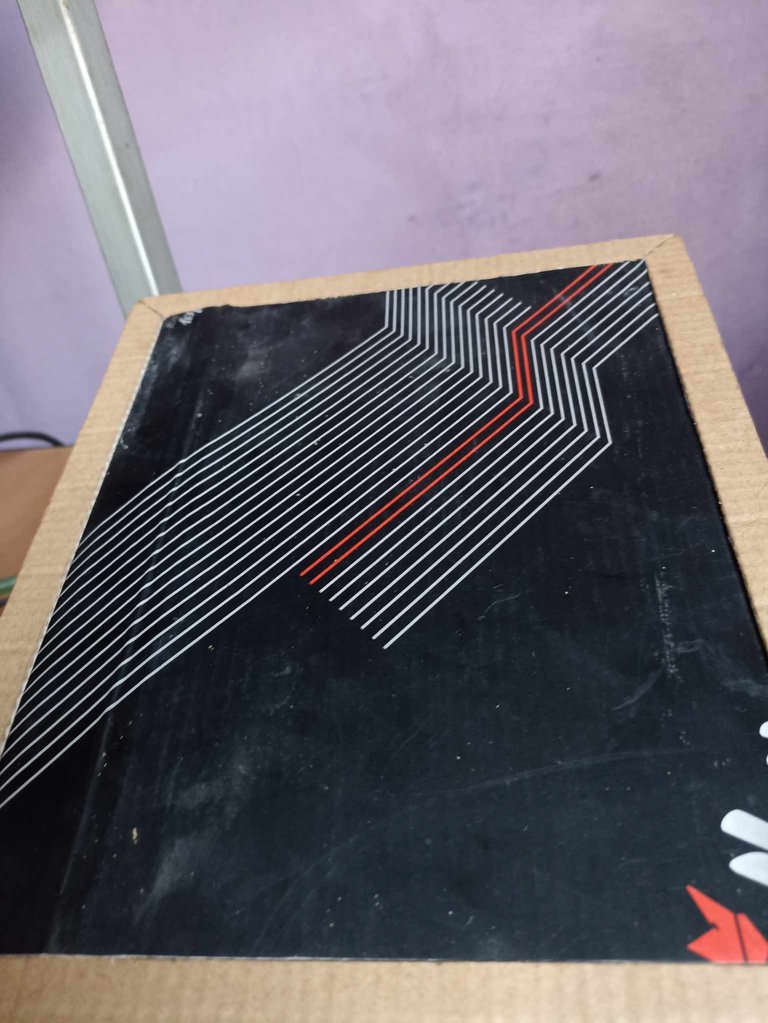
I used a box that was very new, in this box came some spare parts for cars, I think some shock absorbers. Since the box was in good condition, I decided to use it because of its extreme hardness. I cut one of its covers and from it I extracted all the pieces to use. I made the cardboard strips that I cut 3 centimeters thick, I always like to work with that measurement, it is my favorite number.
Utilicé una caja que estaba muy nueva, en esta caja venían unos repuestos para carros, creo que unos amortiguadores. Como la caja estaba en buen estado decidí usarla por su extrema dureza. Corte una de sus tapas y de ella extraje todas las piezas a utilizar. Las tiras de cartón que corté las hice de 3 centímetros de grosor, siempre me gusta trabajar con esa medida, es mi número favorito.
 |  |  |
|---|---|---|
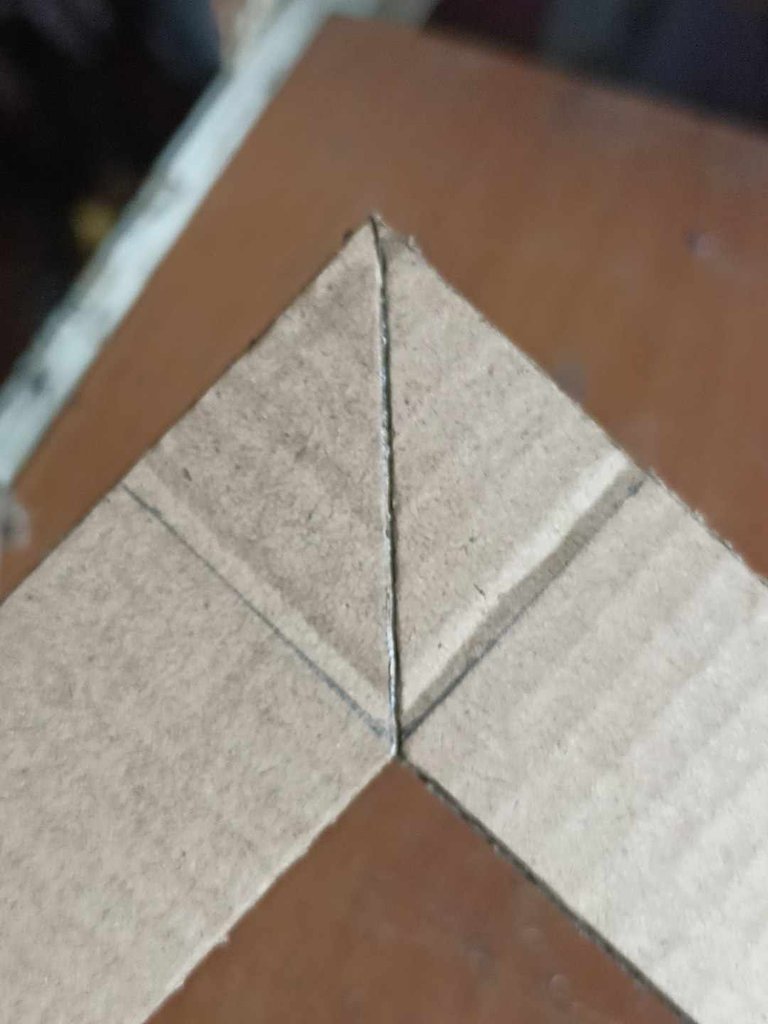 |  | 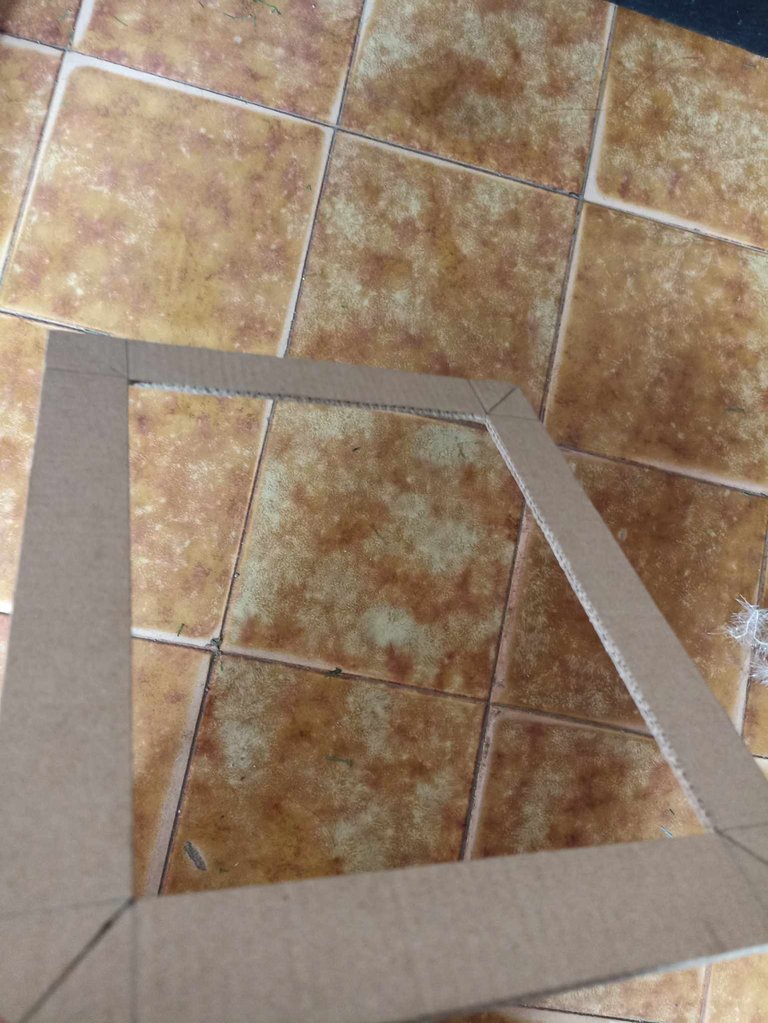 |
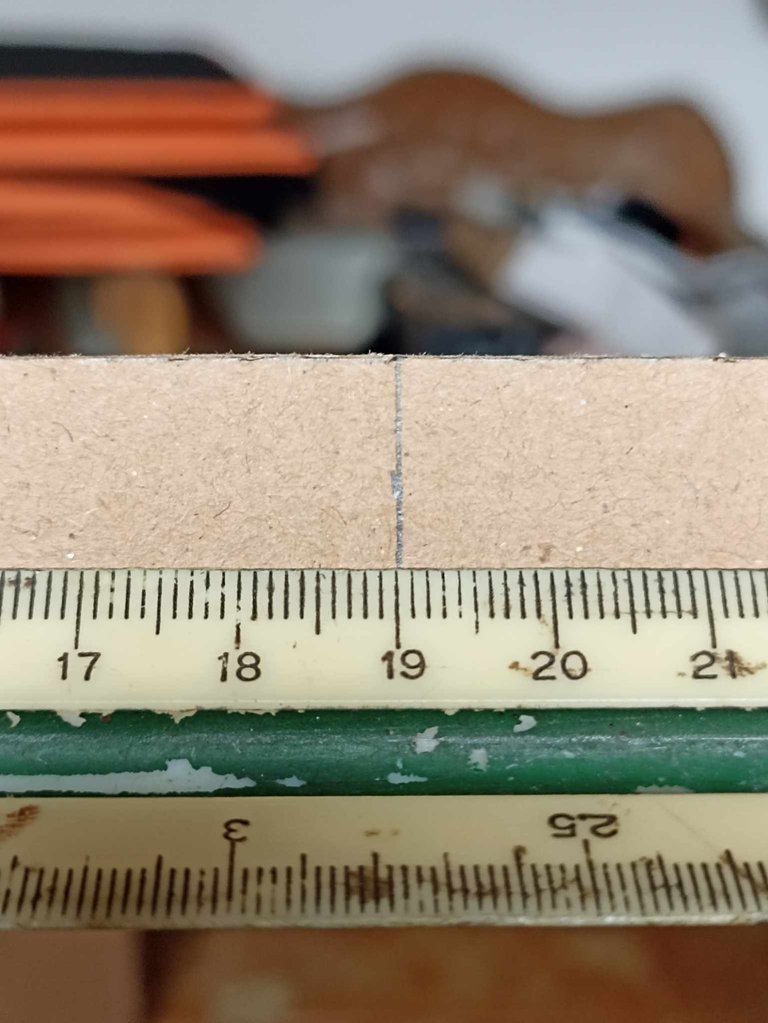
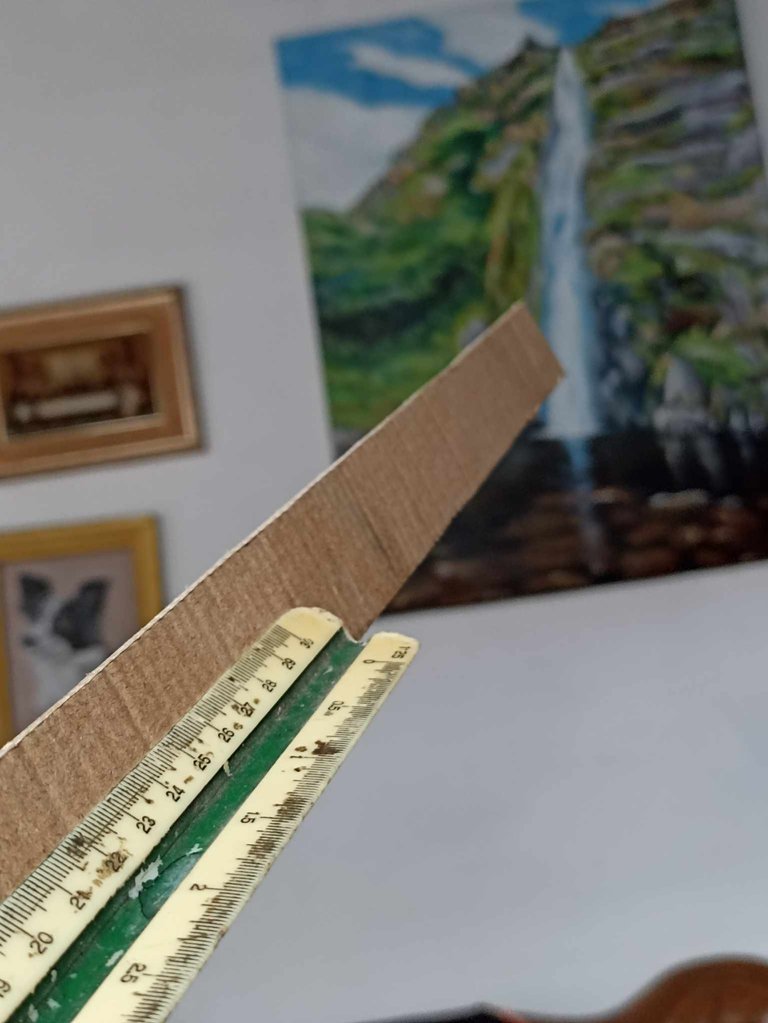
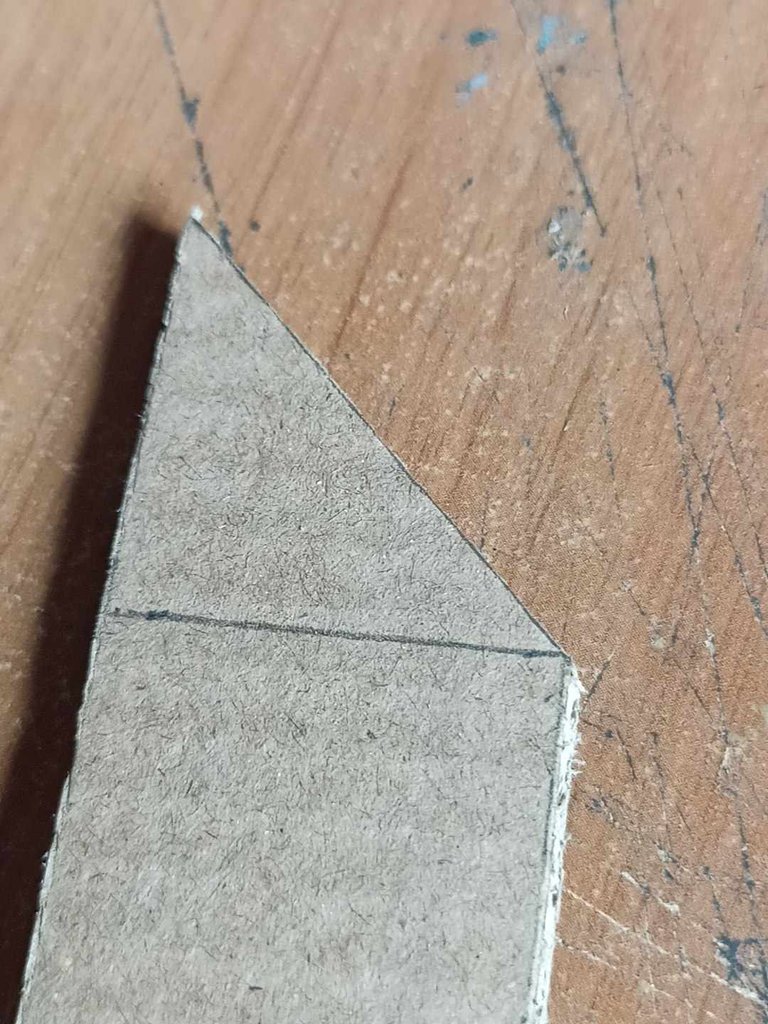
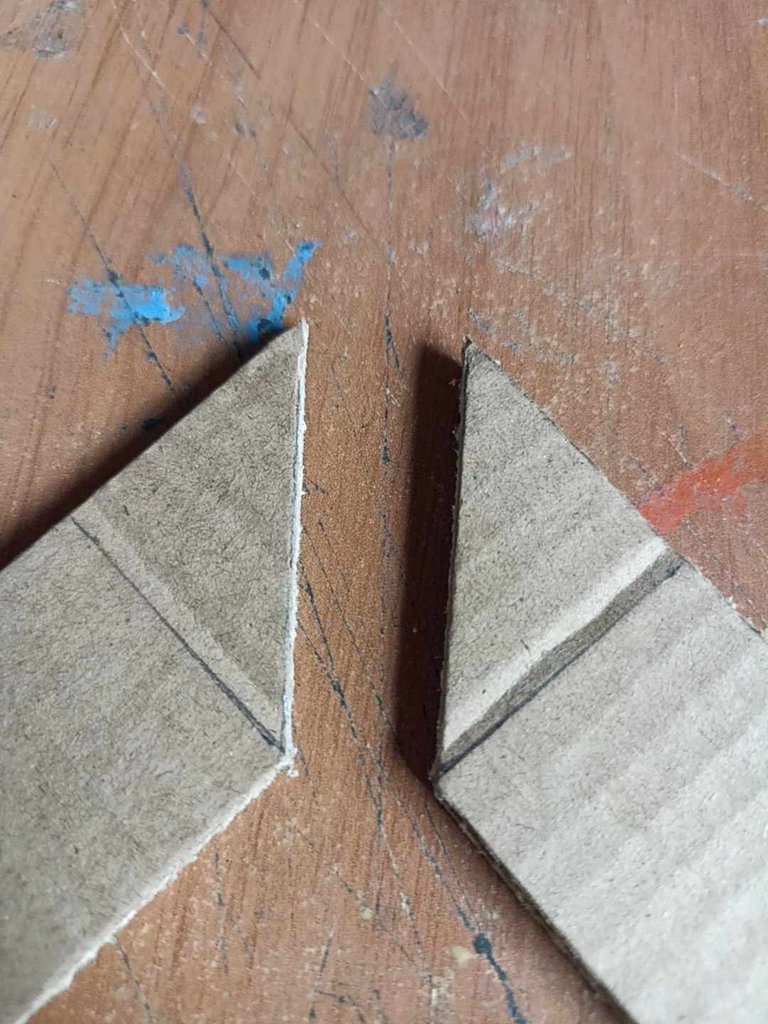
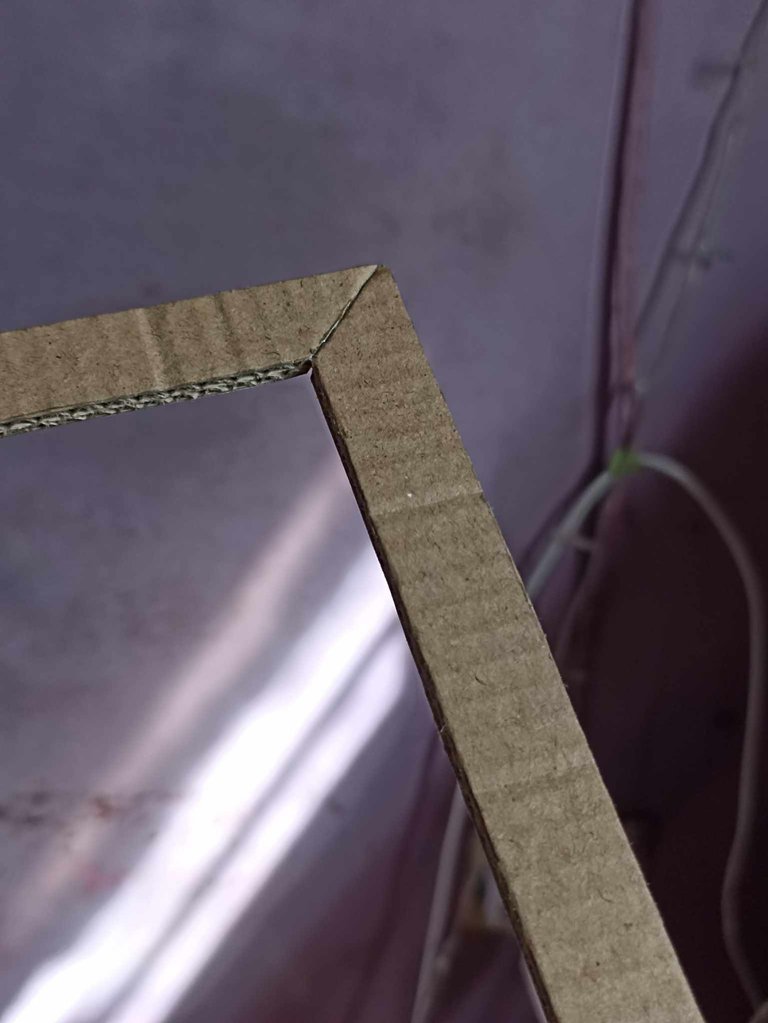
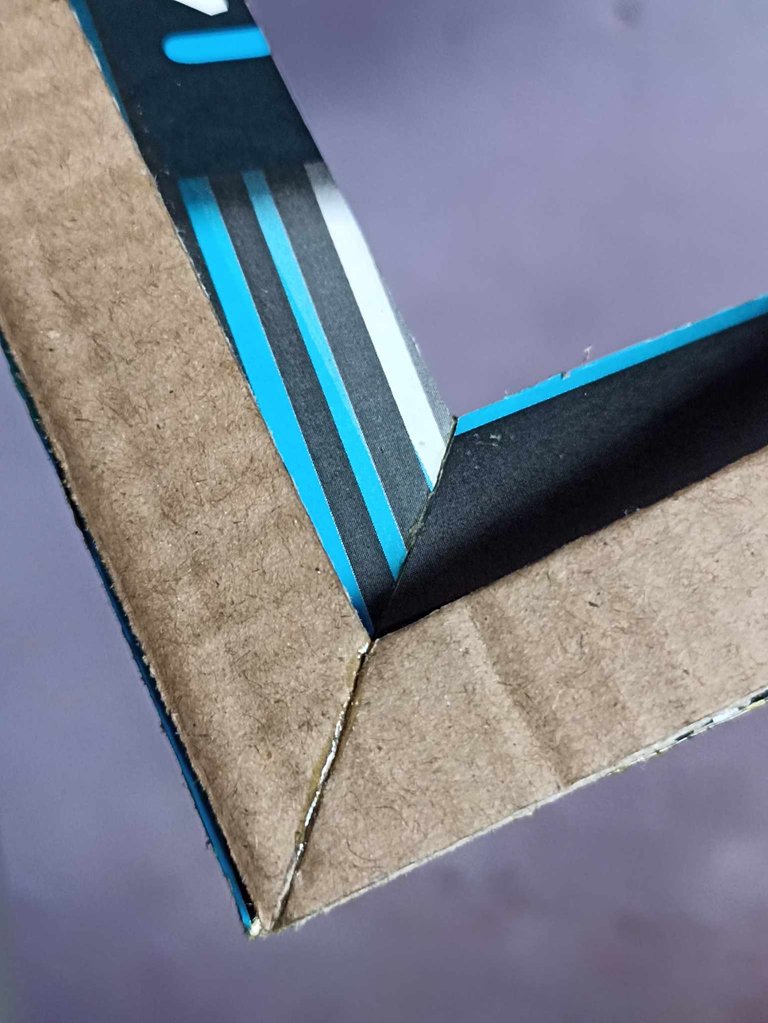
Then I cut the strips with the measurements I said previously, 22 and 26 centimeters. At the end of each of the cardboard strips I made a 45 degree stroke with a pencil that I then cut with scissors. The objective is to join each piece through that cut until a square is complete. I put glue on each end, and after stopping to dry for a while I began to join them one by one.
Luego corté las tiras con las medidas que dije anteriormente, 22 y 26 centímetros. En el extremo de cada una de las tiras de cartón hice un trazo de 45 grados con un lápiz que luego corté con tijeras. El objetivo es unir cada pieza por ese corte hasta completar un cuadro, voy poniendo pegamento en cada punta, y luego de dejar de secar un buen rato comencé a unirlas una por una.
|  |  |
|---|---|---|
 |  | 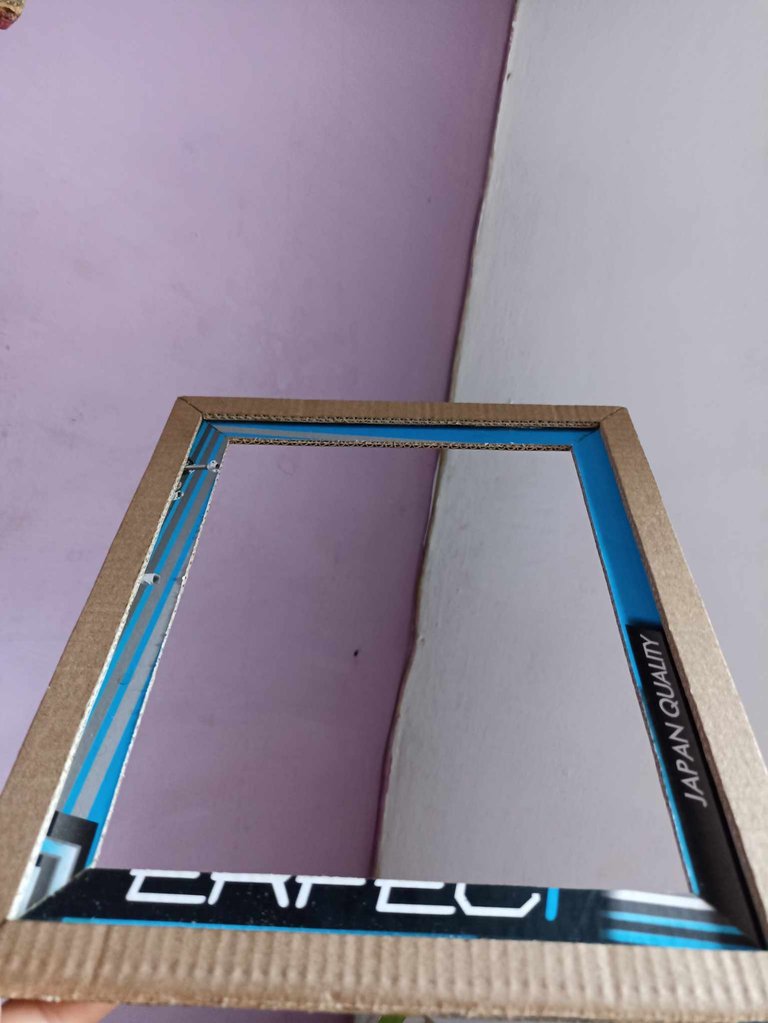 |
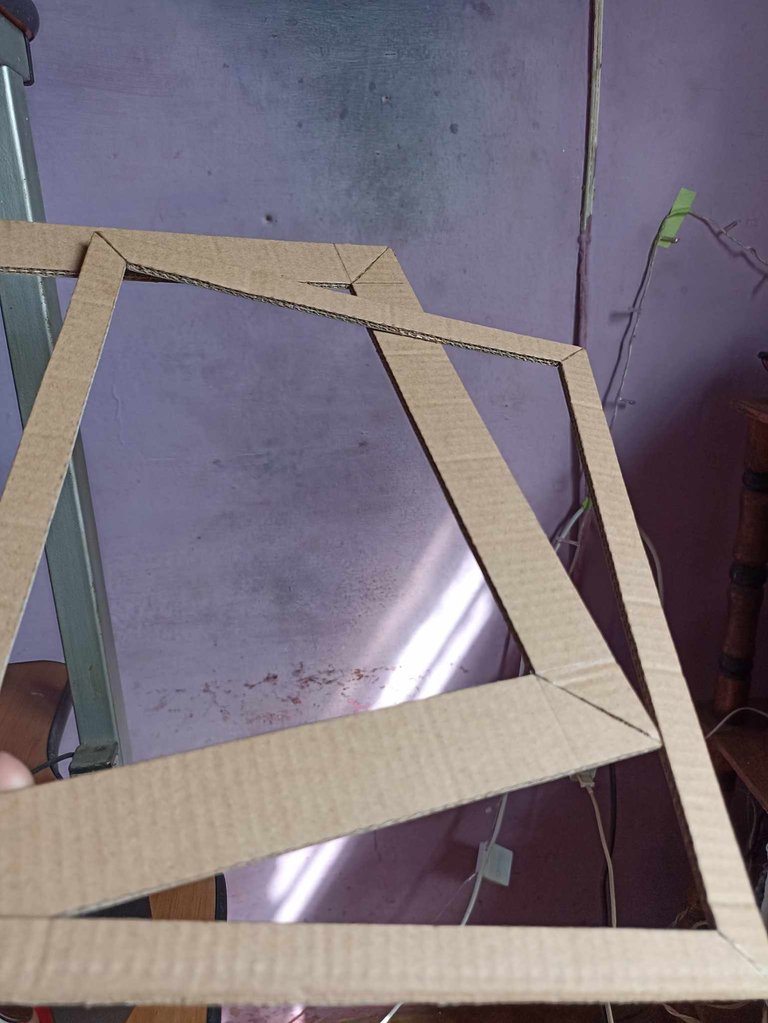
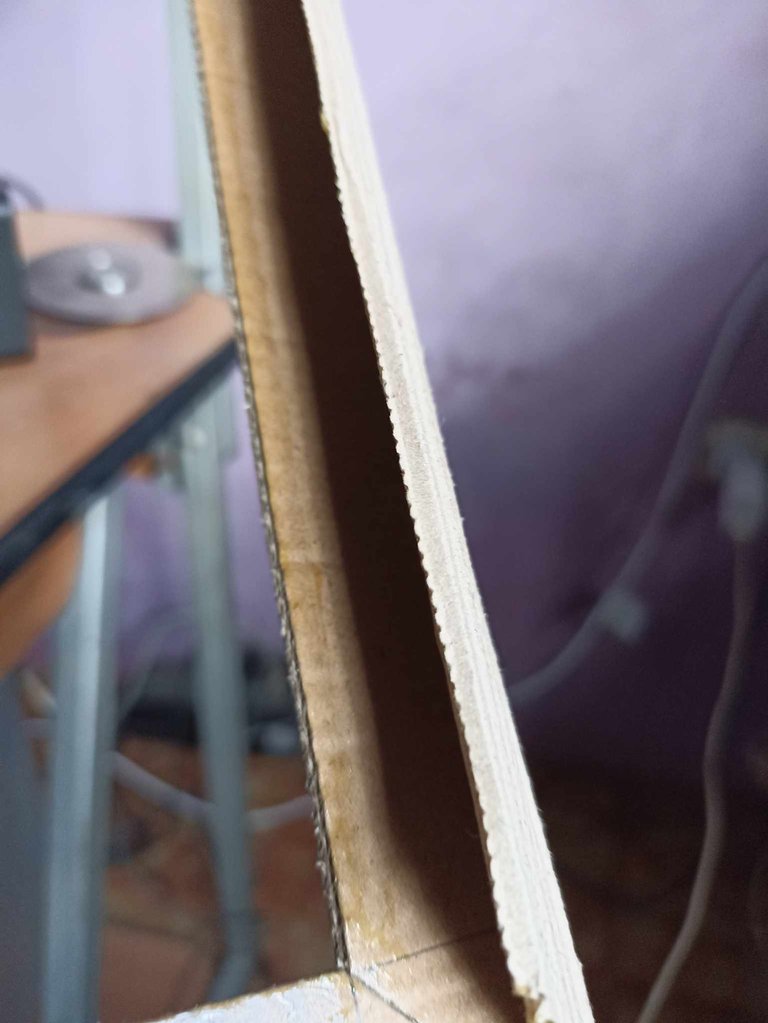
Secondly, I made another painting with the same measurements, but changing the thickness of each cardboard strip, the previous painting had a thickness of 3 centimeters, this one has 1.5 centimeters, that is, the same. The purpose is to join both pictures with glue, one on top of the other, this will leave a space through which it will be easier to place and hold the photograph.
En segundo lugar hice otro cuadro con las mismas medidas, pero cambiando el grosor de cada tira de cartón, el cuadro anterior tenía un grosor de 3 centímetros, este por su parte tiene 1,5 centímetros, es decir la mistad. El propósito es unir ambos cuadros con pegamento, uno sobre el otro, esto hará que quede un espació por el cual será mas fácil poner y sujetar la fotografía.
 |  |  |
|---|---|---|
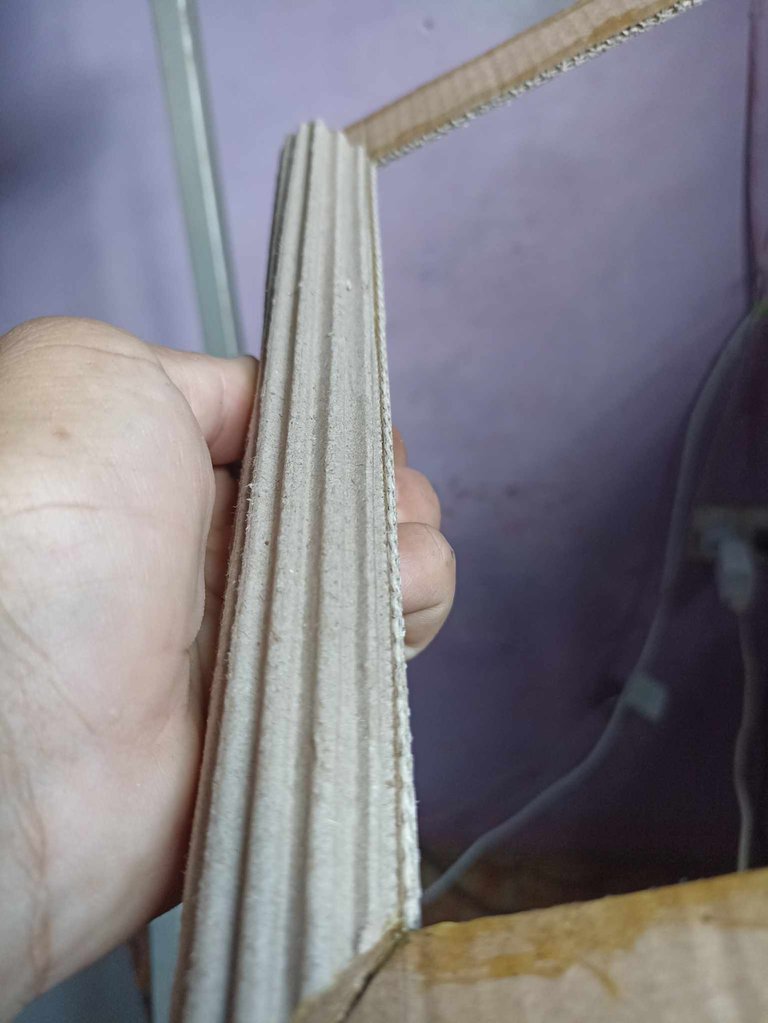 | 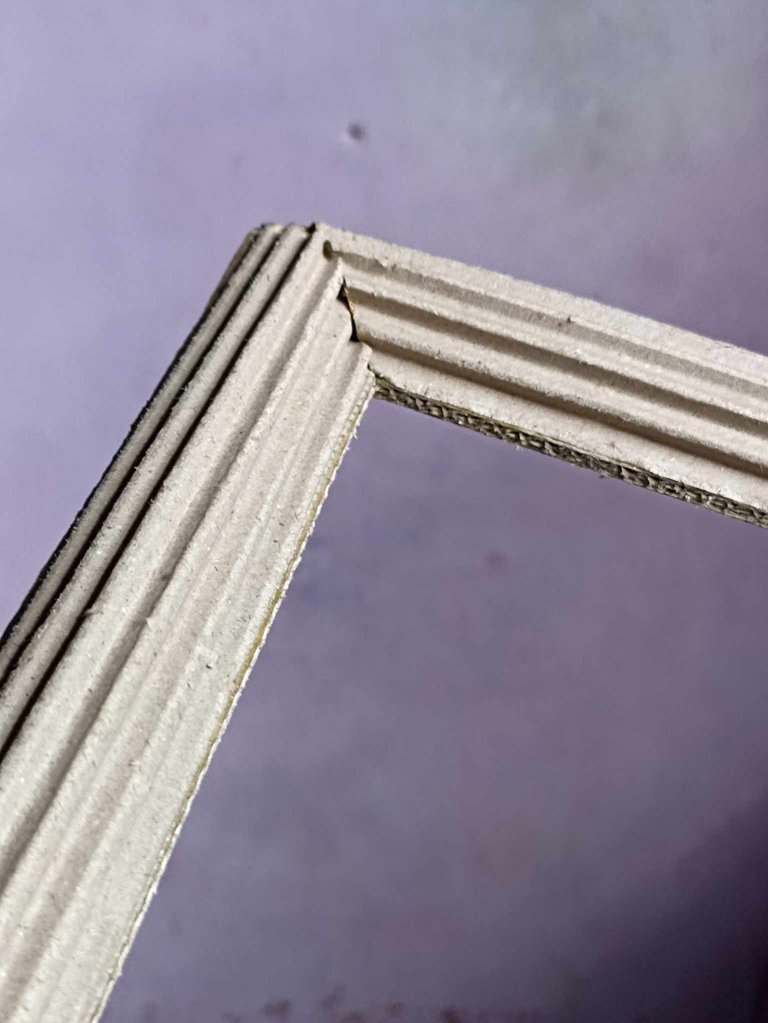 |  |
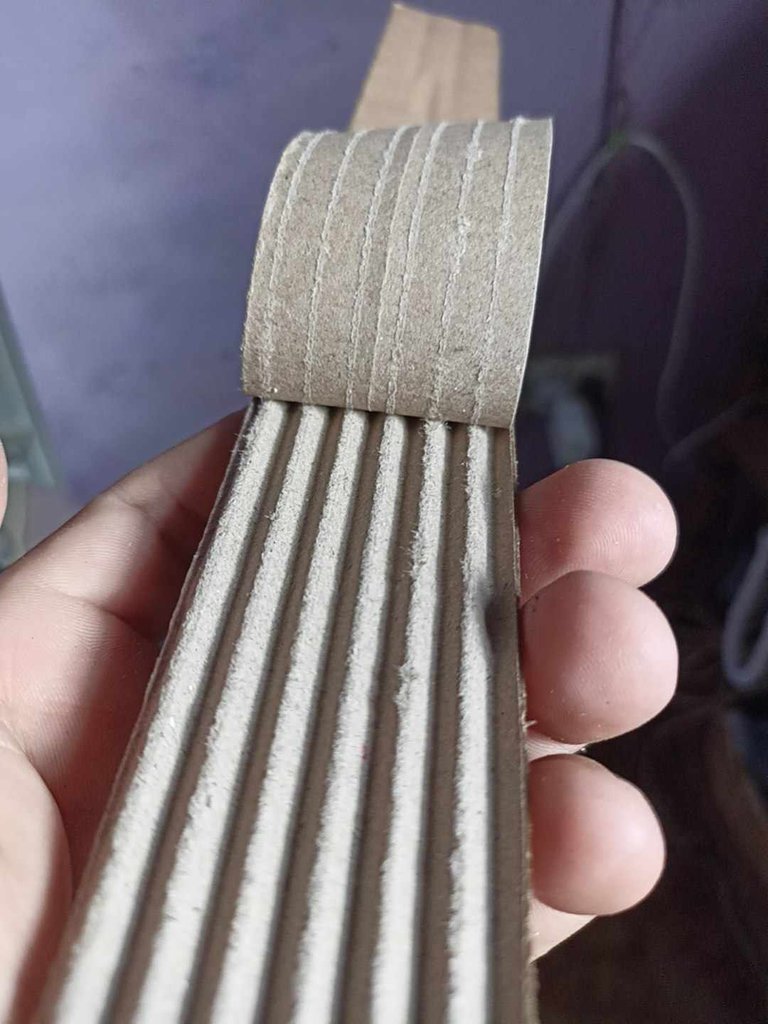
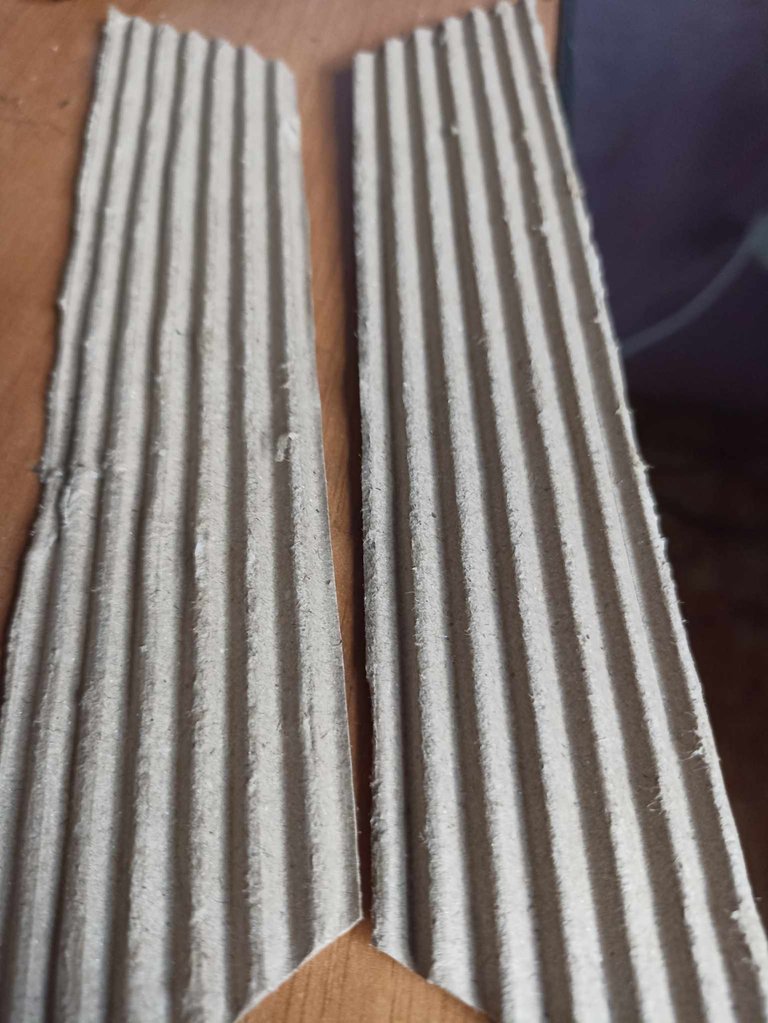
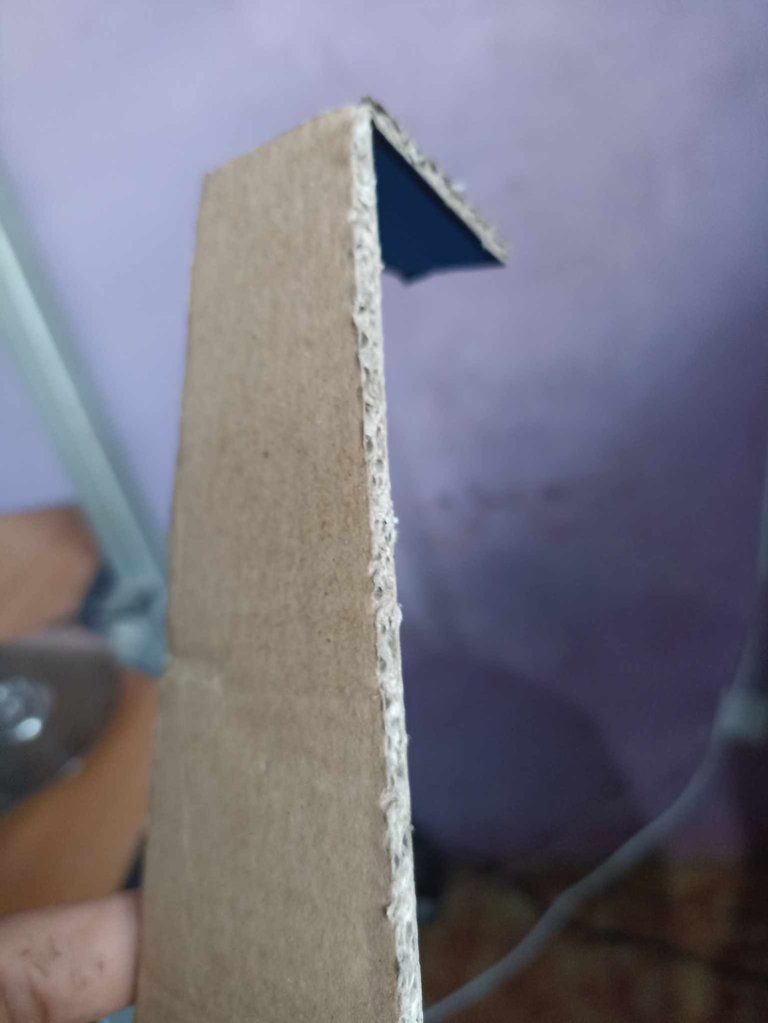
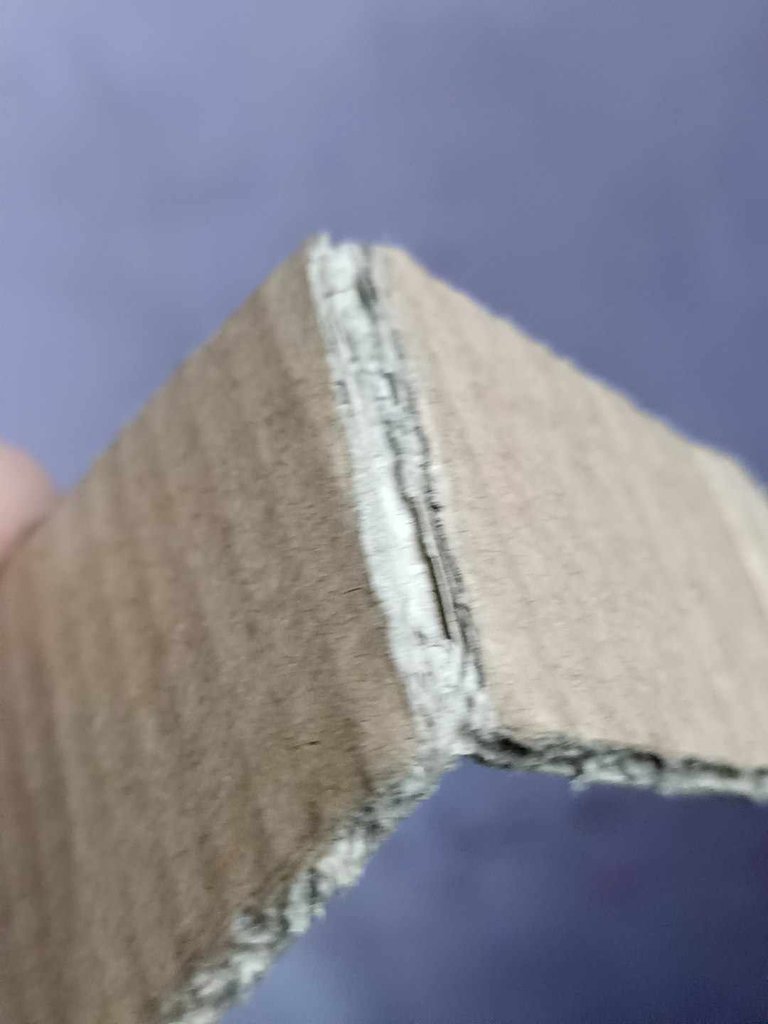
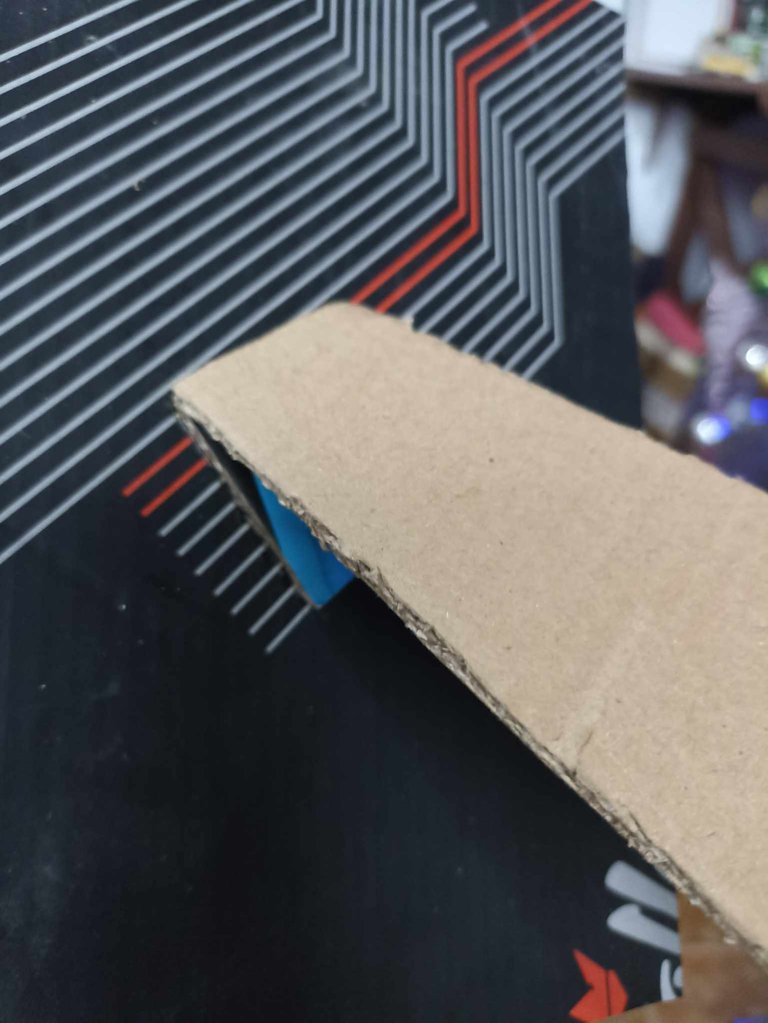
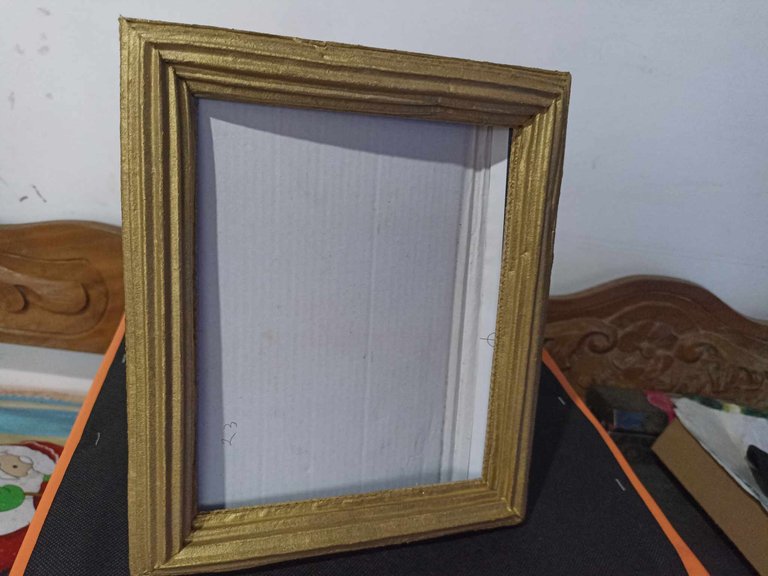
Now it is the turn to make part of the decoration for the frame, before I have used this technique, which consists of removing the part of the cardboard that is corrugated, they sell this paper, but nothing is better than recycling and reusing. After taking out 4 strips, I cut them to the same size but adding 1 centimeter more thickness, so this one would have a total of 4 centimeters. To join them to the frame we place glue around the entire piece including the tips, in the same way we add glue to the frame, after it has dried well, we glue little by little according to the corresponding place. The frame should look like this, doesn't it look like it's made of wood? what do you think?
Ahora es el turno de hacer parte de la decoración para el marco, antes he usado esta técnica, la cual consiste en sacar la parte del cartón que es corrugado, este papel lo venden, pero nada mejor que reciclar y reutilizar. Despues de sacar 4 tiras las corto del mismo tamaño pero agregando 1 centímetro más de grosor, por lo que esta tendrían en total 4 centímetros. Para unirlas al marco colocamos pegamento alrededor de toda la pieza incluyendo las puntas, de la misma forma agregamos pegamento al marco, después de que haya secado bien, vamos pegando poco a poco segun el lugar que corresponda. El marco nos debería quedar así, no parece hecho de madera? que opinan?
 |  |  |
|---|---|---|
 | 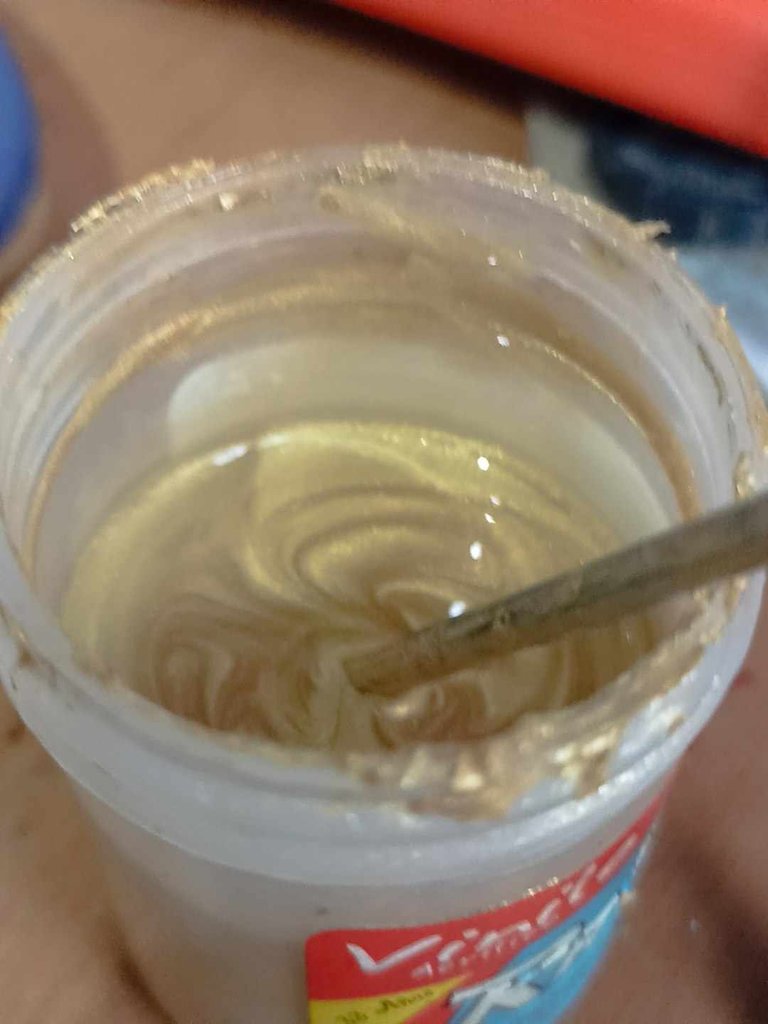 | |
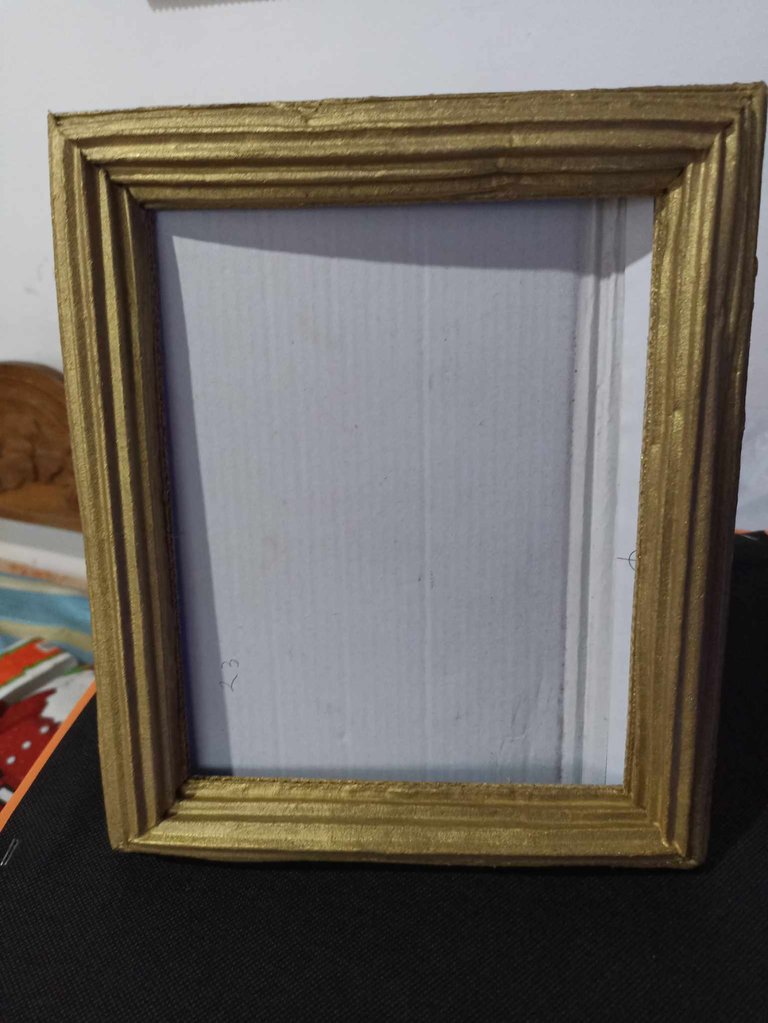
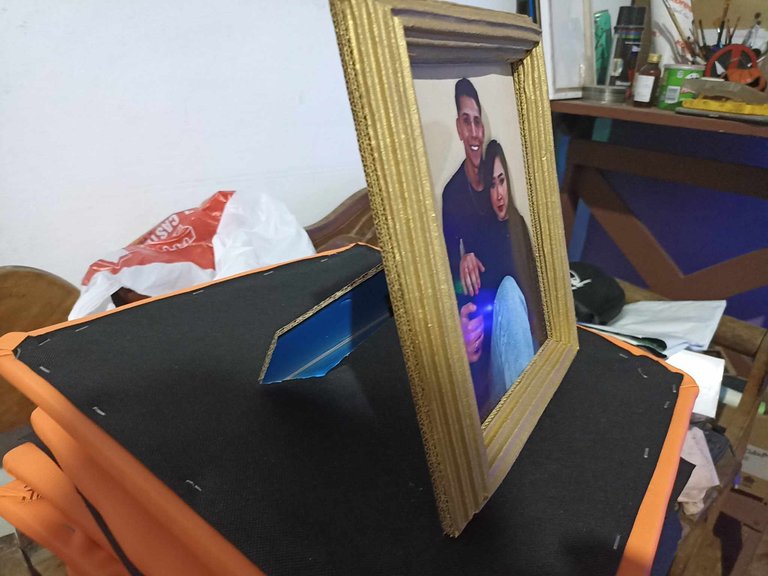
Just a few accessories are missing and the photo frame will be ready, as if we had purchased it in an art store. To fix the photo I cut a cardboard with the dimensions of the inside of the frame, and to support it I cut a 15 centimeter cardboard leg, I cut this with a 45 degree inclination so that it would have a better aesthetic, then I glued it to the cardboard base with glue, and I made a small cut so that it can open and close, once finished I applied gold paint all over the cardboard frame and let it dry completely.
Solo faltan unos accesorios y el portaretratos quedará listo, como si lo hubieramos adquirido en una tiena de arte. Para fijar la foto corto un cartón con las dimensiones de la parte interior del marco, y para sostenerlo corto una pata de carón de 15 centímetros, esta la corté con una inclínación de 45 grados para que tuviera una mejor estética, luego la pegué a la base de cartón con pegamento, y le hice un pequeño corte para que pueda abrir y cerrar, una vez terminado apliqué pintura dorada por todo el marco de cartón y deje secar por completo.
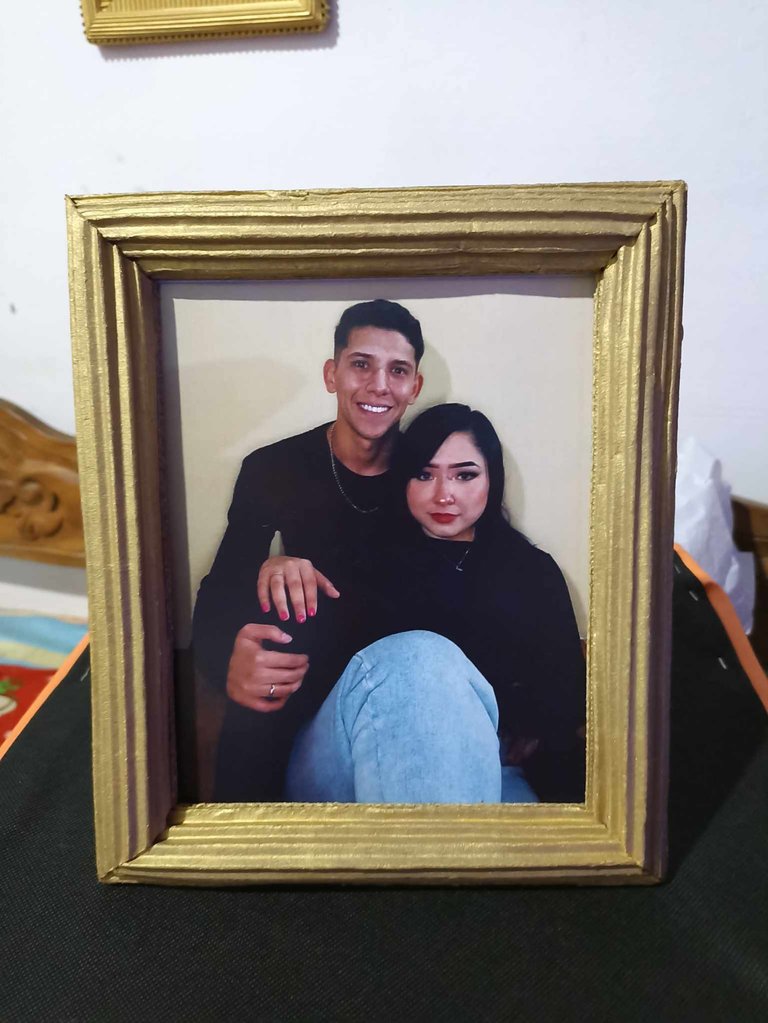
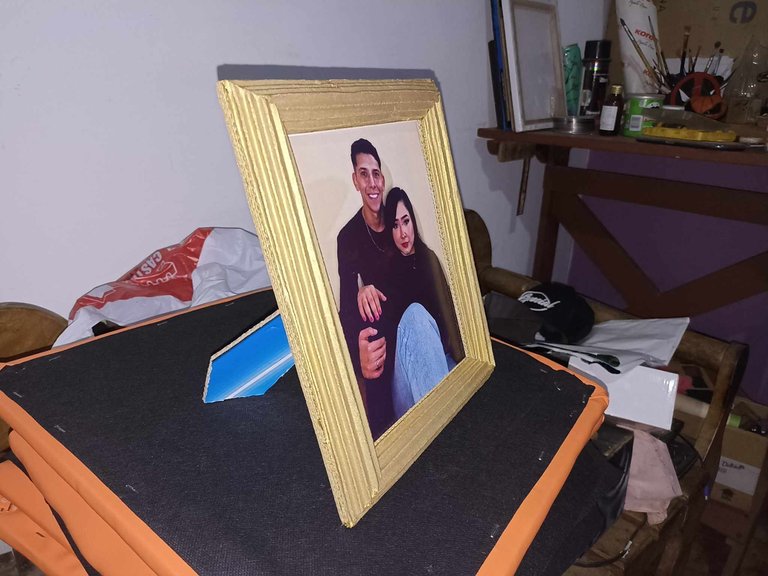
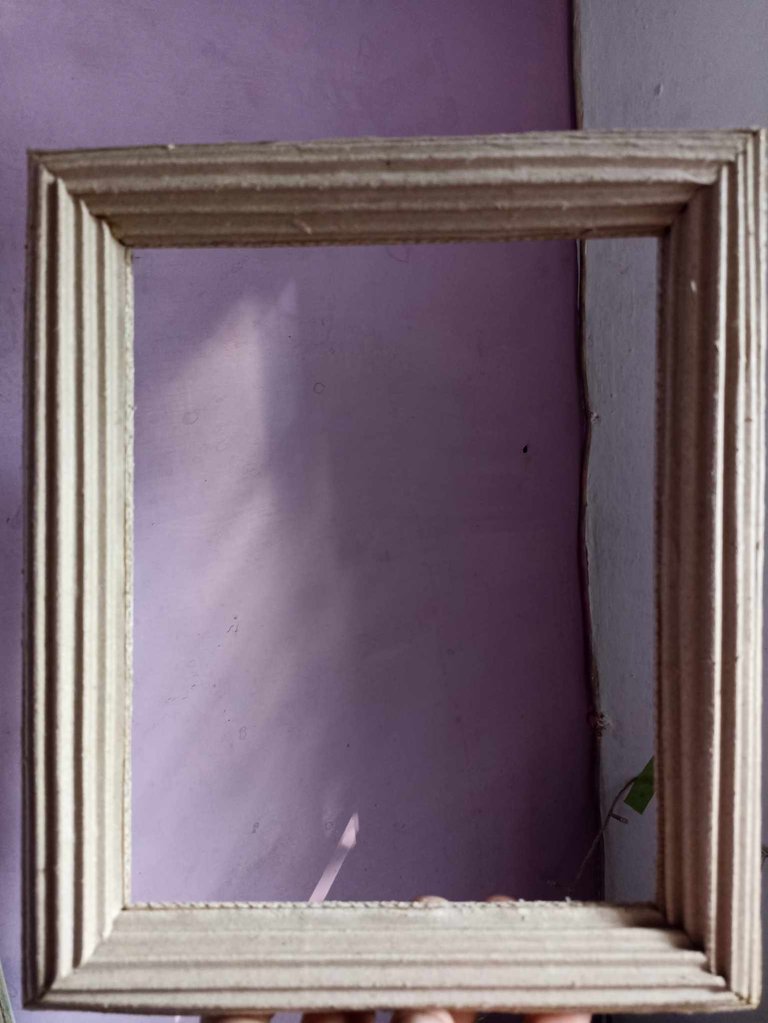
And this is how this improvised photo frame was finalized. We can make this model in many sizes and with the most varied designs, we can adapt them to our needs. We can also paint it any color we want, luckily it had a little gold color and I really liked how the final result turned out, another decision that I think was very correct was to make a stop, since I did not want to make the classic frame of wall. After the paint dried the cardboard was very hard, so it will be very resistant. I hope you liked it and found it very interesting, I hope to be able to make a more complicated model later and thus show the versatility of this craft. For now I say goodbye and I hope you have a nice weekend, see you soon!!
Y así quedó finalizado este portaretratos imporvisado, este modelo podemos hacerlo de muchos tamaño y con los diseños más variados, podemos adaptarlos a nuestras necesidades. También podemos pintarlo del color que queramos, por suerte contaba con un poco de color dorado y me gustó mucho como quedó el resultado final, otra decisión que creo fue muy acertada, ha sido hacerle un paral, ya que no quise hacer el marco clásico de pared. Luego que la pintura se secó el cartón quedó muy duro, por lo que será muy resistente. Espero que les haya gustado y lo encuentren muy interesante, espero poder hacer más adelante un modelo más complicado y así mostrar la versatilidad de esta manualidad. Por ahora me despido y deseo que tengan un lindo fin de semana, hasta pronto!
Wow, quedó super !
Muchas gracias, me alegra que te haya gustado el resultado, es algo muy fácil que podemos hacer de cualquier diseño
Hola Robert. Me gusta como aprovechas el cartón para hacer estos cuadros, con esa pintura dorada se obtiene un efecto excelente. Esas ondas del cartón corrugado quedan muy lindas para decorar, seguro que a tu sobrina le gustó su regalo. ¡Te felicito 💖!
Cuno lo va armando, pieza a pieza de pronto van surgiendo más ideas de como decorar y usar esa parte del cartón, si uno lo intenta puedo lograr diseños más complicados y hermosos.
Espero poder hacer otros de gran tamaño.!
Wow!😱 You have an excellent talent when it comes to this, I love how you make the photo frame, you are creative in your own way.Continue sharing this kind of blog to us, have a great day🤗
Thank you very much for those nice words and for appreciating my contribution, I will undoubtedly continue sharing more ideas, and I hope to see you here more often!
Que bonita manera de reciclar! me encantó ese marco para fotos, muchas gracias por compartirlo. Saludos.
Excelente idea amigo, quedó muy bien. Saludos