Hola a todos, bienvenidos a mi blog.
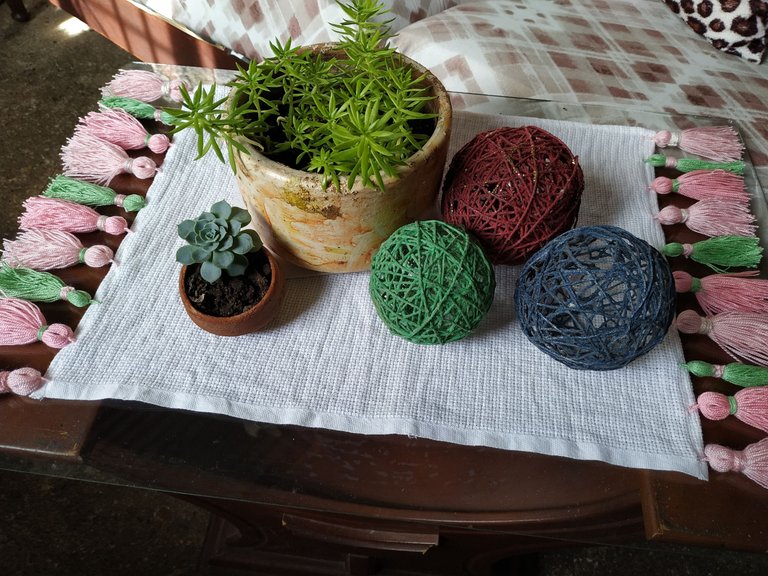
El día de hoy les traigo el paso a paso de cómo elaborar un hermoso mini mantel para colocar en mesas de centro o en tu mesita de noche. El resultado de este proyecto me gustó mucho porque le da un toque personalizado y además el utilizar estos colores pasteles le dan a la decoración de nuestro hogar un ambiente suave y tranquilo.
Hello everyone, welcome to my blog.
Today I bring you the step by step of how to make a beautiful mini tablecloth to place on coffee tables or on your bedside table. The result of this project I really liked because it gives a personalized touch and also using these pastel colors give our home decor a soft and calm atmosphere.

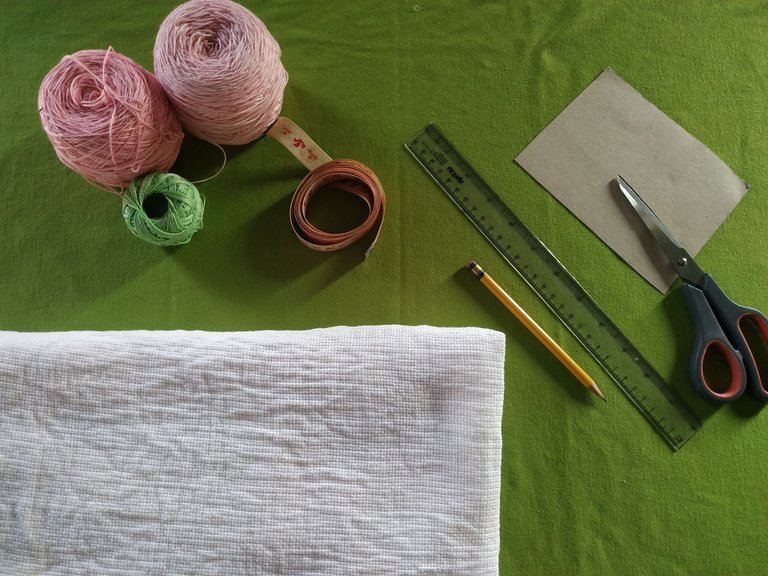
- Tela rígida.
- Hilo de lana fino.
- Tijeras.
- Cinta métrica.
- Cartón.
- Lápiz y regla.
- Stiff fabric.
- Fine wool thread.
- Scissors.
- Tape measure.
- Cardboard.
- Pencil and ruler.

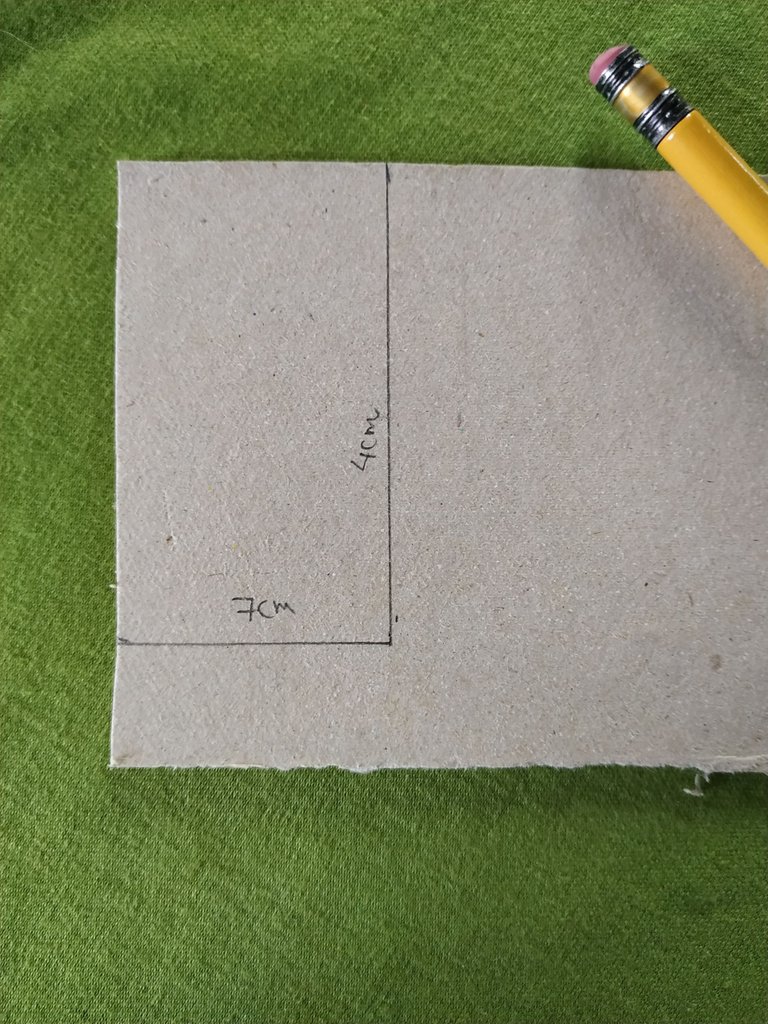
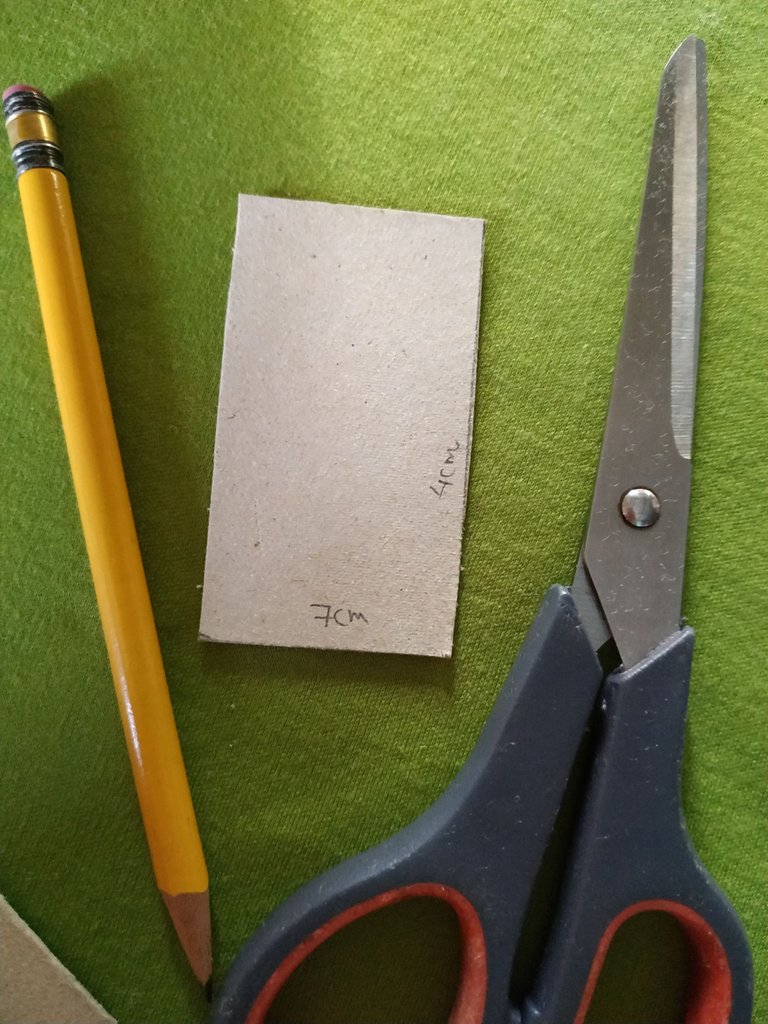
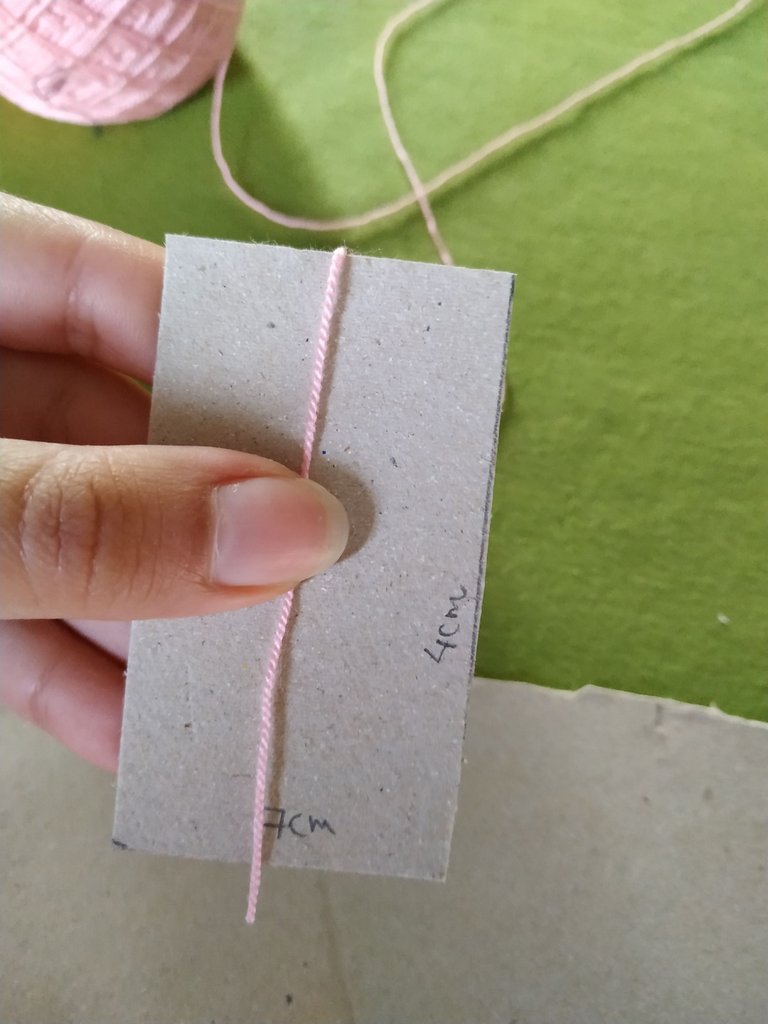
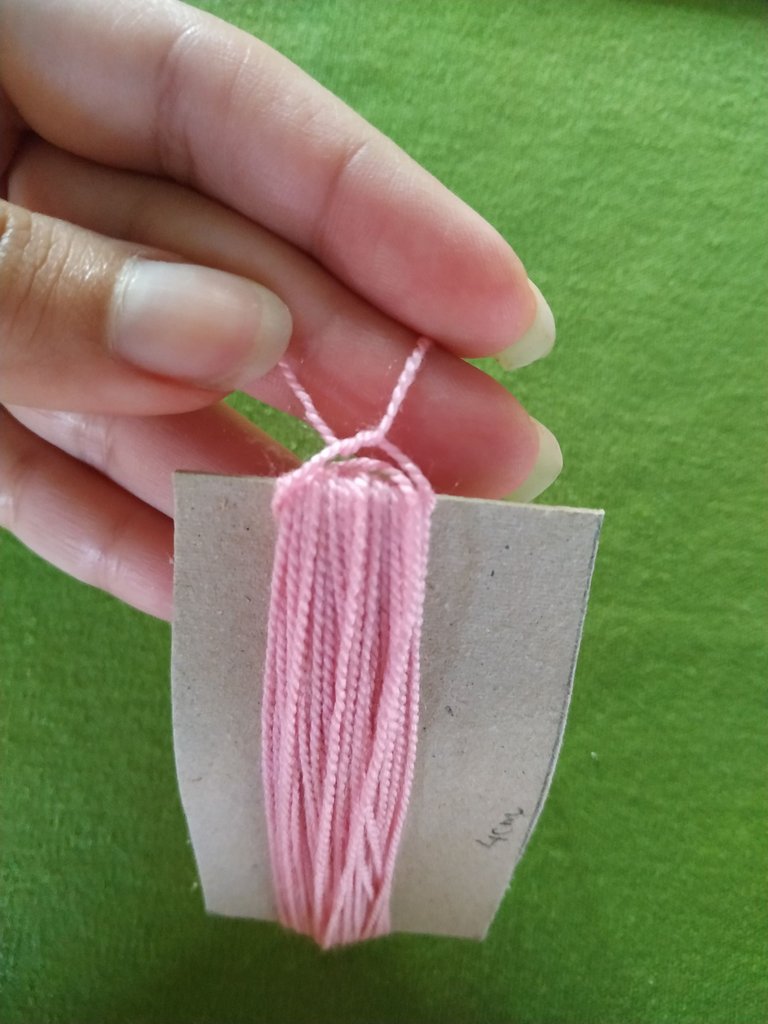
Cómo primer paso vamos a elaborar el molde con el que haremos las borlas.
Para ello vamos a recortar en un cartón grueso un rectángulo de 7cm de largo por 4 centímetros de ancho.
As a first step we are going to elaborate the mold with which we will make the tassels.
To do this we will cut a rectangle of 7cm long by 4 centimeters wide out of a thick cardboard.
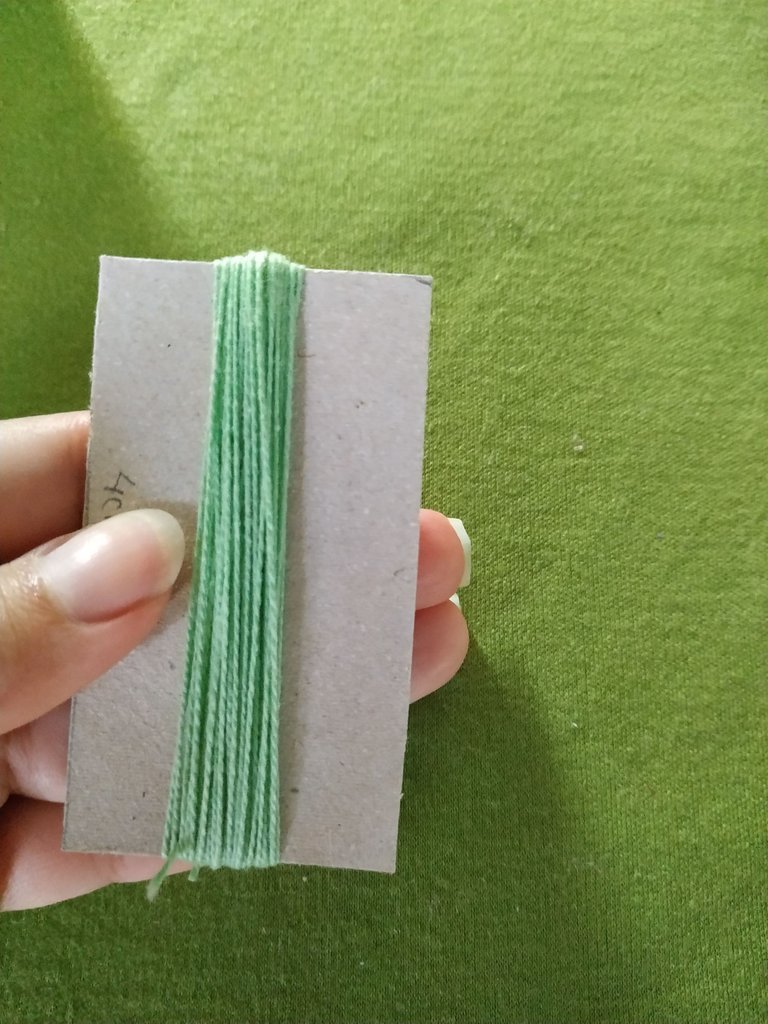
Para hacer las borlas vamos a tomar el cartón y vamos a empezar a pasar el hilo de abajo hacia arriba de esta manera.
To make the tassels we are going to take the cardboard and start passing the thread from the bottom to the top in this way.
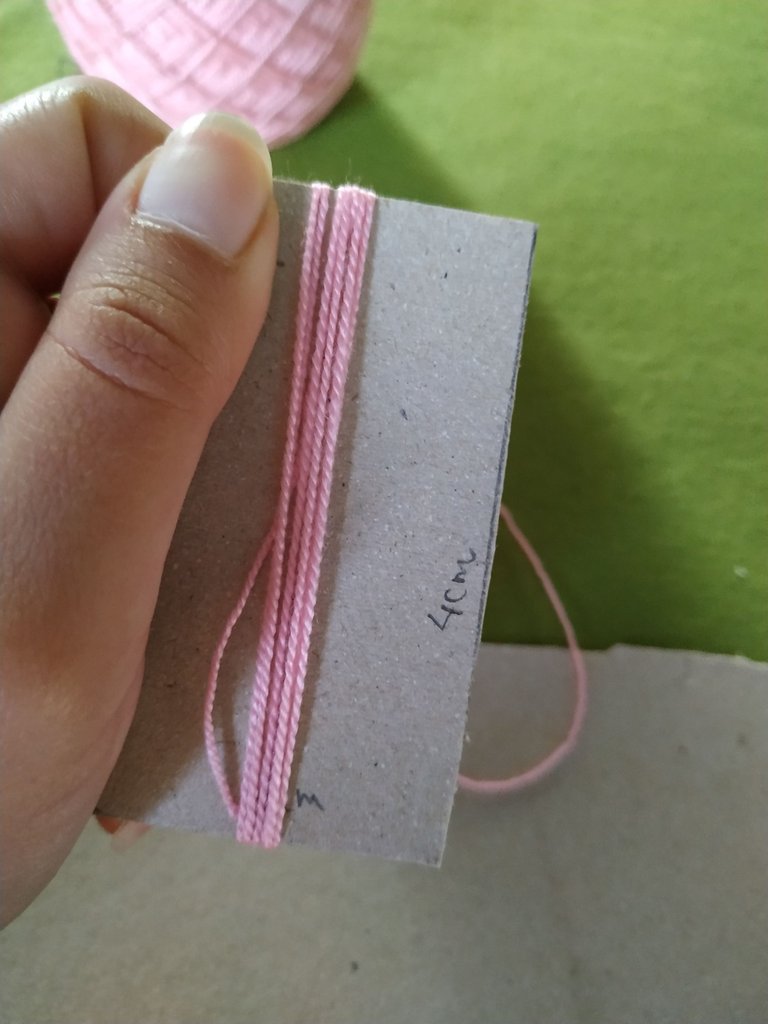
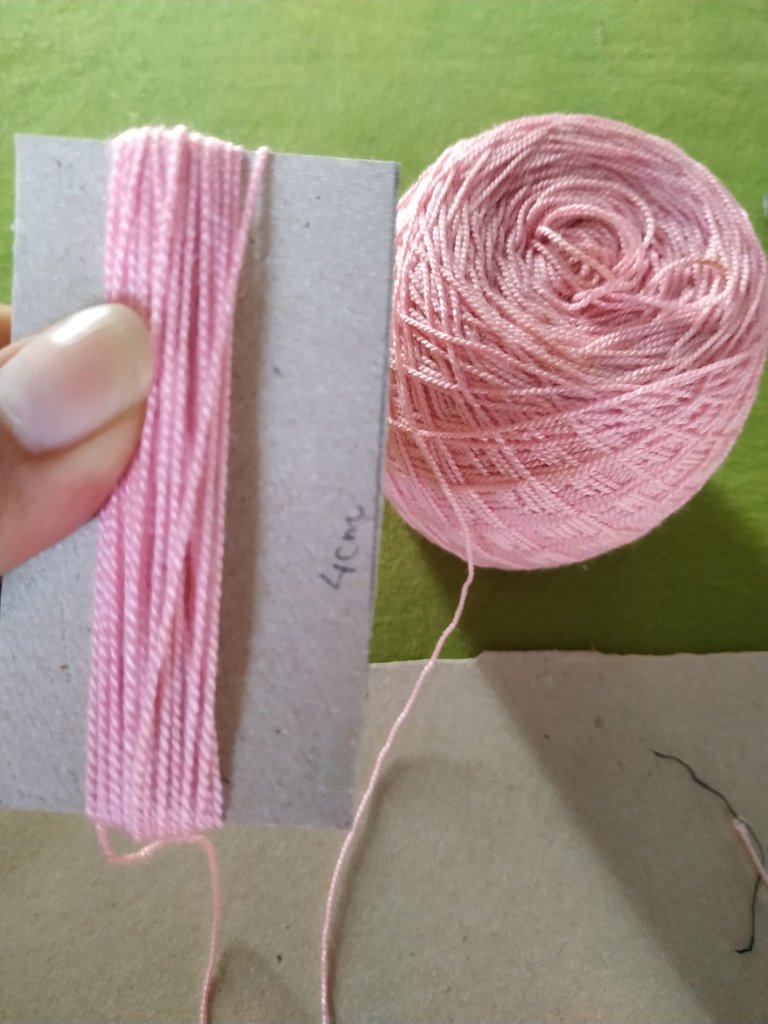
Debemos darle 50 vueltas sin presionar mucho y nos ayudamos con nuestros dedos para que se mantenga estable el cartón.
We must make 50 turns without pressing too much and we help ourselves with our fingers to keep the cardboard stable.
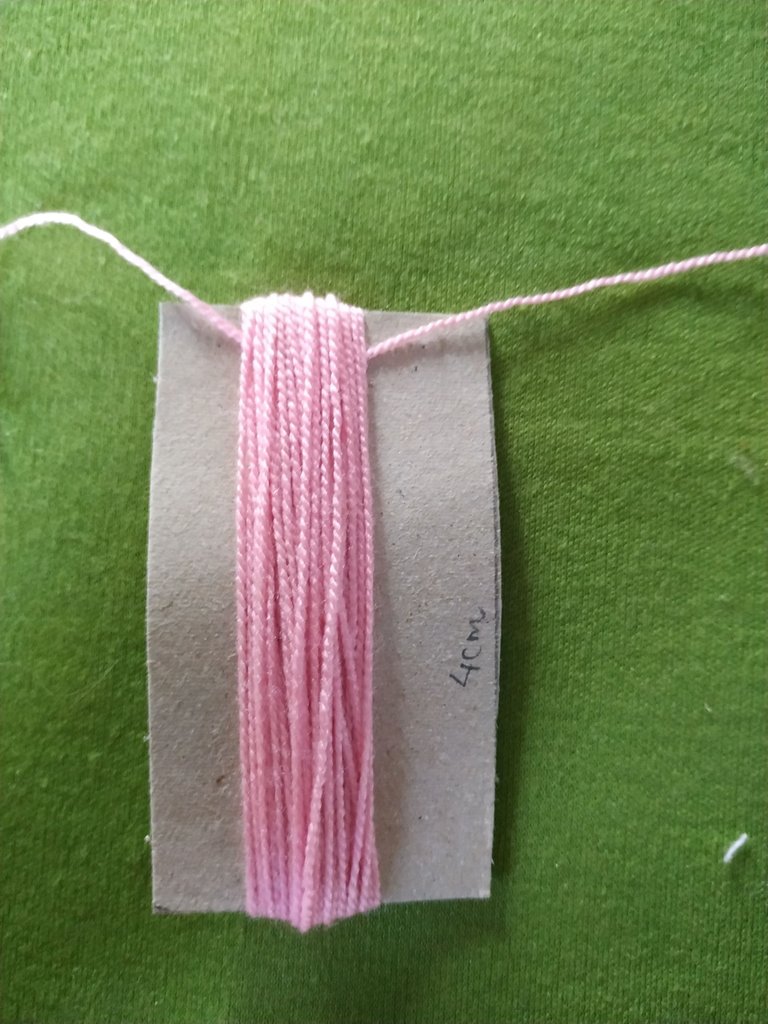
Luego de darle las vueltas, cortamos el hilo y pasamos un hilo en uno de los extremos haciendo un nudo para amarrarlos todos.
After making the turns, we cut the thread and pass a thread in one of the ends making a knot to tie them all together.
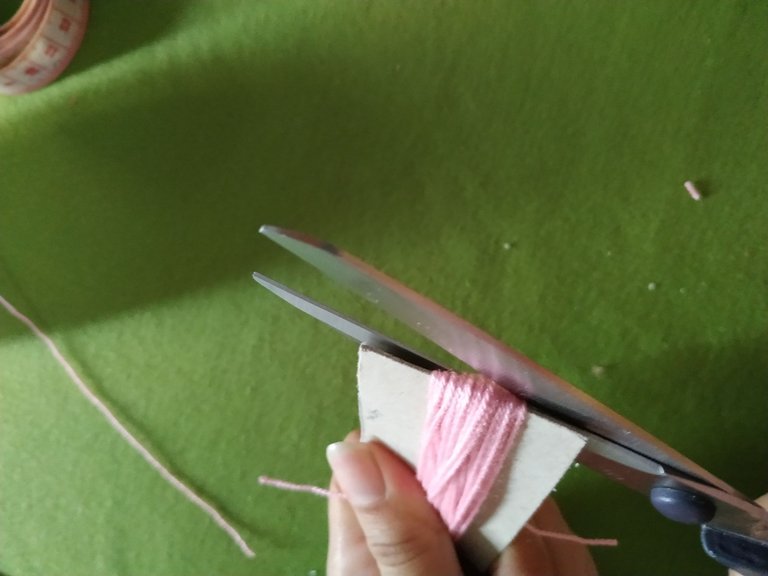
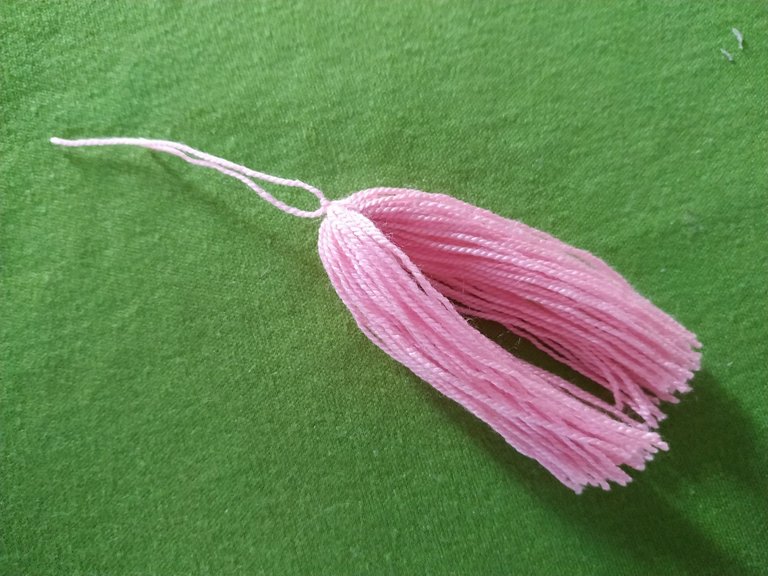
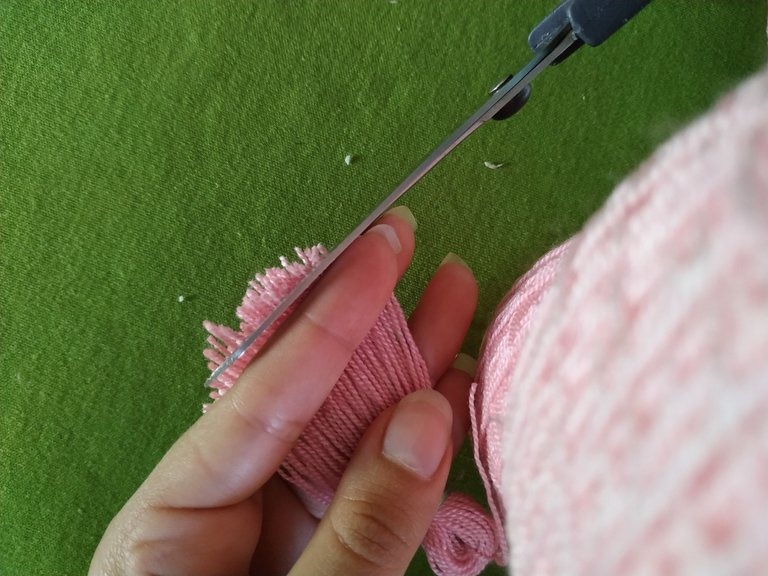
Ahora por el otro extremo vamos a cortar con la tijera y así nos debe de quedar.
Now cut the other end with the scissors and this is how it should look.
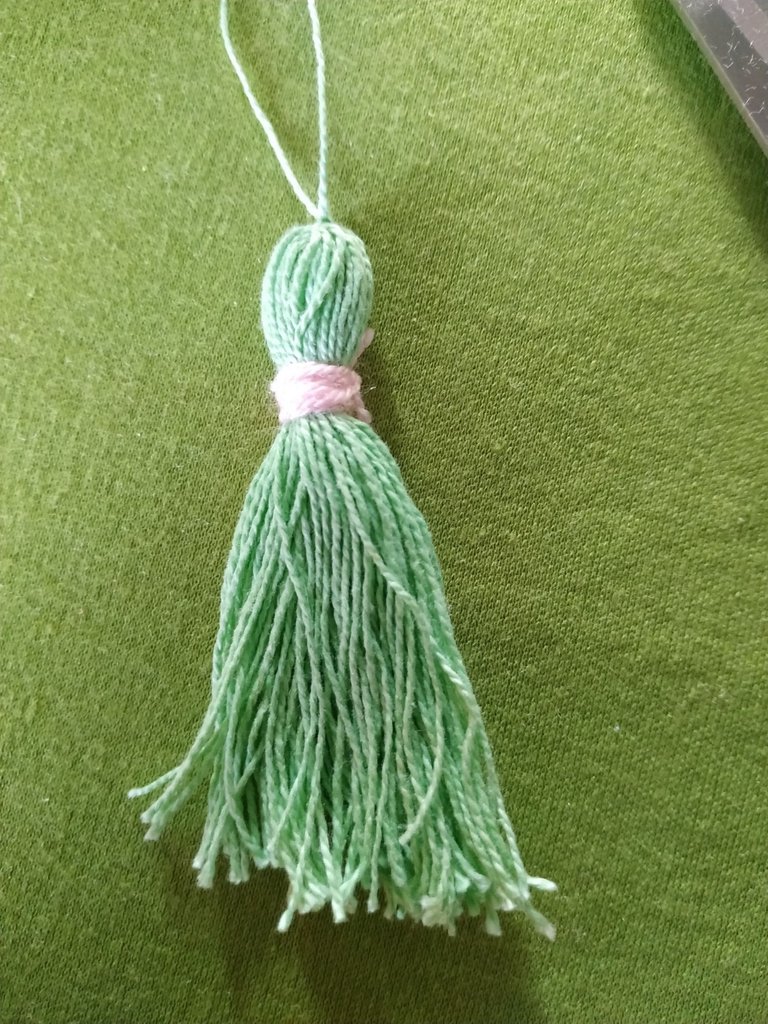
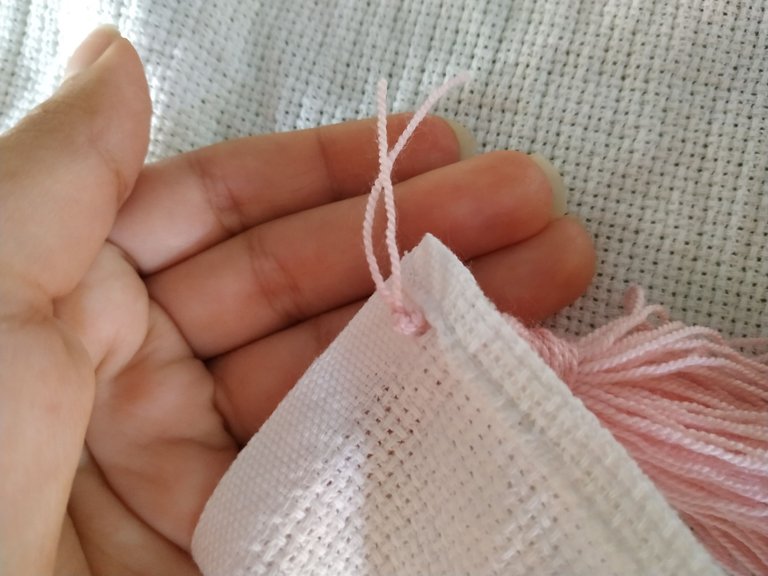
Tomamos un hilo de otro color y lo vamos a pasar dándole 12 vueltas alrededor de la borla para que nos quede como una cabecita.
We take a thread of another color and we are going to pass it around the tassel 12 times so that it looks like a little head.
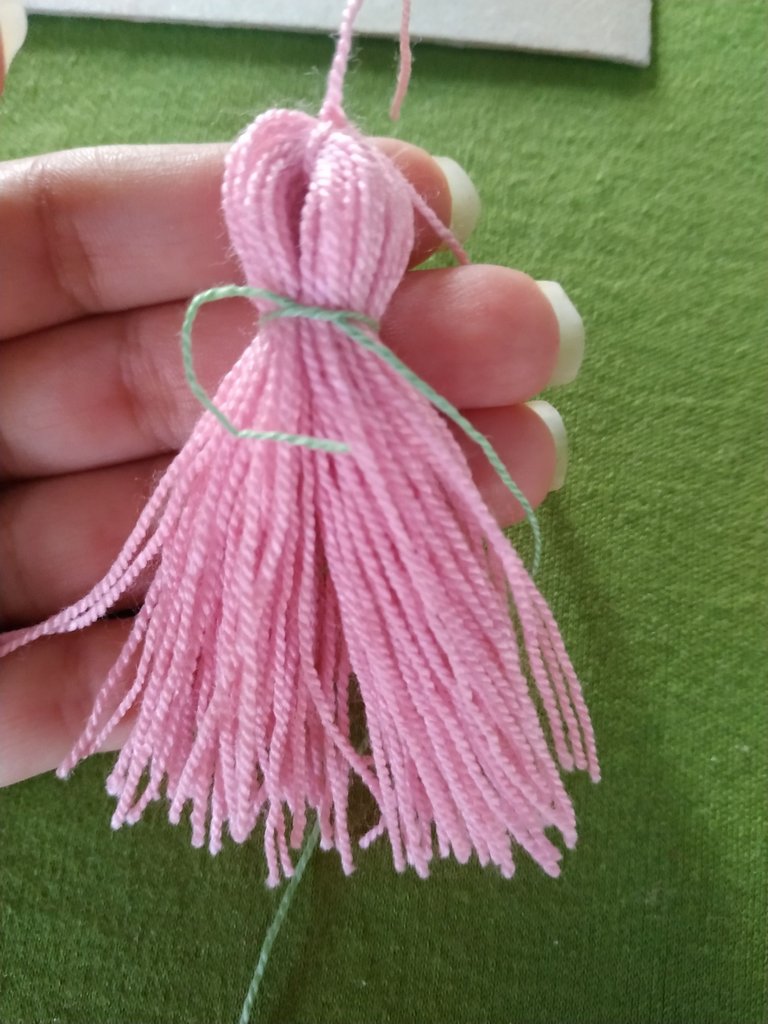
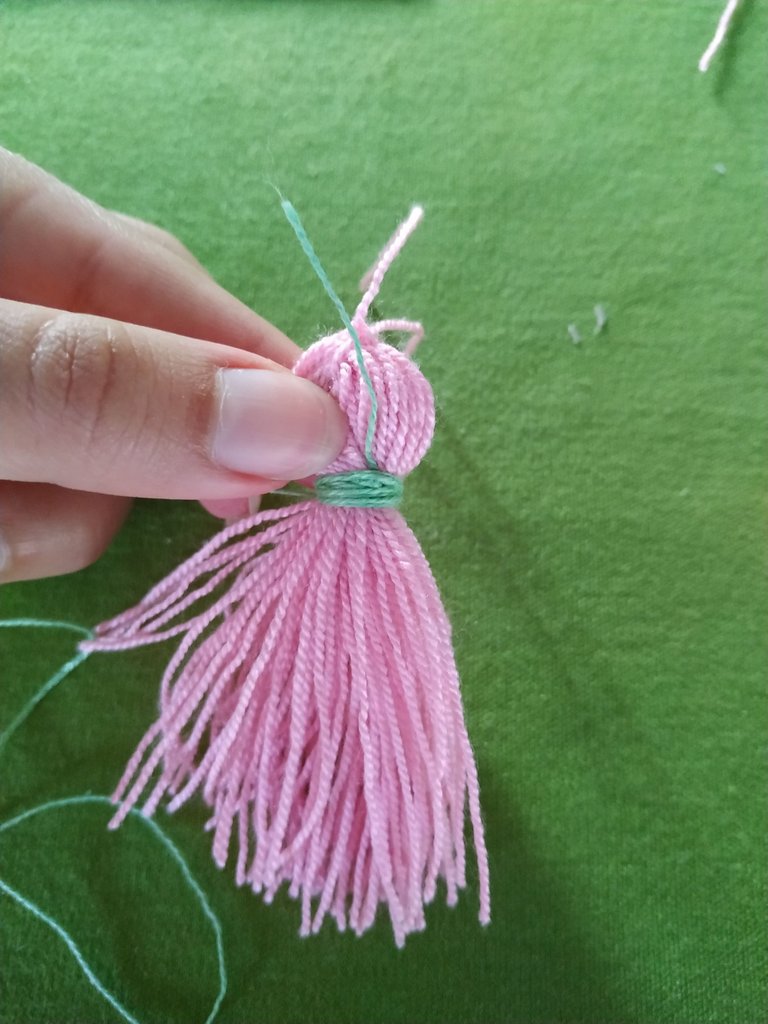
Sujetamos con un nudo y cortamos los excedentes de hilo.
We fasten with a knot and cut the excess thread.
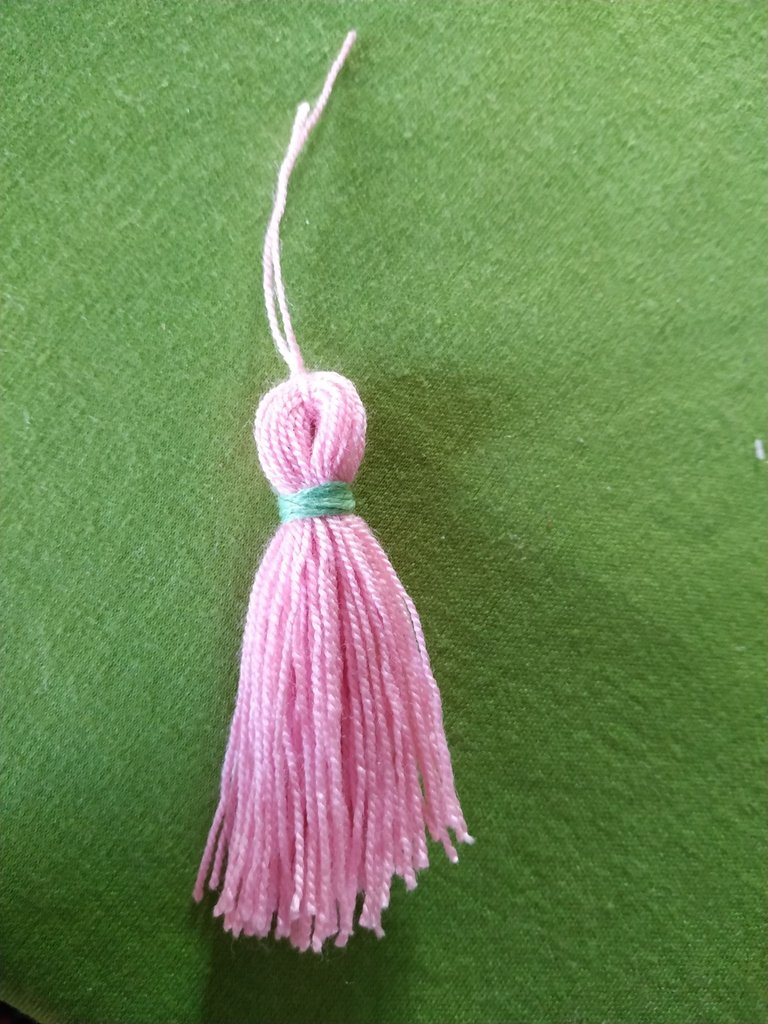
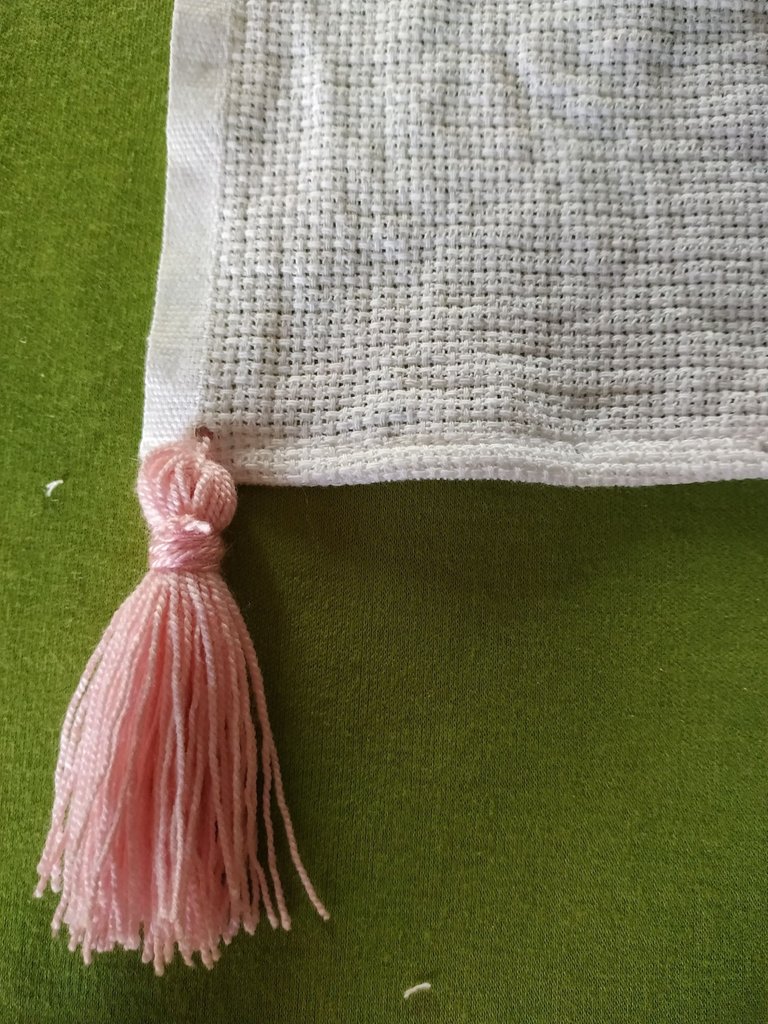
Luego en la parte de abajo tratamos de emparejar los hilos para que queden del mismo tamaño.
Then at the bottom we try to match the yarns so that they are the same size.
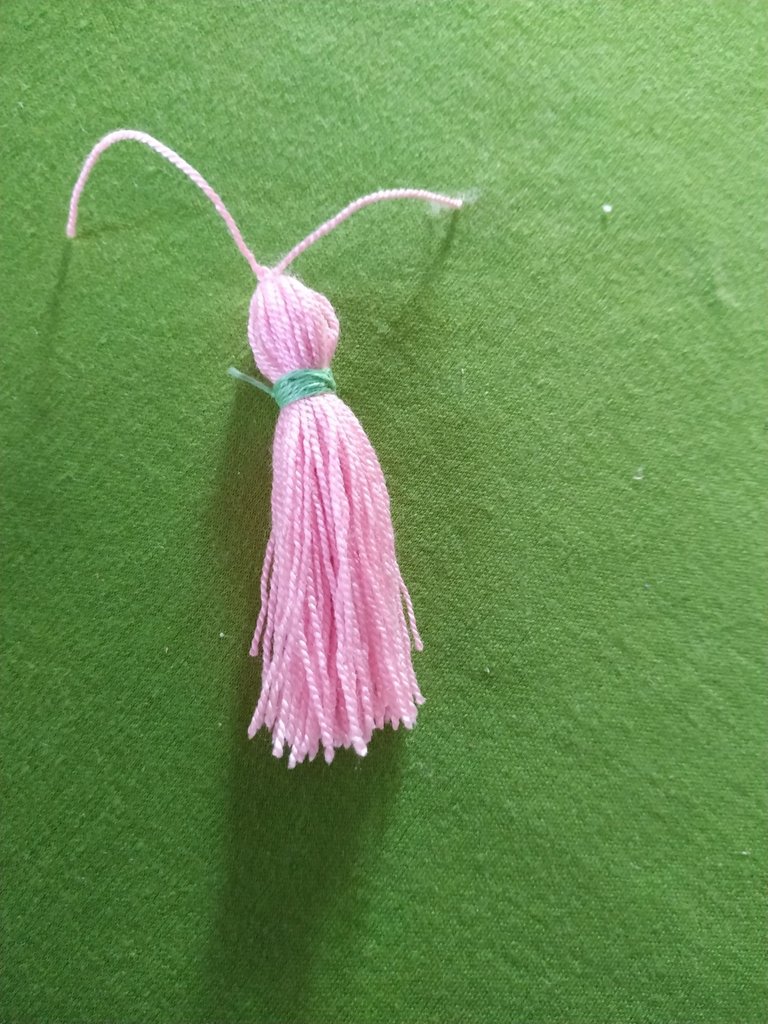
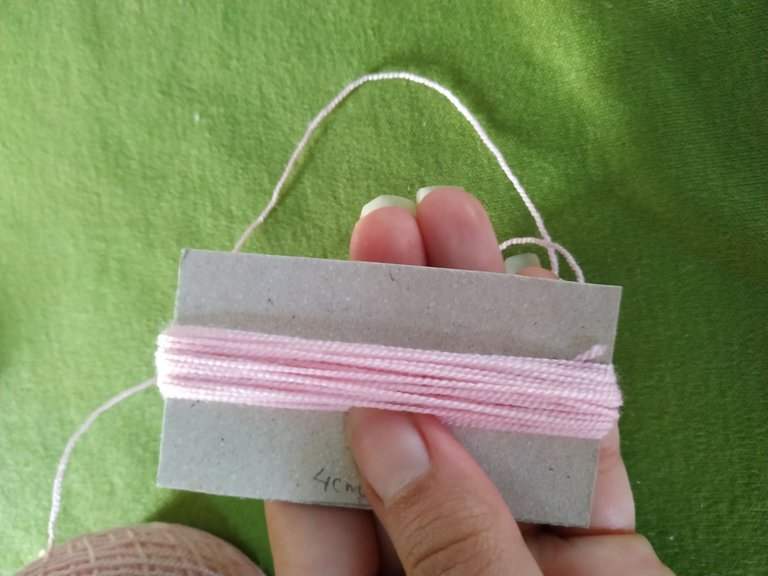
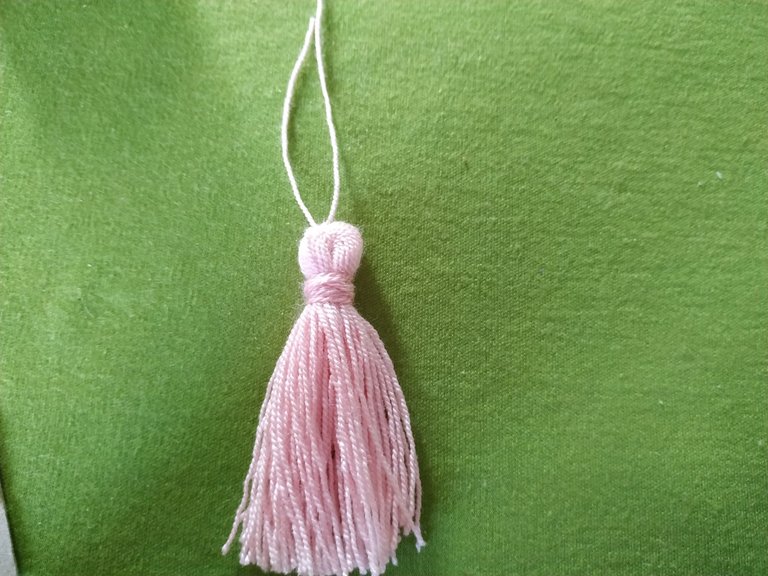
Este proceso lo repetimos para hacer el resto de las borlas, yo en total hice 20 y utilice 3 colores de hilos diferentes para elaborarlas.
We repeat this process to make the rest of the tassels, I made 20 in total and used 3 different colors of yarn to make them.
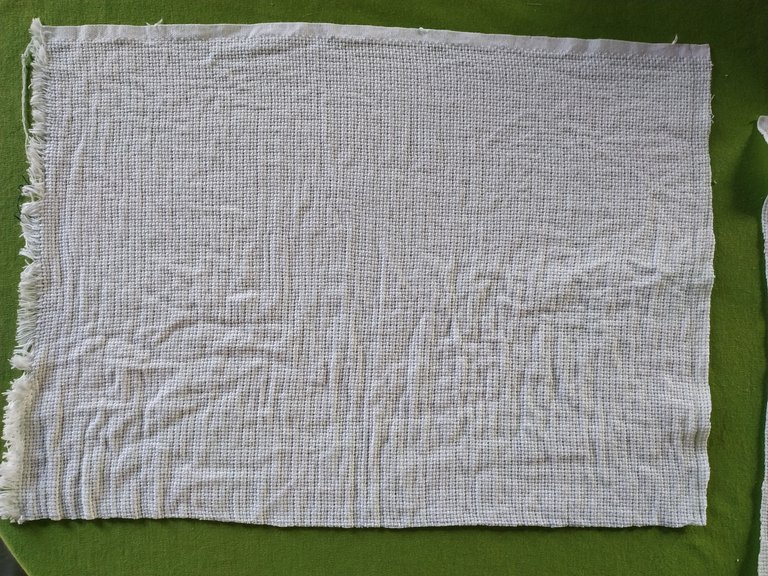
Ahora vamos a hacer el mantel así que tomamos la tela para recortarla.
Vamos a hacer un rectángulo de 30 cm largo por 40 cm de ancho. La tela que estoy utilizando es una tela rígida o tela cruda que se usa para bordar, también podemos usar telas con la que se hacen manteles o cojines.
Now we are going to make the tablecloth so we take the fabric to cut it out.
We are going to make a rectangle of 30 cm long by 40 cm wide. The fabric I am using is a rigid fabric or raw fabric used for embroidery, we can also use fabrics used to make tablecloths or cushions.

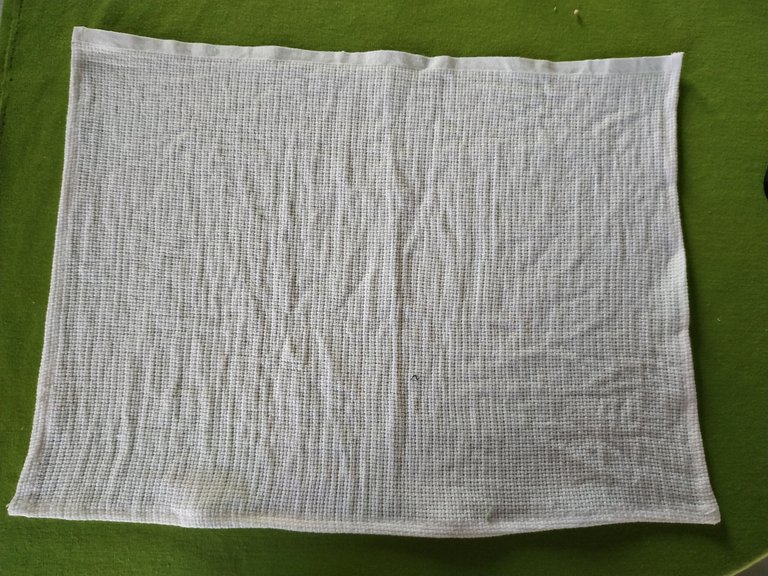
Recortamos la tela y le pasamos costura a máquina o a mano por todo el contorno.
Cut out the fabric and machine or hand stitch all around.
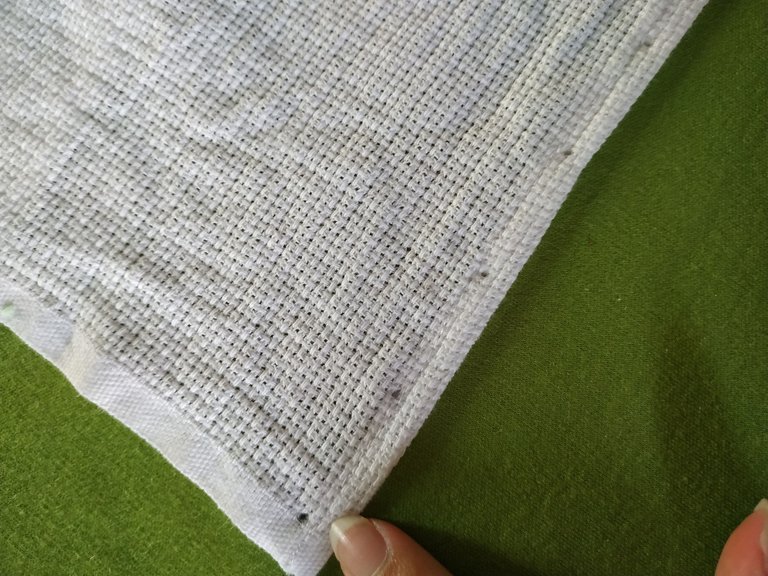
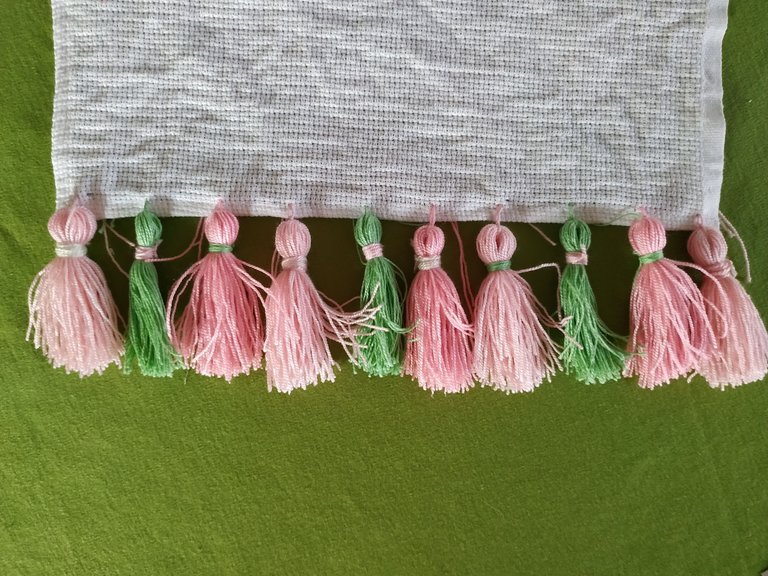
Cuando esté listo vamos a tomar las medidas por los laterales del mantel. Le hice 10 marcas con una separación de tres centímetros.
Y allí empecé a colocar las borlas ayudándome de una aguja de tejer.
When it is ready we are going to take the measurements on the sides of the tablecloth. I made 10 marks with a separation of three centimeters.
And there I started to place the tassels with the help of a knitting needle.
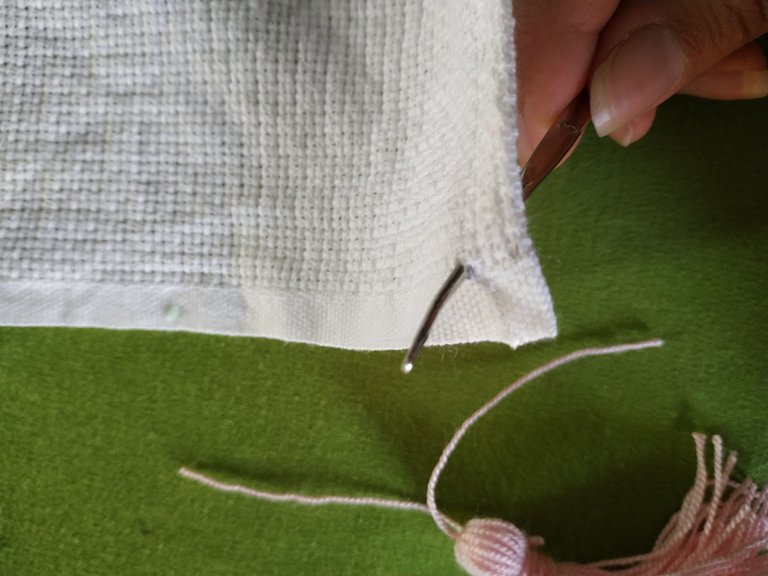
Paso el hilo de un lado al otro y luego le hago un nudo lo suficientemente grande para que quede bien fijo.
I pass the thread from one side to the other and then tie a knot big enough to hold it in place.
Repito con las demás borlas para que queden en el orden que deseamos y luego repetimos del otro lado.
Repeat with the other tassels so that they are in the desired order and then repeat on the other side.
Podemos planchar la tela y recortar los hilos que queden sobrando y con esto tendremos listo este hermoso mantel.
We can iron the fabric and trim the threads that are left over and with this we will have ready this beautiful tablecloth.
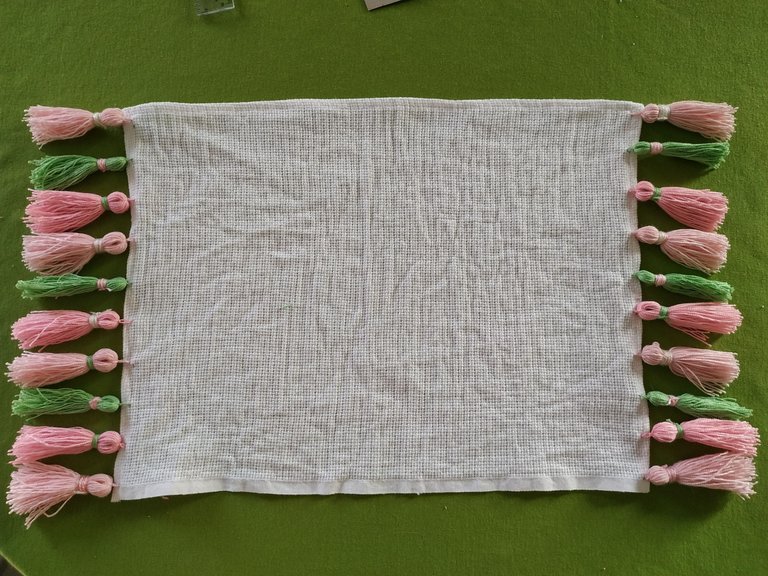
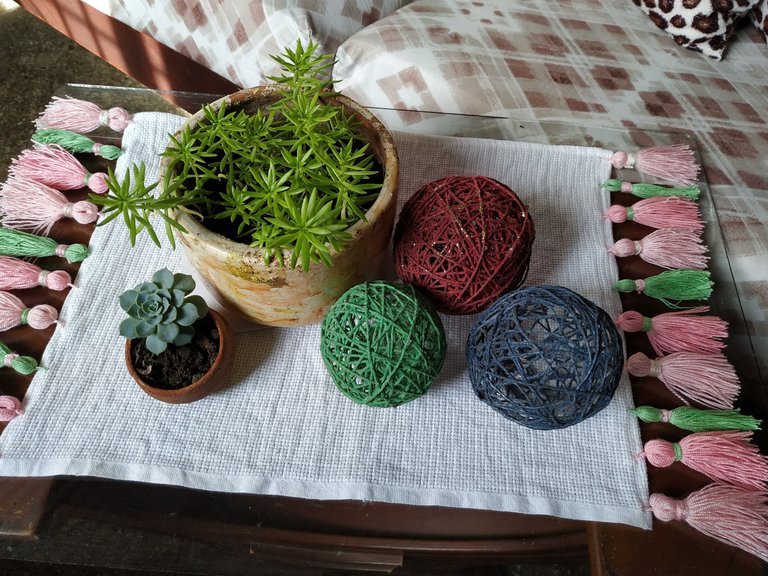
El resultado me gustó mucho, y lo usaré en la sala de mi casa, espero ustedes se animen también a elaborar uno y les invito a comentar que tal les pareció este lindo proyecto.
Muchas gracias por leer mi blog, hasta la próxima.
I really liked the result, and I will use it in the living room of my house, I hope you are also encouraged to make one and I invite you to comment on how you liked this nice project.
Thank you very much for reading my blog, see you next time.


Fotos tomadas de mi teléfono Xiaomi Redmi Note 6 Pro || Photos taken from my Xiaomi Redmi Note 6 Pro phone.
Fuente del editor de imágenes || Image editor source
The rewards earned on this comment will go directly to the people sharing the post on Twitter as long as they are registered with @poshtoken. Sign up at https://hiveposh.com.
Me encantó cómo quedó. Divertido con las borlas y muy delicado por los colores pasteles que usaste. Una buena idea para decorar nuestras mesitas en casa, gracias por compartirla. Saludos.
Hola, muchas gracias. Saludos
Hola gabi, que bonito te quedó tu mantel, aunque te cuento que me fije mas en las bolas de pabilo, te quedaron perfectas. nunca las he podido hacer.
Hola Carolina, muchas gracias.
que hermoso quedó amiga!! me encantaron los colores pasteles que utilizaste!! muy útil para decorar las mecitas de la casa, de verdad excelente trabajo!!!
Que lindo trabajo amiga ✨✨ yo tengo masetas en casa y está idea me gustó mucho...
Muchas gracias